ECO mode MERCEDES-BENZ CLS-Class 2017 W218 Comand Manual
[x] Cancel search | Manufacturer: MERCEDES-BENZ, Model Year: 2017, Model line: CLS-Class, Model: MERCEDES-BENZ CLS-Class 2017 W218Pages: 202, PDF Size: 6.35 MB
Page 165 of 202

DVD functions
XTo selectDVDFunctions:tur nand press th e
controller .
A men uappear s (
Ypage 164).
Video settings
Setting the picture for mat
The followin goption sare available for th e
scree nformat for th eDV Dbein gplayed :
RAuto
R16:9
R4:3
RZoom
XTo set th epicture format: turnand press
th econtroller .
The dot before th emen uentr yshows th e
selected format .
Manual image enhance ment
XTo select Brightnes s,Contrastor
Color: tur nand press th econtroller .
A sliding men uappears.
XTo select th erequire dvalue :tur nth econtrol -
ler .
XTo exit th esliding menu: slide8 thecon-
troller.
DVD's control me nu
MostDVDs hav etheir own control men uwhic h
can be operate dusin gth econtroller .
Showin gth eDVD' scontrol men u
XTo showtheDV Doverlay menu: in full-scree n
video mode, press th econtroller .
The DV Doverlay men uis shown.
XTo select Menufrom th eDV Doverlay menu:
tur nand press th econtroller .
The men uof th eDV Doverlay men uis hidden
and th eDVD' smen uentries (e.g. scenes, lan -
guage ,trailers) are displayed.
XTo select amen uentry: slid eand press th e
controller .
Videomenu
:Type of dat amedium
;Curren ttitl e
=Shows th emen ubars for th eDV Dbasic dis-
play
?Curren tscen e
ATracktime
Operating th evideo men u
XTo show: in full-scree nvideo mode, slid e6
th econtroller .
XTo hide:slid e5 thecontroller .
Video DVD mode163
Media
Z
Page 166 of 202

XTo select the next or previous scene: turn thecontroller clockwise/counter-clockwise.
XTo fast forward or rewind: slide 1the
controller and hold until the desired position
has been reached.
XTo hide the video menu: slide 5the con-
troller.
XTo show the menu bars for the DVD basic dis-
play: press the controller.
The video menu is hidden and the DVD basic
menu appears.
DVD functions
Showing/hiding the DVD functions
XTo show the DVD overlay menu: in full-screen
video mode, press the controller.
The DVD overlay menu is shown.
XTo hide: select%in the DVD overlay
menu.
XTo show the DVD basic display: selectò
in the DVD overlay menu.
Overview of DVD overlay menu
:Activates DVD control menu
;Hides DVD overlay menu
=Shows the DVD basic display
?Confirms entry in control menu
ANavigates DVD lists
BJumps to the start of the scene
CDisplays camera perspectives
DShows subtitles
ESelects language
FStop function
GPause function
Operating the DVD's own menu with the DVD overlay menu
XIn full-screen mode, press the controller
The DVD overlay menu is shown.
It is possible to navigate within the DVD's owncontrol menu using the arrows in the upper
bar of the DVD overlay menu.
XTo select the XZ¬Yarrow to navigate in the
DVD's own menu: turn the controller.
The active arrow is highlighted.
XTo select the arrow: press the controller.
The next menu entry in the direction of the
arrow is highlighted.
XTo select ¬from the DVD overlay menu:
turn and press the controller.
The selected DVD scene is played.
XTo hide the DVD overlay menu: select &
using the controller.
XPress the controller.
The DVD overlay menu is hidden.
If functions such as Display camera perspec-
tives are available on the DVD, these functions
are shown in the DVD overlay menu.
XTo call up Display camera perspectives: turn
and press the controller
Stop function
XIn full-screen mode, press the controller
The DVD overlay menu is shown.
XInterrupting playback
To select Éin the menu of the DVD overlay
menu: turn and press the controller.
The Ë display changes to Ì. The video
image is hidden.
XTo continue playback: selectÌ.
Playback continues from the point where it
was interrupted.
164Video DVD mode
Media
Page 169 of 202

Your multimediasyste mequipment
These operatin ginstruction sdescribe all th e
standar dan doptional equipment of your multi-
media system, as available at th etime of going
to press. Country-specifi cdifference sare pos -
sible. Bear in min dthat your vehicle may no t
feature all function sdescribed here. Thi salso
applies to safety-relevan tsystems an dfunc-
tions.
Read th einformation on qualifie dspecialis t
workshop sin th evehicle Operator's Manual.
Sound settings
Calling up th esound menu
You can mak evarious sound setting sfo rth e
differen taudio an dvideo sources. It is possible
to set more bass fo rradio mode than fo raudio
CD mode, fo rexample. The respective sound
men ucan be called up from th emen uof th e
desire dmode.
XSwitch to radio mode (Ypage 135).
or
XSwitch to media mode (Ypage 144).
XTo display themen ubars: slid e6 thecon-
troller.
XTo selec tà :turn an dpress th econtroller .
The men uappears wit hth elast setting
accessed, e.g. Equalizer
.
Sound men uoverview
FunctionOptions
EqualizerSets treble ,mid -
range an dbass
Balance/faderAdjust sth evolume :
right/lef tan d
front/rea r
Setting treble, mid-range an dbass
XCall up th esound men u (Ypage 167).
XTurnth econtroller until Equalizeris brought
to th efront.
XTo activat erotary menus fo rtreble ,mid-range
an dbass :slid e6 thecontroller .
XTo switch between th erotary menus: slid e
8 or9 thecontroller .
XTo maketh edesire dEqualize rsettings: turn
th econtroller .
Rotary menus sho wtheset values.
XTo return to th emenu: slid e5 thecontrol-
ler .
XTo return to th ebasi cmenu: press th e%
butto nbriefly.
Adjusting th ebalance/fader
Balance adjust sth evolume lef tan dright .Fader
adjust sth evolume in fron tan drear.
Fo rth ebes tsound ,setting 0is recommended .
XCall up thesound men u (Ypage 167).
XTurnth econtroller until Balance/Faderis
brought to th efron tan dthen slid e6 the
controller .
XTo activat eth emen ufo rbalance an dfader:
press th econtroller .
Sound settings167
Sound
Page 170 of 202

XTo adjust the balance: slide8or9 the
controller.
XTo adjust the fader: slide 6or5 the con-
troller.
XTo return to the basic menu: press the %
button briefly.
Harman/kardon®Logic 7®surround
sound system
General notes
The harman/kardon®Logic7®surround sound
system is available for all functions in the radio
and media modes.
The harman/kardon
®Logic7®surround sound
system is available for the following operating
modes:
RRadio (FM only)
RSatellite radio
RAudio CD
RMP3 (including SD card and USB storage
device)
RMedia Interface
RBluetooth®audio mode
RVideo DVD (PCM, DTS®and Dolby®Digital
audio formats)
iFor the best sound, CD or WAV CD format is
recommended. For data-reduced media, AAC
with a data rate of 320 kbit/s is recommen-
ded.
Discs which support the audio formats men-
tioned have the following logos:
iManufactured under license from Dolby
Laboratories. Dolby and the double-D symbol
are trademarks of Dolby Laboratories.
iFor DTS patents see
http://patents.dts.com. Manufactured
under license from DTS Licensing Limited.
DTS, the Symbol & DTS and the Symbol
together are registered trademarks, and DTS
Digital Surround is a trademark of DTS, Inc.
©
DTS, Inc. All rights reserved.
Calling up the sound menu
You can make various sound settings for the
different audio and video sources. It is possible
to set more bass for radio mode than for CD
audio mode, for example. The respective sound
menu is called up from the menu of the desired
mode.
XSwitch to radio mode (Ypage 135).
or
XSwitch to media mode (Ypage 144).
XTo switch to the menu bar: slide 6the con-
troller.
XTo select à: turn and press the controller.
The menu appears with the last setting
accessed, e.g. Equalizer
.
Overview of harman/kardon
®Logic7®surround
sound system
FunctionOptions
EqualizerSets treble, mid-
range and bass
Balance/faderAdjusts the volume:
right/left and
front/rear
Logic 7Optimizes the sound
playback
168Harman/kardon®Logic 7®surround sound system
Sound
Page 171 of 202
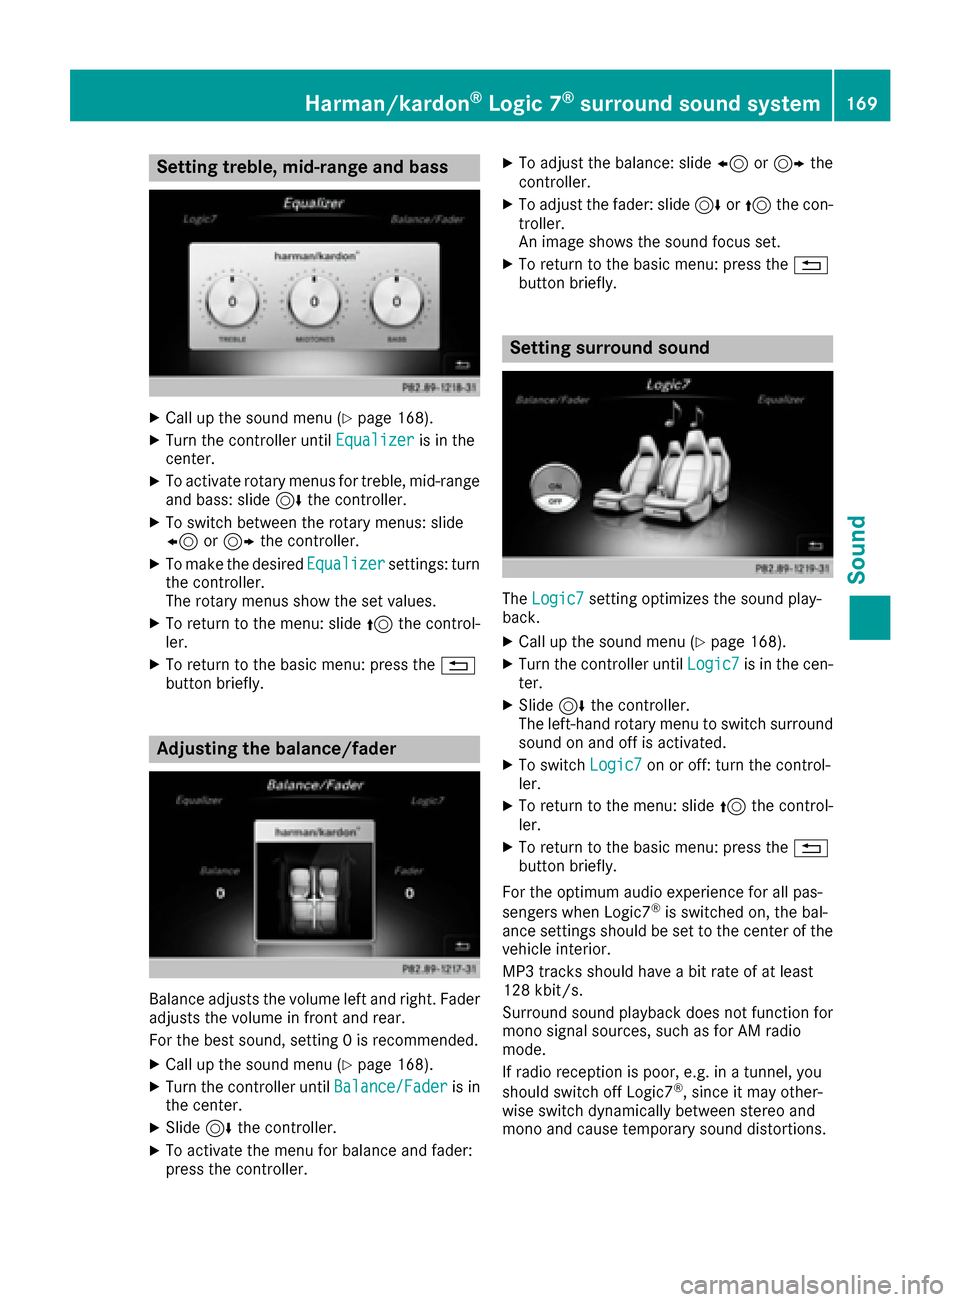
Setting treble, mid-range and bass
XCall up the sound menu (Ypage 168).
XTurn the controller untilEqualizeris in the
center.
XTo activate rotary menus for treble, mid-range
and bass: slide 6the controller.
XTo switch between the rotary menus: slide
8 or9 the controller.
XTo make the desired Equalizersettings: turn
the controller.
The rotary menus show the set values.
XTo return to the menu: slide 5the control-
ler.
XTo return to the basic menu: press the %
button briefly.
Adjusting the balance/fader
Balance adjusts the volume left and right. Fader
adjusts the volume in front and rear.
For the best sound, setting 0 is recommended.
XCall up the sound menu (Ypage 168).
XTurn the controller until Balance/Faderis in
the center.
XSlide 6the controller.
XTo activate the menu for balance and fader:
press the controller.
XTo adjust the balance: slide 8or9 the
controller.
XTo adjust the fader: slide 6or5 the con-
troller.
An image shows the sound focus set.
XTo return to the basic menu: press the %
button briefly.
Setting surround sound
The Logic7setting optimizes the sound play-
back.
XCall up the sound menu (Ypage 168).
XTurn the controller until Logic7is in the cen-
ter.
XSlide 6the controller.
The left-hand rotary menu to switch surround
sound on and off is activated.
XTo switch Logic7on or off: turn the control-
ler.
XTo return to the menu: slide 5the control-
ler.
XTo return to the basic menu: press the %
button briefly.
For the optimum audio experience for all pas-
sengers when Logic7
®is switched on, the bal-
ance settings should be set to the center of the
vehicle interior.
MP3 tracks should have a bit rate of at least
128 kbit/s.
Surround sound playback does not function for
mono signal sources, such as for AM radio
mode.
If radio reception is poor, e.g. in a tunnel, you
should switch off Logic7
®, since it may other-
wise switch dynamically between stereo and
mono and cause temporary sound distortions.
Harman/kardon®Logic 7®surround sound system169
Sound
Page 172 of 202
Bang & Olufsen BeoSound
General notes
The Bang & Olufsen BeoSound AMG sound sys-
tem is available for all functions in the radio and
media modes.
The following modes are available for the Bang &
Olufsen BeoSound AMG sound system:
RRadio (FM only)
RSatellite radio
RAudio CD
RMP3/AAC
RMedia Interface
RBluetooth®audio mode
RVideo DVD (PCM, DTS®and Dolby®Digital
audio formats)
iFor the best sound, CD or WAV CD format is
recommended. For data-reduced media, AAC
with a data rate of 320 kbit/s is recommen-
ded.
iManufactured under license from Dolby
Laboratories. Dolby and the double-D symbol
are trademarks of Dolby Laboratories.
iFor DTS patents see
http://patents.dts.com. Manufactured
under license from DTS Licensing Limited.
DTS, the Symbol & DTS and the Symbol
together are registered trademarks, and DTS
Digital Surround is a trademark of DTS, Inc.
©
DTS, Inc. All rights reserved.
Calling up the sound menu
You can make various sound settings for the
different audio and video sources. It is possible
to set more bass for radio mode than for audio
CD mode, for example. The respective sound
menu is called up from the menu of the desired
mode.
XSwitch to radio mode (Ypage 135).
or
XSwitch to media mode (Ypage 144).
XTo switch to the menu bar: slide 6the con-
troller.
XTo select à: turn and press the controller.
The menu appears with the last setting
accessed, e.g. Equalizer
.
Bang & Olufsen BeoSound AMG sound system
FunctionOptions
EqualizerSets treble, mid-
range and bass
Balance/faderAdjusts the volume:
right/left and
front/rear
True Image™Sets a sound profile
in the vehicle
Sound mode ( VIP &BAL Selection)Optimizes the sound
playback
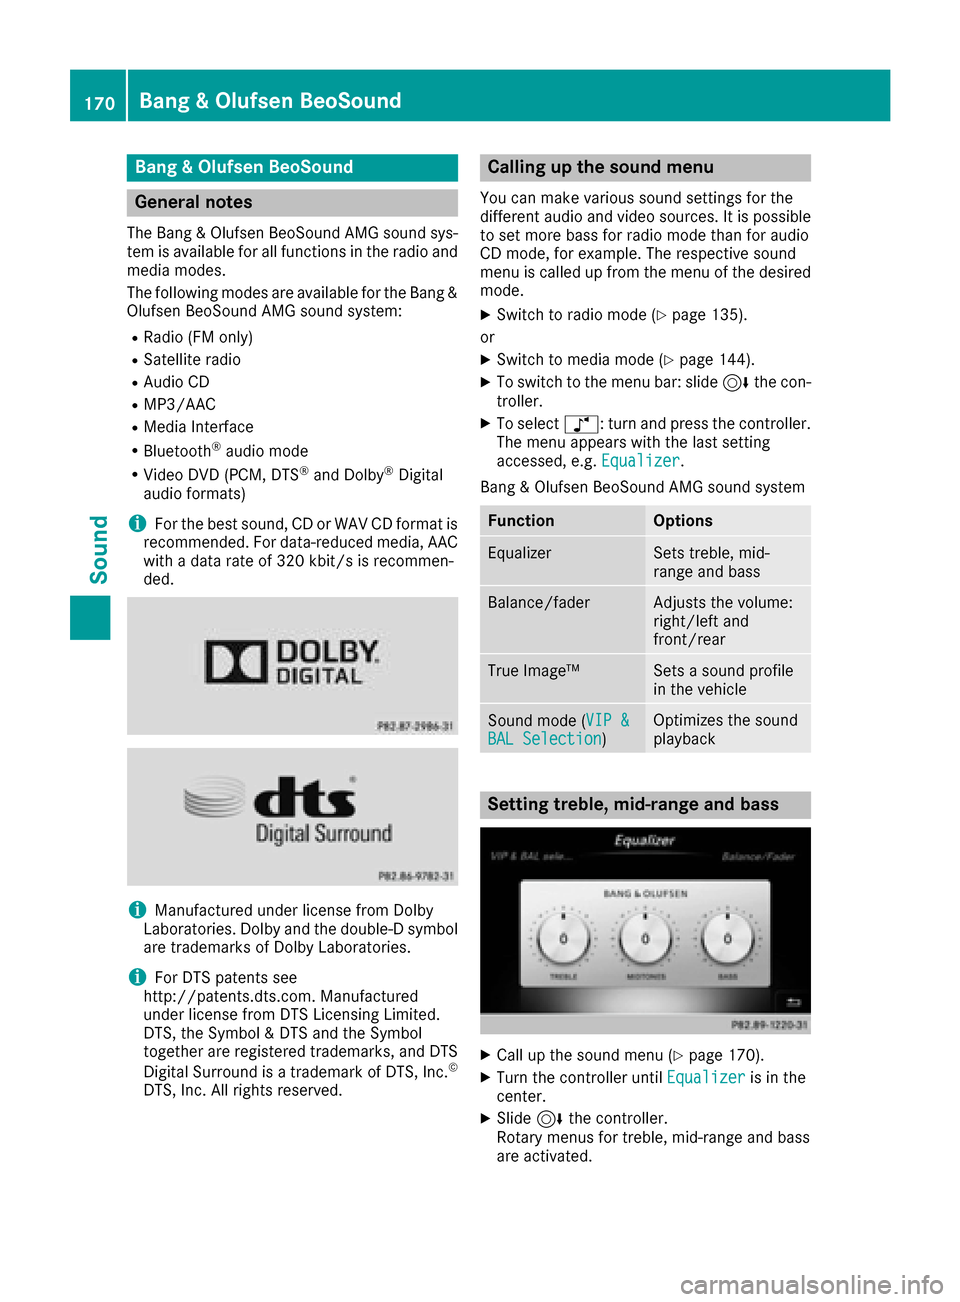
Setting treble, mid-range and bass
XCall up the sound menu (Ypage 170).
XTurn the controller until Equalizeris in the
center.
XSlide 6the controller.
Rotary menus for treble, mid-range and bass
are activated.
170Bang & Olufsen BeoSound
Sound
Page 188 of 202
Using the main loudspeakers
This function is available in conjunction with the
multimedia system.
You can use the vehicle loudspeakers to listen to
a disc inserted in the rear-compartment drive.
To do so, disc mode (audio CD/audio DVD/
MP3) must be activated on at least one rear
screen.
The headphones' volume setting does not affect
the main loudspeakers.
XTo set on the multimedia system:press the
$ button, for example, to switch on an
audio mode.
XTo select Info6slide and press the con-
troller.
A menu appears.
XTurn the controller until Rear Seat Enter‐tainment System: Audiois brought to the
front.
XPress the controller.
Selecting sound settings
You can select sound settings in the following
operating modes:
RAudio CD/MP3
RVideo DVD
RRadio (active media source in COMAND)
RAUX
XSwitch on an operating mode (e.g. audio CD
mode) (Ypage 187).
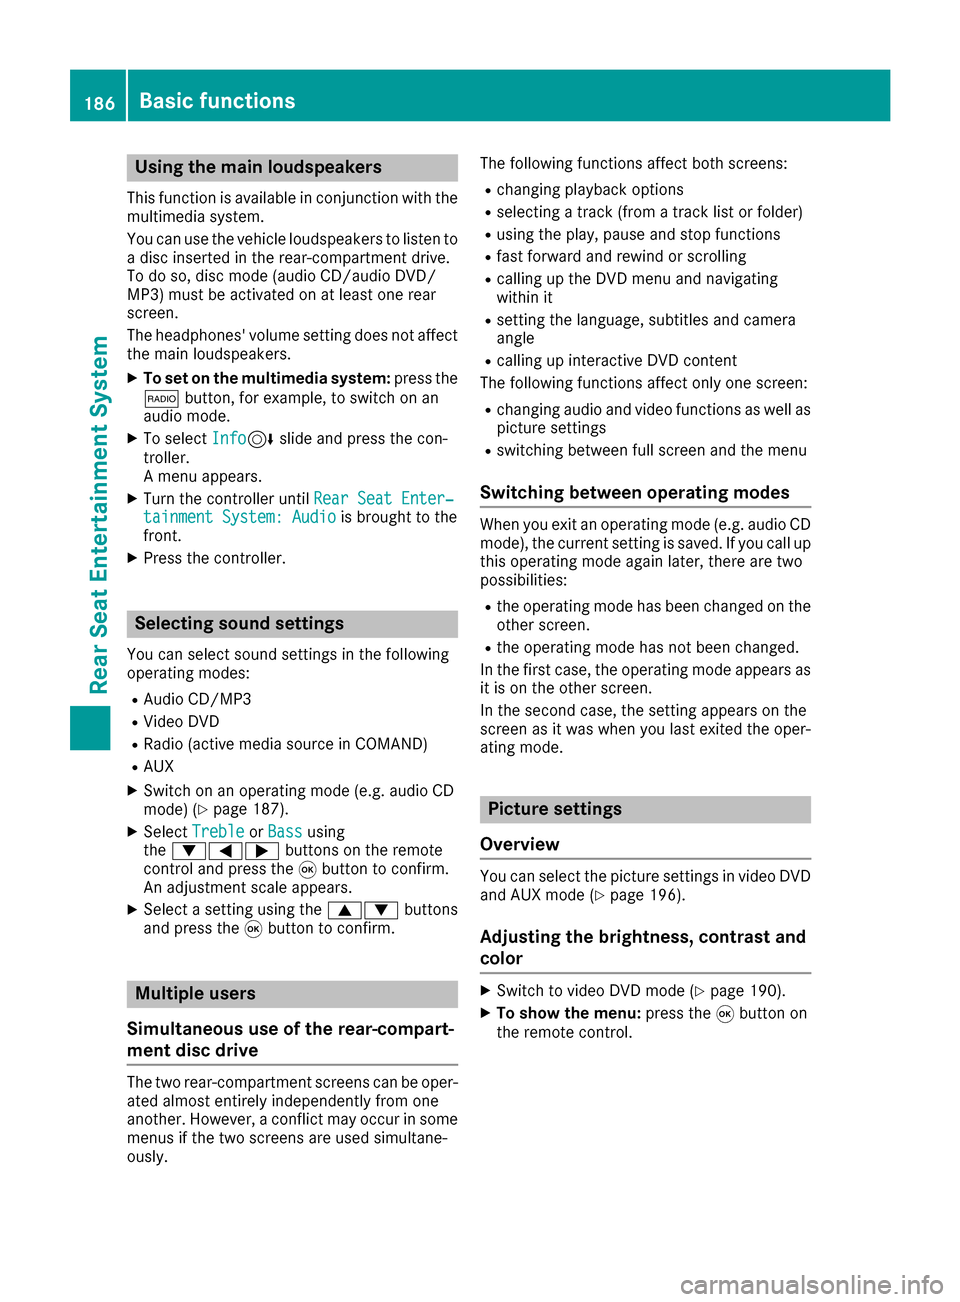
XSelect TrebleorBassusing
the :=; buttons on the remote
control and press the 9button to confirm.
An adjustment scale appears.
XSelect a setting using the 9:buttons
and press the 9button to confirm.
Multiple users
Simultaneous use of the rear-compart-
ment disc drive
The two rear-compartment screens can be oper- ated almost entirely independently from one
another. However, a conflict may occur in some
menus if the two screens are used simultane-
ously. The following functions affect both screens:
Rchanging playback options
Rselecting a track (from a track list or folder)
Rusing the play, pause and stop functions
Rfast forward and rewind or scrolling
Rcalling up the DVD menu and navigating
within it
Rsetting the language, subtitles and camera
angle
Rcalling up interactive DVD content
The following functions affect only one screen:
Rchanging audio and video functions as well as picture settings
Rswitching between full screen and the menu
Switching between operating modes
When you exit an operating mode (e.g. audio CD
mode), the current setting is saved. If you call up
this operating mode again later, there are two
possibilities:
Rthe operating mode has been changed on the
other screen.
Rthe operating mode has not been changed.
In the first case, the operating mode appears as
it is on the other screen.
In the second case, the setting appears on the
screen as it was when you last exited the oper-
ating mode.
Picture settings
Overview
You can select the picture settings in video DVD
and AUX mode (Ypage 196).
Adjusting the brightness, contrast and
color
XSwitch to video DVD mode (Ypage 190).
XTo show the menu: press the9button on
the remote control.
186Basic functions
Rear Seat Entertainment System
Page 189 of 202
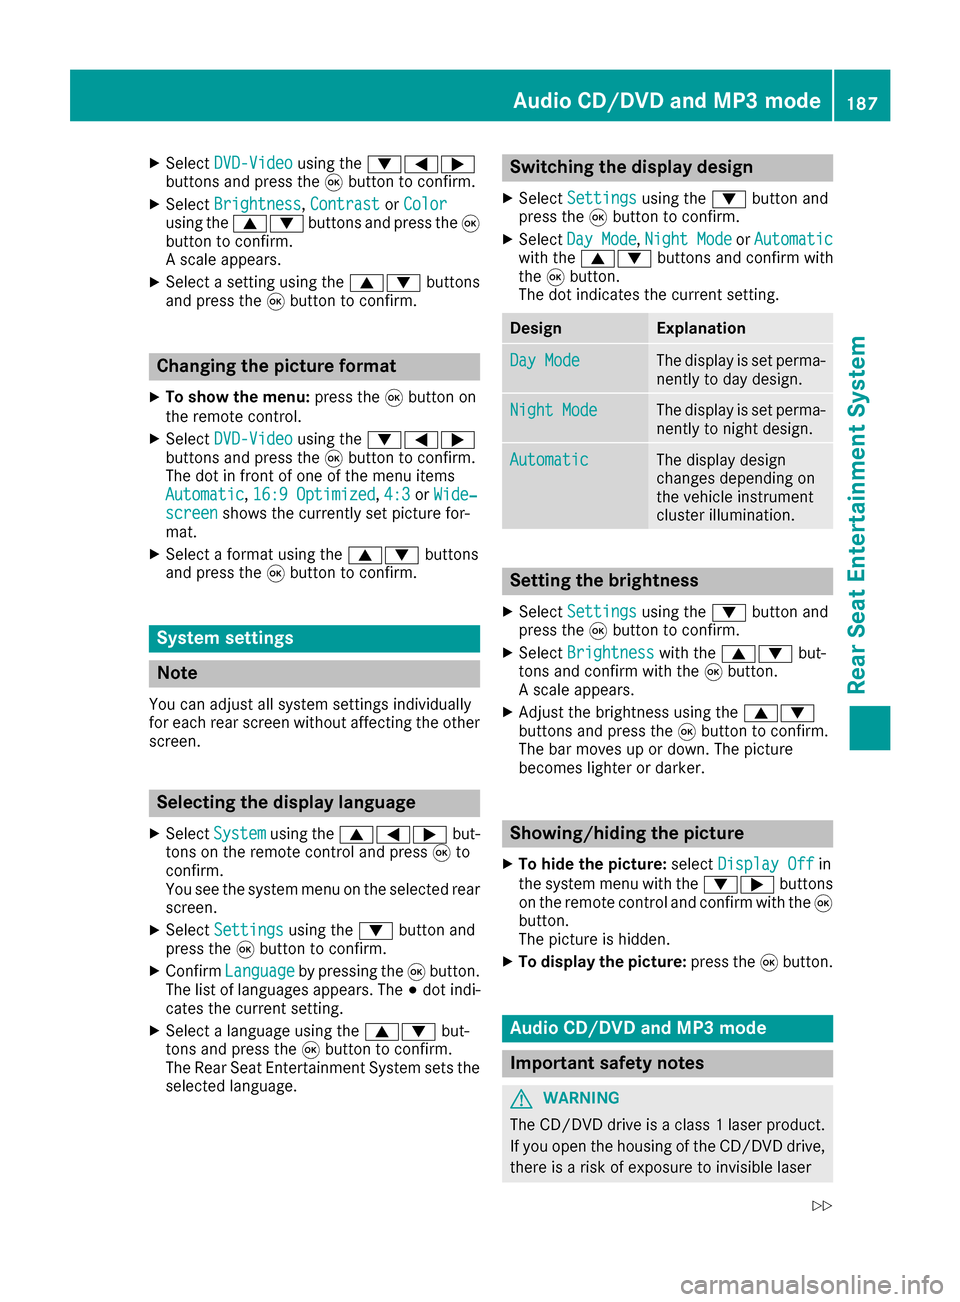
XSelectDVD-Videousing the :=;
buttons and press the 9button to confirm.
XSelect Brightness,Contrastor Colorusing the 9: buttons and press the 9
button to confirm.
A scale appears.
XSelect a setting using the 9:buttons
and press the 9button to confirm.
Changing the picture format
XTo show the menu: press the9button on
the remote control.
XSelect DVD-Videousing the :=;
buttons and press the 9button to confirm.
The dot in front of one of the menu items
Automatic
, 16:9 Optimized,4:3or Wide‐screenshows the currently set picture for-
mat.
XSelect a format using the 9:buttons
and press the 9button to confirm.
System settings
Note
You can adjust all system settings individually
for each rear screen without affecting the other
screen.
Selecting the display language
XSelect Systemusing the 9=; but-
tons on the remote control and press 9to
confirm.
You see the system menu on the selected rear screen.
XSelect Settingsusing the :button and
press the 9button to confirm.
XConfirm Languageby pressing the 9button.
The list of languages appears. The #dot indi-
cates the current setting.
XSelect a language using the 9:but-
tons and press the 9button to confirm.
The Rear Seat Entertainment System sets the
selected language.
Switching the display design
XSelect Settingsusing the :button and
press the 9button to confirm.
XSelect Day Mode,Night Modeor Automaticwith the 9: buttons and confirm with
the 9button.
The dot indicates the current setting.
DesignExplanation
Day ModeThe display is set perma-
nently to day design.
Night ModeThe display is set perma-
nently to night design.
AutomaticThe display design
changes depending on
the vehicle instrument
cluster illumination.
Setting the brightness
XSelect Settingsusing the :button and
press the 9button to confirm.
XSelect Brightnesswith the 9: but-
tons and confirm with the 9button.
A scale appears.
XAdjust the brightness using the 9:
buttons and press the 9button to confirm.
The bar moves up or down. The picture
becomes lighter or darker.
Showing/hiding the picture
XTo hide the picture: selectDisplay Offin
the system menu with the :;buttons
on the remote control and confirm with the 9
button.
The picture is hidden.
XTo display the picture: press the9button.
Audio CD/DVD and MP3 mode
Important safety notes
GWARNING
The CD/DVD drive is a class 1 laser product.
If you open the housing of the CD/DVD drive,
there is a risk of exposure to invisible laser
Audio CD/DVD and MP3 mode187
Rear Seat Entertainment System
Z
Page 191 of 202
Selecting a track
Via skip function
XPress the =or; button on the remote
control.
or
XPress the EorF button.
The skip forward function skips to the next
track.
If the elapsed track time has passed 8 sec-
onds, the function skips back to the beginning of the track. If the elapsed time is shorter, it
will skip to the start of the previous track.
If the Random tracks
orRandom folderplayback option has been selected, the track
order is random.
Via track list
In audio CD mode, the track list contains all
tracks on the disc currently playing. In audio
DVD mode, the track list contains all tracks in
the currently active group.
In MP3 mode, the track list shows all tracks in
the currently active folder as well as the folder
structure, allowing you to select any track on the
MP3 CD.
XSelect Tracks(audio CD/DVD mode) or
Folder(MP3 mode) using
the :=; buttons on the remote
control, and confirm by pressing the 9but-
ton.
or
XPress the 9button when the selection win-
dow is active.
The track list appears. The #dot indicates the
current track.
XSelect a track using the 9:buttons
and press the 9button to confirm.
By entering the track number directly
XPress the hbutton on the remote control.
The track entry display appears.
Example: track 2
XPress the ·button. Example: track 23
XPress the
·and¸ buttons in quick
succession.
XWait for approximately three seconds after
making the entry.
You will hear the track which has been
entered. The corresponding basic menu then
reappears.
iIt is not possible to enter numbers that
exceed the number of tracks on the CD or in
the currently active folder.
Fast forwarding/rewinding
XWith the selection window active, press the
= or; button on the remote control
repeatedly until you reach the desired posi-
tion.
or
XPress and hold the EorF button until
the desired position has been reached.
Selecting a folder
This function is available in MP3 mode.
XSelect Folderin MP3 mode using
the :=; buttons on the remote
control and press the 9button to confirm.
or
XPress the 9button when the selection win-
dow is active.
The folder content appears.
XTo switch to the superordinate folder:
select symbol Uusing the 9: but-
tons on the remote control and press the 9
button to confirm.
The display shows the next folder up.
XTo select a folder: select a folder by pressing
the 9: button and confirm by pressing
the 9button.
You will see the tracks in the folder.
XSelect a track using the 9:buttons
and press the 9button to confirm.
The track is played and the selected folder is
now the active folder.
Pause function
This function is available in audio DVD mode.
Audio CD/DVD and MP3 mode189
Rear Seat Entertainment System
Z
Page 193 of 202
Never open the housing. Always have main-
tenance and repair work carried out at a quali-fied specialist workshop.
General notes
DVD playback conditions
Playback problems may occur when playing
copied discs. There is a large variety of discs,
DVD authoring software, writing software and
writers available. This variety means that there
is no guarantee that the Rear Seat Entertain-
ment System will be able to play DVD videos that
you have copied yourself.
Further information (
Ypage 161). Information
regarding the multimedia system also applies to
the Rear Seat Entertainment System.
Function restrictions
Depending on the DVD, it is possible that certain
functions or actions described in this section
will be temporarily blocked or may not function
at all. As soon as you try to activate these func-
tions or actions, you will see the Ksymbol in
the display.
Switching on video DVD mode
XInsert a video DVD (Ypage 188).
The Rear Seat Entertainment System loads
the disc.
If disc mode was the last mode selected, it will
now be active.
If it was not, switch on video DVD mode as
described in the following instructions.
XSelect Discin the menu using the
9=; buttons on the remote con-
trol and confirm by pressing the 9button.
If the DVD video fulfills the playback criteria,
the film either starts automatically or the
menu saved on the DVD appears. If the DVD
menu appears, you must start the film man-
ually.
XSelect the corresponding menu item in the
DVD menu.
Showing/hiding the control menu
:Type of data medium
;Current title
=Current scene
?Track time
ADisplays the menu
XTo show: press the9or: button on
the remote control.
XTo hide: press the 9or: button.
or
XWait about eight seconds.
Showing/hiding the menu
:Video DVD options
;Pause function
=Stop function
?Sets the treble
ASets the bass
XTo show: press the9button on the remote
control.
XTo hide: press the 9button and confirm
# by pressing the 9button.
Video DVD mode191
Rear Seat Entertainment System
Z