USB MERCEDES-BENZ CLS-Class 2017 W218 Comand Manual
[x] Cancel search | Manufacturer: MERCEDES-BENZ, Model Year: 2017, Model line: CLS-Class, Model: MERCEDES-BENZ CLS-Class 2017 W218Pages: 206, PDF Size: 6.66 MB
Page 78 of 206

RUSA: download data from the Internet if an
Internet address is available and mbrace is
activated for Internet access (
Ypage 94).
RCanada: download data from the Internet if
an Internet address is available and a
mobile phone is connected to the multime-
dia system via Bluetooth
®(Ypage 94) or
USB (Ypage 164)
Taking an alternative route
If the CalculateAlternativeRoutessetting
is activated O, different routes will be offered
each time a route is calculated (
Ypage 54).
You can call up alternative routes to the current
route.
Route 1 is calculated with the current settings
for the route type and route options and shown
with a dark blue line.
Routes 2 and 3 are alternatives to route 1 and
also displayed with a dark blue line.
Route 4 is the most economic route and is dis-
played with a green line.
XTo switch to navigation mode: press the
Ø button.
XTo show the menu: slide6the controller.
XTo select Route, turn and press the controller.
XSelectAlternative Route.
Route 1 is shown.
XTo display additional routes: select Nextor
Previous.
XTo start a new route guidance: select
Start
.
Route list
XTo switch to navigation mode: press the
Ø button.
XTo show the menu: slide6the controller.
XTo select Route, turn and press the controller.
XSelectRoute List.
The route list shows the next change of direc-
tion and the immediate distances from the
current vehicle position.
XTo display additional route sections: turn
the controller.
The position of the change of direction that
belongs to the respective route section is
indicated on the map with a cross.
Where am I?
XTo switch to navigation mode: press the
Ø button.
XTo show the menu: slide6the controller.
XTo select Position, turn and press the con-
troller.
XSelect Where am I?.
The street you are currently on and the pre-
vious and next intersections are displayed.
76Route guidance
Navigation
Page 94 of 206

ProblemPossible causes/consequences andMSolutions
The map software
update has failed.The digital map can be loaded with a DVD, SD memory card or USB
stick.
XCheck the readability of the data medium, e.g. in a PC.
XTo restart the update: insert the DVD.
or
XInsert an SD memory card or USB stick.
The multimedia system asks for an activation code during the map
update. The code must be validated in the vehicle.
XStart the vehicle.
XTo restart the update: insert the DVD, SD memory card or USB
device.
The multimedia system's integrated hard drive is defective.
XConsult an authorized Mercedes-Benz Center.
92Problems with the navigation system
Navigation
Page 105 of 206

Phone book
Introduction
The telephone book displays the contacts from
the address book which have a phone number.
The phone book of the mobile phone is auto-
matically displayed in the multimedia system
after the connection is established (default set-
ting). You can deactivate automatic calling up
(
Ypage 111).
In the telephone book, you can:
RCreate new contacts (Ypage 104)
RAdd information to contacts (Ypage 105)
RSearch for contacts (Ypage 103)
RStore contacts (Ypage 106)
RDelete contacts (Ypage 106)
Further information on importing contacts
(
Ypage 111).
When you import, save, edit or add contacts,
they will be permanently saved in the multime-
dia system. These contacts will remain available
even when you connect the multimedia system
to a different mobile phone. You can view these contacts even without a mobile phone.
Calling up the phone book
XTo call up the telephone menu: press the
% button.
XTo select Namein the telephone menu: turn
and press the controller.
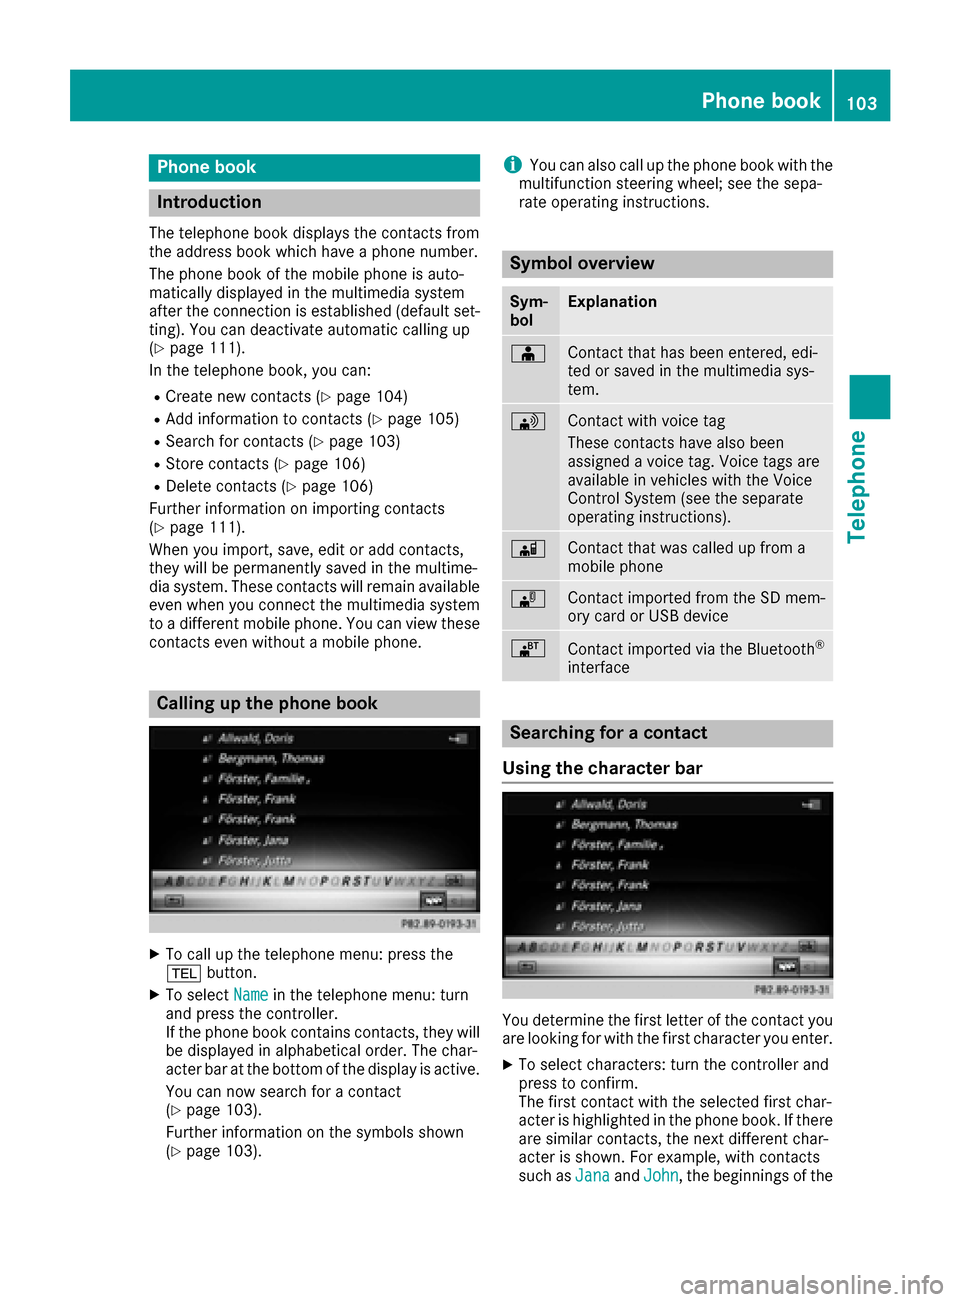
If the phone book contains contacts, they will
be displayed in alphabetical order. The char-
acter bar at the bottom of the display is active.
You can now search for a contact
(
Ypage 103).
Further information on the symbols shown
(
Ypage 103).
iYou can also call up the phone book with the
multifunction steering wheel; see the sepa-
rate operating instructions.
Symbol overview
Sym-
bolExplanation
ÆContact that has been entered, edi-
ted or saved in the multimedia sys-
tem.
\Contact with voice tag
These contacts have also been
assigned a voice tag. Voice tags are
available in vehicles with the Voice
Control System (see the separate
operating instructions).
ÃContact that was called up from a
mobile phone
¯Contact imported from the SD mem-
ory card or USB device
®Contact imported via the Bluetooth®
interface
Searching for a contact
Using the character bar
You determine the first letter of the contact you
are looking for with the first character you enter.
XTo select characters: turn the controller and
press to confirm.
The first contact with the selected first char-
acter is highlighted in the phone book. If there
are similar contacts, the next different char-
acter is shown. For example, with contacts
such as Jana
andJohn, the beginnings of the
Phone book103
Telephone
Z
Page 108 of 206

Saving a contact
Saved contacts are indicated in the phone book
by different symbols (Ypage 103).
XCall up the phone book (Ypage 103).
XSearch for and highlight a contact from the
mobile phoned(Ypage 103).
XTo select G: slide 9the controller.
XTo select Save: turn and press the controller.
The contact has now been saved. The contact
is identified by the ¥symbol in the phone
book.
iSaved contacts are also displayed in the
address book.
Saving or editing the contact data in the mul-
timedia system does not change the contacts
on the mobile phone. If automatic calling-up
of phone contacts is activated, the multime-
dia system displays the copy ¥with the
changed data.
Deleting a name
You can delete contacts that have been added,
supplemented, saved or imported in the multi-
media system.
If there are one or several phone numbers saved under the contact, the contact is deleted from
the phone book and the address book.
If there are additional entries under the contact,
such as a navigable destination, only the phone
numbers are deleted. The contact is retained in the address book with the remaining entries.
XCall up the phone book (Ypage 103).
XSearch for and highlight a contact in the
phone book (Ypage 103).
XTo select G: slide 9the controller.
XTo select Delete: turn and press the control-
ler.
A prompt appears asking whether the contact
should be deleted.
XTo select Yes: turn and press the controller.
The phone number is deleted.
or
XTo select No: turn and press the controller.
The process is canceled.
Closing the phone book
XTo select &from the character bar: turn the
controller and press to confirm.
or
XPress the %button.
Address book
Introduction
Always pay attention to traffic conditions.
Familiarize yourself with the address book func-
tions before beginning your journey.
You can use the multimedia system when the
road and traffic conditions permit. You could
otherwise become involved in an accident in
which you or others could be injured.
The address book displays all the contacts from
the various sources (mobile phone, memory
card, USB device, the phone book of the multi-
media system, navigation).
You can use the contacts to make telephone
calls, navigate and to write messages.
If a mobile phone is connected to the multimedia
system and automatic calling up is activated
(
Ypage 111), the mobile phone's contacts are
displayed in the address book. If you disconnect
the mobile phone from the multimedia system,
these contacts are no longer displayed in the
address book.
When you import, save, edit or add contacts,
they will be saved in the multimedia system.
These contacts will remain available even when
you connect the multimedia system to a differ-
ent mobile phone. You can view these contacts
even without a mobile phone.
iThe address book can store a total of 5000
contacts.
R2000 entries are reserved for permanently
saved contacts.
R3000 entries are reserved for contacts that
you can load from the mobile phone.
iBefore selling your vehicle, delete the con-
tacts saved in the multimedia system using
the reset function (
Ypage 43).
106Address book
Telephone
Page 114 of 206

Importing from the memory card or
USB device
Contacts imported from thememory car dor
from aUS Bdevice are identifie dby th e¯
symbol.
The followin gcondition smust be fulfilled in
order to import vCards:
RvCards (vc ffiles) may be locate din th emain
directory or in folders. The multimedia system
allows for atargeted selection of th ecorre-
sponding directories.
RvCards must have th efile extension ".vcf".
iThe multimedia system support svCards in
version s2. 1and 3.0.
XTo switch to th emen ubar in th etelephon e
men uor th eaddress book :slide 6thecon-
troller .
XTo select Options:tur nand press th econ-
troller .
XTo select Download Contacts:tur nand
press th econtroller.
XTo select FromMemoryCard,USB 1orUSB2:tur nand press th econtroller .
Receiving vCards via Bluetooth®
Multimedi asystem
XTo switch to th emen ubar in th etelephon e
men uor th eaddress book :slide 6thecon-
troller .
XTo select Options:tur nand press th econ-
troller .
XTo select Download Contacts:tur nand
press th econtroller .
XTo selectFromBluetoothDevice:tur nand
press th econtroller .
If th emultimedia system is connecte dto a
mobile phone, all connection sare termina -
ted. vCards can no wbe received by adevice
(PC, mobile phone) via Bluetoot h
®.
External device
XStart th edat atransfer (see th emanufactur -
er' soperating instructions).
The number of vCards received is displayed in th emultimedia system.
Multimedi asystem
XTo en dreception :press th econtroller or th e
% button.
If amobile phon ewas connected, th econ-
nection to th emobile phon eis established
again .
vCards received via Bluetoot h
®are identifiedby
th e® symbol in th ephon ebook .
iIf you switch to another main function ,e.g.
navigation ,while receiving vCards, th erecep-
tion of vCards will be terminated.
Deleting imported contacts
XTo switch to th emen ubar in th etelephon e
men uor th eaddress book :slide 6thecon-
troller .
XTo select Options:tur nand press th econ-
troller .
XTo select Delete Contacts:tur nand press
th econtroller .
XSelecton eof th efollowin goptions:
RInternal Contacts
RDownloade dfro mPhone
RImported fro mStorag eDevice
RImported fro mBluetooth Device s
Turn and press thecontroller .
112Importing contacts
Telephone
Page 124 of 206

An e-mail account must be set up on the mobile
phone for the e-mail function (see the manufac-
turer’s operating instructions).
To read and write e-mails in the multimedia sys-tem, the e-mail account first needs to be con-
figured (
Ypage 117).
Some mobile phones with the MAP Blue-
tooth
®profile:
Rdo not support the deleting or editing of text
messages.
Rdo not support the drafts folder for text mes- sages.
Rdo not support the sending of text messages.
Rdo not support the e-mail function.
Rdo not send messages in a locked status.
Calling up text messages or e-mails in
the message menu
XTo call up the telephone menu: press the
% button.
XTo switch to the menu bar: slide 6the con-
troller.
XTo select 1: turn and press the controller.
The message menu is displayed.
XTo switch to the menu bar: slide 6the con-
troller.
XTo select New: turn and press the controller.
XTo selectText MessageorE-Mail: turn and
press the controller.
The input menu for the message is displayed.
Calling up and using the dictation
function
XSelect the omicrophone.
The app for the dictation function is loaded.
If there was no prior Internet connection, a
connection is now established.
XTo start the dictation function: press the
controller.
XSay your message.
The dictation ends automatically after you
have finished speaking.
After the spoken message has been pro-
cessed, it is shown as text on the display.
XTurn and press the controller to select words.
XIn the correction menu, you can:
Rchange the capitalization of words
Radd words
Rdelete words
Rreplace the dictated message with a new
one
XTo exit the menu: selectDone.
Sending messages
The dictated text is displayed in the message
input window.
XEnter the telephone number or e-mail address
into the addressee line.
XTo send the message: select OK.
MirrorLink®
Introduction
MirrorLink®is a standard for the connection
between the multimedia system and your
mobile phone. With MirrorLink
®, the content of
the display on your mobile phone can be dis-
played in the multimedia system. Audio content
from your mobile phone can also be played back in the multimedia system. The availability of Mir-
rorLink
®and MirrorLink®apps may vary accord-
ing to the country. Whether buttons are suppor-
ted in the vehicle depends on the mobile phone
and the apps available. You will find an overview
of the multimedia system's control panel and
available buttons here (
Ypage 17).
Prerequisites
RThe mobile phone must support MirrorLink®
version 1.1.
RThe mobile phone is switched on
RA MirrorLink®certified app must be installed
on the phone. An Internet connection is nec-
essary for regular updates.
RThe full range of functions for MirrorLink®is
only possible with an Internet connection.
RThe mobile phone is connected to the multi-
media system via the USB port çusing a
suitable USB cable.
RThe mobile phone must be connected to the
multimedia system via Bluetooth®for the
telephone functions.
122MirrorLink®
Telephone
Page 125 of 206

The multimedia system automatically estab-
lishes a Bluetooth®connection to the mobile
phone. If this is unsuccessful, an error message will appear. In this case, you should connect the
mobile phone manually via Bluetooth
®
(Ypage 94).
Setting up a connection
Multimedia system
XTo call up the telephone menu: press the
% button.
XTo show the main function bar: slide 5the
controller.
XTo select Tel/®: turn and press the control-
ler.
XTo select MirrorLink: turn and press the
controller.
Mobile phone
XConnect a mobile phone with USB cable to the USB socket in the center console.
XActivate MirrorLink®(see the manufacturer's
operating instructions).
Apps which have been certified for Mirror-
Link
®are displayed in the multimedia sys-
tem's display.
Exiting MirrorLink
®
XPress and hold the %back button.
Only one mobile phone at a time can be con-
nected via MirrorLink
®to the multimedia sys-
tem.
MirrorLink®settings
Activating/deactivating automatic con-
nection
XTo call up the telephone menu: press the
% button.
XTo show the main function bar: slide 5the
controller.
XTo select Tel/®: turn and press the control-
ler.
XTo select MirrorLink: turn and press the
controller.
XTo switch to the menu bar: slide 6the con-
troller.
XTo select Options: turn and press the con-
troller.
XTo select Automatically Connect Mir‐rorLink: turn and press the controller.
You can allow Oor suppress ªthe auto-
matic connection function.
Manual activation
XTo call up the telephone menu: press the
% button.
XTo display the main function bar: slide 5the
controller.
XTo select Tel/®: turn and press the control-
ler.
XSelect MirrorLink.
XConnect a mobile phone with a USB cable to
the USB socket in the center console.
Navigation messages on the mobile
phone can also be played back
You can select whether the navigation mes-
sages should be overlaid on the multimedia sys-
tem audio playback.
XTo call up the telephone menu: press the
%button.
XTo show the main function bar: slide 5the
controller.
XTo select Tel/®: turn and press the control-
ler.
XTo select MirrorLink: turn and press the
controller.
XTo switch to the menu bar: slide 6the con-
troller.
MirrorLink®123
Telephone
Z
Page 126 of 206

XTo selectOptions: turn and press the con-
troller.
XTo select MirrorLink Ann. Have Prior‐ity: turn and press the controller.
You can allow Omobile phone navigation
messages to overlay the multimedia system's
audio playback or you can suppress the func-
tion ª.
Sound settings
If a MirrorLink®audio source is active, you can
adjust the sound settings.
XTo call up the telephone menu: press the
% button.
XTo show the main function bar: slide 5the
controller.
XTo select Tel/®: turn and press the control-
ler.
XTo select MirrorLink: turn and press the
controller.
XTo switch to the menu bar: slide 6the con-
troller.
XTo select à: turn and press the controller.
You can adjust the sound settings.
Apple CarPlay®
Introduction
iPhone®functions can be used via the multime-
dia system using Apple CarPlay®. Apple Car-
Play®can be operated using the controller or
Siri voice-operated control system. Whether
selected buttons are supported in the vehicle
depends on the iOS version of the mobile phone
and the apps available. You will find an overview
of the multimedia system's control panel and
available buttons here (
Ypage 17).
To activate voice-operated control, press and
hold the óbutton on the multifunction steer-
ing wheel (
Ypage 102). Apple CarPlay®is only
available for Apple mobile phones (see the man-
ufacturer's operating instructions). The availa-
bility of Apple CarPlay
®may vary according to
the country.
Prerequisites
RApple CarPlay®is available from the iPhone®
5. It is recommended that you use the latest
operating system on the iPhone®.
RYou will need a compatible cable for the
iPhone®(Lightning cable).
RThe full range of functions for Apple CarPlay®
is only possible when the Apple CarPlay®-
capable mobile phone is connected to the
Internet.
Connecting an iPhone®to the multi-
media system
In order to be able to use Apple CarPlay®, a con-
nection must be established between the
iPhone
®and the multimedia system.
XConnect the iPhone®via a Lightning cable
with the USB port ç.
The first time you connect an Apple CarPlay
®-
capable mobile phone to the multimedia sys-
tem or switch between Apple CarPlay
®-capa-
ble mobile phones, a prompt appears asking
whether you want activation, in future, to be
automatic or manual.
Activating Apple CarPlay®
Automatic activation
XTo select Auto: press the controller.
Apple CarPlay®starts automatically each
time after a connection is established
between the iPhone
®and the multimedia sys-
tem.
Manual activation
XTo call up the telephone menu: press the
% button.
XTo show the main function bar: slide 5the
controller.
XTo select Tel/®: turn and press the control-
ler.
XSelect Apple CarPlay.
Apple CarPlay®starts.
iDepending on the operating state, you may
not have to carry out all of the operating
steps. A message to start appears on the dis-
play from Apple CarPlay
®. Confirm this.
124Apple CarPlay®
Telephone
Page 127 of 206

Changing the activation mode
When the telephone is disconnected from the
multimedia system, the activation mode can be
changed.
XTo call up the telephone menu:press the
% button.
XTo select Tel/®: turn and press the control-
ler.
XSelect Apple CarPlay.
XTo show the menu bar: slide 6the control-
ler.
XSelect Options.
XStart Apple CarPlay Automaticallydeactivate ªor activate O.
Ending Apple CarPlay®mode
XRemove the USB cable from the USB port.
TheNo Apple CarPlay Device Connec‐
ted Please ensure that your deviceisconnectedtothecorrectUSBport.message appears.
Apple CarPlay®125
Telephone
Z
Page 151 of 206

Your multimediasyste mequipment
These operatin ginstruction sdescribe all th e
standar dan doptional equipment of your multi-
media system, as available at th etime of going
to press. Country-specifi cdifference sare pos -
sible. Bear in min dthat your vehicle may no t
feature all function sdescribed here. Thi salso
applies to safety-relevan tsystems an dfunc-
tions.
Read th einformation on qualifie dspecialis t
workshop sin th evehicle Operator's Manual.
Activating medi amode
General notes
There are severa lways to activat emedia sour-
ce susin gth emultimedia system.
The relevant section sof th eOperator's Manual
describe th esimples tway to activat e amedia
source.
Thi ssection describes all option sfo ractivatin g
media sources.
Button activation
XPress th eÕ button.
The last media sourc eyou hav eset is dis -
played.
XPress th eÕ buttonagain .
The men uappears wit hth eavailable media
sources.
XTo selec tmedia sources: turn th econtroller
until th edesire dmedia sourc eis in th ecenter.
Press th econtroller .
Dependin gon th evehicle equipment ,th efol-
lowing media sources will be available :
RDisc
RMemory Card
RMedia Interface 1
RMedia Interface 2
RBluetoothAudi oIf playable music files are found ,they will be
playe dby th emultimedia system.
Switching on automatically
Whe nan external media sourc eis connected,
CD an dSD memor ycar dfunction sare automat -
ically switched on by th emultimedia system.
Whe nusin gwit hUS Bdevices, switch to th e
respective basi cdisplay.
External media sources:
RApple®devices (e.g. iPhon e®)
RUSBdevices (e.g. US Bstick, MP3 player)
RCD
RDV Dvideo
RSD cards
Rdevices connecte dvia Bluetoot h®
If playable music files are found ,they will be
playe dby th emultimedia system.
iIf amedia function is already switched on in
th emultimedia system, this will be interrup-
te dan dth ebasi cdisplay of th enewly con-
nected devic ewill appear (except when usin g
wit hUSB/iPo d
®). If another function ,suc has
navigation ,is bein goperated, th ebasi cdis -
play will no tchange.
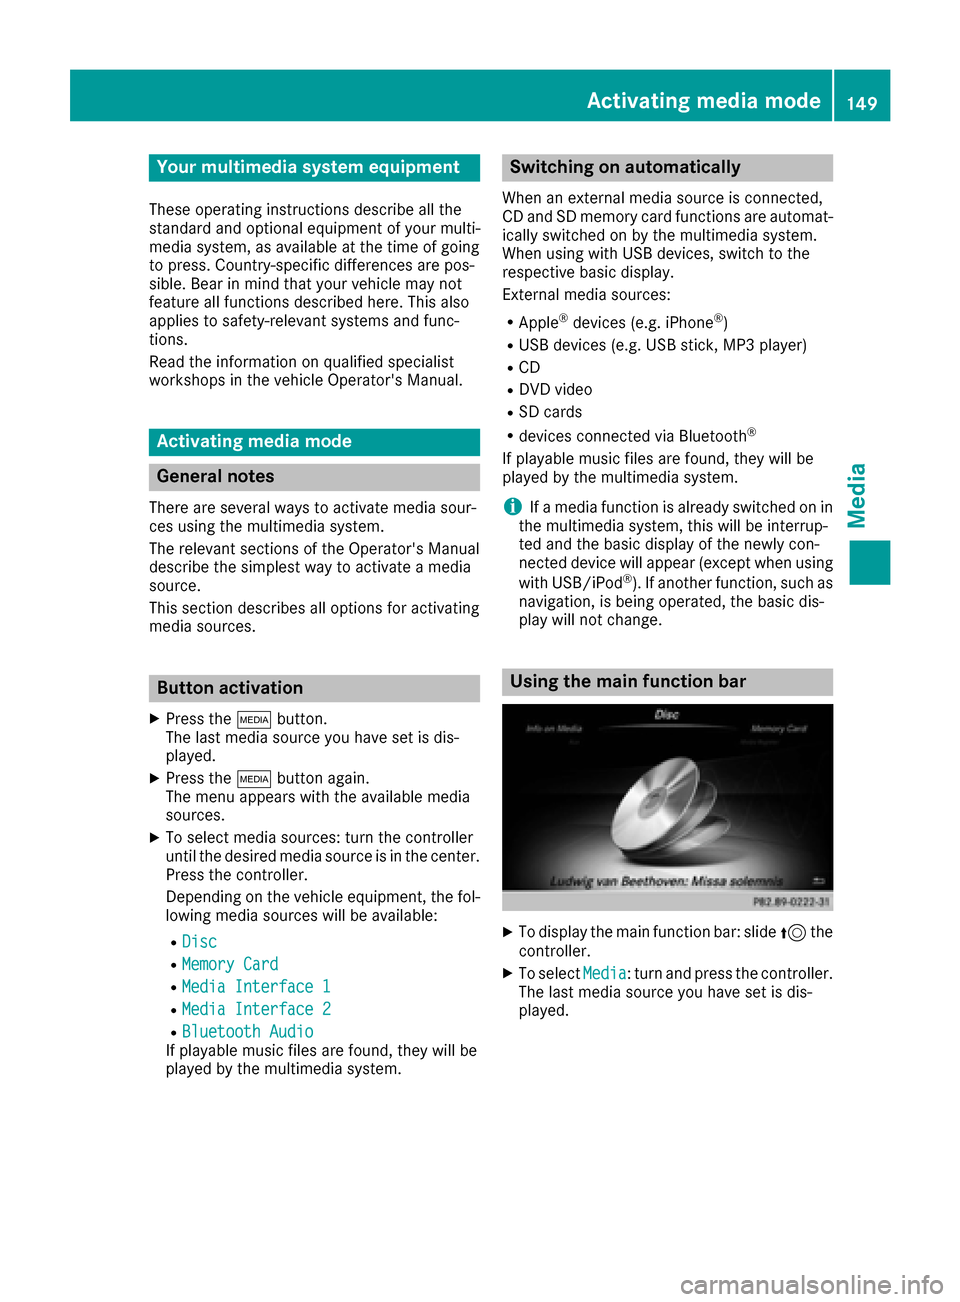
Usin gth emain function ba r
XTo display themain function bar :slid e5 the
controller .
XTo selectMedi a:turn an dpress th econtroller .
The last media sourc eyou hav eset is dis -
played.
Activating media mode149
Media