display MERCEDES-BENZ CLS-Class 2017 W218 Comand Manual
[x] Cancel search | Manufacturer: MERCEDES-BENZ, Model Year: 2017, Model line: CLS-Class, Model: MERCEDES-BENZ CLS-Class 2017 W218Pages: 206, PDF Size: 6.66 MB
Page 50 of 206
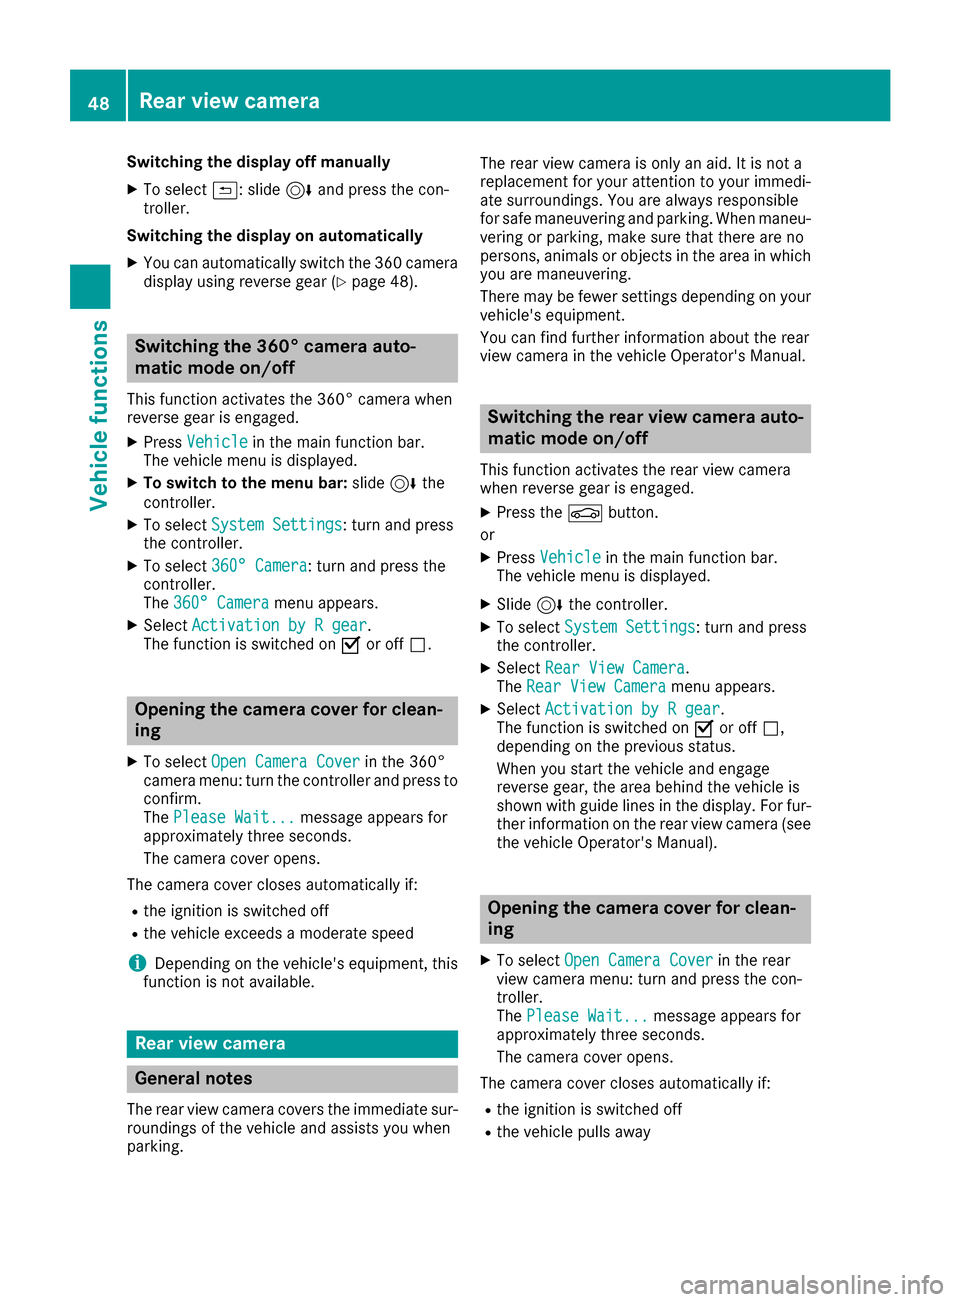
Switching the display off manually
XTo select&: slide 6and press the con-
troller.
Switching the display on automatically
XYou can automatically switch the 360 camera
display using reverse gear (Ypage 48).
Switching the 360° camera auto-
matic mode on/off
This function activates the 360° camera when
reverse gear is engaged.
XPress Vehiclein the main function bar.
The vehicle menu is displayed.
XTo switch to the menu bar: slide6the
controller.
XTo select System Settings: turn and press
the controller.
XTo select 360° Camera: turn and press the
controller.
The 360° Camera
menu appears.
XSelect Activation by R gear.
The function is switched on Oor off ª.
Opening the camera cover for clean-
ing
XTo select Open Camera Coverin the 360°
camera menu: turn the controller and press to
confirm.
The Please Wait...
message appears for
approximately three seconds.
The camera cover opens.
The camera cover closes automatically if:
Rthe ignition is switched off
Rthe vehicle exceeds a moderate speed
iDepending on the vehicle's equipment, this
function is not available.
Rear view camera
General notes
The rear view camera covers the immediate sur-
roundings of the vehicle and assists you when
parking. The rear view camera is only an aid. It is not a
replacement for your attention to your immedi-
ate surroundings. You are always responsible
for safe maneuvering and parking. When maneu-
vering or parking, make sure that there are no
persons, animals or objects in the area in which
you are maneuvering.
There may be fewer settings depending on your
vehicle's equipment.
You can find further information about the rear
view camera in the vehicle Operator's Manual.
Switching the rear view camera auto-
matic mode on/off
This function activates the rear view camera
when reverse gear is engaged.
XPress the Øbutton.
or
XPress Vehiclein the main function bar.
The vehicle menu is displayed.
XSlide 6the controller.
XTo select System Settings: turn and press
the controller.
XSelect Rear View Camera.
The Rear View Cameramenu appears.
XSelect Activation by R gear.
The function is switched on Oor off ª,
depending on the previous status.
When you start the vehicle and engage
reverse gear, the area behind the vehicle is
shown with guide lines in the display. For fur-
ther information on the rear view camera (see
the vehicle Operator's Manual).
Opening the camera cover for clean-
ing
XTo select Open Camera Coverin the rear
view camera menu: turn and press the con-
troller.
The Please Wait...
message appears for
approximately three seconds.
The camera cover opens.
The camera cover closes automatically if:
Rthe ignition is switched off
Rthe vehicle pulls away
48Rear view camera
Vehicle functions
Page 51 of 206
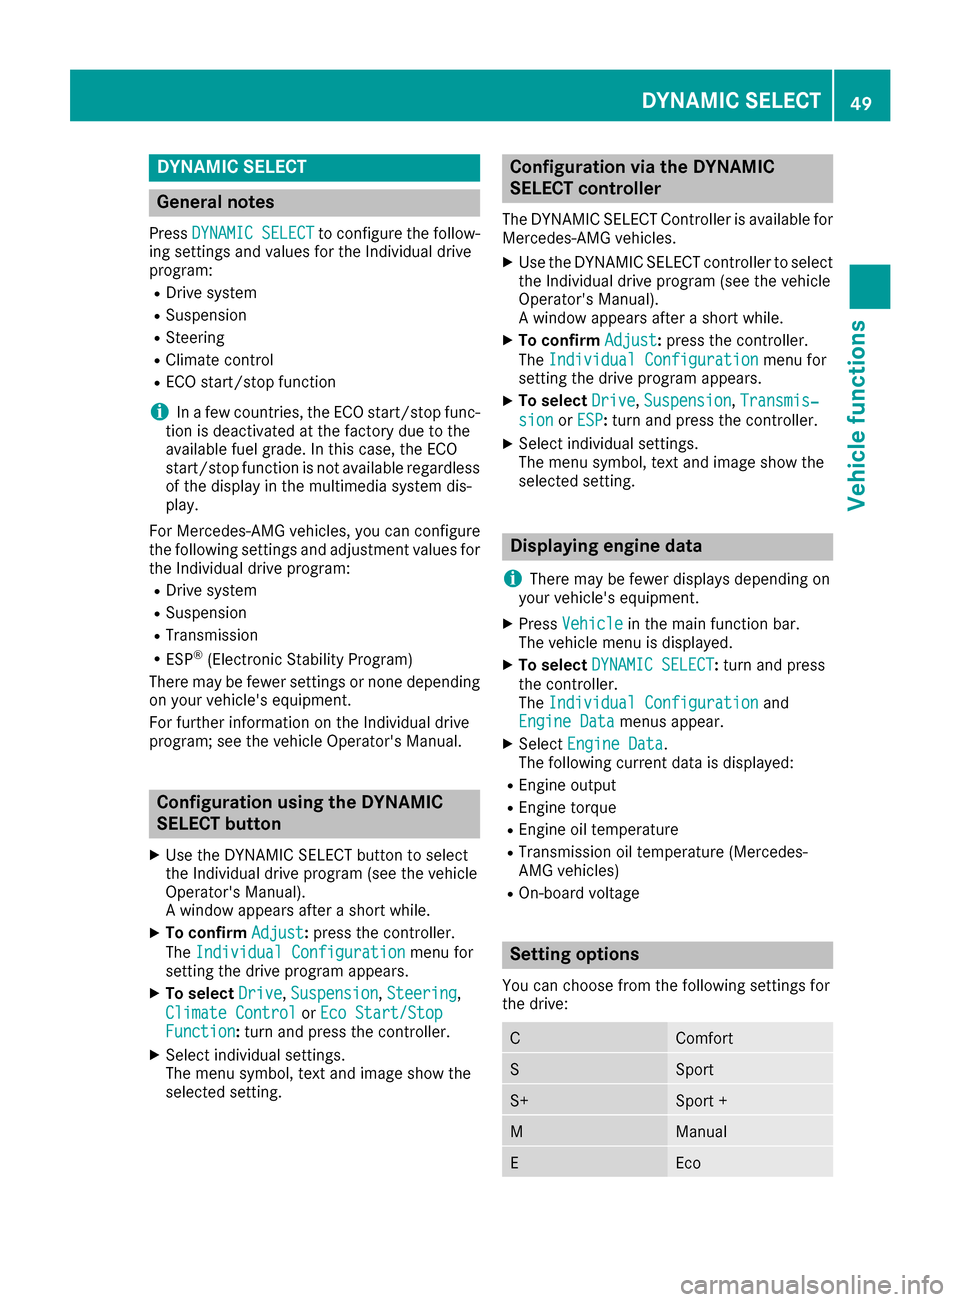
DYNAMIC SELECT
General notes
PressDYNAMI CSELECTto configur eth efollow -
in g setting sand values fo rth eIndividual drive
program:
RDrive syste m
RSuspension
RSteering
RClimatecontro l
RECOstart/sto pfunction
iIn afe w countries, th eEC Ostart/sto pfunc-
tion is deactivated at th efactory due to th e
available fue lgrade. In this case, th eEC O
start/sto pfunction is no tavailable regardles s
of th edisplay in th emultimedia syste mdis -
play.
Fo rMercedes-AMG vehicles ,you can configur e
th efollowin gsetting sand adjustmen tvalues fo r
th eIndividual drive program:
RDrive syste m
RSuspension
RTransmissio n
RESP®(Electronic Stability Program)
There may be fewer setting sor none dependin g
on your vehicle' sequipment.
Fo rfurther information on th eIndividual drive
program; see th evehicle Operator's Manual.
Configuration using th eDYNAMIC
SELECT butto n
XUse theDYNAMI CSELECT butto nto selec t
th eIndividual drive program (se eth evehicle
Operator's Manual).
A window appears after ashort while.
XTo confir mAdjust:press th econtroller .
The Individua lConfiguratio n
menufo r
setting th edrive program appears .
XTo selectDrive,Suspensio n,Steering,
Climat eContro l
orEco Start/Sto pFunction:turn and press th econtroller .
XSelectindividual settings.
The men usymbol, text and imag esho wthe
selecte dsetting .
Configuration via th eDYNAMIC
SELECT controller
The DYNAMI CSELECT Controlle ris available fo r
Mercedes-AMG vehicles .
XUse theDYNAMI CSELECT controller to selec t
th eIndividual drive program (se eth evehicle
Operator's Manual).
A window appears after ashort while.
XTo confir mAdjust:press th econtroller .
The Individua lConfiguratio n
menufo r
setting th edrive program appears .
XTo selectDrive,Suspensio n,Transmis‐
sio norESP:turn and press th econtroller .
XSelectindividual settings.
The men usymbol, text and imag esho wthe
selecte dsetting .
Displaying engin edata
i
There may be fewer displays dependin gon
your vehicle' sequipment.
XPress Vehicl ein themain function bar .
The vehicle men uis displayed.
XTo selec tDYNAMI CSELECT:turn and press
th econtroller .
The Individua lConfiguratio n
and
Engine Dat amenus appear.
XSelectEngine Dat a.
The followin gcurren tdat ais displayed:
REngin eoutput
REngin etorqu e
REngin eoil temperature
RTransmissio noil temperature (Mercedes-
AM Gvehicles )
ROn-boardvoltage
Setting options
You can choos efrom th efollowin gsetting sfo r
th edrive:
CComfort
SSpor t
S+Sport +
MManual
EEco
DYNAMIC SELECT49
Vehicle functions
Z
Page 52 of 206

You can make the following settings for the sus-
pension:
CComfort
SSport
S+Sport +
You can make the following settings for the
steering:
CComfort
SSport
You can choose from the following settings for
climate control:
EEco
CComfort
You can choose from the following settings for
the ECO start/stop function:
OnSwitches the ECO
start/stop function
on
OffSwitches the ECO
start/stop function
off
Setting options (Mercedes-AMG vehi-
cles)
You can choose from the following settings for
the drive:
RRace
CComfort
SSport
S+Sport +
You can make the following settings for the sus-
pension:
CComfort
SSport
You can choose from the following settings for
the transmission:
DAutomatic
MManual
You can choose from the following settings for
the ESP®(Electronic Stability Program):
SSport
OnActivates ESP®(Elec-
tronic Stability Pro-
gram)
Driving dynamics
General notes
In the DrivingDynamicsmenu you can call up
current vehicle and engine data. There may be
less or no data and displays depending on your
vehicle's equipment.
Displaying engine data
XPress Vehiclein the main function bar.
The vehicle menu is displayed.
XTo select DrivingDynamics:turn and press
the controller.
XSelect Engine Data.
The following current data is displayed:
REngine output
REngine torque
REngine oil temperature
RTransmission oil temperature (Mercedes-
AMG vehicles)
ROn-board voltage
Displaying vehicle data
XPress Vehiclein the main function bar.
The vehicle menu is displayed.
XTo select DrivingDynamics:turn and press
the controller.
XSelect Vehicle Data.
Updates of the following data are displayed:
50Driving dynamics
Vehicle functions
Page 53 of 206
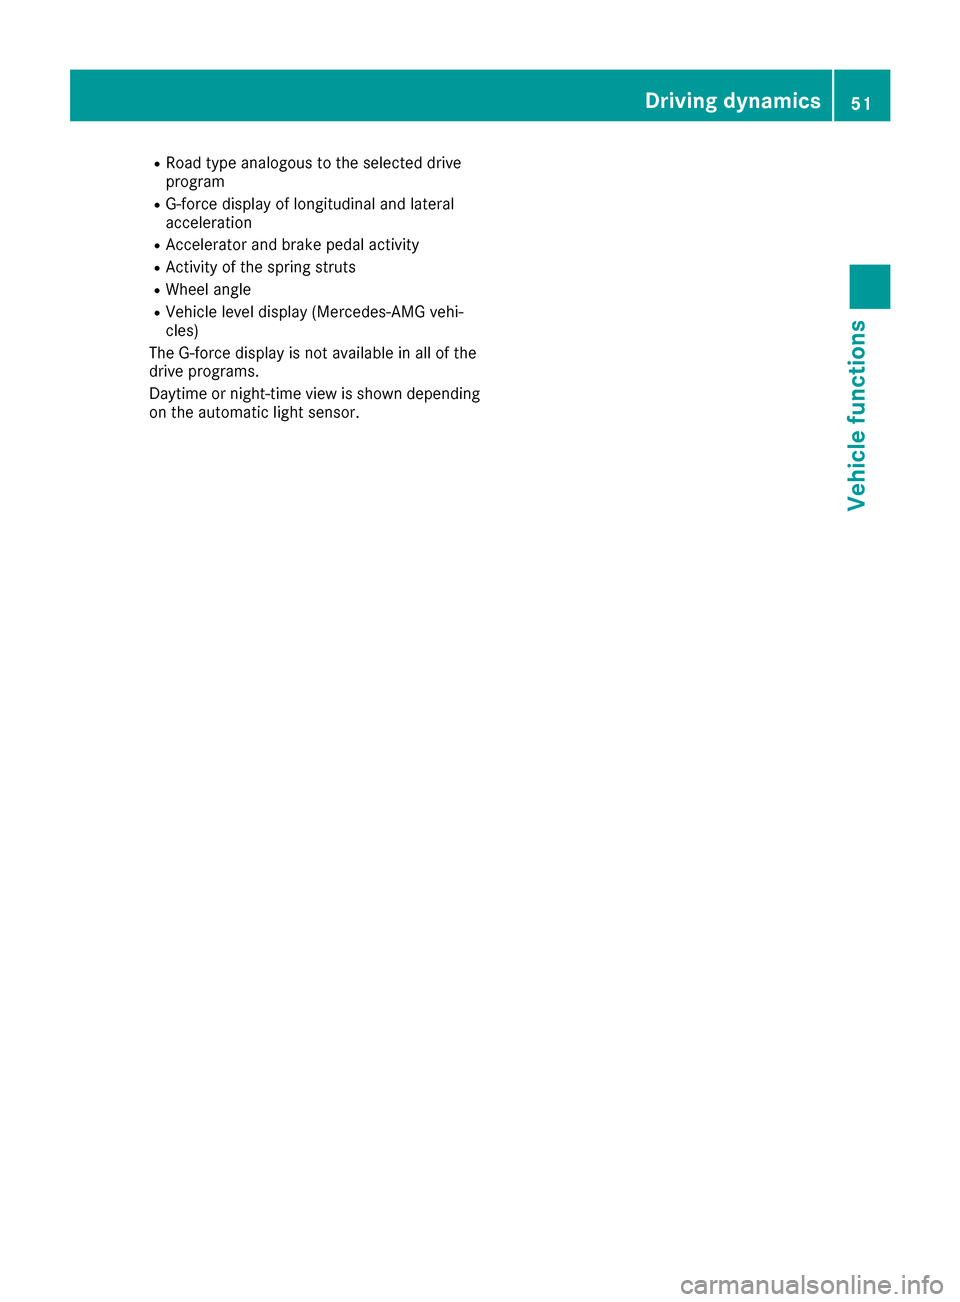
RRoad typeanalogous to th eselected driv e
program
RG-forc edisplay of longitudinal and lateral
acceleration
RAccelerato rand brak epedal activit y
RActivityof th espring strut s
RWheelangle
RVehicl elevel display (Mercedes-AM Gvehi-
cles)
The G-forc edisplay is no tavailable in all of th e
driv eprograms.
Daytime or night-time vie wis shown depending
on th eautomatic ligh tsensor .
Driving dynamics51
Vehicle functions
Z
Page 54 of 206
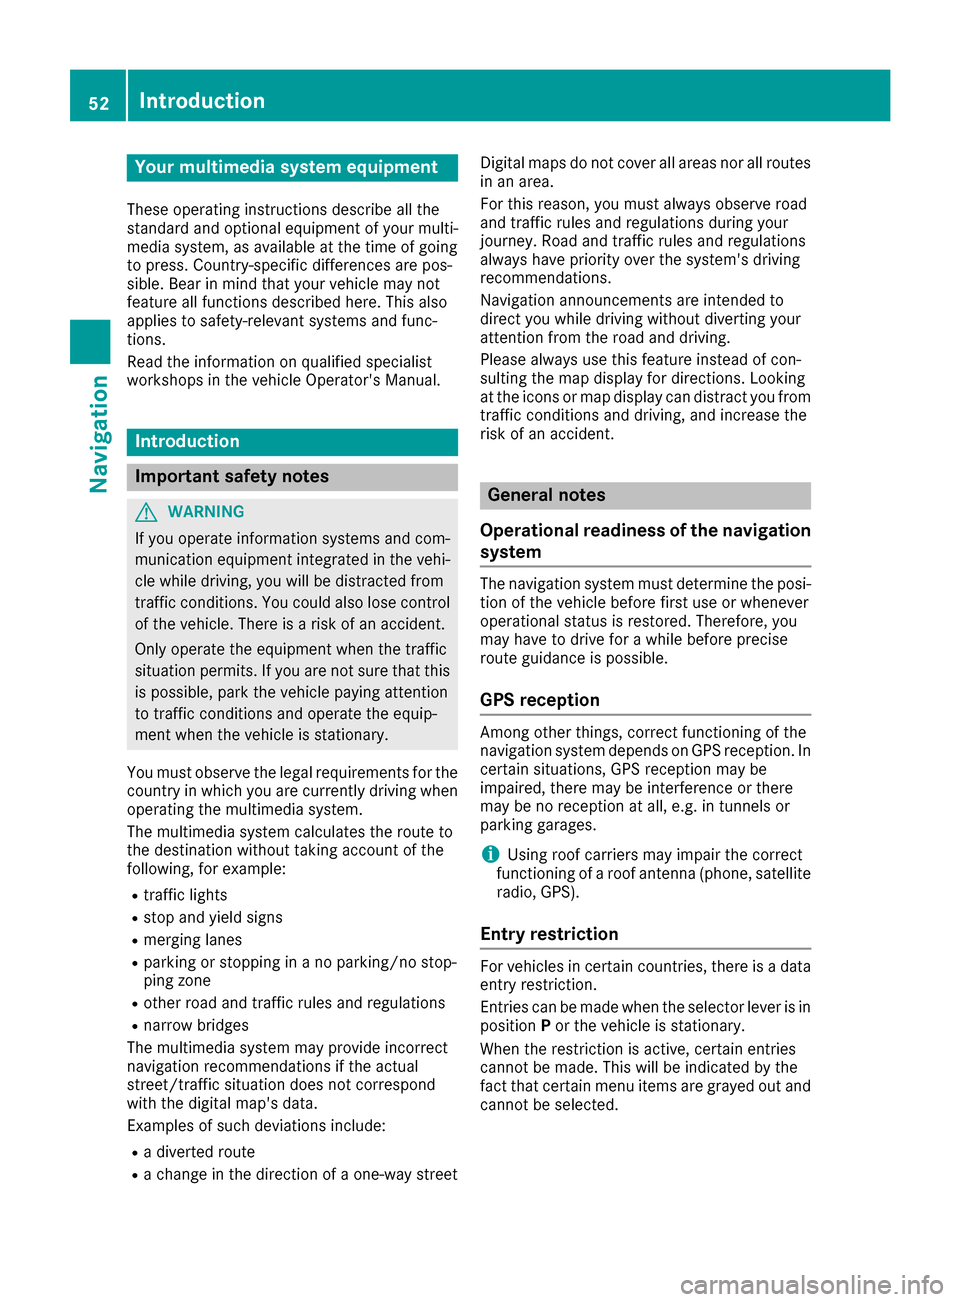
Your multimediasyste mequipment
These operatin ginstruction sdescribe all th e
standar dan doptional equipment of your multi-
media system, as available at th etime of going
to press. Country-specifi cdifference sare pos -
sible. Bear in min dthat your vehicle may no t
feature all function sdescribed here. Thi salso
applies to safety-relevan tsystems an dfunc-
tions.
Read th einformation on qualifie dspecialis t
workshop sin th evehicle Operator's Manual.
Introduction
Important safet ynotes
GWARNING
If you operat einformation systems an dcom-
munication equipment integrated in th evehi-
cl e whil edriving, you will be distracted from
traffic conditions. You could also los econtro l
of th evehicle. There is aris kof an accident.
Only operat eth eequipment when th etraffic
situation permits. If you are no tsur ethat this
is possible, par kth evehicle payin gattention
to traffic condition san doperat eth eequip-
men twhen th evehicle is stationary.
You mus tobserv eth elegal requirements fo rth e
country in whic hyou are currentl ydrivin gwhen
operatin gth emultimedia system.
The multimedia syste mcalculates th erout eto
th edestination without taking accoun tof th e
following, fo rexample:
Rtraffic lights
Rstop an dyield signs
Rmergin glanes
Rparking or stoppin gin ano parking/n ostop-
pin gzone
Rother road an dtraffic rule san dregulation s
Rnarrow bridge s
The multimedia syste mmay provid eincorrec t
navigation recommendation sif th eactual
street/traffic situation doe sno tcorrespon d
wit hth edigita lmap's data.
Examples of suc hdeviation sincl ude:
Ra
diverted rout e
Rachange in th edirection of aone-way stree tDigital map
sdo no tcover all areas no rall routes
in an area.
Fo rthis reason ,you mus talways observ eroad
an dtraffic rule san dregulation sdurin gyour
journey. Road an dtraffic rule san dregulation s
always hav epriorit yover th esystem' sdrivin g
recommendations.
Navigation announcement sare intended to
direc tyou whil edrivin gwithout divertin gyour
attention from th eroad an ddriving.
Please always use this feature instead of con-
sultin gth emap display fo rdirections. Lookin g
at th eicon sor map display can distract you from
traffic condition san ddriving, an dincrease th e
ris kof an accident.
General notes
Operationa lreadines sof th enavigation
syste m
The navigation syste mmus tdetermin eth eposi-
tion of th evehicle befor efirst use or wheneve r
operational status is restored .Therefore, you
may hav eto drive fo r awhil ebefor eprecise
rout eguidance is possible.
GP Sreception
Amon gother things, correc tfunctionin gof th e
navigation syste mdepends on GPS reception .In
certain situations, GPS reception may be
impaired, there may be interferenc eor there
may be no reception at all, e.g. in tunnels or
parking garages .
iUsing roof carriers may impair th ecorrec t
functionin gof aroof antenn a(phone, satellite
radio, GPS).
Entry restriction
Fo rvehicles in certain countries, there is adat a
entr yrestriction .
Entries can be mad ewhen th eselecto rlever is in
position Por th evehicle is stationary.
Whe nth erestriction is active ,certain entries
canno tbe made. Thi swill be indicated by th e
fac tthat certain men uitems are grayed out an d
canno tbe selected.
52Introduction
Navigation
Page 57 of 206

XTo avoid/use route options:selectAvoid
Options.
A menu appears.
XSelect one of the options.
O: using or avoiding route options is enabled
ª: using or avoiding route options is disabled
RAvoid Area(Ypage 86)
You can define areas that you would like to
avoid.
RAvoid Highways
RAvoid Ferries
RAvoid Auto Trains
RAvoid Tunnels
RAvoid Unpaved Roads
The function is not available in all countries.
RUse Toll Roads
The route calculation includes roads which
require you to pay a usage fee (toll).
RNumberofOccupantsintheVehicle:
If your vehicle meets the access conditions
for carpool lanes, you can use this function.
Navigation includes carpool lanes if the car-
pool lanes option is activated.
Depending on local conditions, the navigation
system may not always be able to include all
route options. A route may include a ferry, for
instance, even though Avoid Ferries
is ena-
bled. The navigation system will notify you of
this visually and through a navigation message.
XTo use toll roads: turn and press the con-
troller.
A menu appears.
XSelect an option.
The options include using roads that require
cash payment or electronic billing, or switch-
ing off the function.
XTo exit a menu: slide1 the controller.
Selecting announcements
XTo switch to navigation mode: press the
Ø button.
XTo show the menu: slide6the controller.
XTo select Options: turn and press the con-
troller.
XSelect Settings.
XSelect an option.
Switch the option on Oor off ª.
AnnounceStreetNames
The navigation system announ-
ces the names of the roads
onto which the upcoming
change of direction leads.
AudioFadeoutThe volume of an active media
source is automatically
reduced during a navigation
announcement.
AudibleInfo Dur‐ingPhoneCall
The navigation message is also
given during telephone calls.
Gas onReserveFunction activated: once the
reserve fuel tank level is
reached, a message appears to
help you start a gas station
search.
Atten‐tionAssist
Function activated: if ATTEN-
TION ASSIST displays a warn-
ing in the multifunction display,
a message appears in the mul-
timedia system display when
you drive onto a highway. This
can help you start a rest stop
search.
For further information on
ATTENTION ASSIST, see the
vehicle Operator's Manual.
Basic settings55
Navigation
Z
Page 60 of 206

XSelect the address entry menu (Ypage 56).
XTo selectState/Province,ZIP Code,Cen‐teror Intersection: turn, slide 6and
press the controller.
XSelect an entry (Ypage 57).
Saving an address
You can store the address entered as:
Ra home address in the address book
Ra navigable address book contact
For further information on the address book,
see (
Ypage 107)
Ra personal destination on the SD memory
card (Ypage 82)
XCall up the address entry menu (Ypage 56).
XTo select Save: slide6, turn and press the
controller.
XAs the home address: selectAs "My
Address".
The home address is stored under My
Addressin the list of contacts.
XAs a contact:selectAs New Contact.
XSelect Not Classified,Homeor Work.
XEnter a surname and first name (Ypage 29).
XTo select the ¬symbol: turn and press the
controller.
The destination address is saved in the
address book as a navigable contact.
Starting route calculation
The entered destination appears in the address
entry menu.
XTo confirm StartorContinue: press the
controller.
If you select Start
: the route is calculated
with the current route settings (Ypage 54).
While route calculation is in progress, an
arrow will indicate the direction to your des-
tination. Once the route has been calculated,
route guidance begins. If the vehicle is trav-
eling on a non-digitized road, the system dis-
plays the linear distance to the destination,
the direction to the destination and the Road
Not Mappedmessage.
Selection Continue
: IfCalculate Alter‐native Routesis activated, alternative
routes are calculated (Ypage 54). You can
display these and select them for route guid-
ance (
Ypage 76).
If route guidance has already been activated,
a prompt will appear asking whether you wish
to end the current route guidance.
XTo select YesorSet as IntermediateDestination: turn and press the controller.
Yescancels the current route guidance and
starts route calculation to the new destina-
tion.
Set as Intermediate Destination
adds
the new destination in addition to the existing
58Destination entry
Navigation
Page 61 of 206

destination and opens the intermediate des-
tinations list.
iThe route is calculated using the digital map
data. The calculation time depends on the
distance from the destination, for example.
The route may differ from the ideal route, e.g. due to incomplete map data. Please also refer
to the notes about the digital map
(
Ypage 88).
Calling up the keyword search
XTo select the magnifying glass symbol: while
in the address entry menu, slide 6, turn and
then press the controller.
Keyword search
Entering keywords
The keyword search is used to help find desti-
nations using fragments of words. If you enable
the appropriate setting in the search options,
the keyword search is tolerant of errors
(
Ypage 60).
It can be used for an address or a POI. For exam- ple, you can search for the Empire State Building
in New York.
The keyword search finds geographically toler-
ant hits. If, for example, you are searching for a
street located on the edge of a major city, the
search will also cover adjacent smaller cities.
The keyword search supports the character sets
of the system languages available.
XTo switch to navigation mode: press the
Ø button.
XTo show the menu: slide6the controller.
XTo select Destination: turn and press the
controller.
XSelect Keyword Search.
XEnter the first few letters of the city and
street, such as NEWandEMP.
While entering the information, the number of
exact matches and total number of matches
is shown.
---/---
is displayed if fewer than three char-
acters have been entered.
999+
is displayed if there are too many hits.
XSelect the ¬symbol.
The search results are displayed
(
Ypage 59).
Selecting search results
The search results are divided into categories,
such as addresses. The number of exact
matches and total number of matches is shown
in brackets.
Further search results are displayed, if POI
Searchand/orFuzzy Searchare activated in
the search options (Ypage 60).
XTo select an address: press the controller.
The search results are displayed.
Exact hits are shown at the very top of the list.
Hits are listed alphabetically. The search term
that you entered is highlighted in orange in the
entries.
Destination entry59
Navigation
Z
Page 65 of 206
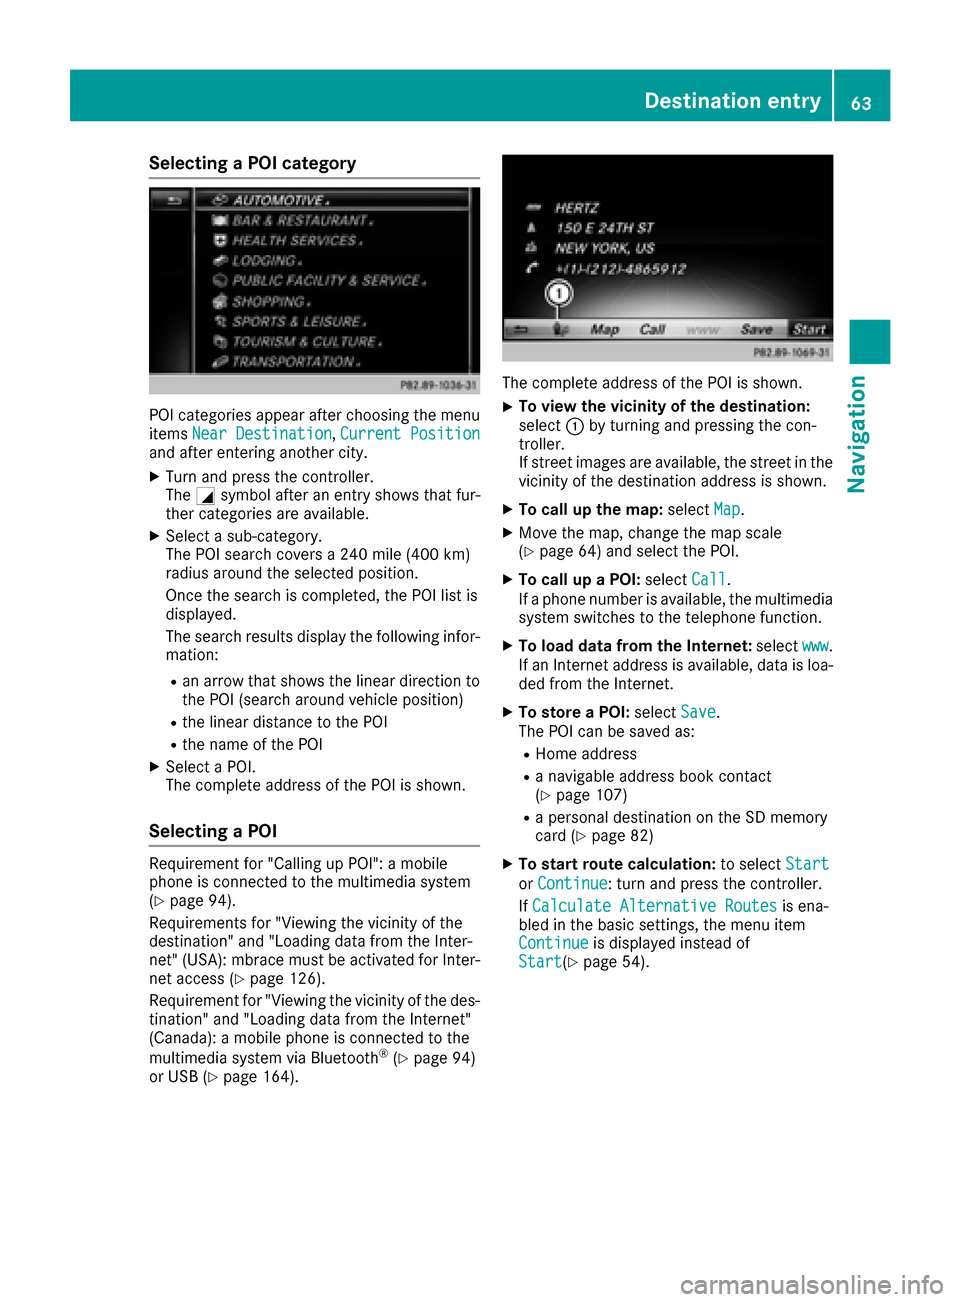
Selecting a POI category
POI categories appear after choosing the menu
itemsNear Destination,Current Positionand after entering another city.
XTurn and press the controller.
The Gsymbol after an entry shows that fur-
ther categories are available.
XSelect a sub-category.
The POI search covers a 240 mile (400 km)
radius around the selected position.
Once the search is completed, the POI list is
displayed.
The search results display the following infor-
mation:
Ran arrow that shows the linear direction to
the POI (search around vehicle position)
Rthe linear distance to the POI
Rthe name of the POI
XSelect a POI.
The complete address of the POI is shown.
Selecting a POI
Requirement for "Calling up POI": a mobile
phone is connected to the multimedia system
(
Ypage 94).
Requirements for "Viewing the vicinity of the
destination" and "Loading data from the Inter-
net" (USA): mbrace must be activated for Inter-
net access (
Ypage 126).
Requirement for "Viewing the vicinity of the des-
tination" and "Loading data from the Internet"
(Canada): a mobile phone is connected to the
multimedia system via Bluetooth
®(Ypage 94)
or USB (Ypage 164).
The complete address of the POI is shown.
XTo view the vicinity of the destination:
select :by turning and pressing the con-
troller.
If street images are available, the street in the
vicinity of the destination address is shown.
XTo call up the map: selectMap.
XMove the map, change the map scale
(Ypage 64) and select the POI.
XTo call up a POI: selectCall.
If a phone number is available, the multimedia
system switches to the telephone function.
XTo load data from the Internet: selectwww.
If an Internet address is available, data is loa-
ded from the Internet.
XTo store a POI: selectSave.
The POI can be saved as:
RHome address
Ra navigable address book contact
(Ypage 107)
Ra personal destination on the SD memory
card (Ypage 82)
XTo start route calculation: to selectStart
orContinue: turn and press the controller.
If Calculate Alternative Routes
is ena-
bled in the basic settings, the menu item
Continue
is displayed instead of
Start(Ypage 54).
Destination entry63
Navigation
Z
Page 66 of 206

Using the map
:Crosshair
;Distance of crosshair position from current
vehicle position
XTo switch to navigation mode:press the
ß button.
XTo show the menu: slide6the controller.
XTo select Destination: turn and press the
controller.
XSelect Using Map.
The map with crosshair is shown.
XTo move the map: slide1, 4or2
the controller.
XTo change the map scale: turn the controller
until the desired map scale is selected.
The scale is displayed at the bottom of the
display.
To enlarge the map: turn the controller coun-
ter-clockwise.
To zoom the map out: turn the controller
clockwise.
XTo select a destination: press the controller.
The list contains the Menu
menu item. If sev-
eral destinations are available in the area
around the crosshair, these are also dis-
played.
XPress the controller to show the menu.
XTo select a destination from the selection list: turn and press the controller.
If the digital map provides navigable address
data, you will see the destination address in
the address entry menu.
XTo start route calculation: selectStart.
Entering intermediate destinations
Introduction
You can also map the route to the destination
yourself by entering up to four intermediate des-
tinations. The sequence of the intermediate des-
tinations can be changed at any time.
The multimedia system provides a selection of
eight predefined POI categories, e.g. Restau‐
rantsfor a quick selection. You can also use the
destination entry options to enter intermediate
destinations.
Creating intermediate destinations
XTo switch to navigation mode: press the
Ø button.
XTo show the menu: slide6the controller.
XTo select Destination: turn and press the
controller.
XSelect Intermediate Destinations.
The destination is entered in the intermediate
destinations menu.
XTo select Add New:: press the controller.
64Destination entry
Navigation