service indicator MERCEDES-BENZ CLS COUPE 2014 Owners Manual
[x] Cancel search | Manufacturer: MERCEDES-BENZ, Model Year: 2014, Model line: CLS COUPE, Model: MERCEDES-BENZ CLS COUPE 2014Pages: 417, PDF Size: 14.15 MB
Page 7 of 417
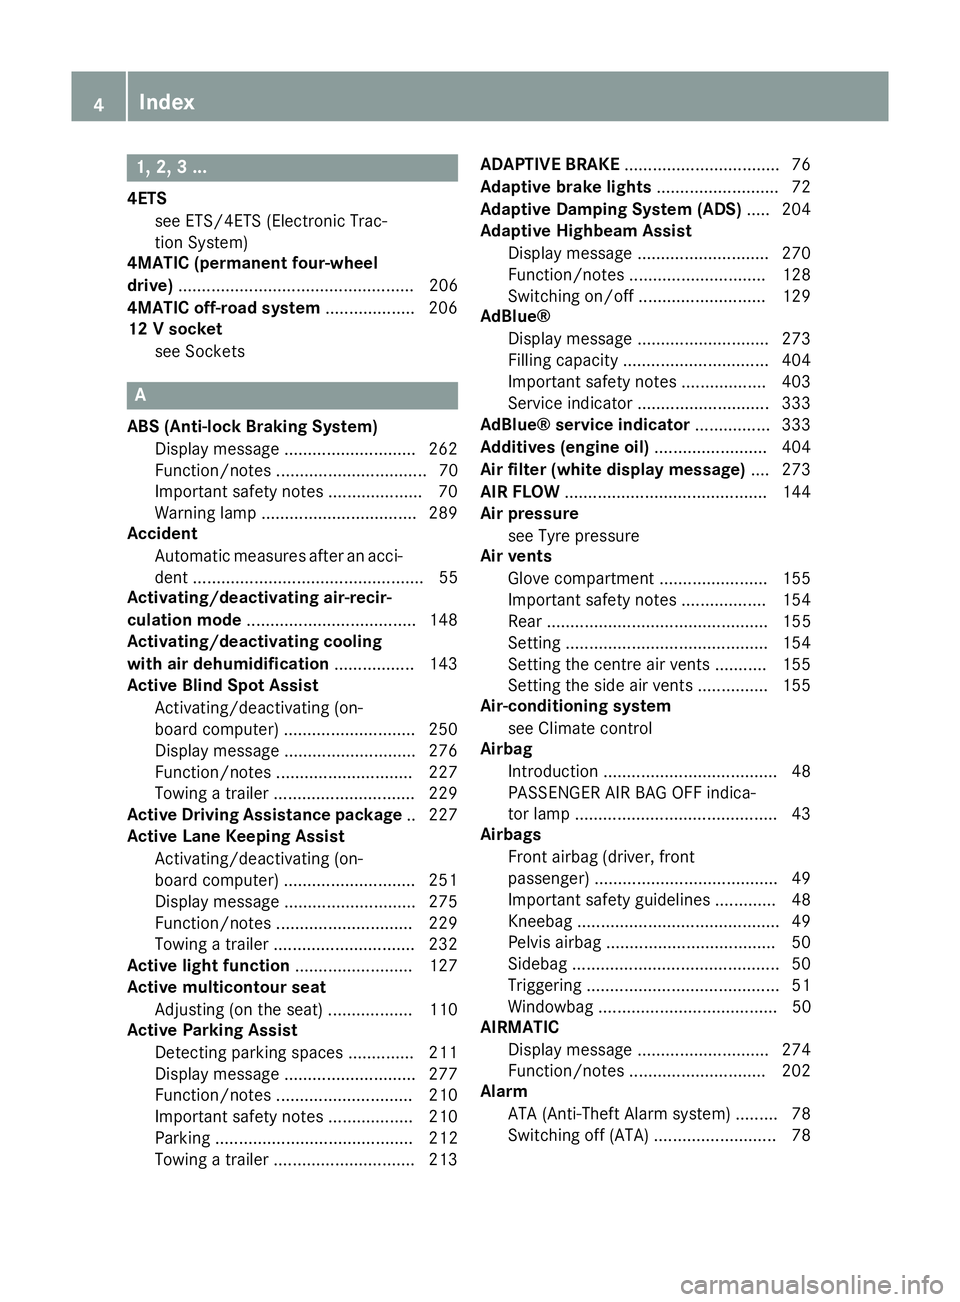
1, 2, 3 ...
4ETS see ETS/4ETS (Electronic Trac-
tion System)
4MATIC (permanent four-wheel
drive) .................................................. 206
4MATIC off-road system ...................206
12 V socket
see Sockets A
ABS (Anti-lock Braking System) Display message ............................ 262
Function/notes ................................ 70
Important safety notes .................... 70
Warning lamp ................................. 289
Accident
Automatic measures after an acci-
dent ................................................. 55
Activating/deactivating air-recir-
culation mode ................................... .148
Activating/deactivating cooling
with air dehumidification ................. 143
Active Blind Spot Assist
Activating/deactivating (on-
board computer) ............................ 250
Display message ............................ 276
Function/notes ............................ .227
Towing a trailer .............................. 229
Active Driving Assistance package .. 227
Active Lane Keeping Assist
Activating/deactivating (on-
board computer) ............................ 251
Display message ............................ 275
Function/notes ............................ .229
Towing a trailer .............................. 232
Active light function ......................... 127
Active multicontour seat
Adjusting (on the seat) .................. 110
Active Parking Assist
Detecting parking spaces .............. 211
Display message ............................ 277
Function/notes ............................ .210
Important safety notes .................. 210
Parking .......................................... 212
Towing a trailer .............................. 213 ADAPTIVE BRAKE
................................. 76
Adaptive brake lights .......................... 72
Adaptive Damping System (ADS) ..... 204
Adaptive Highbeam Assist
Display message ............................ 270
Function/notes ............................ .128
Switching on/off ........................... 129
AdBlue®
Display message ............................ 273
Filling capacity ............................... 404
Important safety notes .................. 403
Service indicator ............................ 333
AdBlue® service indicator ................ 333
Additives (engine oil) ........................ 404
Air filter (white display message) .... 273
AIR FLOW .......................................... .144
Air pressure
see Tyre pressure
Air vents
Glove compartment ....................... 155
Important safety notes .................. 154
Rear ............................................... 155
Setting .......................................... .154
Setting the centre air vents ........... 155
Setting the side air vents .............. .155
Air-conditioning system
see Climate control
Airbag
Introduction ..................................... 48
PASSENGER AIR BAG OFF indica-
tor lamp .......................................... .43
Airbags
Front airbag (driver, front
passenger) ...................................... .49
Important safety guidelines .............48
Kneebag ........................................... 49
Pelvis airbag .................................... 50
Sidebag ............................................ 50
Triggering .........................................51
Windowbag ...................................... 50
AIRMATIC
Display message ............................2 74
Function/notes ............................ .202
Alarm
ATA (Anti-Theft Alarm system) ......... 78
Switching off (ATA) .......................... 78 4
Index
Page 17 of 417
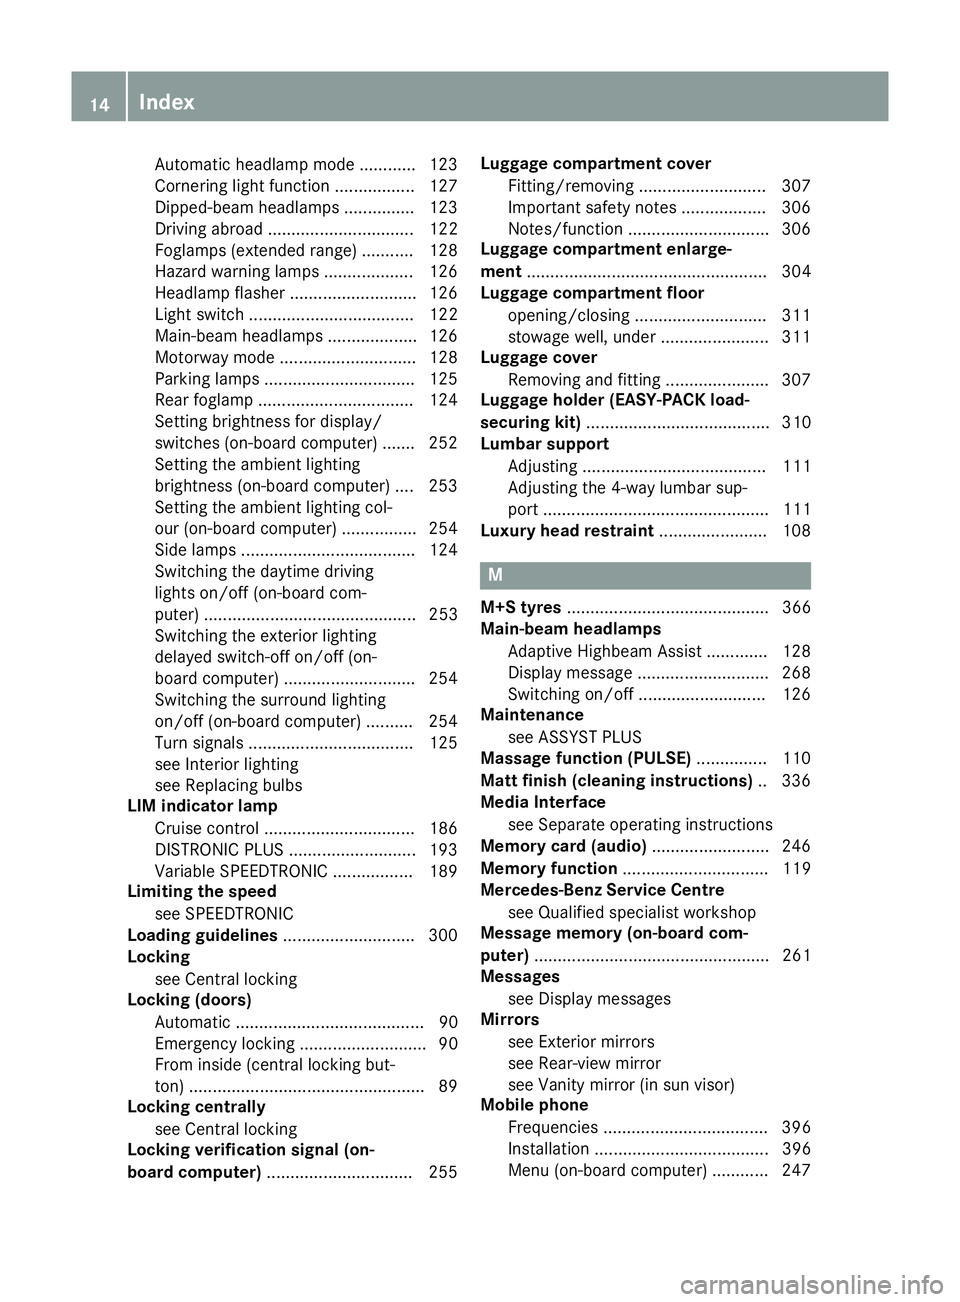
Automatic headlamp mode ............ 123
Cornering light function ................. 127
Dipped-beam headlamps ............... 123
Driving abroad ............................... 122
Foglamps (extended range) ........... 128
Hazard warning lamps .................. .126
Headlamp flasher ........................... 126
Light switch ................................... 122
Main-beam headlamps ................... 126
Motorway mode ............................ .128
Parking lamps ................................ 125
Rear foglamp ................................. 124
Setting brightness for display/
switches (on-board computer) ....... 252
Setting the ambient lighting
brightness (on-board computer) .... 253
Setting the ambient lighting col-
our (on-board computer) ................ 254
Side lamps ..................................... 124
Switching the daytime driving
lights on/off (on-board com-
puter) ............................................. 253
Switching the exterior lighting
delayed switch-off on/off (on-
board computer) ............................ 254
Switching the surround lighting
on/off (on-board computer) .......... 254
Turn signals ................................... 125
see Interior lighting
see Replacing bulbs
LIM indicator lamp
Cruise control ................................ 186
DISTRONIC PLUS ........................... 193
Variable SPEEDTRONIC ................. 189
Limiting the speed
see SPEEDTRONIC
Loading guidelines ............................ 300
Locking
see Central locking
Locking (doors)
Automatic ........................................ 90
Emergency locking ........................... 90
From inside (central locking but-
ton) ................................................. .89
Locking centrally
see Central locking
Locking verification signal (on-
board computer) .............................. .255 Luggage compartment cover
Fitting/removing ........................... 307
Important safety notes .................. 306
Notes/function .............................. 306
Luggage compartment enlarge-
ment ................................................... 304
Luggage compartment floor
opening/closing ............................ 311
stowage well, unde r....................... 311
Luggage cover
Removing and fitting ...................... 307
Luggage holder (EASY-PACK load-
securing kit) ....................................... 310
Lumbar support
Adjusting ....................................... 111
Adjusting the 4-way lumbar sup-
port ................................................ 111
Luxury head restraint ....................... 108 M
M+S tyres ........................................... 366
Main-beam headlamps
Adaptive Highbeam Assist ............. 128
Display message ............................ 268
Switching on/of f........................... 126
Maintenance
see ASSYST PLUS
Massage function (PULSE) ............... 110
Matt finish (cleaning instructions) .. 336
Media Interface
see Separate operating instructions
Memory card (audio) ......................... 246
Memory function ............................... 119
Mercedes-Benz Service Centre
see Qualified specialist workshop
Message memory (on-board com-
puter) .................................................. 261
Messages
see Display messages
Mirrors
see Exterior mirrors
see Rear-view mirror
see Vanity mirror (in sun visor)
Mobile phone
Frequencies ................................... 396
Installation ..................................... 396
Menu (on-board computer) ............ 247 14
Index
Page 21 of 417
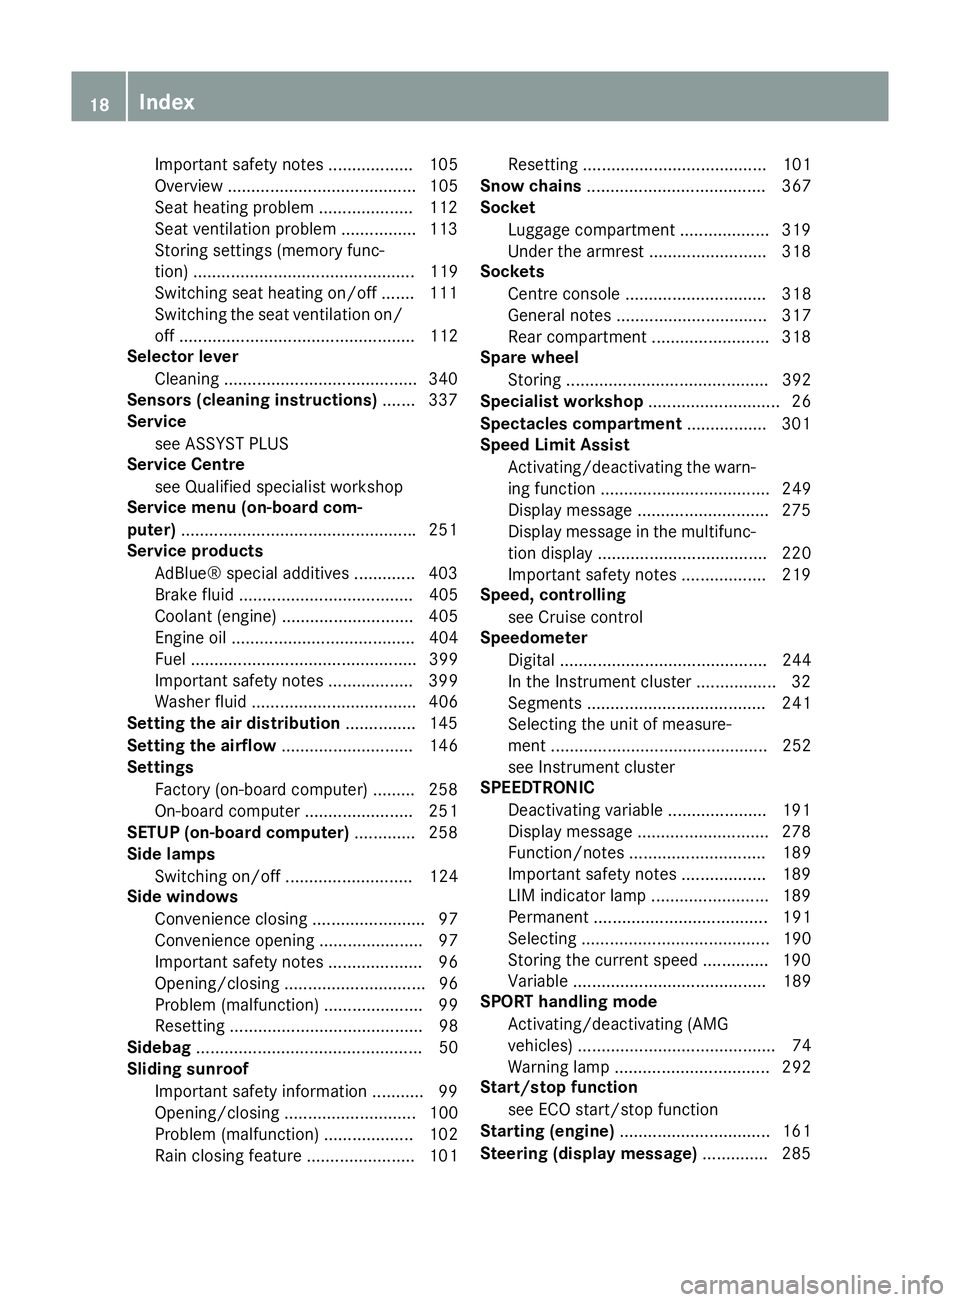
Important safety notes .................. 105
Overview ........................................ 105
Seat heating problem .................... 112
Seat ventilation problem ................ 113
Storing settings (memory func-
tion) ............................................... 119
Switching seat heating on/off ....... 111
Switching the seat ventilation on/
off .................................................. 112
Selector lever
Cleaning .........................................3 40
Sensors (cleaning instructions) ....... 337
Service
see ASSYST PLUS
Service Centre
see Qualified specialist workshop
Service menu (on-board com-
puter) ................................................. .251
Service products
AdBlue® special additive s............. 403
Brake fluid ..................................... 405
Coolant (engine) ............................ 405
Engine oil ....................................... 404
Fuel ................................................ 399
Important safety notes .................. 399
Washer fluid ................................... 406
Setting the air distribution ............... 145
Setting the airflow ............................ 146
Settings
Factory (on-board computer) ......... 258
On-board compute r....................... 251
SETUP (on-board computer) ............. 258
Side lamps
Switching on/of f........................... 124
Side windows
Convenience closing ........................ 97
Convenience opening ...................... 97
Important safety notes .................... 96
Opening/closing .............................. 96
Problem (malfunction) ..................... 99
Resetting ......................................... 98
Sidebag ................................................ 50
Sliding sunroof
Important safety information ........... 99
Opening/closing ............................ 100
Problem (malfunction) ................... 102
Rain closing feature ....................... 101 Resetting ....................................... 101
Snow chains ...................................... 367
Socket
Luggage compartment ................... 319
Under the armrest ......................... 318
Sockets
Centre console .............................. 318
General notes ................................ 317
Rear compartment ......................... 318
Spare wheel
Storing ........................................... 392
Specialist workshop ............................ 26
Spectacles compartment ................. 301
Speed Limit Assist
Activating/deactivating the warn-ing function .................................... 249
Display message ............................ 275
Display message in the multifunc- tion display .................................... 220
Important safety notes .................. 219
Speed, controlling
see Cruise control
Speedometer
Digital ............................................ 244
In the Instrument cluster ................. 32
Segments ...................................... 241
Selecting the unit of measure-
ment .............................................. 252
see Instrument cluster
SPEEDTRONIC
Deactivating variable ..................... 191
Display message ............................ 278
Function/note s............................. 189
Important safety notes .................. 189
LIM indicator lamp ......................... 189
Permanent ..................................... 191
Selecting ........................................ 190
Storing the current speed .............. 190
Variabl e......................................... 189
SPORT handling mode
Activating/deactivating (AMG
vehicles) .......................................... 74
Warning lamp ................................. 292
Start/stop function
see ECO start/stop function
Starting (engine) ................................ 161
Steering (display message) .............. 28518
Index
Page 23 of 417
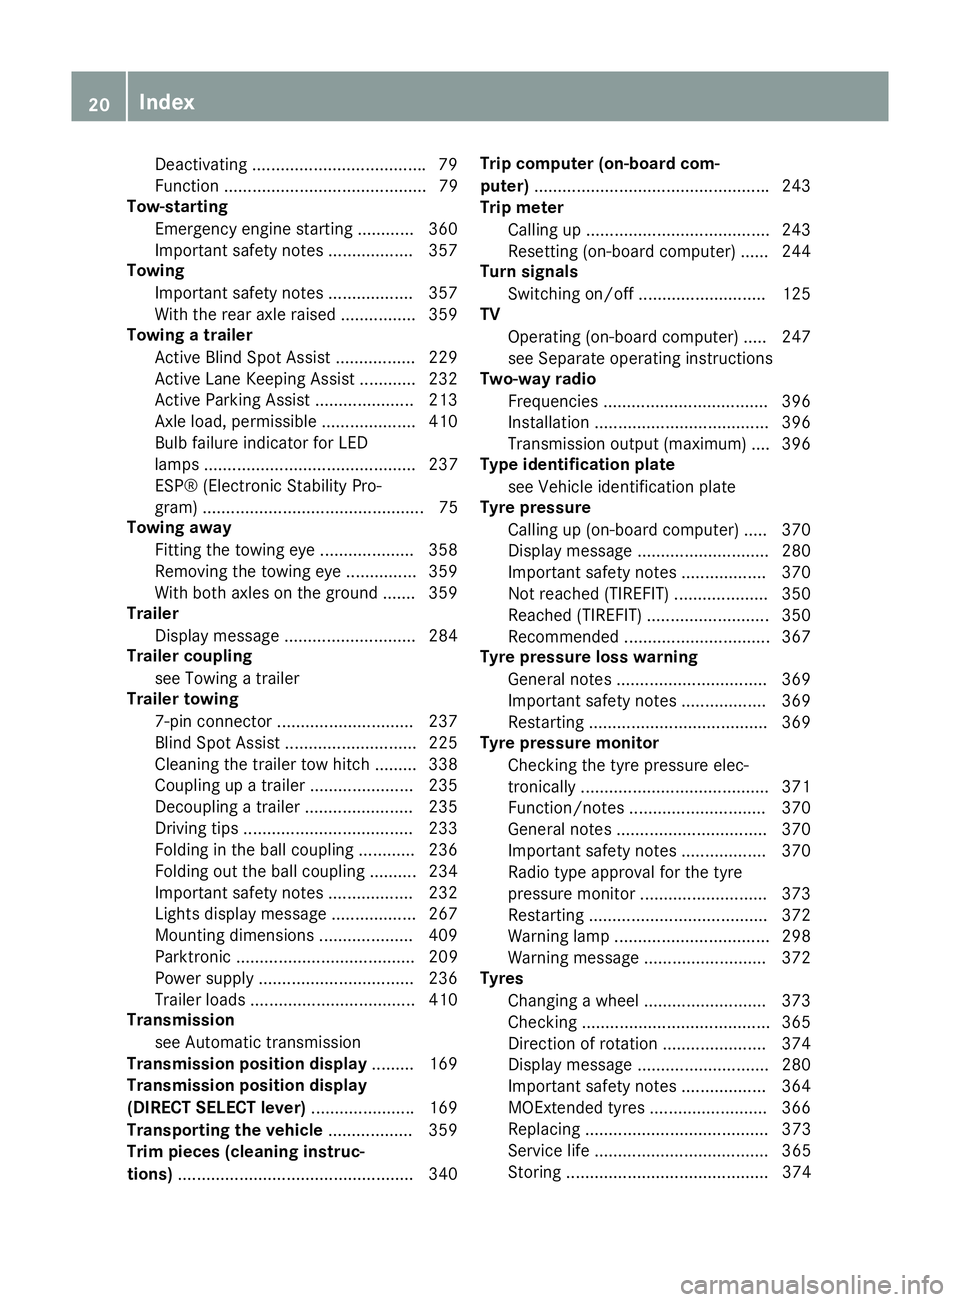
Deactivating ....................................
.79
Function ........................................... 79
Tow-starting
Emergency engine starting ............ 360
Important safety notes .................. 357
Towing
Important safety notes .................. 357
With the rear axle raised ................ 359
Towing a trailer
Active Blind Spot Assist ................ .229
Active Lane Keeping Assist ............ 232
Active Parking Assist ..................... 213
Axle load, permissible .................... 410
Bulb failure indicator for LED
lamps ............................................. 237
ESP® (Electronic Stability Pro-
gram) ............................................... 75
Towing away
Fitting the towing eye .................... 358
Removing the towing eye .............. .359
With both axles on the ground ....... 359
Trailer
Display message ............................ 284
Trailer coupling
see Towing a trailer
Trailer towing
7-pin connector ............................ .237
Blind Spot Assist ............................ 225
Cleaning the trailer tow hitch ......... 338
Coupling up a trailer ..................... .235
Decoupling a trailer ....................... 235
Driving tips ................................... .233
Folding in the ball coupling ............ 236
Folding out the ball coupling .......... 234
Important safety notes .................. 232
Lights display message .................. 267
Mounting dimensions .................... 409
Parktronic ...................................... 209
Power supply ................................. 236
Trailer loads ................................... 410
Transmission
see Automatic transmission
Transmission position display ......... 169
Transmission position display
(DIRECT SELECT lever) ......................169
Transporting the vehicle .................. 359
Trim pieces (cleaning instruc-
tions) ................................................. .340 Trip computer (on-board com-
puter)
................................................. .243
Trip meter
Calling up ....................................... 243
Resetting (on-board computer) ...... 244
Turn signals
Switching on/off ........................... 125
TV
Operating (on-board computer) ..... 247
see Separate operating instructions
Two-way radio
Frequencies ................................... 396
Installation ..................................... 396
Transmission output (maximum) .... 396
Type identification plate
see Vehicle identification plate
Tyre pressure
Calling up (on-board computer) ..... 370
Display message ............................ 280
Important safety notes .................. 370
Not reached (TIREFIT) .................... 350
Reached (TIREFIT) .......................... 350
Recommended ............................... 367
Tyre pressure loss warning
General notes ................................ 369
Important safety notes .................. 369
Restarting ...................................... 369
Tyre pressure monitor
Checking the tyre pressure elec-
tronically ........................................ 371
Function/notes ............................ .370
General notes ................................ 370
Important safety notes .................. 370
Radio type approval for the tyre
pressure monitor ........................... 373
Restarting ...................................... 372
Warning lamp ................................. 298
Warning message .......................... 372
Tyres
Changing a wheel .......................... 373
Checking ........................................ 365
Direction of rotatio n...................... 374
Display message ............................ 280
Important safety notes .................. 364
MOExtended tyre s......................... 366
Replacing ....................................... 373
Service life ..................................... 365
Storing ........................................... 374 20
Index
Page 184 of 417
Switching off the engine
Important safety notes G
WARNING
The automatic transmission switches to neu-
tral position Nwhen you switch off the engine.
The vehicle may roll away. There is a risk of an
accident.
After switching off the engine, always switch
to parking position P. Prevent the parked vehi-
cle from rolling away by applying the parking
brake.
Vehicles with automatic transmission X
Firmly depress the parking brake.
X All vehicles (except AMG vehicles): shift
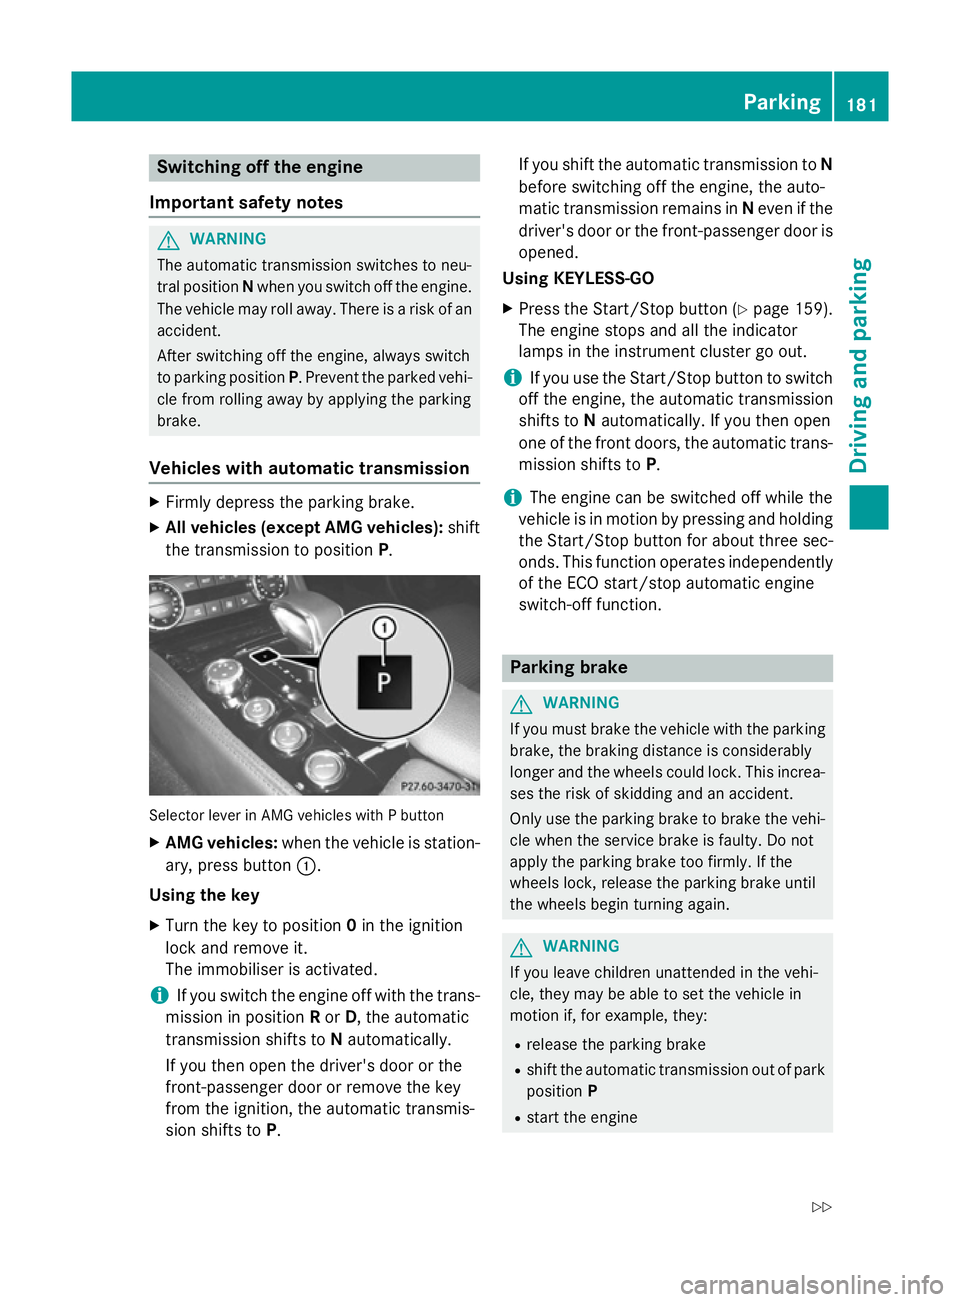
the transmission to position P.Selector lever in AMG vehicles with P button
X AMG vehicles: when the vehicle is station-
ary, press button :.
Using the key X Turn the key to position 0in the ignition
lock and remove it.
The immobiliser is activated.
i If you switch the engine off with the trans-
mission in position Ror D, the automatic
transmission shifts to Nautomatically.
If you then open the driver's door or the
front-passenger door or remove the key
from the ignition, the automatic transmis-
sion shifts to P. If you shift the automatic transmission to
N
before switching off the engine, the auto-
matic transmission remains in Neven if the
driver's door or the front-passenger door is
opened.
Using KEYLESS-GO
X Press the Start/Stop button (Y page 159).
The engine stops and all the indicator
lamps in the instrument cluster go out.
i If you use the Start/Stop button to switch
off the engine, the automatic transmission
shifts to Nautomatically. If you then open
one of the front doors, the automatic trans-
mission shifts to P.
i The engine can be switched off while the
vehicle is in motion by pressing and holding
the Start/Stop button for about three sec- onds. This function operates independently
of the ECO start/stop automatic engine
switch-off function. Parking brake
G
WARNING
If you must brake the vehicle with the parking brake, the braking distance is considerably
longer and the wheels could lock. This increa-
ses the risk of skidding and an accident.
Only use the parking brake to brake the vehi- cle when the service brake is faulty. Do not
apply the parking brake too firmly. If the
wheels lock, release the parking brake until
the wheels begin turning again. G
WARNING
If you leave children unattended in the vehi-
cle, they may be able to set the vehicle in
motion if, for example, they:
R release the parking brake
R shift the automatic transmission out of park
position P
R start the engine Parking
181Driving and parking
Z
Page 188 of 417
information about this from your Mercedes-
Benz Service Centre.
Brake pads/linings and discs that are either
new or have been replaced only achieve opti- mum braking effect after several hundred kil-
ometres of driving. Compensate for the
reduced braking effect by applying greater
force to the brake pedal. Always be aware of
this and adapt your driving and braking
accordingly during the running-in period.
Excessive heavy braking results in corre-
spondingly high brake wear. Observe the
brake wear warning lamp in the instrument
cluster and note any brake status messages
in the multifunction display. If you regularly
drive at high speeds, it is particularly impor-
tant to have the brake system checked and
maintained regularly. Driving on wet roads
Aquaplaning If water has accumulated to a certain depth
on the road surface, there is a danger of aqua- planing occurring, even if:
R you are driving at low speeds
R the tyres have adequate tread depth
For this reason, drive in the following manner in the event of heavy rain or in conditions in
which aquaplaning can occur:
R lower your speed
R avoid tyre ruts
R avoid sudden steering movements
R brake carefully
Driving on flooded roads !
Bear in mind that vehicles travelling in
front or in the opposite direction create
waves. This may cause the maximum per-
missible water depth to be exceeded.
These notes must be observed under all
circumstances. You could otherwise dam-
age the engine, the electronics or the trans- mission. If you must drive on stretches of road on
which water has collected, please bear in
mind that:
R the maximum permissible fording depth in
still water is 25 cm
R you should drive no faster than walking
pace Winter driving
G
WARNING
If you shift down on a slippery road surface in an attempt to increase the engine's braking
effect, the drive wheels could lose their grip.
This increases the risk of skidding and having
an accident.
Do not shift down for additional engine brak-
ing on a slippery road surface. G
DANGER
If the exhaust pipe is blocked or adequate
ventilation is not possible, poisonous gases
such as carbon monoxide (CO) may enter the vehicle. This is the case, e.g. if the vehicle
becomes trapped in snow. There is a risk of
fatal injury.
If you leave the engine or the auxiliary heating
running, make sure the exhaust pipe and area
around the vehicle are clear of snow. To
ensure an adequate supply of fresh air, open a window on the side of the vehicle that is not
facing into the wind.
Have your vehicle winterproofed at a qualified specialist workshop at the onset of winter.
You should drive particularly carefully on slip-
pery road surfaces. Avoid sudden accelera-
tion, steering and braking manoeuvres.
If the vehicle threatens to skid or cannot be
stopped when moving at low speed:
X Move the transmission to position N.
X Try to bring the vehicle under control by
using corrective steering.
The outside temperature indicator is not
designed to serve as an ice-warning device Driving tips
185Driving and parking Z
Page 336 of 417
Maintaining the time-dependent service
schedule:
X Note down the service due date displayed
in the multifunction display before discon-
necting the battery.
or X After reconnecting the battery, subtract
the battery disconnection periods from the service date shown on the display.
Hiding service messages X
Press the aor% button on the steer-
ing wheel.
Displaying service messages X
Switch the ignition on.
X Press the =or; button on the steer-
ing wheel to select the Service
Service menu.
X Press the 9or: button to select the
ASSYST PLUS
ASSYST PLUS submenu and confirm by
pressing the abutton.
The service due date appears in the multi-
function display.
Information about Service Resetting the ASSYST PLUS service inter-
val display
! If the ASSYST PLUS service interval dis-
play has been inadvertently reset, this set-
ting can be corrected at a qualified special-
ist workshop.
Have service work carried out as described in the Service Booklet. This may otherwise
lead to increased wear and damage to the
major assemblies or the vehicle.
A qualified specialist workshop, e.g. a
Mercedes-Benz Service Centre, will reset the ASSYST PLUS service interval display after
the service work has been carried out. You
can also obtain further information on main-
tenance work, for example. Special service requirements
The prescribed service interval is based on
normal operation of the vehicle. Service work
will need to be performed more often if the
vehicle is operated under arduous conditions or increased loads, for example:
R regular city driving with frequent intermedi-
ate stops
R if the vehicle is primarily used to travel
short distances
R for frequent operation in mountainous ter-
rain or on poor road surfaces
R if the engine is often left idling for long peri-
ods
In these or similar operating conditions, have,
for example, the air filter, engine oil and oil
filter changed more frequently. The tyres
must be checked more frequently if the vehi-
cle is operated under increased loads. Fur-
ther information can be obtained at a quali-
fied specialist workshop, e.g. a Mercedes-
Benz Service Centre.
Driving abroad
An extensive Mercedes-Benz Service network is also available in other countries. You can
obtain further information from any
Mercedes-Benz Service Centre. AdBlue
®
service indicator
i For BlueTEC vehicles only.
To function properly, BlueTEC exhaust gas
aftertreatment must be operated with the
reducing agent AdBlue ®
. AdBlue ®
is topped
up as part of the service. Under normal oper-
ating conditions, a full tank of AdBlue ®
should
last until the next service due date.
Depending on how and where the vehicle is
used, there may be an increase in the
AdBlue ®
consumption, resulting in the next
service due date being brought forward.
Certain display messages show that AdBlue ®
must be topped up, e.g.: Service
333Maintenance and care Z
Page 355 of 417
Before handling the battery, touch the vehicle
body to remove any existing electrostatic
build-up.
The highly flammable gas mixture is created
while the battery is charging and when jump- starting.
Always make sure that neither you nor the
battery is electrostatically charged. Electro-
static charge is created, for example:
R by wearing synthetic fibre clothing
R due to friction between clothing and the
seat
R when you pull or push the battery across
carpet or other synthetic materials
R when you rub the battery with a cloth G
WARNING
During the charging process, a battery produ- ces hydrogen gas. If a short circuit occurs or
sparks are created, the hydrogen gas can
ignite. There is a risk of an explosion.
R Make sure that the positive terminal of a
connected battery does not come into con- tact with vehicle parts.
R Never place metal objects or tools on a bat-
tery.
R It is important that you observe the descri-
bed order of the battery terminals when
connecting and disconnecting a battery.
R When jump-starting, make sure that the
battery poles with identical polarity are
connected.
R It is particularly important to observe the
described order when connecting and dis-
connecting the jump leads.
R Never connect or disconnect the battery
terminals while the engine is running. G
WARNING
Battery acid is caustic. There is a risk of injury. Avoid contact with the skin, eyes or clothing.
Do not inhale any battery gases. Do not lean
over the battery. Keep children away from batteries. Wash battery acid immediately with
water and seek medical attention. H
Environmental note Batteries contain pollutants.
It is illegal to dispose of them
with the household rubbish.
They must be collected sep-
arately and disposed of in anenvironmentally responsible
recycling system. Dispose of batteries in an
environmentally responsible
manner. Take discharged
batteries to a qualified spe-
cialist workshop or to a col-
lection point for used batter-
ies.
! Have the battery checked regularly at a
qualified specialist workshop.
Observe the service intervals in the Service
Booklet or contact a qualified specialist
workshop for more information.
! You should have all work involving the
battery carried out at a qualified specialist
workshop. In the exceptional case that it is
necessary for you to disconnect the battery yourself, make sure that:
R you switch off the engine and remove the
key. On vehicles with KEYLESS-GO,
ensure that the ignition is switched off.
Check that all the indicator lamps in the
instrument cluster are off. Otherwise,
electronic components, such as the
alternator, may be damaged.
R you first remove the negative terminal
clamp and then the positive terminal
clamp. Never swap the terminal clamps.
Otherwise, the vehicle's electronic sys-
tem may be damaged.
R the transmission is locked in position P
after disconnecting the battery. The vehi-
cle is secured against rolling away. You
can then no longer move the vehicle. 352
Battery (vehicle)Breakdown assistance
Page 357 of 417
batteries. Wash battery acid immediately with
water and seek medical attention. G
WARNING
A discharged battery can freeze at tempera-
tures below freezing point. When jump-start-
ing the vehicle or charging the battery, gases can escape from the battery. There is a risk of
an explosion.
Allow the frozen battery to thaw out before
charging it or jump-starting.
! Only use battery chargers with a maxi-
mum charging voltage of 14.8 V.
! Only charge the battery using the jump-
start connection point.
The jump-starting connection point is in the
engine compartment (Y page 355).
X Open the bonnet.
X Connect the battery charger to the positive
terminal and earth point in the same order
as when connecting the donor battery in
the jump-starting procedure (Y page 355).
If the indicator/warning lamps do not light up at low temperatures, it is very likely that the
discharged battery has frozen. In this case,
you may neither charge the battery nor jump-
start the vehicle. The service life of a battery
that has been thawed may be reduced. The
starting characteristics may be impaired,
especially at low temperatures. Have the
thawed battery checked at a qualified spe-
cialist workshop.
Never charge a battery still installed in the
vehicle unless a battery charger unit
approved by Mercedes-Benz is being used . A battery charger unit specially adapted for
Mercedes-Benz vehicles and tested and
approved by Mercedes-Benz is available as an
accessory. It permits the charging of the bat- tery in its installed position. Contact a
Mercedes-Benz Service Centre for informa-
tion and availability. Read the battery charg-
er's operating instructions before charging
the battery. 354
Battery (vehicle)Breakdown assistance
Page 372 of 417
10 kPa (0.1 bar/1.5 psi) per 10 †. Take this
into account when checking the pressure of
warm tyres. Only correct the tyre pressure if it
is too low for the current operating condi-
tions.
Driving with tyre pressure that is too high or
too low can:
R shorten the service life of the tyres
R cause increased tyre damage
R have a negative effect on handling charac-
teristics and thus driving safety (e.g. aqua-
planing)
i The tyre pressure values given for low
loads are minimum values which offer you
good ride comfort characteristics.
However, you can also use the values given for higher loads. These are permissible and
will not adversely affect the running of the
vehicle.
For speeds up to 210 km/h (does not
apply to AMG vehicles): for speeds up to
210 km/h, the values given on the tyre pres- sure information label (fuel filler flap) may be
reduced by 20 kPa (0.2 bar/3 psi) without a
reduction in safety.
This improves the ride comfort of your vehi-
cle; however, fuel consumption may increase
slightly. Tyre pressure loss warning system
General notes While the vehicle is in motion, the tyre pres-
sure loss warning system monitors the set
tyre pressure using the rotational speed of
the wheels. This enables the system to detect significant pressure loss in a tyre. If the speed
of rotation of a wheel changes as a result of a loss of pressure, a corresponding warning
message will appear in the multifunction dis- play.
You can recognise the tyre pressure loss
warning by the Run Flat Indicator
Run Flat Indicator
active Restart with OK active Restart with OK message whichappears in the
Serv.
Serv.menu of the multifunc-
tion display. Information on the message dis- play can be found in the "Restarting the tyre
pressure loss warning system" section
(Y page 369).
Important safety notes The tyre pressure warning system does not
warn you of an incorrectly set tyre pressure.
Observe the notes on the recommended tyre
pressure (Y page 367).
The tyre pressure loss warning does not
replace the need to regularly check the tyre
pressures. An even loss of pressure on sev-
eral tyres at the same time cannot be detec-
ted by the tyre pressure loss warning system.
The tyre pressure monitor is not able to warn you of a sudden loss of pressure, e.g. if the
tyre is penetrated by a foreign object. In the
event of a sudden loss of pressure, bring the
vehicle to a halt by braking carefully. Avoid
abrupt steering manoeuvres.
The function of the tyre pressure loss warning
system is limited or delayed if:
R snow chains are fitted to your vehicle's
tyres
R road conditions are wintry
R you are driving on sand or gravel
R you adopt a very sporty driving style (cor-
nering at high speeds or driving with high
rates of acceleration)
R you are towing a very heavy or large trailer
R you are driving with a heavy load (in the
vehicle or on the roof)
Restarting the tyre pressure loss warn-
ing system Restart the tyre pressure loss warning system
if you have:
R changed the tyre pressure
R changed the wheels or tyres
R fitted new wheels or tyres
X Before restarting, make sure that the tyre
pressures are set properly on all four tyres Tyre pressure
369Wheels and tyres Z