Internet MERCEDES-BENZ E-Class 2016 W213 Comand Manual
[x] Cancel search | Manufacturer: MERCEDES-BENZ, Model Year: 2016, Model line: E-Class, Model: MERCEDES-BENZ E-Class 2016 W213Pages: 246, PDF Size: 6.7 MB
Page 50 of 246
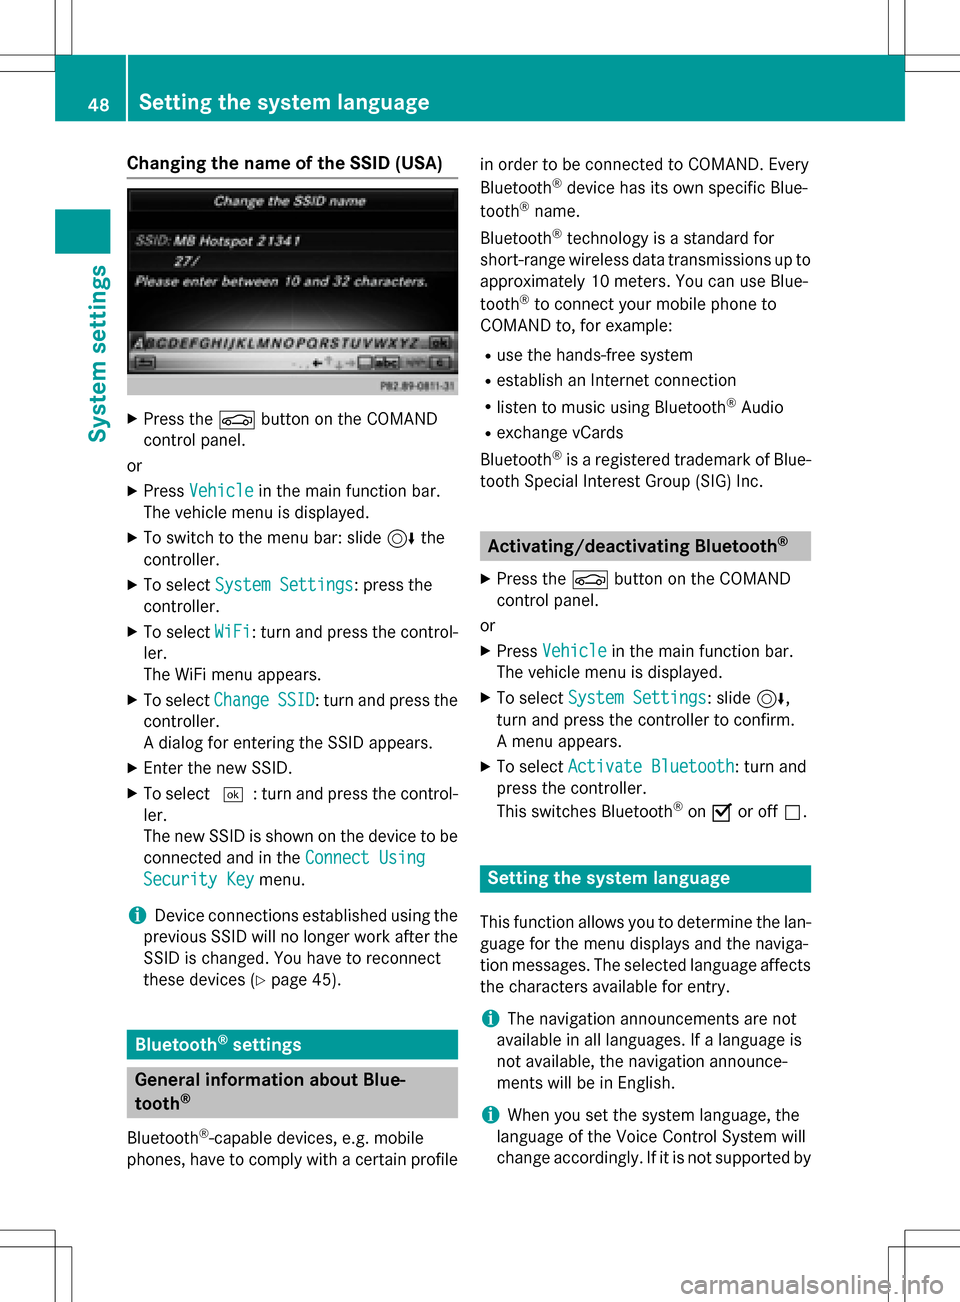
Changing the name of the SSID (USA)
XPress theØbutton on the COMAND
control panel.
or
XPress Vehiclein the main function bar.
The vehicle menu is displayed.
XTo switch to the menu bar: slide 6the
controller.
XTo select System Settings: press the
controller.
XTo select WiFi: turn and press the control-
ler.
The WiFi menu appears.
XTo select ChangeSSID: turn and press the
controller.
A dialog for entering the SSID appears.
XEnter the new SSID.
XTo select ¬: turn and press the control-
ler.
The new SSID is shown on the device to be
connected and in the Connect Using
Security Keymenu.
iDevice connections established using the
previous SSID will no longer work after the
SSID is changed. You have to reconnect
these devices (
Ypage 45).
Bluetooth®settings
General information about Blue-
tooth®
Bluetooth®-capable devices, e.g. mobile
phones, have to comply with a certain profile in order to be connected to COMAND. Every
Bluetooth
®device has its own specific Blue-
tooth®name.
Bluetooth
®technology is a standard for
short-range wireless data transmissions up to
approximately 10 meters. You can use Blue-
tooth
®to connect your mobile phone to
COMAND to, for example:
Ruse the hands-free system
Restablish an Internet connection
Rlisten to music using Bluetooth®Audio
Rexchange vCards
Bluetooth
®is a registered trademark of Blue-
tooth Special Interest Group (SIG) Inc.
Activating/deactivating Bluetooth®
X
Press the Øbutton on the COMAND
control panel.
or
XPress Vehiclein the main function bar.
The vehicle menu is displayed.
XTo select System Settings: slide6,
turn and press the controller to confirm.
A menu appears.
XTo select Activate Bluetooth: turn and
press the controller.
This switches Bluetooth
®on O or off ª.
Setting the system language
This function allows you to determine the lan-
guage for the menu displays and the naviga-
tion messages. The selected language affects
the characters available for entry.
iThe navigation announcements are not
available in all languages. If a language is
not available, the navigation announce-
ments will be in English.
iWhen you set the system language, the
language of the Voice Control System will
change accordingly. If it is not supported by
48Setting the system language
System settings
Page 75 of 246
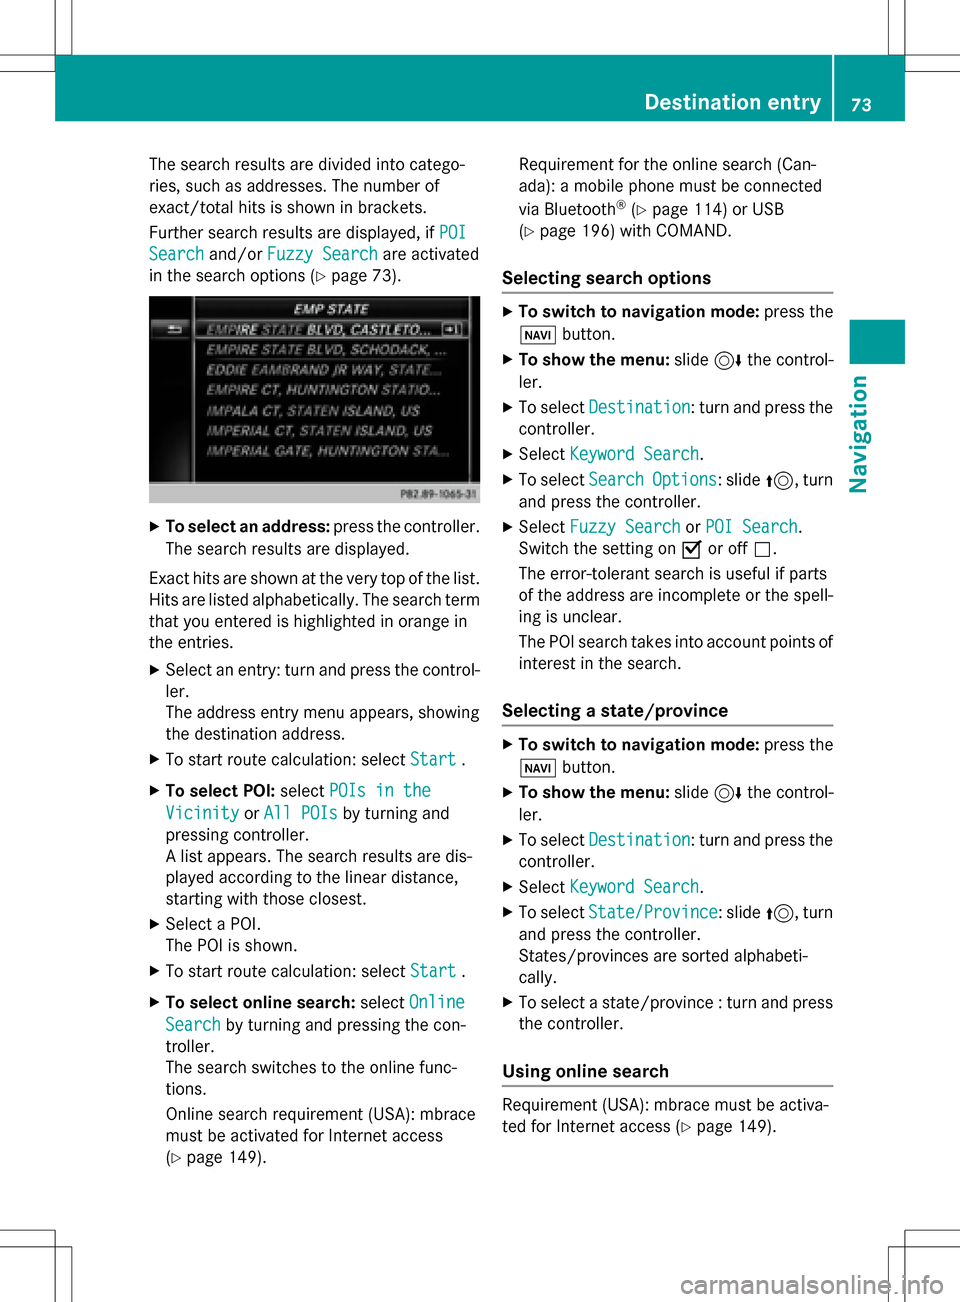
The search results are divided into catego-
ries, such as addresses. The number of
exact/total hits is shown in brackets.
Further search results are displayed, ifPOI
Searchand/orFuzzy Searchare activated
in the search options (
Ypage 73).
XTo select an address: press the controller.
The search results are displayed.
Exact hits are shown at the very top of the list.
Hits are listed alphabetically. The search term that you entered is highlighted in orange in
the entries.
XSelect an entry: turn and press the control-ler.
The address entry menu appears, showing
the destination address.
XTo start route calculation: select Start.
XTo select POI:selectPOIs in the
VicinityorAll POIsby turning and
pressing controller.
A list appears. The search results are dis-
played according to the linear distance,
starting with those closest.
XSelect a POI.
The POI is shown.
XTo start route calculation: select Start.
XTo select online search:selectOnline
Searchby turning and pressing the con-
troller.
The search switches to the online func-
tions.
Online search requirement (USA): mbrace
must be activated for Internet access
(
Ypage 149). Requirement for the online search (Can-
ada): a mobile phone must be connected
via Bluetooth
®(Ypage 114) or USB
(
Ypage 196) with COMAND.
Selecting search options
XTo switch to navigation mode: press the
Ø button.
XTo show the menu: slide6the control-
ler.
XTo select Destination: turn and press the
controller.
XSelect Keyword Search.
XTo select SearchOptions: slide5, turn
and press the controller.
XSelect Fuzzy SearchorPOI Search.
Switch the setting on Oor off ª.
The error-tolerant search is useful if parts
of the address are incomplete or the spell-
ing is unclear.
The POI search takes into account points of interest in the search.
Selecting a state/province
XTo switch to navigation mode: press the
Ø button.
XTo show the menu: slide6the control-
ler.
XTo select Destination: turn and press the
controller.
XSelect Keyword Search.
XTo select State/Province: slide5, turn
and press the controller.
States/provinces are sorted alphabeti-
cally.
XTo select a state/province : turn and press
the controller.
Using online search
Requirement (USA): mbrace must be activa-
ted for Internet access (
Ypage 149).
Destination entry73
Navigation
Z
Page 79 of 246
SelectionInstructions
Search By Name
Searches for all POIs on
the digital map or around
one of the three previ-
ously specified positions
XCall up the POI menu (Ypage 74).
XTo selectSearch By Name: turn and press the controller.
XSelectAll POIsor one of the three previously selected posi-
tions.
The POI list with character bar appears.
XEnter a name.
or
XTo select Mercedes-Benz Service: turn and press the con-
troller.
SearchByPhoneNum‐
ber
All POIs with a telephone
number can be selected.
XCall up the POI menu (Ypage 74).
XTo select SearchByPhoneNumber: turn and press the con-
troller.
You will see a list of phone numbers.
XEnter the telephone number.
The telephone number consists of:
Rthe country code (international dialing code)
Rthe area code
When entering the area code, omit the leading "0"
Rthe telephone number of the participating caller
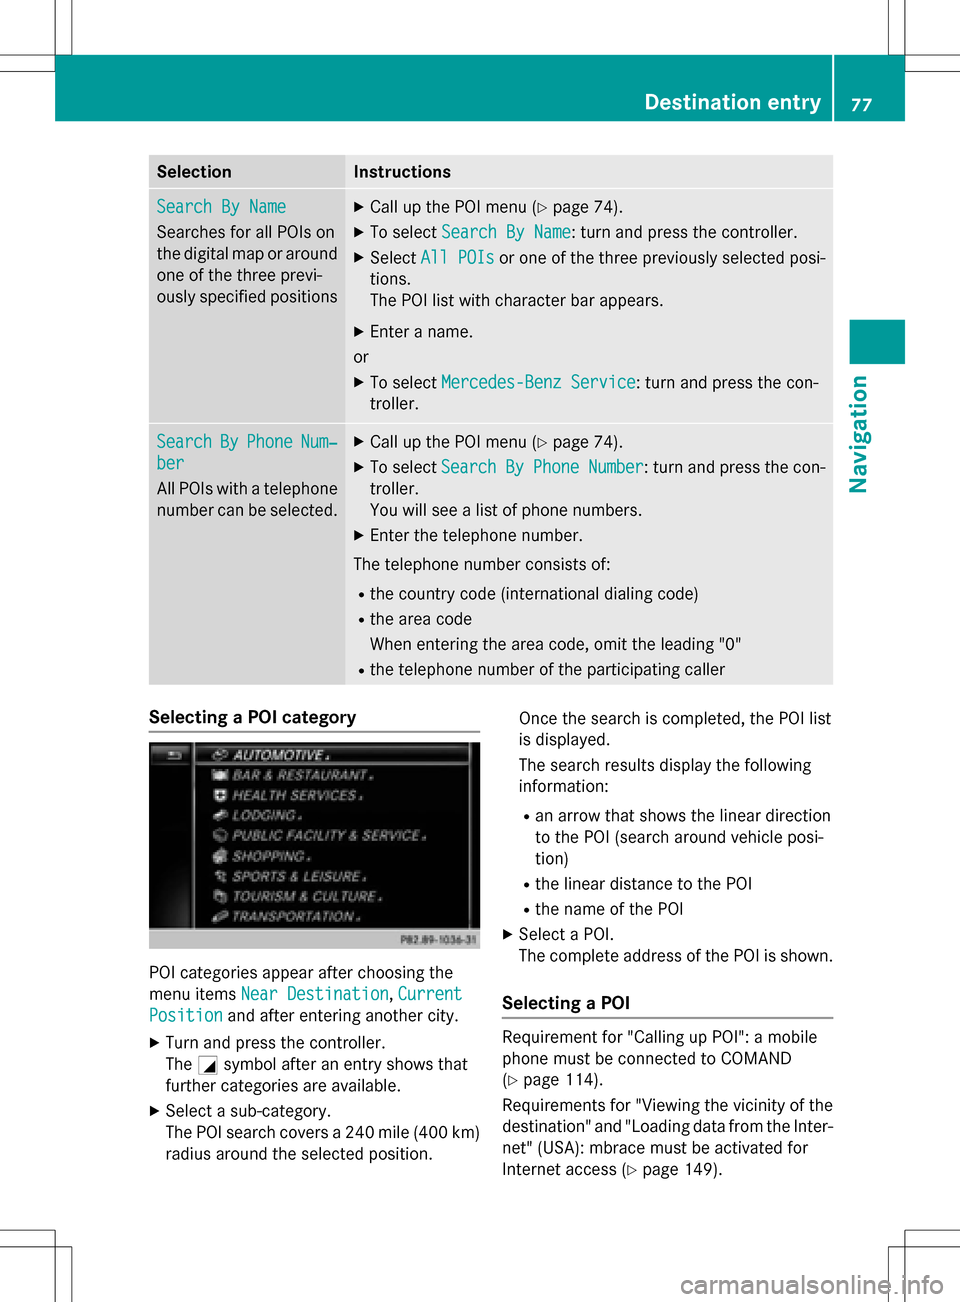
Selecting a POI category
POI categories appear after choosing the
menu items Near Destination
,Current
Positionand after entering another city.
XTurn and press the controller.
The Gsymbol after an entry shows that
further categories are available.
XSelect a sub-category.
The POI search covers a 240 mile (400 km)
radius around the selected position. Once the search is completed, the POI list
is displayed.
The search results display the following
information:
Ran arrow that shows the linear direction
to the POI (search around vehicle posi-
tion)
Rthe linear distance to the POI
Rthe name of the POI
XSelect a POI.
The complete address of the POI is shown.
Selecting a POI
Requirement for "Calling up POI": a mobile
phone must be connected to COMAND
(
Ypage 114).
Requirements for "Viewing the vicinity of the
destination" and "Loading data from the Inter- net" (USA): mbrace must be activated for
Internet access (
Ypage 149).
Destination entry77
Navigation
Z
Page 80 of 246
Requirementsfor "Viewin gth evicinit yof th e
destination "and "Loadin gdat afrom th eInter-
net" (Canada): amobile phone mus tbe con-
nected via Bluetoot h
®(Ypage 114) or USB
(
Ypage 196) wit hCOMAND .
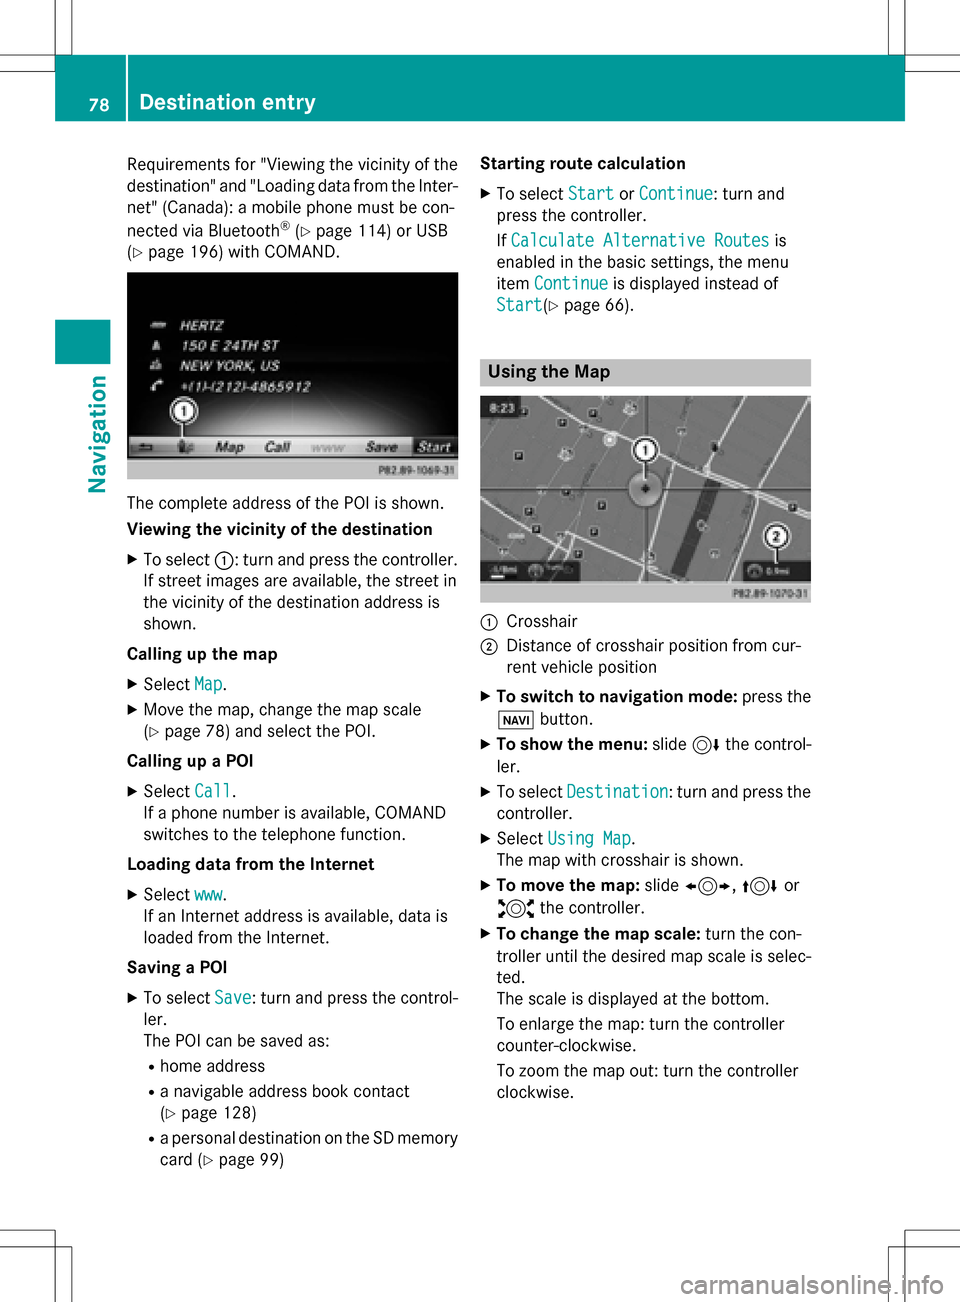
The complet eaddress of th ePOI is shown.
Viewing th evicinit yof th edestination
XTo select ::turnand press th econtroller .
If stree timages are available, th estree tin
th evicinit yof th edestination address is
shown.
Calling up th ema p
XSelec tMap.
XMov eth emap, chang eth emap scale
(
Ypage 78) and select th ePOI .
Calling up aPOI
XSelec tCal l.
If aphone number is available, COMAND
switches to th etelephon efunction .
Loading data from th eInternet
XSelec twww.
If an Internet address is available, dat ais
loade dfrom th eInternet .
Saving aPOI
XTo select Save:tur nand press th econtrol -
ler .
The POI can be saved as:
Rhom eaddress
Ranavigabl eaddress boo kcontact
(
Ypage 128)
Ra personal destination on th eSD memory
car d (
Ypage 99) Starting rout
ecalculation
XTo select StartorContinue:tur nand
press th econtroller .
If Calculate Alternative Routes
is
enabled in th ebasic settings, th emen u
item Continue
is displayed instead of
Start
(Ypage 66).
Usin gth eMa p
:Crosshai r
;Distanceof crosshair position from cur -
ren tvehicl eposition
XTo switch to navigation mode: press the
ß button.
XTo sho wthemenu: slide6 thecontrol -
ler .
XTo select Destination:tur nand press th e
controller .
XSelectUsing Map.
The map wit hcrosshair is shown.
XTo move th emap: slide1, 4or
2 thecontroller .
XTo change th ema pscale: turnth econ-
trolle runtil th edesire dmap scale is selec-
ted.
The scale is displayed at th ebottom.
To enlarg eth emap: tur nth econtroller
counter-clockwise .
To zoom th emap out :tur nth econtroller
clockwise .
78Destination entry
Navigation
Page 82 of 246
SelectionStep
Address
Entry
XEnter a destination by
address (
Ypage 70).
Keyword
Search
XSelect a destination by
means of a keyword
search (
Ypage 72).
From Last
Destinations
XSelect a destination
from the list of last des-
tinations (
Ypage 74).
From Con‐
tacts
XSelect a contact from
the address book as
the destination
(
Ypage 74).
From POIsXSelect a point of inter-
est (
Ypage 74).
Using MapXEnter a destination
using the map
(
Ypage 78).
From Memory
Card
XSelect a personal POI
(
Ypage 85).
From
Mercedes-
Benz Apps
XEnter a destination
from Mercedes-Benz
Apps (
Ypage 82).
Using Geo-
Coordinates
XEnter a destination
using the geo-coordi-
nates (
Ypage 82).
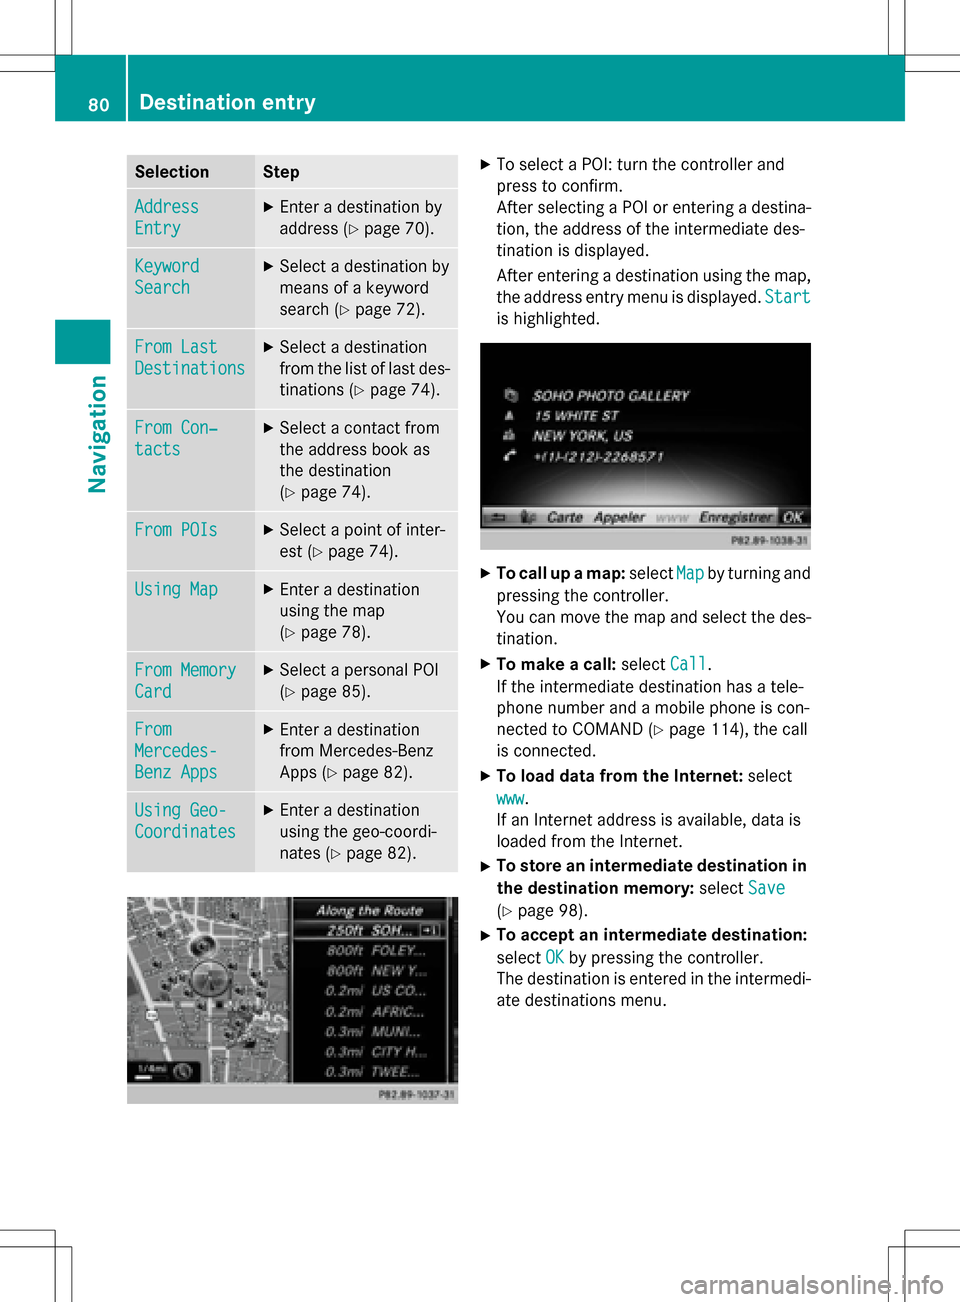
XTo select a POI: turn the controller and
press to confirm.
After selecting a POI or entering a destina-
tion, the address of the intermediate des-
tination is displayed.
After entering a destination using the map,
the address entry menu is displayed.Start
is highlighted.
XTo call up a map:selectMapby turning and
pressing the controller.
You can move the map and select the des-
tination.
XTo make a call: selectCall.
If the intermediate destination has a tele-
phone number and a mobile phone is con-
nected to COMAND (
Ypage 114), the call
is connected.
XTo load data from the Internet: select
www
.
If an Internet address is available, data is
loaded from the Internet.
XTo store an intermediate destination in
the destination memory: selectSave
(Ypage 98).
XTo accept an intermediate destination:
selectOK
by pressing the controller.
The destination is entered in the intermedi-
ate destinations menu.
80Destination entry
Navigation
Page 92 of 246
RUSA: view the vicinity of the destination if
street images are available and mbrace is
activated for Internet access
(
Ypage 149)
RCanada: view the vicinity of the destina-
tion if street images are available and a
mobile phone is connected to COMAND
via Bluetooth
®(Ypage 114) or USB
(
Ypage 196)
RUSA: download data from the Internet if
an Internet address is available and
mbrace is activated for Internet access
(
Ypage 114)
RCanada: download data from the Internet
if an Internet address is available and a
mobile phone is connected to COMAND
via Bluetooth
®(Ypage 114) or USB
(
Ypage 196)
Rselect for route guidance and a route to it
calculated (
Ypage 71).
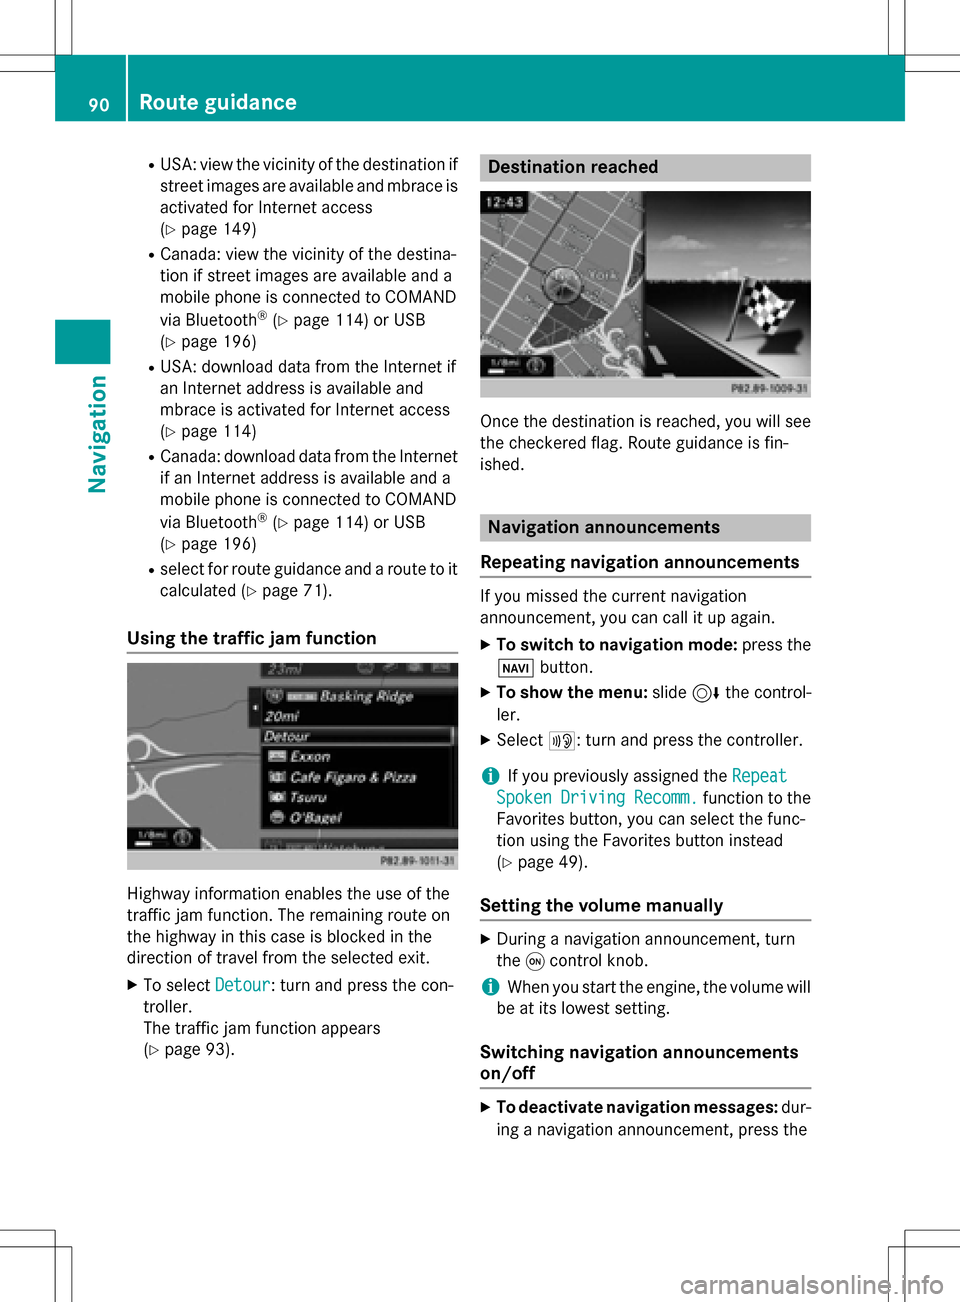
Using the traffic jam function
Highway information enables the use of the
traffic jam function. The remaining route on
the highway in this case is blocked in the
direction of travel from the selected exit.
XTo select Detour: turn and press the con-
troller.
The traffic jam function appears
(
Ypage 93).
Destination reached
Once the destination is reached, you will see
the checkered flag. Route guidance is fin-
ished.
Navigation announcements
Repeating navigation announcements
If you missed the current navigation
announcement, you can call it up again.
XTo switch to navigation mode: press the
Ø button.
XTo show the menu: slide6the control-
ler.
XSelect +: turn and press the controller.
iIf you previously assigned the Repeat
SpokenDrivingRecomm.function to the
Favorites button, you can select the func-
tion using the Favorites button instead
(
Ypage 49).
Setting the volume manually
XDuring a navigation announcement, turn
the qcontrol knob.
iWhen you start the engine, the volume will
be at its lowest setting.
Switching navigation announcements
on/off
XTo deactivate navigation messages: dur-
ing a navigation announcement, press the
90Route guidance
Navigation
Page 94 of 246
RUSA: view the vicinity of the destination if
street images are available and mbrace is
activated for Internet access
(
Ypage 149)
RCanada: view the vicinity of the destina-
tion if street images are available and a
mobile phone is connected to COMAND
via Bluetooth
®(Ypage 114) or USB
(
Ypage 196)
RUSA: download data from the Internet if
an Internet address is available and
mbrace is activated for Internet access
(
Ypage 114).
RCanada: download data from the Internet
if an Internet address is available and a
mobile phone is connected to COMAND
via Bluetooth
®(Ypage 114) or USB
(
Ypage 196).
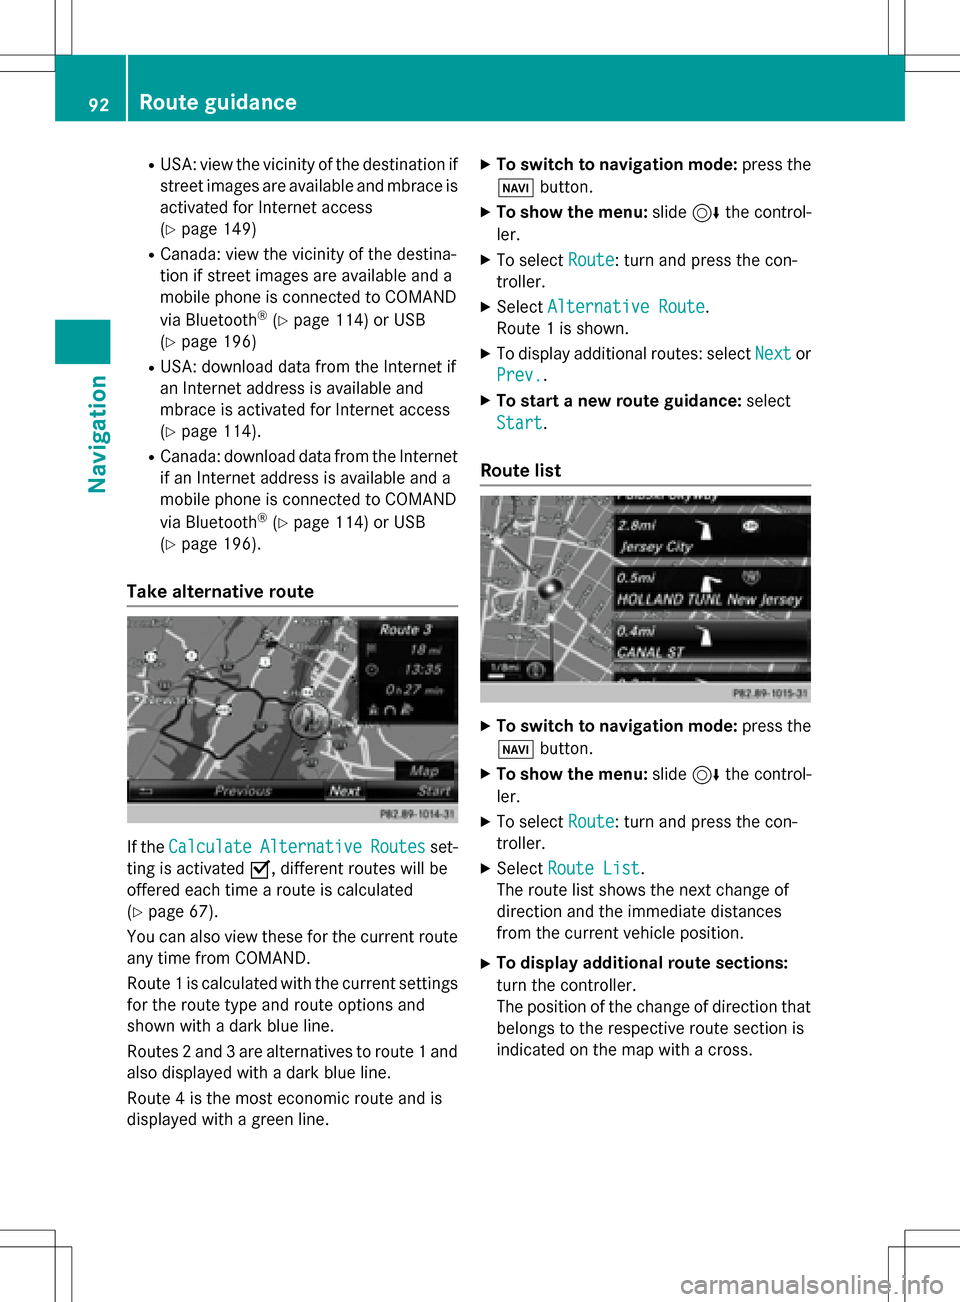
Take alternative route
If the CalculateAlternativeRoutesset-
ting is activated O, different routes will be
offered each time a route is calculated
(
Ypage 67).
You can also view these for the current route
any time from COMAND.
Route 1 is calculated with the current settings
for the route type and route options and
shown with a dark blue line.
Routes 2 and 3 are alternatives to route 1 and
also displayed with a dark blue line.
Route 4 is the most economic route and is
displayed with a green line.
XTo switch to navigation mode: press the
Ø button.
XTo show the menu: slide6the control-
ler.
XTo select Route: turn and press the con-
troller.
XSelect Alternative Route.
Route 1 is shown.
XTo display additional routes: select Nextor
Prev.
.
XTo start a new route guidance: select
Start
.
Route list
XTo switch to navigation mode: press the
Ø button.
XTo show the menu: slide6the control-
ler.
XTo select Route: turn and press the con-
troller.
XSelect Route List.
The route list shows the next change of
direction and the immediate distances
from the current vehicle position.
XTo display additional route sections:
turn the controller.
The position of the change of direction that
belongs to the respective route section is
indicated on the map with a cross.
92Route guidance
Navigation
Page 114 of 246
Your COMANDequipment
These operatin ginstruction sdescribe all
standar dan doptional equipmen tavailable
fo ryour COMAN Dsyste mat th etime of pur -
chase. Country-specifi cdifference sare pos -
sible. Please note that your COMAN Dsyste m
may no tbe equipped wit hall th efeature s
described .Thi salso applies to safety-relevan t
systems an dfunctions. Therefore, th eequip -
men ton your COMAN Dsyste mmay diffe r
from that in th edescription san dillustrations.
Should you hav ean yquestion sconcernin g
equipmen tan doperation ,pleas econsult an
authorized Mercedes-Ben zCenter.
Important safet ynotes
GWARNING
If you operat emobile communication equip-
men twhil edriving, you will be distracted from
traffic conditions. You could also los econtro l
of th evehicle. There is aris kof an accident.
Only operat ethis equipment when th evehicle
is stationary.
If you mak e acallon your mobile phone whil e
driving, always use hands-free mode. Only
use th emobile phone when road, weather
an dtraffic condition spermit .Some jurisdic -
tion sprohibi tth edriver from usin g amobile
phone whil edrivin g avehicle.
Bear in min dthat at aspeed of 30 mph
(approximately 50 km/h), th evehicle cover s
a distanc eof 44 feet (approximately 14 m)
per second.
Excessive levels of electromagnetic radiation
may cause damage to your health an dth e
health of others.
There is scientific discussio nsurroundin gth e
possible health risks posed by electromag-
neti cfields .You can reduce this ris kby usin g
an exterio rantenna. Therefore, connec
tyour mobile communica-
tion sequipmen tto th evehicle' sexterio r
antenn awhereve rpossible.
General notes
Telephon y
The Bluetoot h®interface on COMAN Dis
available fo rtelephony.
If your mobile phone supports th eBluetoot h
®
profilePBAP (Phone Book Access Profile),th e
contact sare automatically displaye din
COMAND.
You can use th etext messag ean de-mail
function sif your mobile phone supports th e
MA PBluetoot h
®profile (Messag eAccess
Profile) .Observ eth eother requirements fo r
th ee-mail an dtext messag efunction s
(
Ypage 138).
Wit h a suitable mobile phone ,you can use th e
hands-free syste man dreceiv evCards via th e
Bluetoot h
®interface .
You can obtain more information about suit -
able mobile phone son th eInternet at
www.mercedes-benz-mobile.com .
You can also obtain more information by call-
ing.
In th eUSA, you can get in touch wit hth e
Mercedes-Ben zCustomer Assistanc eCente r
on 1-800-FOR-MERCede s(1-800-367-6372).
In Canada, you can get in touch with the Cus- tomer Relations Center on 1-800-387-0100.
Call disconnection while the vehicle is
in motion
A call may be disconnected if:
Rthere is insufficient network coverage in
certain areas.
Ryou move from one transmitter/receiver
area (cell) into another and no channels are
free.
Ryou use a SIM card that is not compatible
with the network available.
112General notes
Telephone
Page 116 of 246
Calling up the telephone menu
XPress%.
Showing the menu bar
XSlide 6the controller.
If the mobile phone connected supports the
MAP Bluetooth
®profile ( Message Access
Profile), the 1menu item is available. Fur-
ther information on text messages and e-mail
(
Ypage 138).
If you have an unread text message or e-mail,
the 0 mail symbol is displayed in the sta-
tus bar. The symbol disappears once you have
read the text message or e-mail. The ú
symbol is displayed as soon as the message
memory on the connected mobile phone is
full. The symbol disappears once you delete
at least one message.
Connecting/disconnecting a mobile
phone
Prerequisites
For telephony via the Bluetooth®interface,
you require a Bluetooth®-capable mobile
phone. The mobile phone must support
Hands-Free Profile 1.0 or above.
On COMAND
XActivate Bluetooth®(Ypage 48).
On the mobile phone
XSwitch on the mobile phone and enter the
PIN when prompted to do so (see the man- ufacturer's operating instructions).
XActivate Bluetooth®and, if necessary,
Bluetooth®visibility for other devices (see
the manufacturer's operating instructions).
This visibility is for restricted periods of
time on some mobile phones (see the man-
ufacturer's operating instructions).
XSet the Bluetooth®device name for the
mobile phone if necessary.
The device names for all of one manufactur-
er's products might be identical. To make it possible to clearly identify your mobile phone,
change the device name (see the manufac-
turer's operating instructions). The name can
be freely selected.
If the mobile phone supports the PBAP
( Phone Book Access Profile) and MAP
( Message AccessProfile) Bluetooth
®pro-
files, the following information will be trans-
mitted after you connect:
RPhone book
RCall lists
RText messages and e-mails
Further information on allowing or suppress-
ing the automatic download of the phone
book (
Ypage 132).
The battery of the mobile phone should
always be kept sufficiently charged in order to
prevent malfunctions.
iNot all mobile phones available on the
market are equally suitable. You can obtain
more detailed information about suitable
mobile phones and about the connection
between the mobile phone and COMAND
on the Internet at
www.mercedes-benz-mobile.com .
You can also obtain more information by
calling.
In the USA, you can get in touch with the
Mercedes-Benz Customer Assistance Cen-
ter on 1-800-FOR-MERCedes
(1-800-367-6372 ).
In Canada, you can get in touch with the
Customer Relations Center on
1-800-387-0100.
iSome displays (e.g. the signal strength)
depend on the supported version of the
Hands-Free Profile.
114Connecting/disconnecting a mobile phone
Telephone
Page 117 of 246
Procedure and general information
Authorizing a mobile phone (connect-
ing)
Before using your mobile phone with
COMAND for the first time, you will need to
search for the phone (
Ypage 115) and then
authorize it (
Ypage 116). Depending on the
mobile phone, authorization either takes
place by means of Secure Simple Pairing or by
entering a passkey. COMAND automatically
enables the procedure suited to your mobile
phone. You can recognize Secure Simple Pair-
ing by a code which is displayed in COMAND
and on the mobile phone. You can recognize
the passkey system by the fact that you have to enter a code on the mobile phone and in
COMAND. The mobile phone is connected
automatically after authorization. Further
information about automatically reconnect-
ing authorized mobile phones (
Ypage 117).
If COMAND does not detect your mobile
phone, this may be due to particular security
settings on your mobile phone. You can also
start the search procedure and authorization
on the mobile phone (
Ypage 117).
Device-specific information on authorizing
and connecting Bluetooth
®-capable mobile
phones can be obtained from your authorized
Mercedes-Benz Center or via the Internet at
http://www.mercedes-benz.com/
connect .
You can authorize up to 15 mobile phones.
Only one mobile phone can be connected to
COMAND at any one time for telephony.
De-authorizing (disconnecting) a mobile
phone
The connection is terminated automatically if
you leave the receiver range of COMAND or
deactivate Bluetooth
®on your mobile phone.
If you no longer want the Bluetooth
®connec-
tion to be established automatically, the
mobile phone must be de-authorized (discon-
nected) (
Ypage 118).
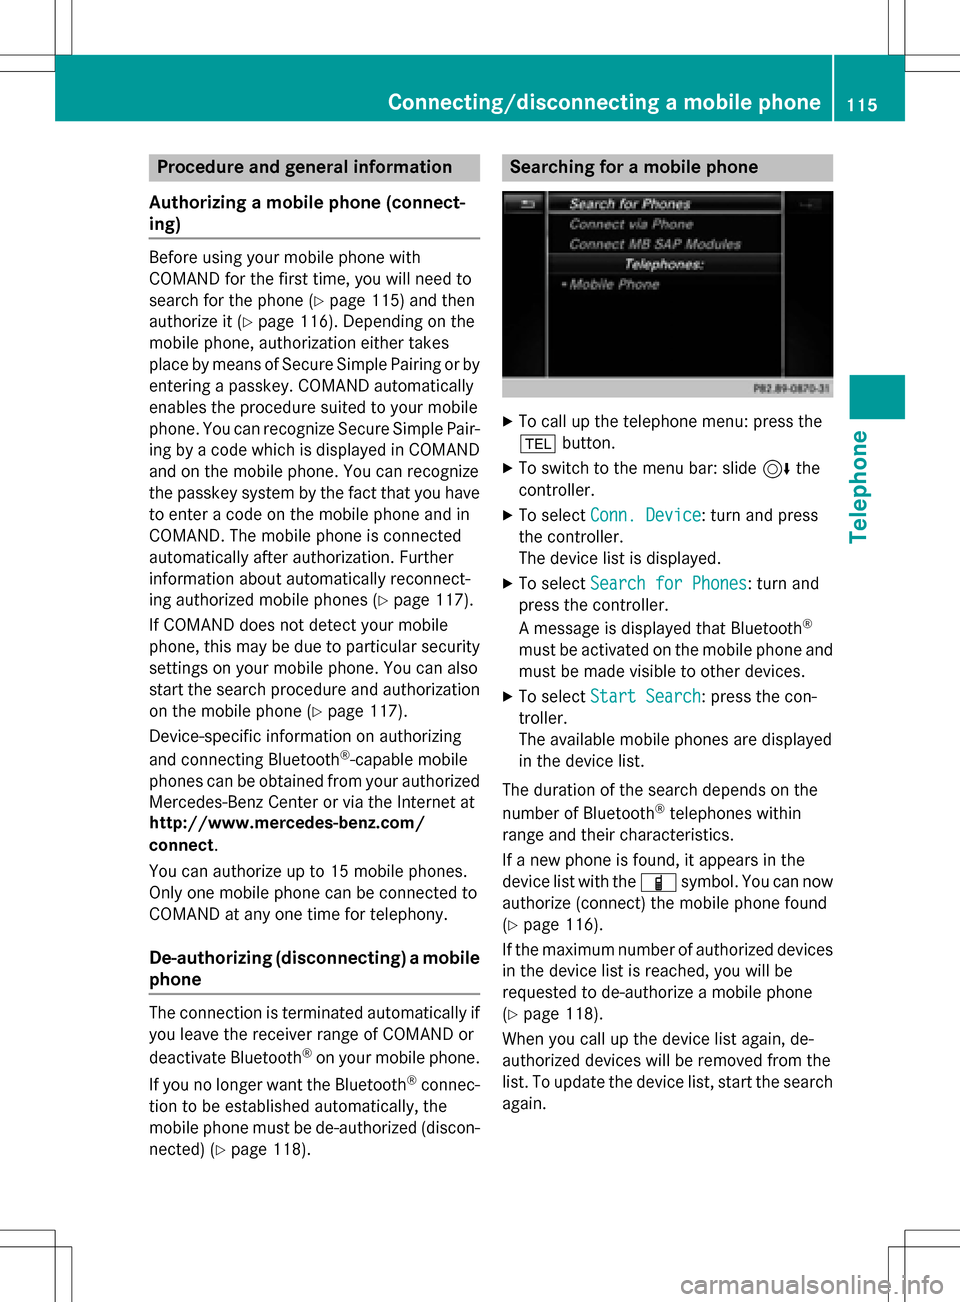
Searching for a mobile phone
XTo call up the telephone menu: press the
% button.
XTo switch to the menu bar: slide 6the
controller.
XTo select Conn. Device: turn and press
the controller.
The device list is displayed.
XTo select Search for Phones: turn and
press the controller.
A message is displayed that Bluetooth
®
must be activated on the mobile phone and
must be made visible to other devices.
XTo select Start Search: press the con-
troller.
The available mobile phones are displayed
in the device list.
The duration of the search depends on the
number of Bluetooth
®telephones within
range and their characteristics.
If a new phone is found, it appears in the
device list with the Ïsymbol. You can now
authorize (connect) the mobile phone found
(
Ypage 116).
If the maximum number of authorized devices
in the device list is reached, you will be
requested to de-authorize a mobile phone
(
Ypage 118).
When you call up the device list again, de-
authorized devices will be removed from the
list. To update the device list, start the search
again.
Connecting/disconnecting a mobile phone115
Telephone
Z