display MERCEDES-BENZ E-Class 2016 W213 Comand Manual
[x] Cancel search | Manufacturer: MERCEDES-BENZ, Model Year: 2016, Model line: E-Class, Model: MERCEDES-BENZ E-Class 2016 W213Pages: 246, PDF Size: 6.7 MB
Page 32 of 246
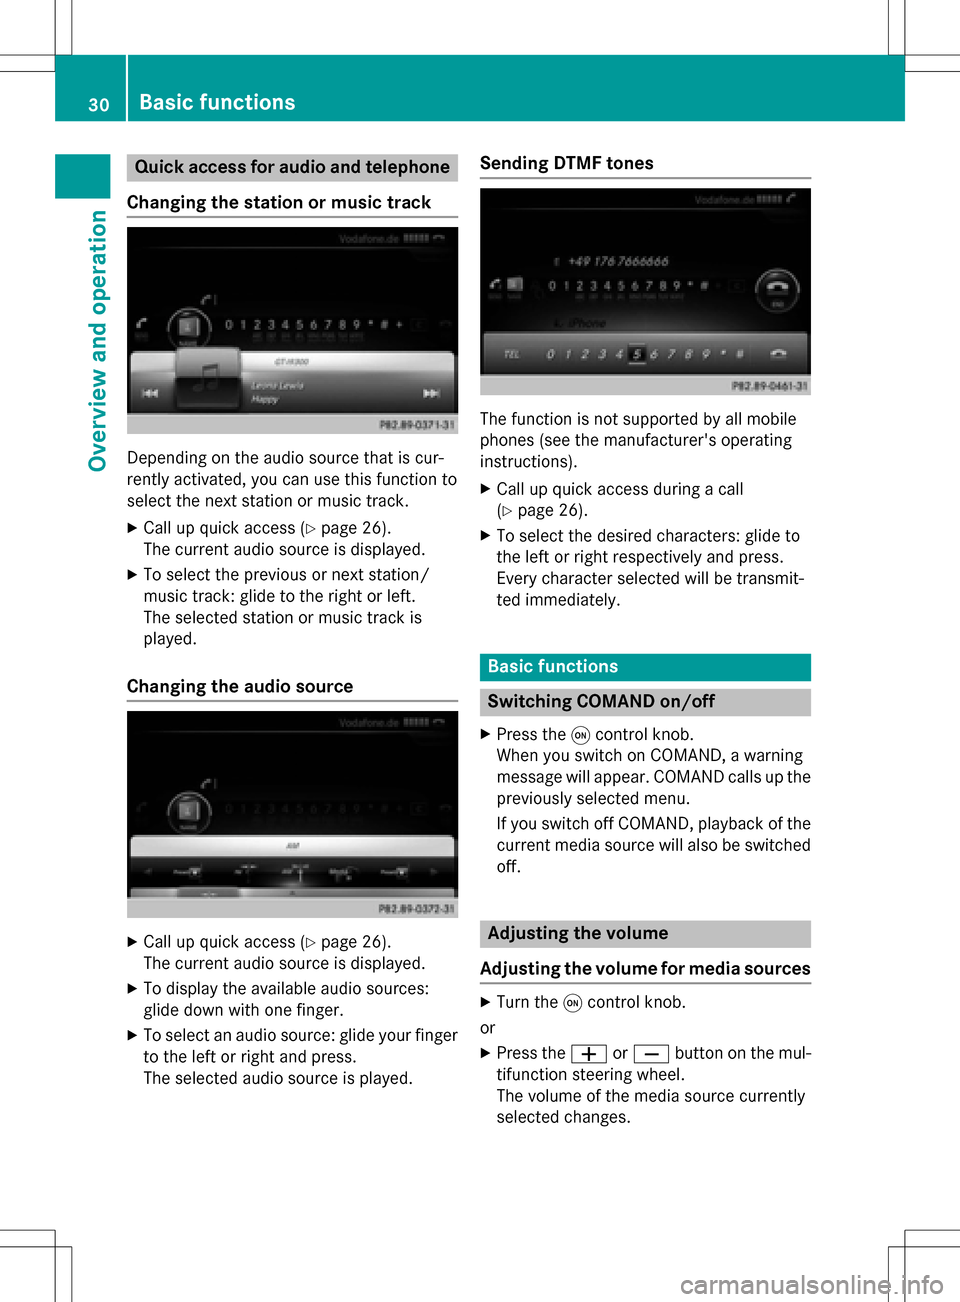
Quick access for audio and telephone
Changing the station or music track
Depending on the audio source that is cur-
rently activated, you can use this function to
select the next station or music track.
XCall up quick access (Ypage 26).
The current audio source is displayed.
XTo select the previous or next station/
music track: glide to the right or left.
The selected station or music track is
played.
Changing the audio source
XCall up quick access (Ypage 26).
The current audio source is displayed.
XTo display the available audio sources:
glide down with one finger.
XTo select an audio source: glide your finger
to the left or right and press.
The selected audio source is played.
Sending DTMF tones
The function is not supported by all mobile
phones (see the manufacturer's operating
instructions).
XCall up quick access during a call
(
Ypage 26).
XTo select the desired characters: glide to
the left or right respectively and press.
Every character selected will be transmit-
ted immediately.
Basic functions
Switching COMAND on/off
XPress the qcontrol knob.
When you switch on COMAND, a warning
message will appear. COMAND calls up the
previously selected menu.
If you switch off COMAND, playback of the
current media source will also be switched
off.
Adjusting the volume
Adjusting the volume for media sources
XTurn the qcontrol knob.
or
XPress the WorX button on the mul-
tifunction steering wheel.
The volume of the media source currently
selected changes.
30Basic functions
Overview and operation
Page 33 of 246
Adjusting the volumefor traffic
announcements and navigati on
announcements
During traffic or navigation announcements :
XTurn theq control knob.
or
XPress th eW orX buttonon th emul-
tifunction steering wheel.
iYou can set th evolume for navigation
announcements to be differen tfrom th e
volume of th erespective media source .
Adjusting the volumefor phone calls
You can adjust thevolume for hands-free
mod eduring atelephon ecall .
XTurn th eq control knob.
or
XPress th eW orX buttonon th emul-
tifunction steering wheel.
iSetting th evolume for th eVoic eControl
Syste mvoice output ,see th eseparat e
operating instructions.
Switching the sound on oroff
Media source sound
XPress th e8 buttonon th eCOMAND
controller or th emultifunction steering
wheel.
The soun dis switched off .If th eaudio out -
put is switched off ,th estatus lin ewill sho w
th e8 symbol. If you switch th emedia
source or chang eth evolume, th esoun dis
automatically switched on .
iEven if thesoun dis switched off ,you will
still hear navigation system announce -
ments .
Switching navigati onannouncements
off and onagain
XTo switch navigation announcement s
off: pressthe8 buttonduring an
announcement.
The Spoken
drivin grecommendations
havebee ndeactivated.message
appears.
XTo switch navigation announcement s
back on: switch COMAND off and then on
again (
Ypage 30).
or
XStart ane wrout ecalculation (Ypage 71).
or
XSelec t+: while rout eguidance is active ,
sho wthemen uand pre ssthecontroller
(
Ypage 90) .
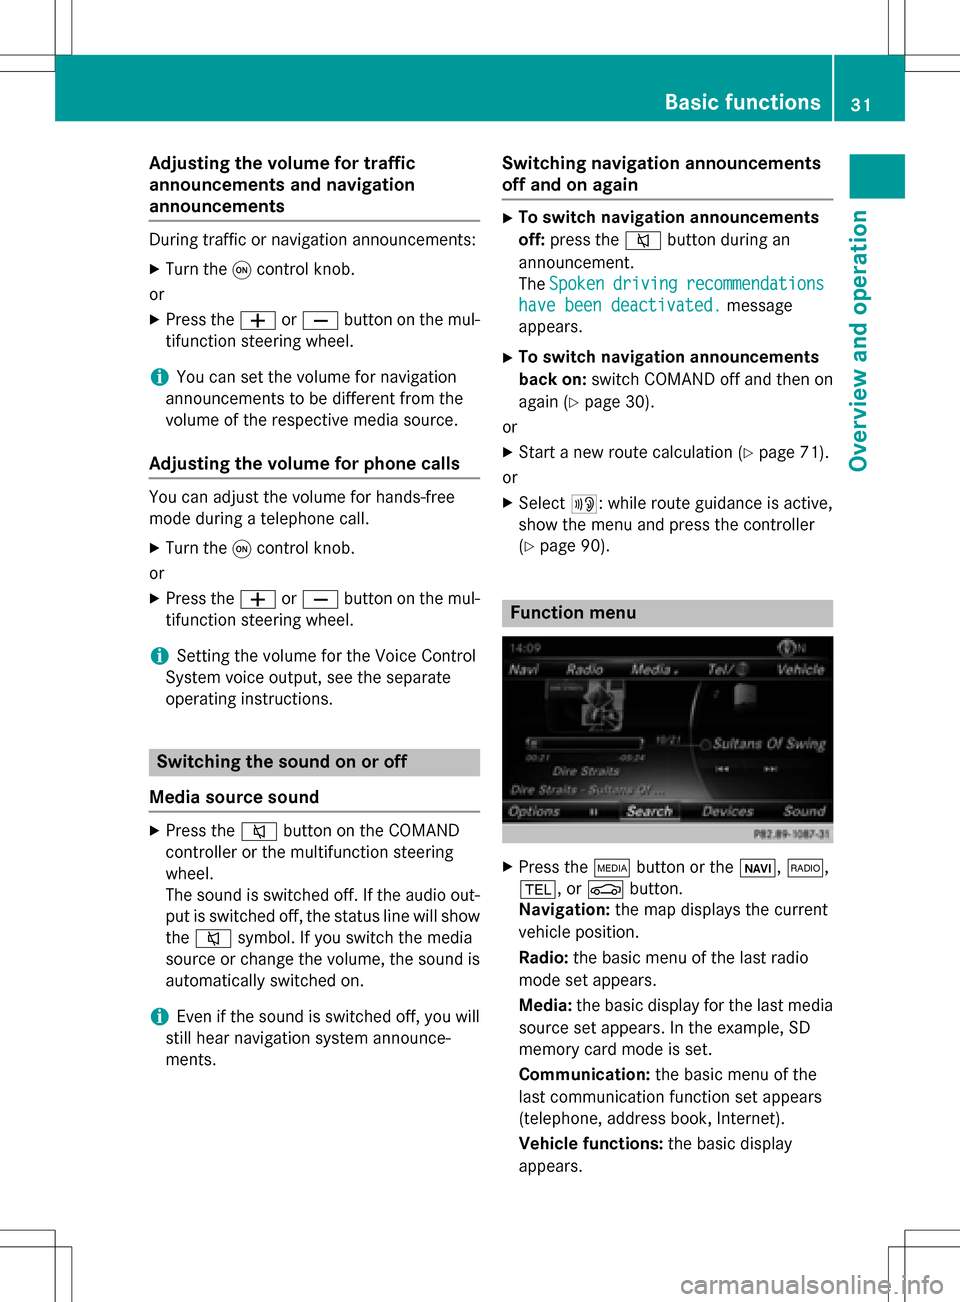
Function menu
XPresstheÕ buttonor th eß, $,
%, orØ button.
Navigation: themap displays th ecurren t
vehicl eposition .
Radio :th ebasic men uof th elast radi o
mod eset appears.
Media: thebasic display for th elast media
source set appears. In th eexample, SD
memory car dmod eis set.
Communication: thebasic men uof th e
last communication function set appear s
(telephone, addr essbook ,Internet).
Vehicle functions: thebasic display
appears.
Basic functions31
Overview and operation
Page 35 of 246
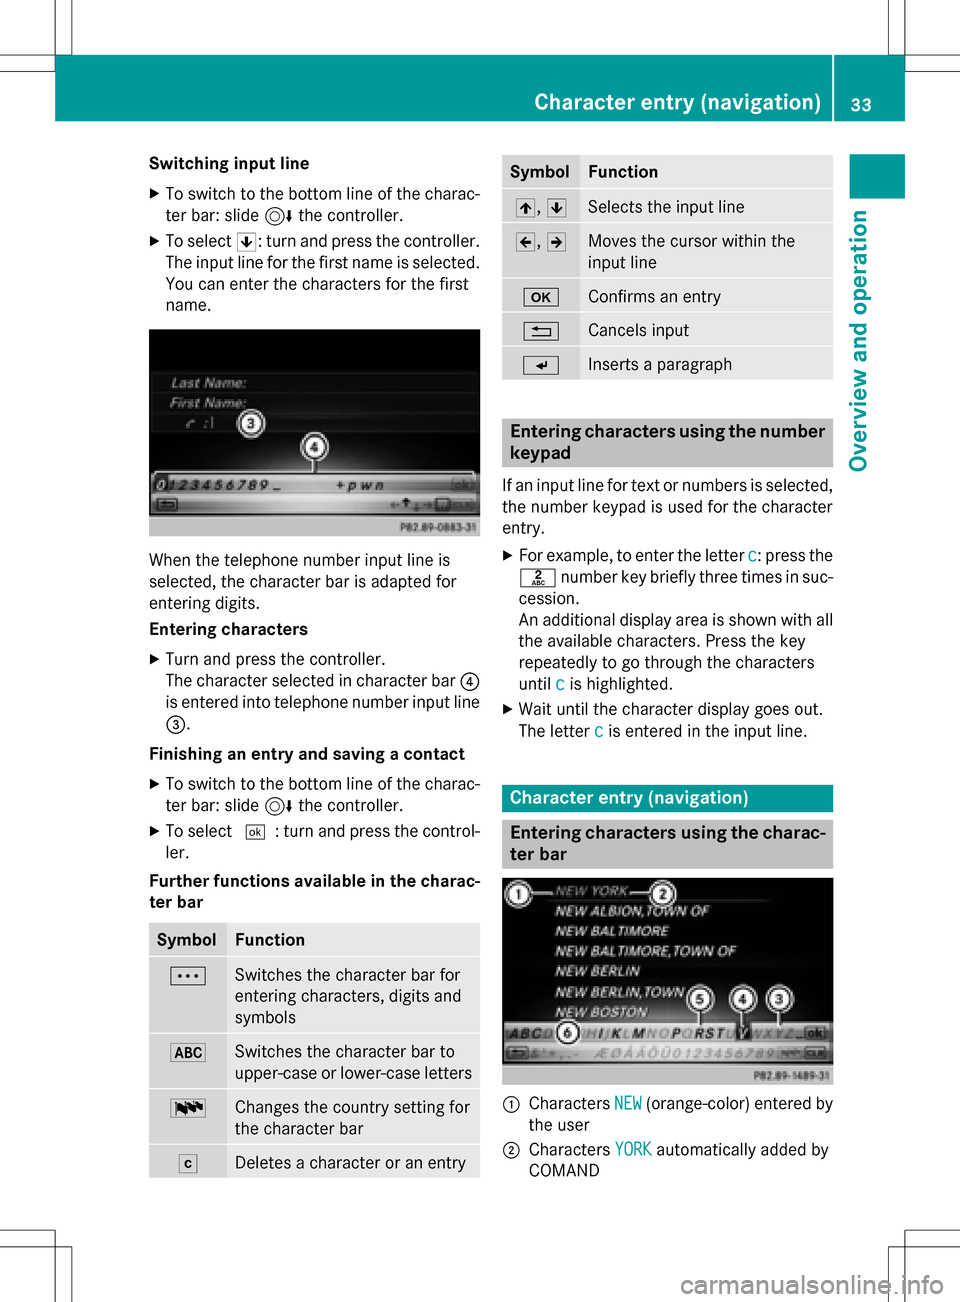
Switching input line
XTo switch to the bottom line of the charac-
ter bar: slide6the controller.
XTo select 5: turn and press the controller.
The input line for the first name is selected.
You can enter the characters for the first
name.
When the telephone number input line is
selected, the character bar is adapted for
entering digits.
Entering characters
XTurn and press the controller.
The character selected in character bar ?
is entered into telephone number input line
=.
Finishing an entry and saving a contact
XTo switch to the bottom line of the charac-
ter bar: slide 6the controller.
XTo select ¬: turn and press the control-
ler.
Further functions available in the charac-
ter bar
SymbolFunction
ÄSwitches the character bar for
entering characters, digits and
symbols
*Switches the character bar to
upper-case or lower-case letters
BChanges the country setting for
the character bar
FDeletes a character or an entry
SymbolFunction
4, 5Selects the input line
2,3Moves the cursor within the
input line
bConfirms an entry
%Cancels input
SInserts a paragraph
Entering characters using the number
keypad
If an input line for text or numbers is selected,
the number keypad is used for the character
entry.
XFor example, to enter the letter c: press the
l number key briefly three times in suc-
cession.
An additional display area is shown with all
the available characters. Press the key
repeatedly to go through the characters
until c
is highlighted.
XWait until the character display goes out.
The letter c
is entered in the input line.
Character entry (navigation)
Entering characters using the charac-
ter bar
:Characters NEW(orange-color) entered by
the user
;Characters YORKautomatically added by
COMAND
Character entry (navigation)33
Overview and operation
Page 37 of 246
SymbolFunction
FDeletes a character/an entry
èSwitches to keyword search
(
Ypage 72)
4,5Selects the input line
2,3Moves the cursor within the
input line
¬Confirms an entry
&Cancels input
Entering characters using the number
keypad
XPress one of the number keypad buttons,
e.g. l, once or repeatedly in quick suc-
cession.
The character appears at the bottom of the
display when the key is pressed. The first
available letter is highlighted.
You see which characters you can enter
with that key. Each time the key is pressed,
the next character is selected.
XWait until the character display goes out.
The entries matching your input are shown in the list.
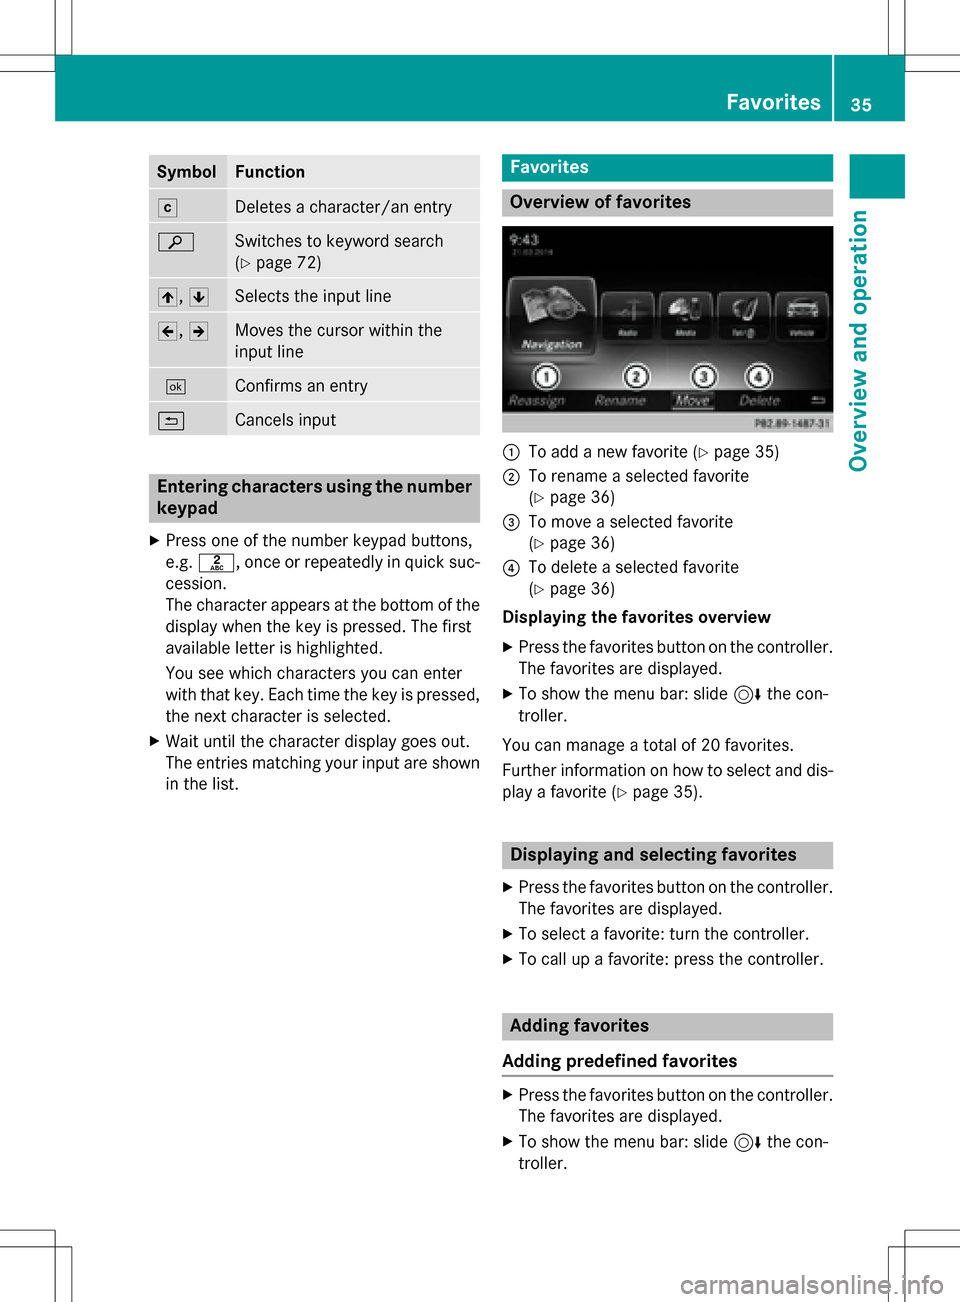
Favorites
Overview of favorites
:To add a new favorite (Ypage 35)
;To rename a selected favorite
(
Ypage 36)
=To move a selected favorite
(
Ypage 36)
?To delete a selected favorite
(
Ypage 36)
Displaying the favorites overview
XPress the favorites button on the controller.
The favorites are displayed.
XTo show the menu bar: slide 6the con-
troller.
You can manage a total of 20 favorites.
Further information on how to select and dis-
play a favorite (
Ypage 35).
Displaying and selecting favorites
XPress the favorites button on the controller. The favorites are displayed.
XTo select a favorite: turn the controller.
XTo call up a favorite: press the controller.
Adding favorites
Adding predefined favorites
XPress the favorites button on the controller. The favorites are displayed.
XTo show the menu bar: slide 6the con-
troller.
Favorites35
Overview and operation
Page 38 of 246
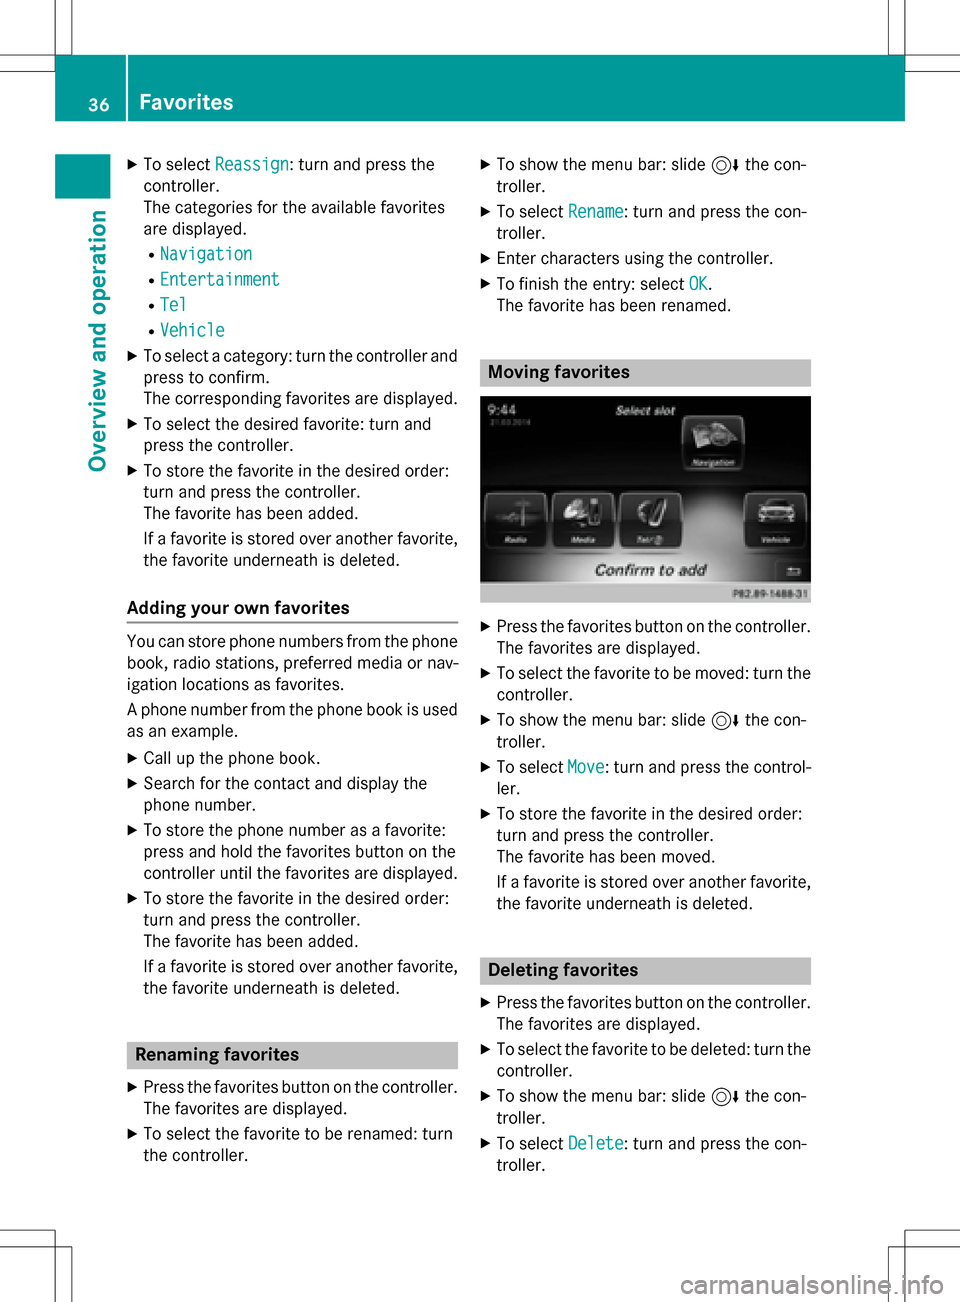
XTo selectReassign: turn and press the
controller.
The categories for the available favorites
are displayed.
RNavigation
REntertainment
RTel
RVehicle
XTo select a category: turn the controller and
press to confirm.
The corresponding favorites are displayed.
XTo select the desired favorite: turn and
press the controller.
XTo store the favorite in the desired order:
turn and press the controller.
The favorite has been added.
If a favorite is stored over another favorite,
the favorite underneath is deleted.
Adding your own favorites
You can store phone numbers from the phone
book, radio stations, preferred media or nav-
igation locations as favorites.
A phone number from the phone book is used
as an example.
XCall up the phone book.
XSearch for the contact and display the
phone number.
XTo store the phone number as a favorite:
press and hold the favorites button on the
controller until the favorites are displayed.
XTo store the favorite in the desired order:
turn and press the controller.
The favorite has been added.
If a favorite is stored over another favorite,
the favorite underneath is deleted.
Renaming favorites
XPress the favorites button on the controller.
The favorites are displayed.
XTo select the favorite to be renamed: turn
the controller.
XTo show the menu bar: slide 6the con-
troller.
XTo select Rename: turn and press the con-
troller.
XEnter characters using the controller.
XTo finish the entry: select OK.
The favorite has been renamed.
Moving favorites
XPress the favorites button on the controller. The favorites are displayed.
XTo select the favorite to be moved: turn thecontroller.
XTo show the menu bar: slide 6the con-
troller.
XTo select Move: turn and press the control-
ler.
XTo store the favorite in the desired order:
turn and press the controller.
The favorite has been moved.
If a favorite is stored over another favorite,
the favorite underneath is deleted.
Deleting favorites
XPress the favorites button on the controller.
The favorites are displayed.
XTo select the favorite to be deleted: turn the
controller.
XTo show the menu bar: slide 6the con-
troller.
XTo select Delete: turn and press the con-
troller.
36Favorites
Overview and operation
Page 41 of 246
Your COMAND equipment..................40
Important safet ynotes ...................... .40
Display settings .................................. .40
Time settings ...................................... .41
Text reader settings ............................44
Voice Contro lSyste msettings ..........44
WiFi ...................................................... 44
Bluetoot h
®settings ............................ 48
Setting th esyste mlanguage .............48
Calling up th efavorit efunctions .......49
Importing/exporting data ..................49
Reset function .................................... .51
39
System settings
Page 42 of 246
Your COMANDequipment
These operatin ginstruction sdescribe all
standar dan doptional equipmen tavailable
fo ryour COMAN Dsyste mat th etime of pur -
chase. Country-specifi cdifference sare pos -
sible. Please note that your COMAN Dsyste m
may no tbe equipped wit hall th efeature s
described .Thi salso applies to safety-relevan t
systems an dfunctions. Therefore, th eequip -
men ton your COMAN Dsyste mmay diffe r
from that in th edescription san dillustrations.
Should you hav ean yquestion sconcernin g
equipmen tan doperation ,pleas econsult an
authorized Mercedes-Ben zCenter.
Important safet ynotes
GWARNING
If you operat emobile communication equip-
men twhil edriving, you will be distracted from
traffic conditions. You could also los econtro l
of th evehicle. There is aris kof an accident.
Only operat ethis equipment when th evehicle
is stationary.
GWARNING
SD memor ycards are small parts .The ycan be
swallowe dan dcause asphyxiation .Thi s
poses an increase dris kof injury or eve nfatal
injury.
Kee pSD memor ycards out of th ereach of
children .If an SD memor ycar dis swallowed,
see kimmediate medical attention .
You mustobserv eth elega lrequirements fo r
th ecountry in whic hyou are currentl ydrivin g
when operatin gmobile communication s
equipmen tin th evehicle.
Display settings
Setting th ebrightness
The brightness detecte dby th edisplay ligh t
sensor affects th esetting option sfo rthis
function .
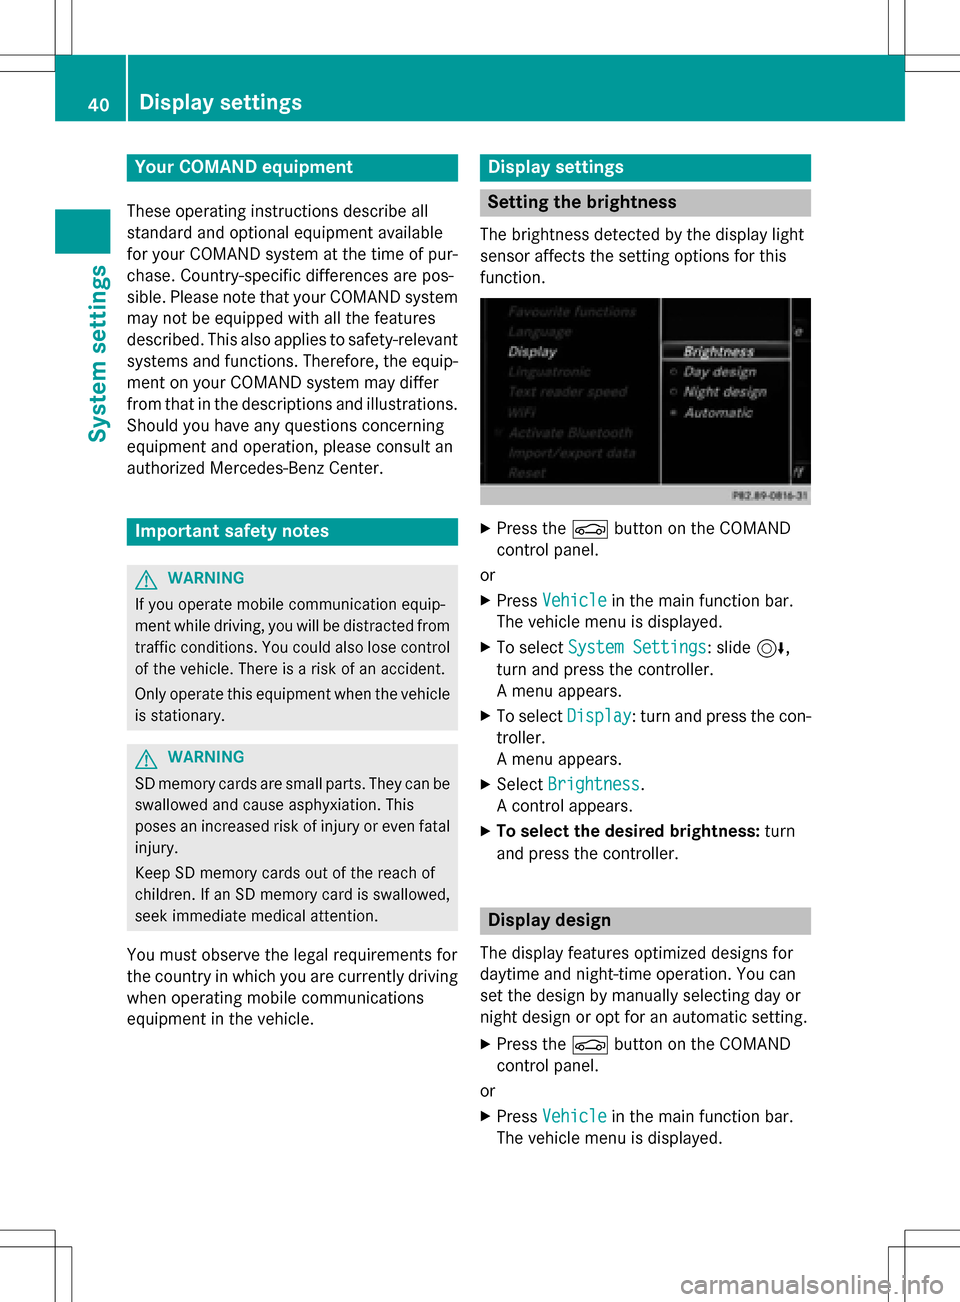
XPress theØ buttonon th eCOMAN D
contro lpanel.
or
XPress Vehicl ein themain function bar .
The vehicle men uis displayed.
XTo selec tSystem Settings:slid e6,
turn an dpress th econtroller .
A men uappears .
XTo selec tDispla y:turn an dpress th econ-
troller.
A men uappears .
XSelectBrightness.
A contro lappears .
XTo selec tth edesired brightness: turn
an dpress th econtroller .
Display design
The display feature soptimize ddesign sfo r
daytime an dnight-time operation .You can
set th edesign by manually selecting day or
night design or opt fo ran automatic setting .
XPress theØ buttonon th eCOMAN D
contro lpanel.
or
XPress Vehicl ein themain function bar .
The vehicle men uis displayed.
40Display settings
System settings
Page 43 of 246
XTo selectSystem Settings: slide6,
turn and press the controller.
A menu appears.
XTo select Display: turn and press the con-
troller.
A menu appears.
XTo select Day Mode,Night Modeor Auto:
turn and press the controller.
The #dot indicates the current setting.
DesignExplanation
Day ModeThe display is set perma-
nently to day design.
Night ModeThe display is set perma-
nently to night design.
AutoIf the Autosetting is
selected, COMAND eval-
uates the readings from
the automatic vehicle
light sensor and auto-
matically switches
between the display
designs.
Switching the display on/off
XPress the Øbutton on the COMAND
control panel.
XTo select DisplayOff: slide6, turn and
press the controller to confirm.
The display goes out.
or
XPress the _button on the controller.
The display goes out.
XTo switch the display on again: press the
controller.
Time settings
General information
COMAND can automatically set the time and
date. The following navigation system functions
require the time, time zone and summer/
standard time to be set correctly in order to
work properly:
Rroute guidance on routes with time-
dependent traffic guidance
Rcalculation of expected time of arrival
Switching automatic time on and off
The
Automatic Time Settingsfunction is
used to activate or deactivate the automatic
setting of the time and date. This function is
activated when the vehicle leaves the factory.
XPress the Øbutton on the COMAND
control panel.
or
XPress Vehiclein the main function bar.
The vehicle menu is displayed.
XTo select Time: slide6, turn and press
the controller to confirm.
A menu appears.
XTo select Automatic Time Settings:
press the controller.
XTo switch the function on Oor off ª:
press the controller.
Setting the time zone
To set the time zone, the Automatic Time
Settingsfunction must be activated.
XPress theØbutton on the COMAND
control panel.
or
XPress Vehiclein the main function bar.
The vehicle menu is displayed.
XTo select Time: slide6, turn and press
the controller to confirm.
A menu appears.
XTo select Time Zone:: turn and press the
controller.
A list of countries appears. The #dot indi-
cates the current setting.
Time settings41
System settings
Z
Page 44 of 246
XSelect the country you are currently in by
turning and pressing the controller.
The country is accepted.
A time zone list may also be displayed,
depending on the country selected.
XTo select the desired time zone:turn and
press the controller.
The time zone is accepted.
A list of available options for setting sum-
mer time appears (
Ypage 42).
Setting summer and standard time
The Daylight Saving Timemenu is not
available in all countries.
You can use the Daylight Saving Time
menu to set automatic summer time change-
over or switch the summer time setting on or
off. The changeover to summer time advan-
ces the time by one hour.
XPress theØbutton on the COMAND
control panel.
or
XPress Vehiclein the main function bar.
The vehicle menu is displayed.
XTo select Time: slide6, turn and press
the controller to confirm.
A menu appears.
XTo select Daylight Saving Time: turn
and press the controller.
A list with options appears.
XTo select Automatic,Onor Off: turn and
press the controller.
SettingFunction
AutomaticThe summer and
standard time are
automatically
changed over.
OnThe clock is
advanced one hour
ahead of standard
time.
OffThe standard time
for the chosen time
zone is selected.
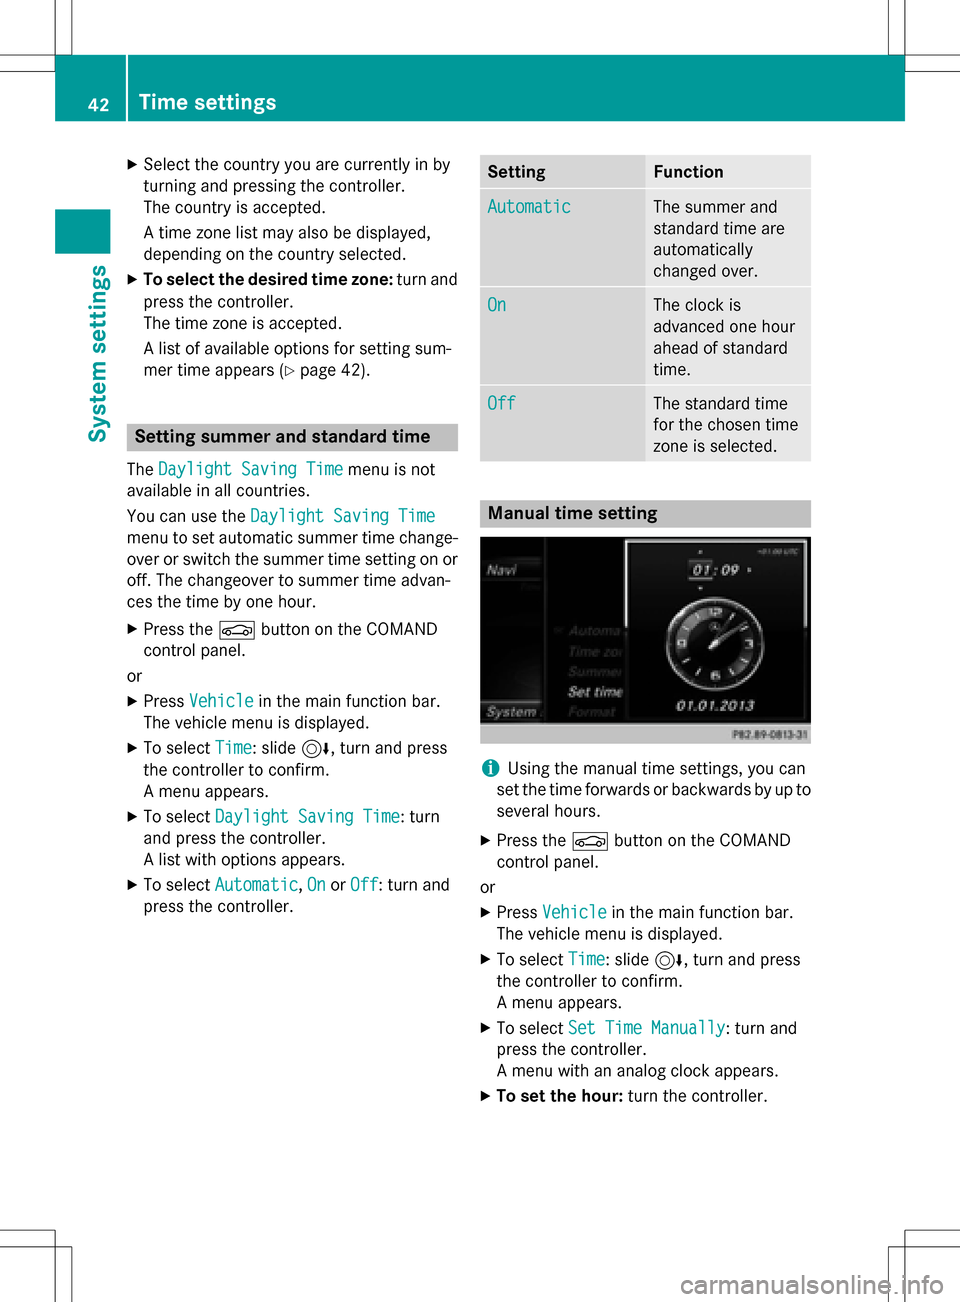
Manual time setting
iUsing the manual time settings, you can
set the time forwards or backwards by up to
several hours.
XPress the Øbutton on the COMAND
control panel.
or
XPress Vehiclein the main function bar.
The vehicle menu is displayed.
XTo select Time: slide6, turn and press
the controller to confirm.
A menu appears.
XTo select Set Time Manually: turn and
press the controller.
A menu with an analog clock appears.
XTo set the hour: turn the controller.
42Time settings
System settings
Page 45 of 246
XTo highlight the minutes:slide9 the
controller.
XTo set the minutes: turn and press the
controller.
The time is accepted.
The Automatic Time Settings
function
is deactivated ª.
If Automatic
is set for the summer time
changeover, a prompt will appear asking
whether the automatic changeover should
be maintained between summer and winter
time.
iIf Automatic Time Settingsis reacti-
vated, the previous settings for time zone
and summer time changeover are restored.
Setting the time and date format
Use this function to set the time and date for-
mat for all displays in the vehicle.
XPress the Øbutton on the COMAND
control panel.
or
XPress Vehiclein the main function bar.
The vehicle menu is displayed.
XTo select Time: slide6, turn and press
the controller to confirm.
A menu appears.
XTo select Format: turn and press the con-
troller.
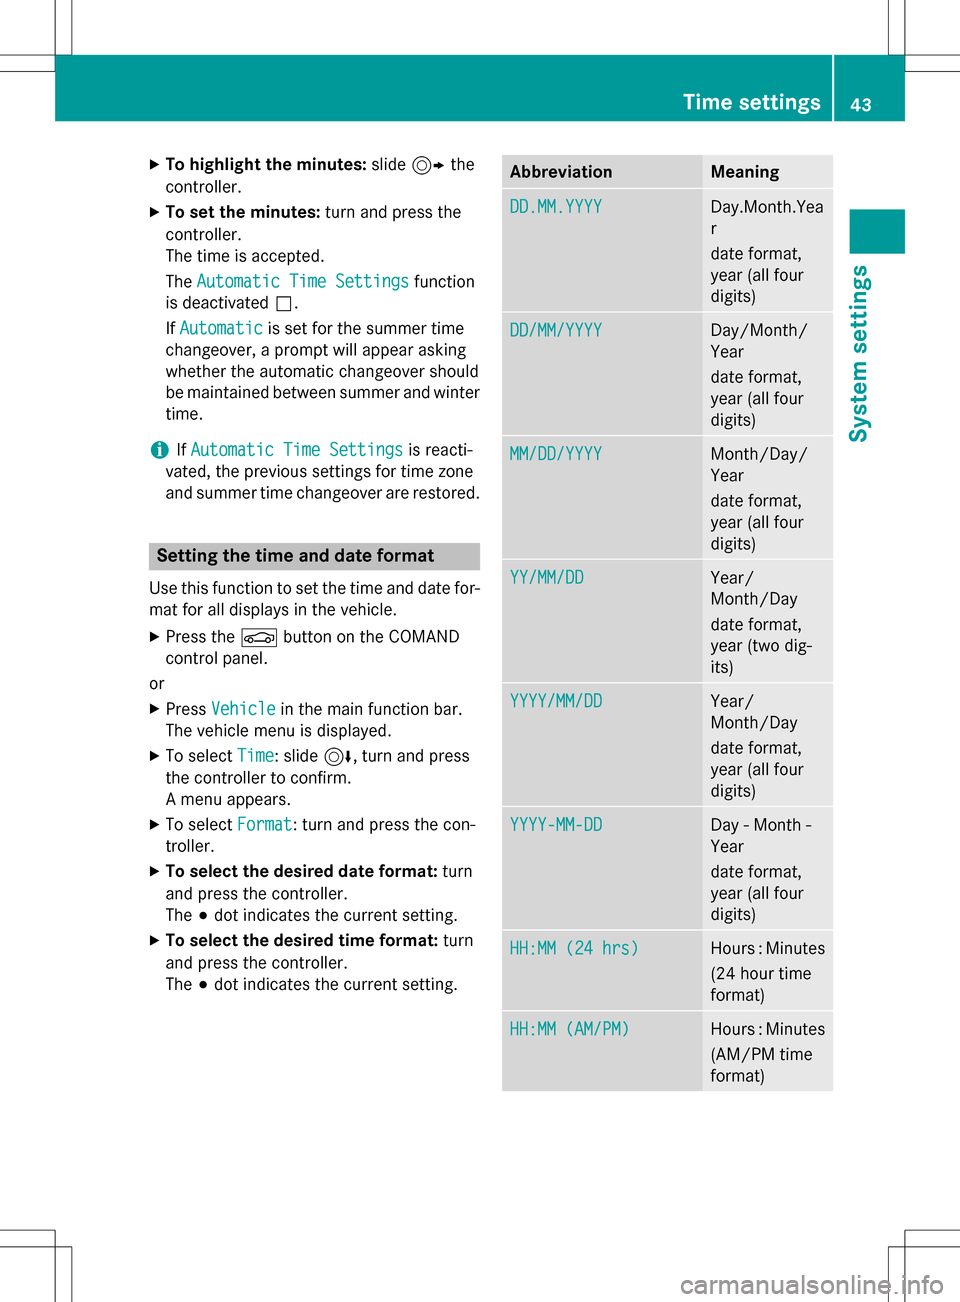
XTo select the desired date format: turn
and press the controller.
The #dot indicates the current setting.
XTo select the desired time format: turn
and press the controller.
The #dot indicates the current setting.
AbbreviationMeaning
DD.MM.YYYYDay.Month.Yea
r
date format,
year (all four
digits)
DD/MM/YYYYDay/Month/
Year
date format,
year (all four
digits)
MM/DD/YYYYMonth/Day/
Year
date format,
year (all four
digits)
YY/MM/DDYear/
Month/Day
date format,
year (two dig-
its)
YYYY/MM/DDYear/
Month/Day
date format,
year (all four
digits)
YYYY-MM-DDDay - Month -
Year
date format,
year (all four
digits)
HH:MM (24 hrs)Hours : Minutes
(24 hour time
format)
HH:MM (AM/PM)Hours : Minutes
(AM/PM time
format)
Time settings43
System settings
Z