ECU MERCEDES-BENZ E-CLASS SALOON 2017 Repair Manual
[x] Cancel search | Manufacturer: MERCEDES-BENZ, Model Year: 2017, Model line: E-CLASS SALOON, Model: MERCEDES-BENZ E-CLASS SALOON 2017Pages: 497, PDF Size: 10.38 MB
Page 344 of 497
#
Remo vetheto wing eye. #
Have theve hicle checked at a qualified spe‐
cialist workshop. Electrical fuses
Note
s on electrical fuses &
WARNING Risk of accident and inju ry
due to ov erloaded lines
If yo u manipulate or bridge a faulty fuse or if
yo ure place it with a fuse with a higher
amperage, the electric line could be overloa‐
ded.
This could result in a fire. #
Alw aysre place faulty fuses with speci‐
fi ed new fuses conta iningthe cor rect
amperage. *
NO
TEDama gecaused byincor rect fuses Incor
rect fuses may cause damage toelectri‐
cal components or sy stems. #
Only use Mercedes-Benz appr oved
fuses with the cor rect fuse rating. Blown fuses mu
stbe replaced with fuses of the
same rating, which you can recognise bythe col‐
our and fuse rating. For engine compartment
and boot fuses, only use those fuses mar ked
with an "S". The fuse ratings are li sted in the
fuse assignment diagram.
Fu se assignment diag ram: onthe fuse box in
th e boot (→ page 343).
* NO
TEDama geor malfunctions caused
by moisture Moisture may cause dama
getothe electrical
sy stem or cause it tomalfunction. #
When the fuse box is open, make sure
th at no moisture can enter the fuse
box. #
When closing the fuse box, make sure
th at the seal of the lid is positioned cor‐
re ctly on the fuse box. If
th e newly inser ted fuse also blo ws, ha vethe
cause traced and rectified at a qualified special‐
ist workshop, e.g. a Mercedes-Benz Service
Centre.
Ensure thefo llowing before replacing a fuse:
R The vehicle is secured against rolling away.
R All electrical consumers are switched off.
R The ignition is switched off.
The electrical fuses are located in various fuse
bo xes:
R Fuse box on the driver's side of the engine
compartment (→ page 342)
R Fuse box on the driver's side of the cockpit
(→ page 343)
R Fuse box in the front-passen gerfo ot we ll
(→ page 343)
R Fuse box in the boot on theright-hand side
of theve hicle, when vie wed in the direction
of tr avel (→ page 343) Breakdown assis
tance 341
Page 354 of 497
Count
ryRadio equipment appr oval
number
Радіопередав ачмоделі MFR
системи контролю тиск ув
шині ав томобіля відповідає
вимогам Технічного
регламент урадіообладнання і
телек омунікаційног окінцевого
(термінального )обладнання
(Постанов аКМУ № 679від 24
червня 2009р.)Декларація
відповідн ості знах одиться на
са йті Schrader Electronics та
надається за запит омна
елек трону адре суemc‐
te [email protected]
Uni ted
Arab Emi‐
ra tes TRA
REGISTERED NO :ER3
7156/15.
DEALER NO:DA00470 74/10 Brazil
Es
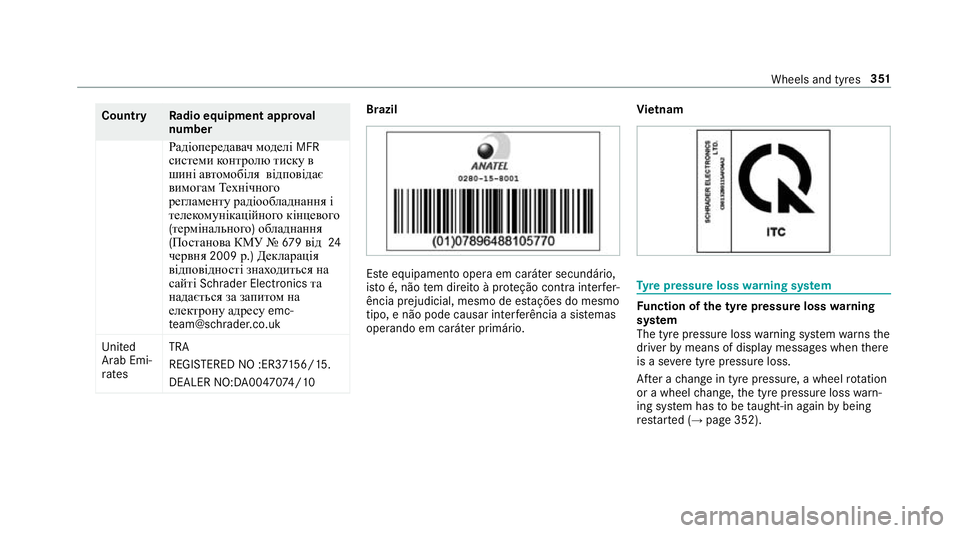
te equipamento opera em caráter secundário,
is to é, não tem direito à pr oteção contra inter fer‐
ência prejudicial, mesmo de es tações do mesmo
tipo, e não pode causar inter ferê ncia a si stemas
operando em caráter primário. Vi
etnam Ty
re pressure loss warning sy stem Fu
nction of the ty repressure loss warning
sy stem
The tyre pressure loss warning sy stem warnsthe
driver bymeans of display messa ges when there
is a se vere tyre pressu reloss.
Af ter a change in tyre pressure, a wheel rotation
or a wheel change, the tyre pressure loss warn‐
ing sy stem has tobe taught-in again bybeing
re star ted (→ page 352). Wheels and tyres
351
Page 366 of 497
Ve
hicles with a tyre pressure monitoring
sy stem: If an emer gency spa rewheel is fit‐
te dth e tyre pressure monitoring sy stem can‐
not function reliabl y.Only restart the sy stem
again when the emer gency spa rewheel has
been replaced with a new wheel.
Ve hicles with a tyre pressure monitoring
sy stem: For a few minutes af ter an emer‐
ge ncy spa rewheel is fitted, the sy stem may
st ill display the tyre pressure of there mo ved
wheel.
Be sure toalso obse rveth efo llowing fur ther
re lated subjects:
R Notes on tyre pressure (→ page 345)
R Tyre pressure table (→ page 346) Re
moving the eme rgency spa rewheel The eme
rgency spare wheel is secured in the
emer gency spa rewheel bag in the boot. #
Obser vethe information on mounting tyres
(→ page 352). #
Open the boot. #
Detach thefast ening stra ps. #
Unhook there taining spring hooks of thefa s‐
te ning stra ps from the brac kets. #
Remo vethe emer gency spa rewheel bag with
th e emer gency spa rewheel. #
Open the emer gency spa rewheel bag and
re mo vethe emer gency spa rewheel. Wheels and tyres
363
Page 401 of 497
Display messages
Possible causes/consequences and M
MSolutions
Front-passenger airbag
enabled See Owner's Man-
ual *T
he front passenger airbag is enabled while theve hicle is in motion:
R even when a child, a small adult or an object weighing less than the sy stem weight thre shold is located on the
front passenger seat
R even when the front passenger seat is not occupied
The sy stem may de tect objects or forc es that are adding tothewe ight applied tothe seat. &
WARNING Risk of inju ryor fata l injury when using a child restra int sy stem while the front passenger airbag
is enabled
If yo u secure a child in a child restra int sy stem on the front passenger seat and the front passenger airbag is
enabled, the front passenger airbag can deploy in theev ent of an accident.
The child could be stru ck bythe airbag. #
Ensure, bo thbefore and during the journe y,that thest atus of the front passenger airbag is cor rect.
NEVER use a rear wa rdfacing child restra int on a seat pr otected byan ACTIVE FRONT AIRB AGin front of it;
DE ATH or SERIOUS INJU RYtotheCH ILD can occur. #
Pull over and stop theve hicle safely as soon as possible, paying attention toroad and traf fic conditions. #
Check thest atus of the automatic front passenger airbag shutoff . #
If necessar y,consult a qualified specialist workshop immediatel y.398
Display messages and warning/indicator lamps
Page 427 of 497
Display messages
Possible causes/consequences and M
MSolutions
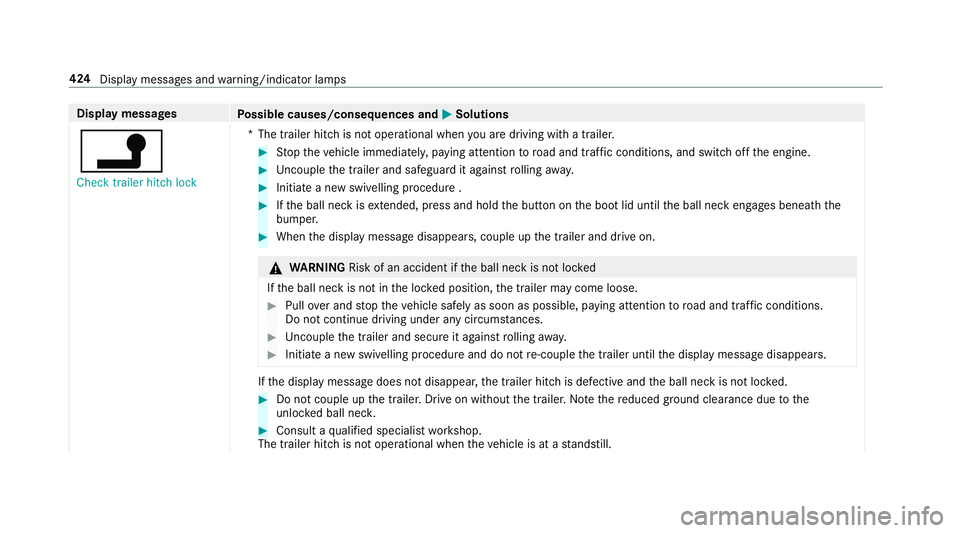
j Check trailer hitch lock *T
he trailer hitch is not operational when you are driving with a trailer. #
Stop theve hicle immediately, paying attention toroad and traf fic conditions, and switch off the engine. #
Uncouple the trailer and safeguard it against rolling away. #
Initiate a new swivelling procedure . #
Ifth e ball neck is extended, press and hold the button on the boot lid until the ball neck engages beneath the
bumper. #
When the display message disappears, couple up the trailer and drive on. &
WARNING Risk of an accident if the ball neck is not loc ked
If th e ball neck is not in the loc ked position, the trailer may come loose. #
Pull over and stop theve hicle safely as soon as possible, paying attention toroad and traf fic conditions.
Do not continue driving under any circums tances. #
Uncouple the trailer and secure it against rolling away. #
Initiate a new swivelling procedure and do not re-couple the trailer until the display message disappears. If
th e display message does not disappear, the trailer hitch is defective and the ball neck is not loc ked. #
Do not couple up the trailer. Drive on without the trailer. No tethere duced ground clearance due tothe
unlo cked ball nec k. #
Consult a qualified specialist workshop.
The trailer hitch is not operational when theve hicle is at a standstill. 424
Display messages and warning/indicator lamps
Page 452 of 497
Ve
hicle Wa
rning/indicator lamp
Possible causes/consequences and M
MSolutions
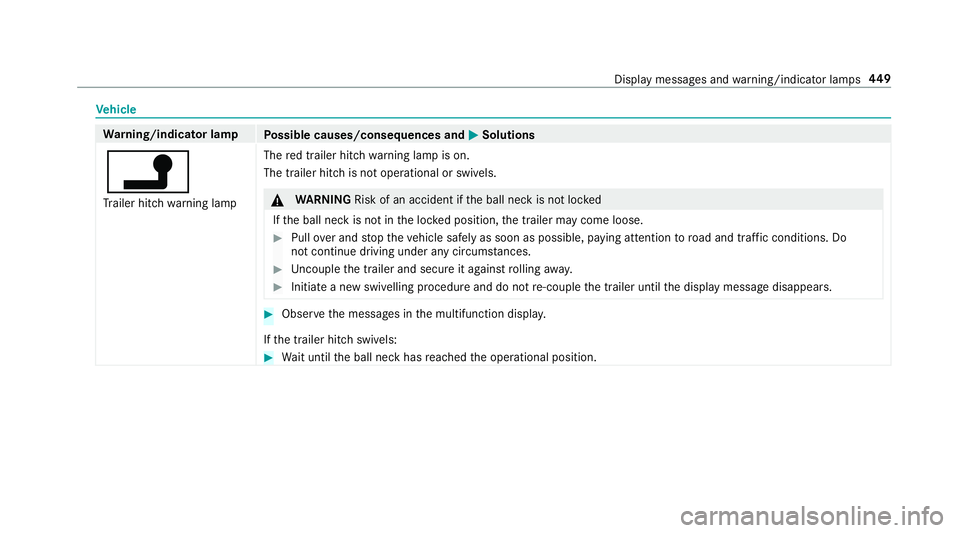
j Tr ailer hit chwarning lamp The
red trailer hitch warning lamp is on.
The trailer hitch is not operational or swivels. &
WARNING Risk of an accident if the ball neck is not loc ked
If th e ball neck is not in the loc ked position, the trailer may come loose. #
Pull over and stop theve hicle safely as soon as possible, paying attention toroad and traf fic conditions. Do
not continue driving under any circums tances. #
Uncouple the trailer and secure it against rolling away. #
Initiate a new swivelling procedure and do not re-couple the trailer until the display message disappears. #
Obser vethe messages in the multifunction displa y.
If th e trailer hitch swivels: #
Wait until the ball neck has reached the operational position. Display messages and
warning/indicator lamps 449
Page 465 of 497
Seats suitable
for belt-secu redch ild
re stra int sy stems ................................... 55
Seats suitable for i‑Size child
re stra int sy stems ................................... 60
Seats suitable for ISOFIX child
re stra int sy stems ................................... 58
To pTe ther ..............................................51
Child seat see i-Size child seat securing sy stem
see ISOFIX child seat securing sy stem
Child-sa fety lock
Re ar door .............................................. 63
Child ren
Re stra int sy stems ..................................46
Chock ...................................................... .356
St orage location ..................................3 56
Cigar ette lighter
Fr ont centre console ............................ 121
City lighting ............................................ .132
Cleaning see Care Climate control
........................................ 147
Ac tivating/deactivating the A/C
function (cont rol panel) ...................... .149
Ac tivating/deactivating the A/C
function (multimedia sy stem) .............. 14 9
Ac tivating/deactivating the synchro‐
nisation function (cont rol panel) .......... 15 0
Ac tivating/deactivating the synchro‐
nisation function (multimedia sys‐
te m) ..................................................... 15 0
Air di stribution settings .......................1 50
Air-recirculation mode ......................... 15 0
Au tomatic control ................................ 14 9
Climate style function .......................... 14 9
Demi sting the windo ws....................... 15 0
Demi sting the windscreen ...................1 47
Fr agrance sy stem ................................ 151
Fr ont air vents ..................................... 157
Glo vebox air vent ................................ 15 8
Inserting/removing theflacon (fra‐
gr ance sy stem) .................................... 151
ionisation ............................................ .151
No te ..................................................... 147
Re ar air vents ...................................... 15 8
Re ar operating unit .............................. 147
Re sidual heat ....................................... 151Setting
the air distribution ...................1 47
Setting the air flow ............................... 147
Setting the climate style ......................1 49
Setting thete mp erature ......................1 47
St ationary heater/ ventilation .............. 15 3
Switching on/off ................................. 14 8
Switching there ar wind owheater
on/off .................................................. 147
THERMATIC contro l panel .................... 147
THERMOTRONIC contro l panel ............147
Ve ntilating theve hicle (con venience
opening) ................................................ 84
Wi ndsc reen heater .............................. 15 2
Climate style
Fu nction .............................................. 14 9
Setting ................................................. 14 9
Cockpit ........................................................ .6
Overview .................................................6
Combination switch see Turn signal light
Computer On-board computer ............................. 253
Connection status
Displ ays ............................................... 295 462
Index
Page 475 of 497
Gearshift paddles
see Steering wheel gearshift paddles
Gea rshift recommendation .............171,174
Genera l operating permit number
(EU) .......................................................... .366
Genuine parts ............................................ 22
Genuine wood (Care) .............................. .319
Glide mode ............................................... 175
Glo vebox
Air vent ................................................ 15 8
Locking/unlocking .............................. 109
Gross weight .......................................... .366 H
Handbrake see Electric parking brake
Handling characteristics (unusual) ....... 344
HANDS-FREE ACCESS ................................ 79
Haza rdwa rning lights ............................ .130
Head restra int .......................................... .99
Fr ont (adjusting manually) ..................... 99
Fr ont (luxury head restra int) ................ 100Re
ar (adjusting) .................................. .101
Re ar (fitting/removing) ........................ 101
Head-up display ....................................... 261
Ad justing brightness (on-board com‐
pu ter) ................................................... 261
Ad justing display elements (on-board
compu ter) ............................................ 261
Fu nction .............................................. 262
Menu (on-board compu ter) .................. 261
Setting the position (on-board com‐
puter) ................................................... 261
Switching on/off ................................. 263
Using the memory function ................. 106
Headlamp flasher ................................... .129
Heating see Clima tecontrol
High-pressure cleaner (care) ..................314
Hill Start Assist ........................................ 211
HOLD function ......................................... 212
Ac tivating/deactivating ...................... .212
Fu nction/no tes .................................... 212
Hooking the luggage net .........................114 I
i-Size child seat securing sy stem ............ 49
Fitting .................................................... 50
No tes ..................................................... 49
Seats suitable for attaching ................... 60
Identification plate Engine ................................................. 366
Vehicle ................................................ 366
Ignition Switching on (S tart/S top button) ........ 15 9
Ignition key
see Key
Immobiliser ................................................ 91
Implied warranty
Ve hicle ................................................... 27
Inat tentiveness assistant
see ATTENTION ASSIST
Indicator lamp see Warning/indicator lamps
Individual drive prog ram
Con figuring .......................................... 17 0
Selecting ............................................. 17 0472
Index
Page 476 of 497
Instrument clus
ter
see Instrument Display
see Warning/indicator lamps
Instrument Display .................................. 251
Ad justing the lighting .......................... 255
Fu nction/no tes .................................... 251
Overview ........................................1 0, 251
Wa rning/indicator lamps .................... 438
Instrument lighting .................................255
Intelligent Light Sy stem .......................... 13 0
Ac tive headla mps function ...................1 31
Ad aptive Highbeam Assist Plus .......... .134
Ad versewe ather light .......................... 13 2
City lighting ........................................ .132
Cornering light ..................................... 131
Fo g light (extended range) ................... 13 2
Mo torw ay mode ................................... 131
Overview ............................................. 13 0
Switching on/off ................................. 13 2
Interior lighting ........................................ 13 6
Ambient lighting .................................. 13 6
Setting ................................................. 13 6
Switch-off del aytime ........................... 13 6Interior lighting
see In terior lighting
see Lighting
see Lights
Interior pr otection
Fu nction ................................................ 93
Switching on/o ff................................... 93
In tern etconnection
Cancelling permission ........................ .294
Closing ................................................ 294
Connection status .............................. .295
Displ aying the connection status ........ 295
Editing access data ............................ .294
Es tablishing .........................................2 94
Mobile phone de tails .......................... .294
Re strictions ......................................... 293
Setting access da ta............................. 293
Setting up ............................................ 293
Ionisation .................................................. 151
ISOFIX child seat securing sy stem .......... 49
Fitting .................................................... 50
No tes ..................................................... 49
Seats suitable for attaching ................... 58 J
Jack Declaration of Conformity .................... .24
St orage location ..................................3 56
Jump-start connection ............................ 332 K
Ke y.............................................................. 67
Battery .................................................. 69
Emer gency key element ........................ 69
Energy consum ption .............................. 68
Fe atures ................................................ 67
Ke yring attachment .............................. 69
Overview ................................................ 67
Pa nic alarm ........................................... 68
Problem ................................................ .70
Un locking setting .................................. 68
KEYLESS-GO Locking theve hicle ................................ 73
Problem .................................................74
Un locking setting .................................. 68
Un locking theve hicle ............................73
Kickd own.................................................. 175
Using ................................................... 175 Index
473
Page 478 of 497
Loads
Securing .............................................. 107
Locator lighting Swit ching on/off ................................ .135
Lock ing/unlocking
Ad ditional door lock ...............................71
Digital Car Keyst icke r ........................... 72
KEYLESS-GO .......................................... 73
Mobile phone ......................................... 72
Smartphone ........................................... 72
Un locking/opening the doors from
th e inside ............................................... 71
Lu bricant additives
see Additives
Lu ggage
Lu ggage net ......................................... 11 4
Secu ring .............................................. 107
Lu mbar support
see Lumbar support (4-w ay)
Lu mbar support (4-w ay).......................... .99 M
Main beam Activating/deactivating ...................... .129
Ad aptive Highbeam Assist .................. .132
Ad aptive Highbeam Assist Plus .......... .134
Changing bulbs ................................... .138
Maintenance see ASS YST PLUS
Malfunction Restra int sy stem ................................... 32
Manual transmission Operating thege arshift le ver ............... 17 0
Matt finish (cleaning instructions) .........316
Maximum gross vehicle weight ............ .366
Maximum speed see Limi ter
MB Info call see Service call
Media Menu (on-boa rdcompu ter) .................. 260
Sear ching ............................................ 298 Media Inter
face
In fo rm ation .......................................... 298
Overview ............................................ .299
Switching on ....................................... 299
Media mode Activating ............................................ 296
Media playba ck
Operating (on-board computer) ........... 260
Media sear ch
St arting .............................................. .298
Media source Dialling (on-boa rdcompu ter) ............... 260
Memory function Head-up display — Calling up sa ved
settings ............................................... 106
Head-up Display — Saving settings ...... 106
Operating ............................................ 106
Outside mir ror — Calling up sa ved
settings ............................................... 106
Outside mir ror — Saving settings ......... 106
Seat — Calling up sa ved settings .........1 06
Seat — Saving settings ......................... 106
St eering wheel — Calling up sa ved
settings ............................................... 106 Index
475