interval MERCEDES-BENZ E55AMG 2000 W210 Owner's Manual
[x] Cancel search | Manufacturer: MERCEDES-BENZ, Model Year: 2000, Model line: E55AMG, Model: MERCEDES-BENZ E55AMG 2000 W210Pages: 341, PDF Size: 15.07 MB
Page 12 of 341

9 IntroductionImportant notice for California retail buyers of Mercedes-Benz automobiles
Under California law you may be entitled to a replacement of your vehicle or a refund of the purchase price, if
Mercedes-Benz USA, LLC or its authorized Mercedes-Benz Center fails to conform the vehicle to its express warranties
after a reasonable number of repair attempts during the period of one year or 12 000 miles from original delivery of
the vehicle. A reasonable number of repair attempts is presumed for a retail buyer (1) if the vehicle is out of service by
reason of repair of substantial nonconformities for a cumulative total of more than 30 calendar days or (2) the same
substantial non-conformity has been subject to repair four or more times and you have at least once directly
notified us in writing of the need to repair the non-conformity and have given us an opportunity to perform the
repair ourselves. Notifications should be sent to the nearest Mercedes-Benz Regional Office listed in the
Service and Warranty Information Booklet.
Maintenance
The Service Booklet describes all the necessary maintenance work which should be performed at regular intervals.
Always have the Service Booklet with you when you take the vehicle to your authorized Mercedes-Benz Center for
service. The service advisor will record each service in the booklet for you.
Page 118 of 341
115 Flexible service system
Te ch n ica l
data Instruments
and controlsOperationDrivingInstrument
cluster displayPractical hints Car care Index The service indicator disappears automatically after
30 seconds or if buttonJon the instrument cluster is
pressed.
Calling up service indicator manually:
Turn the electronic key in steering lock to position 1.
Call up the trip odometer and main odometer by
pressing button è or ÿ on the multifunction
steering wheel until the display appears. See page 96.
Press button j or k until the FSS indicator
appears.
Pressing the è or ÿ button displays the next or
previous system.
Important!
The FSS indicator is not an engine oil level indicator.
See page 117 for engine oil level indicator.Note:
When disconnecting vehicle battery for one or more
days at a time, such days will not be counted. Any such
days not counted by the FSS can be added by your
Mercedes-Benz Center.
The interval between services is determined by the type
of driving for which the vehicle is used. For example,
driving at extreme speeds, and cold starts combined
with short distance driving in which the engine does not
reach operating normal temperature, reduce the interval
between services.
Page 119 of 341
116 Flexible service system
Te ch n ica l
data Instruments
and controlsOperationDrivingInstrument
cluster displayPractical hints Car care Index
Following a completed A or B service the Mercedes-Benz
Center sets the counter mileage to 10 000 miles
(Canada: 15 000 km) and 365 days.
The counter can also be set by any individual. To do so:
Turn the electronic key in steering lock to position 2.
To call up the trip odometer and main odometer, press
button è or ÿ on the multifunction steering
wheel until the display appears. See page 96.
Press button j or k until the FSS indicator
appears.
Press buttonJon the instrument cluster for
approximately 2 seconds.The multifunction display will show the question:
“DO YOU WANT TO RESET SERVICE INTERVAL?
CONFIRM BY PRESSING R”
Press button J on the instrument cluster again, and
hold until a signal sounds. The message “SERVICE
INTERVAL HAS BEEN RESET” appears in the
multifunction display.
The new service indicator is displayed with the reset
distance of 10 000 miles (Canada 15 000 km).
If the FSS counter was inadvertently reset, have a
Mercedes-Benz Center correct it.
However you choose to set your reference numbers, the
scheduled services as posted in the Service Booklet
must be followed to properly care for your vehicle.
Page 144 of 341
141 Audio system
Te ch n ica l
data Instruments
and controlsOperationDrivingInstrument
cluster displayPractical hints Car care Index Radio mode
Selecting radio mode
Press button.
Selecting the band
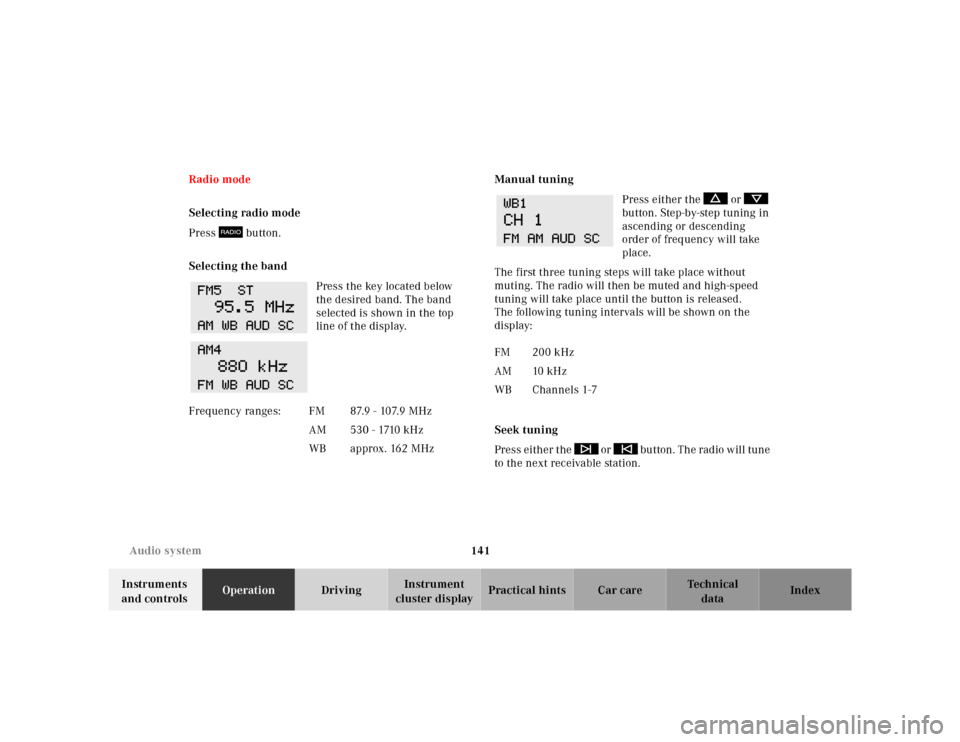
Press the key located below
the desired band. The band
selected is shown in the top
line of the display.Manual tuning
Press either the or
button. Step-by-step tuning in
ascending or descending
order of frequency will take
place.
The first three tuning steps will take place without
muting. The radio will then be muted and high-speed
tuning will take place until the button is released.
The following tuning intervals will be shown on the
display:
Seek tuning
Press either the or button. The radio will tune
to the next receivable station. F r e q u e n c y r a n g e s : F M 8 7. 9 - 10 7. 9 M H z
AM 530 - 1710 kHz
WB approx. 162 MHz
FM 200 kHz
AM 10 kHz
WB Channels 1-7
Page 147 of 341
144 Audio system
Te ch n ica l
data Instruments
and controlsOperationDrivingInstrument
cluster displayPractical hints Car care Index
Important!
If the display is in the down position for more than
20 seconds, 2 successive beeps will be heard. This will
continue at 5 second intervals until the display is
returned to its normal position.
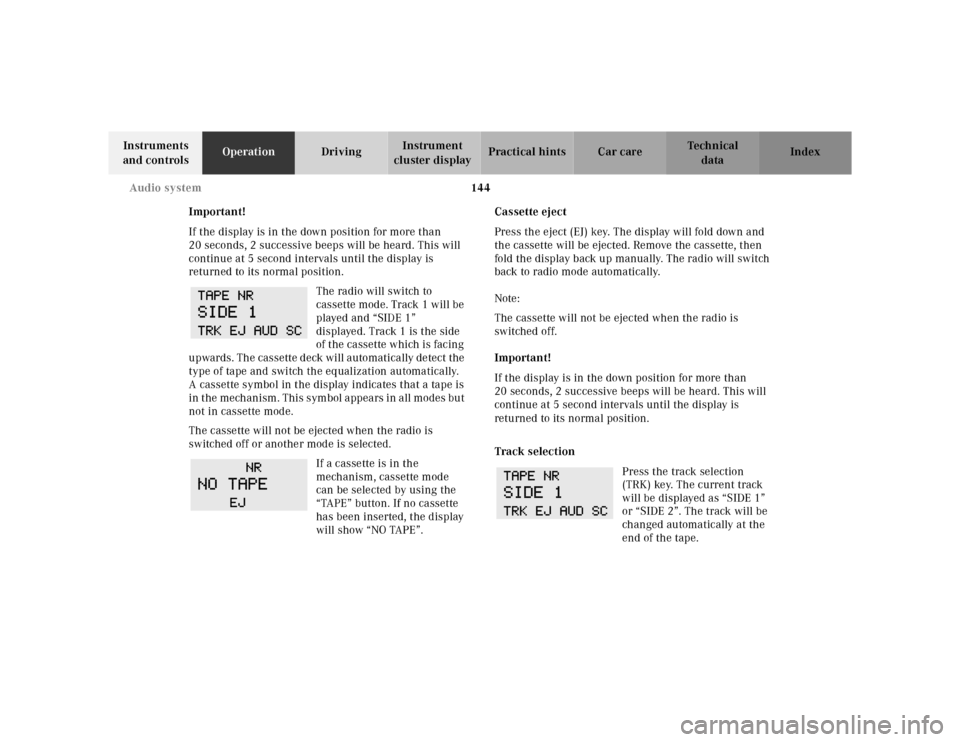
The radio will switch to
cassette mode. Track 1 will be
played and “SIDE 1”
displayed. Track 1 is the side
of the cassette which is facing
upwards. The cassette deck will automatically detect the
type of tape and switch the equalization automatically.
A cassette symbol in the display indicates that a tape is
in the mechanism. This symbol appears in all modes but
not in cassette mode.
The cassette will not be ejected when the radio is
switched off or another mode is selected.
If a cassette is in the
mechanism, cassette mode
can be selected by using the
“TAPE” button. If no cassette
has been inserted, the display
will show “NO TAPE”.Cassette eject
Press the eject (EJ) key. The display will fold down and
the cassette will be ejected. Remove the cassette, then
fold the display back up manually. The radio will switch
back to radio mode automatically.
Note:
The cassette will not be ejected when the radio is
switched off.
Important!
If the display is in the down position for more than
20 seconds, 2 successive beeps will be heard. This will
continue at 5 second intervals until the display is
returned to its normal position.
Track selection
Press the track selection
(TRK) key. The current track
will be displayed as “SIDE 1”
or “SIDE 2”. The track will be
changed automatically at the
end of the tape.
Page 206 of 341
203 Driving instructions
Te ch n ica l
data Instruments
and controlsOperationDrivingInstrument
cluster displayPractical hints Car care Index Driving instructions
Drive sensibly - Save Fuel
Fuel consumption, to a great extent, depends on driving
habits and operating conditions.
To save fuel you should:
•keep tires at the recommended inflation pressures,
•remove unnecessary loads,
•remove roof rack when not in use,
•allow engine to warm up under low load use,
•avoid frequent acceleration and deceleration,
•have all maintenance work performed at regular
intervals by an authorized Mercedes-Benz Center.
Fuel consumption is also increased by driving in cold
weather, in stop-and-go traffic, on short trips and in hilly
country.Drinking and driving
Pedals
Wa r n i n g !
Drinking or taking drugs and driving can be a very
dangerous combination. Even a small amount of
alcohol or drugs can affect your reflexes,
perceptions and judgement.The possibility of a serious or even fatal accident is
sharply increased when you drink or take drugs
and drive.Please don’t drink or take drugs and drive or allow
anyone to drive after drinking or taking drugs.Wa r n i n g !
Keep driver’s foot area clear at all times. Objects
stored in this area may impair pedal movement.
Page 270 of 341
267 Tires, Wheels
Te ch n ica l
data Instruments
and controlsOperation DrivingInstrument
cluster displayPractical hintsCar care Index Rotating wheels
Rotation of wheels does not apply to model E 55 AMG
with summer tires.
The wheels can be rotated according to the degree of
tire wear while retaining the same direction of travel.
Rotating, however, should be carried out at as
recommended by the tire manufacturer, before the
characteristic tire wear pattern (shoulder wear on front
wheels and tread center wear on rear wheels) becomes
visible, as otherwise the driving properties deteriorate.
Important!
Unidirectional tires must always be mounted with arrow
on tire sidewall pointing in direction of vehicle forward
movement.Notes:
Thoroughly clean the inner side of the wheels any time
you rotate the wheels or wash the vehicle underside.
The use of retread tires is not recommended. Retread
tires may adversely affect the handling characteristics
and safety of the vehicle.
Dented or bent rims can cause tire pressure loss and
dam age to t he tire bead s. For this reason, ch eck rims for
damage at regular intervals. The rim flanges must be
checked for wear before a tire is mounted. Remove
burrs, if any.
Check and ensure proper tire inflation pressure after
rotating the wheels. For tire inflation pressure see
page 276.
Page 279 of 341
276 Tires, Wheels
Te ch n ica l
data Instruments
and controlsOperation DrivingInstrument
cluster displayPractical hintsCar care Index
Tire inflation pressure
A table (see fuel filler flap) lists the tire inflation
pressures specified for Mercedes-Benz recommended
tires as well as for the varying operating conditions.
Important!
Tire pressure changes by approximately 1.5 psi (0.1 bar)
per 18°F (10°C) of air temperature change. Keep this in
mind when checking tire pressure inside a garage -
especially in the winter.
Example:
If garage temperature = approximately +68°F (+20°C)
and ambient temperature = approximately +32°F (0°C)
then the adjusted air pressure = specified air pressure
+3 psi (+0.2 bar).Tire pressures listed for light loads are minimum values
offering high driving comfort. Increased inflation
pressures for heavy loads produce favorable handling
characteristics with lighter loads and are perfectly
permissible. The ride of the vehicle, however, will
become somewhat harder.
Tire temperature and pressure increase with the vehicle
speed. Tire pressure should therefore only be checked
and corrected on cold tires. Correct tire pressure in
warm tires only if pressure has dropped below the
pressure listed in the table and the respective operating
conditions are taken into consideration.
An underinf lated tire due to a slow leak (e.g. due to a
nail in the tire) may cause damage such as tread
separation, bulging etc.. Regular tire pressure checks
(including the spare tire) at intervals of no more than
14 days are therefore essential.