SD Card MERCEDES-BENZ GL-Class 2016 X166 Comand Manual
[x] Cancel search | Manufacturer: MERCEDES-BENZ, Model Year: 2016, Model line: GL-Class, Model: MERCEDES-BENZ GL-Class 2016 X166Pages: 246, PDF Size: 6.72 MB
Page 87 of 246

COMAND may deviate from the original
route from the Mercedes-Benz Apps.
Selecting and editing personal POIs
and routes
Selecting
XIn sert the SDmemory card (Ypage 183).
XTo switch to navigation mode:press the
ß button.
XTo show the menu: slide6the control-
ler.
XTo select Destination: turn and press the
controller.
XSe lect From Memory Card.
The menu displays the categories availab le
on the SDmemory car d.
XTo select a category or Personal Routes:
turn and press the controller.
The available personal POIs or route entries
are disp layed.
XSelect personal POI or personal route.
The addr ess of the personal POI appears or
the personal route is displayed in the map.
If a large number of entries are stored, a reg-
ister for quick selection appears. Personal
POIs and routes can besaved and sorted with
diff erent character sets (e. g. Latin, Cyrillic,
Ar abic ).
XTo select a register: slide9 the con-
troller.
XTo select a character: turn and press the
controller.
XTo select a cha racter set for sorting:
slide 9 the controller to select B.
XPress the controller.
The available character sets are displayed.
The#dot indicates the current setting.
XTurn and press the controller.
Editing
The example shows a personal route.
XSelect personal POI or personal route
(
Ypage 85).
XTo explore a personal POI or route:turn
and press the controller to select Map
.
The map with the crosshair appears and
shows the destination.
XScroll the map (Ypage 66).
XSe t the map scale (Ypage 100).
XTo return to the menu: press the %but-
ton.
XTo call the personal POI: turn and press
the controller to select Call
.
If a mob ilephone isconnected to COMAND
and the te lephone number isavailable, the
call isconnected (
Ypage 120).
XTo edit the name and category: to select
Edit
: turn and press the controller.
XSe lect Change NameorEdit Icon.
XTo change name: enter character
(
Ypage 34).
XTo change the category: select a category.
The personal POI issaved inthe selected
category.
XTo dele tea personal POI or route:turn
and press the controller to select Delete
.
A prompt willappear.
XSelect YesorNo.
If you select Yes
, the personal destination
or personal route isdeleted.
Personal POIs and routes85
Navigation
Z
Page 88 of 246

XTo select the outward and return
routes:to select Swap
: turn and press the
controller.
The starting and destination positions of
your personal route, and thus the direction
for route guidance, are switched round.
One-way streets or restricted intersections are taken into consideration. Therefore, the
outward and return routes may differ from
each other.
XTo save a personal POI: to selectSave:
turn and press the controller.
XTo continue saving (Ypage 98).
XTo start route guidance: to selectStart:
turn and press the controller.
Recording the route
General notes
When recording the route, bear in mind the
following:
Rif the SD memory card is inserted, it must
not be removed during recording.
Rif route recording is started manually, it
must be finished manually before COMAND
is switched off (e .g. when the engine is
switched off).
RCOMAND minimizes the number of route
points recorded. Therefore when the recor-
ded route is subsequently commenced, it
may differ from the route that was originally
recorded.
Starting/finishing route recording
XInsert the SD memory card (Ypage 183).
XTo switch to navigation mode: press the
ß button.
XTo show the menu: slide6the control-
ler.
XTo select Destination: turn and press the
controller.
XSelect From Memory Card.
XSelectStart Route Recording.
The route is recorded and REC
appears at
the bottom edge of the screen.
XTo stop recording, select End Route
Recordingfrom the menu.
The route is stored under Personal
Routes.
Displaying/editing the recorded route
XInsert the SD memory card (Ypage 183).
XTo switch to navigation mode: press the
ß button.
XTo show the menu: slide6the control-
ler.
XTo select Destination: turn and press the
controller.
XSelect From Memory Card.
XSelectPersonal Routes.
Previously recorded routes are displayed.
XTo select a route: turn and press the con-
troller.
The map appears with a menu. The recor-
ded route is shown on the map in blue.
XTo start route calculation: selectStart.
XTo change the name and symbol: select
Edit
.
XSelect Change NameorEdit Icon.
XTo change name: enter character
(
Ypage 34).
XTo change symbol: select a symbol.
The symbol is saved.
86Personal POIs and routes
Navigation
Page 93 of 246

8button on the COMAND control
panel.
or
XDuring a navigation announcement, press
the 8 button on the multifunction steer-
ing wheel.
The Spoken
drivingrecommendations
have been deactivated.message
appears.
XTo switch navigation announcements
back on: slide6the controller.
XTo select +: turn and press the controller.
COMAND automatically switches the naviga-
tion announcements back on when:
Ra new route is calculated.
Ryou switch COMAND on again or start the
engine.
A navigation message is given if the route is
recalculated during dynamic route guidance
due to new traffic reports (
Ypage 94).
Canceling/continuing route guidance
Canceling route guidance
XSlide 6the controller.
The menu is shown.
XTo select Destination: turn and press the
controller.
XSelect Cancel Active Route Guidance.
The blue route line is no longer shown on
the map.
Resuming route guidance
XSlide 6the controller.
The menu is shown.
XTo select Destination: turn and press the
controller.
XSelect Continue Route Guidance.
COMAND calculates the route.
Route information
Destination information
XTo switch to navigation mode: press the
Ø button.
XTo show the menu: slide6the control-
ler.
XTo select Route: turn and press the con-
troller.
XSelect Destination Information.
The destination and existing intermediate
destinations are displayed with distances,
travel time and arrival time.
XTo select destination or intermediate
destination: turn and press the controller.
The address appears.
You can use these functions for the desti-
nation or intermediate destination:
Rstore in the address book (Ypage 98)
Rsave to the SD memory card
(
Ypage 98)
Rview on the map (Ypage 104)
Rcall if a mobile phone is connected and a
phone number is available
(
Ypage 120)
Route guidance91
Navigation
Z
Page 100 of 246
XTo accept the proposed detour: press the
controller.
XTo reject the proposed detour and continue
with the original route: turn the controller
and press to confirm.
The original route is continued.
Storing destinations
General notes
In the "Last destinations" memory, the fol-
lowing are stored:
Rdestinations and intermediate destinations
according to the route calculation
Rthe current vehicle position or the crosshair
position, if these are saved
Rpersonal routes
If the memory is full, COMAND overwrites the
oldest destination.
You can save destinations permanently in the
address book (
Ypage 98) and on an SD
memory card (
Ypage 99). For instance, this
is possible immediately after entering an
address.
For further information on the address book,
see (
Ypage 127)
Storing the destination in the address
book
Storing as a new contact
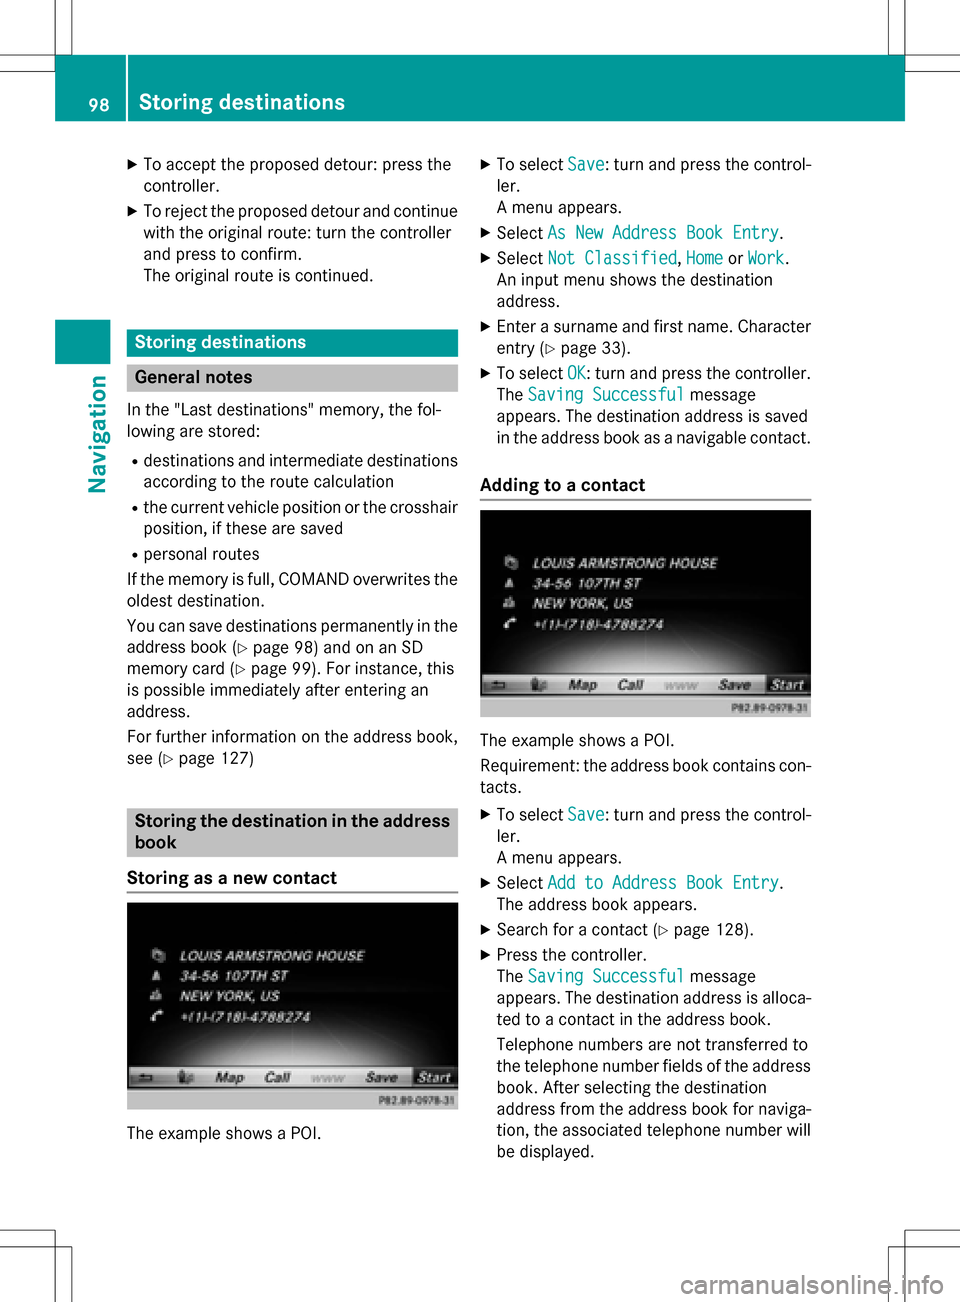
The example shows a POI.
XTo select Save: turn and press the control-
ler.
A menu appears.
XSelect As New Address Book Entry.
XSelectNot Classified,Homeor Work.
An input menu shows the destination
address.
XEnter a surname and first name. Character
entry (
Ypage 33).
XTo select OK: turn and press the controller.
The Saving Successful
message
appears. The destination address is saved
in the address book as a navigable contact.
Adding to a contact
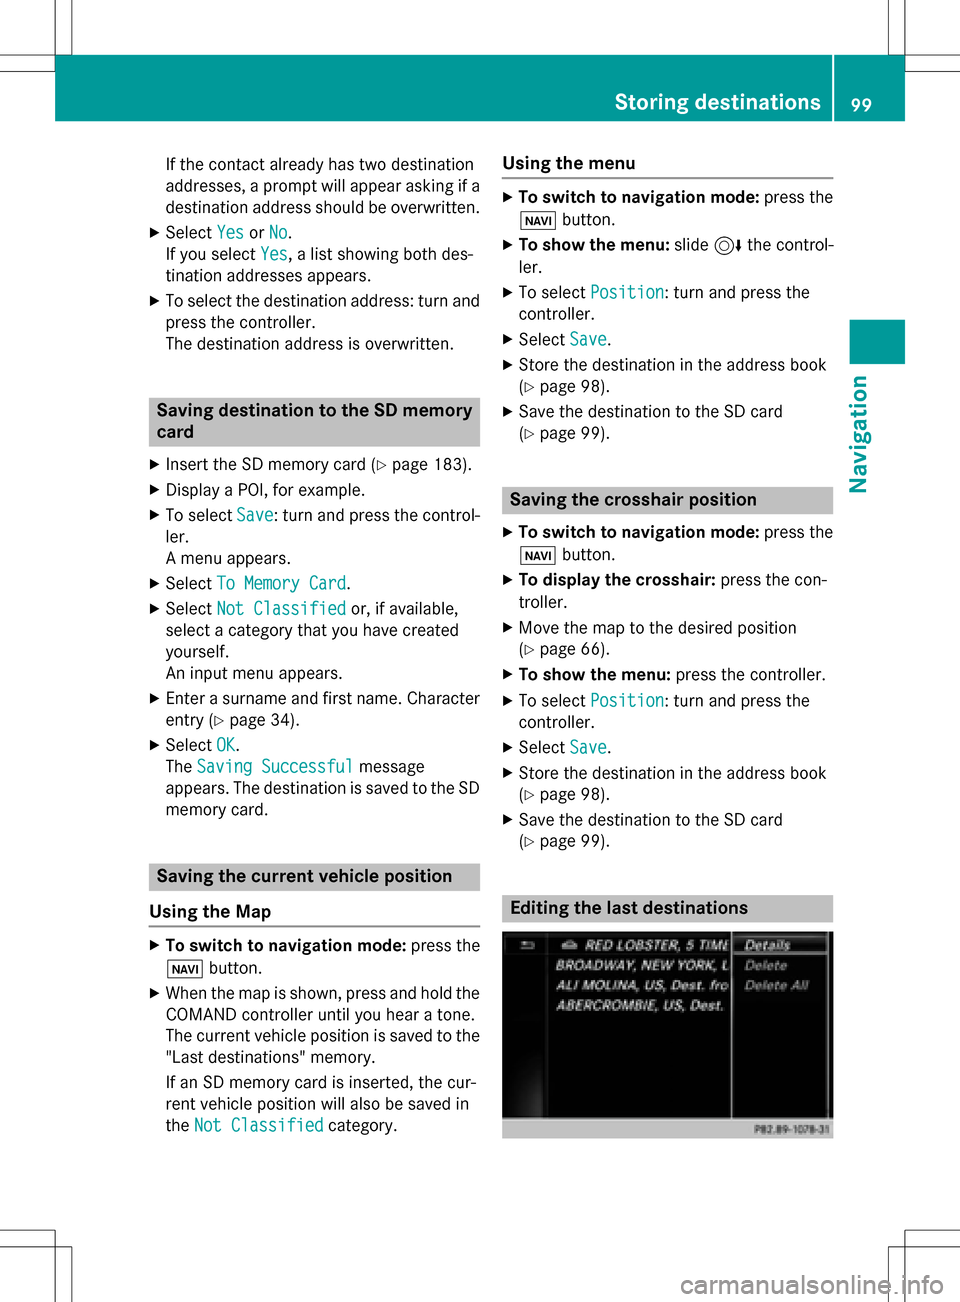
The example shows a POI.
Requirement: the address book contains con-
tacts.
XTo select Save: turn and press the control-
ler.
A menu appears.
XSelect Add to Address Book Entry.
The address book appears.
XSearch for a contact (Ypage 128).
XPress the controller.
The Saving Successful
message
appears. The destination address is alloca-
ted to a contact in the address book.
Telephone numbers are not transferred to
the telephone number fields of the address
book. After selecting the destination
address from the address book for naviga-
tion, the associated telephone number will
be displayed.
98Storing destinations
Navigation
Page 101 of 246
If the contact already has two destination
addresses, a prompt will appear asking if a
destination address should be overwritten.
XSelectYesorNo.
If you select Yes
, a list showing both des-
tination addresses appears.
XTo select the destination address: turn and
press the controller.
The destination address is overwritten.
Saving destination to the SD memory
card
XInsert the SD memory card (Ypage 183).
XDisplay a POI, for example.
XTo select Save: turn and press the control-
ler.
A menu appears.
XSelect To Memory Card.
XSelectNot Classifiedor, if available,
select a category that you have created
yourself.
An input menu appears.
XEnter a surname and first name. Character
entry (
Ypage 34).
XSelect OK.
The Saving Successful
message
appears. The destination is saved to the SD
memory card.
Saving the current vehicle position
Using the Map
XTo switch to navigation mode: press the
ß button.
XWhen the map is shown, press and hold the
COMAND controller until you hear a tone.
The current vehicle position is saved to the
"Last destinations" memory.
If an SD memory card is inserted, the cur-
rent vehicle position will also be saved in
theNot Classified
category.
Using the menu
XTo switch to navigation mode: press the
ß button.
XTo show the menu: slide6the control-
ler.
XTo select Position: turn and press the
controller.
XSelect Save.
XStore the destination in the address book
(
Ypage 98).
XSave the destination to the SD card
(
Ypage 99).
Saving the crosshair position
XTo switch to navigation mode: press the
ß button.
XTo display the crosshair: press the con-
troller.
XMove the map to the desired position
(
Ypage 66).
XTo show the menu: press the controller.
XTo selectPosition: turn and press the
controller.
XSelect Save.
XStore the destination in the address book
(
Ypage 98).
XSave the destination to the SD card
(
Ypage 99).
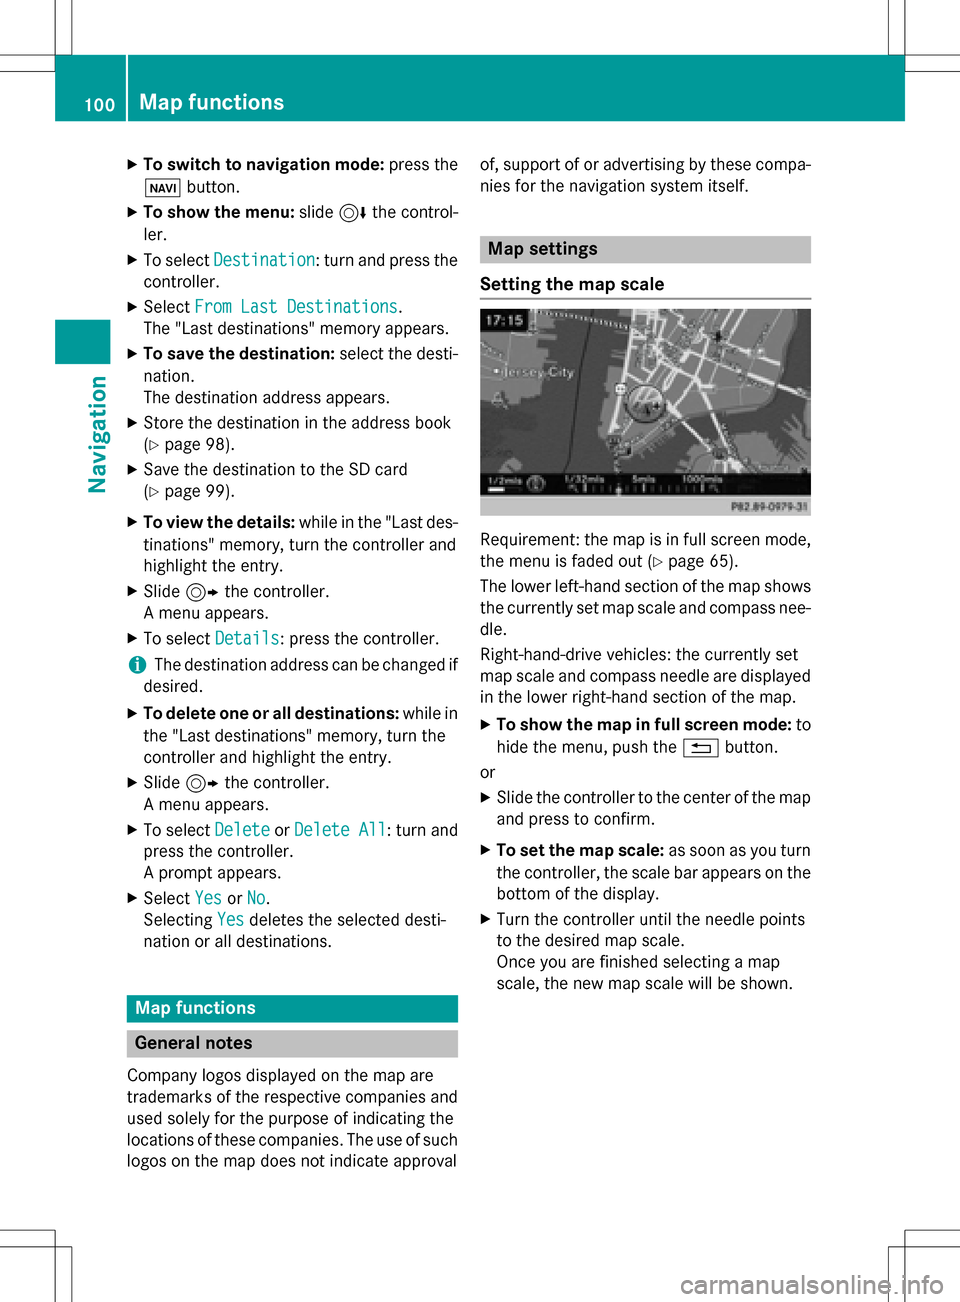
Editing the last destinations
Storing destinations99
Navigation
Z
Page 102 of 246
XTo switch to navigation mode:press the
ß button.
XTo show the menu: slide6the control-
ler.
XTo select Destination: turn and press the
controller.
XSelect From Last Destinations.
The "Last destinations" memory appears.
XTo save the destination: select the desti-
nation.
The destination address appears.
XStore the destination in the address book
(
Ypage 98).
XSave the destination to the SD card
(
Ypage 99).
XTo view the details: while in the "Last des-
tinations" memory, turn the controller and
highlight the entry.
XSlide 9the controller.
A menu appears.
XTo select Details: press the controller.
iThe destination address can be changed if
desired.
XTo delete one or all destinations: while in
the "Last destinations" memory, turn the
controller and highlight the entry.
XSlide 9the controller.
A menu appears.
XTo select DeleteorDelete All: turn and
press the controller.
A prompt appears.
XSelect YesorNo.
Selecting Yes
deletes the selected desti-
nation or all destinations.
Map functions
General notes
Company logos displayed on the map are
trademarks of the respective companies and
used solely for the purpose of indicating the
locations of these companies. The use of such
logos on the map does not indicate approval of, support of or advertising by these compa-
nies for the navigation system itself.
Map settings
Setting the map scale
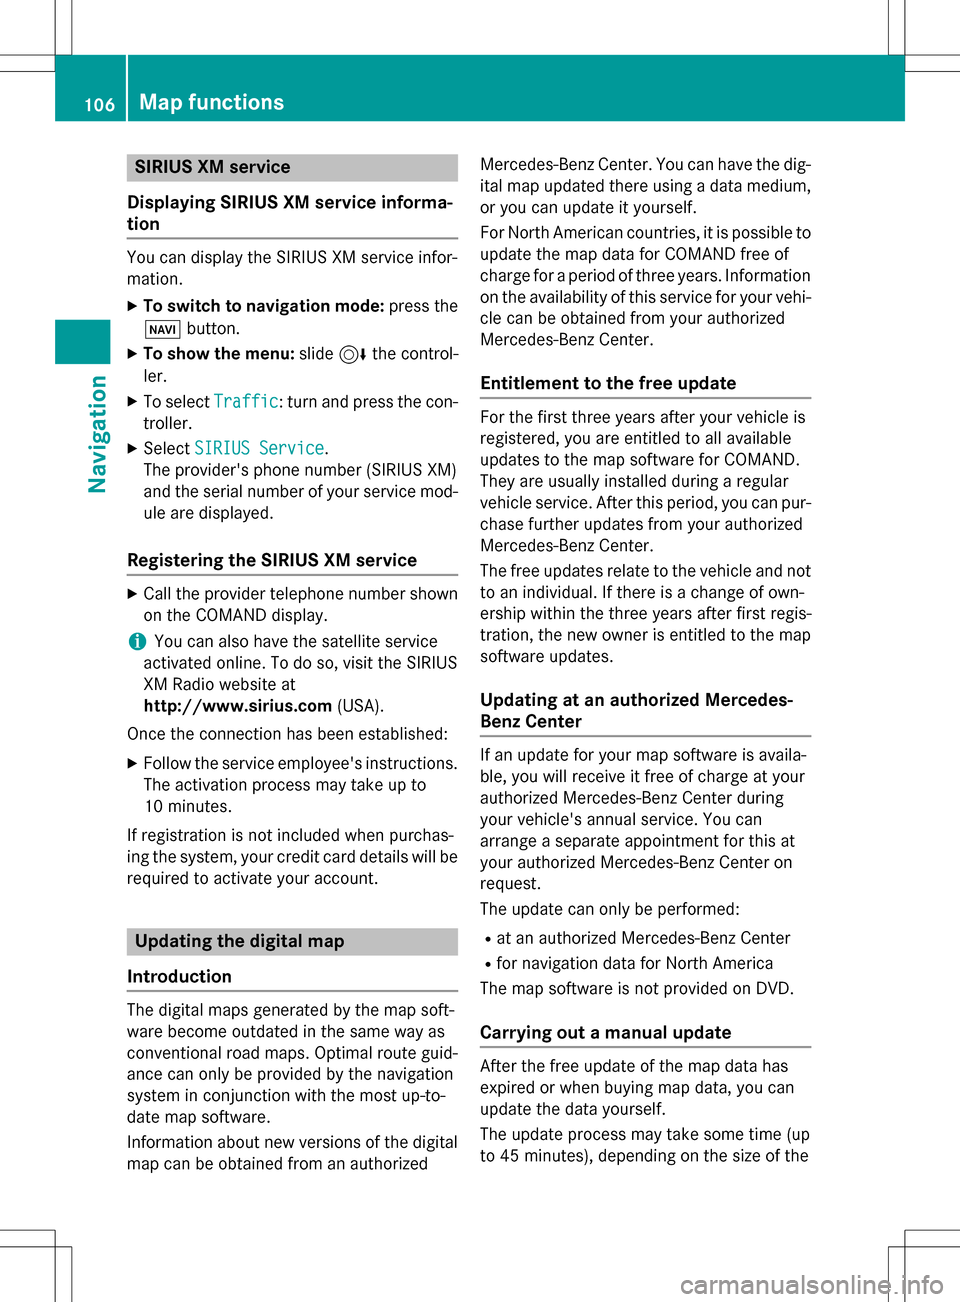
Requirement: the map is in full screen mode,
the menu is faded out (
Ypage 65).
The lower left-hand section of the map shows
the currently set map scale and compass nee-
dle.
Right-hand-drive vehicles: the currently set
map scale and compass needle are displayed
in the lower right-hand section of the map.
XTo show the map in full screen mode: to
hide the menu, push the %button.
or
XSlide the controller to the center of the map
and press to confirm.
XTo set the map scale: as soon as you turn
the controller, the scale bar appears on the bottom of the display.
XTurn the controller until the needle points
to the desired map scale.
Once you are finished selecting a map
scale, the new map scale will be shown.
100Map functions
Navigation
Page 108 of 246
SIRIUS XM service
Displaying SIRIUS XM service informa-
tion
You can display the SIRIUS XM service infor-
mation.
XTo switch to navigation mode: press the
Ø button.
XTo show the menu: slide6the control-
ler.
XTo select Traffic: turn and press the con-
troller.
XSelect SIRIUS Service.
The provider's phone number (SIRIUS XM)
and the serial number of your service mod-
ule are displayed.
Registering the SIRIUS XM service
XCall the provider telephone number shown on the COMAND display.
iYou can also have the satellite service
activated online. To do so, visit the SIRIUS
XM Radio website at
http://www.sirius.com (USA).
Once the connection has been established:
XFollow the service employee's instructions.
The activation process may take up to
10 minutes.
If registration is not included when purchas-
ing the system, your credit card details will be
required to activate your account.
Updating the digital map
Introduction
The digital maps generated by the map soft-
ware become outdated in the same way as
conventional road maps. Optimal route guid-
ance can only be provided by the navigation
system in conjunction with the most up-to-
date map software.
Information about new versions of the digital
map can be obtained from an authorized Mercedes-Benz Center. You can have the dig-
ital map updated there using a data medium,
or you can update it yourself.
For North American countries, it is possible to
update the map data for COMAND free of
charge for a period of three years. Information
on the availability of this service for your vehi-
cle can be obtained from your authorized
Mercedes-Benz Center.
Entitlement to the free update
For the first three years after your vehicle is
registered, you are entitled to all available
updates to the map software for COMAND.
They are usually installed during a regular
vehicle service. After this period, you can pur-
chase further updates from your authorized
Mercedes-Benz Center.
The free updates relate to the vehicle and not
to an individual. If there is a change of own-
ership within the three years after first regis-
tration, the new owner is entitled to the map
software updates.
Updating at an authorized Mercedes-
Benz Center
If an update for your map software is availa-
ble, you will receive it free of charge at your
authorized Mercedes-Benz Center during
your vehicle's annual service. You can
arrange a separate appointment for this at
your authorized Mercedes-Benz Center on
request.
The update can only be performed:
Rat an authorized Mercedes-Benz Center
Rfor navigation data for North America
The map software is not provided on DVD.
Carrying out a manual update
After the free update of the map data has
expired or when buying map data, you can
update the data yourself.
The update process may take some time (up
to 45 minutes), depending on the size of the
106Map functions
Navigation
Page 112 of 246
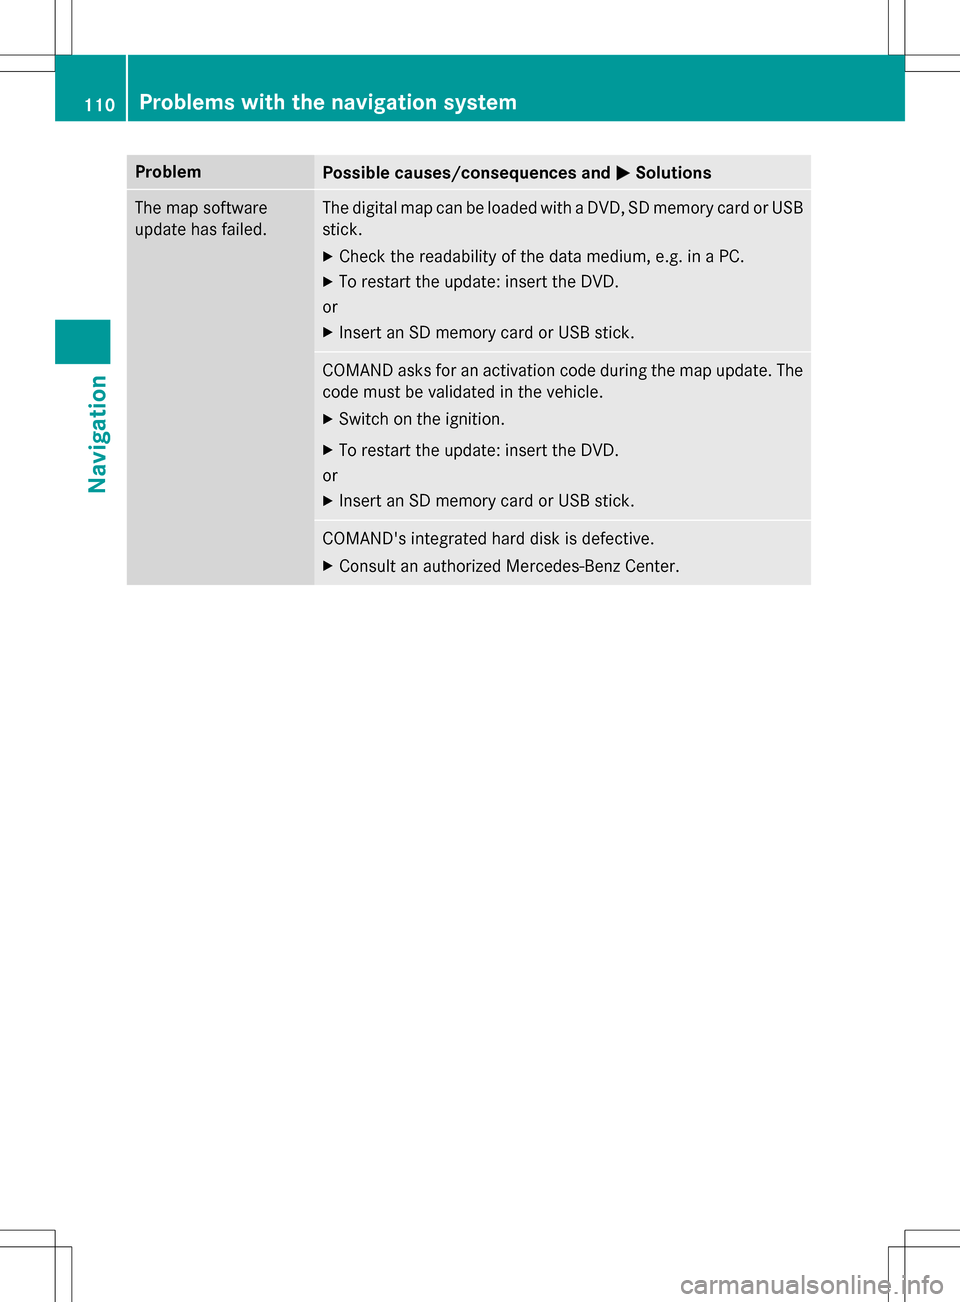
ProblemPossible causes/consequences andMSolutions
The map software
update has failed.The digital map can be loaded with a DVD, SD memory card or USB
stick.
XCheck the readability of the data medium, e.g. in a PC.
XTo restart the update: insert the DVD.
or
XInsert an SD memory card or USB stick.
COMAND asks for an activation code during the map update. The
code must be validated in the vehicle.
XSwitch on the ignition.
XTo restart the update: insert the DVD.
or
XInsert an SD memory card or USB stick.
COMAND's integrated hard disk is defective.
XConsult an authorized Mercedes-Benz Center.
110Problems with the navigation system
Navigation
Page 114 of 246

Your COMANDequipment
i
These operatin ginstruction sdescribe all
th estandar dan doptional equipmen tof
your COMAN Dsystem, as available at th e
time of going to print .Country-specifi cdif -
ference sare possible. Bear in min dthat
your vehicle may no tfeature all function s
described here. Thi salso applies to safety-
relevant systems an dfunctions.
iRead th einformation on qualified special-
ist workshop sin th evehicle Operator's
Manual.
Important safet ynotes
GWARNING
If you operat emobile communication equip-
men twhil edriving, you will be distracted from
traffic conditions. You could also los econtro l
of th evehicle. There is aris kof an accident.
Only operat ethis equipment when th evehicle
is stationary.
If you mak e acallon your mobile phone whil e
driving, always use hands-free mode. Only
use th emobile phone when road, weather
an dtraffic condition spermit .Some jurisdic -
tion sprohibi tth edriver from usin g amobile
phone whil edrivin g avehicle.
Bear in min dthat at aspeed of 30 mph
(approximately 50 km/h), th evehicle cover s
a distanc eof 44 feet (approximately 14 m)
per second.
Excessive levels of electromagnetic radiation
may cause damage to your health an dth e
health of others.
There is scientific discussio nsurroundin gth e
possible health risks posed by electromag-
neti cfields .You can reduce this ris kby usin g
an exterio rantenna.
Therefore, connec tyour mobile communica-
tion sequipmen tto th evehicle' sexterio r
antenn awhereve rpossible.
General notes
Telephon y
The Bluetoot h®interface on COMAN Dis
available fo rtelephony.
If your mobile phone supports th eBluetoot h
®
profilePBAP (Phone Book Access Profile),th e
contact sare automatically displaye din
COMAND.
You can use th etext messag ean de-mail
function sif your mobile phone supports th e
MA PBluetoot h
®profile (Messag eAccess
P rofile). Observ eth eother requirements fo r
th ee-mail an dtext messag efunction s
(
Ypage 138).
Wit h a suitable mobile phone ,you can use th e
hands-free syste man dreceiv evCards via th e
Bluetoot h
®interface .
You can obtain more information about suit -
able mobile phone son th eInternet at
www.mercedes-benz-mobile.com .
You can also obtain more information by call-
ing.
In th eUSA, you can get in touch wit hth e
Mercedes-Ben zCustomer Assistanc eCente r
on 1-800-FOR-MERCede s(1-800-367-6372).
In Canada, you can get in touch with the Cus-
tomer Relations Center on 1-800-387-0100.
Call disconnection while the vehicle is
in motion
A call may be disconnected if:
Rthere is insufficient network coverage in
certain areas.
Ryou move from one transmitter/receiver
area (cell) into another and no channels are
free.
Ryou use a SIM card that is not compatible
with the network available.
112General notes
Telephone
Page 115 of 246

Operating options
You can operate the telephone by:
Rusing the controller:
turning
sliding1 or4
pressing
Rusing the 6or~ button on the mul-
tifunction steering wheel
Rusing the Voice Control System (see the
separate operating instructions)
Function restrictions
You may have to wait before using telephony via COMAND in the following situations:
Rwhen the mobile phone is switched off
Rif Bluetooth®is switched off on the mobile
phone
Rif the mobile phone has not logged on to a
mobile phone network
Rif the Bluetooth®function is switched off in
COMAND
The telephone automatically tries to log on to
a network. If no network is available, you may
not be able to make a " 911" emergency call.
If you attempt to make an outgoing call, the
No Service
message will appear for a short
while.
"911" emergency call
The following requirements must be fulfilled
for a 911emergency call:
Ra valid and operational SIM card is inserted
in the mobile phone
Rthe mobile phone is switched on
Rthe PIN has been entered in the mobile
phone
Ra mobile phone network is available
Rthe mobile phone is connected to COMAND
via Bluetooth®
If you cannot make an emergency call, you
must arrange rescue measures yourself.
Making an emergency call:
XEnter the telephone number (Ypage 119).
XPress 6.
The telephone makes the connection.
XWait until the emergency call center
answers and describe the emergency sit-
uation.
Telephone menu overview
:Mobile phone network provider
;Signal strength of the mobile phone net-
work
=Receiver icon ¢or¡
?Telephone menu character bar
ABluetooth®device name of the currently
connected mobile phone
BTo display the phone book
Symbols :to= and Aare not shown until
after a mobile phone has been connected to
COMAND. The symbols depend on your
mobile phone and your mobile phone network
provider. Further information on connecting a
mobile phone (
Ypage 114).
Symbol ;shows the current signal strength
of the mobile phone network. If all bars are
filled, you have optimum reception.
If no bars are shown, reception is either very
poor or there is none at all.
Receiver icon shows whether a call is active/
being connected ¡or not ¢.
Telephone menu overview113
Telephone
Z