spare wheel MERCEDES-BENZ GLA SUV 2017 Owners Manual
[x] Cancel search | Manufacturer: MERCEDES-BENZ, Model Year: 2017, Model line: GLA SUV, Model: MERCEDES-BENZ GLA SUV 2017Pages: 369, PDF Size: 7.56 MB
Page 6 of 369
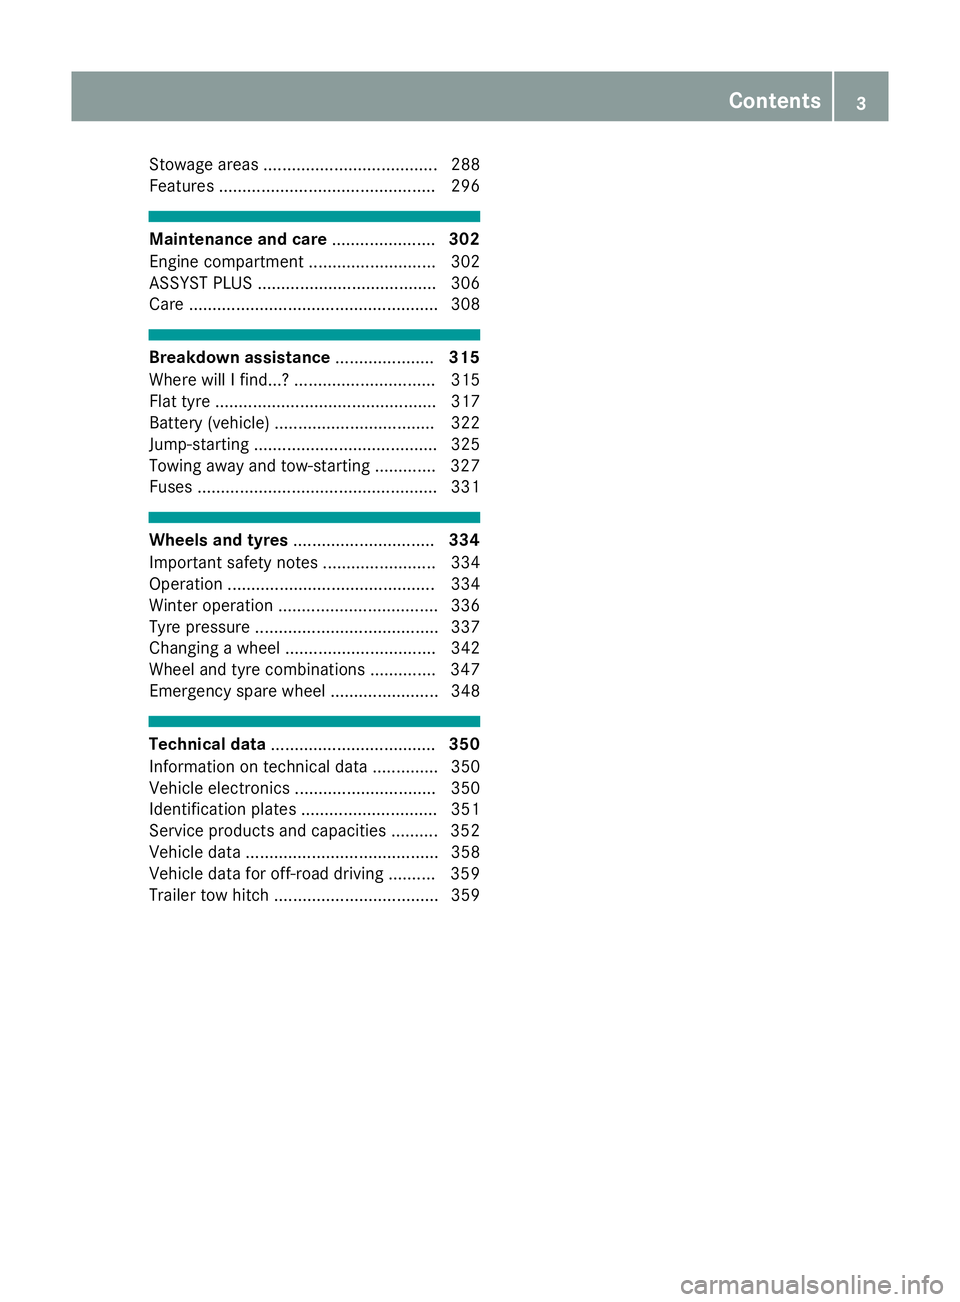
Stowage areas ..................................... 288
Features .............................................. 296 Maintenance and care
......................302
Engine compartment ........................... 302
ASSYST PLUS ...................................... 306
Care ..................................................... 308 Breakdown assistance
.....................315
Where will I find...? .............................. 315
Flat tyre ............................................... 317
Battery (vehicle) .................................. 322
Jump-starting ....................................... 325
Towing away and tow-starting ............. 327
Fuses ................................................... 331 Wheels and tyres
.............................. 334
Important safety notes ........................ 334
Operation ............................................ 334
Winter operation .................................. 336
Tyre pressure ....................................... 337
Changing a wheel ................................ 342
Wheel and tyre combinations .............. 347
Emergency spare wheel ....................... 348 Technical data
................................... 350
Information on technical data .............. 350
Vehicle electronics .............................. 350
Identification plates ............................. 351
Service products and capacities .......... 352
Vehicle data ......................................... 358
Vehicle data for off-road driving .......... 359
Trailer tow hitch ................................... 359 Contents
3
Page 14 of 369
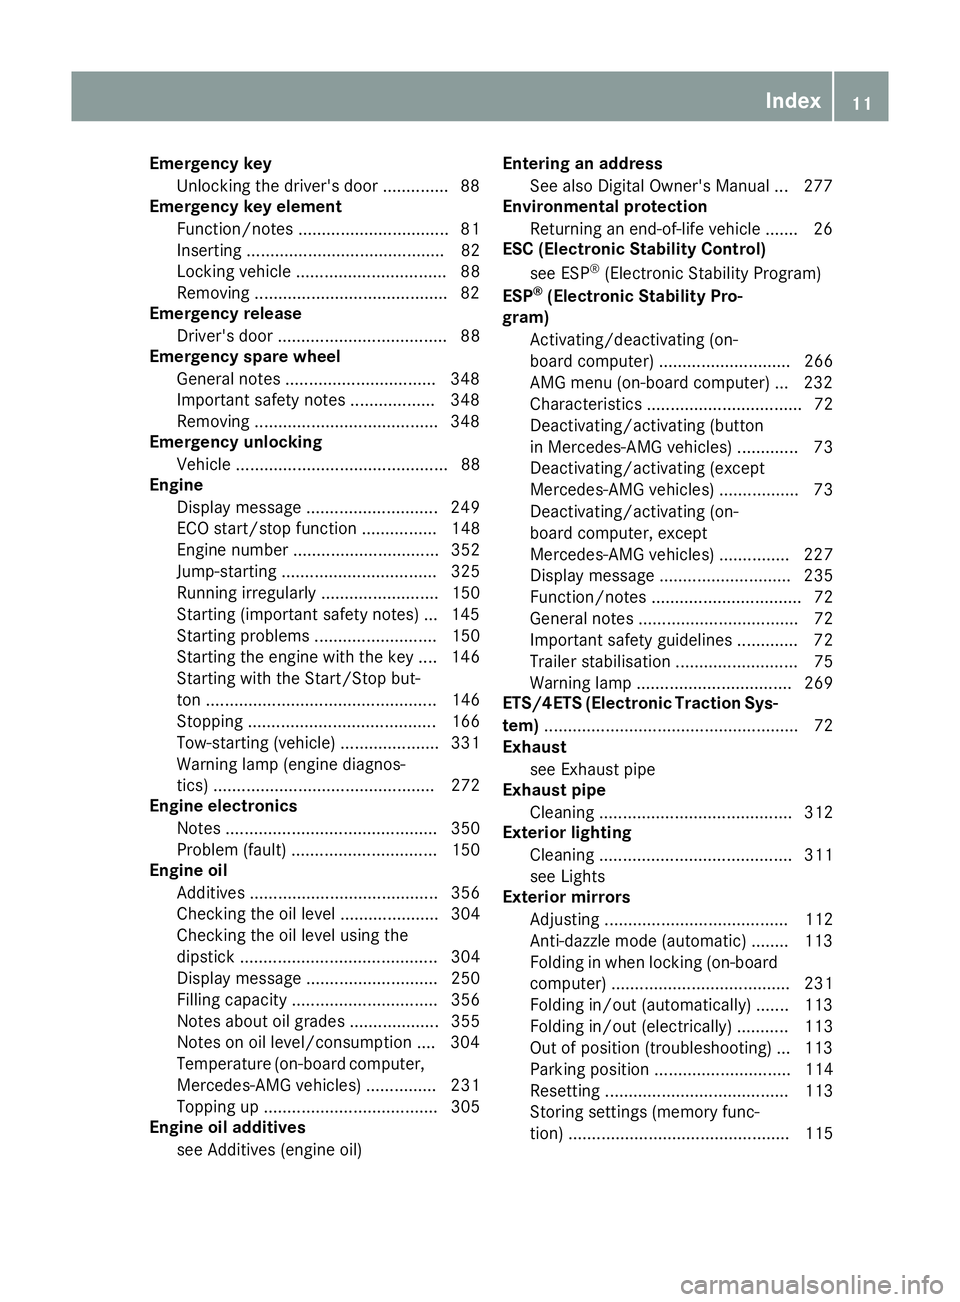
Emergency key
Unlocking the driver's door .............. 88
Emergency key element
Function/notes ................................ 81
Inserting .......................................... 82
Locking vehicle ................................ 88
Removing ........................................ .82
Emergency release
Driver's door .................................... 88
Emergency spare wheel
General notes ................................ 348
Important safety notes .................. 348
Removing ...................................... .348
Emergency unlocking
Vehicle ............................................. 88
Engine
Display message ............................ 249
ECO start/stop function ................ 148
Engine number ............................... 352
Jump-starting ................................. 325
Running irregularl y......................... 150
Starting (important safety notes )... 145
Starting problems .......................... 150
Starting the engine with the key .... 146
Starting with the Start/Stop but-
ton ................................................. 146
Stopping ........................................ 166
Tow-starting (vehicle) ..................... 331
Warning lamp (engine diagnos-
tics) ............................................... 272
Engine electronics
Notes ............................................. 350
Problem (fault) ............................... 150
Engine oil
Additives ........................................ 356
Checking the oil level ..................... 304
Checking the oil level using the
dipstick .......................................... 304
Display message ............................ 250
Filling capacity ............................... 356
Notes about oil grade s................... 355
Notes on oil level/consumption .... 304
Temperature (on-board computer, Mercedes-AMG vehicles) ............... 231
Topping up ..................................... 305
Engine oil additives
see Additives (engine oil) Entering an address
See also Digital Owner's Manua l... 277
Environmental protection
Returning an end-of-life vehicle ....... 26
ESC (Electronic Stability Control)
see ESP ®
(Electronic Stability Program)
ESP ®
(Electronic Stability Pro-
gram)
Activating/deactivating (on-
board computer) ............................ 266
AMG menu (on-board computer) ... 232
Characteristics ................................. 72
Deactivating/activating (button
in Mercedes-AMG vehicles) ............. 73
Deactivating/activating (except
Mercedes‑ AMG vehicles) ................. 73
Deactivating/activating (on-
board computer, except
Mercedes-AMG vehicles) ............... 227
Display message ............................ 235
Function/note s................................ 72
General notes .................................. 72
Important safety guidelines ............. 72
Trailer stabilisation .......................... 75
Warning lamp ................................. 269
ETS/4ETS (Electronic Traction Sys-
tem) ...................................................... 72
Exhaust
see Exhaust pipe
Exhaust pipe
Cleaning ......................................... 312
Exterior lighting
Cleaning ......................................... 311
see Lights
Exterior mirrors
Adjusting ....................................... 112
Anti-dazzle mode (automatic) ........ 113
Folding in when locking (on-boardcomputer) ...................................... 231
Folding in/out (automatically )....... 113
Folding in/out (electrically) ........... 113
Out of position (troubleshooting) ... 113
Parking position ............................. 114
Resetting ....................................... 113
Storing settings (memory func-
tion) ............................................... 115 Index
11
Page 15 of 369
F
Fault message see Display messages
Favourites
Overview ........................................ 278
Filler cap
see Fuel filler flap
Fire extinguisher .............................. .316
First-aid kit ......................................... 316
Fitting a wheel
Fitting a wheel ............................... 345
Lowering the vehicle ..................... .346
Preparing the vehicle ..................... 343
Raising the vehicle ......................... 344
Removing a wheel .......................... 345
Securing the vehicle against roll-
ing away ........................................ 344
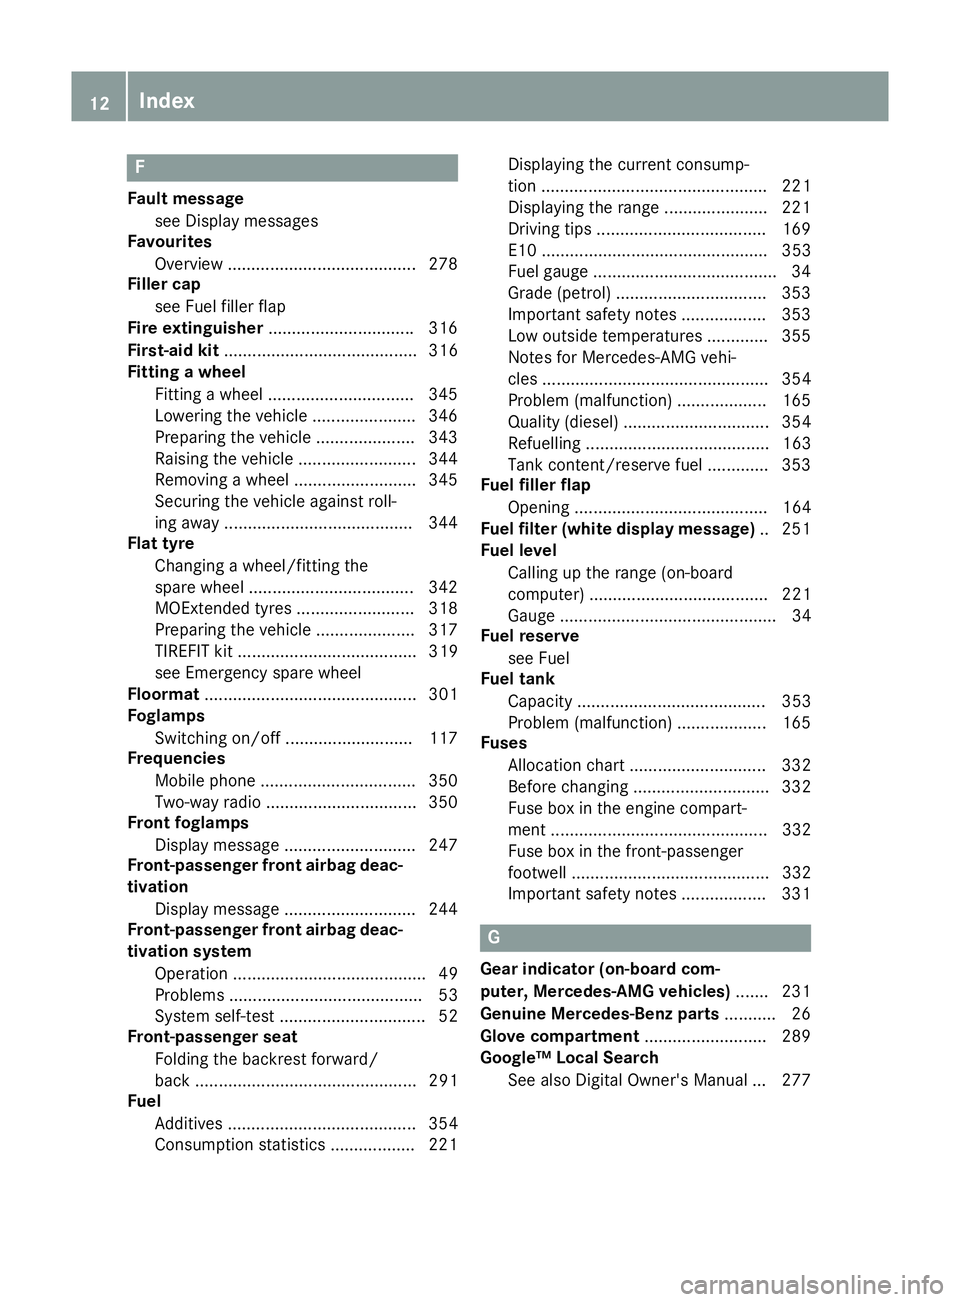
Flat tyre
Changing a wheel/fitting the
spare wheel ................................... 342
MOExtended tyres ......................... 318
Preparing the vehicle ..................... 317
TIREFIT kit ...................................... 319
see Emergency spare wheel
Floormat ............................................. 301
Foglamps
Switching on/off ........................... 117
Frequencies
Mobile phone ................................. 350
Two-way radio ................................ 350
Front foglamps
Display message ............................ 247
Front-passenger front airbag deac-
tivation
Display message ............................ 244
Front-passenger front airbag deac-
tivation system
Operation ......................................... 49
Problems ......................................... 53
System self-test ............................... 52
Front-passenger seat
Folding the backrest forward/
back ............................................... 291
Fuel
Additives ........................................ 354
Consumption statistics .................. 221 Displaying the current consump-
tion ................................................ 221
Displaying the range .....................
.221
Driving tips ................................... .169
E10 ................................................ 353
Fuel gauge ....................................... 34
Grade (petrol) ................................ 353
Important safety notes .................. 353
Low outside temperatures ............. 355
Notes for Mercedes ‑AMG vehi-
cles ................................................ 354
Problem (malfunction) ................... 165
Quality (diesel )............................... 354
Refuelling ....................................... 163
Tank content/reserve fue l............. 353
Fuel filler flap
Opening ......................................... 164
Fuel filter (white display message) .. 251
Fuel level
Calling up the range (on-board
computer) ...................................... 221
Gauge .............................................. 34
Fuel reserve
see Fuel
Fuel tank
Capacity ........................................ 353
Problem (malfunction) ................... 165
Fuses
Allocation chart ............................. 332
Before changing ............................. 332
Fuse box in the engine compart-
ment .............................................. 332
Fuse box in the front-passenger
footwell .......................................... 332
Important safety notes .................. 331 G
Gear indicator (on-board com-
puter, Mercedes-AMG vehicles) ....... 231
Genuine Mercedes-Benz parts ........... 26
Glove compartment .......................... 289
Google™ Local Search
See also Digital Owner's Manua l... 277 12
Index
Page 23 of 369
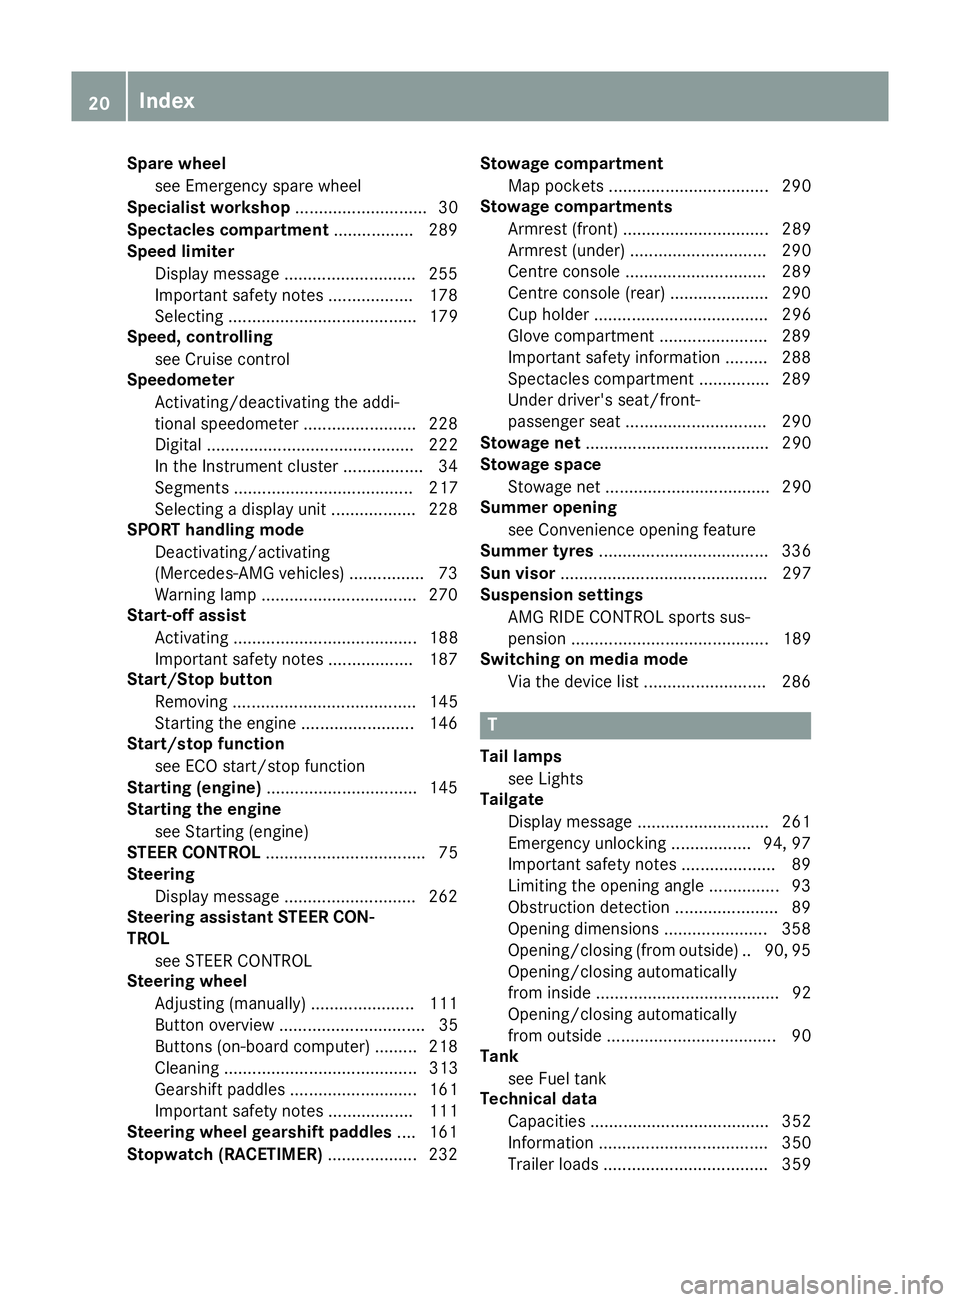
Spare wheel
see Emergency spare wheel
Specialist workshop ............................30
Spectacles compartment ................. 289
Speed limiter
Display message ............................2 55
Important safety notes .................. 178
Selecting ........................................ 179
Speed, controlling
see Cruise control
Speedometer
Activating/deactivating the addi-
tional speedometer ........................ 228
Digital ............................................ 222
In the Instrument cluster ................. 34
Segments ...................................... 217
Selecting a display unit .................. 228
SPORT handling mode
Deactivating/activating
(Mercedes-AMG vehicles) ................ 73
Warning lamp ................................. 270
Start-off assist
Activating ....................................... 188
Important safety notes .................. 187
Start/Stop button
Removing ....................................... 145
Starting the engine ........................ 146
Start/stop function
see ECO start/stop function
Starting (engine) ................................ 145
Starting the engine
see Starting (engine)
STEER CONTROL .................................. 75
Steering
Display message ............................ 262
Steering assistant STEER CON-
TROL
see STEER CONTROL
Steering wheel
Adjusting (manually) ...................... 111
Button overview ............................... 35
Buttons (on-board computer) ......... 218
Cleaning ......................................... 313
Gearshift paddle s........................... 161
Important safety notes .................. 111
Steering wheel gearshift paddles .... 161
Stopwatch (RACETIMER) ................... 232Stowage compartment
Map pockets .................................. 290
Stowage compartments
Armrest (front) ............................... 289
Armrest (under) ............................. 290
Centre console .............................. 289
Centre console (rear) ..................... 290
Cup holde r..................................... 296
Glove compartment ....................... 289
Important safety information ......... 288
Spectacles compartment ............... 289
Under driver's seat/front-
passenger sea t.............................. 290
Stowage net ....................................... 290
Stowage space
Stowage net ................................... 290
Summer opening
see Convenience opening feature
Summer tyres .................................... 336
Sun visor ............................................ 297
Suspension settings
AMG RIDE CONTROL sports sus-
pension .......................................... 189
Switching on media mode
Via the device list .......................... 286 T
Tail lamps see Lights
Tailgate
Display message ............................ 261
Emergency unlocking ................. 94, 97
Important safety notes .................... 89
Limiting the opening angle ............... 93
Obstruction detectio n...................... 89
Opening dimensions ...................... 358
Opening/closing (from outside) .. 90, 95 Opening/closing automatically
from inside ....................................... 92
Opening/closing automatically
from outside .................................... 90
Tank
see Fuel tank
Technical data
Capacities ...................................... 352
Information .................................... 350
Trailer load s................................... 359 20
Index
Page 26 of 369
Summer tyres ................................ 336
Tyre size (data
).............................. 347
Tyre tread ...................................... 335
see Flat tyre U
Unlocking Emergency unlocking ....................... 88
From inside the vehicle (central
unlocking button) ............................. 87
Upshift indicator (on-board com-
puter, Mercedes-AMG vehicles) ....... 231
USB devices
Connecting to the Media Inter-
face ............................................... 287 V
Vanity mirror (in sun visor) .............. 298
Vehicle
Correct use ...................................... 30
Data acquisition ............................... 30
Display message ............................ 258
Electronics ..................................... 350
Equipment ....................................... 27
Implied warranty .............................. 30
Individual settings .......................... 228
Leaving parked up ......................... 169
Locking (in an emergency) ............... 88
Locking (key) ................................... 79
Lowering ........................................ 346
Pulling away ................................... 146
Raising ........................................... 344
Registration ..................................... 30
Securing from rolling away ............ 344
Transporting .................................. 330
Unlocking (in an emergency) ........... 88
Unlocking (key) ................................ 79
Vehicle data ................................... 358
Vehicle battery
see Battery (vehicle)
Vehicle data
Boot load (maximum) ..................... 358
Roof load (maximum) ..................... 358
Vehicle data (off-road driving)
Approach/departure angle ............ 359
Maximum gradient climbing abil-
ity .................................................. 359 Vehicle dimensions
........................... 358
Vehicle emergency locking ................ 88
Vehicle identification number
see VIN
Vehicle identification plate .............. 351
Vehicle tool kit .................................. 317
Ventilation
Setting the vents ........................... 141
Video
Operating the DVD ......................... 224
See also Digital Owner's Manua l... 277
VIN
Seat ............................................... 352
Type plate ...................................... 351 W
Warning and indicator lamps ABS ................................................ 267
Active Brake Assist ........................ 275
Brakes ........................................... 266
Distance warning signal ................. 275
ESP ®
.............................................. 269
ESP ®
OFF ....................................... 270
Fuel tank ........................................ 272
LIM (cruise control )........................ 176
LIM (Distance Pilot DISTRONIC ).... 181
LIM (variable limiter) ...................... 178
Overview .......................................... 34
Reserve fuel ................................... 272
Seat belt ........................................ 265
Tyre pressure monitor ................... 276
Warning triangle ................................ 316
Washer fluid
Display message ............................ 263
Weather display (COMAND Online)
See also Digital Owner's Manua l... 277
Wheel and tyre combinations
Tyres .............................................. 347
Wheel bolt tightening torque ........... 346
Wheel chock ...................................... 344
Wheels
Changing a whee l.......................... 342
Changing/replacing ....................... 342
Checking ........................................ 334
Cleaning ......................................... 310
Emergency spare wheel ................. 348
Fitting a new wheel ........................ 345 Index
23
Page 320 of 369

X
Pull tab :upwards.
X Remove fire extinguisher ;.
Have the fire extinguisher refilled after each use and checked every one or two years. It may oth-
erwise fail in an emergency.
Observe the legal requirements for each indi-
vidual country. Vehicle tool kit
General notes Vehicles with a TIREFIT kit: the TIREFIT kit is
located in the stowage well under the luggage
compartment floor.
Vehicles with a tyre-change tool kit: the tyre-
change tool kit is in the stowage well under the
luggage compartment floor.
Vehicles with an emergency spare wheel, see
"Removing the emergency spare wheel"
(Y page 348).
Apart from some country-specific variants, vehi- cles are not equipped with a tyre-change tool kit.Some tools for changing a tyre are specific to
the vehicle. For more information on which tyre-
changing tools are required and approved for
performing a tyre change on your vehicle, con-
sult a qualified specialist workshop.
Necessary tyre-changing tools may include, for
example:
R jack
R wheel chock
R Wheel wrench
R Centring pin
i The jack weighs approximately 3.4 kg.
The maximum load-bearing capacity of the
jack can be found on the adhesive label on the jack.
The jack is maintenance-free. If there is a
malfunction, please contact a qualified spe-
cialist workshop. Vehicles with a TIREFIT kit :
Tyre inflation compressor
; Towing eye
= Tyre sealant bottle
X Open the tailgate.
X Lift the luggage compartment floor upwards
(Y page 295).
X Use the TIREFIT kit (Y page 319) or remove it.
Towing eye =is located under tyre inflation
compressor :.
i The tyre inflation compressor weighs
approximately 1.2 kg.
The tyre inflation compressor is maintenance-
free. If there is a malfunction, please contact a qualified specialist workshop.
Vehicles with a tyre-change tool kit X
Open the tailgate.
X Lift the luggage compartment floor upwards
(Y page 295).
X Remove the tyre-change tool kit.
The tyre-change tool kit contains:
R Jack
R Wheel wrench
R One pair of gloves
R Folding wheel chock Flat tyre
Preparing the vehicle
Your vehicle may be equipped with: R MOExtended tyres (tyres with run-flat char-
acteristics) (Y page 318) Flat tyre
317Breakdown assistance
Page 321 of 369
Vehicle preparation is not necessary on vehi-
cles with MOExtended tyres.
R a TIREFIT kit (Y page 317)
R an emergency spare wheel (certain countries
only) (Y page 348)
Vehicles with MOExtended tyres are not equip-
ped with a TIREFIT kit at the factory. It is there-
fore recommended that you additionally equip
your vehicle with a TIREFIT kit if you fit tyres that do not feature run-flat characteristics, e.g. win-
ter tyres. A TIREFIT kit can be obtained from a
qualified specialist workshop.
Information on changing and fitting a wheel
(Y page 342).
X Stop the vehicle as far away as possible from
traffic on solid, non-slippery and level ground.
X Switch on the hazard warning lamps.
X Secure the vehicle against rolling away
(Y page 166).
X If possible, bring the front wheels into the
straight-ahead position.
X Switch off the engine.
X Vehicles without KEYLESS-GO: remove the
key from the ignition lock.
X Vehicles with KEYLESS-GO start-function
or KEYLESS-GO: open the driver's door.
The vehicle electronics are now in position
g. This is the same as “key removed”.
X Vehicles with KEYLESS-GO start function
or KEYLESS-GO: remove the Start/Stop but-
ton from the ignition lock (Y page 144).
X Make sure that the passengers are not endan-
gered as they get out of the vehicle. Make
sure that no one is near the danger area while
a wheel is being changed. Anyone who is not directly assisting in the wheel change should, for example, stand behind the barrier.
X Get out of the vehicle. Pay attention to traffic
conditions when doing so.
X Close the driver's door.
X Place the warning triangle a suitable distance
away (Y page 316). Observe legal require-
ments. MOExtended tyres (tyres with run-flat
characteristics)
General notes With MOExtended tyres (tyres with run-flat char-
acteristics), you can continue to drive your vehi- cle even if there is a total loss of pressure in one
or more tyres. The affected tyre must not show
any clearly visible damage.
You can recognise MOExtended tyres by the
"MOExtended" mark that appears on the tyre
sidewall. You will find this mark next to the tyre
size designation, the load-bearing capacity and
the speed index.
MOExtended tyres may be used only in conjunc- tion with an activated tyre pressure loss warning
system or tyre pressure monitor.
If a pressure loss warning message appears in the multifunction display:
R observe the instructions in the display mes-
sages (Y page 256)
R check the tyre for damage
R if driving on, observe the following notes
The driving distance possible in run-flat mode is approximately 80 km when the vehicle is parti-
ally laden and approximately 30 km when the
vehicle is fully laden.
In addition to the vehicle load, the driving dis-
tance possible in run-flat mode depends on the:
R vehicle speed
R road condition
R outside temperature
The driving distance possible in run-flat mode
may be reduced by extreme driving conditions/ manoeuvres, or it can be increased through a
moderate style of driving.
The driving distance possible in run-flat mode iscounted from the moment the tyre pressure loss
warning appears on the multifunction display.
You must not exceed a maximum speed of
80 km/h.
When replacing one or all tyres, observe the fol-
lowing specifications for your vehicle's tyres:
R size
R type and
R the "MOExtended" marking
If a tyre has gone flat and cannot be replaced
with an MOExtended tyre, a standard tyre may
be used as a temporary measure. Make sure 318
Flat tyreBreakdown assistance
Page 337 of 369
Important safety notes
G
WARNING
If wheels and tyres of the wrong size are used, the wheel brakes or suspension components
may be damaged. There is a risk of an acci-
dent.
Always replace wheels and tyres with those
that fulfil the specifications of the original
part.
When replacing wheels, make sure to fit the
correct:
R designation
R type
When replacing tyres, make sure to fit the
correct:
R designation
R manufacturer
R type G
WARNING
A flat tyre severely impairs the driving, steer-
ing and braking characteristics of the vehicle.
There is a risk of accident.
Tyres without run-flat characteristics:
R do not drive with a flat tyre.
R immediately replace the flat tyre with your
emergency spare wheel or spare wheel, or
consult a qualified specialist workshop.
Tyres with run-flat characteristics:
R pay attention to the information and warn-
ing notices on MOExtended tyres (tyres
with run-flat characteristics).
Accessories that are not approved for your vehi-
cle by Mercedes-Benz or are not being used cor- rectly can impair operating safety.
Before purchasing and using non-approved
accessories, visit a qualified specialist work-
shop and enquire about:
R suitability
R legal stipulations
R factory recommendations Further information regarding wheels and tyres
can be found under "Wheel/tyre combinations"
(Y page 347).
You can ask for information regarding permitted
wheel/tyre combinations at a Mercedes-Benz
Service Centre.
Information on tyre pressures can be found:
R on the tyre pressure table in the fuel filler flap
(Y page 164)
R under "Tyre pressure" (Y page 337)
Modification work on the brake system and
wheels is not permitted. The use of spacers or
brake dust shields is not permitted. This inva-
lidates the general operating permit for the vehi-
cle.
i Further information on wheels and tyres can
be obtained at any qualified specialist work-
shop. Operation
Information on driving
Check the tyre pressure when the vehicle is
heavily laden and adjust prior to a trip.
While driving, pay attention to vibrations, noises
and unusual handling characteristics, e.g. pull-
ing to one side. This may indicate that the
wheels or tyres are damaged. If you suspect that
a tyre is defective, reduce your speed immedi-
ately. Stop the vehicle as soon as possible to
check the wheels and tyres for damage. Hidden tyre damage could also be causing the unusual
handling characteristics. If you find no signs of
damage, have the tyres and wheels checked at aqualified specialist workshop.
When parking your vehicle, make sure not to
squash the tyre. If you cannot avoid driving over
obstacles, e.g. kerbs, do so slowly and at an
obtuse angle only. You could otherwise damage
the wheel rims and tyres. Regular checking of wheels and tyres
G
WARNING
Damaged tyres can cause tyre inflation pres-
sure loss. As a result, you could lose control of your vehicle. There is a risk of accident. 334
OperationWheels and ty
res
Page 338 of 369
Check the tyres regularly for signs of damage
and replace any damaged tyres immediately.
Check wheels and tyres for damage at least
once a month. Check wheels and tyres after
driving off-road or on rough roads. Damaged
wheels can cause a loss of tyre pressure. Pay
particular attention to damage such as:
R cuts in the tyres
R punctures
R tears in the tyres
R bulges on the tyres
R deformation or severe corrosion on the
wheels
Regularly check the tyre tread depth and the
condition of the tread across the whole width of
the tyre (Y page 335). If necessary, turn the
front wheels to full lock to make it easier to
inspect the inner side of the tyre surface.
All wheels must have a valve cap to protect the valve against dirt and moisture. Do not fit any-
thing onto the valve other than the standard
valve cap or other valve caps specially approved
for your vehicle by Mercedes-Benz. Do not fit
any other valve caps or systems, e.g. tyre pres- sure monitors.
Check the pressure of all tyres regularly as well
as prior to long trips. Adjust the tyre pressures
as necessary (Y page 337).
Observe the notes on the emergency spare
wheel (Y page 348).
The service life of a tyre depends on various fac-
tors, including the following:
R driving style
R tyre pressure
R mileage Notes on the tyre tread
G
WARNING
Insufficient tyre tread will reduce tyre trac-
tion. The tyre is no longer able to dissipate
water. This means that on wet road surfaces, the risk of aquaplaning increases, in particularwhere speed is not adapted to suit the driving
conditions. There is a risk of accident.
If the tyre pressure is too high or too low, tyres may exhibit different levels of wear at differ- ent locations on the tyre tread. Thus, you
should regularly check the tread depth and
the condition of the tread across the entire
width of all tyres.
Minimum tyre tread depth for:
R summer tyres: 3 mm
R M+S tyres: 4 mm
For safety reasons, replace the tyres before
the legally prescribed limit for the minimum
tyre tread depth is reached. Selecting, fitting and replacing tyres
G
WARNING
Exceeding the stated tyre load-bearing capa-
city and the approved maximum speed could
lead to tyre damage or the tyre bursting. There is a risk of accident.
Therefore, only use tyre types and sizes
approved for your vehicle model. Observe the
tyre load rating and speed rating required for your vehicle.
Pay special attention to country-specific
requirements for tyre approval. These require-
ments may stipulate a specific tyre type for your
vehicle. Furthermore, the use of a specific tyre
type in certain regions and areas of operation
can be highly beneficial. You can find further
information regarding tyres at specialist tyre
retailers, at qualified specialist workshops or at
any Mercedes-Benz Service Centre.
R Use only tyres and wheels of the same type
and make.
Exception: it is permissible to fit a different
type or make in the event of a flat tyre.
Observe here the "MOExtended tyres (tyres
with run-flat characteristics)" section
(Y page 318).
R Fit only tyres of the correct size onto the
wheels.
R Run in new tyres at moderate speeds for the
first 100 km. They reach their full perform-
ance only after this distance. Operation
335Wheels and tyres Z
Page 339 of 369
R
Do not drive with tyres that have too little
tread depth. This significantly reduces trac-
tion on wet roads (aquaplaning).
R Replace the tyres after six years at the latest,
regardless of wear.
Observe the notes on the emergency spare
wheel (Y page 348). MOExtended tyres (tyres with run-flat
characteristics)
With MOExtended tyres (tyres with run-flat char- acteristics), you can continue to drive your vehi-
cle even if there is a total loss of pressure in one or more tyres.
MOExtended tyres may be used only in conjunc-tion with an activated tyre pressure loss warning
system or with an activated tyre pressure mon-
itor and only on wheels specifically tested by
Mercedes-Benz.
Notes on driving with MOExtended tyres with a
flat tyre (Y page 318).
Vehicles with MOExtended tyres are not equip-
ped with a TIREFIT kit at the factory. It is there-
fore recommended that you additionally equip
your vehicle with a TIREFIT kit if you fit tyres that
do not feature run-flat characteristics, e.g. win-
ter tyres. A TIREFIT kit can be obtained from a
qualified specialist workshop. Winter operation
General notes
Have your vehicle winterproofed at a qualified
specialist workshop at the onset of winter.
Observe the notes in the "Changing a wheel"
section (Y page 342). Driving with summer tyres
At temperatures below +7 †, summer tyres lose
elasticity and therefore traction and braking
power. Change the tyres on your vehicle to
M+S tyres. Using summer tyres at very cold
temperatures could cause tears to form,
thereby damaging the tyres permanently.
Mercedes-Benz cannot accept responsibility for
this type of damage. G
WARNING
Damaged tyres can cause tyre inflation pres-
sure loss. As a result, you could lose control of your vehicle. There is a risk of accident.
Check the tyres regularly for signs of damageand replace any damaged tyres immediately. M+S tyres
G
WARNING
M+S tyres with a tyre tread depth of less than 4 mm are not suitable for use in winter as they
do not provide sufficient traction. There is a
risk of accident.
M+S tyres with a tread depth of less than
4 mm must be replaced.
At temperatures below +7 †, use winter tyres or all-season tyres. Both types of tyre are identified
by the M+S marking.
Only winter tyres bearing the isnowflake
symbol in addition to the M+S marking provide
the best possible grip in wintry road conditions. Only these tyres will allow driving safety sys-
tems such as ABS and ESP ®
to function opti-
mally in winter. These tyres have been devel-
oped specifically for driving in snow.
Use M+S tyres of the same make and tread on all
wheels to maintain safe handling characteris-
tics.
Always observe the maximum permissible
speed specified for the M+S tyres you have fit-
ted.
If you fit M+S tyres that have a lower maximum
permissible speed than that of the vehicle, affix
an appropriate warning label in the driver's field
of vision. This can be obtained at a qualified
specialist workshop.
Under these circumstances, you should also
restrict the maximum design speed of the vehi- cle using the permanent limiter to the maximumpermissible speed for the M+S tyres
(Y page 180). 336
Winter operationWheels and tyres