ECO mode MERCEDES-BENZ GLC-Class 2016 X253 Comand Manual
[x] Cancel search | Manufacturer: MERCEDES-BENZ, Model Year: 2016, Model line: GLC-Class, Model: MERCEDES-BENZ GLC-Class 2016 X253Pages: 222, PDF Size: 6.39 MB
Page 7 of 222
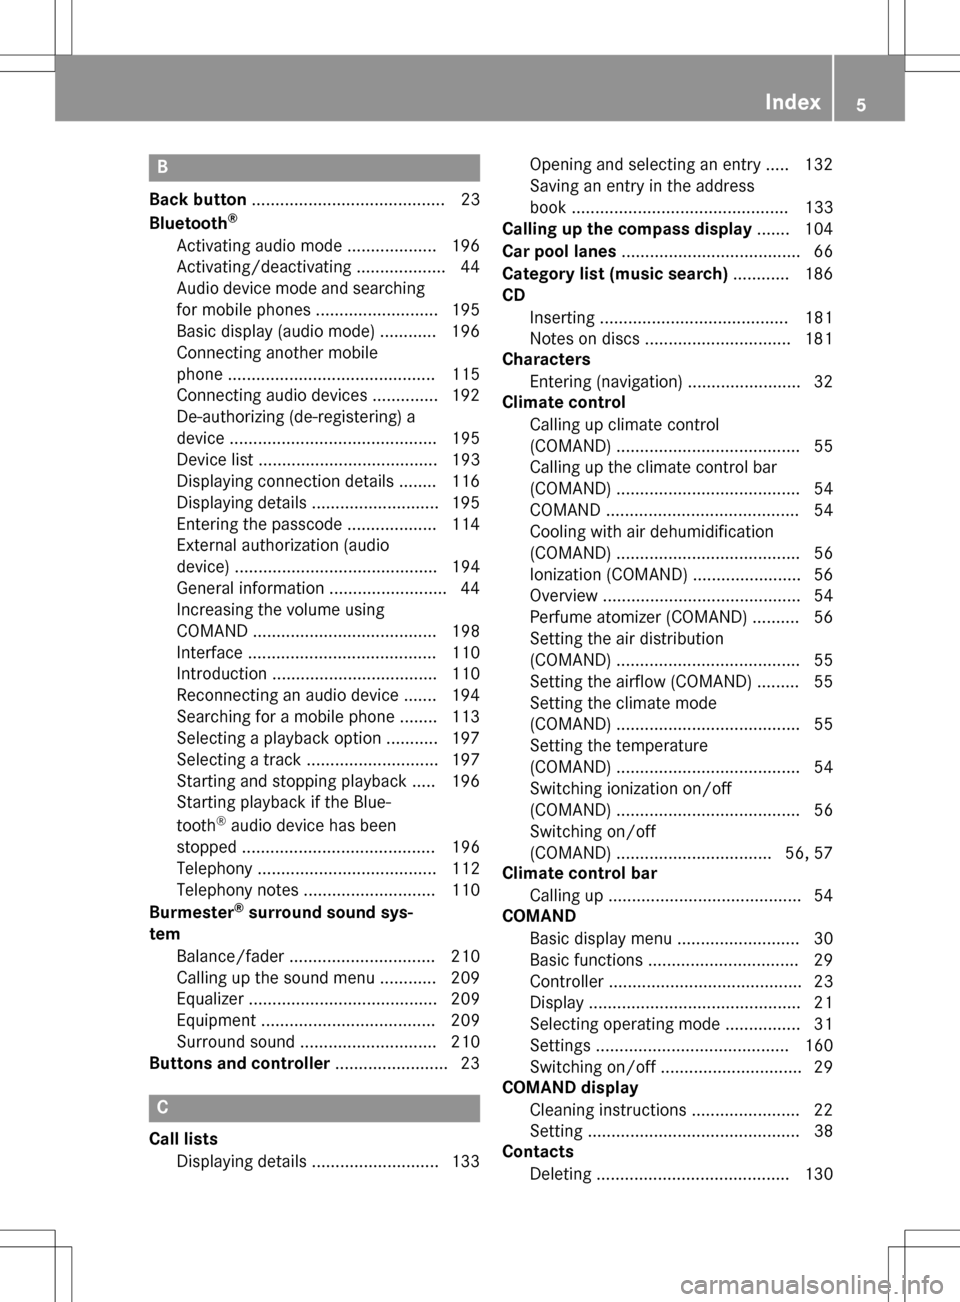
B
Back button......................................... 23
Bluetooth®
Activating audio mode ................... 196
Activating/deactivating ................... 44
Audio device mode and searching
for mobile phones .......................... 195
Basic display (audio mode) ............ 196
Connecting another mobile
phone ............................................ 115
Connecting audio devices .............. 192
De-authorizing (de-registering) a
device ............................................ 195
Device list ...................................... 193
Displaying connection details ........ 116
Displaying details ........................... 195
Entering the passcode ................... 114
External authorization (audio
device) ........................................... 194
General information ......................... 44
Increasing the volume using
COMAND ....................................... 198
Interface ........................................ 110
Introduction ................................... 110
Reconnecting an audio device ....... 194
Searching for a mobile phone ........ 113
Selecting a playback option ........... 197
Selecting a track ............................ 197
Starting and stopping playback ..... 196
Starting playback if the Blue-
tooth
®audio device has been
stopped ......................................... 196
Telephony ...................................... 112
Telephony notes ............................ 110
Burmester
®surround sound sys-
tem
Balance/fader ............................... 210
Calling up the sound menu ............ 209
Equalizer ........................................ 209
Equipment ..................................... 209
Surround sound ............................. 210
Buttons and controller ........................ 23
C
Call lists
Displaying details ........................... 133 Opening and selecting an entry ..... 132
Saving an entry in the address
book .............................................. 133
Calling up the compass display ....... 104
Car pool lanes ...................................... 66
Category list (music search) ............ 186
CD
Inserting ........................................ 181
Notes on discs ............................... 181
Characters
Entering (navigation) ........................ 32
Climate control
Calling up climate control
(COMAND) ....................................... 55
Calling up the climate control bar
(COMAND) ....................................... 54
COMAND ......................................... 54
Cooling with air dehumidification
(COMAND) ....................................... 56
Ionization (COMAND) ....................... 56
Overview .......................................... 54
Perfume atomizer (COMAND) .......... 56
Setting the air distribution
(COMAND) ....................................... 55
Setting the airflow (COMAND) ......... 55
Setting the climate mode
(COMAND) ....................................... 55
Setting the temperature
(COMAND) ....................................... 54
Switching ionization on/off
(COMAND) ....................................... 56
Switching on/off
(COMAND) ................................. 56, 57
Climate control bar
Calling up ......................................... 54
COMAND
Basic display menu .......................... 30
Basic functions ................................ 29
Controller ......................................... 23
Display ............................................. 21
Selecting operating mode ................ 31
Settings ......................................... 160
Switching on/off .............................. 29
COMAND display
Cleaning instructions ....................... 22
Setting ............................................. 38
Contacts
Deleting ......................................... 130
Index5
Page 13 of 222
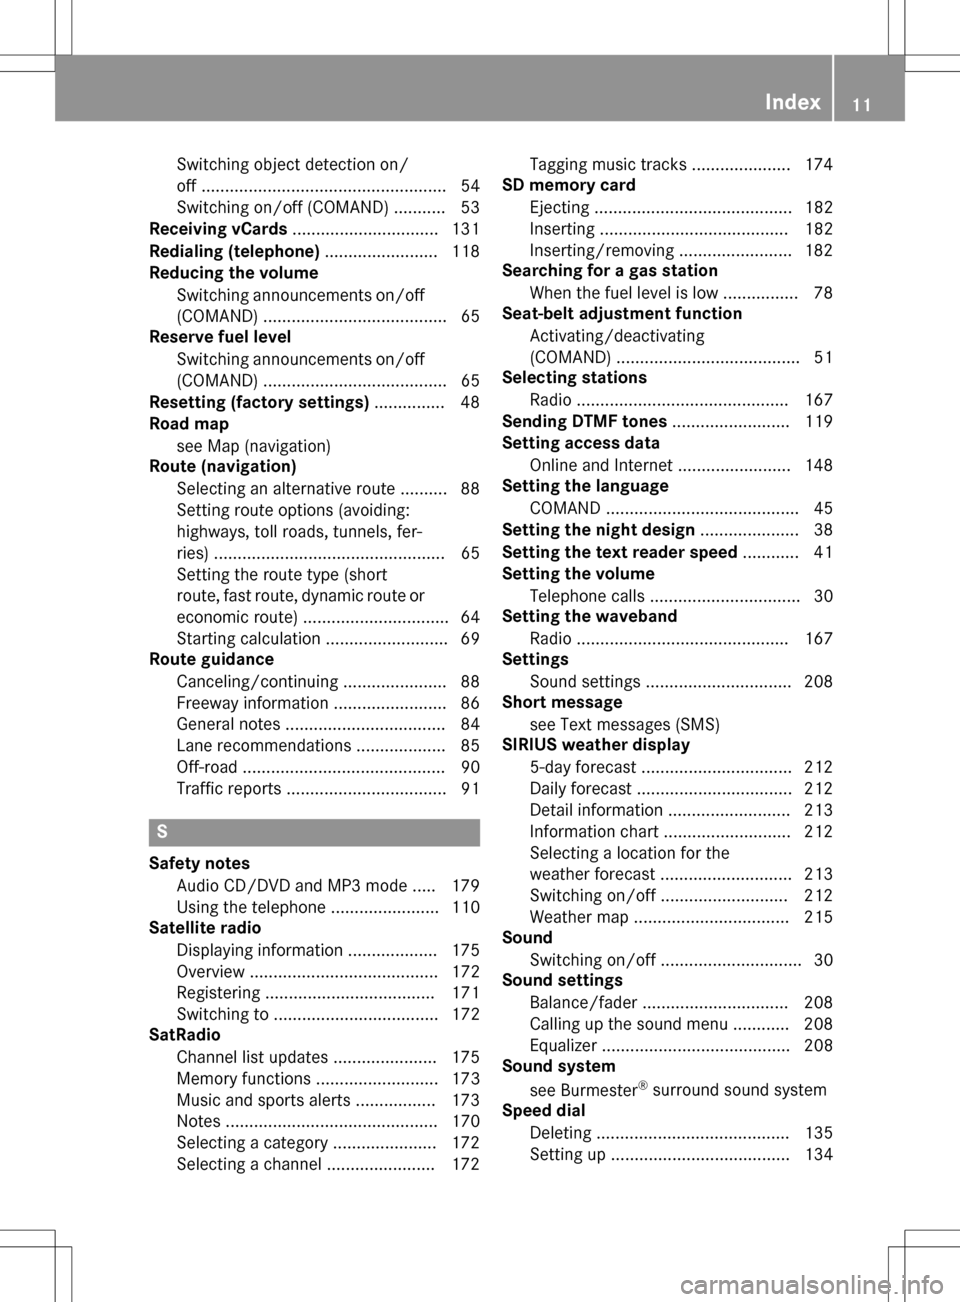
Switching object detection on/
off .................................................... 54
Switching on/off (COMAND) ........... 53
Receiving vCards ............................... 131
Redialing (telephone) ........................ 118
Reducing the volume
Switching announcements on/off
(COMAND) ....................................... 65
Reserve fuel level
Switching announcements on/off(COMAND) ....................................... 65
Resetting (factory settings) ............... 48
Road map
see Map (navigation)
Route (navigation)
Selecting an alternative route .......... 88
Setting route options (avoiding:
highways, toll roads, tunnels, fer-
ries) ................................................. 65
Setting the route type (short
route, fast route, dynamic route or
economic route) ............................... 64
Starting calculation .......................... 69
Route guidance
Canceling/continuing ...................... 88
Freeway information ........................ 86
General notes .................................. 84
Lane recommendations ................... 85
Off-road ........................................... 90
Traffic reports .................................. 91
S
Safety notesAudio CD/DVD and MP3 mode ..... 179
Using the telephone ....................... 110
Satellite radio
Displaying information ................... 175
Overview ........................................ 172
Registering .................................... 171
Switching to ................................... 172
SatRadio
Channel list updates ...................... 175
Memory functions .......................... 173
Music and sports alerts ................. 173
Notes ............................................. 170
Selecting a category ...................... 172
Selecting a channel ....................... 172 Tagging music tracks ..................... 174
SD memory card
Ejecting .......................................... 182
Inserting ........................................ 182
Inserting/removing ........................ 182
Searching for a gas station
When the fuel level is low ................ 78
Seat-belt adjustment function
Activating/deactivating
(COMAND) ....................................... 51
Selecting stations
Radio ............................................. 167
Sending DTMF tones ......................... 119
Setting access data
Online and Internet ........................ 148
Setting the language
COMAND ......................................... 45
Setting the night design ..................... 38
Setting the text reader speed ............ 41
Setting the volume
Telephone calls ................................ 30
Setting the waveband
Radio ............................................. 167
Settings
Sound settings ............................... 208
Short message
see Text messages (SMS)
SIRIUS weather display
5-day forecast ................................ 212
Daily forecast ................................. 212
Detail information .......................... 213
Information chart ........................... 212
Selecting a location for the
weather forecast ............................ 213
Switching on/off ........................... 212
Weather map ................................. 215
Sound
Switching on/off .............................. 30
Sound settings
Balance/fader ............................... 208
Calling up the sound menu ............ 208
Equalizer ........................................ 208
Sound system
see Burmester
®surround sound system
Speed dial
Deleting ......................................... 135
Setting up ...................................... 134
Index11
Page 14 of 222
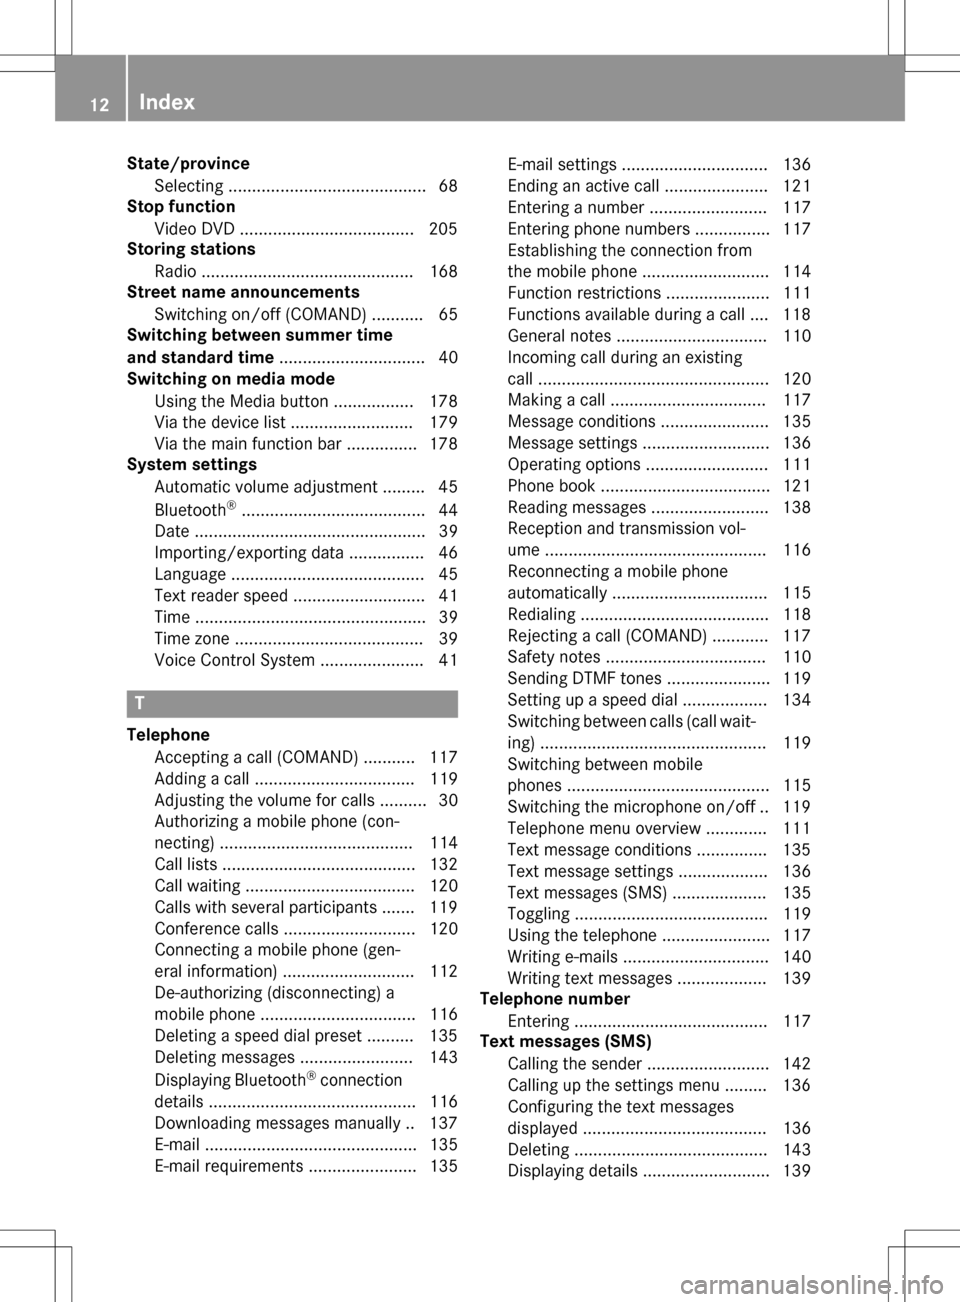
State/provinceSelecting .......................................... 68
Stop function
Video DVD .....................................2 05
Storing stations
Radio ............................................. 168
Street name announcements
Switching on/off (COMAND) ........... 65
Switching between summer time
and standard time ............................... 40
Switching on media mode
Using the Media button ................. 178
Via the device list .......................... 179
Via the main function bar ............... 178
System settings
Automatic volume adjustment ......... 45
Bluetooth
®....................................... 44
Date ................................................. 39
Importing/exporting data ................ 46
Language ......................................... 45
Text reader speed ............................ 41
Time ................................................. 39
Time zone ........................................ 39
Voice Control System ...................... 41
T
Telephone
Accepting a call (COMAND) ........... 117
Adding a call .................................. 119
Adjusting the volume for calls .......... 30
Authorizing a mobile phone (con-
necting) ......................................... 114
Call lists ......................................... 132
Call waiting .................................... 120
Calls with several participants ....... 119
Conference calls ............................ 120
Connecting a mobile phone (gen-
eral information) ............................ 112
De-authorizing (disconnecting) a
mobile phone ................................. 116
Deleting a speed dial preset .......... 135
Deleting messages ........................ 143
Displaying Bluetooth
®connection
details ............................................ 116
Downloading messages manually .. 137
E-mail ............................................. 135
E-mail requirements ....................... 135 E-mail settings ............................... 136
Ending an active call ...................... 121
Entering a number ......................... 117
Entering phone numbers ................ 117
Establishing the connection from
the mobile phone ........................... 114
Function restrictions ...................... 111
Functions available during a call .... 118
General notes ................................ 110
Incoming call during an existing
call ................................................. 120
Making a call ................................. 117
Message conditions ....................... 135
Message settings ........................... 136
Operating options .......................... 111
Phone book .................................... 121
Reading messages ......................... 138
Reception and transmission vol-
ume ............................................... 116
Reconnecting a mobile phone
automatically ................................. 115
Redialing ........................................ 118
Rejecting a call (COMAND) ............ 117
Safety notes .................................. 110
Sending DTMF tones ...................... 119
Setting up a speed dial .................. 134
Switching between calls (call wait-
ing) ................................................ 119
Switching between mobile
phones ........................................... 115
Switching the microphone on/of
f..1 19
Tel ephone menu overview ............. 111
Text message condi
tions ...............1 35
Text message settings ................... 136
Text messages (SMS) .................... 135
Toggling ......................................... 119
Using the telephone ....................... 117
Writing e-mails ............................... 140
Writing text messages ................... 139
Telephone number
Entering ......................................... 117
Text messages (SMS)
Calling the sender .......................... 142
Calling up the settings menu ......... 136
Configuring the text messages
displayed ....................................... 136
Deleting ......................................... 143
Displaying details ........................... 139
12Index
Page 15 of 222
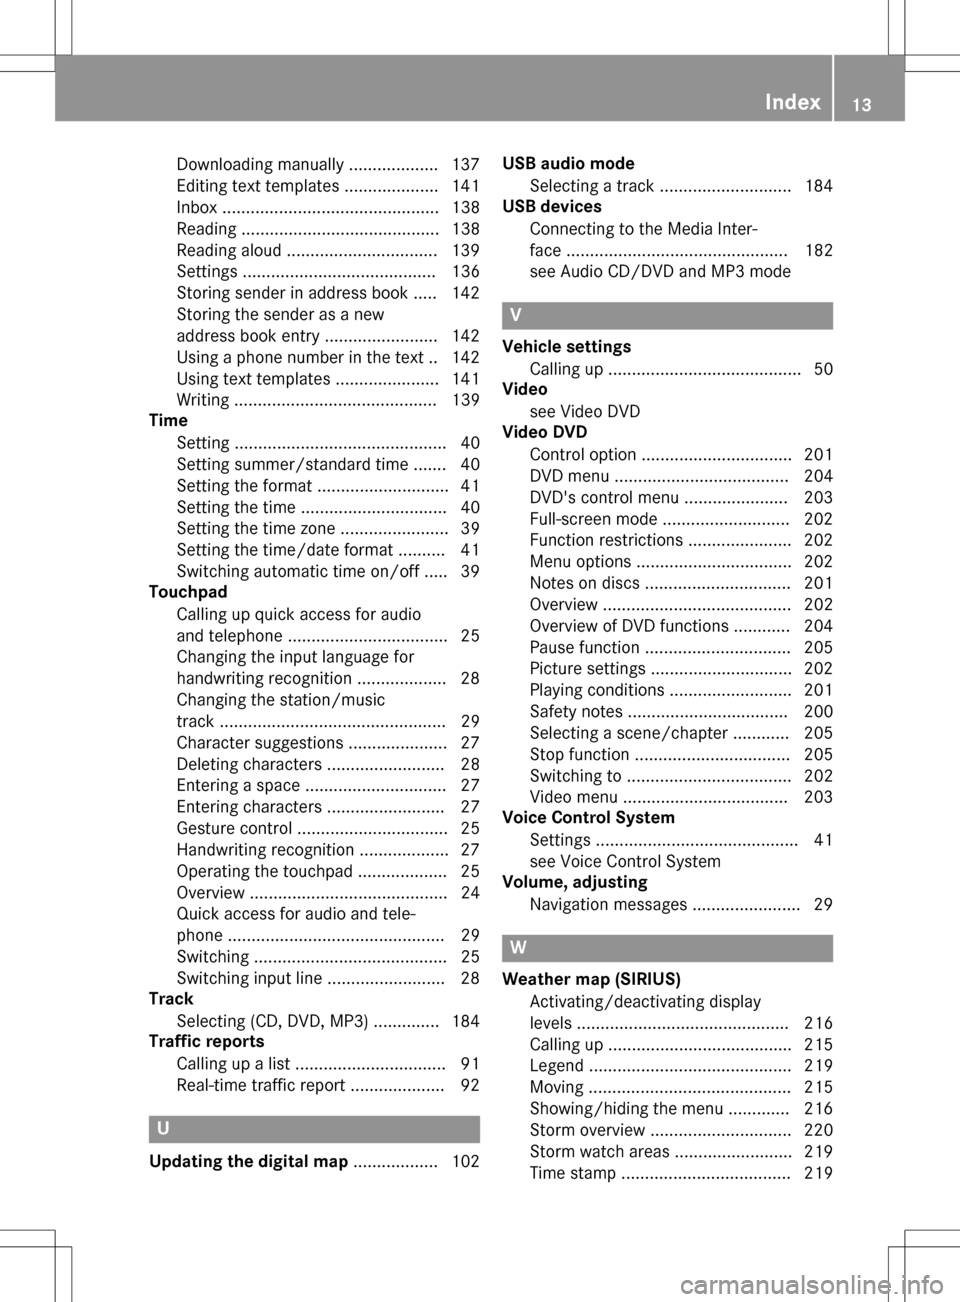
Downloading manually ................... 137
Editing text templates .................... 141
Inbox .............................................. 138
Reading .......................................... 138
Reading aloud ................................ 139
Settings ......................................... 136
Storing sender in address book ..... 142
Storing the sender as a new
address book entry ........................ 142
Using a phone number in the text .. 142
Using text templates ...................... 141
Writing ........................................... 139
Time
Setting ............................................. 40
Setting summer/standard time ....... 40
Setting the format ............................ 41
Setting the time ............................... 40
Setting the time zone ....................... 39
Setting the time/date format .......... 41
Switching automatic time on/off ..... 39
Touchpad
Calling up quick access for audio
and telephone .................................. 25
Changing the input language for
handwriting recognition ................... 28
Changing the station/music
track ................................................ 29
Character suggestions ..................... 27
Deleting characters ......................... 28
Entering a space .............................. 27
Entering characters ......................... 27
Gesture control ................................ 25
Handwriting recognition ................... 27
Operating the touchpad ................... 25
Overview .......................................... 24
Quick access for audio and tele-
phone .............................................. 29
Switching ......................................... 25
Switching input line ......................... 28
Track
Selecting (CD, DVD, MP3) .............. 184
Traffic reports
Calling up a list ................................ 91
Real-time traffic report .................... 92
U
Updating the digital map .................. 102USB audio mode
Selecting a track ............................ 184
USB devices
Connecting to the Media Inter-
face ............................................... 182
see Audio CD/DVD and MP3 mode
V
Vehicle settingsCalling up ......................................... 50
Video
see Video DVD
Video DVD
Control option ................................ 201
DVD menu ..................................... 204
DVD's control menu ...................... 203
Full-screen mode ........................... 202
Function restrictions ...................... 202
Menu options ................................. 202
Notes on discs ............................... 201
Overview ........................................ 202
Overview of DVD functions ............ 204
Pause function ............................... 205
Picture settings .............................. 202
Playing conditions .......................... 201
Safety notes .................................. 200
Selecting a scene/chapter ............ 205
Stop function ................................. 205
Switching to ................................... 202
Video menu ................................... 203
Voice Control System
Settings ........................................... 41
see Voice Control System
Volume, adjusting
Navigation messages ....................... 29
W
Weather map (SIRIUS)Activating/deactivating display
levels ............................................. 216
Calling up ....................................... 215
Legend ........................................... 219
Moving ........................................... 215
Showing/hiding the menu ............. 216
Storm overview .............................. 220
Storm watch areas ......................... 219
Time stamp .................................... 219
Index13
Page 25 of 222
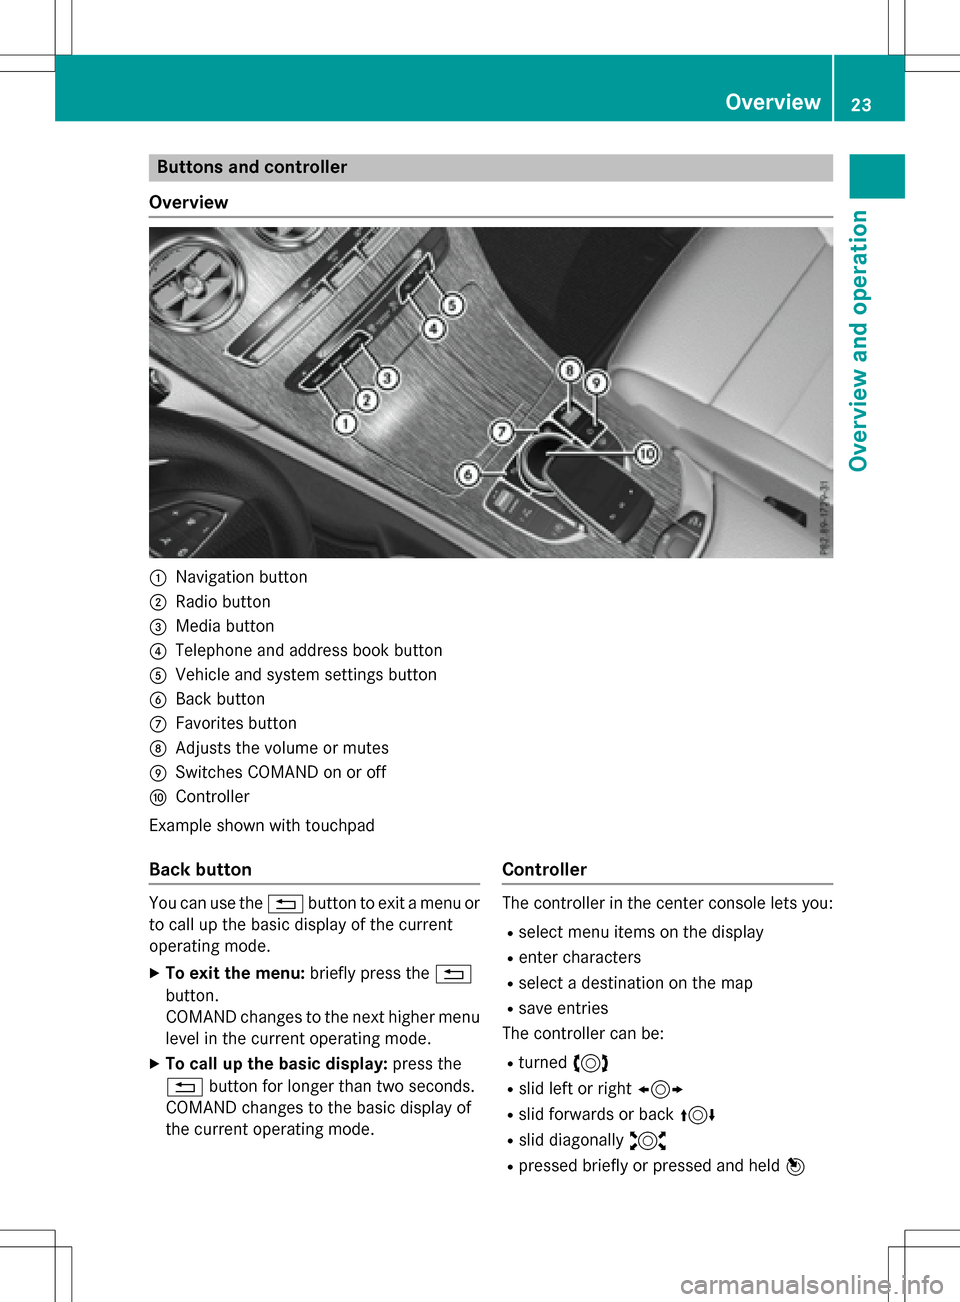
Buttons and controller
Overview
:Navigation button
;Radio button
=Media button
?Telephone and address book button
AVehicle and system settings button
BBack button
CFavorites button
DAdjusts the volume or mutes
ESwitches COMAND on or off
FController
Example shown with touchpad
Back button
You can use the %button to exit a menu or
to call up the basic display of the current
operating mode.
XTo exit the menu: briefly press the%
button.
COMAND changes to the next higher menu
level in the current operating mode.
XTo call up the basic display: press the
% button for longer than two seconds.
COMAND changes to the basic display of
the current operating mode.
Controller
The controller in the center console lets you:
Rselect menu items on the display
Renter characters
Rselect a destination on the map
Rsave entries
The controller can be:
Rturned 3
Rslid left or right 1
Rslid forwards or back 4
Rslid diagonally2
Rpressed briefly or pressed and held 7
Overview23
Overviewand operation
Page 40 of 222
Your COMANDequipment
i
These operatin ginstruction sdescribe all
th estandar dan doptional equipmen tof
your COMAN Dsystem, as available at th e
time of going to print .Country-specifi cdif -
ference sare possible. Bear in min dthat
your vehicle may no tfeature all function s
described here. Thi salso applies to safety-
relevant systems an dfunctions.
iRead th einformation on qualified special-
ist workshop sin th evehicle Operator's
Manual.
Important safet ynotes
GWARNING
If you operat emobile communication equip-
men twhil edriving, you will be distracted from
traffic conditions. You could also los econtro l
of th evehicle. There is aris kof an accident.
Only operat ethis equipment when th evehicle
is stationary.
GWARNING
SD memor ycards are small parts .The ycan be
swallowe dan dcause asphyxiation .Thi s
poses an increase dris kof injury or eve nfatal
injury.
Kee pSD memor ycards out of th ereach of
children .If an SD memor ycar dis swallowed,
see kimmediate medical attention .
You mustobserv eth elega lrequirements fo r
th ecountry in whic hyou are currentl ydrivin g
when operatin gmobile communication s
equipmen tin th evehicle.
Display settings
Setting th ebrightness
The brightness detecte dby th edisplay ligh t
sensor affects th esetting option sfo rthis
function .
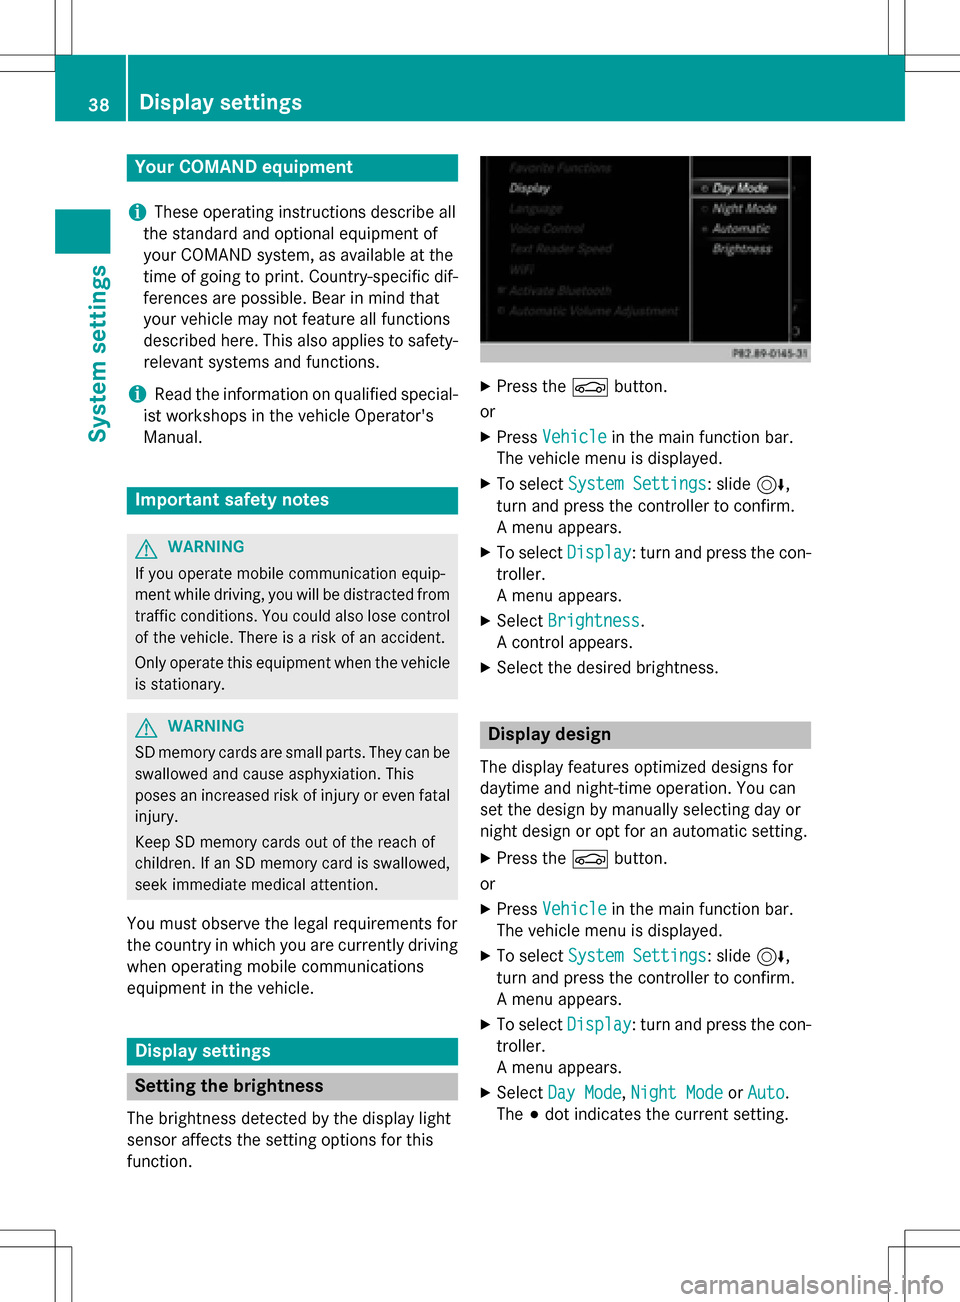
XPress theØ button.
or
XPress Vehicl ein themain function bar .
The vehicle men uis displayed.
XTo selec tSystem Settings:slid e6,
turn an dpress th econtroller to confirm .
A men uappears .
XTo selec tDispla y:turn an dpress th econ-
troller.
A men uappears .
XSelectBrightness.
A contro lappears .
XSelectth edesire dbrightness.
Display design
The display feature soptimize ddesign sfo r
daytime an dnight-time operation .You can
set th edesign by manually selecting day or
night design or opt fo ran automatic setting .
XPress theØ button.
or
XPress Vehicl ein themain function bar .
The vehicle men uis displayed.
XTo selec tSystem Settings:slid e6,
turn an dpress th econtroller to confirm .
A men uappears .
XTo selec tDispla y:turn an dpress th econ-
troller.
A men uappears .
XSelectDa yMode,Nigh tModeor Auto.
The #dot indicates th ecurren tsetting .
38Display settings
System settings
Page 41 of 222
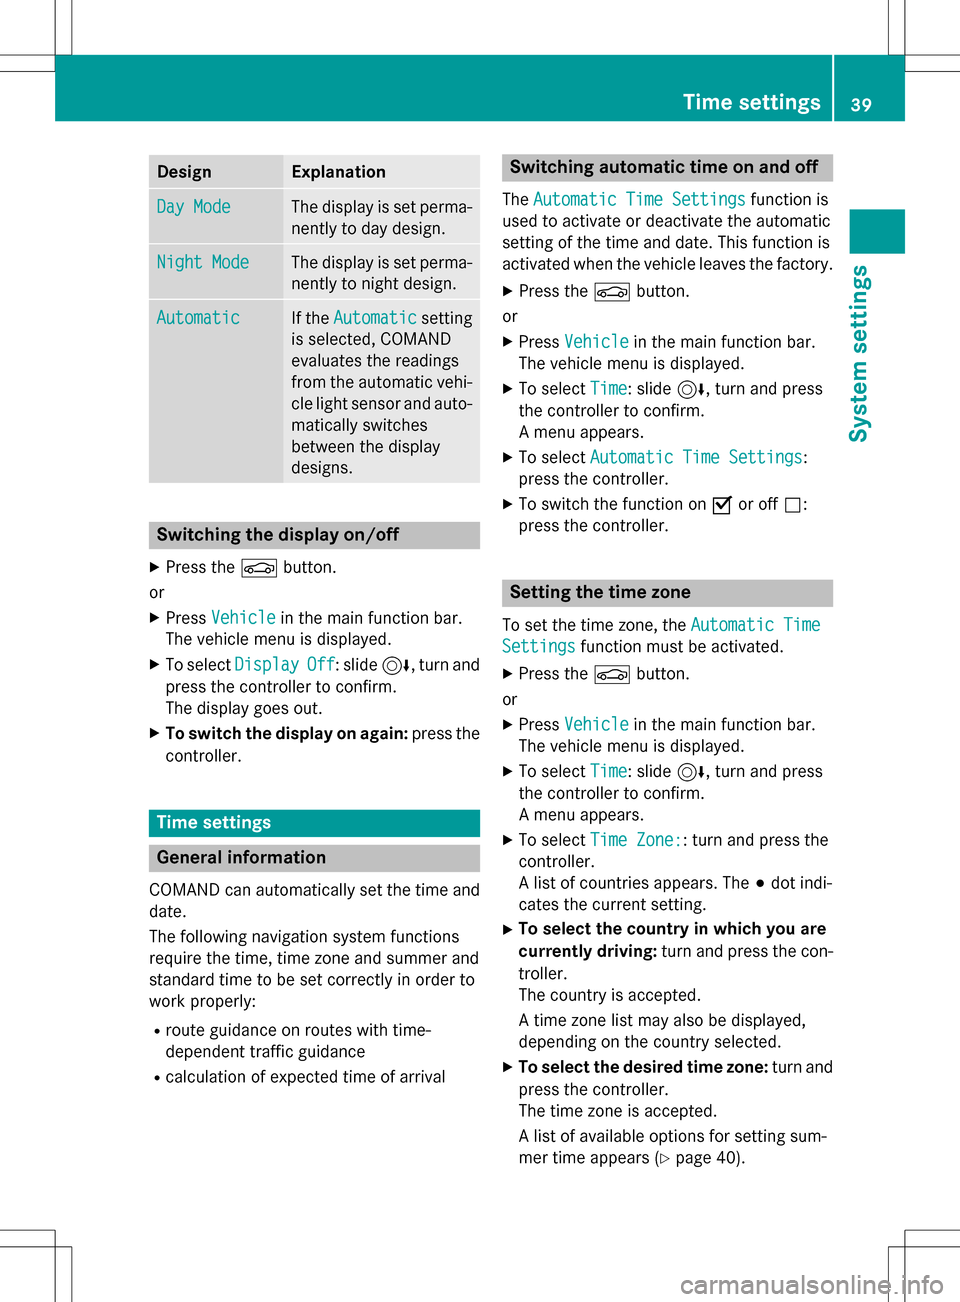
DesignExplanation
Day ModeThe display is set perma-
nently to day design .
Night ModeThe display is set perma-
nently to night design .
AutomaticIf theAutomaticsetting
is selected, COMAND
evaluates th ereadings
from th eautomati cvehi-
cle ligh tsensor and auto-
matically switches
between th edisplay
designs.
Switchin gth edisplay on/of f
XPress theØ button.
or
XPress Vehicl ein themain function bar.
The vehicl emen uis displayed.
XTo select DisplayOff:slid e6, turnand
press th econtroller to confirm .
The display goe sout .
XTo switch th edisplay on again: press the
controller .
Time settings
General information
COMAND can automatically set th etime and
date.
The following navigation system function s
require th etime, time zone and summer and
standard time to be set correctl yin order to
wor kproperly:
Rroute guidance on route swit htime-
dependen ttraffic guidance
Rcalculation of expecte dtime of arrival
Switchin gautomatic time on and off
The Automatic Tim eSettingsfunction is
used to activat eor deactivat eth eautomati c
setting of th etime and date. This function is
activated when th evehicl eleaves th efactory.
XPress th eØ button.
or
XPress Vehicl ein themain function bar.
The vehicl emen uis displayed.
XTo select Time:slid e6, turnand press
th econtroller to confirm .
A men uappears .
XTo select Automatic Tim eSettings:
press th econtroller .
XTo switch th efunction on Oor of fª:
press th econtroller .
Setting th etime zon e
To set thetime zone ,th eAutomatic Tim e
Settingsfunction mustbe activated.
XPress th eØ button.
or
XPress Vehicl ein themain function bar.
The vehicl emen uis displayed.
XTo select Time:slid e6, turnand press
th econtroller to confirm .
A men uappears .
XTo select TimeZone::tur nand press th e
controller .
A list of countrie sappears .The #dot indi-
cates th ecurren tsetting .
XTo select th ecountr yin which you ar e
currently driving: turnand press th econ-
troller.
The country is accepted.
A time zone list may also be displayed,
dependin gon th ecountry selected.
XTo select th edesired time zone: turnand
press th econtroller .
The time zone is accepted.
A list of available option sfo rsetting sum -
mer time appears (
Ypage 40).
Time settings39
System settings
Z
Page 53 of 222
Setting the EASY-ENTRY/EXIT feature
This function makes getting in and out of your
vehicle easier.
XCall upVehicle Settings(Ypage 50).
XTo select Easy Entry/Exit: turn and
press the controller.
The setting element is active.
XTo change the setting: press the controller.
You can find further information on the EASY-
ENTRY/EXIT feature in the vehicle Operator's
Manual.
Activating/deactivating the acoustic
locking confirmation
You can also set an audible signal to confirm
that the vehicle has been locked.
XCall up Vehicle Settings(Ypage 50).
XTo select Acoustic Lock Feedback: turn
and press the controller.
The function switches on or off, depending
on the previous setting.
You can find further information on the lock-
ing feature in the vehicle Operator's Manual.
Activating/deactivating the seat-belt
adjustment function
The Belt Adjustmentfunction adjusts the
driver's and front-passenger seat belt to the
upper body of the occupants.
XCall up Vehicle Settings(Ypage 50).
XTo select Belt Adjustment: turn and
press the controller.
The function switches on or off, depending
on the previous setting.
You can find further information on seat-belt
adjustment in the vehicle Operator's Manual.
Activating/deactivating the auto-
matic folding mirror function
When the AutomaticMirrorFoldingfunc-
tion is activated, the exterior mirrors fold in
automatically as soon as you lock the vehicle
from the outside. The exterior mirrors fold out
automatically again as soon as you unlock the vehicle.
XCall up Vehicle Settings(Ypage 50).
XTo select Automatic Mirror Folding:
turn and press the controller.
The function switches on or off, depending
on the previous setting.
You can find further information on the auto-
matic folding mirror function in the vehicle
Operator's Manual.
Switching locator lighting on/off
If you switch on the LocatorLightingfunc-
tion, the exterior lighting is switched on for a
short time when it is dark. The light switch
must be set to Ã(see the vehicle Opera-
tor's Manual).
The exterior lighting remains on for
40 seconds after the vehicle is unlocked.
When you start the engine, the locator light-
ing is switched off and automatic headlamp
mode is activated.
XCall up Vehicle Settings(Ypage 50).
XTo select Locator Lighting: turn and
press the controller.
XPress the controller.
The function is switched on or off, depend-
ing on the previous status.
You can find further information on the loca-
tor lighting in the vehicle Operator's Manual.
Switching the automatic locking fea-
ture on/off
The vehicle is locked automatically when the
ignition is switched on and the vehicle is trav-
eling faster than walking pace.
Vehicle settings51
Vehicle functions
Z
Page 54 of 222
XCallupVehicle Settings(Ypage 50 ).
XTo select Automatic Locking: turn and
press the controller.
The function switches on or off, depending
on the previous setting.
You can find further information on the lock-
ing feature inthe vehicle Operator's Manual.
Setting the delayed switch-off time
Interior lighting delayed switch-off
The interior lighting isactivated for the dura-
tion of the delayed switch-off time when the
Sm artKey isremoved from the ignition lock.
XCall upVehicle Settings(Ypage 50 ).
XTo select Interior Lighting Delayed
Switch-off: turn and press the controller.
The setting element isactive.
XTo change the delayed switch-off time: turn
the controller.
You can find further information on the inte-
rior lighting inthe vehicle Operator's Manual.
Exterior lighting delayed switch-off
Ifyou switch on the Exterior Lighting
Delayed Switch-offfunction, the exterior
lighting is switched on for a short time after
the engine is switched off. The light switch
must beset to Ã(see the vehicle Opera-
tor's Manual).
The exterior lighting remains on for
60 seconds after the engine is switched off. If
you close all the doors and the tailgate, the
exterior lighting switches off after the set
time.
XCall upVehicle Settings(Ypage 50 ).
XTo select Exterior Lighting Delayed
Switch-off: turn and press the controller.
The setting element isactive.
XTo change the delayed switch-off time: turn
the controller.
360° camera
General notes
The 360° camera surveys the veh iclesur-
roundings and assists you, for example when
parking or at exit swit h reduced visibility.
The 360° camera isonly an aid. It isnot a
replacement for your attention to your imme-
diate surroundin gs. You are always responsi-
ble for safe maneuvering and parking. Make
sure that no persons or animals are inthe
maneuvering range.
For more information on the 360° camera see the veh icleOperator's Manual.
Displaying the 360° camera image
The 360° camera image can bedisplayed if:
Ryour vehicle isequipped with a 360° cam-
era
Rthe 360° Camerafunction isswitched on;
see the vehicle Operator's Manual.
XPress the Øbutton.
or
XPress Vehicleinthe main function bar.
The vehicle menu is displayed.
XTo select 360°Camera: turn and press the
controller.
The 360° camera image appears insplit-
screen mode.
You willsee the previo usview on the display
if, when the function isswitched on:
Ryou turn the SmartKey to position 1in the
ignit ion lock
Ryou select transmission position P
Rwhen you aredriving at moderate speeds
Switching the display off manually
XTo select &: slide 6and press the con-
troller.
52360° camera
Vehicle functions
Page 55 of 222
Switching the display on automatically
XYou can automatically switch the 360 cam-
era display using reverse gear
(
Ypage 53).
Switching the 360° camera auto-
matic mode on/off
This function activates the 360° camera
when reverse gear is engaged.
XPress theØbutton.
or
XPress Vehiclein the main function bar.
The vehicle menu is displayed.
XTo switch to the menu bar: slide6the
controller.
XTo select System Settings: turn and
press the controller.
XTo select 360°Camera: turn and press the
controller.
The 360° Camera
menu appears.
XSelect Activation by R gear.
The function is switched on Oor off ª,
depending on the previous status.
Opening the camera cover for clean-
ing
XTo select OpenCameraCoverin the 360°
camera menu: turn the controller and press
to confirm.
The Please
Wait...message appears for
approximately three seconds.
The camera cover opens.
The camera cover closes automatically if:
Rthe ignition is switched off
Rthe vehicle exceeds a moderate speed
Rear view camera
General notes
The rear view camera covers the immediate
surroundings of the vehicle and assists you
when parking.
The rear view camera is only an aid. It is not a
replacement for your attention to your imme-
diate surroundings. You are always responsi- ble for safe maneuvering and parking. When
maneuvering or parking, make sure that there
are no persons, animals or objects in the area in which you are maneuvering.
You can find further information about the
rear view camera in the vehicle Operator's
Manual.
Switching the rear view camera auto-
matic mode on/off
This function activates the rear view camera
when reverse gear is engaged.
XPress the Øbutton.
or
XPress Vehiclein the main function bar.
The vehicle menu is displayed.
XSlide 6the controller.
XTo select System Settings: turn and
press the controller.
XSelect Rear View Camera.
The Rear View Camera
menu appears.
XSelect Activation by R gear.
The function is switched on Oor off ª,
depending on the previous status.
When you start the vehicle and engage
reverse gear, the camera cover opens auto-
matically if the function is activated. The
area behind the vehicle is shown with guide
lines in the display (see the vehicle Opera-
tor's Manual).
For further information on the rear view cam- era (see the vehicle Operator's Manual).
Rear view camera53
Vehicle functions
Z