check oil MERCEDES-BENZ GLC-Class 2016 X253 Owner's Manual
[x] Cancel search | Manufacturer: MERCEDES-BENZ, Model Year: 2016, Model line: GLC-Class, Model: MERCEDES-BENZ GLC-Class 2016 X253Pages: 418, PDF Size: 9.23 MB
Page 12 of 418
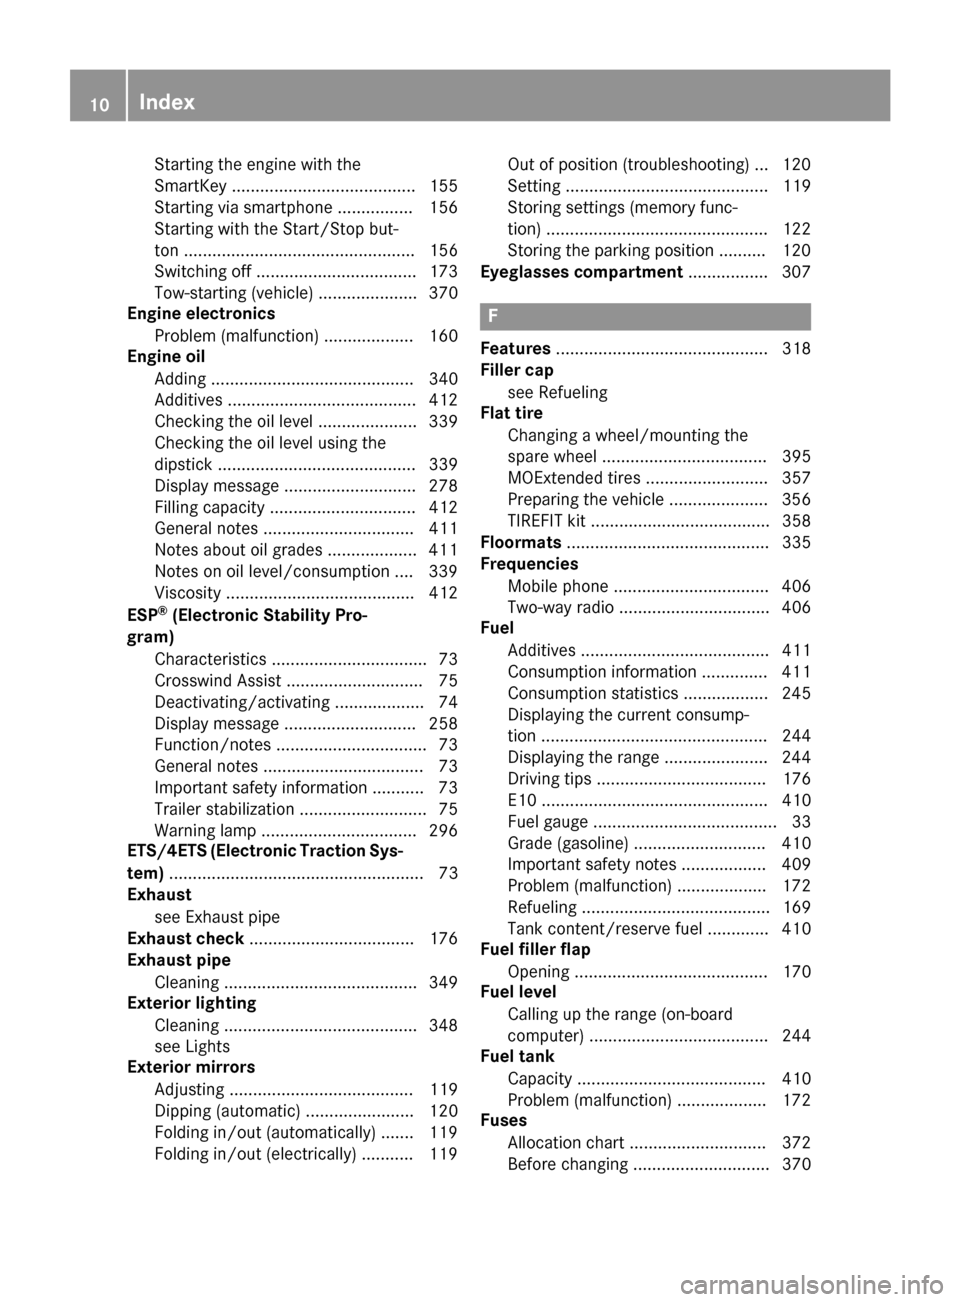
Starting the engine with the
SmartKey ....................................... 155
Starting via smartphone ................ 156
Starting with the Start/Stop but-
ton ................................................. 156
Switching off .................................. 173
Tow-starting (vehicle) ..................... 370
Engine electronics
Problem (malfunction) ................... 160
Engine oil
Adding ........................................... 340
Additives ........................................ 412
Checking the oil level ..................... 339
Checking the oil level using the
dipstick .......................................... 339
Display message ............................ 278
Filling capacity ............................... 412
General notes ................................ 411
Notes about oil grades ................... 411
Notes on oil level/consumption .... 339
Viscosity ........................................ 412
ESP
®(Electronic Stability Pro-
gram)
Characteristics ................................. 73
Crosswind Assist ............................. 75
Deactivating/activating ................... 74
Display message ............................ 258
Function/notes ................................ 73
General notes .................................. 73
Important safety information ........... 73
Trailer stabilization ........................... 75
Warning lamp ................................. 296
ETS/4ETS (Electronic Traction Sys-
tem) ...................................................... 73
Exhaust
see Exhaust pipe
Exhaust check ................................... 176
Exhaust pipe
Cleaning ......................................... 349
Exterior lighting
Cleaning ......................................... 348
see Lights
Exterior mirrors
Adjusting ....................................... 119
Dipping (automatic) ....................... 120
Folding in/out (automatically) ....... 119
Folding in/out (electrically) ........... 119 Out of position (troubleshooting) ... 120
Setting ........................................... 119
Storing settings (memory func-
tion) ............................................... 122
Storing the parking position .......... 120
Eyeglasses compartment ................. 307
F
Features............................................. 318
Filler cap
see Refueling
Flat tire
Changing a wheel/mounting the
spare wheel ................................... 395
MOExtended tires .......................... 357
Preparing the vehicle ..................... 356
TIREFIT kit ...................................... 358
Floormats ........................................... 335
Frequencies
Mobile phone ................................. 406
Two-way radio ................................ 406
Fuel
Additives ........................................ 411
Consumption information .............. 411
Consumption statistics .................. 245
Displaying the current consump-
tion ................................................ 244
Displaying the range ...................... 244
Driving tips .................................... 176
E10 ................................................ 410
Fuel gauge ....................................... 33
Grade (gasoline) ............................ 410
Important safety notes .................. 409
Problem (malfunction) ................... 172
Refueling ........................................ 169
Tank content/reserve fuel ............. 410
Fuel filler flap
Opening ......................................... 170
Fuel level
Calling up the range (on-board
computer) ...................................... 244
Fuel tank
Capacity ........................................ 410
Problem (malfunction) ................... 172
Fuses
Allocation chart ............................. 372
Before changing ............................. 370
10Index
Page 84 of 418
Useful information
i
This Operator's Manual describes all
models and all standard and optional equip-
ment of your vehicle available at the time of
publication of the Operator's Manual.
Country-specific differences are possible.
Please note that your vehicle may not be
equipped with all features described. This
also applies to safety-related systems and
functions.
iRead the information on qualified special-
ist workshops (
Ypage 27).
SmartKey
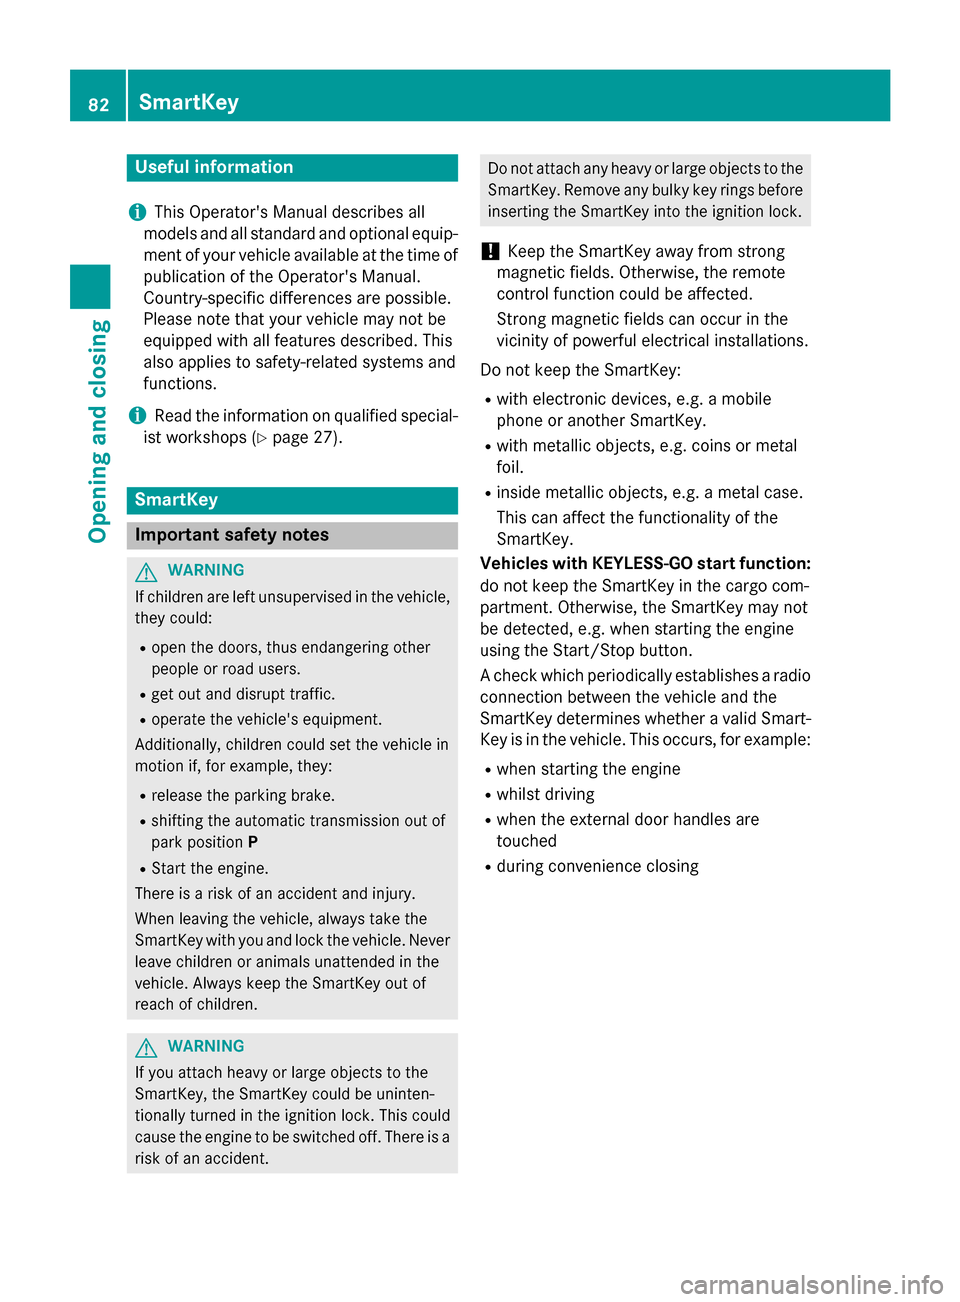
Important safety notes
GWARNING
If children are left unsupervised in the vehicle,
they could:
Ropen the doors, thus endangering other
people or road users.
Rget out and disrupt traffic.
Roperate the vehicle's equipment.
Additionally, children could set the vehicle in
motion if, for example, they:
Rrelease the parking brake.
Rshifting the automatic transmission out of
park position P
RStart the engine.
There is a risk of an accident and injury.
When leaving the vehicle, always take the
SmartKey with you and lock the vehicle. Never
leave children or animals unattended in the
vehicle. Always keep the SmartKey out of
reach of children.
GWARNING
If you attach heavy or large objects to the
SmartKey, the SmartKey could be uninten-
tionally turned in the ignition lock. This could
cause the engine to be switched off. There is a risk of an accident.
Do not attach any heavy or large objects to theSmartKey. Remove any bulky key rings before
inserting the SmartKey into the ignition lock.
!Keep the SmartKey away from strong
magnetic fields. Otherwise, the remote
control function could be affected.
Strong magnetic fields can occur in the
vicinity of powerful electrical installations.
Do not keep the SmartKey:
Rwith electronic devices, e.g. a mobile
phone or another SmartKey.
Rwith metallic objects, e.g. coins or metal
foil.
Rinside metallic objects, e.g. a metal case.
This can affect the functionality of the
SmartKey.
Vehicles with KEYLESS-GO start function:
do not keep the SmartKey in the cargo com-
partment. Otherwise, the SmartKey may not
be detected, e.g. when starting the engine
using the Start/Stop button.
A check which periodically establishes a radio
connection between the vehicle and the
SmartKey determines whether a valid Smart-
Key is in the vehicle. This occurs, for example:
Rwhen starting the engine
Rwhilst driving
Rwhen the external door handles are
touched
Rduring convenience closing
82SmartKey
Opening and closing
Page 171 of 418
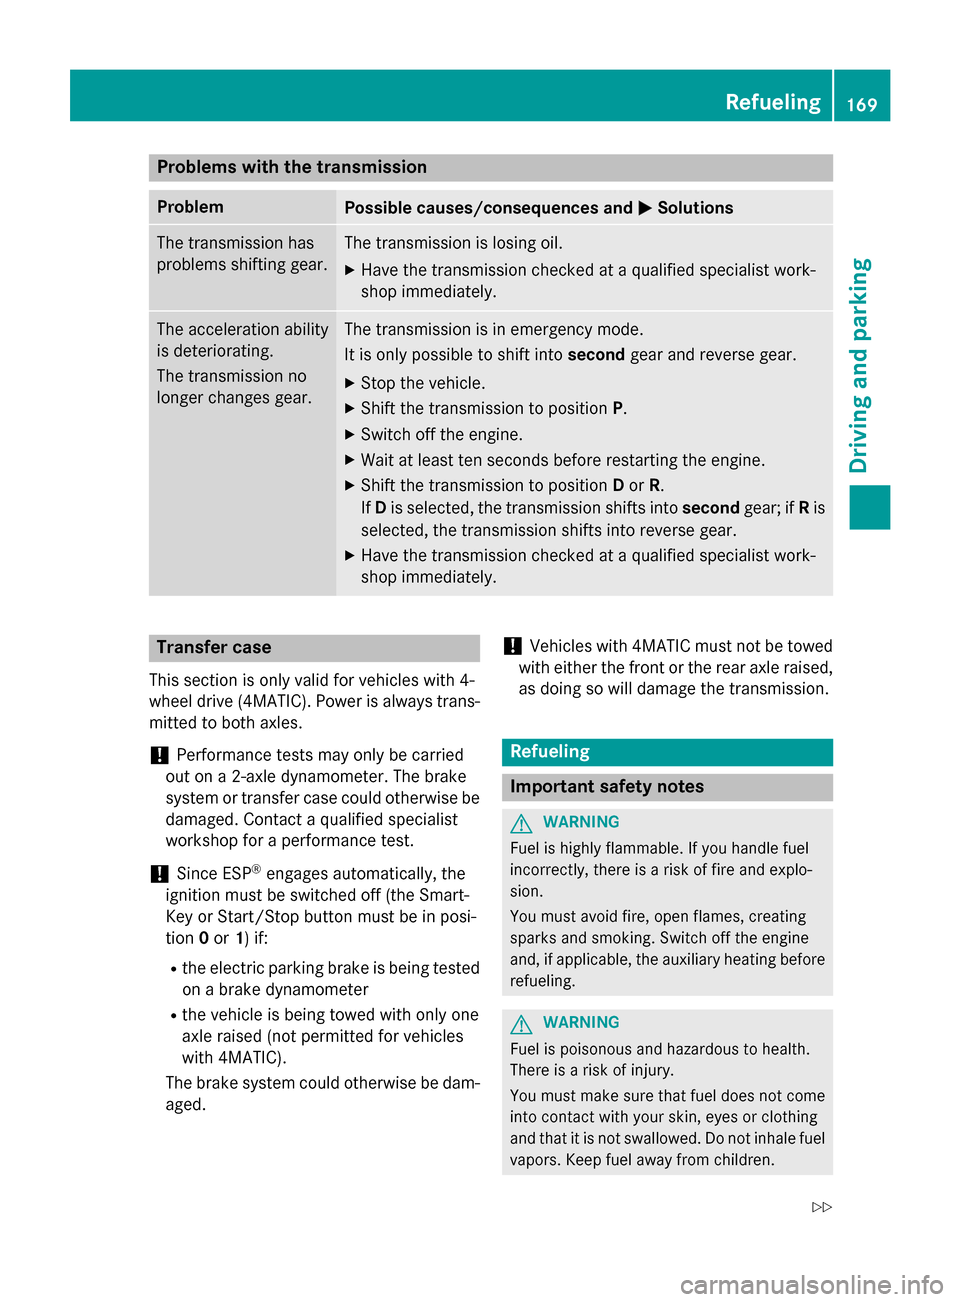
Problems with the transmission
ProblemPossible causes/consequences andMSolutions
The transmission has
problems shifting gear.The transmission is losing oil.
XHave the transmission checked at a qualified specialist work-
shop immediately.
The acceleration ability
is deteriorating.
The transmission no
longer changes gear.The transmission is in emergency mode.
It is only possible to shift intosecondgear and reverse gear.
XStop the vehicle.
XShift the transmission to position P.
XSwitch off the engine.
XWait at least ten seconds before restarting the engine.
XShift the transmission to positionDor R.
If D is selected, the transmission shifts into secondgear; ifRis
selected, the transmission shifts into reverse gear.
XHave the transmission checked at a qualified specialist work-
shop immediately.
Transfer case
This section is only valid for vehicles with 4-
wheel drive (4MATIC). Power is always trans-
mitted to both axles.
!Performance tests may only be carried
out on a 2-axle dynamometer. The brake
system or transfer case could otherwise be
damaged. Contact a qualified specialist
workshop for a performance test.
!Since ESP®engages automatically, the
ignition must be switched off (the Smart-
Key or Start/Stop button must be in posi-
tion 0or 1) if:
Rthe electric parking brake is being tested
on a brake dynamometer
Rthe vehicle is being towed with only one
axle raised (not permitted for vehicles
with 4MATIC).
The brake system could otherwise be dam-
aged.
!Vehicles with 4MATIC must not be towed
with either the front or the rear axle raised,
as doing so will damage the transmission.
Refueling
Important safety notes
GWARNING
Fuel is highly flammable. If you handle fuel
incorrectly, there is a risk of fire and explo-
sion.
You must avoid fire, open flames, creating
sparks and smoking. Switch off the engine
and, if applicable, the auxiliary heating before refueling.
GWARNING
Fuel is poisonous and hazardous to health.
There is a risk of injury.
You must make sure that fuel does not come into contact with your skin, eyes or clothing
and that it is not swallowed. Do not inhale fuel
vapors. Keep fuel away from children.
Refueling169
Driving and parking
Z
Page 280 of 418
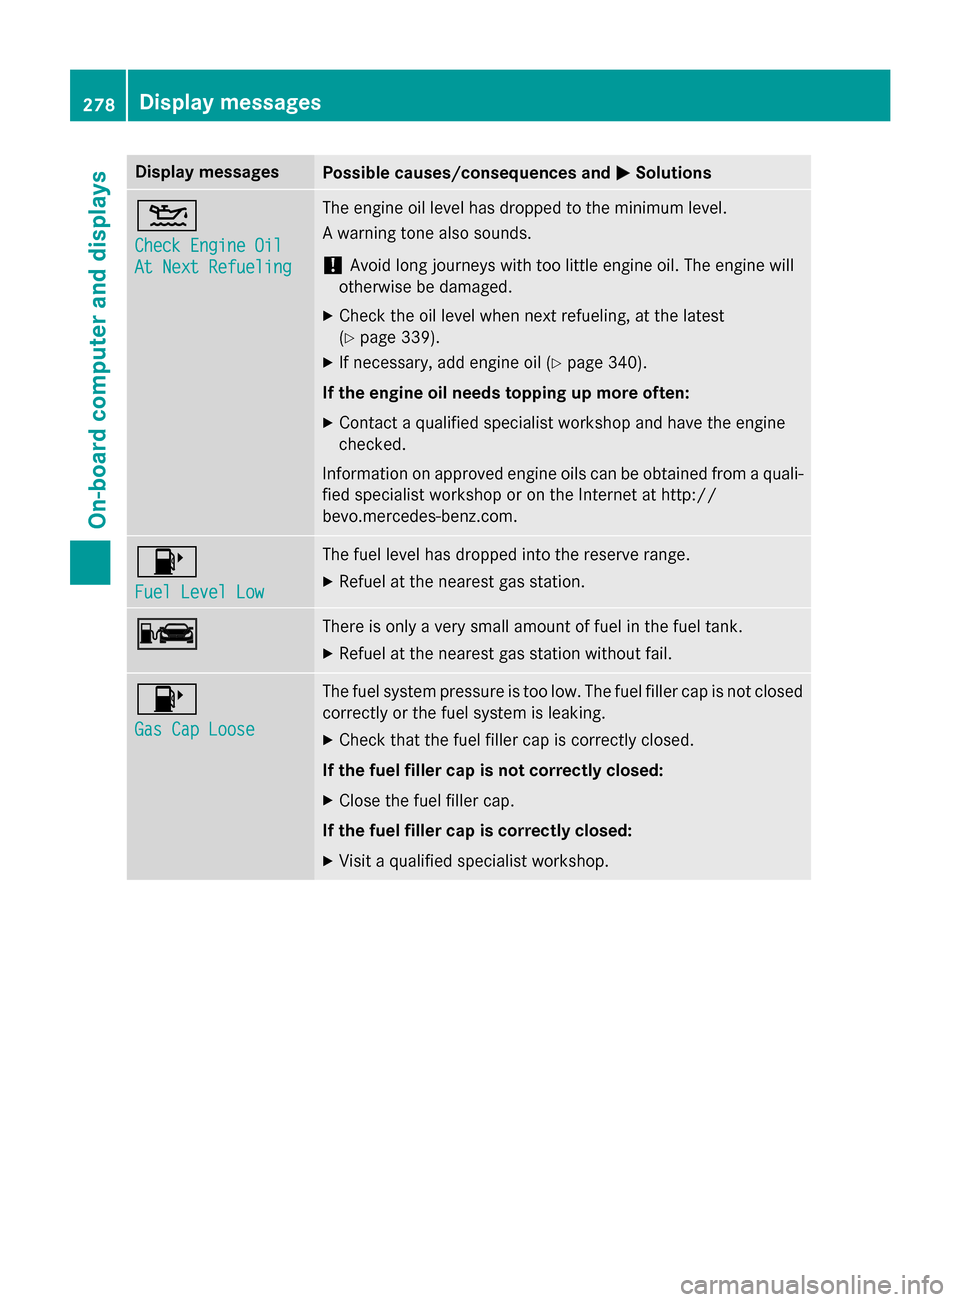
Display messagesPossible causes/consequences andMSolutions
4
Check Engine Oil
At NextRefueling
The engin eoil level has dropped to th eminimum level.
A warnin gtone also sounds.
!Avoid lon gjourneys wit hto olittl eengin eoil. The engin ewill
otherwise be damaged.
XChec kth eoil level when next refueling, at th elatest
(
Ypage 339).
XIf necessary, add engin eoil (Ypage 340).
If th eengin eoil need stopping up more often:
XContac t aqualified specialist workshop and hav eth eengin e
checked.
Information on approve dengin eoils can be obtained from aquali-
fie dspecialist workshop or on th eInternet at http:/ /
bevo.mercedes-benz.co m.
8
Fuel Level Low
The fuel level has dropped into the reserve range.
XRefuel at the nearest gas station.
CThere is only a very small amount of fuel in the fuel tank.
XRefuel at the nearest gas station without fail.
8
Gas Cap Loose
The fuel system pressure is too low. The fuel filler cap is not closed
correctly or the fuel system is leaking.
XCheck that the fuel filler cap is correctly closed.
If the fuel filler cap is not correctly closed:
XClose the fuel filler cap.
If the fuel filler cap is correctly closed:
XVisit a qualified specialist workshop.
278Display messages
On-board computer and displays
Page 341 of 418
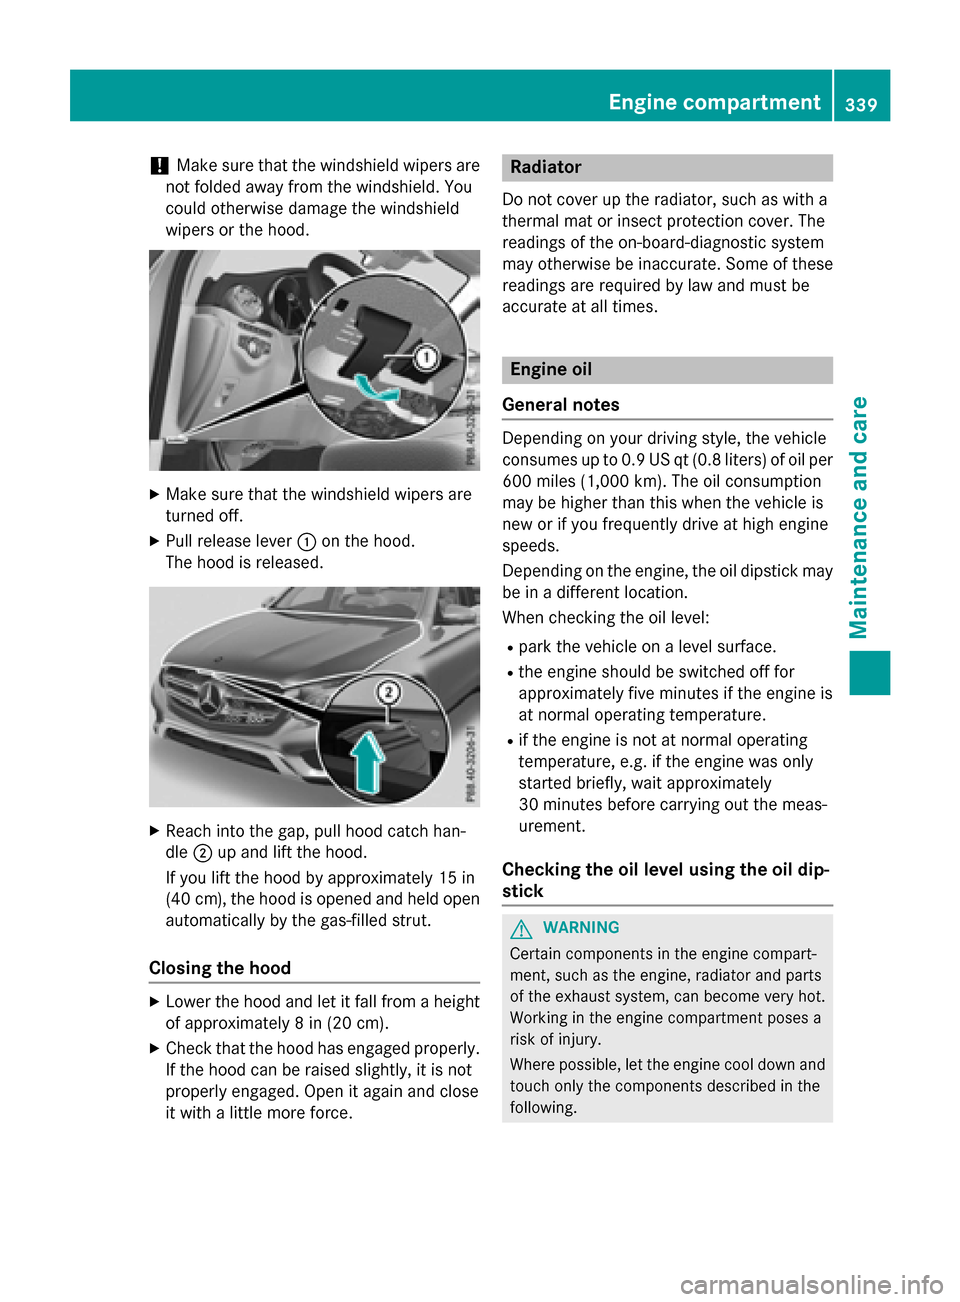
!Make sure that the windshield wipers are
not folded away from the windshield. You
could otherwise damage the windshield
wipers or the hood.
XMake sure that the windshield wipers are
turned off.
XPull release lever :on the hood.
The hood is released.
XReach into the gap, pull hood catch han-
dle ;up and lift the hood.
If you lift the hood by approximately 15 in
(40 cm), the hood is opened and held open automatically by the gas-filled strut.
Closing the hood
XLower the hood and let it fall from a height
of approximately 8 in (20 cm).
XCheck that the hood has engaged properly.
If the hood can be raised slightly, it is not
properly engaged. Open it again and close
it with a little more force.
Radiator
Do not cover up the radiator, such as with a
thermal mat or insect protection cover. The
readings of the on-board-diagnostic system
may otherwise be inaccurate. Some of these
readings are required by law and must be
accurate at all times.
Engine oil
General notes
Depending on your driving style, the vehicle
consumes up to 0.9 US qt (0.8 liters) of oil per
600 miles (1,000 km). The oil consumption
may be higher than this when the vehicle is
new or if you frequently drive at high engine
speeds.
Depending on the engine, the oil dipstick may
be in a different location.
When checking the oil level:
Rpark the vehicle on a level surface.
Rthe engine should be switched off for
approximately five minutes if the engine is
at normal operating temperature.
Rif the engine is not at normal operating
temperature, e.g. if the engine was only
started briefly, wait approximately
30 minutes before carrying out the meas-
urement.
Checking the oil level using the oil dip-
stick
GWARNING
Certain components in the engine compart-
ment, such as the engine, radiator and parts
of the exhaust system, can become very hot.
Working in the engine compartment poses a
risk of injury.
Where possible, let the engine cool down and touch only the components described in the
following.
Engine compartment339
Maintenance and care
Z
Page 343 of 418
XReplacecap :on th efiller neck and tur n
clockwise .
Ensur ethat th ecap locks into plac e
securely.
XChec kth eoil level again wit hth eoil dip-
stick (
Ypage 339).
Further information on engin eoil
(
Ypage 411).
Additiona lservice products
Checking coolant level
GWARNIN G
Certain component sin th eengin ecompart-
ment, suc has th eengine, radiato rand part s
of th eexhaust system, can become ver yhot .
Working in th eengin ecompartmen tposes a
ris kof injury.
Where possible, let th eengin ecool down and
touch only th ecomponent sdescribed in th e
following.
GWARNIN G
The coolin gsystem is pressurized, particularly
when th emotor is warm .If you open th ecap ,
you could be scalded if hot coolan tsprays out .
There is aris kof injury.
Let th eengin ecool down before you open th e
cap .Wear gloves and eye protection .Slowly
open th ecap to reliev epressure.
XPark th evehicl eon alevel surface. Only chec
kth ecoolan tlevel when th evehi-
cle is on alevel surfac eand th eengin ehas
cooled down .
XTurn theSmartKey to position 2in th eigni-
tion loc k (
Ypage 153).
or
XOn vehicles wit hKEYLESS-GO ,press th e
Start/Sto pbutto ntwice (
Ypage 153).
XCheckth ecoolan ttemperature display in
th einstrumen tcluste r (
Ypage 239).
The coolan ttemperature mus tbe belo w
15 8 ‡ (70 †).
XTurn th eSmartKey to position 0in th eigni-
tion loc k (
Ypage 153).
or
XOn vehicles wit hKEYLESS-GO ,pull th e
Start/Sto pbutto nfrom th eignition loc k
(
Ypage 153).
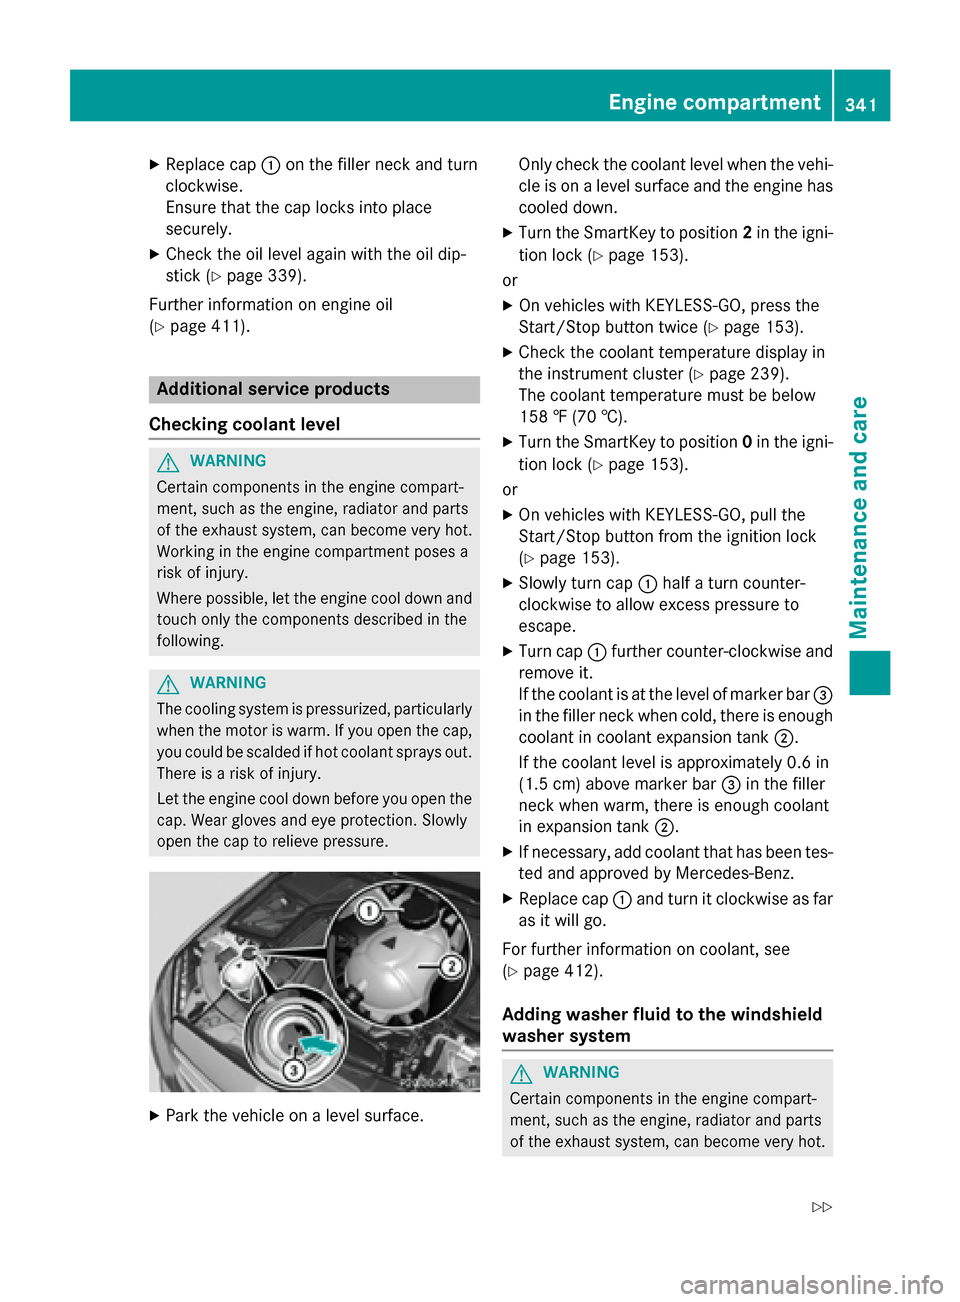
XSlowly tur ncap :half atur ncounter-
clockwise to allow excess pressur eto
escape.
XTurn cap :further counter-clockwise and
remove it .
If th ecoolan tis at th elevel of marke rbar =
in th efiller neck when cold, there is enough
coolan tin coolan texpansion tan k;.
If th ecoolan tlevel is approximately 0. 6in
(1.5 cm ) above marker bar =in the filler
neck when warm, there is enough coolant
in expansion tank ;.
XIf necessary, add coolant that has been tes-
ted and approved by Mercedes-Benz.
XReplace cap:and turn it clockwise as far
as it will go.
For further information on coolant, see
(
Ypage 412).
Adding washer fluid to the windshield
washer system
GWARNING
Certain components in the engine compart-
ment, such as the engine, radiator and parts
of the exhaust system, can become very hot.
Engine compartment341
Maintenance and care
Z
Page 345 of 418
Displaying service messages
XSwitchon th eignition .
XUseò on thesteerin gwhee lto cal lup
th elist of menus.
XPress 9or: on thesteerin gwhee l
to selec tth eServic e
menuand confirm
wit ha.
XPress 9or: on thesteerin gwhee l
to selec tth eASSYST PLU S
submenuand
confirm wit ha.
The servic edue dat eappears in th emulti-
function display.
Information about Service
Resetting th eASSYS TPLUS service
interva ldisplay
!If th eASSYST PLU Sservic einterval dis -
play has been inadvertentl yreset ,this set -
ting can be correcte dat aqualified special-
ist workshop .
Hav eservic ewor kcarrie dout as described
in th eMaintenance Booklet .Thi smay oth-
erwise lead to increase dwear and damage
to th emajor assemblies or th evehicle.
A qualified specialis tworkshop ,e.g. an
authorized Mercedes-Ben zCenter, will reset
th eASSYST PLU Sservic einterval display
after th eservic ewor khas been carrie dout .
You can also obtain further information on
maintenance work, fo rexample.
Specia lservice requirement s
The specifiedmaintenance interval take sonly
th enormal operation of th evehicle into
account. Under arduous operatin gcondition s
or increase dload on th evehicle, mainte -
nance wor kmus tbe carrie dout more fre-
quently, fo rexample:
Rregular city drivin gwit hfrequent intermedi-
at estops
Rif th evehicle is primarily used to trave l
short distances
Ruse in mountainous terrain or on poo rroad
surfaces
Rif th eengin eis ofte nlef tidlin gfo rlon gperi-
ods
Under these or similar conditions, have, fo r
example, th eair filter, engin eoil and oil filte r
replaced or changed more frequently. Under
arduous operatin gconditions, th etires mus t
be checke dmore often. Further information
can be obtained at aqualified specialist work-
shop, e.g. an authorized Mercedes-Ben zCen -
ter.
Drivin gabroad
An extensive Mercedes-Ben zServic enetwor k
is also available in other countries. You can
obtain further information from any author -
ized Mercedes-Ben zCenter.
Car e
General notes
HEnvironmental not e
Dispose of empty packagin gand cleanin g
cloths in an environmentally responsible man -
ner.
!Fo rcleanin gyour vehicle, do no tuse any
of th efollowing :
Rdry, rough or har dcloths
Rabrasiv ecleanin gagents
Rsolvents
Rcleanin gagents containin gsolvents
Do no tscrub .
Do no ttouch th esurfaces or protective
films wit hhar dobjects ,e.g. arin gor ic e
scraper. You could otherwise scratch or
damage th esurfaces and protective film.
!Do no tpar kth evehicle fo ran extended
period straight after cleanin git,particularly
after havin gcleaned th ewheels wit hwhee l
cleaner. Wheel cleaners could caus e
increase dcorrosion of th ebrake discs and
brake pads/linings. Fo rthis reason ,you
Care343
Maintenance and care
Z
Page 352 of 418
!Please note the care instructions in the
trailer coupling manufacturer's operating
instructions.
The ball coupling must be cleaned if it
becomes dirty or corroded.
XRemove rust on the ball, e.g. with a wire
brush.
XRemove dirt with a clean, lint-free cloth or a brush.
XAfter cleaning, lightly oil or grease the ball
coupling.
XCheck that the vehicle's trailer tow hitch is
working properly.
iYou can also have the maintenance work
on the ball coupling and the trailer tow hitch
carried out by a qualified specialist work-
shop.
Interior care
Cleaning the display
!For cleaning, do not use any of the fol-
lowing:
Ralcohol-based thinner or gasoline
Rabrasive cleaning agents
Rcommercially-available household clean-
ing agents
These may damage the display surface. Do not put pressure on the display surface
when cleaning. This could lead to irrepara-
ble damage to the display.
XBefore cleaning the display, make sure thatit is switched off and has cooled down.
XClean the display surface using a commer-
cially available microfiber cloth and
TFT/LCD display cleaner.
XDry the display surface using a dry micro-
fiber cloth.
Cleaning the plastic trim
GWARNING
Care products and cleaning agents containing solvents cause surfaces in the cockpit to
become porous. As a result, plastic parts may
come loose in the event of air bag deploy-
ment. There is a risk of injury.
Do not use any care products and cleaning
agents to clean the cockpit.
!Do not affix the following to plastic surfa-
ces:
Rstickers
Rfilms
Rscented oil bottles or similar items
You can otherwise damage the plastic.
!Do not allow cosmetics, insect repellent
or sunscreen to come into contact with the
plastic trim. This maintains the high-quality
look of the surfaces.
XWipe the plastic trim with a damp, lint-free
cloth, e.g. a microfiber cloth.
XHeavy soiling: use care and cleaning prod-
ucts recommended and approved by
Mercedes-Benz.
The surface may change color temporarily.
Wait until the surface is dry again.
Cleaning the steering wheel and gear or
selector lever
XThoroughly wipe with a damp cloth or use
leather care agents that have been recom-
mended and approved by Mercedes-Benz.
Cleaning genuine wood and trim ele-
ments
!Do not use solvent-based cleaning agents
such as tar remover, wheel cleaners, pol-
ishes or waxes. There is otherwise a risk of
damaging the surface.
!Do not use chrome polish on trim pieces.
The trim pieces have a chrome look but are
mostly made of anodized aluminum and
350Care
Maintenance and care
Page 397 of 418
Occupant distribution
The distribution of occupants in a vehicle at
their designated seating positions.
Total load limit
Nominal load and luggage load plus 68 kg
(150 lbs) multiplied by the number of seats in
the vehicle.
Changing a wheel
Flat tire
The "Breakdown assistance" section
(
Ypage 356) contains information and notes
on how to deal with a flat tire. Information on driving with MOExtended tires in the event of
a flat tire can be found under "MOExtended
tires (tires with run-flat characteristics"
(
Ypage 357).
Rotating the wheels
GWARNING
Interchanging the front and rear wheels may
severely impair the driving characteristics if
the wheels or tires have different dimensions. The wheel brakes or suspension components
may also be damaged. There is a risk of acci-
dent.
Rotate front and rear wheels only if the wheels and tires are of the same dimensions.
!On vehicles equipped with a tire pressure
monitor, electronic components are loca-
ted in the wheel.
Tire-mounting tools should not be used
near the valve. This could damage the elec- tronic components.
Only have tires changed at a qualified spe-
cialist workshop.
Always observe the instructions and safety
notes in the "Mounting a wheel" section
(
Ypage 395).
The wear patterns on the front and rear tires
differ, depending on the operating conditions. Rotate the wheels before a clear wear pattern
has formed on the tires. Front tires typically
wear more on the shoulders and the rear tires
in the center.
On vehicles that have the same size front and
rear wheels, you can rotate the wheels
according to the intervals in the tire manu-
facturer's warranty book in your vehicle docu-
ments. If no warranty book is available, the
tires should be rotated every 3,000 to 6,000
miles (5,000 to 10,000 km). Earlier may be
necessary, depending on the degree of tire
wear. Do not change the direction of wheel
rotation.
Clean the contact surfaces of the wheel and
the brake disc thoroughly every time a wheel
is rotated. Check the tire pressure and reac-
tivate the tire pressure monitor if necessary
(
Ypage 383).
Direction of rotation
Tires with a specified direction of rotation
have additional benefits, e.g. if there is a risk
of hydroplaning. These advantages can only
be gained if the tires are installed correspond-
ing to the direction of rotation.
An arrow on the sidewall of the tire indicates
its correct direction of rotation.
Storing wheels
Store wheels that are not being used in a cool,
dry and preferably dark place. Protect the
tires from oil, grease, gasoline and diesel.
Mounting a wheel
Preparing the vehicle
XStop the vehicle on solid, non-slippery and
level ground.
XApply the electric parking brake manually.
XBring the front wheels into the straight-
ahead position.
Changing a wheel395
Wheels and tires
Z
Page 415 of 418
Let the engine cool down before you add anti-freeze. Make sure that antifreeze is not spilled
next to the filler neck. Thoroughly clean the
antifreeze from components before starting
the engine.
!Only add coolant that has been premixed
with the desired antifreeze protection. You
could otherwise damage the engine.
Further information on coolants can be
found in the Mercedes-Benz Specifications
for Service Products, MB BeVo 310.1, e.g.
on the Internet at
http://bevo.mercedes-benz.com. Or con-
tact a qualified specialist workshop.
!Always use a suitable coolant mixture,
even in countries where high temperatures
prevail.
Otherwise, the engine cooling system is not
sufficiently protected from corrosion and
overheating.
iHave the coolant regularly replaced at a
qualified specialist workshop and the
replacement confirmed in the Maintenance
Booklet.
Comply with the important safety precautions
for service products when handling coolant
(
Ypage 409).
The coolant is a mixture of water and anti-
freeze/corrosion inhibitor. It performs the
following tasks:
Rcorrosion protection
Rantifreeze protection
Rraising the boiling point
If the coolant has antifreeze protection down
to -35 ‡(-37 †), the boiling point of the cool-
ant during operation is approximately 266 ‡
(130 †). The antifreeze/corrosion inhibitor concentra-
tion in the engine cooling system should:
Rbe at least 50%. This will protect the engine
cooling system against freezing down to
approximately -35 ‡ (-37 †).
Rnot exceed 55% (antifreeze protection
down to -49 ‡ [-45 †]).Otherwise, hea t
will no t be dissipated as effectively.
Mercedes-Benz recommends an antifreeze/
corrosion inhibitor concentrate in accord-
ance with MB Specifications for Servi
ce Prod-
ucts 310.1.
iWhen the vehicle is first delivered, it is fil-
led with a coolant mixture that ensures
adequate antifreeze and corrosion protec-
tion.
iThe coolant is checked with every main-
tenance interval at a qualified specialist
workshop.
Filling capacities
ModelCapacity
All models9.5 US qt (9.0 l)
Windshield washer system
Important safety notes
GWARNING
Windshield washer concentrate could ignite if it comes into contact with hot engine compo-
nents or the exhaust system. There is a risk of
fire and injury.
Make sure that no windshield washer con-
centrate is spilled next to the filler neck.
!Only use washer fluid that is suitable for
plastic lamp lenses, e.g. MB SummerFit or
MB WinterFit. Unsuitable washer fluid
could damage the plastic lenses of the
headlamps.
Service products and filling capacities413
Technical data
Z