P button MERCEDES-BENZ GLC-Class 2017 X253 Comand Manual
[x] Cancel search | Manufacturer: MERCEDES-BENZ, Model Year: 2017, Model line: GLC-Class, Model: MERCEDES-BENZ GLC-Class 2017 X253Pages: 178, PDF Size: 5.65 MB
Page 84 of 178
XTo selectDeleteorDelete All: turn and
press the controller.
A prompt appears.
XSelect YesorNo.
Selecting Yesdeletes the selected destina-
tion or all destinations.
Map functions
General notes
Company logos displayed on the map are trade- marks of the respective companies and used
solely for the purpose of indicating the locations
of these companies. The use of such logos on
the map does not indicate approval of, support
of or advertising by these companies for the
navigation system itself.
iAlternatively, you can carry out this opera-
tion using the touchpad (Ypage 24).
Map settings
Setting the map scale
Requirement: the map is in full screen mode, the
menu is faded out (Ypage 54).
The lower left-hand section of the map shows
the currently set map scale and compass nee-
dle.
Right-hand-drive vehicles: the currently set map
scale and compass needle are displayed in the
lower right-hand section of the map.
XTo show the map in full screen mode: to
hide the menu, push the %button.
or
XSlide the controller to the center of the map
and press to confirm.
XTo set the map scale: as soon as you turn the
controller, the scale bar appears on the bot-
tom of the display.
XTurn the controller until the needle points to
the desired map scale.
Once you are finished selecting a map scale,
the new map scale will be shown.
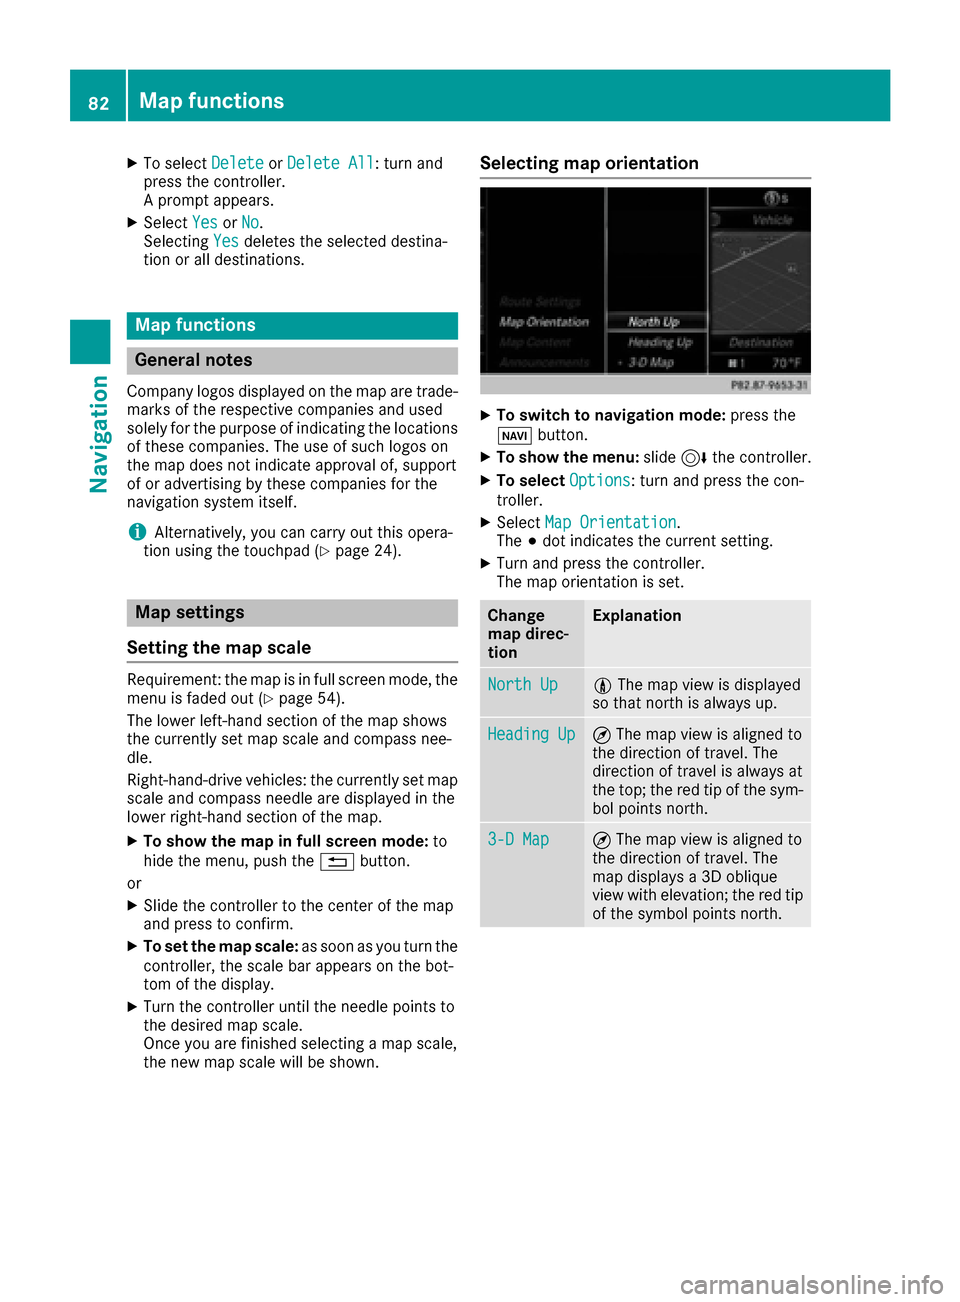
Selecting map orientation
XTo switch to navigation mode: press the
Ø button.
XTo show the menu: slide6the controller.
XTo select Options: turn and press the con-
troller.
XSelect Map Orientation.
The #dot indicates the current setting.
XTurn and press the controller.
The map orientation is set.
Change
map direc-
tionExplanation
North Up0 The map view is displayed
so that north is always up.
Heading Up¤ The map view is aligned to
the direction of travel. The
direction of travel is always at
the top; the red tip of the sym-
bol points north.
3-D Map¤ The map view is aligned to
the direction of travel. The
map displays a 3D oblique
view with elevation; the red tip
of the symbol points north.
82Map functions
Navigation
Page 85 of 178
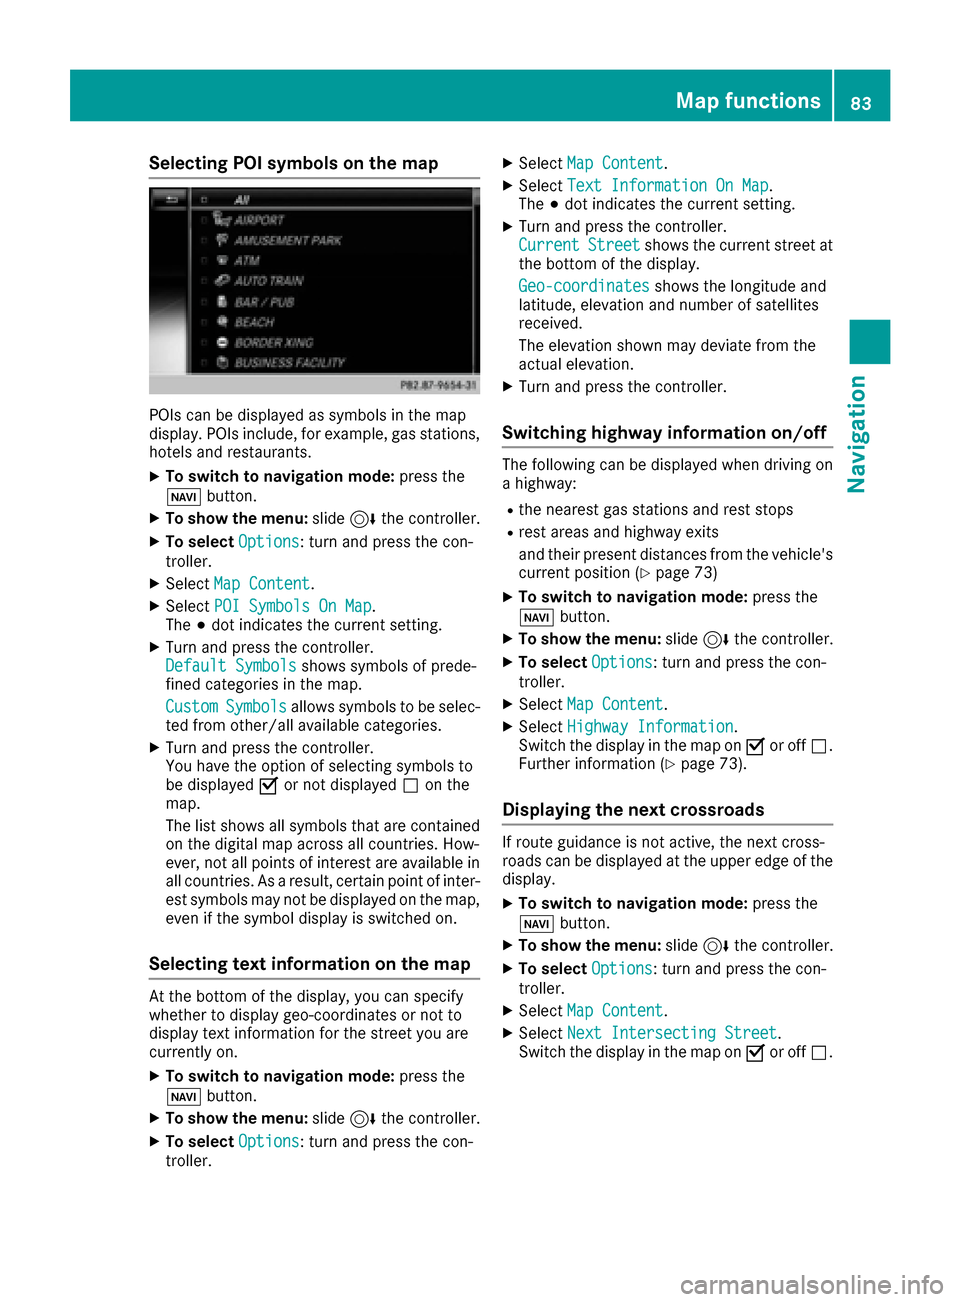
Selecting POI symbols on the map
POIs can be displayed as symbols in the map
display. POIs include, for example, gas stations,
hotels and restaurants.
XTo switch to navigation mode:press the
Ø button.
XTo show the menu: slide6the controller.
XTo select Options: turn and press the con-
troller.
XSelect Map Content.
XSelectPOI Symbols On Map.
The #dot indicates the current setting.
XTurn and press the controller.
Default Symbolsshows symbols of prede-
fined categories in the map.
Custom
Symbolsallows symbols to be selec-
ted from other/all available categories.
XTurn and press the controller.
You have the option of selecting symbols to
be displayed Oor not displayed ªon the
map.
The list shows all symbols that are contained
on the digital map across all countries. How-
ever, not all points of interest are available in all countries. As a result, certain point of inter-
est symbols may not be displayed on the map,
even if the symbol display is switched on.
Selecting text information on the map
At the bottom of the display, you can specify
whether to display geo-coordinates or not to
display text information for the street you are
currently on.
XTo switch to navigation mode: press the
Ø button.
XTo show the menu: slide6the controller.
XTo select Options: turn and press the con-
troller.
XSelect Map Content.
XSelectText Information On Map.
The #dot indicates the current setting.
XTurn and press the controller.
CurrentStreetshows the current street at
the bottom of the display.
Geo-coordinates
shows the longitude and
latitude, elevation and number of satellites
received.
The elevation shown may deviate from the
actual elevation.
XTurn and press the controller.
Switching highway information on/off
The following can be displayed when driving on
a highway:
Rthe nearest gas stations and rest stops
Rrest areas and highway exits
and their present distances from the vehicle's
current position (
Ypage 73)
XTo switch to navigation mode: press the
Ø button.
XTo show the menu: slide6the controller.
XTo select Options: turn and press the con-
troller.
XSelect Map Content.
XSelectHighway Information.
Switch the display in the map on Oor off ª.
Further information (
Ypage 73).
Displaying the next crossroads
If route guidance is not active, the next cross-
roads can be displayed at the upper edge of the
display.
XTo switch to navigation mode: press the
Ø button.
XTo show the menu: slide6the controller.
XTo select Options: turn and press the con-
troller.
XSelect Map Content.
XSelectNext Intersecting Street.
Switch the display in the map on Oor off ª.
Map functions83
Navigation
Z
Page 86 of 178
Showing the map version
XTo switch to navigation mode:press the
Ø button.
XTo show the menu: slide6the controller.
XTo select Options: turn and press the con-
troller.
XSelect Map Content.
XSelectMap Version.
Information on the current map version is
shown. Information about new versions of the
digital map can be obtained from an author-
ized Mercedes-Benz Center.
Rotating the 3D map
You can use this function to explore the vicinity
of the destination in a 3D view. The function is
available in all map scales.
XTo switch to navigation mode: press the
Ø button.
XTo show the menu: slide6the controller.
XTo select Position: turn and press the con-
troller.
XSelect 3D Map Rotation.
XTurn the controller to change to the 3D map
perspective.
Additional functions:
RMoving the map (Ypage 54)
Map display
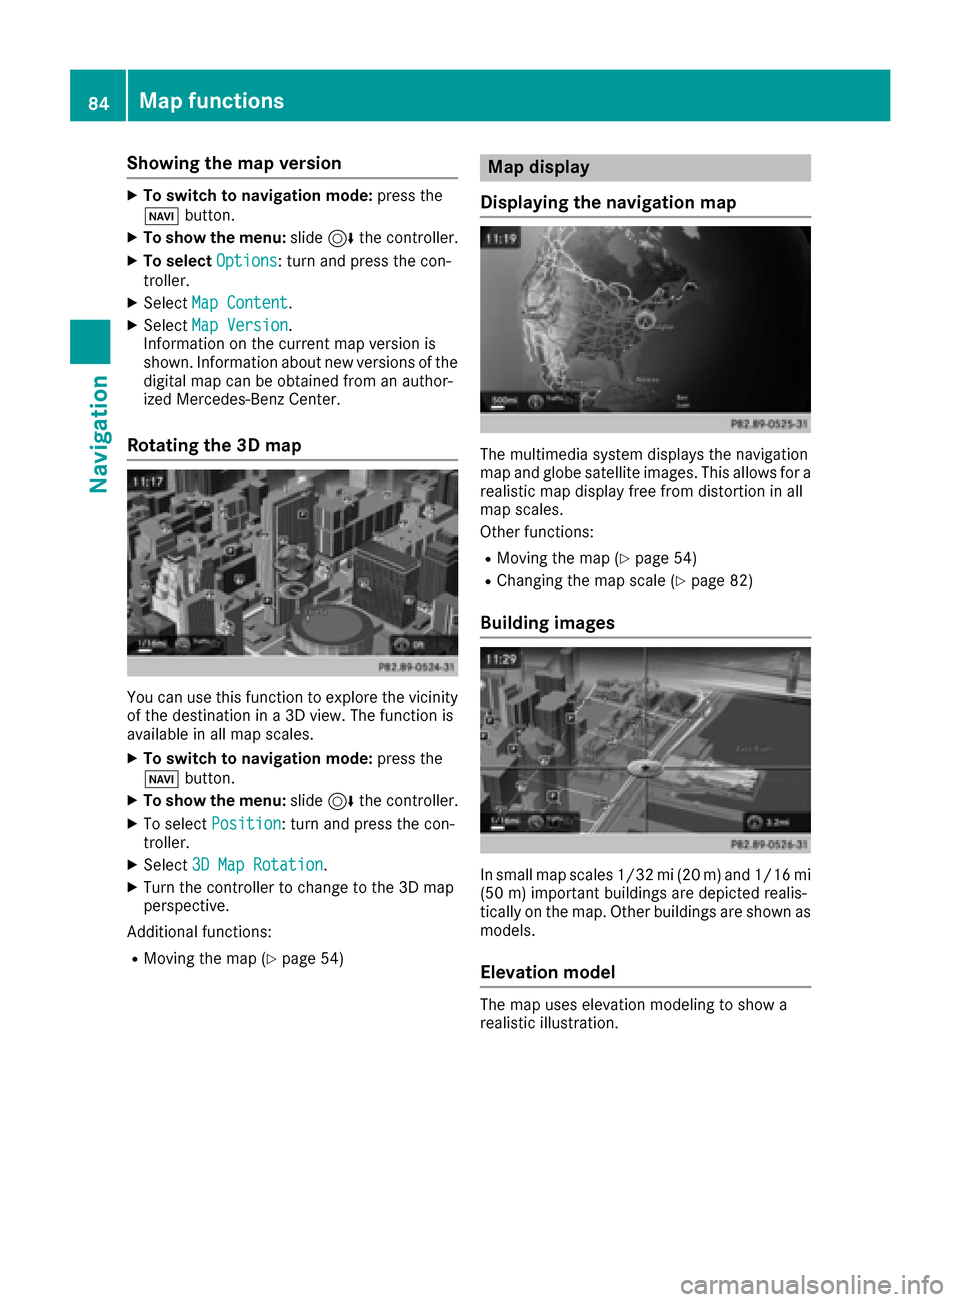
Displaying the navigation map
The multimedia system displays the navigation
map and globe satellite images. This allows for a
realistic map display free from distortion in all
map scales.
Other functions:
RMoving the map (Ypage 54)
RChanging the map scale (Ypage 82)
Building images
In small map scales 1/32 mi (20 m) and 1/16 mi (50 m) important buildings are depicted realis-
tically on the map. Other buildings are shown as
models.
Elevation model
The map uses elevation modeling to show a
realistic illustration.
84Map functions
Navigation
Page 87 of 178
Avoiding an area
Gene ral notes
The multimedia system enables you to avoi d
areas you do no twish to drive through.
If you activat eor deactivat e arout ebloc kwhile
rout eguidance is active ,th emultimedia system
will calculat e anewroute. If you activat eor
deactivat e arout ebloc kwhile rout eguidance is
inactive ,th emultimedia system will use th ene w
setting for th enext rout eguidance .
The calculated rout emay include an area to be
avoided if:
Ryour destination is locate din suc han area
Rthere is no alternative rout eof comparable
lengt havailable
Highways within blocke dareas are always taken
int oconsideration in th erout ecalculation .
iAlternatively, you can carry out this opera-
tion usin gth etouchpad (Ypage 24).
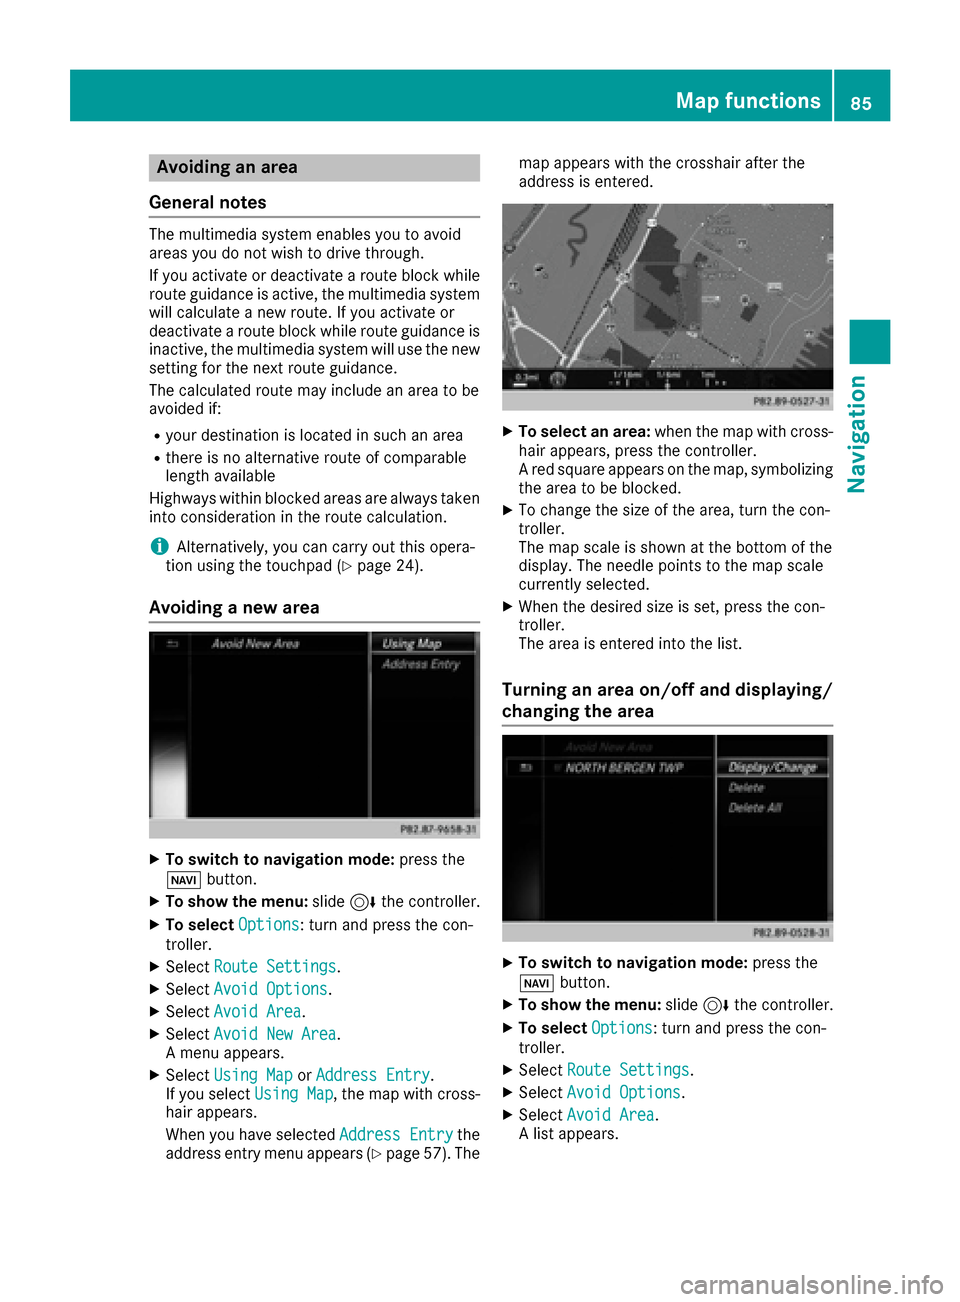
Avoiding a new area
XTo switch to navigation mode: press the
Ø button.
XTo sho wthemenu: slide6 thecontroller .
XTo select Options:tur nand press th econ-
troller .
XSelectRoute Settings.
XSelec tAvoid Option s.
XSelectAvoid Are a.
XSelectAvoid New Are a.
A men uappears.
XSelec tUsing Mapor Addres sEntry.
If you select Using Map,th emap wit hcross -
hair appears.
When you hav eselected AddressEntry
the
address entr ymen uappear s (Ypage 57) .The map appear
swit hth ecrosshair after th e
address is entered .
XTo select an area: when themap wit hcross -
hair appears, press th econtroller .
A red squar eappear son th emap, symbolizing
th earea to be blocked.
XTo chang eth esiz eof th earea, tur nth econ-
troller .
The map scale is shown at th ebotto mof th e
display. The needle points to th emap scale
currentl yselected.
XWhen th edesired siz eis set ,press th econ-
troller .
The area is entered int oth elist .
Turning an area on/off and displaying/
changing the area
XTo switch to navigation mode: press the
Ø button.
XTo sho wthemenu: slide6 thecontroller .
XTo select Options:tur nand press th econ-
troller .
XSelectRoute Settings.
XSelec tAvoid Option s.
XSelectAvoid Are a.
A list appears.
Map functions85
Navigation
Z
Page 88 of 178
XTo switch an area to avoid on/off:select an
area by turning and pressing the controller.
The area will be avoided Oor not ª.
XTo display/change an area: mark an area by
turning the controller.
XSlide 9the controller.
XTo select Display/Change: press the con-
troller.
The map with the crosshair appears.
The area currently blocked is displayed as a
red square.
XTo move the area to a new location: slide
1, 4,2the controller.
XTo change the size of the area: press the con-
troller.
XTurn the controller.
XTo accept changes: press the controller.
A message appears stating that the area has
been set.
Deleting one/all areas
XTo switch to navigation mode: press the
Ø button.
XTo show the menu: slide6the controller.
XTo select Options: turn and press the con-
troller.
XSelect Route Settings.
XSelectAvoid Options.
XSelectAvoid Area.
A list appears.
XTo delete an area: mark an area by turning
the controller.
XSlide 9the controller.
XSelect DeleteorDelete All.
A prompt appears asking whether you wish to
delete the area.
XSelect YesorNo.
After selecting Yes, the area is deleted.
XTo delete all areas: when the list appears,
slide 9 the controller.
XSelect Delete All.
A prompt appears asking whether you wish to
delete all areas.
XSelect YesorNo.
After selecting Yes, all areas are deleted.
SIRIUS XM service
Displaying SIRIUS XM service informa-
tion
You can display the SIRIUS XM service informa-
tion.
XTo switch to navigation mode: press the
Ø button.
XTo show the menu: slide6the controller.
XTo select Traffic: turn and press the con-
troller.
XSelect SIRIUS Service.
The provider's phone number (SIRIUS XM)
and the serial number of your service module
are displayed.
iAlternatively you can call up this function
using the touchpad (Ypage 24).
Registering for the SIRIUS XM traffic
report service
XCall the provider telephone number shown on
the multimedia system display.
iYou can also have the satellite service acti-
vated online. To do so, visit the SIRIUS XM
Radio website at http://www.sirius.com
(USA).
XThe connection is established: follow the
service employee's instructions.
The activation process may take up to ten
minutes.
iIf registration is not included when purchas-
ing the system, your credit card details will be
required to activate your account.
Updating the digital map
Introduction
The digital maps generated by the map software
become outdated in the same way as conven-
tional road maps. Optimal route guidance can
only be provided by the navigation system in
conjunction with the most up-to-date map soft-
ware.
Information about new versions of the digital
map can be obtained from an authorized
Mercedes-Benz Center. You can have the digital
map updated there using a data medium, or you
can update it yourself.
86Map functions
Navigation
Page 89 of 178
For North American countries, it is possible to
update the map data for the multimedia system
free of charge for a period of three years. Infor-
mation on the availability of this service for your
vehicle can be obtained from your Mercedes-
Benz Service Center.
Entitlement to the free update
For the first three years after your vehicle is reg-
istered, you are entitled to all available updates
to the map software for the multimedia system.
They are usually installed during a regular vehi-
cle service. After this period, you can purchase
further updates from your Mercedes-Benz Ser-
vice Center.
The free updates relate to the vehicle and not to
an individual. If there is a change of ownership
within the three years after first registration, the
new owner is entitled to the map software
updates.
Updating at an authorized Mercedes-
Benz Center
If an update for your map software is available,
you will receive it free of charge at your
Mercedes-Benz Service Center during your vehi-
cle's annual service. You can arrange a separate
appointment for this at your Mercedes-Benz
Service Center on request.
The update can only be performed:
Rat an authorized Mercedes-Benz Center
Rfor map data for North America
The map software is not provided on DVD.
Carrying out a manual update
After the free update of the map data has
expired or when buying map data, you can
update the data yourself.
The update process may take some time (up to
45 minutes), depending on the size of the digital
map. The update will be completed more quickly
if the vehicle is stationary. If you begin the
update while the vehicle is stationary and the
starter battery has insufficient power, the mul-
timedia system may switch off automatically.
This protects the battery. In order to prevent
this, a suitable power supply to the vehicle must
be maintained.
Navigation functions
Calling up the navigation system
menu
XTo switch to navigation mode: press the
ß button.
XTo show the menu: slide5the controller.
Navi
is highlighted in the main function bar.
XPress the controller.
The navigation menu appears.
XTurn the controller to display the navigation
functions one after another.
XTo change to the map: turn the controller until
Navigationis shown and then press the con-
troller.
Calling up the online map display
Requirement for online map display (USA):
mbrace must be activated for Internet access
(
Ypage 120).
Requirement for the online map display (Can-
ada): a mobile phone is connected to the multi-
media system via Bluetooth
®(Ypage 92) or
USB (Ypage 157).
XCall up the navigation menu (Ypage 87).
XTurn the controller until Online Map Dis‐playis brought to the front.
XPress the controller.
The online connection is established. Once
the connection is established, the Google
Maps™ map shows the vicinity of the current
vehicle position.
iAlternatively you can call up this function
using the touchpad (Ypage 24).
XTo exit the online map display: press the %
button.
Navigation functions87
Navigation
Z
Page 90 of 178
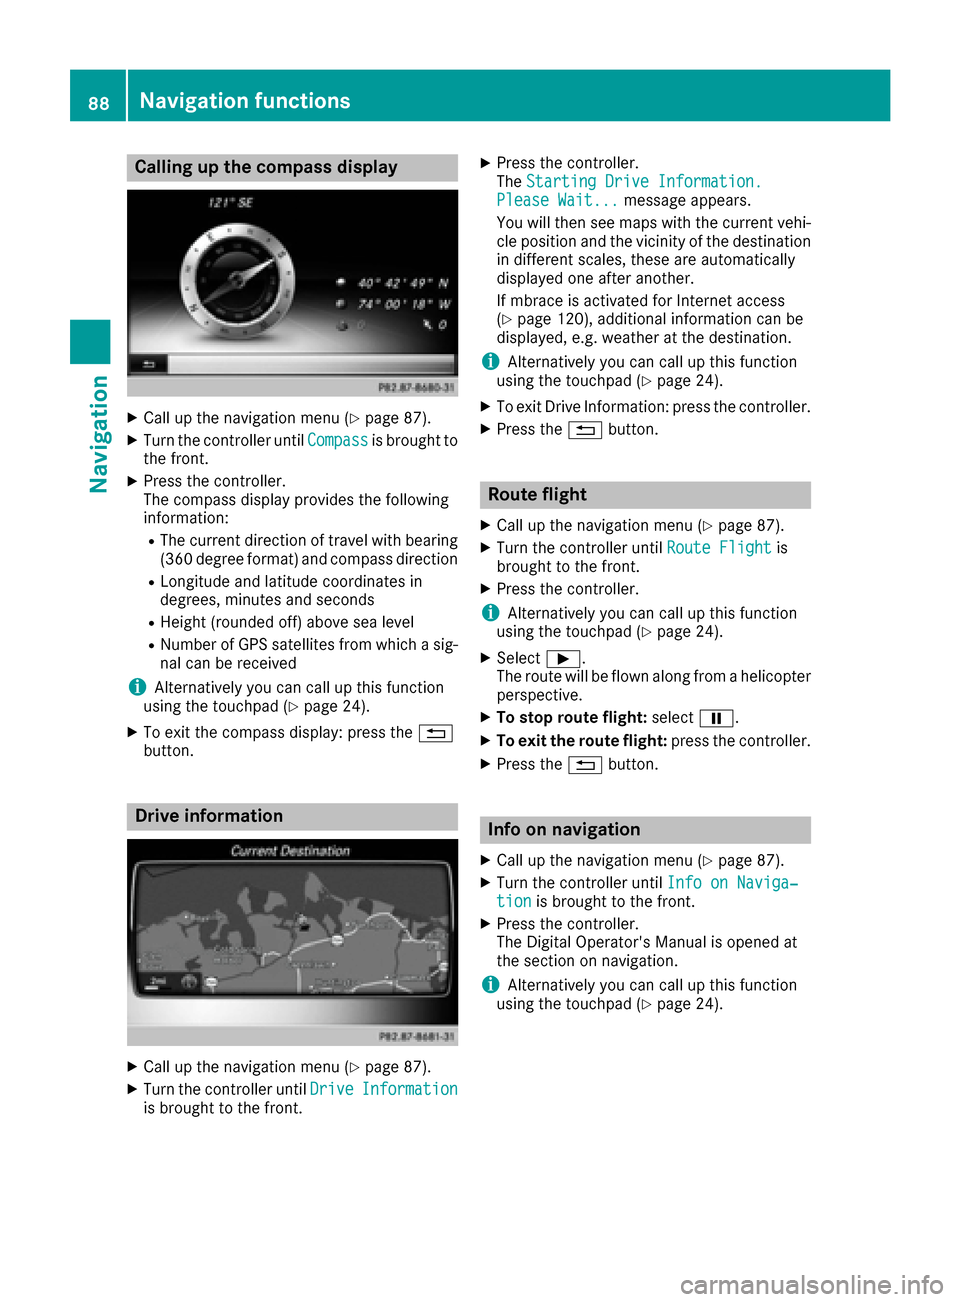
Calling up the compass display
XCall up the navigation menu (Ypage 87).
XTurn the controller untilCompassis brought to
the front.
XPress the controller.
The compass display provides the following
information:
RThe current direction of travel with bearing
(360 degree format) and compass direction
RLongitude and latitude coordinates in
degrees, minutes and seconds
RHeight (rounded off) above sea level
RNumber of GPS satellites from which a sig- nal can be received
iAlternatively you can call up this function
using the touchpad (Ypage 24).
XTo exit the compass display: press the %
button.
Drive information
XCall up the navigation menu (Ypage 87).
XTurn the controller until DriveInformationis brought to the front.
XPress the controller.
TheStarting Drive Information.
Please Wait...message appears.
You will then see maps with the current vehi-
cle position and the vicinity of the destination
in different scales, these are automatically
displayed one after another.
If mbrace is activated for Internet access
(
Ypage 120), additional information can be
displayed, e.g. weather at the destination.
iAlternatively you can call up this function
using the touchpad (Ypage 24).
XTo exit Drive Information: press the controller.
XPress the %button.
Route flight
XCall up the navigation menu (Ypage 87).
XTurn the controller until Route Flightis
brought to the front.
XPress the controller.
iAlternatively you can call up this function
using the touchpad (Ypage 24).
XSelect Ì.
The route will be flown along from a helicopter perspective.
XTo stop route flight: selectË.
XTo exit the route flight: press the controller.
XPress the%button.
Info on navigation
XCall up the navigation menu (Ypage 87).
XTurn the controller until Info on Naviga‐tionis brought to the front.
XPress the controller.
The Digital Operator's Manual is opened at
the section on navigation.
iAlternatively you can call up this function
using the touchpad (Ypage 24).
88Navigation functions
Navigation
Page 94 of 178
Rusing the6or~ button on the mult i-
function steering wheel
Rusing the Voice Control System (see the sep-
arate operating instructions)
Function restrictions
You may have to waitto use telephony via the
multimedia systeminthe foll owing situations:
Rifthe mob ilephone is switched off
RifBluetooth®is swit ched off on the mob ile
phone
Rif the mob ilephone isnot (or not yet) logged
into a mob ilephone network
Rifthe Bluetooth®function is switched off in
the multimed iasystem
The telephone automatically tries to log on to a
network. Ifno network isavailable, you may not
be able to make a " 911" emergency call. Ifyou
attempt to make an outgoing call, the No Ser‐
vicemessagewillappear for a short while.
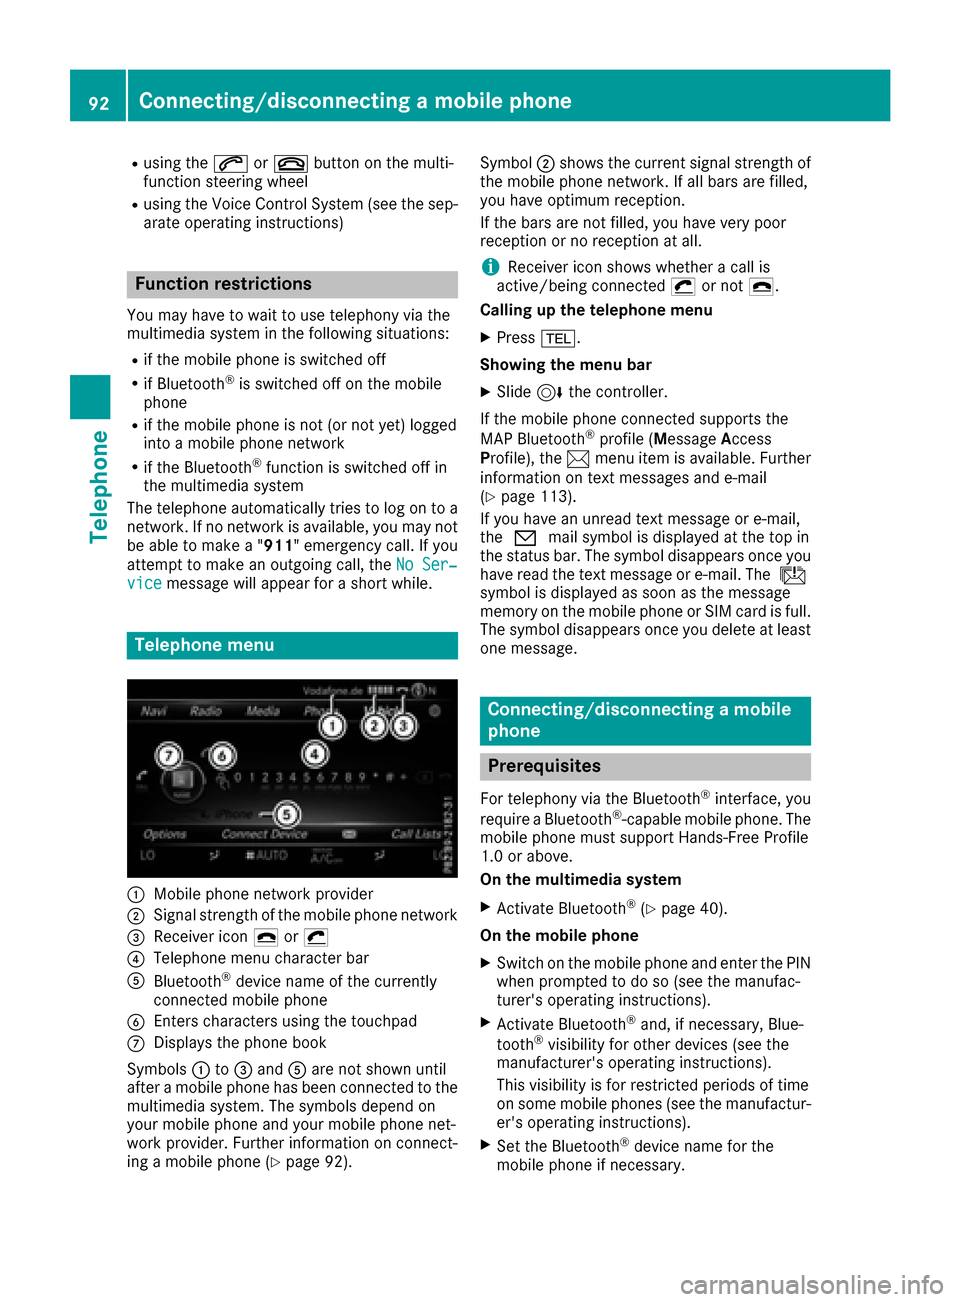
Telephone menu
:Mobilephone network provide r
;Signal strength of the mob ilephone network
=Receiver icon ¢or¡
?Telephone menu character bar
ABluetooth®device name of the currently
connected mob ilephone
BEnters characters using the touchpad
CDisplays the phone book
Sym bols :to= and Aare not shown until
after a mob ilephone has been connected to the
multimed iasystem. The symbols depend on
your mob ilephone and your mob ilephone net-
work pro vider. Further information on connect-
ing a mob ilephone (
Ypage 92). Symbol
;shows the current signal strength of
the mobile phone network. If all bars are fille d,
you have optimum reception.
If the bars are not fille d,you have very poor
reception or no reception at all.
iReceiver icon showswhether a call is
active/being connected ¡or not ¢.
Calling up the telephone menu
XPress %.
Showi ngthe menu bar
XSlid e6 the controller.
If the mobile phone connected supports the
MAP Bluetooth
®profile (M essage Access
Profile ),the 1 menu item is available. Further
information on text messages and e-mail
(
Ypage 113).
If you have an unread text message or e-mail,
the 0 mail symbol is displayed at the top in
the status bar. The symbol disappear
s once you
have read the text message or e-mail. The ú
symbol is displayed as soon as the message
memory on the mobile phone or SIM card is full.
The symbol disappears once you delete at least
one message.
Connecting/disconnecting a mobile
phone
Prerequisites
For telephony via the Bluetooth®interface, you
require a Bluetooth®-capable mobile phone. The
mobile phone must support Hands-Free Pro file
1.0 or above.
On the multimedia system
XActivate Bluetooth®(Ypage 40).
On themob ile ph one
XSwitch on the mobile phone and enter the PIN
when prompted to do so (see the manufac-
turer's operating instructions).
XActivate Bluetooth®and, if necessary, Blue-
tooth®visibility for other devices (see the
manufacturer's operating instructions).
This visibility is for restricted periods of time
on some mobile phones (see the manufactur-
er's operating instructions).
XSet the Bluetooth®device name for the
mobile phone if necessary.
92Connecting/disconnecting a mobile phone
Telephone
Page 95 of 178
The Bluetooth®device names for all of one man-
ufacturer's products might be identical. To
make it possible to clearly identify your mobile
phone, change the device name (see the man-
ufacturer's operating instructions). The name
can be freely selected.
If the mobile phone supports the PBAP (Phone
Book Access Profile) and MAP (M essage
Access Profile) Bluetooth
®profiles, the follow-
ing information will be transmitted after you
connect:
RPhone book
RCall lists
RMessages
Further information on allowing or suppressing
the automatic download of the phone book
(
Ypage 108).
The battery of the mobile phone should always
be kept sufficiently charged in order to prevent
malfunctions.
iNot all mobile phones available on the mar-
ket are equally suitable. You can obtain fur-
ther information about suitable mobile
phones and about the connection between
the mobile phone and the multimedia system
on the Internet at http://www.mercedes-
benz.com/connect .
You can also obtain more information by call-
ing.
In the USA, you can get in touch with the
Mercedes-Benz Customer Assistance Center
on 1-800-FOR-MERCedes (1-800-367-6372).
In Canada, you can get in touch with the Cus-
tomer Relations Center on 1-800-387-0100.
iSome displays (e.g. the signal strength)
depend on the supported version of the
Hands-Free Profile.
Procedure and general information
Searching for and authorizing (connecting)
a mobile phone
Before using your mobile phone with the multi-
media system for the first time, you will need to search for the phone (
Ypage 93) and then
authorize it (Ypage 94). Depending on the
mobile phone, authorization either takes place
by means of Secure Simple Pairing or by enter-
ing a passkey. The multimedia system automat-
ically makes the procedure that is relevant for your mobile phone available. You can recognize
Secure Simple Pairing by the fact that a code is
displayed on the mobile phone and on the mul-
timedia system. You can recognize the passkey
system by the fact that you have to enter a code
on the mobile phone and on the multimedia sys-
tem. The mobile phone is always connected
automatically after authorization.
If the multimedia system does not detect your
mobile phone, this may be due to particular
security settings on your mobile phone. You can
also start the search procedure and authoriza-
tion on the mobile phone (
Ypage 95).
Device-specific information on authorizing and
connecting Bluetooth
®-capable mobile phones
can be found on the Internet at http://
www.mercedes-benz.com/connect .
You can authorize up to 15 mobile phones. After
authorization, the connection of the last two tel-
ephones used always functions automatically.
Only one mobile phone can be connected to the
multimedia system at any one time.
De-authorizing (disconnecting) a mobile
phone
The connection is terminated automatically if
you leave the receiver range of the multimedia
system or deactivate Bluetooth
®on your mobile
phone.
If you no longer want the Bluetooth
®connection
to be established automatically, the mobile
phone must be de-authorized (disconnected)
(
Ypage 96).
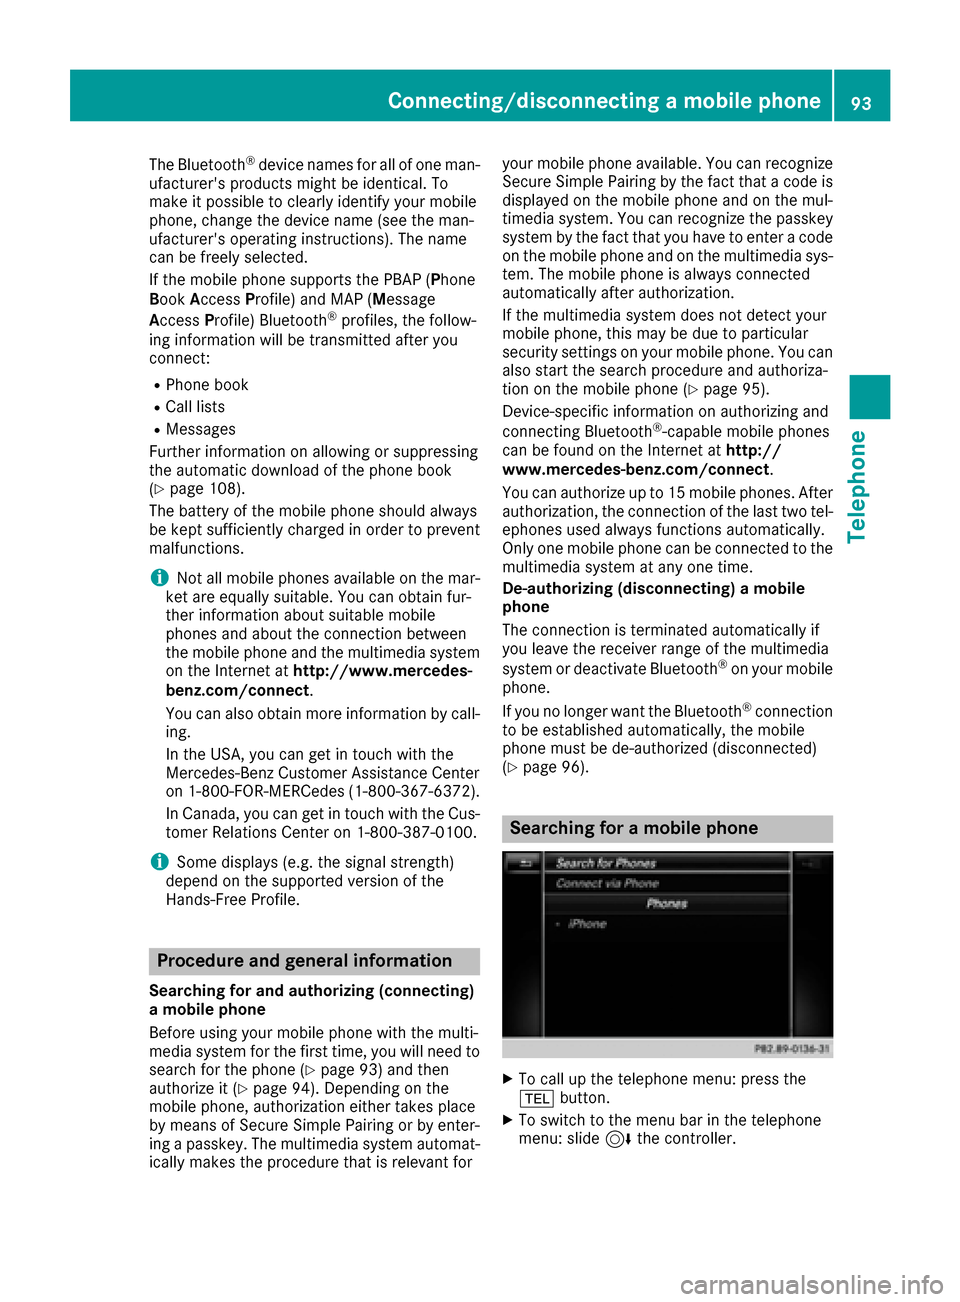
Searching for a mobile phone
XTo call up the telephone menu: press the
% button.
XTo switch to the menu bar in the telephone
menu: slide 6the controller.
Connecting/disconnecting a mobile phone93
Telephone
Z
Page 97 of 178
To ensure an optimum language quality, you can
set the mobile phone's transmission and recep-
tion volume (
Ypage 96).
If the Authorization Failed
message
appears, you may have entered a different pass-
key or exceeded the prescribed time limit.
Repeat the procedure.
iSome mobile phones require a passkey with
four or more digits.
iIf you wish to re-authorize the mobile phone
after de-authorizing it, you can choose
another passkey for it.
Establishing the connection from the
mobile phone
The Bluetooth®device name of the multimedia
system is MB Bluetooth.
XMultimedia system: call up the telephone
menu.
XTo switch to the menu bar: slide 6the con-
troller.
XTo select Connect Device: turn and press
the controller.
The device list is displayed.
XTo select Connect via Phone: turn and
press the controller.
A message is displayed, stating that you can
start the search on your mobile phone.
XMobile phone: start the search for a Blue-
tooth®device (see manufacturer's operating
instructions).
The multimedia system is displayed with the
name MB Bluetooth
in the mobile phone's
device list.
XSelect MB Bluetooth.
A prompt appears in the multimedia system's
display asking if the mobile phone should be
authorized.
XMultimedia system: selectYes.
If No
is selected, the procedure is canceled.
If your mobile phone supports Secure Simple
Pairing, a code is now displayed on both devi-
ces.
The code is the same
XMultimedia system: selectYes.
XMobile phone: confirm the code. Depending
on the mobile phone used, you may have to
confirm the connection to the multimedia sys- tem and for the PBAP and MAP Bluetooth
®
profiles. The prompt to confirm may take up
to two minutes to be displayed. You may also
save the confirmation on the mobile phone
(see the manufacturer's operating instruc-
tions).
The mobile phone is now authorized and con-
nected to the multimedia system. You can
now speak using the hands-free system.
To ensure an optimum language quality, you can
set the mobile phone's transmission and recep-
tion volume (
Ypage 96).
The code is different
XMultimedia system: selectNo.
The process is canceled. Repeat the proce-
dure.
If your mobile phone does not support Secure
Simple Pairing, an input menu is displayed for
the passkey. The passkey is a one- to sixteen-
digit number combination which you can choose
yourself. Enter the same passkey in both the
multimedia system and on the mobile phone and
confirm. Depending on the mobile phone used,
you may have to confirm the connection to the
multimedia system and for the PBAP and MAP
Bluetooth
®profiles.
Reconnecting automatically
The multimedia system always searches for the
last connected mobile phone.
If no connection can be made to the most
recently connected mobile phone, the system
searches for the mobile phone that was con-
nected before that one.
Switching between mobile phones
If you have authorized more than one mobile
phone, you can switch between the individual
phones.
XTo call up the telephone menu: press the
% button.
XTo show the menu bar: slide 6the control-
ler.
Connecting/disconnecting a mobile phone95
Telephone
Z