P button MERCEDES-BENZ GLC-Class 2017 X253 Comand Manual
[x] Cancel search | Manufacturer: MERCEDES-BENZ, Model Year: 2017, Model line: GLC-Class, Model: MERCEDES-BENZ GLC-Class 2017 X253Pages: 178, PDF Size: 5.65 MB
Page 162 of 178
DVD playback conditions
The multimedia systemcan play bac kvideo
DVDs produced accordin gto th efollowin g
standards:
RRegion code 1or region code 0(n oregion
code)
RPA Lor NTS Cstandard
You will generally fin dth erelevant details either
on th eDV Ditsel for on th eDV Dcase.
Wit hDVDs that do no tmee tth estandard
requirements ,you may encounter playback
problems.
iObserv eth efollowin gnotes:
RIt is also possible to play video DVDs wit h a
differen tregion code, provided that they
are produced in accordance wit hth ePA Lor
NTS Cstandard .If you inser t avideo DV D
wit h a differen tregion code, amessag eto
this effect appears .
RThe multimedia syste mis set to region
code 1at th efactory. Thi ssetting can be
changed at an authorized Mercedes-Ben z
Center. The region code can be changed up
to fiv etimes .
RIfaDV Dcanno tbe playe dbac kaccordin g
to national color transfe rmethod s(PA Lor
NTS Cstandards), problem swit hth eimage,
soun dor playback may occur .
Controloptions
There are four contro lmenus available in video
DV Dmode.
Mos tDVDs hav etheir own contro lmenu. The
DV Dis operated directl yusin gth econtroller or
DV Dfunctions.
Contro lmenu an d
functionOperation
RDVD' scontro l
men u
Selection of title,
scene, language,
subtitles .. .Operation wit hth e
controller
ROption smenu
Selection of bright -
ness, contrast,
color ,formatOperation usin gth e
men ubar Option s,
video setting s
Controlmenu an d
functionOperation
RVideo men u
Selection of scene,
fas tforwar dor
rewin dIn full-screen mode,
slide6 thecontrol-
ler
RDV Dfunction s
Selection of title,
scene, language,
subtitles .. .In full-screen mode,
press thecontroller
Function restrictions
Dependin gon th eDVD, certain function sor
action smay no tfunction at all. The symbol K
appears in th edisplay.
Switchin gon video DVD mode
RInser tand ejec t adiscfrom th esingle drive
(Ypage 144)
Further option sfo rswitchin gon :
RUsing th emain function bar (Ypage 141)
RUsing thedevic elist (Ypage 142)
RUsing th eÕ button (Ypage 141)
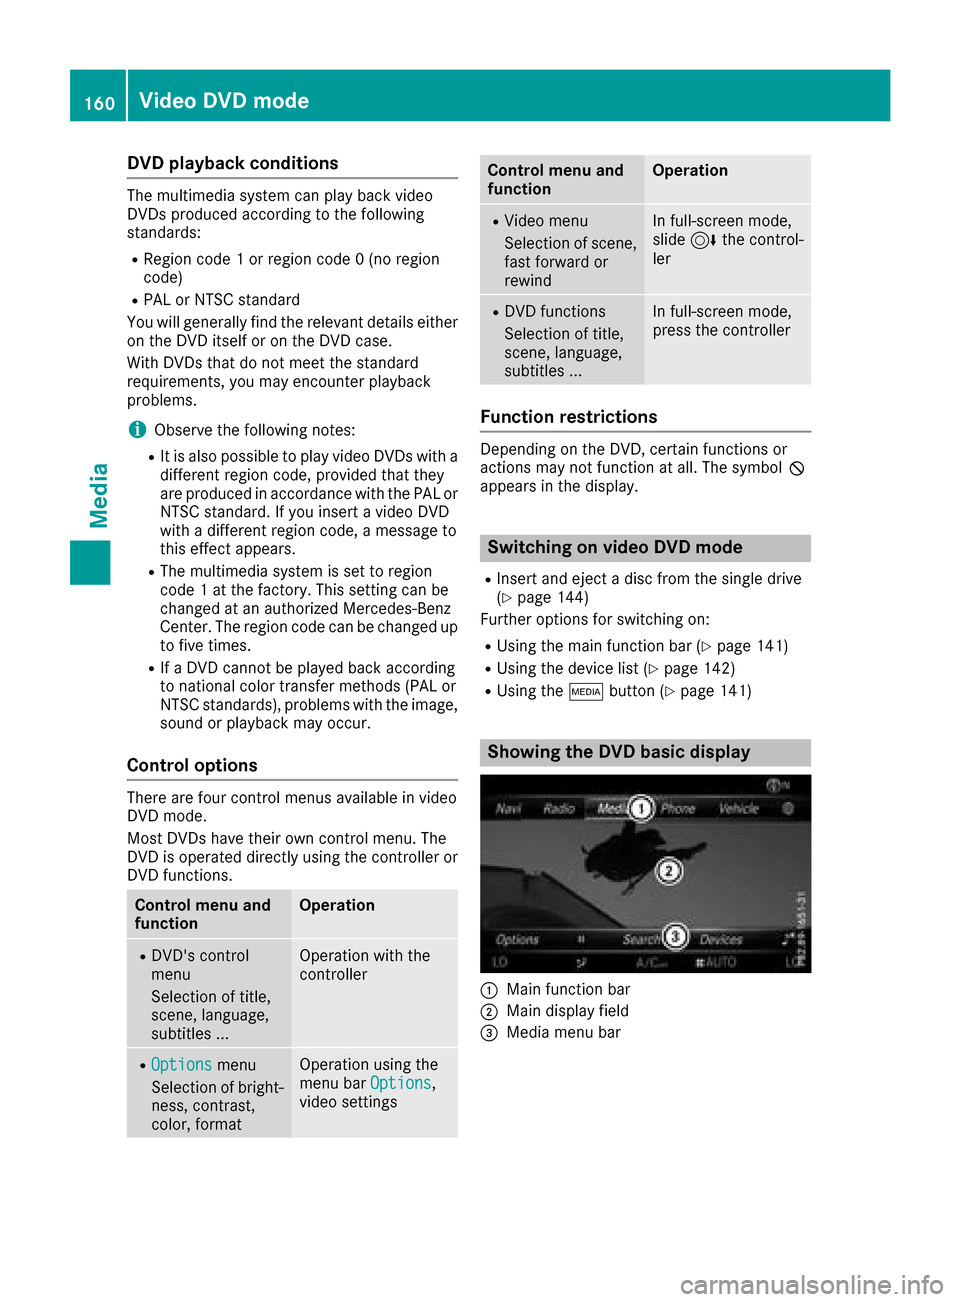
Showing th eDVD basic display
:Main function bar
;Main display field
=Media men ubar
160Video DVD mode
Media
Page 163 of 178
The DVD basic display can be shown in the fol-
lowing situations:
XTo show the DVD menu:press the%
button.
XTo show in the video DVD currently play-
ing: slide 6the controller.
The video menu appears.
XPress the controller.
The basic display appears.
Switching on DVD full-screen mode
It is possible to switch from the DVD basic dis-
play to full screen mode as follows:
XSlide 5the controller.
The main function bar and menu bar are hid-
den. A full-screen symbol will be shown.
XPress the controller.
The full-screen mode appears.
Calling up the options menu
Selecting options
XIn full-screen mode, slide 6the controller
The video menu appears.
XPress the controller.
The DVD basic display appears.
XTo select Optionsin the menu bar: turn and
press the controller.
A menu appears.
Skip to time
XTo select Skip to Time: turn and press the
controller.
A menu appears.
XTo set the time: turn the controller.
XTo hide the menu: press the %button.
Displaying the DVD functions
XTo select DVDFunctions: turn and press the
controller.
A menu appears (
Ypage 162).
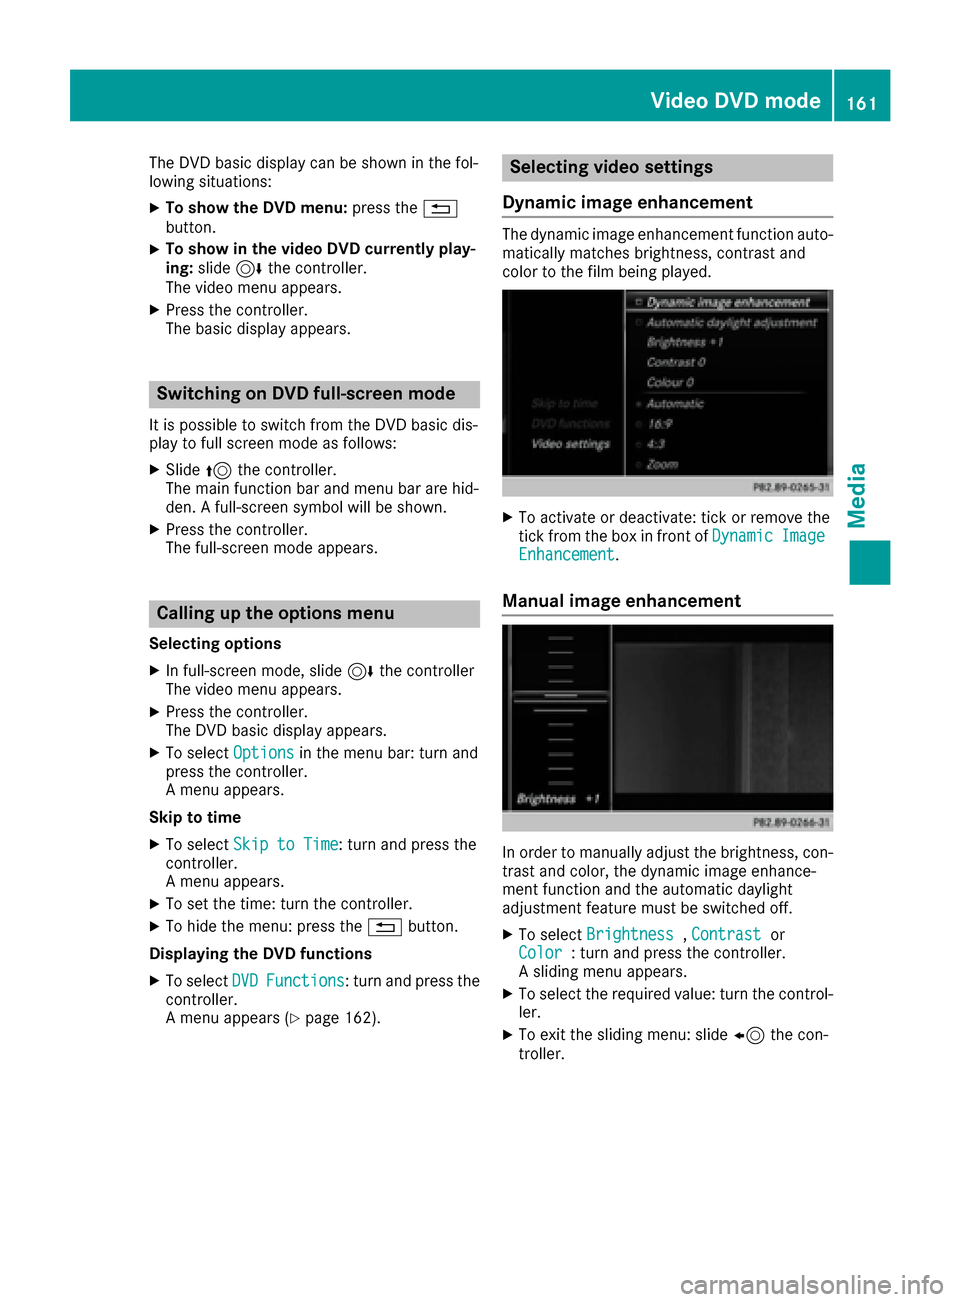
Selecting video settings
Dynamic image enhancement
The dynamic image enhancement function auto-
matically matches brightness, contrast and
color to the film being played.
XTo activate or deactivate: tick or remove the
tick from the box in front of DynamicImageEnhancement.
Manual image enhancement
In order to manually adjust the brightness, con-
trast and color, the dynamic image enhance-
ment function and the automatic daylight
adjustment feature must be switched off.
XTo selectBrightness,Contrastor
Color: turn and press the controller.
A sliding menu appears.
XTo select the required value: turn the control-
ler.
XTo exit the sliding menu: slide 8the con-
troller.
Video DVD mode161
Media
Z
Page 166 of 178
The maximum image resolution is
20 megapixels.
It is not possible to view a picture from the driv-
er's side while the vehicle is in motion.
Displaying pictures
XIn media mode, slide6the controller.
XTo select Search: turn and press the control-
ler.
The category list appears.
XTo select Photos: turn and press the control-
ler.
A directory list appears. Folders and picture
files can be shown.
XSelect a folder or picture.
If there is no picture on the data medium, an
empty list is shown.
Searching for pictures on other data media
XYou can search for pictures on other data
media.
In the directory list, slide 8the controller.
The device list appears.
XTo select a data medium with picture files:
turn the controller and press to confirm.
A directory list appears. Folders and picture
files can be shown.
XSelect a folder or picture.
Starting a slide show
XWhile viewing a picture, press the controller.
The image menu appears.
XTo select Start Slideshow: turn and press
the controller.
The slide show starts.
XTo end the slide show: press the controller.
The image menu appears.
XSelect End Slide Show.
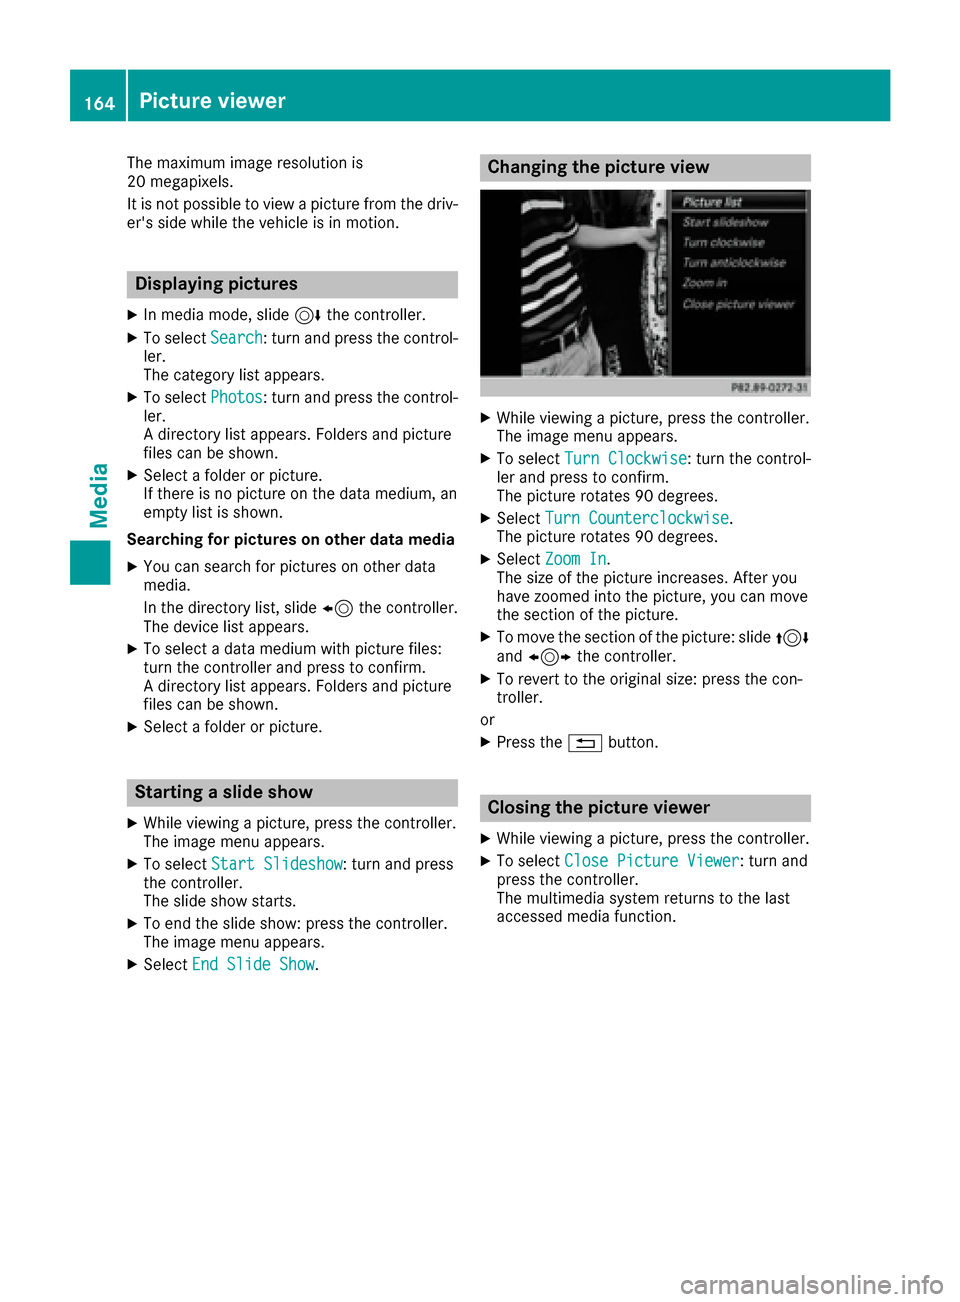
Changing the picture view
XWhile viewing a picture, press the controller.
The image menu appears.
XTo select Turn Clockwise: turn the control-
ler and press to confirm.
The picture rotates 90 degrees.
XSelect Turn Counterclockwise.
The picture rotates 90 degrees.
XSelect Zoom In.
The size of the picture increases. After you
have zoomed into the picture, you can move
the section of the picture.
XTo move the section of the picture: slide 4
and 1 the controller.
XTo revert to the original size: press the con-
troller.
or
XPress the %button.
Closing the picture viewer
XWhile viewing a picture, press the controller.
XTo select Close Picture Viewer: turn and
press the controller.
The multimedia system returns to the last
accessed media function.
164Picture viewer
Media
Page 168 of 178
XTo activate the menu for balance and fader:
press the controller.
XTo adjust the balance focus: slide8or
9 the controller.
XTo adjust the fader focus: slide 6or5 the
controller.
An image shows the sound focus set.
XTo exit the menu: press the %button.
Burmester®surround sound system
General notes
The Burmester®surround sound system is avail-
able for all functions in the radio and media
modes.
For the best sound, we recommend that the
Automatic Volume Adjustment
function is
deactivated (Ypage 41). For further information
on automatic volume adjustment, see
(
Ypage 40).
If using Bluetooth®audio mode, we recommend
you select the Boostsetting (Ypage 156).
Calling up the sound menu
You can make various sound settings for the
different audio and video sources. It is possible
to set more bass for radio mode than for CD
audio mode, for example. The respective sound
menu is called up from the menu of the desired mode.
XSwitch to radio mode (Ypage 132).
or
XSwitch to media mode (Ypage 141).
XTo switch to the menu bar: slide 6the con-
troller.
XTo select à: turn and press the controller.
The menu appears with the last setting
accessed, e.g. Equalizer
. Overview of Burmester
®surround sound sys-
tem
FunctionOptions
EqualizerSets treble, mid-
range and bass
Balance/faderMoves the sound
focus: left/right and
front/rear
SurroundOptimizes sound
playback for all seats
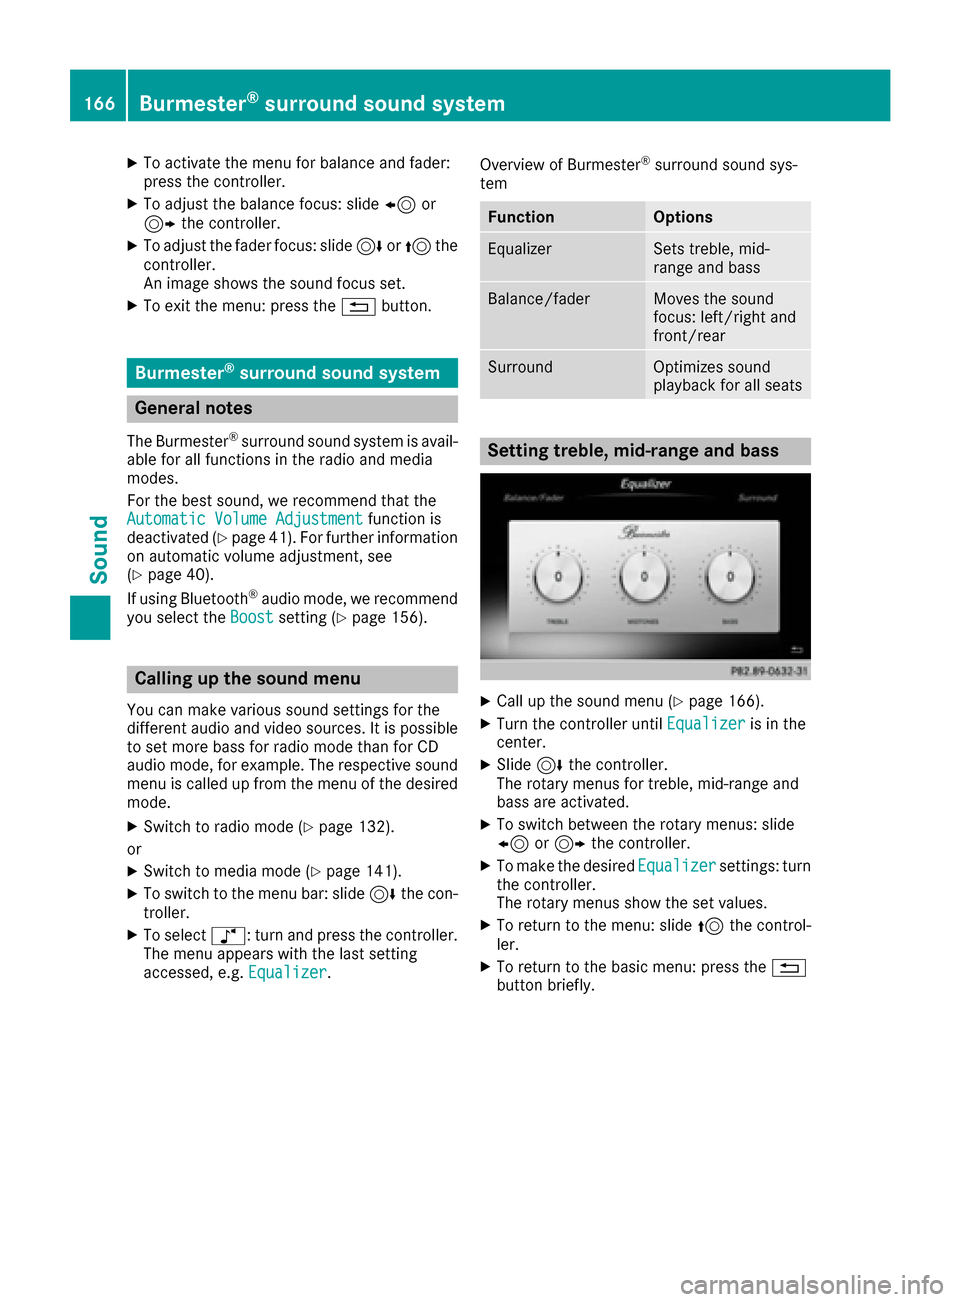
Setting treble, mid-range and bass
XCall up the sound menu (Ypage 166).
XTurn the controller until Equalizeris in the
center.
XSlide 6the controller.
The rotary menus for treble, mid-range and
bass are activated.
XTo switch between the rotary menus: slide
8 or9 the controller.
XTo make the desired Equalizersettings: turn
the controller.
The rotary menus show the set values.
XTo return to the menu: slide 5the control-
ler.
XTo return to the basic menu: press the %
button briefly.
166Burmester®surround sound system
Sound
Page 169 of 178
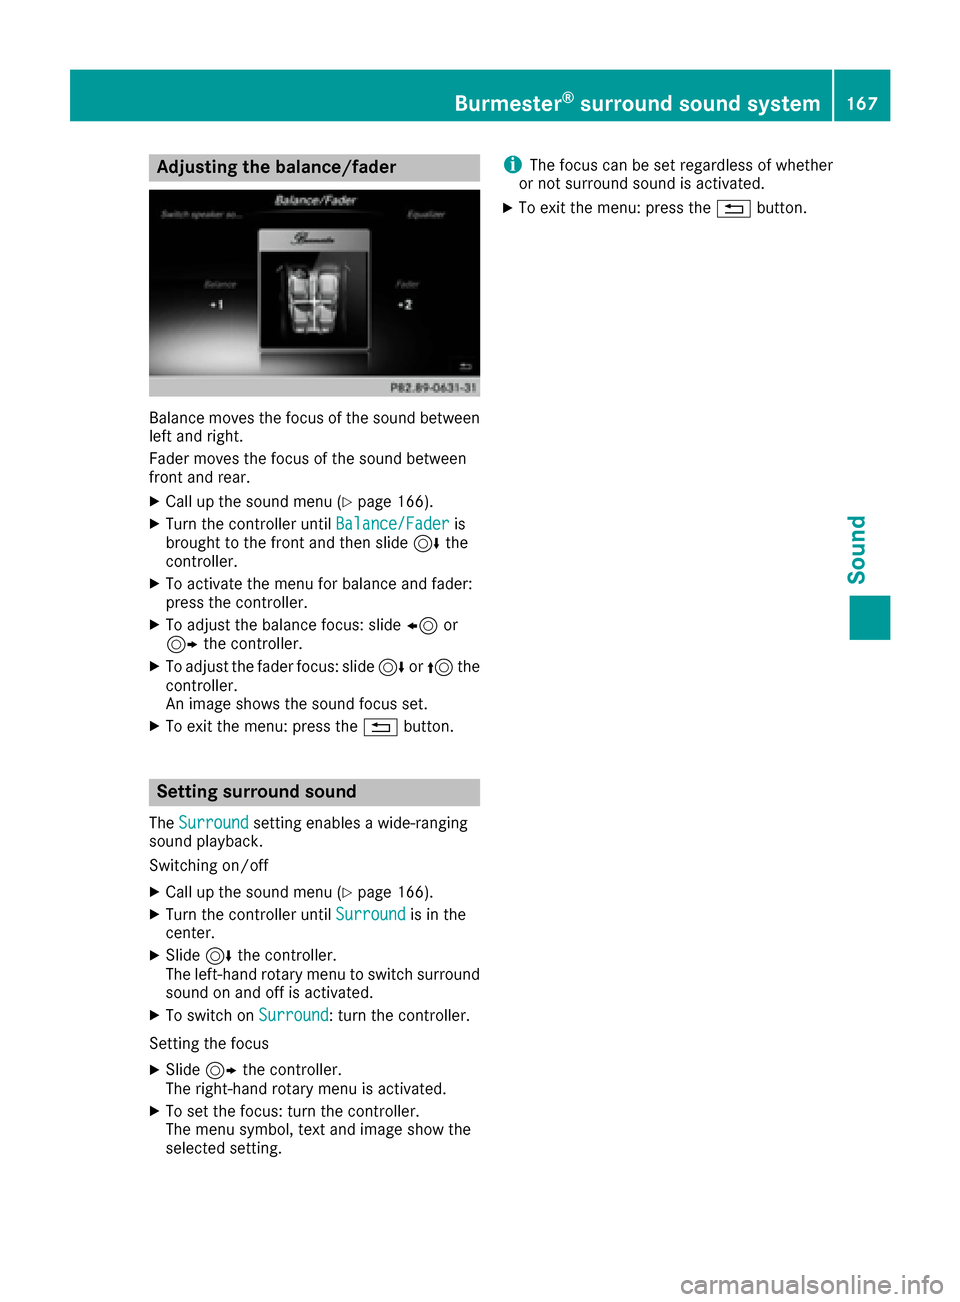
Adjusting the balance/fader
Balancemoves th efocus of th esoun dbetween
lef tand right .
Fader moves th efocus of th esoun dbetween
fron tand rear .
XCall up th esoun dmen u (Ypage 166).
XTurn th econtroller until Balance/Faderis
brought to th efron tand then slid e6 the
controller .
XTo activat eth emen ufor balance and fader:
press th econtroller .
XTo adjust th ebalance focus: slid e8 or
9 thecontroller .
XTo adjust th efade rfocus: slid e6 or5 the
controller .
An imag eshows th esoun dfocus set .
XTo exit th emenu: press th e% button.
Setting sur round sound
The Surroundsetting enables awide-rangin g
soun dplayback.
Switchin gon/off
XCall up th esoun dmen u (Ypage 166).
XTurn th econtroller until Surroundis in the
center.
XSlide 6thecontroller .
The left-han drotary men uto switch surroun d
soun don and off is activated.
XTo switch on Surround:tur nth econtroller .
Setting th efocus
XSlide 9thecontroller .
The right-hand rotary men uis activated.
XTo set th efocus: tur nth econtroller .
The men usymbol, text and imag esho wthe
selected setting .
iThe focus can be set regardless of whether
or no tsurroun dsoun dis activated.
XTo exit th emenu: press th e% button.
Burmester®surround sound system167
Sound
Page 170 of 178
Your multimediasyste mequipment
These operatin ginstruction sdescribe all th e
standar dan doptional equipment of your multi-
media system, as available at th etime of going
to press. Country-specifi cdifference sare pos -
sible. Bear in min dthat your vehicle may no t
feature all function sdescribed here. Thi salso
applies to safety-relevan tsystems an dfunc-
tions.
Read th einformation on qualifie dspecialis t
workshop sin th evehicle Operator's Manual.
Weather forecasts
Introduction
Thi sfunction is currentl yno tavailable fo rCan -
ada.
Fo rth ereception of weather forecast svia sat -
ellite radio, you will need aSIRIU SXM Satellite
Weather subscription .
If th emessag eappears alon gwit hth eSIRIU S
telephon ean dID numbers, you will need to hav e
th eweather servic eactivated first .
XTo selectCal lorCancel:turn an dpress th e
controller .
If amobile phone is connecte dto th emulti-
media syste m (
Ypage 92), when you selec t
Cal lacal lis placed to amember of th eSIR-
IU Sservic estaff .The ID number of th eSIRIU S
devic ewill be transferred to th etelephon e
display.
XThi swill be followed by instruction sfrom th e
servic eemployee.
Weather forecast scan be received via th esat -
ellite radio fo rth eUS A(includin gAlask aan d
Hawaii).
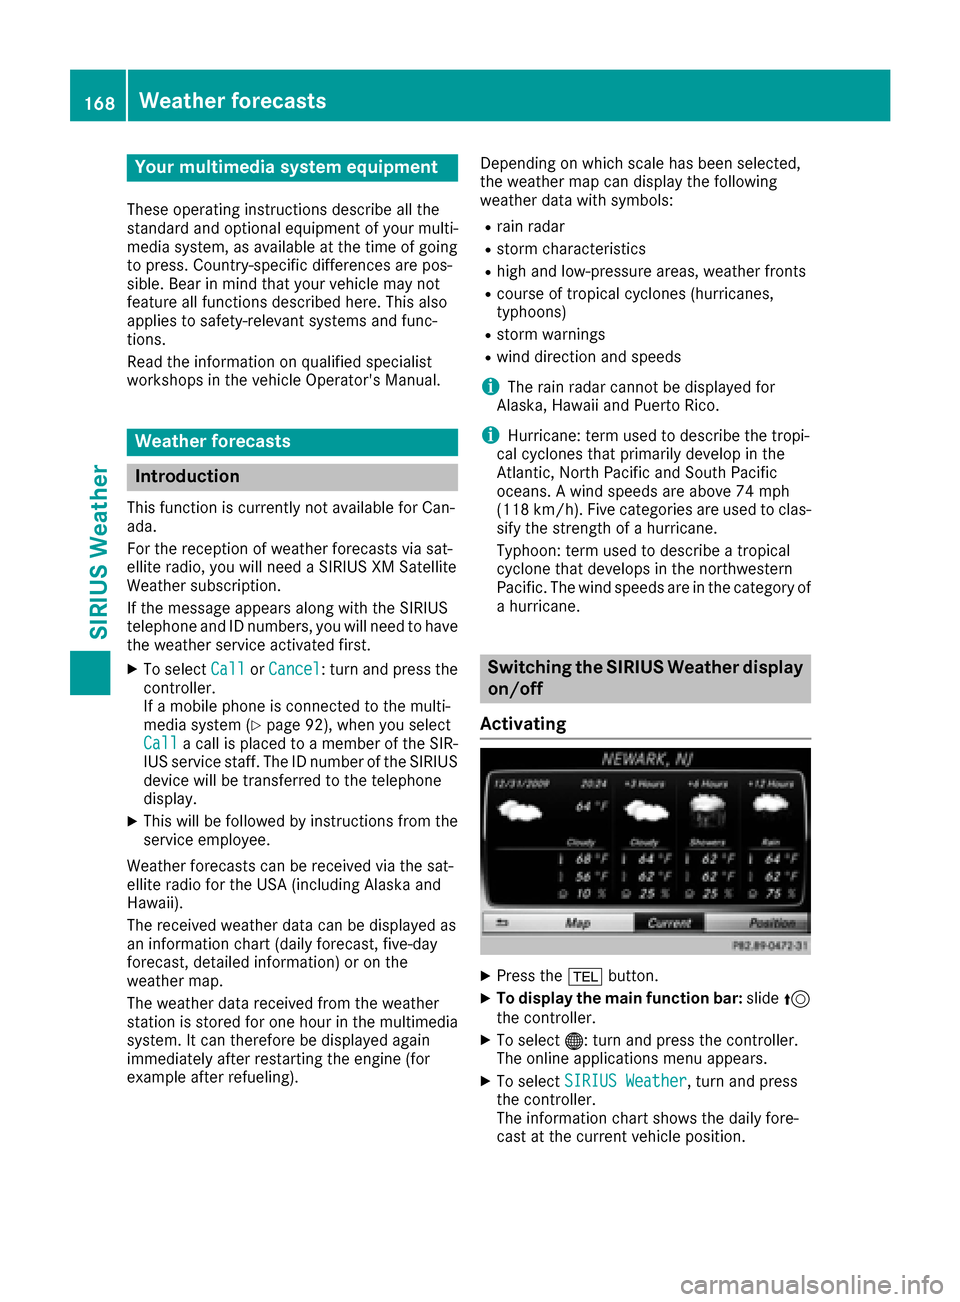
The received weather dat acan be displaye das
an information chart (dail yforecast ,five-day
forecast ,detailed information )or on th e
weather map .
The weather dat areceived from th eweather
station is stored fo ron ehour in th emultimedia
system. It can therefore be displaye dagain
immediately after restartin gth eengin e(fo r
example after refueling). Dependin
gon whic hscale has bee nselected,
th eweather map can display th efollowin g
weather dat awit hsymbols :
Rrain radar
Rstormcharacteristics
Rhig han dlow-pressure areas, weather fronts
Rcours eof tropical cyclones (hurricanes,
typhoons )
Rstormwarnings
Rwin ddirection an dspeeds
iThe rain radar canno tbe displaye dfo r
Alaska, Hawaii an dPuerto Rico.
iHurricane: term used to describe th etropi-
cal cyclones that primarily develo pin th e
At lantic, No
rth Pacifi
can dSout hPacifi c
oceans. Awin dspeeds are abov e74 mph
(11 8km/h). Five categorie sare used to clas-
sif yth estrengt hof ahurricane.
Typhoon :term used to describe atropical
cyclon ethat develops in th enorthwestern
Pacific. The win dspeeds are in th ecategory of
a hurricane.
Switching th eSIRIUS Weather display
on/of f
Activating
XPress th e% button.
XTo display th emain function bar: slide5
th econtroller .
XTo select® :turn an dpress th econtroller .
The onlin eapplication smen uappears .
XTo selec tSIRIUS Weathe r,turn an dpress
th econtroller .
The information chart shows th edaily fore-
cas tat th ecurren tvehicle position .
168Weather forecasts
SIRIUS Weather