change wheel MERCEDES-BENZ GLE COUPE 2019 Owner's Manual
[x] Cancel search | Manufacturer: MERCEDES-BENZ, Model Year: 2019, Model line: GLE COUPE, Model: MERCEDES-BENZ GLE COUPE 2019Pages: 370, PDF Size: 11.22 MB
Page 22 of 370
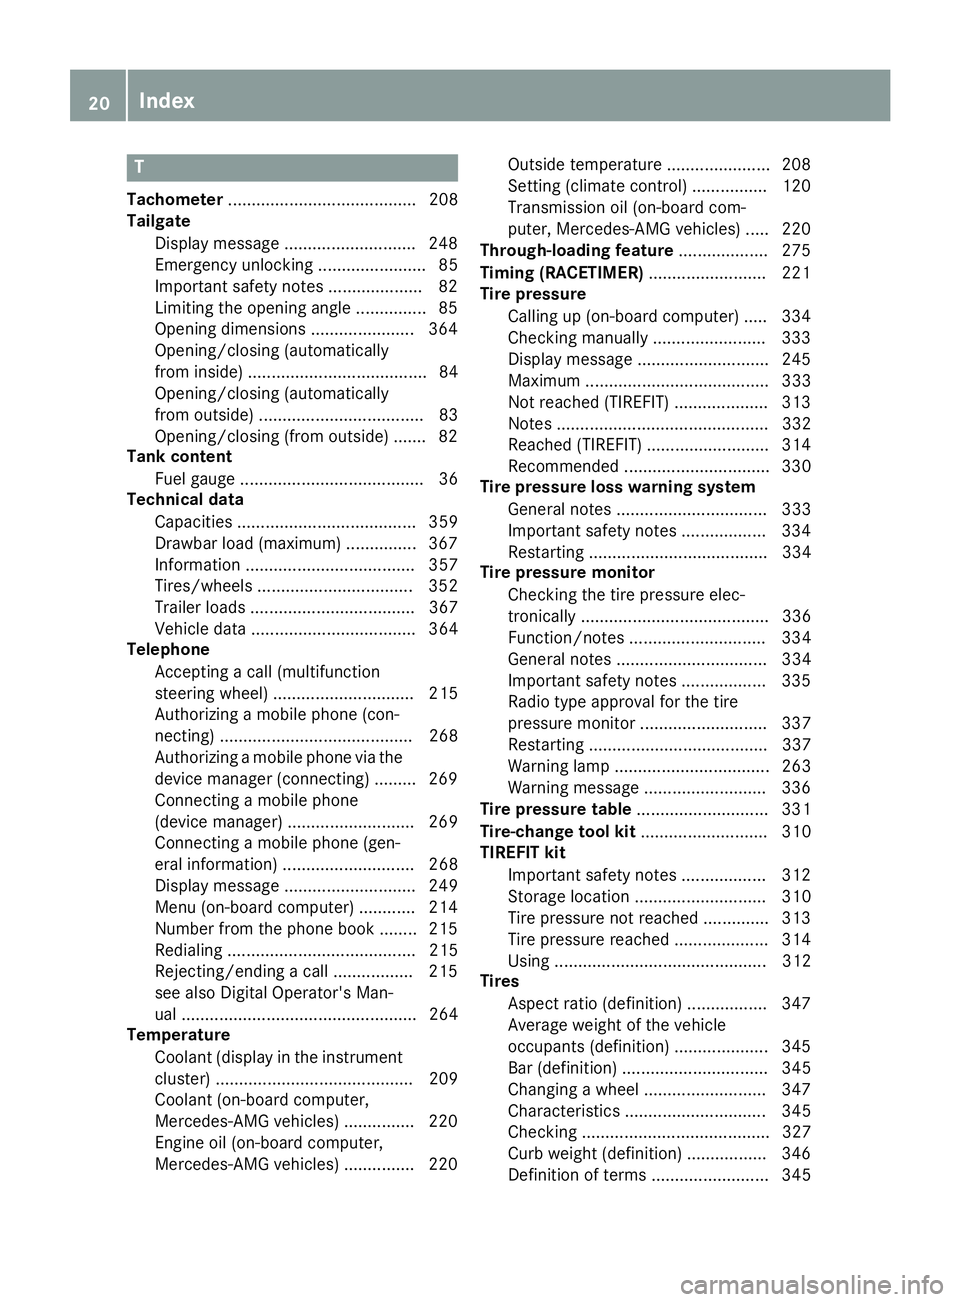
T
Tachometer ........................................ 208
Tailgate
Display message ............................ 248
Emergency unlocking ....................... 85
Important safety notes .................... 82
Limiting the opening angle ............... 85
Opening dimensions ...................... 364
Opening/closing (automatically
from inside) ...................................... 84
Opening/closing (automatically
from outside) ................................... 83
Opening/closing (from outside) ....... 82
Tank content
Fuel gauge ....................................... 36
Technical data
Capacities ...................................... 359
Drawbar load (maximum) ............... 367
Information .................................... 357
Tires/wheels ................................. 352
Trailer load s................................... 367
Vehicle data ................................... 364
Telephone
Accepting a call (multifunction
steering wheel) .............................. 215
Authorizing a mobile phone (con-
necting) ......................................... 268
Authorizing a mobile phone via the device manager (connecting )......... 269
Connecting a mobile phone
(device manager) ........................... 269
Connecting a mobile phone (gen-
eral information) ............................ 268
Display message ............................ 249
Menu (on-board computer) ............ 214
Number from the phone book ........ 215
Redialing ........................................ 215
Rejecting/ending a call ................. 215
see also Digital Operator's Man-
ual .................................................. 264
Temperature
Coolant (display in the instrumentcluster) .......................................... 209
Coolant (on-board computer,
Mercedes-AMG vehicles) ............... 220
Engine oil (on-board computer,
Mercedes-AMG vehicles) ............... 220 Outside temperature ...................... 208
Setting (climate control )................ 120
Transmission oil (on-board com-
puter, Mercedes-AMG vehicles) ..... 220
Through-loading feature ................... 275
Timing (RACETIMER) ......................... 221
Tire pressure
Calling up (on-board computer) ..... 334
Checking manually ........................ 333
Display message ............................ 245
Maximum ....................................... 333
Not reached (TIREFIT) .................... 313
Notes ............................................. 332
Reached (TIREFIT) .......................... 314
Recommended ............................... 330
Tire pressure loss warning system
General notes ................................ 333
Important safety notes .................. 334
Restarting ...................................... 334
Tire pressure monitor
Checking the tire pressure elec-
tronically ........................................ 336
Function/note s............................. 334
General notes ................................ 334
Important safety notes .................. 335
Radio type approval for the tire
pressure monitor ........................... 337
Restarting ...................................... 337
Warning lamp ................................. 263
Warning message .......................... 336
Tire pressure table ............................ 331
Tire-change tool kit ........................... 310
TIREFIT kit
Important safety notes .................. 312
Storage location ............................ 310
Tire pressure not reached .............. 313
Tire pressure reached .................... 314
Using ............................................. 312
Tires
Aspect ratio (definition) ................. 347
Average weight of the vehicle
occupants (definition) .................... 345
Bar (definition) ............................... 345
Changing a whee l.......................... 347
Characteristics .............................. 345
Checking ........................................ 327
Curb weight (definition) ................. 346
Definition of terms ......................... 345 20
Index
Page 28 of 370
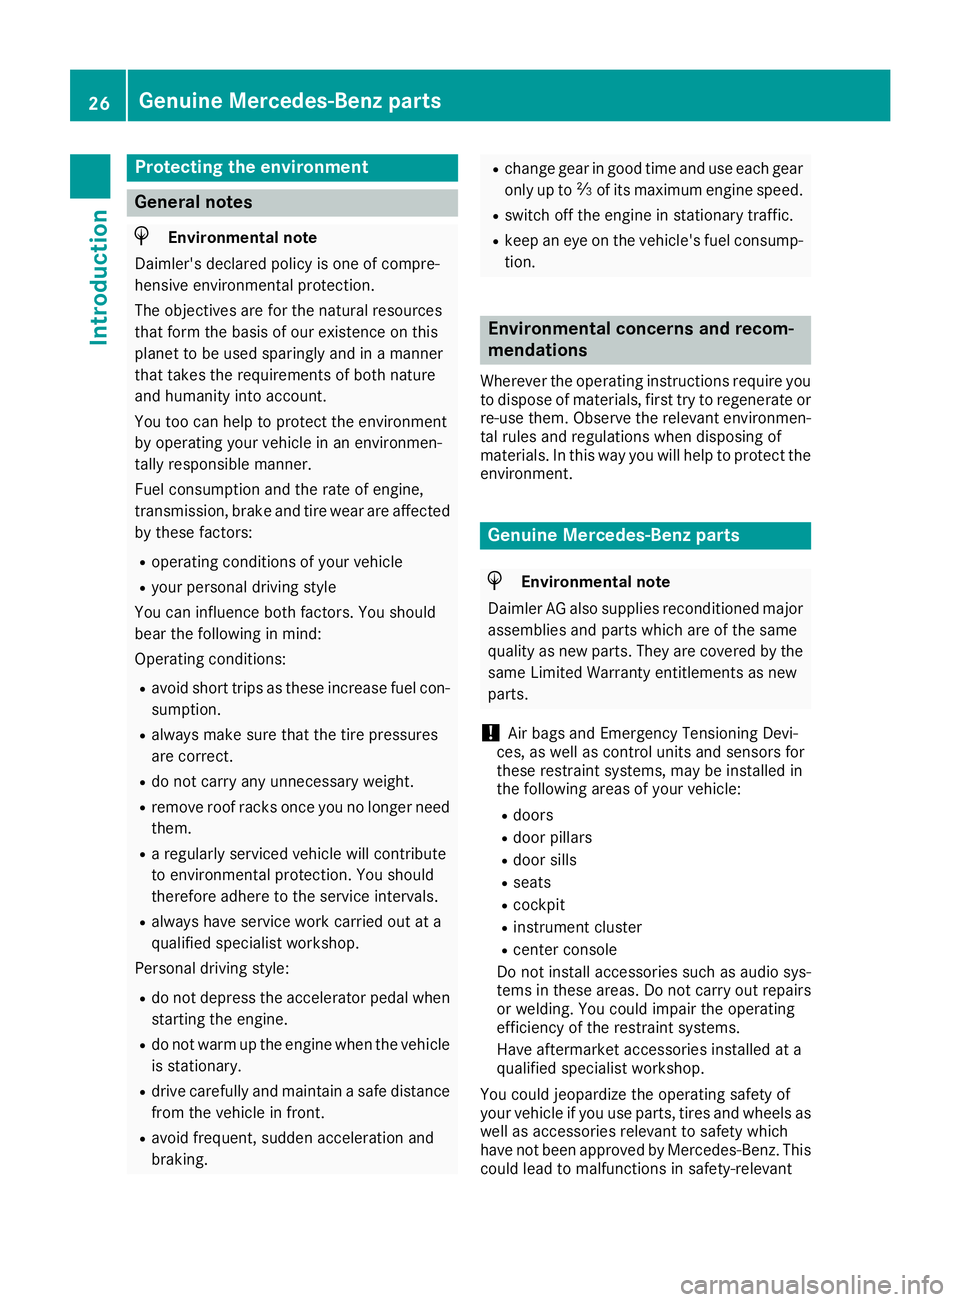
Protecting the environment
General notes
H
Environmental note
Daimler's declared policy is one of compre-
hensive environmental protection.
The objectives are for the natural resources
that form the basis of our existence on this
planet to be used sparingly and in a manner
that takes the requirements of both nature
and humanity into account.
You too can help to protect the environment
by operating your vehicle in an environmen-
tally responsible manner.
Fuel consumption and the rate of engine,
transmission, brake and tire wear are affected by these factors:
R operating conditions of your vehicle
R your personal driving style
You can influence both factors. You should
bear the following in mind:
Operating conditions:
R avoid short trips as these increase fuel con-
sumption.
R always make sure that the tire pressures
are correct.
R do not carry any unnecessary weight.
R remove roof racks once you no longer need
them.
R a regularly serviced vehicle will contribute
to environmental protection. You should
therefore adhere to the service intervals.
R always have service work carried out at a
qualified specialist workshop.
Personal driving style:
R do not depress the accelerator pedal when
starting the engine.
R do not warm up the engine when the vehicle
is stationary.
R drive carefully and maintain a safe distance
from the vehicle in front.
R avoid frequent, sudden acceleration and
braking. R
change gear in good time and use each gear
only up to 00C3of its maximum engine speed.
R switch off the engine in stationary traffic.
R keep an eye on the vehicle's fuel consump-
tion. Environmental concerns and recom-
mendations
Wherever the operating instructions require you to dispose of materials, first try to regenerate orre-use them. Observe the relevant environmen-
tal rules and regulations when disposing of
materials. In this way you will help to protect the environment. Genuine Mercedes-Benz parts
H
Environmental note
Daimler AG also supplies reconditioned major
assemblies and parts which are of the same
quality as new parts. They are covered by the same Limited Warranty entitlements as new
parts.
! Air bags and Emergency Tensioning Devi-
ces, as well as control units and sensors for
these restraint systems, may be installed in
the following areas of your vehicle:
R doors
R door pillars
R door sills
R seats
R cockpit
R instrument cluster
R center console
Do not install accessories such as audio sys-
tems in these areas. Do not carry out repairs or welding. You could impair the operating
efficiency of the restraint systems.
Have aftermarket accessories installed at a
qualified specialist workshop.
You could jeopardize the operating safety of
your vehicle if you use parts, tires and wheels as well as accessories relevant to safety which
have not been approved by Mercedes-Benz. This
could lead to malfunctions in safety-relevant 26
Genuine Mercedes-Benz partsIntroduction
Page 34 of 370
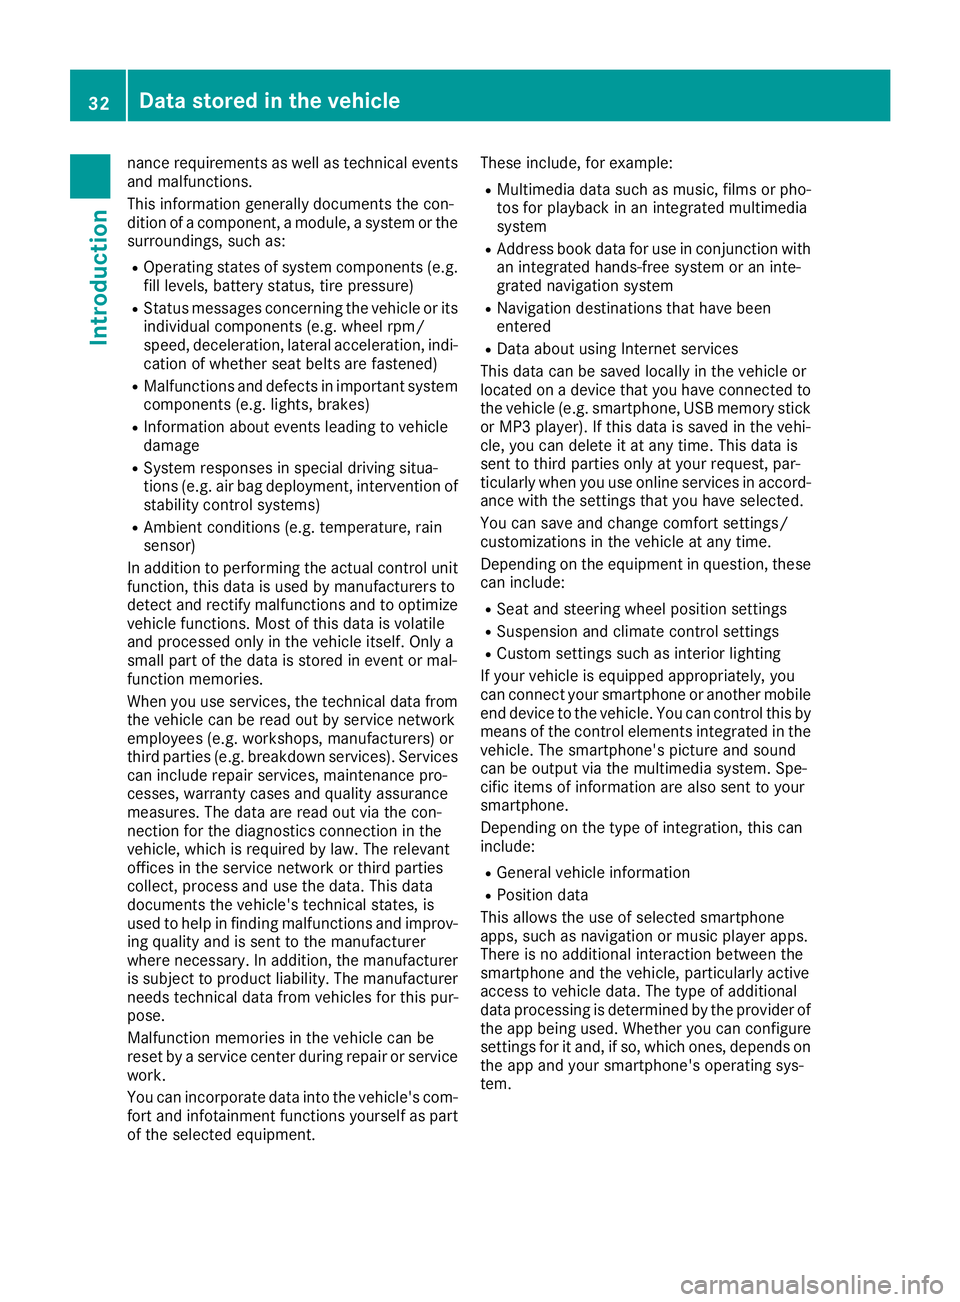
nance requirements as well as technical events
and malfunctions.
This information generally documents the con-
dition of a component, a module, a system or the
surroundings, such as:
R Operating states of system components (e.g.
fill levels, battery status, tire pressure)
R Status messages concerning the vehicle or its
individual components (e.g. wheel rpm/
speed, deceleration, lateral acceleration, indi- cation of whether seat belts are fastened)
R Malfunctions and defects in important system
components (e.g. lights, brakes)
R Information about events leading to vehicle
damage
R System responses in special driving situa-
tions (e.g. air bag deployment, intervention of
stability control systems)
R Ambient conditions (e.g. temperature, rain
sensor)
In addition to performing the actual control unit
function, this data is used by manufacturers to
detect and rectify malfunctions and to optimize vehicle functions. Most of this data is volatile
and processed only in the vehicle itself. Only a
small part of the data is stored in event or mal-
function memories.
When you use services, the technical data from
the vehicle can be read out by service network
employees (e.g. workshops, manufacturers) or
third parties (e.g. breakdown services). Services
can include repair services, maintenance pro-
cesses, warranty cases and quality assurance
measures. The data are read out via the con-
nection for the diagnostics connection in the
vehicle, which is required by law. The relevant
offices in the service network or third parties
collect, process and use the data. This data
documents the vehicle's technical states, is
used to help in finding malfunctions and improv-
ing quality and is sent to the manufacturer
where necessary. In addition, the manufacturer is subject to product liability. The manufacturerneeds technical data from vehicles for this pur-
pose.
Malfunction memories in the vehicle can be
reset by a service center during repair or service
work.
You can incorporate data into the vehicle's com- fort and infotainment functions yourself as part
of the selected equipment. These include, for example:
R Multimedia data such as music, films or pho-
tos for playback in an integrated multimedia
system
R Address book data for use in conjunction with
an integrated hands-free system or an inte-
grated navigation system
R Navigation destinations that have been
entered
R Data about using Internet services
This data can be saved locally in the vehicle or
located on a device that you have connected to
the vehicle (e.g. smartphone, USB memory stick or MP3 player). If this data is saved in the vehi-
cle, you can delete it at any time. This data is
sent to third parties only at your request, par-
ticularly when you use online services in accord- ance with the settings that you have selected.
You can save and change comfort settings/
customizations in the vehicle at any time.
Depending on the equipment in question, these can include:
R Seat and steering wheel position settings
R Suspension and climate control settings
R Custom settings such as interior lighting
If your vehicle is equipped appropriately, you
can connect your smartphone or another mobile end device to the vehicle. You can control this by
means of the control elements integrated in the vehicle. The smartphone's picture and sound
can be output via the multimedia system. Spe-
cific items of information are also sent to your
smartphone.
Depending on the type of integration, this can
include:
R General vehicle information
R Position data
This allows the use of selected smartphone
apps, such as navigation or music player apps.
There is no additional interaction between the
smartphone and the vehicle, particularly active
access to vehicle data. The type of additional
data processing is determined by the provider of the app being used. Whether you can configure
settings for it and, if so, which ones, depends on
the app and your smartphone's operating sys-
tem. 32
Data stored in the vehicleIntroduction
Page 39 of 370
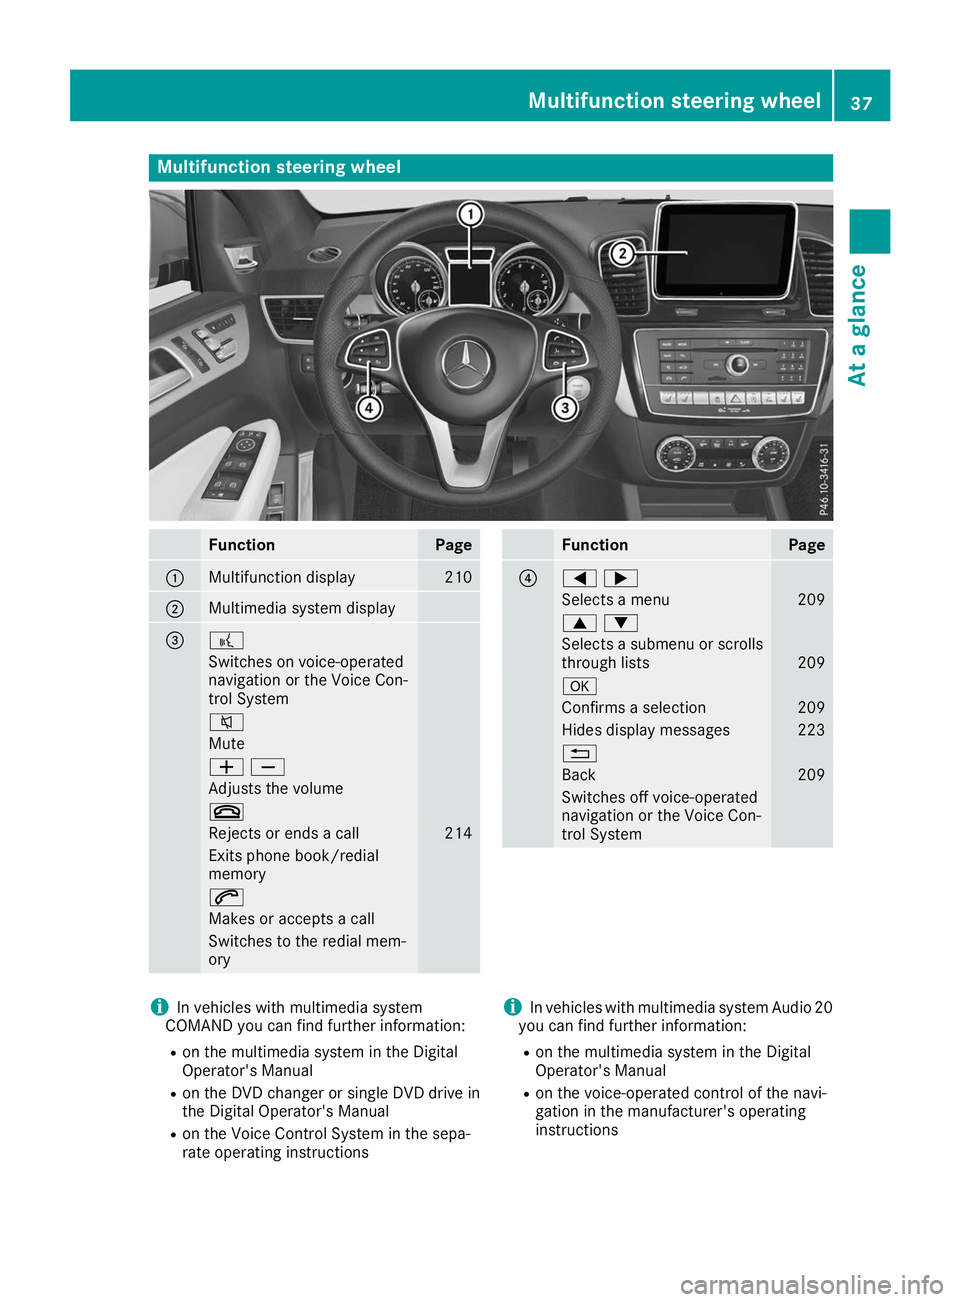
Multifunction steering wheel
Function Page
0043
Multifunction display 210
0044
Multimedia system display
0087 0059
Switches on voice-operated
navigation or the Voice Con-
trol System
0063
Mute
00810082
Adjusts the volume
0076
Rejects or ends a call 214
Exits phone book/redial
memory
0061
Makes or accepts a call
Switches to the redial mem-
ory Function Page
0085
00590065
Selects a menu 209
00630064
Selects a submenu or scrolls
through lists 209
0076
Confirms a selection 209
Hides display messages 223
0038
Back 209
Switches off voice-operated
navigation or the Voice Con-
trol System
i
In vehicles with multimedia system
COMAND you can find further information:
R on the multimedia system in the Digital
Operator's Manual
R on the DVD changer or single DVD drive in
the Digital Operator's Manual
R on the Voice Control System in the sepa-
rate operating instructions i
In vehicles with multimedia system Audio 20
you can find further information:
R on the multimedia system in the Digital
Operator's Manual
R on the voice-operated control of the navi-
gation in the manufacturer's operating
instructions Multifunction steering wheel
37At a glance
Page 101 of 370
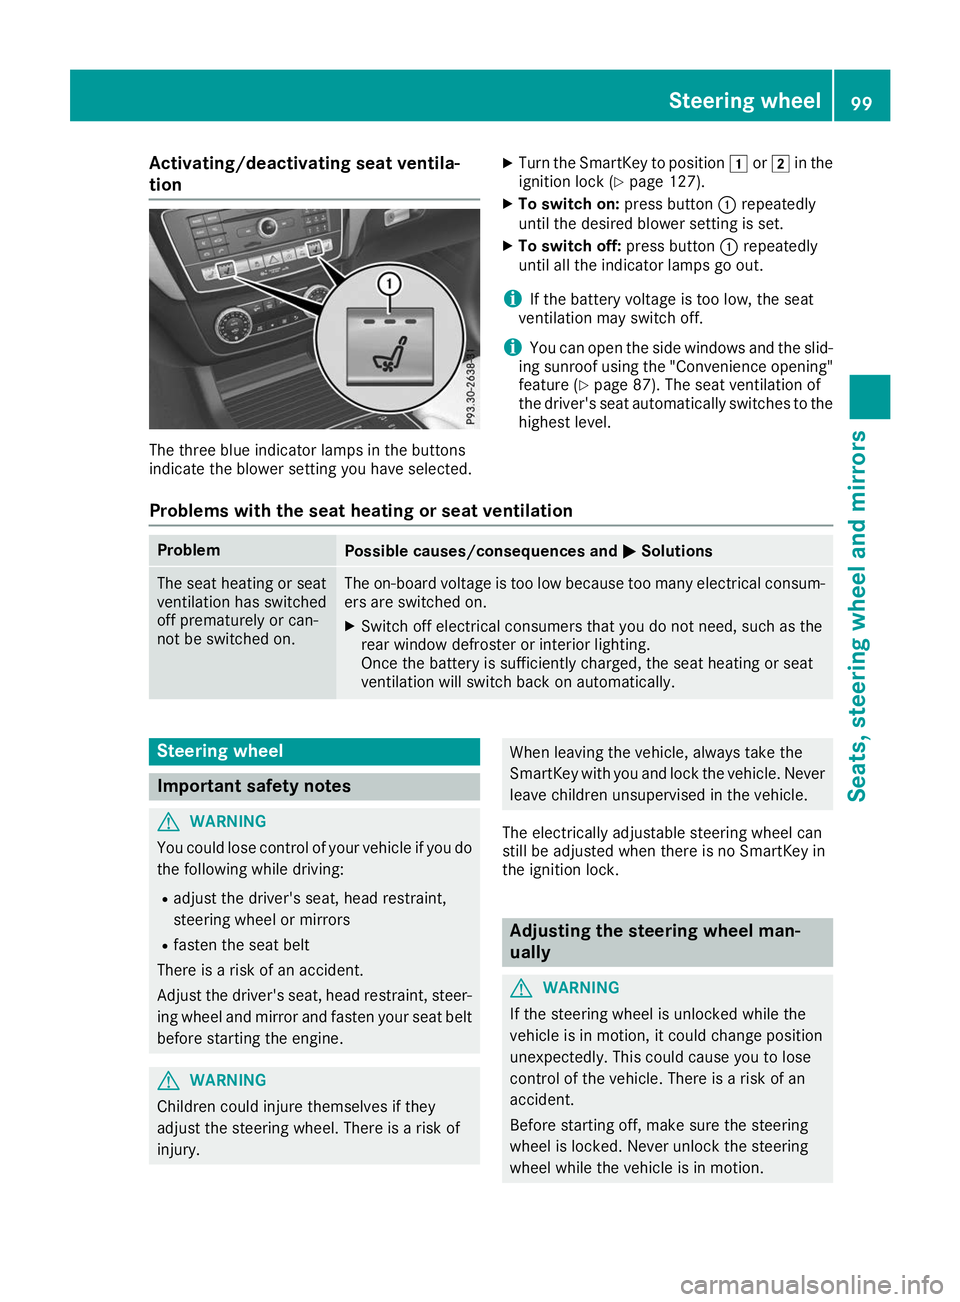
Activating/deactivating seat ventila-
tion The three blue indicator lamps in the buttons
indicate the blower setting you have selected. X
Turn the SmartKey to position 0047or0048 in the
ignition lock (Y page 127).
X To switch on: press button0043repeatedly
until the desired blower setting is set.
X To switch off: press button0043repeatedly
until all the indicator lamps go out.
i If the battery voltage is too low, the seat
ventilation may switch off.
i You can open the side windows and the slid-
ing sunroof using the "Convenience opening" feature (Y page 87). The seat ventilation of
the driver's seat automatically switches to the
highest level.
Problems with the seat heating or seat ventilation Problem
Possible causes/consequences and
0050
0050Solutions The seat heating or seat
ventilation has switched
off prematurely or can-
not be switched on. The on-board voltage is too low because too many electrical consum-
ers are switched on.
X Switch off electrical consumers that you do not need, such as the
rear window defroster or interior lighting.
Once the battery is sufficiently charged, the seat heating or seat
ventilation will switch back on automatically. Steering wheel
Important safety notes
G
WARNING
You could lose control of your vehicle if you do the following while driving:
R adjust the driver's seat, head restraint,
steering wheel or mirrors
R fasten the seat belt
There is a risk of an accident.
Adjust the driver's seat, head restraint, steer-
ing wheel and mirror and fasten your seat belt before starting the engine. G
WARNING
Children could injure themselves if they
adjust the steering wheel. There is a risk of
injury. When leaving the vehicle, always take the
SmartKey with you and lock the vehicle. Never
leave children unsupervised in the vehicle.
The electrically adjustable steering wheel can
still be adjusted when there is no SmartKey in
the ignition lock. Adjusting the steering wheel man-
ually
G
WARNING
If the steering wheel is unlocked while the
vehicle is in motion, it could change position
unexpectedly. This could cause you to lose
control of the vehicle. There is a risk of an
accident.
Before starting off, make sure the steering
wheel is locked. Never unlock the steering
wheel while the vehicle is in motion. Steering wheel
99Seats, steering wheel and mirrors Z
Page 105 of 370
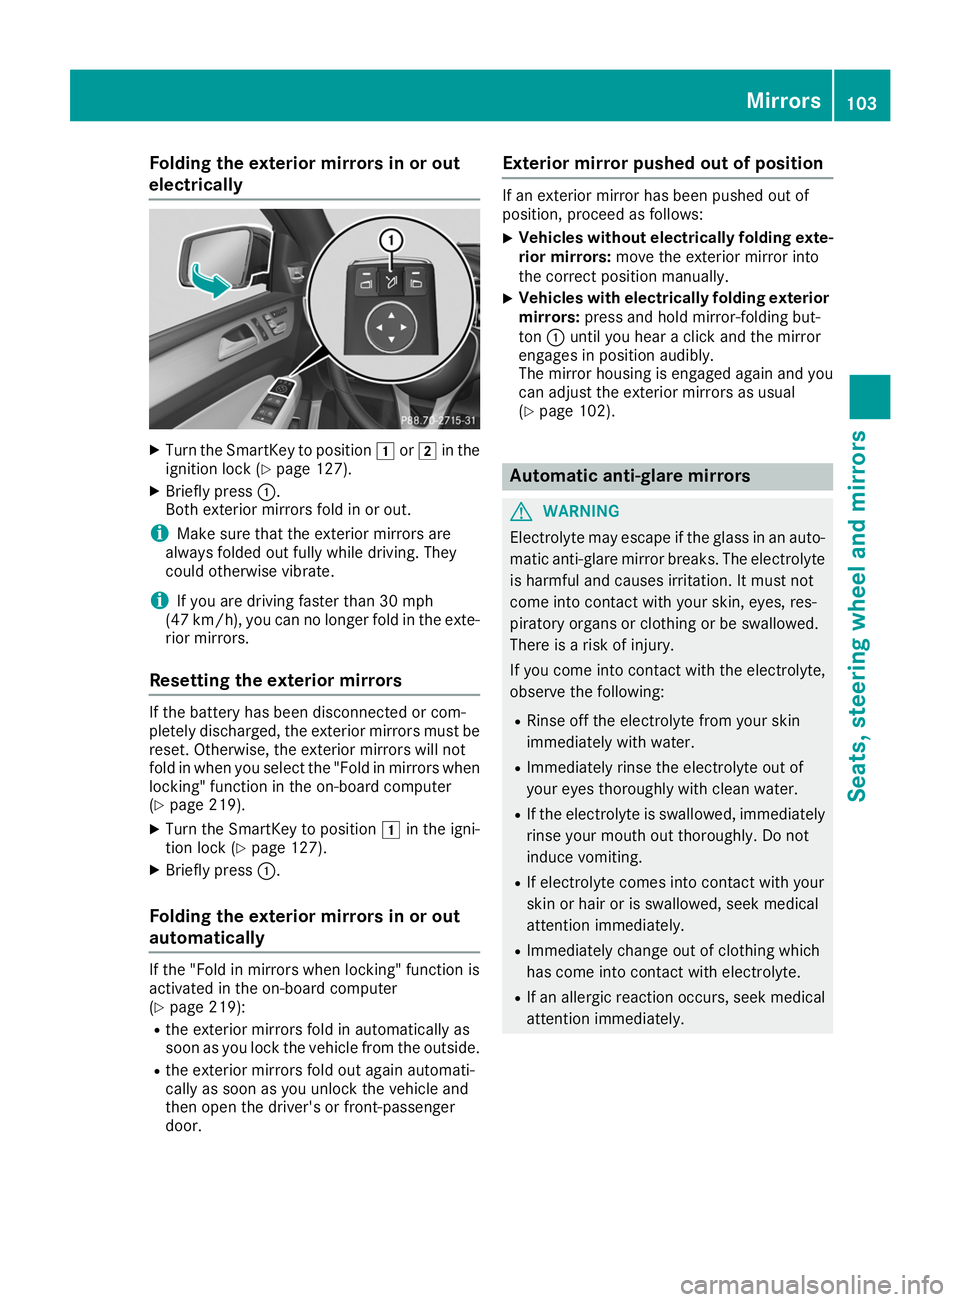
Folding the exterior mirrors in or out
electrically X
Turn the SmartKey to position 0047or0048 in the
ignition lock (Y page 127).
X Briefly press 0043.
Both exterior mirrors fold in or out.
i Make sure that the exterior mirrors are
always folded out fully while driving. They
could otherwise vibrate.
i If you are driving faster than 30 mph
(47 km/h), you can no longer fold in the exte-
rior mirrors.
Resetting the exterior mirrors If the battery has been disconnected or com-
pletely discharged, the exterior mirrors must be reset. Otherwise, the exterior mirrors will not
fold in when you select the "Fold in mirrors whenlocking" function in the on-board computer
(Y page 219).
X Turn the SmartKey to position 0047in the igni-
tion lock (Y page 127).
X Briefly press 0043.
Folding the exterior mirrors in or out
automatically If the "Fold in mirrors when locking" function is
activated in the on-board computer
(Y page 219):
R the exterior mirrors fold in automatically as
soon as you lock the vehicle from the outside.
R the exterior mirrors fold out again automati-
cally as soon as you unlock the vehicle and
then open the driver's or front-passenger
door. Exterior mirror pushed out of position If an exterior mirror has been pushed out of
position, proceed as follows:
X
Vehicles without electrically folding exte-
rior mirrors: move the exterior mirror into
the correct position manually.
X Vehicles with electrically folding exterior
mirrors: press and hold mirror-folding but-
ton 0043until you hear a click and the mirror
engages in position audibly.
The mirror housing is engaged again and you
can adjust the exterior mirrors as usual
(Y page 102). Automatic anti-glare mirrors
G
WARNING
Electrolyte may escape if the glass in an auto- matic anti-glare mirror breaks. The electrolyte
is harmful and causes irritation. It must not
come into contact with your skin, eyes, res-
piratory organs or clothing or be swallowed.
There is a risk of injury.
If you come into contact with the electrolyte,
observe the following:
R Rinse off the electrolyte from your skin
immediately with water.
R Immediately rinse the electrolyte out of
your eyes thoroughly with clean water.
R If the electrolyte is swallowed, immediately
rinse your mouth out thoroughly. Do not
induce vomiting.
R If electrolyte comes into contact with your
skin or hair or is swallowed, seek medical
attention immediately.
R Immediately change out of clothing which
has come into contact with electrolyte.
R If an allergic reaction occurs, seek medical
attention immediately. Mirrors
103Seats, steering wheel and mirrors Z
Page 123 of 370
3-zone automatic climate control
You can select different temperature settings
for the driver's and front-passenger sides as well
as for the rear compartment.
X Turn the SmartKey to position 0048in the igni-
tion lock (Y page 127).
X To increase or decrease temperature in
the front compartment: turn control0043or
0084 counter-clockwise or clockwise
(Y page 117).
Only change the temperature setting in small
increments. Start at 72 ‡ (22 †).
X To increase or reduce the temperature in
the rear compartment using the front con-
trol panel: press the00D6button.
The indicator lamp in the 00D6button goes
out.
The temperature setting for the driver's side
is adopted for the rear compartment and the
front-passenger side.
X Turn thumbwheel 0043to the left or right
(Y page 117).
Only change the temperature setting in small
increments. Start at 72 ‡ (22 †).
X To increase or decrease the rear compart-
ment temperature using the rear control
panel: turn control 0075counter-clockwise or
clockwise on the rear control panel
(Y page 117).
Only change the temperature setting in small
increments. Start at 72 ‡ (22 †). Setting the air distribution
Air distribution settings Front control panel
009C
Directs the airflow through the center
vents
009B Directs air through the footwell air vents
009F Directs the airflow through the center
and footwell vents
0061 Directs air through the defroster vents
0087 Directs the airflow through the defroster
and center vents (Canada only) 0086
Directs air through the defroster and
footwell vents
008F Directs the airflow through the defroster,
center and footwell air vents (Canada
only)
Rear control panel
0099 Directs the airflow through the rear cen-
ter and B-pillar air vents
009B Directs air through the footwell air vents
i Using the rear control panel, you can also
activate both air distribution positions simul-
taneously. In order to do this, press both air
distribution buttons. The air is then routed
through all rear air vents.
i Regardless of the air distribution setting,
airflow is always directed through the side air vents. The side air vents can only be closed
when the controls on the side air vents are
turned downwards.
Setting X
Turn the SmartKey to position 0048in the igni-
tion lock (Y page 127).
X Press the 008Fbutton repeatedly until the
desired symbol appears in the display. Setting the airflow
X Turn the SmartKey to position 0048in the igni-
tion lock (Y page 127).
X To increase: press the0097button.
X To reduce: press the0095button.
i You can use 3-zone automatic climate con-
trol to set the airflow in the rear compartment
separately. Switching the ZONE function on/off
X To activate: press the00D6button.
The indicator lamp above the 00D6button
lights up.
Dual-zone automatic climate control: the tem-
perature setting for the driver's side is not
adopted for the front-passenger side.
3-zone automatic climate control: the tem-
perature setting for the driver's side is not Operating the climate control systems
121Climate control
Page 139 of 370
Transmission positions
0045 Park position
Only shift the transmission into posi-
tion 005D(Ypage 144) when the vehi-
cle is stationary. The parking lock
should not be used as a brake when
parking. Always apply the electronic
parking brake in addition to the park-
ing lock in order to secure the vehi-
cle.
In the event of a malfunction of the
vehicle's electronics, the transmis-
sion may lock in position 005D. Have
the vehicle electronics checked
immediately at a qualified specialist
workshop.
Park position 005Dis automatically
engaged if:
R you switch off the engine using the
SmartKey and remove the Smart-
Key
R you switch off the engine using the
SmartKey or using the Start/Stop
button and open the driver's door
or front-passenger door
R you open the driver's door when
the vehicle is stationary or when
driving at a very low speed and the
transmission is in position 005Bor
005E 0046 Reverse gear
Shift the transmission into position
005E
only when the vehicle is station-
ary. 0044 Neutral
Do not shift the transmission to
005C
while driving. The automatic trans-
mission could otherwise be dam-
aged.
No power is transmitted from the
engine to the drive wheels.
Releasing the brakes will allow you to
move the vehicle freely, e.g. to push
it or tow it.
If ESP ®
is deactivated or faulty: shift
the transmission to position 005Cif the
vehicle is in danger of skidding, e.g.
on icy roads.
If you switch the engine off with the
transmission in position 005Eor005B,
the automatic transmission will shift
to 005C automatically.
! Coasting in neutral
005Cmay
cause damage to the drive train. 003A Drive
The automatic transmission changes
gear automatically. All forward gears
are available. Driving tips
Changing gear The automatic transmission shifts through the
individual gears automatically when it is in trans-
mission position 005B. This automatic gear shift-
ing behavior is determined by:
R the selected drive program
R the position of the accelerator pedal
R the road speed
Accelerator pedal position Your style of driving influences how the auto-
matic transmission shifts gear:
R little throttle: early upshifts
R more throttle: late upshifts Automatic transmission
137Driving and parking Z
Page 141 of 370
Individual drive program
In the
Individual drive program, the following
properties of the drive program can be selected:
R the drive (engine and transmission manage-
ment)
R the transmission
R the suspension (vehicles with AIRMATIC)
R all vehicles (except Mercedes-AMG vehicles):
the steering
To select the gears in the Individualdrive pro-
gram permanently using the steering wheel pad-
dle shifters, select the permanent manual gear- shift program.
Information about configuring the Individual
drive program with the multimedia system can
be found in the Digital Operator's Manual. Manual gearshifting
General notes You can change gear yourself using the steering
wheel paddle shifters. The transmission must be
in position 005Bto do this.
Depending on which steering wheel paddle
shifter is pulled, the automatic transmission
immediately shifts into the next gear down or
up, if permitted.
To use manual shifting, you have two options:
R temporary setting
R permanent setting
If you activate manual gearshifting, the current
gear appears in the multifunction display
instead of transmission position 005B.
If manual gearshifting is deactivated, the gears
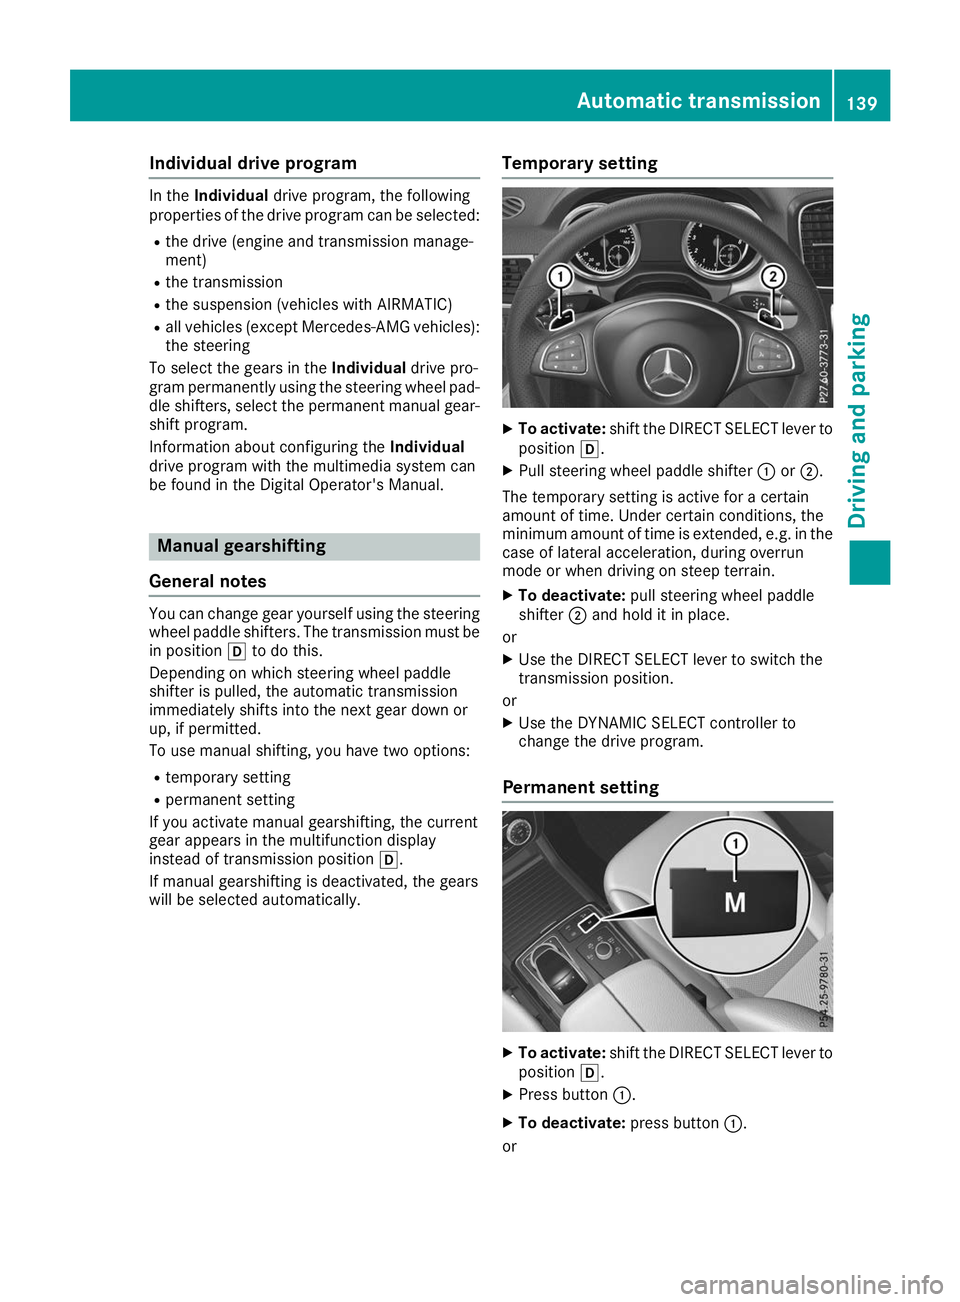
will be selected automatically. Temporary setting X
To activate: shift the DIRECT SELECT lever to
position 005B.
X Pull steering wheel paddle shifter 0043or0044.
The temporary setting is active for a certain
amount of time. Under certain conditions, the
minimum amount of time is extended, e.g. in the
case of lateral acceleration, during overrun
mode or when driving on steep terrain.
X To deactivate: pull steering wheel paddle
shifter 0044and hold it in place.
or
X Use the DIRECT SELECT lever to switch the
transmission position.
or X Use the DYNAMIC SELECT controller to
change the drive program.
Permanent setting X
To activate: shift the DIRECT SELECT lever to
position 005B.
X Press button 0043.
X To deactivate: press button0043.
or Automatic transmission
139Driving and parking Z
Page 142 of 370
X
All vehicles (except Mercedes-AMG vehicles):
use the DYNAMIC SELECT controller to
change the drive program.
X Mercedes-AMG vehicles: use the DYNAMIC
SELECT controller to switch to the Individual
drive program.
Shifting gears !
Mercedes-AMG vehicles:
the automatic
transmission does not shift up automatically
even when the engine limiting speed for the
current gear is reached. When the engine lim- iting speed is reached, the fuel supply is cut to
prevent the engine from overrevving. Always
make sure that the engine speed does not
reach the red area of the tachometer. There is
otherwise a risk of engine damage. X
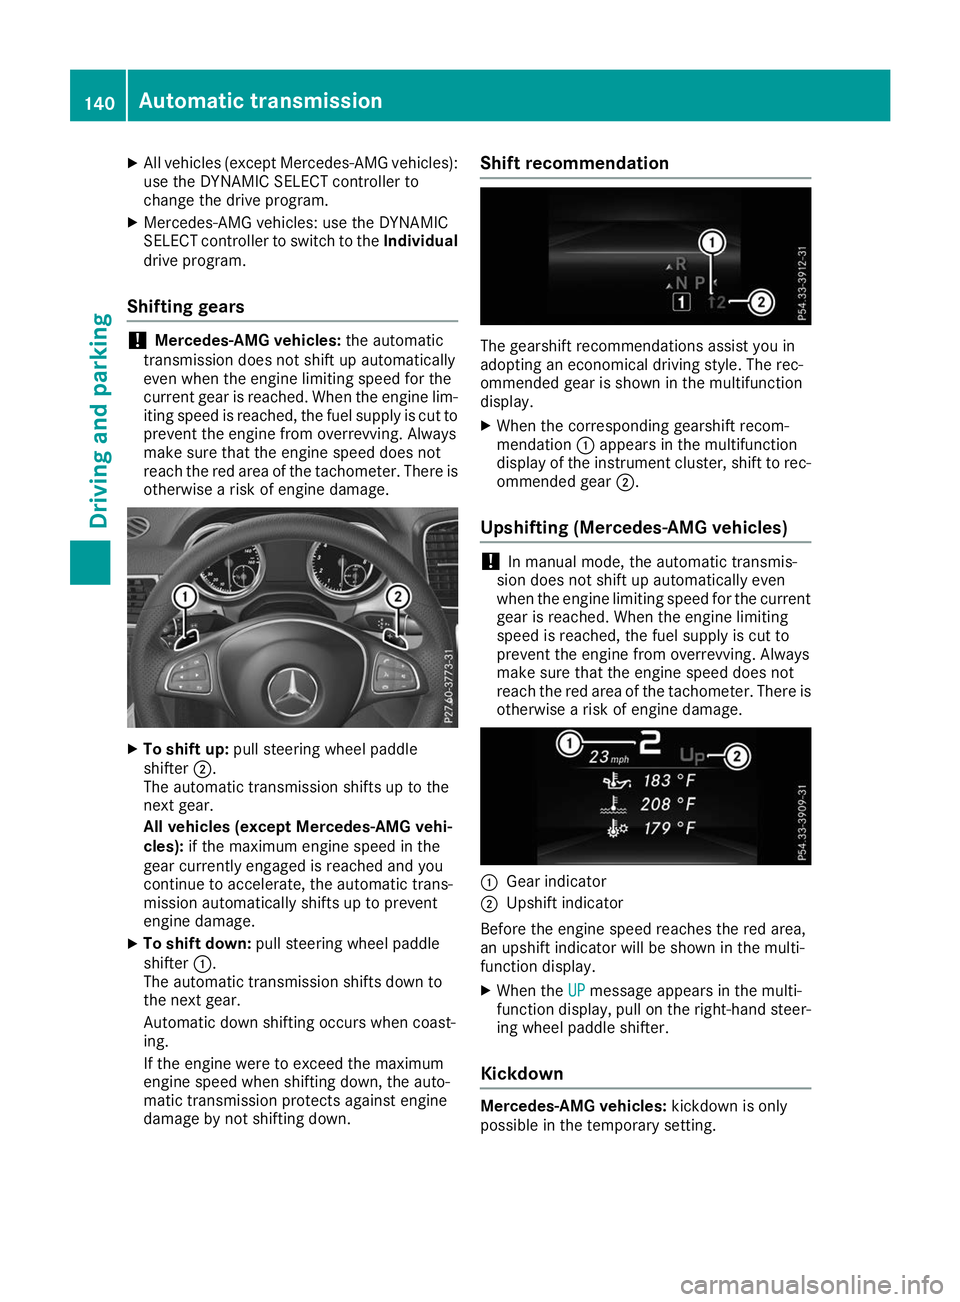
To shift up: pull steering wheel paddle
shifter 0044.
The automatic transmission shifts up to the
next gear.
All vehicles (except Mercedes-AMG vehi-
cles): if the maximum engine speed in the
gear currently engaged is reached and you
continue to accelerate, the automatic trans-
mission automatically shifts up to prevent
engine damage.
X To shift down: pull steering wheel paddle
shifter 0043.
The automatic transmission shifts down to
the next gear.
Automatic down shifting occurs when coast-
ing.
If the engine were to exceed the maximum
engine speed when shifting down, the auto-
matic transmission protects against engine
damage by not shifting down. Shift recommendation
The gearshift recommendations assist you in
adopting an economical driving style. The rec-
ommended gear is shown in the multifunction
display.
X When the corresponding gearshift recom-
mendation 0043appears in the multifunction
display of the instrument cluster, shift to rec-
ommended gear 0044.
Upshifting (Mercedes-AMG vehicles) !
In manual mode, the automatic transmis-
sion does not shift up automatically even
when the engine limiting speed for the current
gear is reached. When the engine limiting
speed is reached, the fuel supply is cut to
prevent the engine from overrevving. Always
make sure that the engine speed does not
reach the red area of the tachometer. There is
otherwise a risk of engine damage. 0043
Gear indicator
0044 Upshift indicator
Before the engine speed reaches the red area,
an upshift indicator will be shown in the multi-
function display. X When the UP
UP message appears in the multi-
function display, pull on the right-hand steer- ing wheel paddle shifter.
Kickdown Mercedes-AMG vehicles:
kickdown is only
possible in the temporary setting. 140
Automatic transmissionDriving an
d parking