fuse MERCEDES-BENZ GLK-Class 2015 X204 Owner's Manual
[x] Cancel search | Manufacturer: MERCEDES-BENZ, Model Year: 2015, Model line: GLK-Class, Model: MERCEDES-BENZ GLK-Class 2015 X204Pages: 386, PDF Size: 7.16 MB
Page 13 of 386
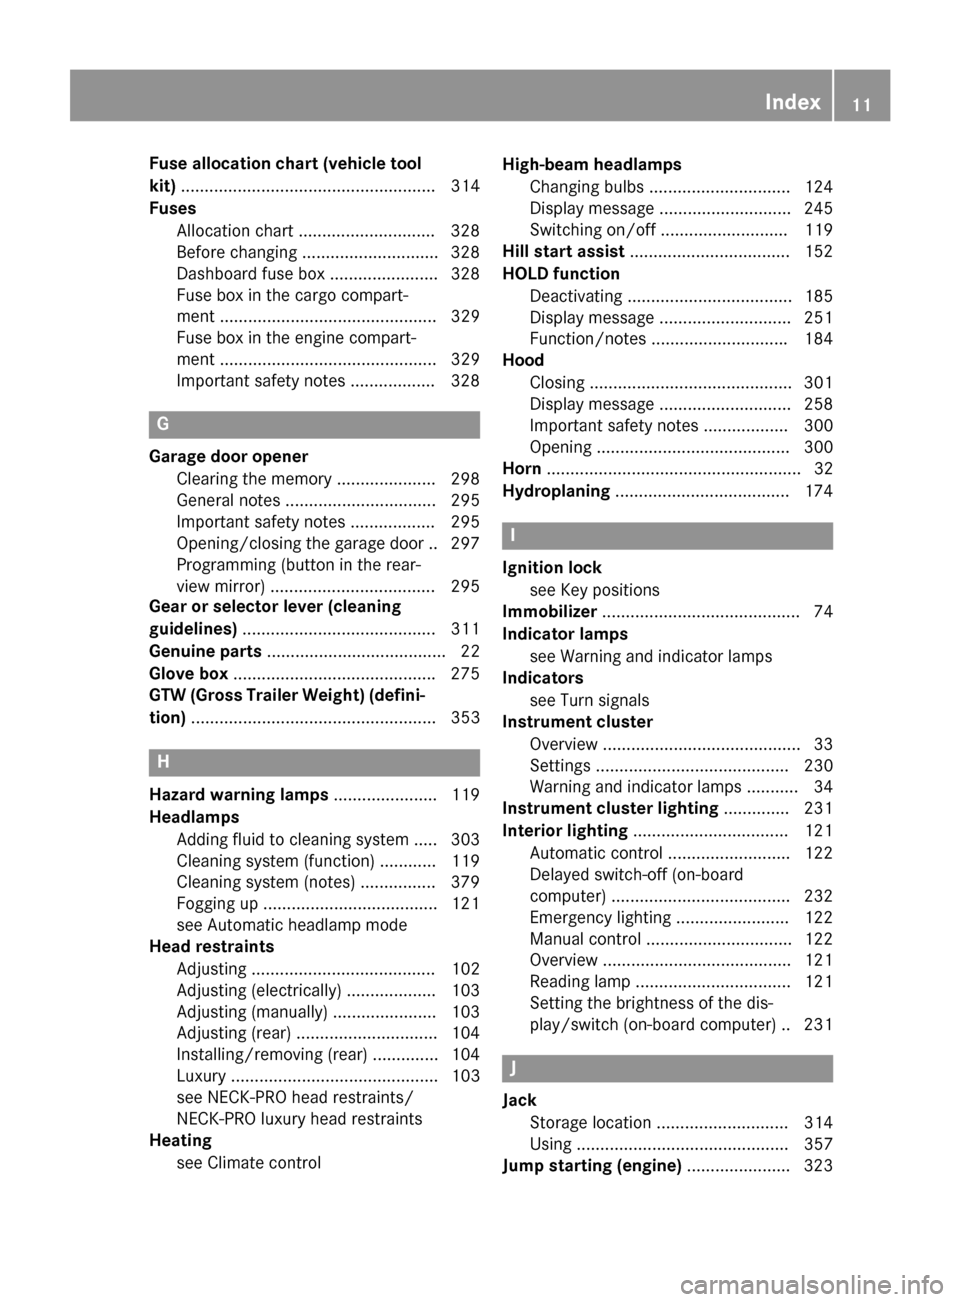
Fuse allocation chart (vehicle tool
kit)
...................................................... 314
Fuses Allocation chart ............................ .328
Before changing ............................ .328
Dashboard fuse box ....................... 328
Fuse box in the cargo compart-
ment .............................................. 329
Fuse box in the engine compart-
ment .............................................. 329
Important safety notes .................. 328 G
Garage door opener Clearing the memory ..................... 298
General notes ................................ 295
Important safety notes .................. 295
Opening/closing the garage door .. 297
Programming (button in the rear-
view mirror) ................................... 295
Gear or selector lever (cleaning
guidelines) ......................................... 311
Genuine parts ...................................... 22
Glove box .......................................... .275
GTW (Gross Trailer Weight) (defini-
tion) .................................................... 353 H
Hazard warning lamps ......................119
Headlamps Adding fluid to cleaning system ..... 303
Cleaning system (function) ............ 119
Cleaning system (notes) ................ 379
Fogging up ..................................... 121
see Automatic headlamp mode
Head restraints
Adjusting ....................................... 102
Adjusting (electrically) ................... 103
Adjusting (manually) ..................... .103
Adjusting (rear) .............................. 104
Installing/removing (rear) .............. 104
Luxury ............................................ 103
see NECK-PRO head restraints/
NECK-PRO luxury head restraints
Heating
see Climate control High-beam headlamps
Changing bulbs .............................. 124
Display message ............................ 245
Switching on/off ........................... 119
Hill start assist .................................. 152
HOLD function Deactivating ................................... 185
Display message ............................ 251
Function/notes ............................ .184
Hood
Closing .......................................... .301
Display message ............................ 258
Important safety notes .................. 300
Opening ......................................... 300
Horn ...................................................... 32
Hydroplaning ..................................... 174 I
Ignition lock see Key positions
Immobilizer .......................................... 74
Indicator lamps see Warning and indicator lamps
Indicators
see Turn signals
Instrument cluster
Overview .......................................... 33
Settings ......................................... 230
Warning and indicator lamps ........... 34
Instrument cluster lighting .............. 231
Interior lighting ................................. 121
Automatic control .......................... 122
Delayed switch-off (on-board
computer) ...................................... 232
Emergency lighting ........................ 122
Manual control ............................... 122
Overview ........................................ 121
Reading lamp ................................. 121
Setting the brightness of the dis-
play/switch (on-board computer) .. 231 J
Jack Storage location ............................ 314
Using ............................................. 357
Jump starting (engine) ......................323 Index
11
Page 76 of 386
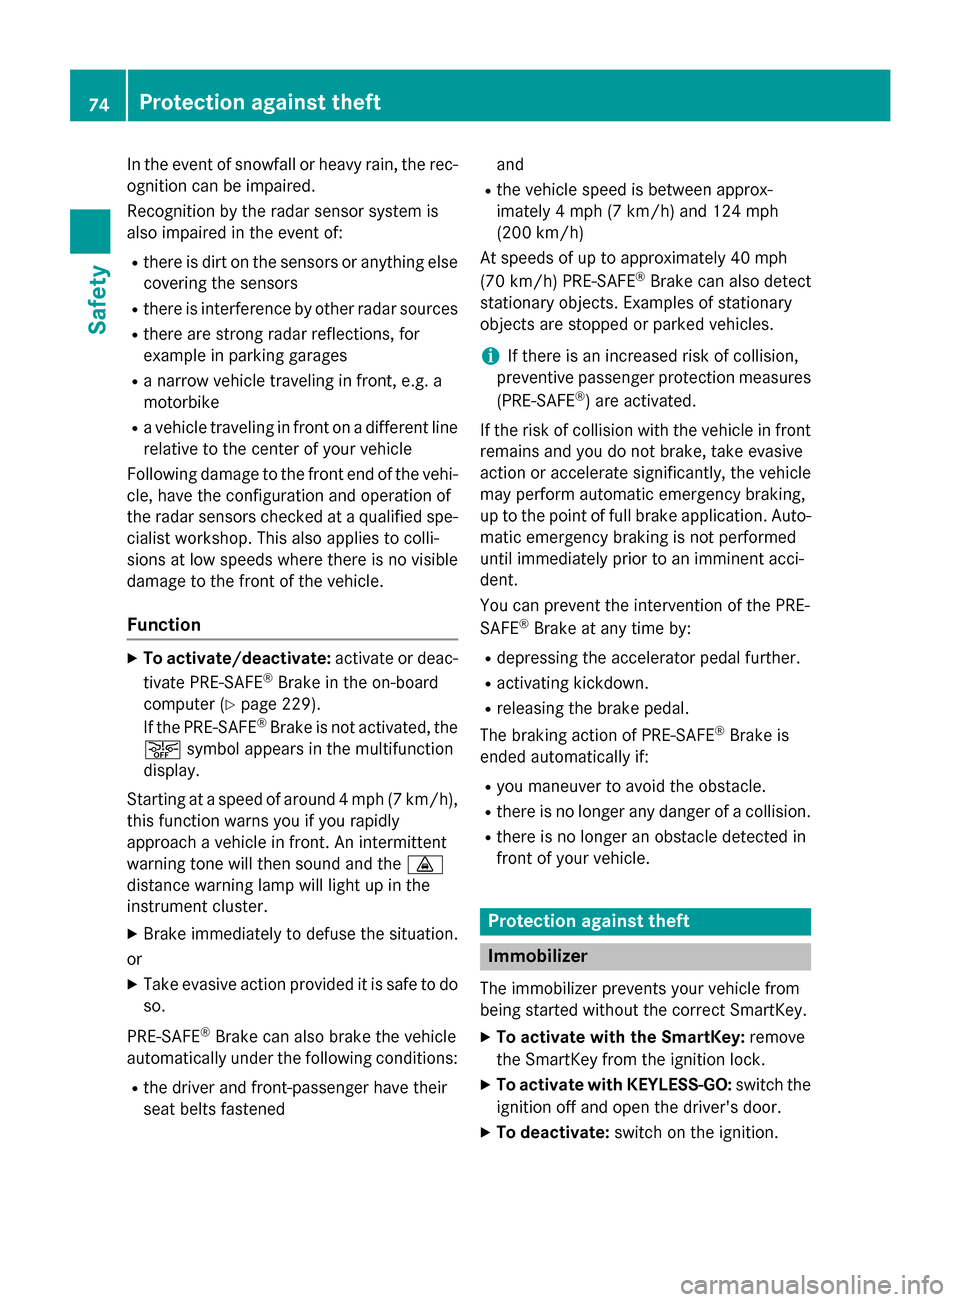
In the event of snowfall or heavy rain, the rec-
ognition can be impaired.
Recognition by the radar sensor system is
also impaired in the event of:
R there is dirt on the sensors or anything else
covering the sensors
R there is interference by other radar sources
R there are strong radar reflections, for
example in parking garages
R a narrow vehicle traveling in front, e.g. a
motorbike
R a vehicle traveling in front on a different line
relative to the center of your vehicle
Following damage to the front end of the vehi-
cle, have the configuration and operation of
the radar sensors checked at a qualified spe-
cialist workshop. This also applies to colli-
sions at low speeds where there is no visible
damage to the front of the vehicle.
Function X
To activate/deactivate: activate or deac-
tivate PRE-SAFE ®
Brake in the on-board
computer (Y page 229).
If the PRE-SAFE ®
Brake is not activated, the
00D4 symbol appears in the multifunction
display.
Starting at a speed of around 4 mph (7 km/h),
this function warns you if you rapidly
approach a vehicle in front. An intermittent
warning tone will then sound and the 00BA
distance warning lamp will light up in the
instrument cluster.
X Brake immediately to defuse the situation.
or
X Take evasive action provided it is safe to do
so.
PRE-SAFE ®
Brake can also brake the vehicle
automatically under the following conditions:
R the driver and front-passenger have their
seat belts fastened and
R the vehicle speed is between approx-
imately 4 mph (7 km/h) and 124 mph
(200 km/h)
At speeds of up to approximately 40 mph
(70 km/h) PRE-SAFE ®
Brake can also detect
stationary objects. Examples of stationary
objects are stopped or parked vehicles.
i If there is an increased risk of collision,
preventive passenger protection measures
(PRE-SAFE ®
) are activated.
If the risk of collision with the vehicle in front
remains and you do not brake, take evasive
action or accelerate significantly, the vehicle
may perform automatic emergency braking,
up to the point of full brake application. Auto- matic emergency braking is not performed
until immediately prior to an imminent acci-
dent.
You can prevent the intervention of the PRE-
SAFE ®
Brake at any time by:
R depressing the accelerator pedal further.
R activating kickdown.
R releasing the brake pedal.
The braking action of PRE-SAFE ®
Brake is
ended automatically if:
R you maneuver to avoid the obstacle.
R there is no longer any danger of a collision.
R there is no longer an obstacle detected in
front of your vehicle. Protection against theft
Immobilizer
The immobilizer prevents your vehicle from
being started without the correct SmartKey. X To activate with the SmartKey: remove
the SmartKey from the ignition lock.
X To activate with KEYLESS-GO: switch the
ignition off and open the driver's door.
X To deactivate: switch on the ignition.74
Protection against theftSafety
Page 139 of 386
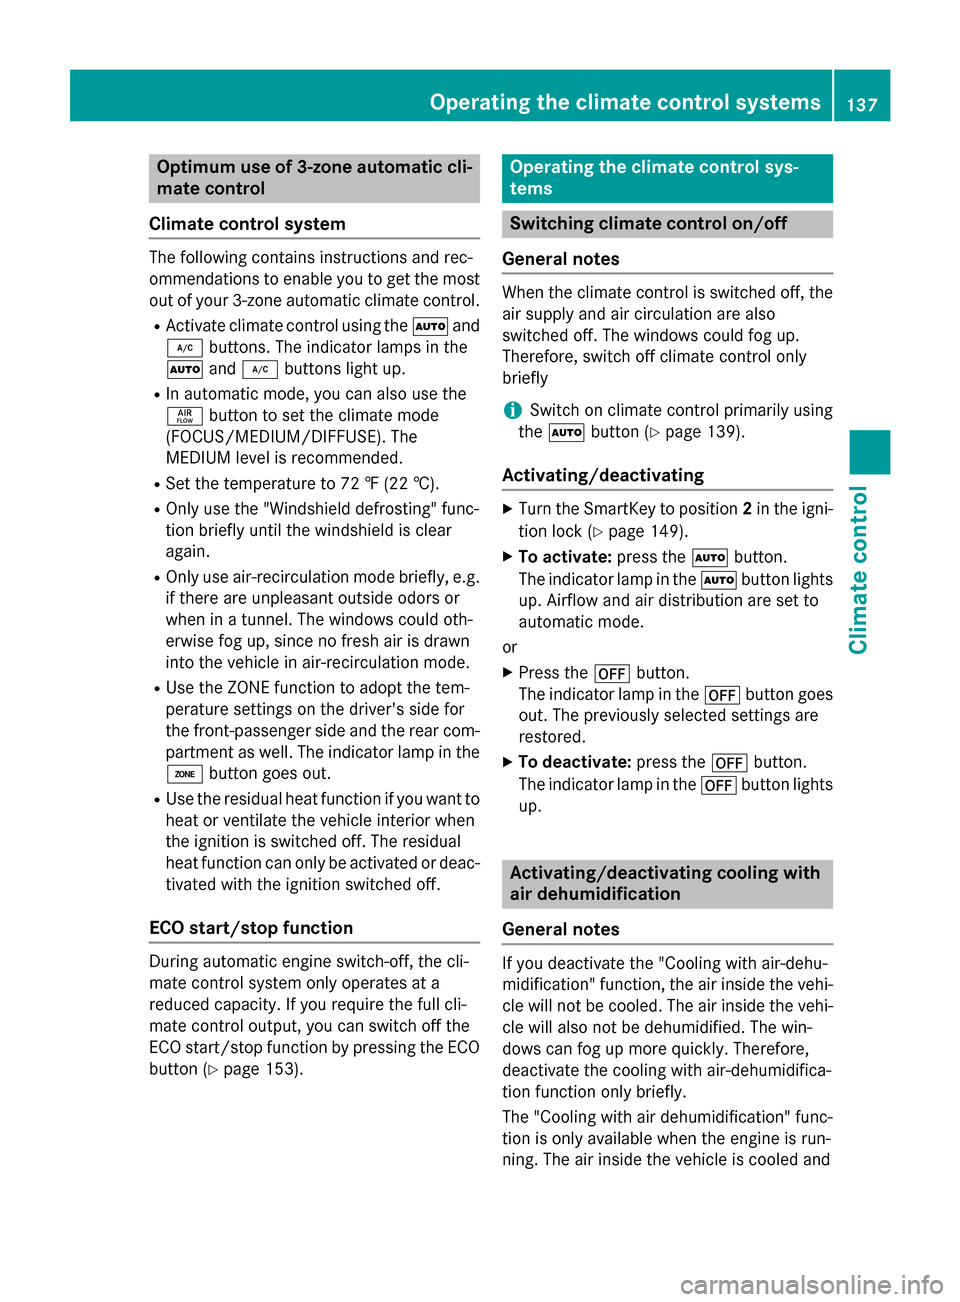
Optimum use of 3-zone automatic cli-
mate control
Climate control system The following contains instructions and rec-
ommendations to enable you to get the most
out of your 3-zone automatic climate control.
R Activate climate control using the 0058and
005A buttons. The indicator lamps in the
0058 and005A buttons light up.
R In automatic mode, you can also use the
00F0 button to set the climate mode
(FOCUS/MEDIUM/DIFFUSE). The
MEDIUM level is recommended.
R Set the temperature to 72 ‡ (22 †).
R Only use the "Windshield defrosting" func-
tion briefly until the windshield is clear
again.
R Only use air-recirculation mode briefly, e.g.
if there are unpleasant outside odors or
when in a tunnel. The windows could oth-
erwise fog up, since no fresh air is drawn
into the vehicle in air-recirculation mode.
R Use the ZONE function to adopt the tem-
perature settings on the driver's side for
the front-passenger side and the rear com- partment as well. The indicator lamp in the
00D6 button goes out.
R Use the residual heat function if you want to
heat or ventilate the vehicle interior when
the ignition is switched off. The residual
heat function can only be activated or deac- tivated with the ignition switched off.
ECO start/stop function During automatic engine switch-off, the cli-
mate control system only operates at a
reduced capacity. If you require the full cli-
mate control output, you can switch off the
ECO start/stop function by pressing the ECO
button (Y page 153). Operating the climate control sys-
tems
Switching climate control on/off
General notes When the climate control is switched off, the
air supply and air circulation are also
switched off. The windows could fog up.
Therefore, switch off climate control only
briefly
i Switch on climate control primarily using
the 0058 button (Y page 139).
Activating/deactivating X
Turn the SmartKey to position 2in the igni-
tion lock (Y page 149).
X To activate: press the0058button.
The indicator lamp in the 0058button lights
up. Airflow and air distribution are set to
automatic mode.
or
X Press the 0078button.
The indicator lamp in the 0078button goes
out. The previously selected settings are
restored.
X To deactivate: press the0078button.
The indicator lamp in the 0078button lights
up. Activating/deactivating cooling with
air dehumidification
General notes If you deactivate the "Cooling with air-dehu-
midification" function, the air inside the vehi-
cle will not be cooled. The air inside the vehi-
cle will also not be dehumidified. The win-
dows can fog up more quickly. Therefore,
deactivate the cooling with air-dehumidifica-
tion function only briefly.
The "Cooling with air dehumidification" func-
tion is only available when the engine is run-
ning. The air inside the vehicle is cooled and Operating the climate control systems
137Climate control
Page 141 of 386
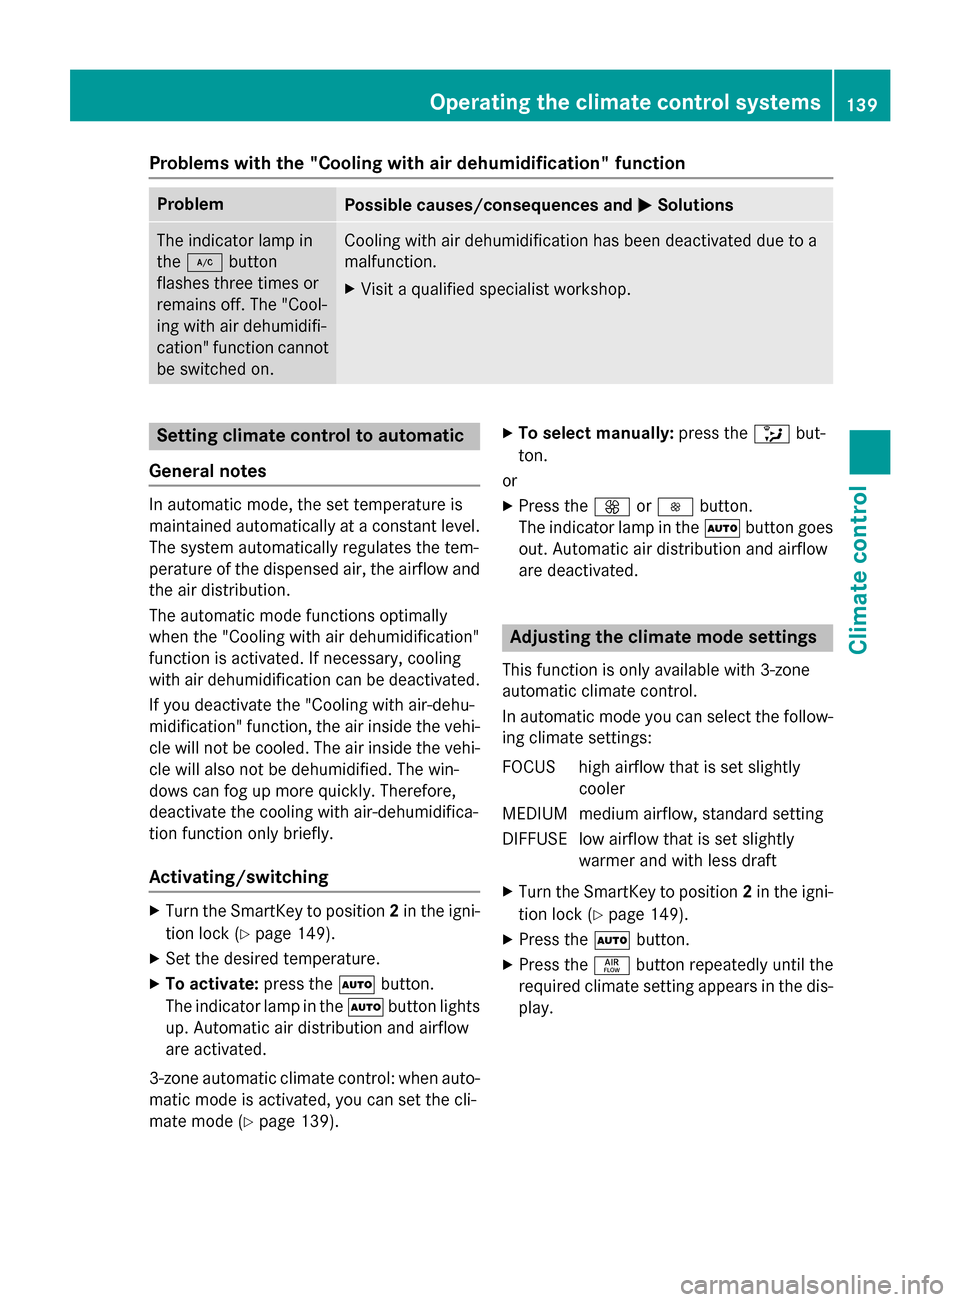
Problems with the "Cooling with air dehumidification" function
Problem
Possible causes/consequences and
0050
0050Solutions The indicator lamp in
the
005A button
flashes three times or
remains off. The "Cool-
ing with air dehumidifi-
cation" function cannot
be switched on. Cooling with air dehumidification has been deactivated due to a
malfunction.
X Visit a qualified specialist workshop. Setting climate control to automatic
General notes In automatic mode, the set temperature is
maintained automatically at a constant level. The system automatically regulates the tem-
perature of the dispensed air, the airflow and
the air distribution.
The automatic mode functions optimally
when the "Cooling with air dehumidification"
function is activated. If necessary, cooling
with air dehumidification can be deactivated.
If you deactivate the "Cooling with air-dehu-
midification" function, the air inside the vehi-
cle will not be cooled. The air inside the vehi- cle will also not be dehumidified. The win-
dows can fog up more quickly. Therefore,
deactivate the cooling with air-dehumidifica-
tion function only briefly.
Activating/switching X
Turn the SmartKey to position 2in the igni-
tion lock (Y page 149).
X Set the desired temperature.
X To activate: press the0058button.
The indicator lamp in the 0058button lights
up. Automatic air distribution and airflow
are activated.
3-zone automatic climate control: when auto- matic mode is activated, you can set the cli-
mate mode (Y page 139). X
To select manually: press the008Fbut-
ton.
or
X Press the 0097or0095 button.
The indicator lamp in the 0058button goes
out. Automatic air distribution and airflow
are deactivated. Adjusting the climate mode settings
This function is only available with 3-zone
automatic climate control.
In automatic mode you can select the follow-
ing climate settings:
FOCUS high airflow that is set slightly cooler
MEDIUM medium airflow, standard setting
DIFFUSE low airflow that is set slightly warmer and with less draft
X Turn the SmartKey to position 2in the igni-
tion lock (Y page 149).
X Press the 0058button.
X Press the 00F0button repeatedly until the
required climate setting appears in the dis-
play. Operating the climate control systems
139Climate control
Page 182 of 386
Stopping
G
WARNING
When leaving the vehicle, even if it is braked
only by DISTRONIC PLUS, it could roll away if:
R there is a malfunction in the system or in
the voltage supply.
R DISTRONIC PLUS has been deactivated
with the cruise control lever, e.g. by a vehi-
cle occupant or from outside the vehicle.
R the electrical system in the engine com-
partment, the battery or the fuses have
been tampered with.
R the battery is disconnected.
R the accelerator pedal has been depressed,
e.g. by a vehicle occupant.
There is a risk of an accident.
If you wish to exit the vehicle, always turn off
DISTRONIC PLUS and secure the vehicle
against rolling away.
Deactivating DISTRONIC PLUS (Y page 182).
If DISTRONIC PLUS detects that the vehicle in front is stopping, it brakes your vehicle until it
is stationary.
Once your vehicle is stationary, it remains
stationary and you do not need to depress the
brake.
i Depending on the specified minimum dis-
tance, your vehicle will come to a standstill
at a sufficient distance behind the vehicle in
front. The specified minimum distance is
set using the control on the cruise control
lever.
When DISTRONIC PLUS is activated, the
transmission is shifted automatically to posi- tion Pif:
R the driver's door is open and the driver's
seat belt is unfastened.
R the engine is switched off, unless it is auto-
matically switched off by the ECO start/
stop function.
R the hood is opened.
R a system malfunction occurs.
R the power supply is not sufficient. Setting a speed X
Press the cruise control lever up 0043for a
higher speed or down 0044for a lower speed.
X To adjust the set speed in 1 mph incre-
ments (1 km/h increments): briefly
press the cruise control lever up 0043or
down 0044to the pressure point.
Every time the cruise control lever is
pressed up 0043or down 0044the last speed
stored is increased or reduced.
X To adjust the set speed in 5 mph incre-
ments (10 km/h increments): briefly
press the cruise control lever up 0043or
down 0044beyond the pressure point.
Every time the cruise control lever is
pressed up 0043or down 0044, the last speed
stored is increased or reduced.
i DISTRONIC PLUS is not deactivated if you
depress the accelerator pedal. If you accel-
erate to overtake, DISTRONIC PLUS
adjusts the vehicle's speed to the last
speed stored after you have finished over-
taking.
Storing the current speed or calling up a
stored speed X
Briefly pull the cruise control lever towards
you 0085.
X Remove your foot from the accelerator
pedal.
DISTRONIC PLUS is activated. The first
time it is activated, the current speed is
stored. Otherwise, it sets the vehicle cruise
speed to the previously stored value.
Setting the specified minimum distance You can set the specified minimum distance
for DISTRONIC PLUS by varying the time span between one and two seconds. With this func-
tion, you can set the minimum distance that
DISTRONIC PLUS keeps to the vehicle in
front, dependent on vehicle speed. You can
see this distance in the multifunction display
(Y page 181). 180
Driving systemsDriving and parking
Page 186 of 386
Crossing vehicles
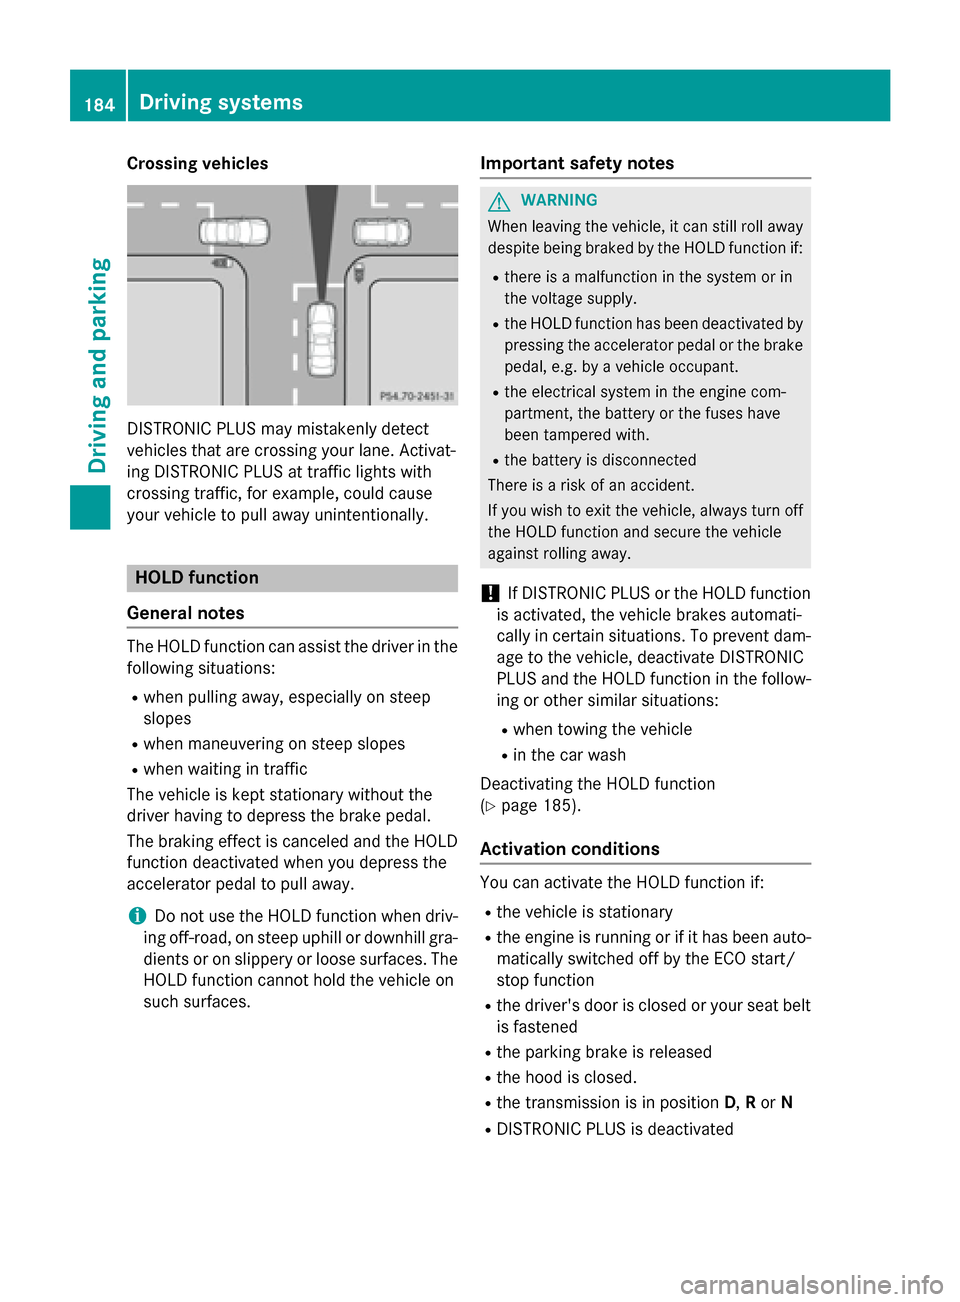
DISTRONIC PLUS may mistakenly detect
vehicles that are crossing your lane. Activat-
ing DISTRONIC PLUS at traffic lights with
crossing traffic, for example, could cause
your vehicle to pull away unintentionally. HOLD function
General notes The HOLD function can assist the driver in the
following situations:
R when pulling away, especially on steep
slopes
R when maneuvering on steep slopes
R when waiting in traffic
The vehicle is kept stationary without the
driver having to depress the brake pedal.
The braking effect is canceled and the HOLD
function deactivated when you depress the
accelerator pedal to pull away.
i Do not use the HOLD function when driv-
ing off-road, on steep uphill or downhill gra-
dients or on slippery or loose surfaces. The HOLD function cannot hold the vehicle on
such surfaces. Important safety notes G
WARNING
When leaving the vehicle, it can still roll away despite being braked by the HOLD function if:
R there is a malfunction in the system or in
the voltage supply.
R the HOLD function has been deactivated by
pressing the accelerator pedal or the brake
pedal, e.g. by a vehicle occupant.
R the electrical system in the engine com-
partment, the battery or the fuses have
been tampered with.
R the battery is disconnected
There is a risk of an accident.
If you wish to exit the vehicle, always turn off the HOLD function and secure the vehicle
against rolling away.
! If DISTRONIC PLUS or the HOLD function
is activated, the vehicle brakes automati-
cally in certain situations. To prevent dam-
age to the vehicle, deactivate DISTRONIC
PLUS and the HOLD function in the follow-
ing or other similar situations:
R when towing the vehicle
R in the car wash
Deactivating the HOLD function
(Y page 185).
Activation conditions You can activate the HOLD function if:
R the vehicle is stationary
R the engine is running or if it has been auto-
matically switched off by the ECO start/
stop function
R the driver's door is closed or your seat belt
is fastened
R the parking brake is released
R the hood is closed.
R the transmission is in position D,Ror N
R DISTRONIC PLUS is deactivated 184
Driving systemsDriving and parking
Page 315 of 386
Useful information
............................314
Where will I find...? ...........................314
Flat tire .............................................. 314
Battery (vehicle) ................................ 319
Jump-starting .................................... 323
Towing and tow-starting ..................325
Fuses .................................................. 328 313Breakdown assistance
Page 316 of 386
Useful information
i This Operator's Manual describes all
models and all standard and optional equip- ment of your vehicle available at the time of
publication of the Operator's Manual.
Country-specific differences are possible.
Please note that your vehicle may not be
equipped with all features described. This
also applies to safety-related systems and
functions.
i Read the information on qualified special-
ist workshops (Y page 27). Where will I find...?
Vehicle tool kit
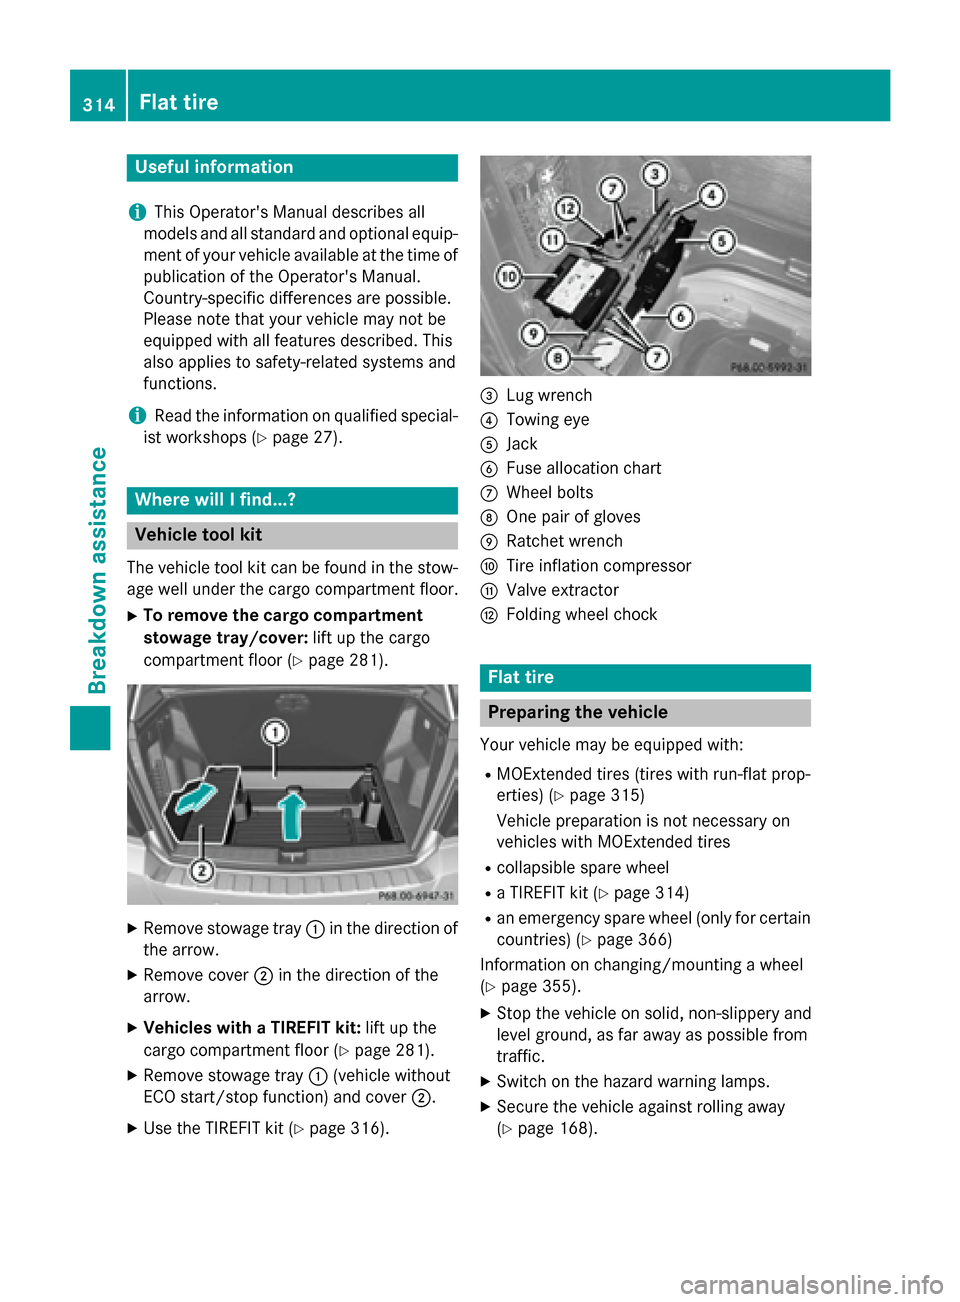
The vehicle tool kit can be found in the stow- age well under the cargo compartment floor.
X To remove the cargo compartment
stowage tray/cover: lift up the cargo
compartment floor (Y page 281).X
Remove stowage tray 0043in the direction of
the arrow.
X Remove cover 0044in the direction of the
arrow.
X Vehicles with a TIREFIT kit: lift up the
cargo compartment floor (Y page 281).
X Remove stowage tray 0043(vehicle without
ECO start/stop function) and cover 0044.
X Use the TIREFIT kit (Y page 316). 0087
Lug wrench
0085 Towing eye
0083 Jack
0084 Fuse allocation chart
006B Wheel bolts
006C One pair of gloves
006D Ratchet wrench
006E Tire inflation compressor
006F Valve extractor
0070 Folding wheel chock Flat tire
Preparing the vehicle
Your vehicle may be equipped with: R MOExtended tires (tires with run-flat prop-
erties) (Y page 315)
Vehicle preparation is not necessary on
vehicles with MOExtended tires
R collapsible spare wheel
R a TIREFIT kit (Y page 314)
R an emergency spare wheel (only for certain
countries) (Y page 366)
Information on changing/mounting a wheel
(Y page 355).
X Stop the vehicle on solid, non-slippery and
level ground, as far away as possible from
traffic.
X Switch on the hazard warning lamps.
X Secure the vehicle against rolling away
(Y page 168). 314
Flat tireBreakdown assistance
Page 330 of 386
electrical system in the same way as when
jump-starting (Y page 323).
Have the vehicle transported on a transporter or trailer. Tow-starting (emergency engine
starting)
! Vehicles with automatic transmission
must not be started by tow-starting. This
could otherwise damage the transmission.
You can find information on "Jump-starting" at (Y page 323). Fuses
Important safety notes
G
WARNING
If you manipulate or bridge a faulty fuse or if
you replace it with a fuse with a higher amper- age, the electric cables could be overloaded.
This could result in a fire. There is a risk of an
accident and injury.
Always replace faulty fuses with the specified
new fuses having the correct amperage.
! Only use fuses that have been approved
for Mercedes-Benz vehicles and which
have the correct fuse rating for the system concerned. Otherwise, components or sys-
tems could be damaged.
The fuses in your vehicle serve to close down faulty circuits. If a fuse blows, all the compo- nents on the circuit and their functions stop
operating.
Blown fuses must be replaced with fuses of
the same rating, which you can recognize by
the color and value. The fuse ratings are listedin the fuse allocation chart.
If a newly inserted fuse also blows, have the
cause traced and rectified at a qualified spe-
cialist workshop, e.g. an authorized
Mercedes-Benz Center. Before changing a fuse
X Secure the vehicle against rolling away
(Y page 168).
X Switch off all electrical consumers.
X Turn the SmartKey to position 0in the igni-
tion lock and remove it (Y page 149).
or
X On vehicles with KEYLESS-GO, make sure
the ignition is switched off (Y page 149).
All indicator lamps in the instrument cluster
must be off.
The fuses are located in various fuse boxes:
R Fuse box on the driver's side of the dash-
board
R Fuse box in the engine compartment on the
left-hand side of the vehicle, when viewed
in the direction of travel
R Fuse box in the stowage well under the
cargo compartment floor on the right-hand
side of the vehicle, when viewed in the
direction of travel
The fuse allocation chart is in the vehicle tool kit which is located in the stowage compart-
ment under the cargo compartment floor
(Y page 314). Dashboard fuse box
! Do not use a pointed object such as a
screwdriver to open the cover in the dash-
board. You could damage the dashboard or
the cover.
! Make sure that no moisture can enter the
fuse box when the cover is open.
! When closing the cover, make sure that it
is lying correctly on the fuse box. Moisture seeping in or dirt could otherwise impair
the operation of the fuses. 328
FusesBreakdown assistance
Page 331 of 386
X
To open: pull out cover 0043slightly at the
bottom in the direction of arrow 0087.
X Pull cover 0043outwards in the direction of
arrow 0044and remove it.
X To close: clip in cover 0043on the front of the
dashboard.
X Fold cover 0043inwards until it engages. Fuse box in the engine compartment
G
WARNING
When the hood is open and the windshield
wipers are set in motion, you can be injured by the wiper linkage. There is a risk of injury.
Always switch off the windshield wipers and
the ignition before opening the hood.
! Make sure that no moisture can enter the
fuse box when the cover is open.
! When closing the cover, make sure that it
is lying correctly on the fuse box. Moisture
seeping in or dirt could otherwise impair
the operation of the fuses.
X Make sure that the windshield wipers are
turned off.
X Open the hood. X
Use a dry cloth to remove any moisture
from the fuse box.
X To open: take lines 0044from the guides.
X Open clamps 0043.
X Remove the fuse box cover forwards.
X To close: check whether the rubber seal is
lying correctly in the cover.
X Insert the cover at the rear of the fuse box
into the retainer.
X Fold down cover and close clamps 0043.
X Secure lines 0044in the guides.
X Close the hood. Fuse box in the cargo compartment
! Make sure that no moisture can enter the
fuse box when the cover is open.
! When closing the cover, make sure that it
is lying correctly on the fuse box. Moisture seeping in or dirt could otherwise impair
the operation of the fuses.
X Open the tailgate. Fuses
329Breakdo wn assis tance Z