trailer MERCEDES-BENZ M-CLASS SUV 2011 Owners Manual
[x] Cancel search | Manufacturer: MERCEDES-BENZ, Model Year: 2011, Model line: M-CLASS SUV, Model: MERCEDES-BENZ M-CLASS SUV 2011Pages: 389, PDF Size: 9.22 MB
Page 7 of 389
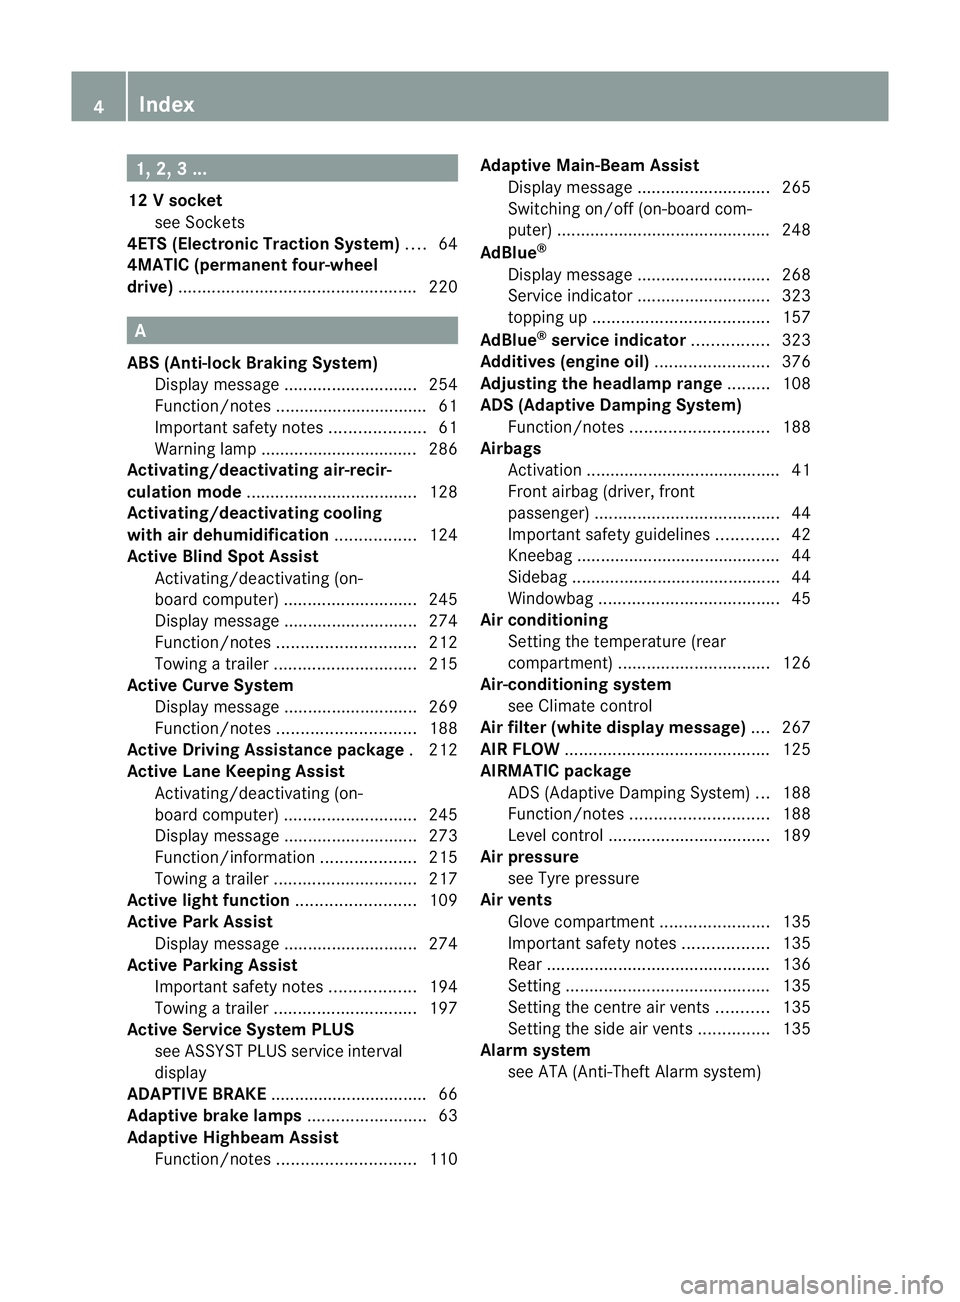
1, 2,
3...
12 Vsocket
see Sockets
4ETS (Electronic Traction System) ....64
4MATIC (permanent four-wheel
drive) .................................................. 220A
ABS (Anti-lock Brakin gSystem)
Disp laym essage ............................ 254
Function/notes ................................ 61
Important safety notes ....................61
Warn ingl am p................................. 286
Activating/deactivating air-recir-
culation mode .................................... 128
Activating/d eactivating cooling
with air dehumidification .................124
Activ eBlindS pot Assist
Activating/deactivating (on-
board computer) ............................ 245
Display message ............................ 274
Function/notes ............................. 212
To wing atrailer .............................. 215
Activ eCurv eSyst em
Disp laym essage ............................ 269
Function/notes ............................. 188
Activ eDriving Assistanc epackage .212
Activ eLane Keepi ngAssist
Activating/deactivating (on-
board computer) ............................ 245
Display message ............................ 273
Function/informatio n.................... 215
To wing atrailer .............................. 217
Activ elight function ......................... 109
Activ ePark Assist
Display message ............................ 274
Activ eParkin gAssist
Important safety notes ..................194
To wing atrailer .............................. 197
Activ eService System PLUS
se eA SSYSTP LUS service interval
display
ADAPTIV EBRAKE ................................ .66
Adaptive bra kelamps ......................... 63
Adaptive Highbeam Assist Function/notes ............................. 110Adaptive Main-Beam Assist
Display message ............................ 265
Switch ingo n/off (on-board com-
puter) ............................................. 248
AdBlue ®
Display message ............................ 268
Service ind icator ............................ 323
topping up ..................................... 157
AdBlue ®
service indicator ................323
Additive s(engine oil)........................ 376
Adjustin gthe headlamp range .........108
AD S(Ad aptiv eDampin gSystem)
Function/note s............................. 188
Airbags
Activati on......................................... 41
Front airba g(driver, front
passenger) ....................................... 44
Important safety gu idelines ............. 42
Kneeba g.......................................... .44
Sidebag ............................................ 44
Windowba g...................................... 45
Ai rc onditioning
Settin gthe te mperature (rear
compartment) ................................ 126
Air-co nditionin gsyst em
se eC limate control
Ai rf ilter (whit edisplay message) ....267
AI RF LOW ........................................... 125
AIRMATIC package ADS (Ad aptive Damping System) ...188
Function/notes ............................. 188
Leve lcontrol .................................. 189
Ai rp ressure
see Tyr epres sure
Ai rv ents
Glove compartmen t....................... 135
Important safety notes ..................135
Rea r............................................... 136
Setting ........................................... 135
Setting the centre ai rvents ........... 135
Setting the si deairv ents ............... 135
Alarm system
seeA TA (Anti-Theft Alar msystem) 4
Index
Page 10 of 389
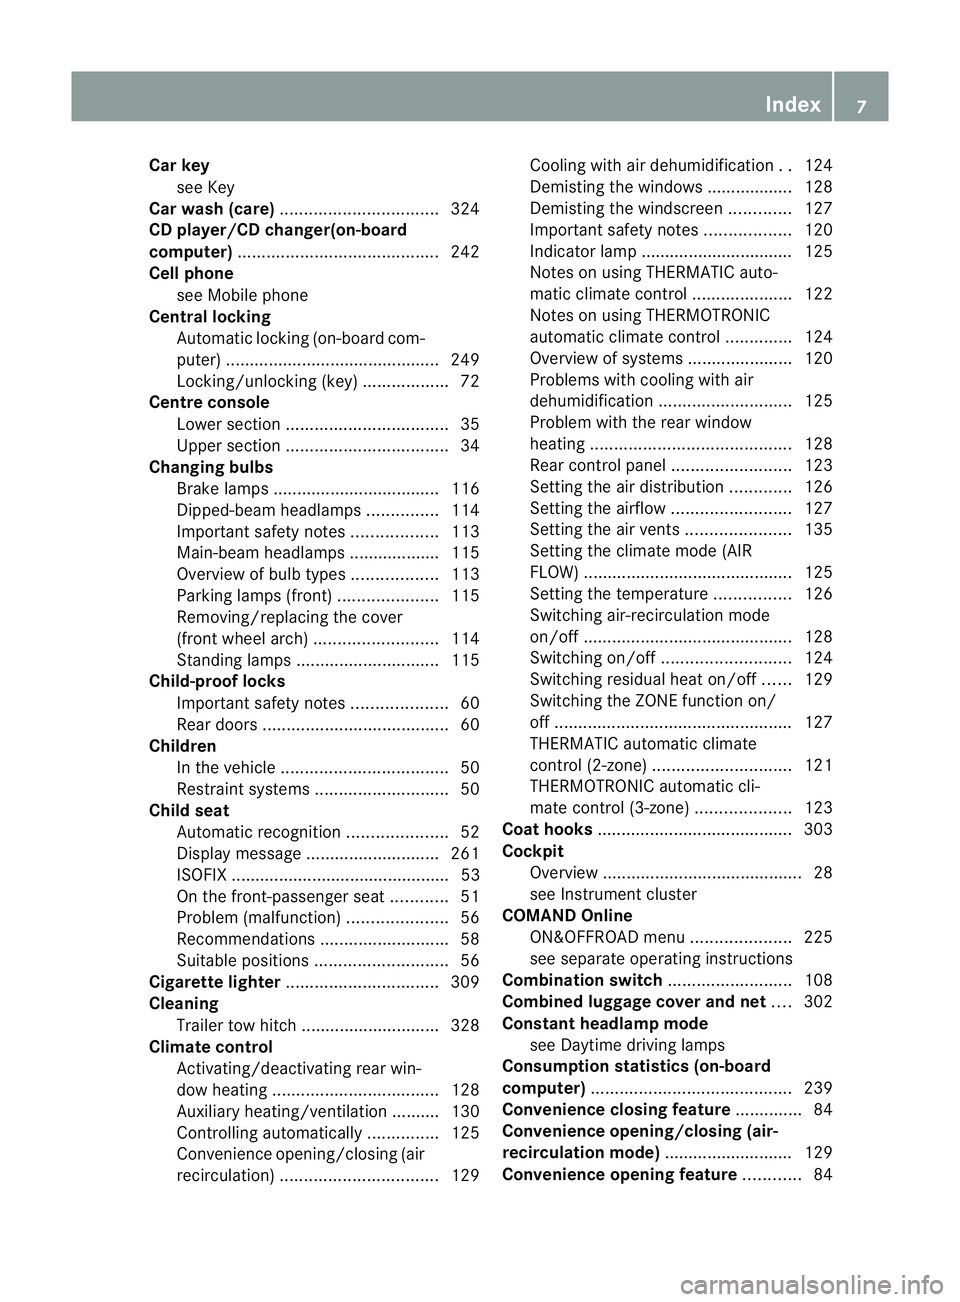
Car key
see Key
Car wash (care) ................................. 324
CD player /CDc hanger( on-board
computer) .......................................... 242
Cell phone seeM obile phone
Centra llocking
Automatic locking (on-board com-
puter) ............................................ .249
Locking/unlockin g(key ).................. 72
Centr econsole
Low er se ction .................................. 35
Uppe rsection .................................. 34
Changin gbulbs
Brake lamps ................................... 116
Dipped-bea mheadlamps ............... 114
Important safety notes ..................113
Ma in-beam headlamps ................... 115
Overview of bul btypes .................. 113
Parking lamps (front) .....................115
Removing/repl acing the cover
(fron twheel arch) .......................... 114
Standing lamps .............................. 115
Child-proof locks
Important safety notes ....................60
Rea rdoors ....................................... 60
Children
In the veh icle ................................... 50
Restraint sy stems ............................ 50
Child seat
Automatic recognitio n..................... 52
Display message ............................ 261
ISOFIX .............................................. 53
On the front-passenger se at............ 51
Pro blem (malfunction) ..................... 56
Rec ommend ations ........................... 58
Suit able positions ............................ 56
Cig arett elighter ................................ 309
Cle aning
Trailer to whitch ............................. 328
Climate control
Activating/deactivating rear win-
dowh eating ................................... 128
Auxi liaryheating/ventilation ...... .... 130
Contro lling automatically ...............125
Convenience op ening/closing (air
recirculation) ................................. 129Co
oling with air dehumidificatio n..1 24
Demist ingt he windows ...... ............ 128
Demisting the windscree n............. 127
Important safety notes ..................120
Indicator lamp ................................ 125
Note sonu sing THERMATIC auto-
matic climate control .....................122
Note sonu sing THERMOTRONIC
automatic climate control ..............124
Overview of sy stems ...................... 120
Pro blem swithc ooling with air
dehumid ification ............................ 125
Pro blem with the rear window
heating .......................................... 128
Rea rcontrol panel ......................... 123
Setting the ai rdistribution .............126
Setting the airflo w......................... 127
Setting the ai rvent s...................... 135
Setting the climate mod e(AIR
FLOW) ............................................ 125
Setting the temperature ................126
Switch inga ir-recirculation mode
on/off ............................................ 128
Switch ingo n/off ........................... 124
Switch ingr esidua lheat on/off ......129
Switch ingt he ZON Efunction on/
off .................................................. 127
THERMATIC automatic climate
control (2-zone) ............................. 121
THERMOTRONIC automatic cli-
mate control (3-zone) ....................123
Coat hooks ......................................... 303
Cockpit Overview .......................................... 28
se eI nstrument cluster
COMAND Online
ON&OFFROAD menu .....................225
se es eparat eoperating instructions
Combination switch ..........................108
Combine dluggag ecove rand net ....302
Constant headlamp mode seeD aytime driving lamps
Consumption statistic s(on-boa rd
computer) .......................................... 239
Conv enienc eclosin gfeature .............. 84
Conv enienc eopening/closing (air-
recirculation mode) ........................... 129
Conv enienc eopening feature ............84 Index
7
Page 13 of 389
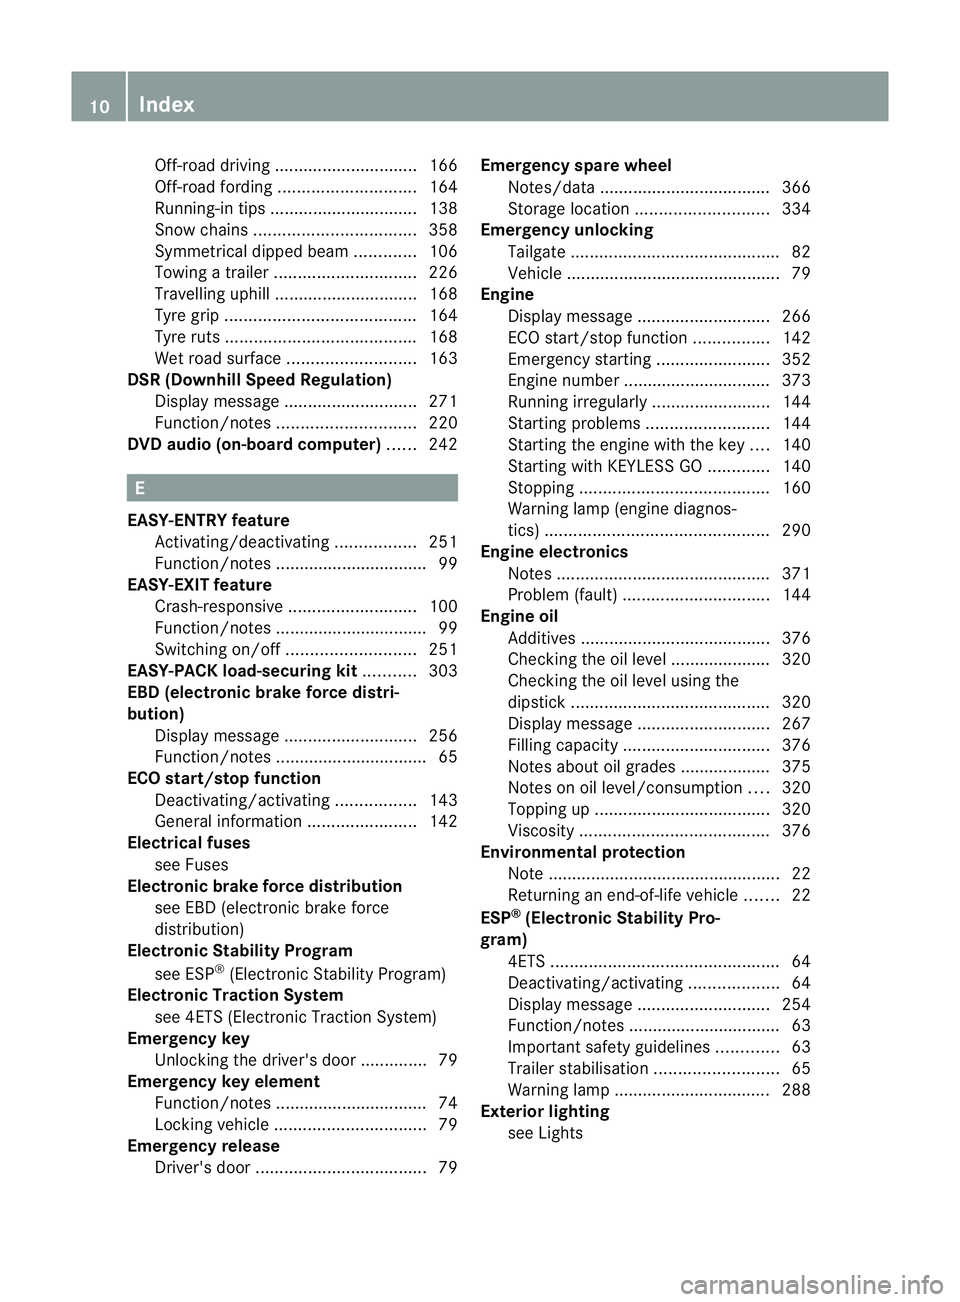
Off-road driving .............................. 166
Off- roadfording ............................. 164
Running-i ntips ............................... 138
Sno wchains .................................. 358
Symmetrical di pped bea m............. 106
To wing atrailer .............................. 226
Travelling uphill .............................. 168
Tyr egrip ........................................ 164
Tyr eruts ........................................ 168
We troad surf ace. .......................... 163
DSR (Downhi llSpeed Regulation)
Display message ............................ 271
Function/notes ............................. 220
DVD audio (on-b oard computer) ......242 E
EASY- ENTRY feature
Activating/deactivating .................251
Function/notes ................................ 99
EASY- EXIT feature
Crash-responsive ........................... 100
Function/notes ................................ 99
Switch ingo n/off ........................... 251
EASY- PACK load-securing kit ........... 303
EBD (electronic brake force distri-
buti on)
Disp laym essage ............................ 256
Function/notes ................................ 65
EC Os tart/stop function
Deactivating/activating .................143
Gen eral information ....................... 142
Electri calfuses
se eF uses
Electroni cbrake force distribution
see EBD (electronic brake force
distribution)
Electroni cStability Program
see ESP ®
(Electroni cStability Program)
Electronic Tracti onSystem
se e4 ETS (Electroni cTracti onSystem)
Emergenc ykey
Unlocking the driver's door ..............79
Emergency key element
Function/notes ................................ 74
Locking veh icle ................................ 79
Emergency rel ease
Driver's door .................................... 79Emergency spar
ewheel
Notes/d ata. ................................... 366
Storage locatio n............................ 334
Emergency unl ocking
Ta ilgate ............................................ 82
Veh icle ............................................ .79
Engine
Display message ............................ 266
ECO start/stop function ................142
Emergency starting ........................352
Engine numb er............................... 373
Running irregularl y......................... 144
Starting pro blems .......................... 144
Starting the engine wit hthe key ....140
Starting with KEYLESS GO .............140
Stopp ing. ....................................... 160
Warn ingl am p(engine diagnos-
tics) ............................................... 290
En gine electronics
Notes ............................................. 371
Problem (fault) ............................... 144
En gine oil
Additives ........................................ 376
Checking the oil level ...... ............... 320
Checking the oil leve lusing the
dipstick .......................................... 320
Display message ............................ 267
Fil ling capacity ............................... 376
Note sabout oil grades ...... ............. 375
Notes on oil level/cons umption.... 320
Topping up ..................................... 320
Viscosity ........................................ 376
En vironmental protection
Note ................................................ .22
Retur ningan end-of-life vehicl e....... 22
ESP ®
(Electronic Stability Pro-
gram) 4ETS ................................................ 64
Deactivating/activating ...................64
Display message ............................ 254
Function/notes ................................ 63
Important safety gu idelines ............. 63
Traile rstabilisatio n.......................... 65
Warn ingl am p................................. 288
Exterior lighting
seeL ights 10
Index
Page 22 of 389
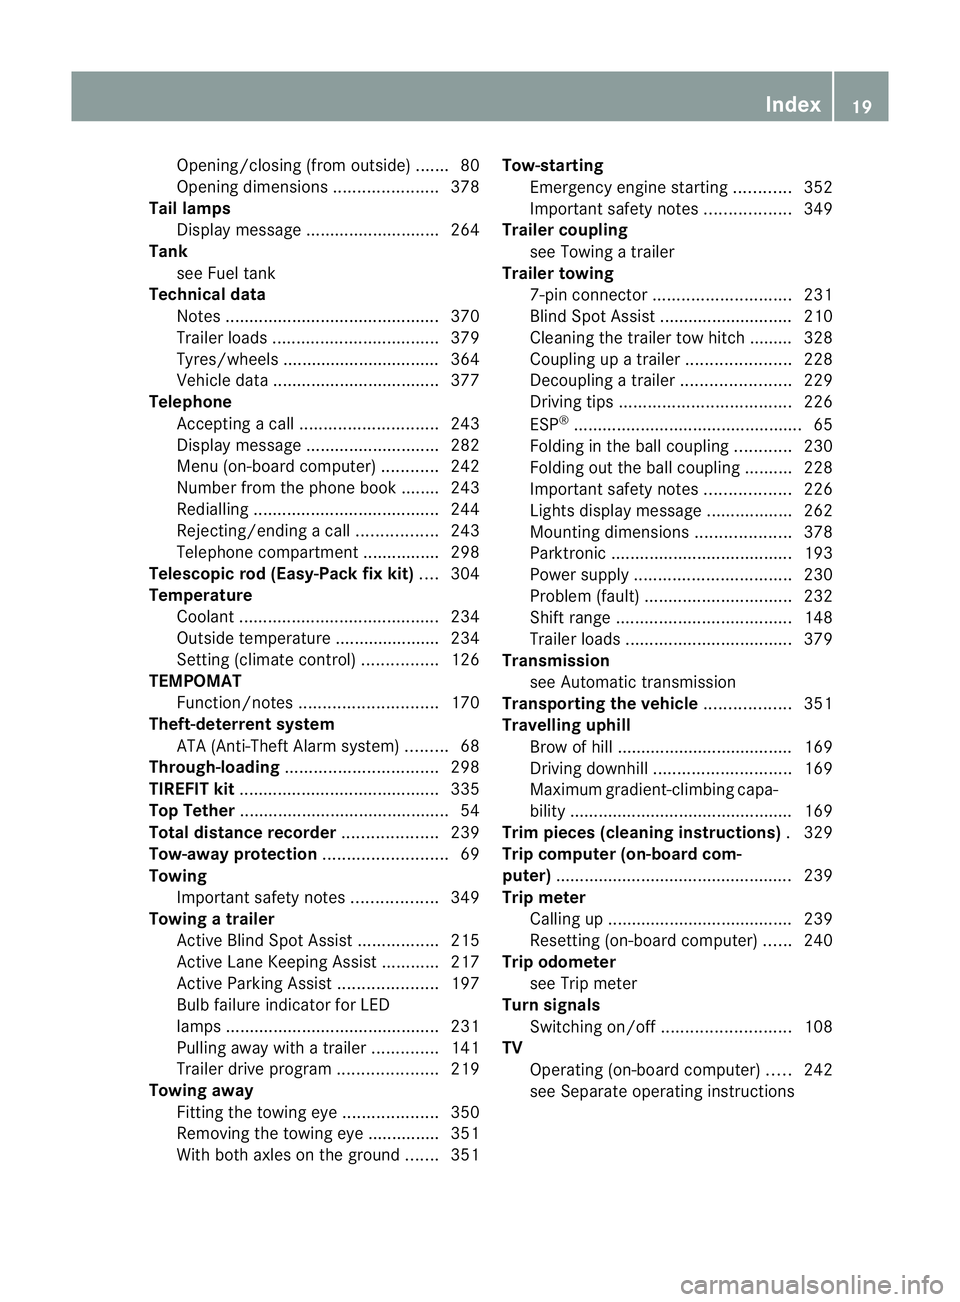
Opening/closing (from outside)
.......80
Opening dimensions ......................378
Tail lamps
Display message ............................ 264
Tank
seeF uel tank
Technical data
Notes ............................................. 370
Traile rloads ................................... 379
Tyres/whee ls................................. 364
Vehicle data ................................... 377
Tel ephone
Accepting acall............................. 243
Display message ............................ 282
Menu (on-bo ardc omputer )............ 242
Number from the phone book ........ 243
Redialling ....................................... 244
Rej ecting/end ingac all................. 243
Te lephon ecompartmen t................ 298
Tel escopic rod (Easy-Pack fix kit) ....304
Temperature Coolan t.......................................... 234
Outs idet emper ature ...... ............... .234
Setting (cl imate control) ................126
TEMPOMAT
Function/notes ............................. 170
Theft-deterren tsyst em
ATA (Anti-Theft Alarm system) .........68
Through-loading ................................ 298
TIRE FITk it.......................................... 335
Top Tether ............................................ 54
Total distanc erecorder .................... 239
Tow-away protection ..........................69
Towing Important safety notes ..................349
Towing atrailer
Active Blind Sp ot Assist................. 215
Active Lane Kee ping Assist ............217
Active Parking Assis t..................... 197
Bulb failure ind icator for LED
lamps ............................................. 231
Pullin gawayw ithat railer .............. 141
Traile rdrive program ..................... 219
Towing away
Fitting the tow inge ye.................... 350
Removing the tow inge ye............... 351
With both axl eson the ground .......351 Tow-starting
Emergency engine starting ............352
Important safety notes ..................349
Trailer coupli ng
se eT owing atrailer
Traile rtowing
7-pin connector ............................. 231
Blind Spo tAssist ...... ...................... 210
Cleaning the trailer tow hitch ......... 328
Coupling up atrailer ...................... 228
Decouplin gatrailer ....................... 229
Driving tip s.................................... 226
ESP ®
................................................ 65
Fol ding in the bal lcoupling ............ 230
Fol ding out the bal lcoupling .......... 228
Important safety notes ..................226
Lig htsd ispla ymessage .................. 262
Mo unting dimensions ....................378
Parktroni c...................................... 193
Po wer suppl y................................. 230
Pro blem (fault) ............................... 232
Shift rang e..................................... 148
Traile rloads ................................... 379
Transmission
seeA utomati ctransmission
Transporting the vehicle ..................351
Travellin guphill
Brow of hil l..................................... 169
Driving downhil l............................. 169
Maximum gradient-climbing cap a-
bility ............................................... 169
Trim pieces (cleaning instructions) .329
Trip computer (on-b oard com-
puter) ................................................. .239
Trip meter Calling up ....................................... 239
Resetting (on-bo ardc omputer )...... 240
Trip odom eter
see Trip meter
Turn signals
Switching on/off ........................... 108
TV
Operating (on-bo ardc omputer )..... 242
se eS eparate operating instructions Index
19
Page 68 of 389
if the vehicle starts to skid or
awheel starts
to spin.
When you deactivate ESP ®
:
R ESP ®
no longer improves drivin gstabili ty.
R the engine's torque is no longer limited and
the drive wheels can spin. The spinning of
the wheels results in acuttin gaction, which
provides bet terg rip.
R tractio ncontrol is still activated.
R ESP ®
still provides suppor twhen you
bra ke.
If ESP ®
is deactivate dand one or more wheels
start to spin, the ÷ESP®
warning lamp in
the instrument cluster flashes. In such situa-
tions, ESP ®
will not stabilis ethe vehicle. X
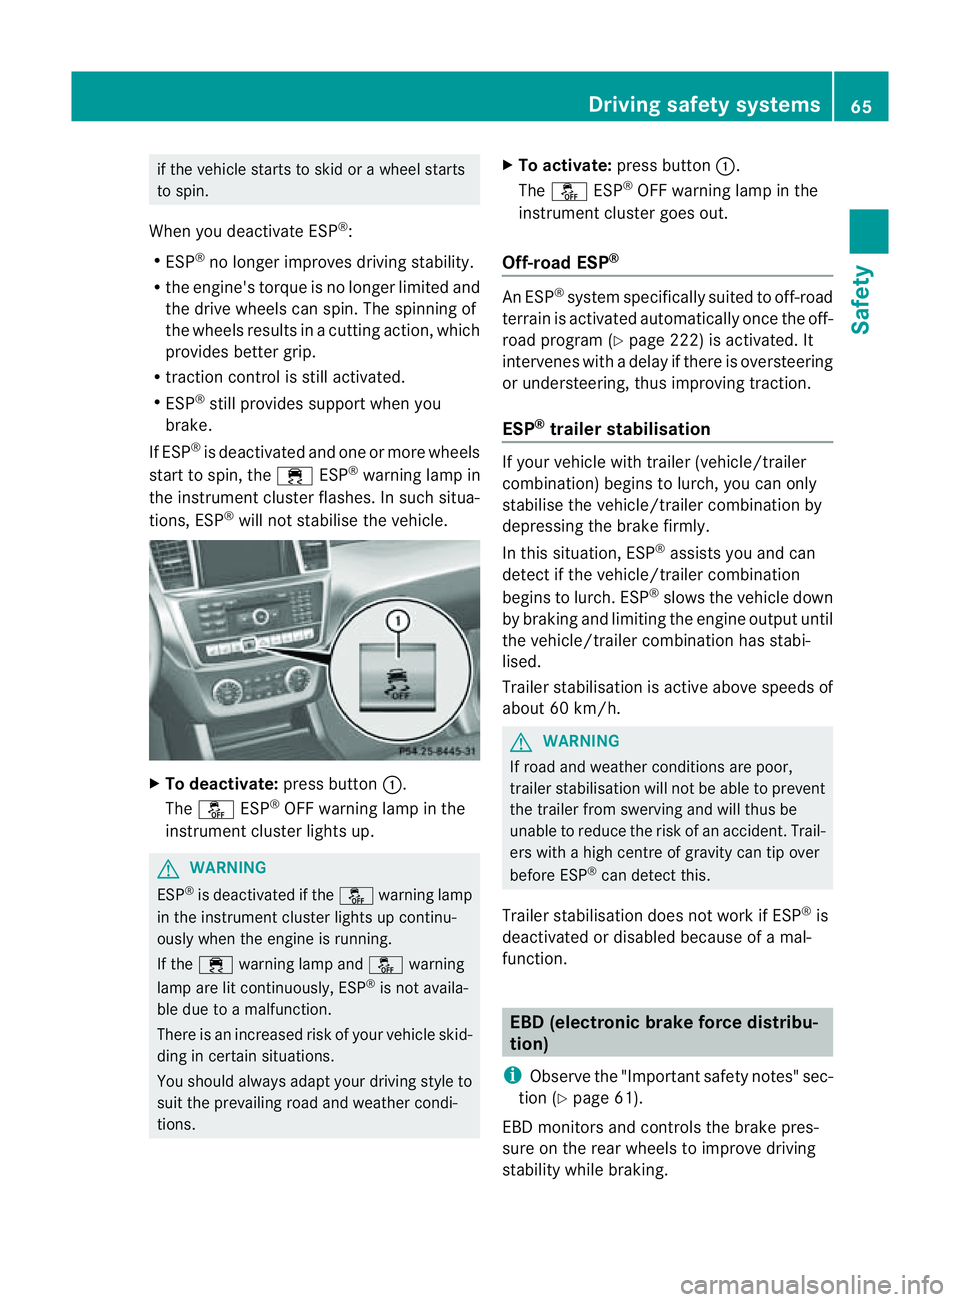
To deactivate: press button:.
The å ESP®
OFF warnin glamp in the
instrument cluster lights up. G
WARNING
ESP ®
is deactivated if the åwarning lamp
in the instrument cluster lights up continu-
ously when the engine is running.
If the ÷ warning lamp and åwarning
lamp are lit continuously, ESP ®
is not availa-
ble due to amalfunction.
There is an increased risk of your vehicle skid-
ding in certain situations.
You shoul dalway sadapt your driving style to
suit the prevailing road and weather condi-
tions. X
To activate: press button :.
The å ESP®
OFF warning lamp in the
instrumen tcluster goes out.
Off- road ESP® An ESP
®
system specifically suited to off-road
terrain is activated automatically once the off-
road program (Y page 222)isa ctivated. It
intervene swithadelay if there is oversteering
or understeering, thus improvin gtraction.
ESP ®
traile rstabilisation If your vehicle with trailer (vehicle/trailer
combination) begins to lurch, you can only
stabilis ethe vehicle/ trailer combination by
depressing the brake firmly.
In this situation, ESP ®
assists you and can
detect if the vehicle/trailer combination
begins to lurch. ESP ®
slows the vehicle down
by brakin gand limiting the engine output until
the vehicle/traile rcombination has stabi-
lised.
Trailer stabilisation is active abov espeeds of
about 60 km/h. G
WARNING
If road and weather condi tions are poor,
trailer stabilisation will not be able to prevent
the trailer from swerving and will thus be
unable to reduce the risk of an accident .Trail-
ers wit hahigh centr eofgravity can tip over
before ESP ®
can detec tthis.
Trailer stabilisation does not work if ESP ®
is
deactivated or disable dbecause of amal-
function. EBD (electronic brake force distribu-
tion)
i Observe the "Important safety notes" sec-
tion (Y page61).
EBD monitors and control sthe brake pres-
sur eonthe rea rwheels to improv edriving
stab ility while braking. Driving safety systems
65Safety Z
Page 140 of 389
Usefu
linfor mation ............................ 138
Running-in notes ............................... 138
Driving ............................................... 138
Automati ctran smission ................... 145
Refuelling ........................................... 152
Parking ............................................... 160
Driving tips ........................................ 162
Driving systems ................................ 170
Off-road driving systems ..................220
Towing atrailer ................................. 226 137Driving
and parking
Page 144 of 389
X
Depres sthe brake peda land kee pit
depressed.
X To star tapetrol engine: press the Start/
Stop button (Y page 139) once.
The engin estarts.
X To start adiesel engine: press the Start/
Stop button (Y page 139)once.
Preglow is activated and the engin estarts. Pulling away
Automatic transmission i
It is only possible to shift the transmission
from position Pto the desired position if
you depress the brake pedal. Only then is
the parkin glock released. If the brake
pedal is not depressed, the DIREC TSELE CT
lever can still be move dbut the parking lock
remains engaged.
X Depress the brak epedal and keep it
depressed.
X Shift th etransmissio ntoposition Dor R
(Y page 145).
X Releas ethe brak epedal.
X Carefully depress th eaccele rator pedal.
The electric parki ngbrak e(Ypage 16 1)is
automatically released.
The red !indicator lamp in the instru-
ment cluster goes out.
i The vehicle locks centrally onc eyou have
pulled away .The lockin gknobs in the doors
drop down.
You can open the doors from the inside at
any time.
You can also deactivat ethe automatic lock-
ing featur e(Ypage 24 9).
i Upshif tstake place at higher engine
speeds after acold star t.This helps the
catalytic converter to reach its operating
temperature mor equickly. Pullin
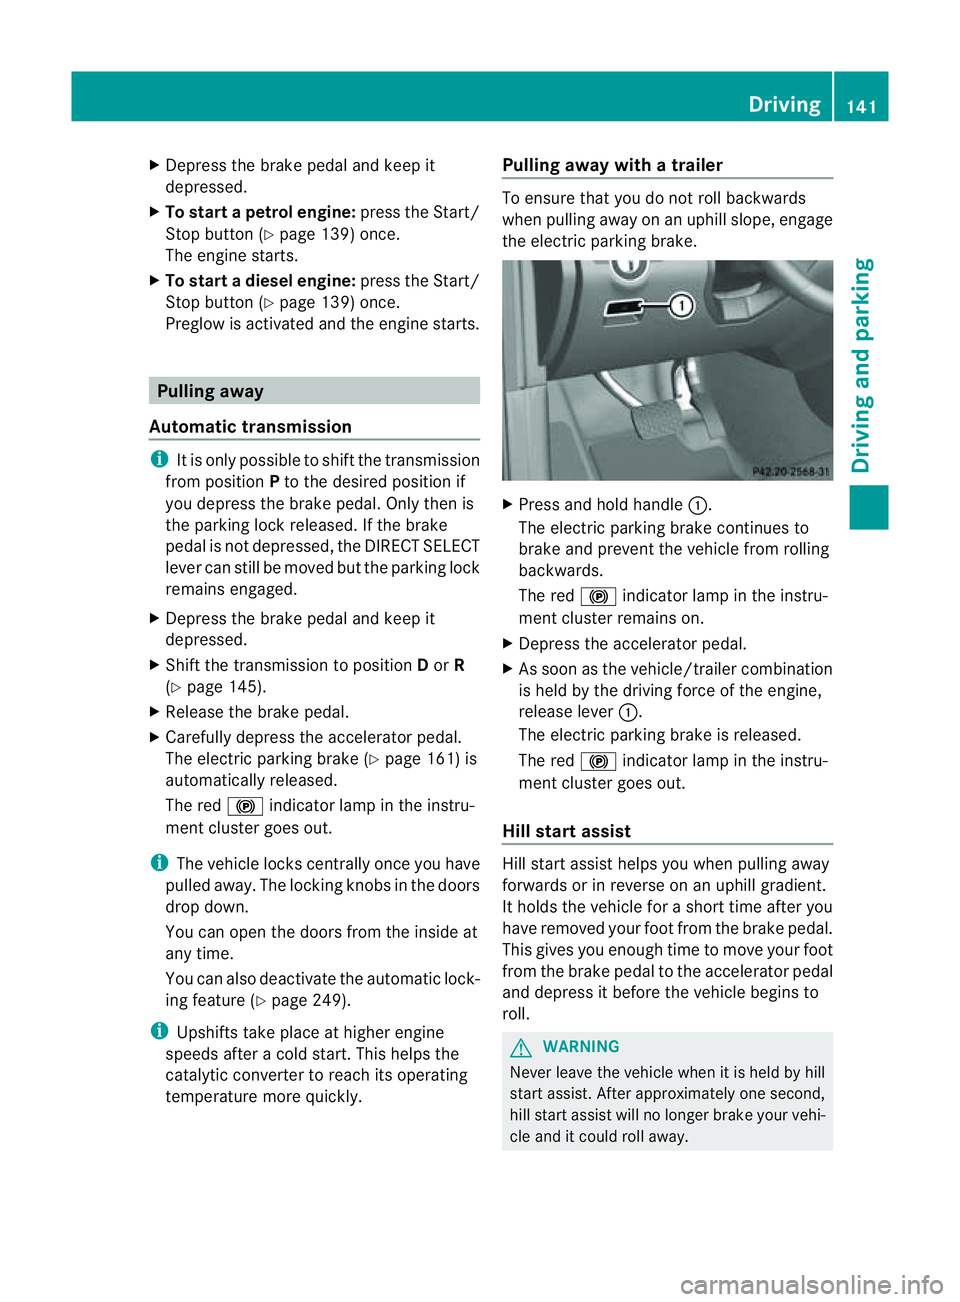
gaway with atrailer To ensure that you do not roll backwards
when pulling away on an uphill slope, engage
the electric parking brake. X
Press and hol dhandle :.
The electric parking brake continues to
brake and prevent the vehicle from rolling
backwards.
The red !indicator lamp in the instru-
ment cluster remains on.
X Depress the accelerator pedal.
X As soon as the vehicle/trailer combination
is held by the driving force of the engine,
release lever :.
The electric parking brake is released.
The red !indicator lamp in the instru-
ment cluster goes out.
Hill star tassist Hill star
tassist helps you when pulling away
forwards or in reverse on an uphil lgradient.
It hold sthe vehicle for ashort tim eafter you
have removed you rfoot from the brake pedal.
This gives you enough tim etomove your foot
from the brake pedal to the accelerator pedal
and depress it befor ethe vehicle begin sto
roll. G
WARNING
Neve rleave the vehicle when it is held by hill
star tassist. Af tera pproximately one second,
hill start assist will no longer brak eyour vehi-
cle and it coul droll away. Driving
141Drivingand parking Z
Page 151 of 389
A
Neutral
Do not shift the transmiss
ionto N
whil edriving. Otherwise, th eauto-
matic transmission could be dam-
aged.
No powe ristransmitte dfromt he
engine to the drive wheels.
Releasing the brakes will allo wyou
to move the vehicl efreely, e.g .to
push it or tow it.
If ESP ®
is deacti vated or faulty:
only shift the transmission to posi-
tion Nif the vehicle is in dange rof
skidding, e.g. on icy roads.
If you swit choff the engin eusing
the key or the Start/Stop but ton,
the automatic transmission shifts
to neutral Nautomatically.
! Rolling in neutral Ncan lead to
damage to the transmission. 7
Drive
The automatic transmission
changes gear automatically. All
forward gears are available. Changin
ggear
The automatic transmission shift stothe indi-
vidual gear sautomatically when it is in trans-
missio nposition D.This automatic gearshift-
ing behaviour is determined by:
R ap ossible limitation of the shift range
R the selected drive program
R the position of the accelerator pedal
R the roa dspeed Driving tips
Accelerator peda lposition Your style of drivin
ginfluences how the auto-
matic transmissio nshift sgear:
R littl ethrot tle: earl yupshifts
R mor ethrot tle: late upshifts
Kickdown Use kickdown for maximu
macceleration.
X Depress the accelerato rpedal beyond the
pressur epoint.
The transmission shift stoalower gear
depending on the engin espeed.
X Ease off the accelerator pedal once the
desired speed is reached.
The automatic transmission shifts back up.
Trailer towing X
Drive in the middle of the engine speed
range on uphill gradients.
X Shift down to shift range 3or
2 (Y page 150) depending on the uphill or
downhill gradient, even if cruise control,
DISTRONIC PLU SorSPEEDTRONIC is acti-
vated. Progra
mselector button
General notes The program selector button allow
syou to
choose between differen tdriving character-
istics. 148
Automatic transmissionDri
ving and parking
Page 166 of 389
G
WARNING
Make sure tha tother road user sare not
endang ered by your braking.
Downhill gradients On long and steep downhill gradients, espe-
cially if the vehicle is laden or towing
atrailer,
yo um ust select shift range 1,2or 3in good
time.
i This als oapplies if you have activated
cruise control, SPEEDTRONIC or DIS-
TRONIC PLUS.
This will use the braking effect of the engine,
so less braking will be required to maintain
the speed. This relieves the load on the brake
system and prevents the brakes from over-
heating and wearing too quickly.
Heavy and light loads G
WARNING
Never depress the brak epeda lconti nuously
while the vehicle is in motion, e.g. never cause
the brakes to rub by apply ingc onstant slight
pedal pressure. This causes the brake system
to overheat, increases the brakin gdistance
and can lead to the brakes failing completely.
If the brakes have been subjected to aheavy
load, do not stop the vehicle immediately ,but
drive on for ashort while. This allow sthe air-
flo wtoc ool the brakes mor equickly.
If the brakes have been used only moderately,
you should occasionally test their effective-
ness. To do this, brake more firmly from a
higher speed. This improves the grip of the
brakes.
Wet road surface If driving in heavy rain for
aprolonged period
of time without braking, there may be a
delayed reaction from th ebrake swhen brak-
ing for the first time. This ma yalso occur after
the vehicle has been washed. You have to depress the brake pedal more
firmly. Maintain
agreater distance from the
vehicl einfront.
After driving on awet road or havin gthe vehi-
cle washed, brake firml ywhile paying atten-
tion to the traffic conditions. This will warm
up the brake discs, thereby drying them more
quickly and protectin gthem against corro-
sion.
Limited braking perfo rmance on salt-
treated roads G
WARNING
The layer of salt on the brake discs and the
brake pads/linings may cause adelay in the
braking effect ,resultin ginas ignifican tlyl on-
ger brakin gdistance, which could lead to an
accident.
To avoid this danger, you should:
R occasionally brake carefully, without put-
ting other road users at risk, when you are
drivin gons alted roads. This helps to
remove any salt that may have started to
build up on the brake discs and the brake
pads/linings.
R maintain agreater distance to th evehicle
ahead and driv ewith particular care.
R carefully apply the brakes at the end of a
trip and immediately after commencing a
new trip, so that salt residues are removed
from the brake discs.
New brake pads/linin gs G
WARNING
New brak epads/linings only reach their opti-
mum braking effect after several hundred kil-
ometres of driving. Before this optimum brak-
ing effect is reached, you shoul dcompensate
for the reduced brakin geffect by applying
greate rpressure when braking .This also
applies after the brake discs or the brake
pads/linings hav ebeen replaced.
For safety reasons, Mercedes-Benz recom-
mends that you only have brak epads/linings Driving tips
163Drivingand parking Z
Page 173 of 389
erwise, the vehicle could slip sideways, tip
and over turn.
R Before tackling steep downhill gradients,
select shift range 1.
R Activat eDSR. If this is not suffici ent, brake
gently. Whe ndoing so, make sure that the
vehicle is facing in the direction of the line
of fall.
R Check that the brakes ar eworking normally
after along downhil lstretch.
i Off-road ABS is activated when the off-
road program or LOW RANGE off-road gear
is selected.
At speeds belo w30km/h, th efront wheels
lock cyclicall yduring braking. The digging-
in effect achieved in the process reduces
the stopping distance when driving off-
road. The steerability of the vehicle is con-
siderably reduced if the wheel slock. Driving systems
Cruise control
Important safety notes G
WARNING
Do not change down for additiona lengine
braking on aslippery road surface. This could
cause the drive wheels to lose their grip and
the vehicle could skid. G
WARNING
Cruise control cannot take account of road
and traffic conditions.
Always pay attention to traffic conditions
even when cruise control is activated.
Cruise control is only an aid designed to assist
driving. You are responsible for the vehicle's
speed and for braking in good time. G
WARNING
Do not use cruise control
R in traffic conditions that do not allow you to
drive at aconstant speed (e.g. heavy traffic or winding roads). You may otherwise
cause an accident.
R on slipper yroads. The driv ewheels may
lose their grip when brakin goraccelerating
and the vehicle may skid.
R whe nthere is low visibility, e.g. due to fog,
heav yrain or snow.
General notes Cruise control maintains
aconstant road
speed for you. It brakes automatically in order
to avoid exceeding the set speed. On long and
steep downhil lgradients ,especially if the
vehicle is laden or towing atrailer, yo umust
select shift range 1,2or 3in good time. By
doing so, you will make use of the braking
effect of the engine. This relieves the load on
the brake system and prevent sthe brakes
from overheating and wearing too quickly.
Use cruise con trol only if roa dand traffic con-
ditions make it appropriate to maintain a
steady speed for aprolonged period. Yo ucan
store any road spee dabove 30 km/h.
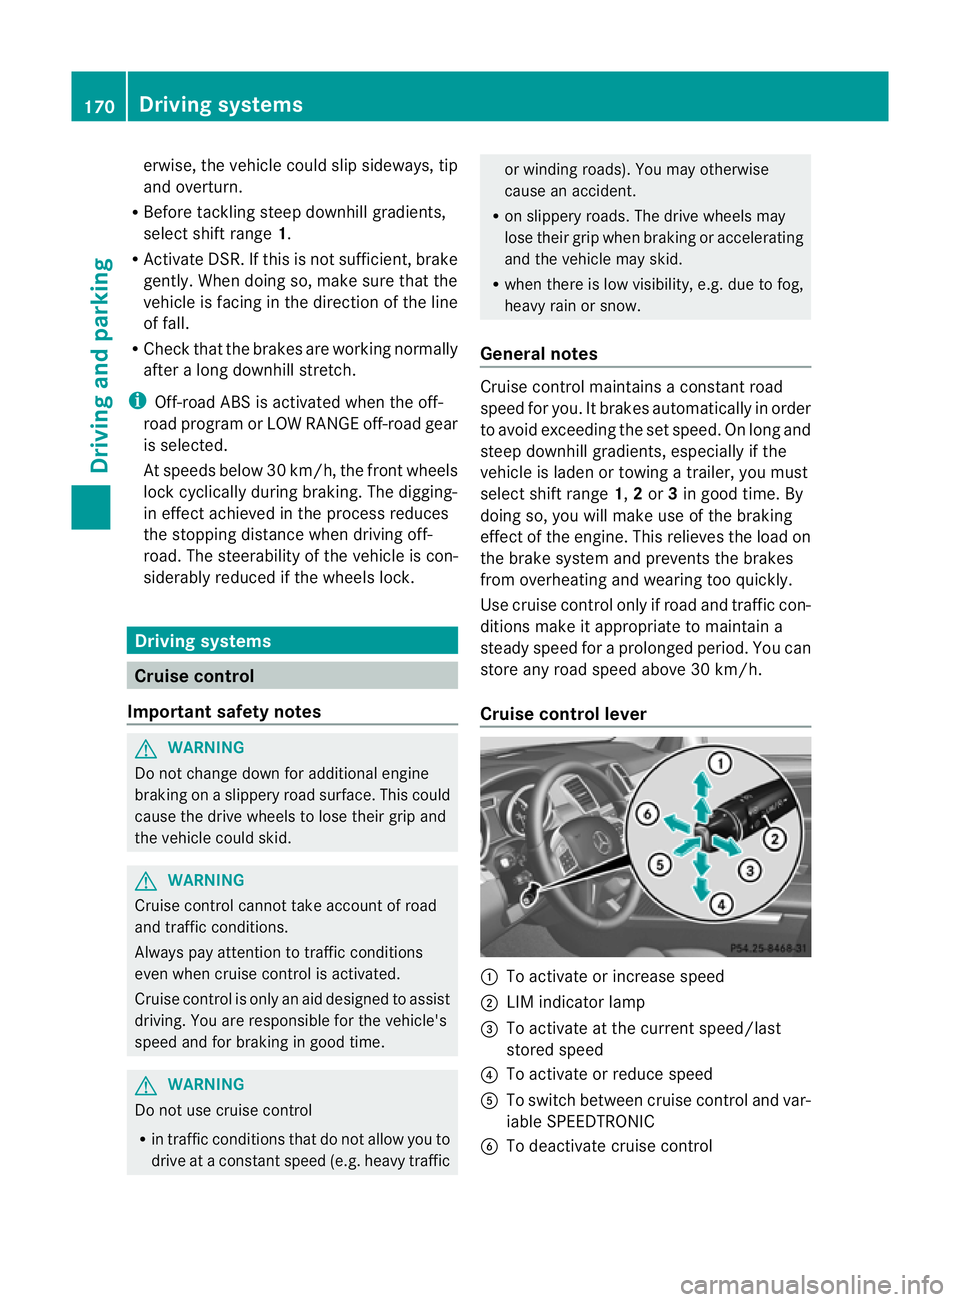
Cruise contro llever :
To activate or increase speed
; LIMi ndicato rlamp
= To activate at the current speed/last
stored speed
? To activate or reduce speed
A To switch between cruise control and var-
iable SPEEDTRONIC
B To deactivate cruise control 170
Driving systemsDriving and parking