sd memory MERCEDES-BENZ S-Class 2015 W222 Comand Manual
[x] Cancel search | Manufacturer: MERCEDES-BENZ, Model Year: 2015, Model line: S-Class, Model: MERCEDES-BENZ S-Class 2015 W222Pages: 298, PDF Size: 6.39 MB
Page 99 of 298
Using geo-coordinates
X To switch to navigation mode: press the
00CB button.
X To show the menu: slide6the control-
ler.
X To select Destination
Destination: turn and press the
controller.
X Select Using Geo-Coordinates
Using Geo-Coordinates.
Geo-coordinates are entered in degrees,
minutes and seconds.
Entering the latitude and longitude coor-
dinates
X To change the value: turn the controller.
X To move the selection within the line: slide
1 the controller.
X To move the selection between lines: slide
4 the controller.
X To confirm the value: press the controller.
Saving destination
X To select Save
Save: turn and press the control-
ler.
The destination can be saved as:
R a navigable contact in the address book
R to an SD memory card
R My Address
Starting route calculation
X To select Start Route Guidance Start Route Guidance: turn
and press the controller. Personal POIs and routes
General notes
The use of personal POIs for displaying traffic surveillance equipment is not permitted in
every country. Please observe the country-
specific regulations and always drive at a suit-
able speed.
Personal POIs are filed in categories:
R Not Classified Not Classified
Standard entry for personal POIs
R Mercedes-Benz Apps Mercedes-Benz Apps Personal POIs (destinations, routes) that
you have imported via the online functions
(Y page 183)
R Categories which you have created your-
self, e.g. on your PC
Personal routes are not categorized. Settings for personal POIs
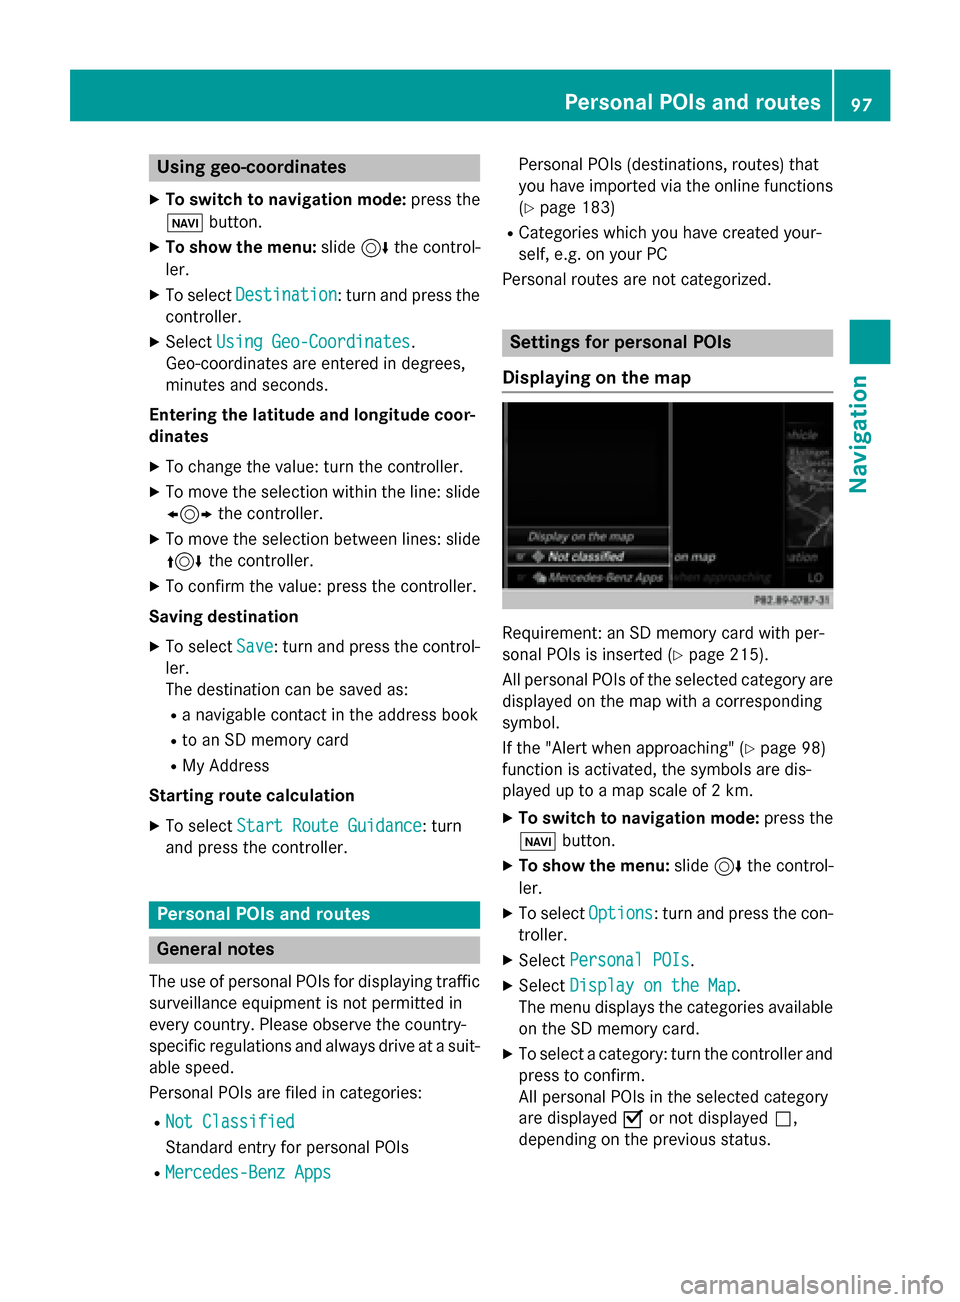
Displaying on the map Requirement: an SD memory card with per-
sonal POIs is inserted (Y
page 215).
All personal POIs of the selected category are displayed on the map with a corresponding
symbol.
If the "Alert when approaching" (Y page 98)
function is activated, the symbols are dis-
played up to a map scale of 2 km.
X To switch to navigation mode: press the
00CB button.
X To show the menu: slide6the control-
ler.
X To select Options Options: turn and press the con-
troller.
X Select Personal POIs
Personal POIs.
X Select Display on the Map
Display on the Map.
The menu displays the categories available on the SD memory card.
X To select a category: turn the controller and
press to confirm.
All personal POIs in the selected category
are displayed 0073or not displayed 0053,
depending on the previous status. Personal POIs and routes
97Navigation Z
Page 100 of 298
Alert when approaching
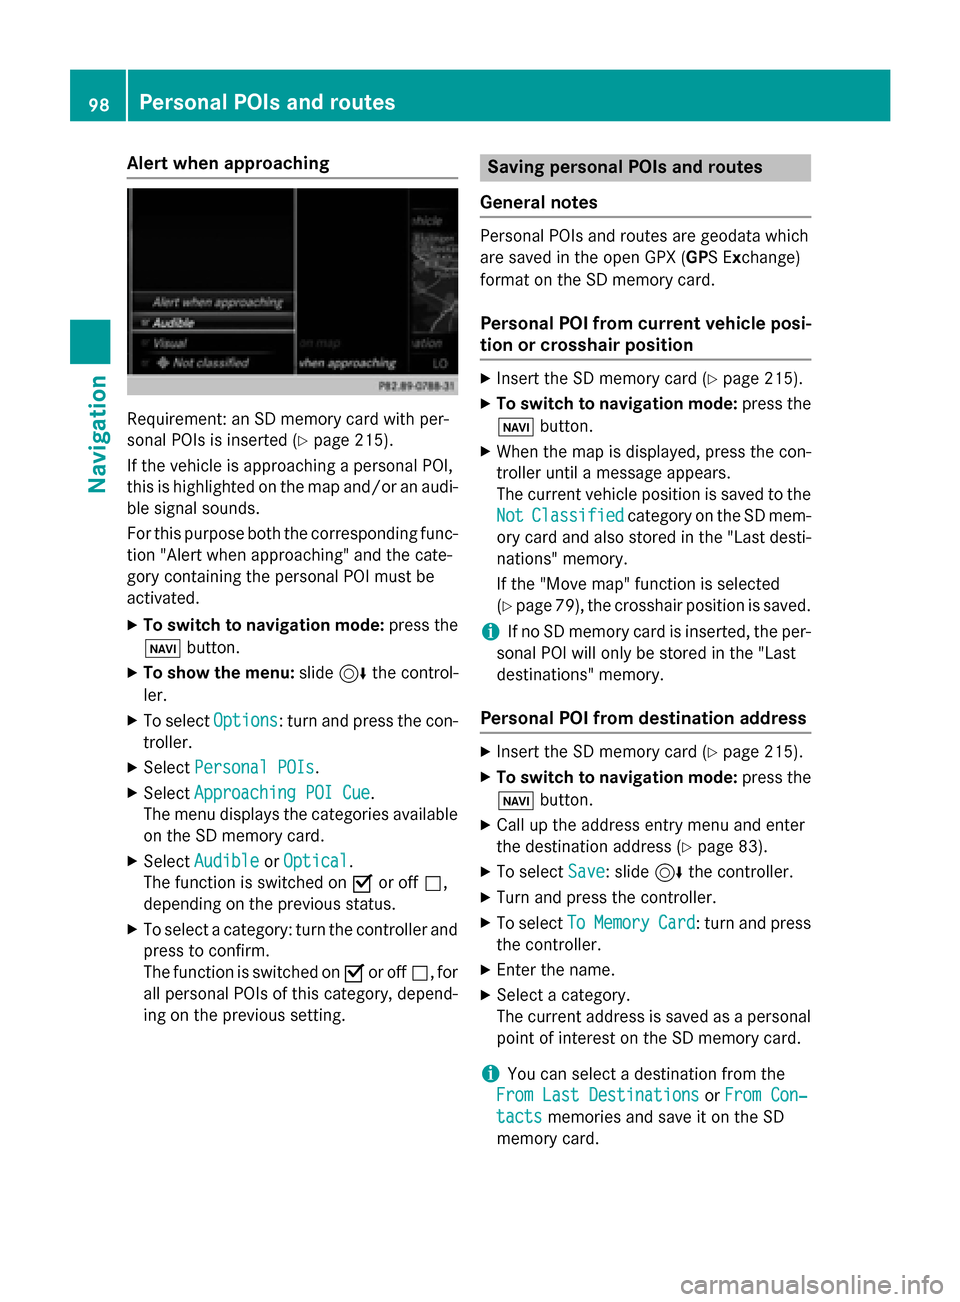
Requirement: an SD memory card with per-
sonal POIs is inserted (Y page 215).
If the vehicle is approaching a personal POI,
this is highlighted on the map and/or an audi-
ble signal sounds.
For this purpose both the corresponding func-
tion "Alert when approaching" and the cate-
gory containing the personal POI must be
activated.
X To switch to navigation mode: press the
00CB button.
X To show the menu: slide6the control-
ler.
X To select Options
Options: turn and press the con-
troller.
X Select Personal POIs Personal POIs.
X Select Approaching POI Cue
Approaching POI Cue .
The menu displays the categories available on the SD memory card.
X Select Audible
Audible orOptical
Optical.
The function is switched on 0073or off 0053,
depending on the previous status.
X To select a category: turn the controller and
press to confirm.
The function is switched on 0073or off 0053, for
all personal POIs of this category, depend-
ing on the previous setting. Saving personal POIs and routes
General notes Personal POIs and routes are geodata which
are saved in the open GPX (
GPS Exchange)
format on the SD memory card.
Personal POI from current vehicle posi-
tion or crosshair position X
Insert the SD memory card (Y page 215).
X To switch to navigation mode: press the
00CB button.
X When the map is displayed, press the con-
troller until a message appears.
The current vehicle position is saved to the
Not Not Classified
Classified category on the SD mem-
ory card and also stored in the "Last desti-
nations" memory.
If the "Move map" function is selected
(Y page 79), the crosshair position is saved.
i If no SD memory card is inserted, the per-
sonal POI will only be stored in the "Last
destinations" memory.
Personal POI from destination address X
Insert the SD memory card (Y page 215).
X To switch to navigation mode: press the
00CB button.
X Call up the address entry menu and enter
the destination address (Y page 83).
X To select Save Save: slide 6the controller.
X Turn and press the controller.
X To select To
ToMemory
Memory Card
Card: turn and press
the controller.
X Enter the name.
X Select a category.
The current address is saved as a personal
point of interest on the SD memory card.
i You can select a destination from the
From Last Destinations From Last Destinations orFrom Con‐
From Con‐
tacts
tacts memories and save it on the SD
memory card. 98
Personal POIs and routesNavigation
Page 101 of 298
R
From Last Destinations
From Last Destinations
(Y page 88)
R From Contacts From Contacts (Ypage 89)
Personal route from a tour including
intermediate destinations X
Insert the SD memory card (Y page 215).
X To switch to navigation mode: press the
00CB button.
X Enter a destination, e.g. by address
(Y page 83).
X Start route calculation (Y page 86).
X Create intermediate destinations
(Y page 94).
X To select Save SaveAs
AsPersonal
Personal Route
Routein the
intermediate destinations menu: turn and
press the controller.
The route is saved in the "Personal routes" file on the SD memory card. Importing personal destinations and
routes via Mercedes-Benz Apps
You can use Mercedes-Benz Apps (e. g. Down-
load POI, Local Search) to import destinations
to navigation (Y page 181). These have their
own symbol and are filed in the Mercedes-
Mercedes-
Benz Apps Benz Apps category.
You can save the imported destinations and
routes as personal POIs and routes
(Y page 98).
When importing routes, please note:
R The Mercedes-Benz Apps may generate a
route based on a different map from the
one used by COMAND. Points on the route
may therefore be situated off the digital
roads. For this reason an imported route
commenced in COMAND may deviate from the original route from the Mercedes-Benz
Apps.
R The Mercedes-Benz Apps minimize the
number of route points offered. For this
reason an imported route commenced in COMAND may deviate from the original
route from the Mercedes-Benz Apps. Selecting and editing personal POIs
and routes
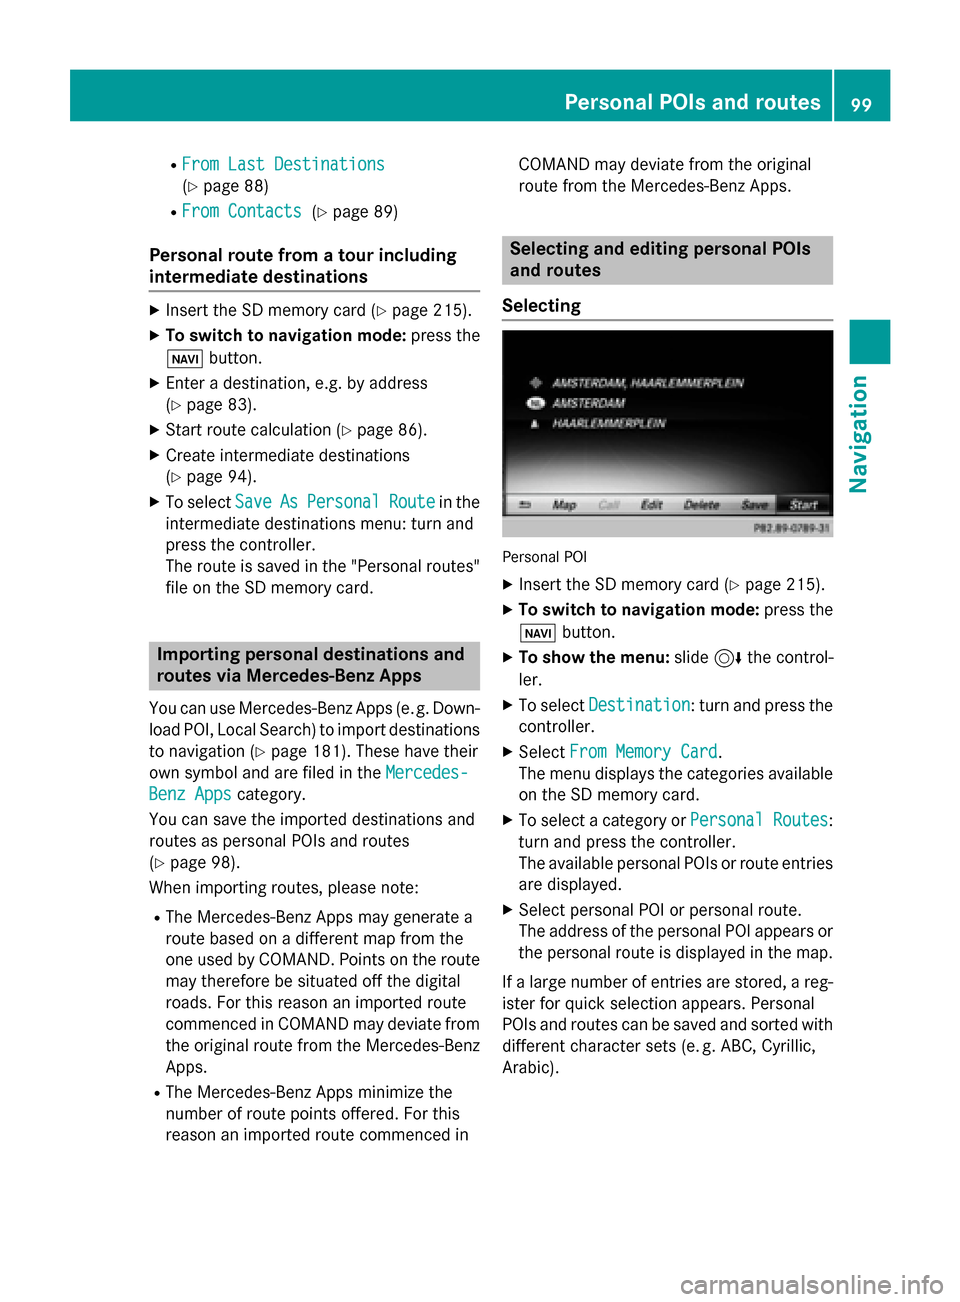
Selecting Personal POI
X Insert the SD memory card (Y page 215).
X To switch to navigation mode: press the
00CB button.
X To show the menu: slide6the control-
ler.
X To select Destination Destination: turn and press the
controller.
X Select From Memory Card
From Memory Card.
The menu displays the categories available on the SD memory card.
X To select a category or Personal Routes
Personal Routes:
turn and press the controller.
The available personal POIs or route entries
are displayed.
X Select personal POI or personal route.
The address of the personal POI appears or
the personal route is displayed in the map.
If a large number of entries are stored, a reg-
ister for quick selection appears. Personal
POIs and routes can be saved and sorted with different character sets (e. g. ABC, Cyrillic, Arabic). Personal POIs and routes
99Navigation Z
Page 103 of 298

Recording the route
General notes When recording the route, bear in mind the
following:
R if the SD memory card is inserted, it must
not removed during recording.
R if route recording is started manually, it
must be finished manually before COMAND is switched off (e .g. when the engine is
switched off).
R COMAND minimizes the number of route
points recorded. Therefore when the
recorded route is subsequently com-
menced, it may differ from the route that
was originally recorded.
Starting/finishing route recording X
Insert the SD memory card (Y page 215).
X To switch to navigation mode: press the
00CB button.
X To show the menu: slide6the control-
ler.
X To select Destination
Destination: turn and press the
controller.
X Select From Memory Card From Memory Card.
X Select Start Route Recording
Start Route Recording .
The route is recorded and REC appears at
the bottom edge of the screen.
X To stop recording, select End Route
End Route
Recording
Recording from the menu.
The route is stored under Personal
Personal
Routes
Routes .
Displaying/editing the recorded route X
Insert the SD memory card (Y page 215).
X To switch to navigation mode: press the
00CB button.
X To show the menu: slide6the control-
ler.
X To select Destination
Destination: turn and press the
controller.
X Select From Memory Card
From Memory Card. X
Select Personal Routes
Personal Routes .
Previously recorded routes are displayed.
X To select Route: turn and press the con-
troller.
The map appears with a menu. The
recorded route is shown on the map in blue.
Starting route calculation
X Select Start Start.
Changing the name and symbol
X Select Edit Edit.
X Select Change Name
Change Name orEdit Icon
Edit Icon.
X To change the name: enter characters
(Y page 36).
X To change symbol: select a symbol.
The symbol is saved. Route guidance
General notes
For this reason, you must always observe
road and traffic rules and regulations during
your journey. Road and traffic rules and reg-
ulations always have priority over system
driving recommendations.
COMAND calculates the route to the destina- tion without taking account of the following,
for example:
R traffic lights
R stop and yield signs
R merging lanes
R parking or stopping in a no parking/no
stopping zone
R other road and traffic rules and regulations
R narrow bridges
COMAND may give differing navigation com-
mands if the actual street/traffic situation
does not correspond with the digital map's
data. For example, if the road layout or the
direction of a one-way street has been
changed.
For this reason, you must always observe
road and traffic rules and regulations during Route guidance
101Navigation Z
Page 119 of 298
X
To select Traffic
Traffic: turn and press the con-
troller.
X To select Traffic
Traffic Information
Information On
OnMap
Map:
turn and press the controller.
X Select Incidents
Incidents,Speed Speed&
&Flow
Flow orFree
Free
Flow
Flow.
The display is activated 0073or deactivated
0053. Reading out traffic reports on the
route
Introduction The read-aloud function is only available while
route guidance is active. It reads out traffic
reports affecting the current route.
You can select from the following text reader
properties:
R Language (Y page 52)
R Text reader speed (Y page 48)
You can start the text reader function man-
ually or set it to automatic.
Starting the text reader function man-
ually X
To switch to navigation mode: press the
00BE button.
X To show the menu: slide6the control-
ler.
X To select Traffic
Traffic: turn and press the con-
troller.
X Select Read Out All Messages on Read Out All Messages on
Route
Route.
COMAND reads out the reports in
sequence.
If there are no reports for the route, the
Read
Read Out OutAll
AllMessages
Messages on
onRoute
Route menu
item is gray and cannot be selected.
X To cancel the read-aloud function: select
Cancel Read-Aloud Function
Cancel Read-Aloud Function.
COMAND reads out the current report and
then exits the read-aloud function. Automatic read-aloud function X
To switch to navigation mode: press the
00BE button.
X To show the menu: slide6the control-
ler.
X To select Traffic
Traffic: turn and press the con-
troller.
X Select Read Traffic Announcements
Read Traffic Announcements
Automatically
Automatically.
Depending on the previous status, switch
the option on 0073or off 0053. Recalculating the route dynamically
The Dynamic Traffic Route Dynamic Traffic Route route type
takes into account all of the traffic reports it
receives for the current route when calculat-
ing the route (Y page 80).
If you have selected Dynamic Traffic Dynamic Traffic
Route
Route as the route type, COMAND guides you
to your destination along the updated route. Storing destinations
General notes
If a route to a destination has been calculated,
COMAND saves the destination to the last
destinations memory. If the memory is full,
COMAND overwrites the oldest destination.
When you save the current vehicle position or a crosshair position, this position is stored in
the "Last destinations" memory.
You can save destinations permanently in the
address book and on an SD memory card. For instance, this is possible immediately after
entering an address. Storing destinations
117Navigation Z
Page 120 of 298
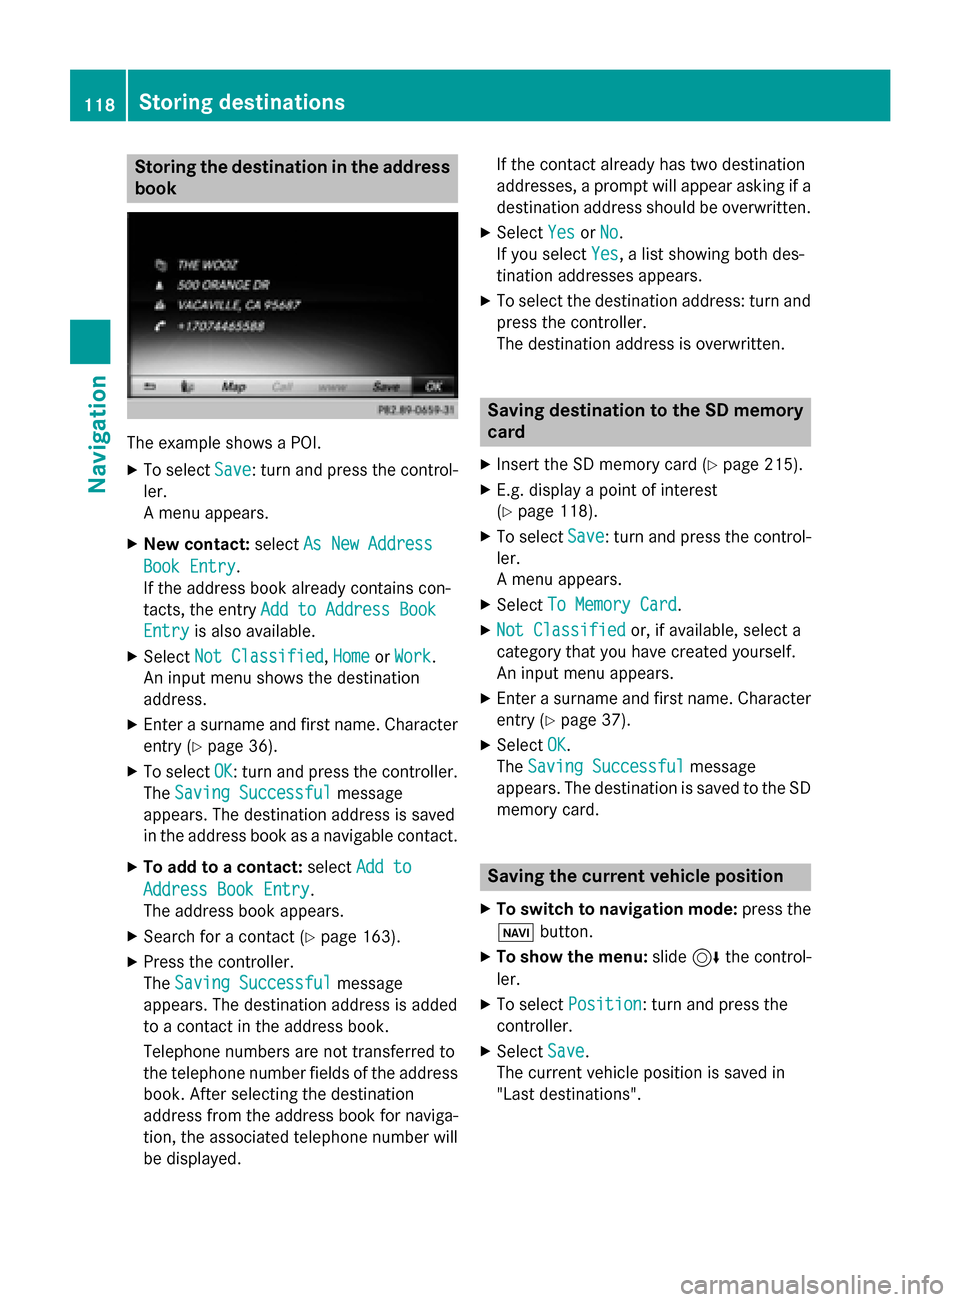
Storing the destination in the address
book The example shows a POI.
X To select Save
Save: turn and press the control-
ler.
A menu appears.
X New contact: selectAs New Address
As New Address
Book Entry Book Entry.
If the address book already contains con-
tacts, the entry Add to Address Book Add to Address Book
Entry
Entry is also available.
X Select Not Classified
Not Classified, Home
HomeorWork
Work.
An input menu shows the destination
address.
X Enter a surname and first name. Character
entry (Y page 36).
X To select OK
OK: turn and press the controller.
The Saving Successful
Saving Successful message
appears. The destination address is saved
in the address book as a navigable contact.
X To add to a contact: selectAdd to
Add to
Address Book Entry
Address Book Entry.
The address book appears.
X Search for a contact (Y page 163).
X Press the controller.
The Saving Successful Saving Successful message
appears. The destination address is added
to a contact in the address book.
Telephone numbers are not transferred to
the telephone number fields of the address book. After selecting the destination
address from the address book for naviga-
tion, the associated telephone number will
be displayed. If the contact already has two destination
addresses, a prompt will appear asking if a destination address should be overwritten.
X Select Yes YesorNo
No.
If you select Yes
Yes, a list showing both des-
tination addresses appears.
X To select the destination address: turn and
press the controller.
The destination address is overwritten. Saving destination to the SD memory
card
X Insert the SD memory card (Y page 215).
X E.g. display a point of interest
(Y page 118).
X To select Save Save: turn and press the control-
ler.
A menu appears.
X Select To Memory Card To Memory Card.
X Not Classified
Not Classified or, if available, select a
category that you have created yourself.
An input menu appears.
X Enter a surname and first name. Character
entry (Y page 37).
X Select OK
OK.
The Saving Successful Saving Successful message
appears. The destination is saved to the SD memory card. Saving the current vehicle position
X To switch to navigation mode: press the
00CB button.
X To show the menu: slide6the control-
ler.
X To select Position
Position: turn and press the
controller.
X Select Save
Save.
The current vehicle position is saved in
"Last destinations". 118
Storing destinationsNavigation
Page 121 of 298
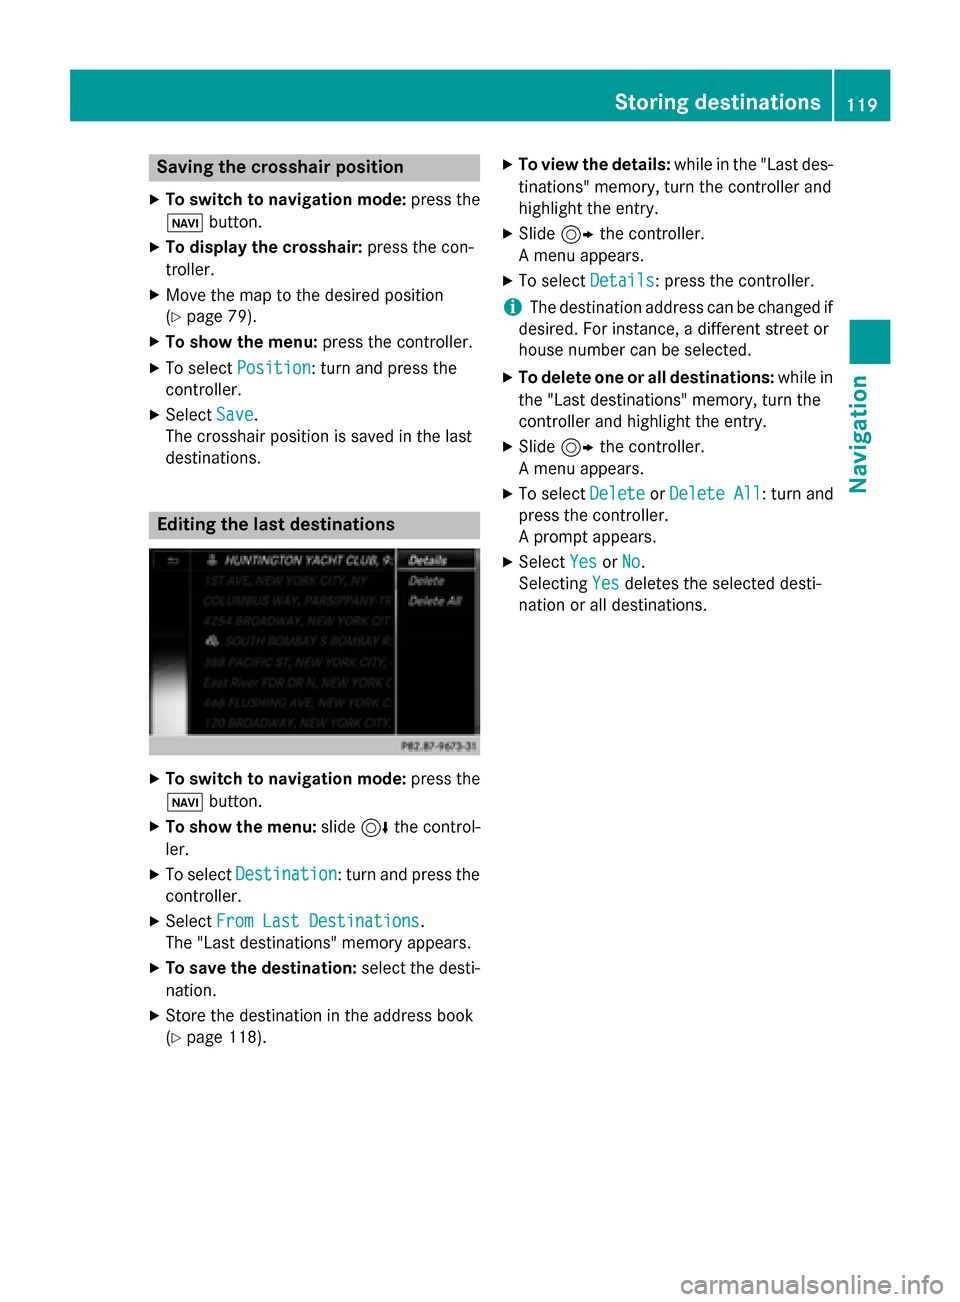
Saving the crosshair position
X To switch to navigation mode: press the
00CB button.
X To display the crosshair: press the con-
troller.
X Move the map to the desired position
(Y page 79).
X To show the menu: press the controller.
X To select Position
Position: turn and press the
controller.
X Select Save
Save.
The crosshair position is saved in the last
destinations. Editing the last destinations
X
To switch to navigation mode: press the
00CB button.
X To show the menu: slide6the control-
ler.
X To select Destination
Destination: turn and press the
controller.
X Select From Last Destinations
From Last Destinations.
The "Last destinations" memory appears.
X To save the destination: select the desti-
nation.
X Store the destination in the address book
(Y page 118). X
To view the details: while in the "Last des-
tinations" memory, turn the controller and
highlight the entry.
X Slide 9the controller.
A menu appears.
X To select Details Details: press the controller.
i The destination address can be changed if
desired. For instance, a different street or
house number can be selected.
X To delete one or all destinations: while in
the "Last destinations" memory, turn the
controller and highlight the entry.
X Slide 9the controller.
A menu appears.
X To select Delete DeleteorDelete All
Delete All : turn and
press the controller.
A prompt appears.
X Select Yes YesorNo
No.
Selecting Yes
Yesdeletes the selected desti-
nation or all destinations. Storing destinations
119Navigation Z
Page 140 of 298
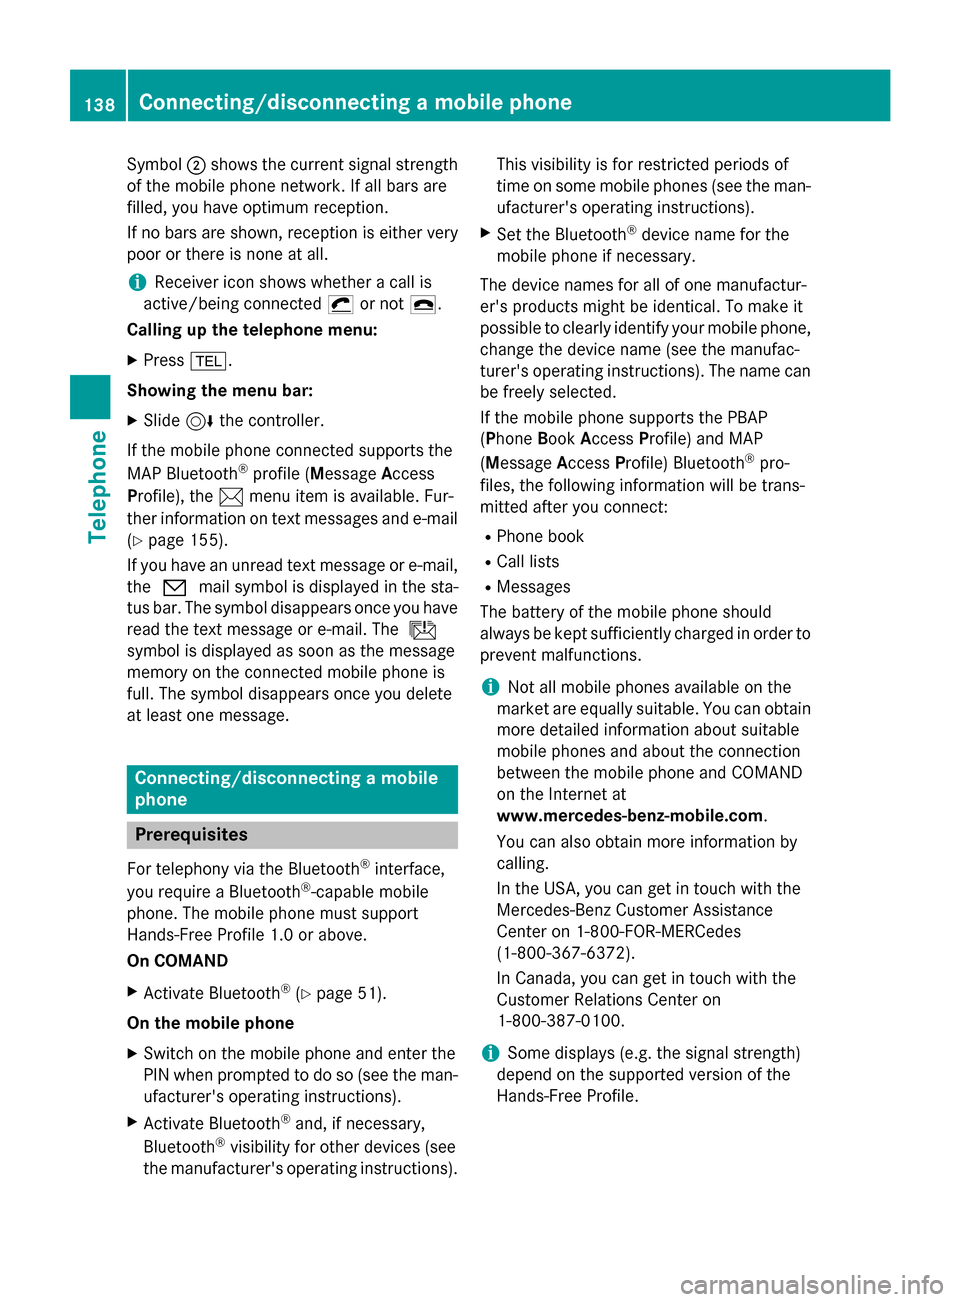
Symbol
0044shows the current signal strength
of the mobile phone network. If all bars are
filled, you have optimum reception.
If no bars are shown, reception is either very
poor or there is none at all.
i Receiver icon shows whether a call is
active/being connected 0075or not 0071.
Calling up the telephone menu:
X Press 002B.
Showing the menu bar:
X Slide 6the controller.
If the mobile phone connected supports the
MAP Bluetooth ®
profile (Message Access
Profile), the 0083menu item is available. Fur-
ther information on text messages and e-mail
(Y page 155).
If you have an unread text message or e-mail, the 0082 mail symbol is displayed in the sta-
tus bar. The symbol disappears once you have
read the text message or e-mail. The ú
symbol is displayed as soon as the message
memory on the connected mobile phone is
full. The symbol disappears once you delete
at least one message. Connecting/disconnecting a mobile
phone Prerequisites
For telephony via the Bluetooth ®
interface,
you require a Bluetooth ®
-capable mobile
phone. The mobile phone must support
Hands-Free Profile 1.0 or above.
On COMAND
X Activate Bluetooth ®
(Y page 51).
On the mobile phone X Switch on the mobile phone and enter the
PIN when prompted to do so (see the man-
ufacturer's operating instructions).
X Activate Bluetooth ®
and, if necessary,
Bluetooth ®
visibility for other devices (see
the manufacturer's operating instructions). This visibility is for restricted periods of
time on some mobile phones (see the man-
ufacturer's operating instructions).
X Set the Bluetooth ®
device name for the
mobile phone if necessary.
The device names for all of one manufactur-
er's products might be identical. To make it
possible to clearly identify your mobile phone,
change the device name (see the manufac-
turer's operating instructions). The name can be freely selected.
If the mobile phone supports the PBAP
(Phone BookAccess Profile) and MAP
(Message AccessProfile) Bluetooth ®
pro-
files, the following information will be trans-
mitted after you connect:
R Phone book
R Call lists
R Messages
The battery of the mobile phone should
always be kept sufficiently charged in order to prevent malfunctions.
i Not all mobile phones available on the
market are equally suitable. You can obtain more detailed information about suitable
mobile phones and about the connection
between the mobile phone and COMAND
on the Internet at
www.mercedes-benz-mobile.com .
You can also obtain more information by
calling.
In the USA, you can get in touch with the
Mercedes-Benz Customer Assistance
Center on 1-800-FOR-MERCedes
(1-800-367-6372).
In Canada, you can get in touch with the
Customer Relations Center on
1-800-387-0100.
i Some displays (e.g. the signal strength)
depend on the supported version of the
Hands-Free Profile. 138
Connecting/disconnecting a mobile phoneTelephone
Page 150 of 298
When you import, save, edit or add contacts,
they will be permanently saved in COMAND.
These contacts will remain there even when
you connect COMAND to a different mobile
phone. You can view these contacts even
without a mobile phone. Calling up the phone book
X
To call up the telephone menu: press the
002B button.
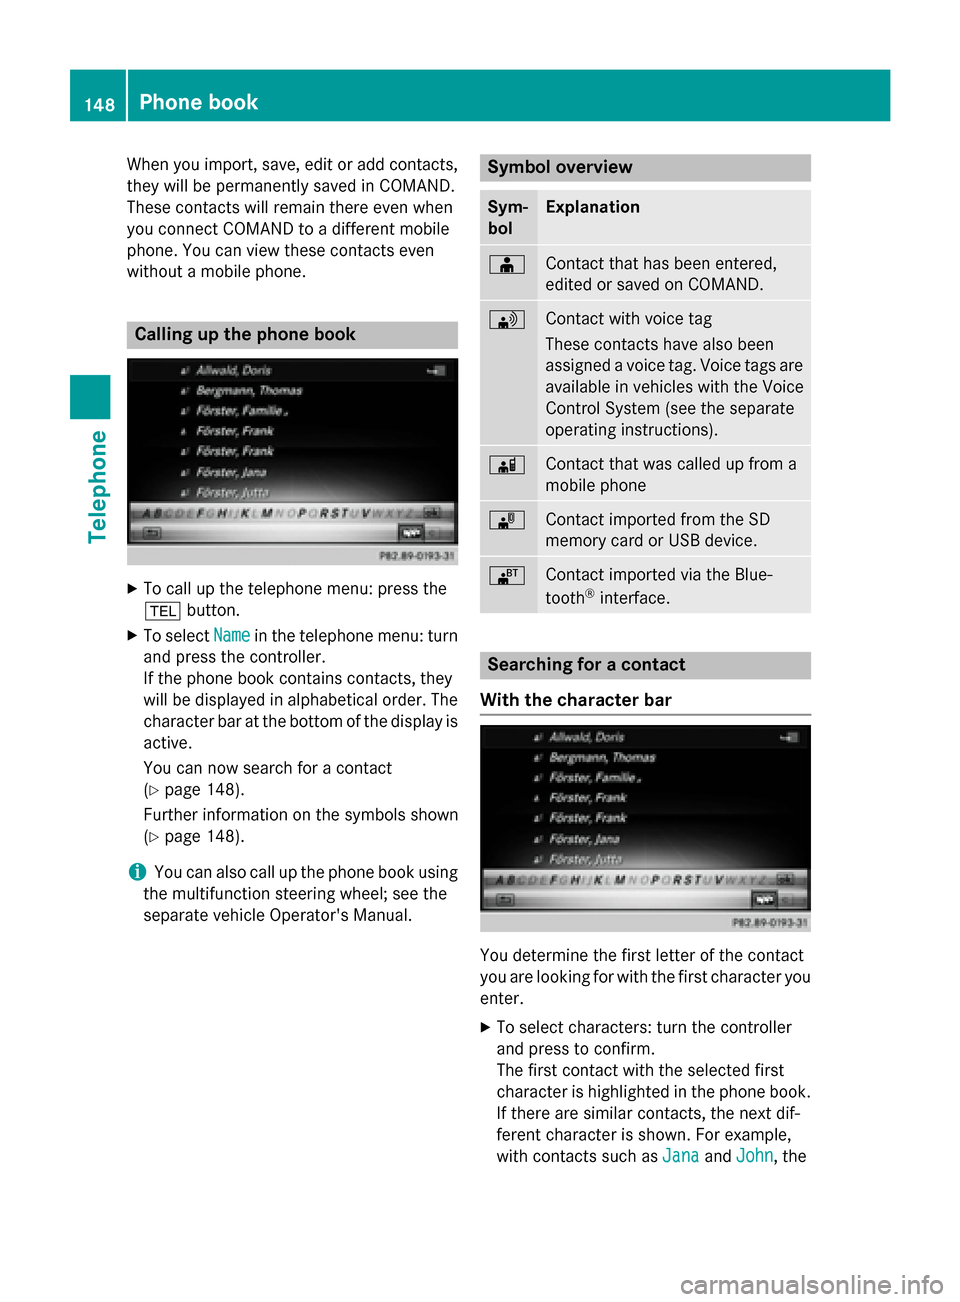
X To select Name Namein the telephone menu: turn
and press the controller.
If the phone book contains contacts, they
will be displayed in alphabetical order. The character bar at the bottom of the display is
active.
You can now search for a contact
(Y page 148).
Further information on the symbols shown
(Y page 148).
i You can also call up the phone book using
the multifunction steering wheel; see the
separate vehicle Operator's Manual. Symbol overview
Sym-
bol Explanation
00D8
Contact that has been entered,
edited or saved on COMAND.
0094
Contact with voice tag
These contacts have also been
assigned a voice tag. Voice tags are
available in vehicles with the Voice
Control System (see the separate
operating instructions). 00D7
Contact that was called up from a
mobile phone
00BB
Contact imported from the SD
memory card or USB device.
00BA
Contact imported via the Blue-
tooth
®
interface. Searching for a contact
With the character bar You determine the first letter of the contact
you are looking for with the first character you
enter.
X To select characters: turn the controller
and press to confirm.
The first contact with the selected first
character is highlighted in the phone book. If there are similar contacts, the next dif-
ferent character is shown. For example,
with contacts such as Jana JanaandJohn
John, the 148
Phone bookTelephone
Page 156 of 298
X
To select Yes
Yes: turn and press the controller.
The call lists are deleted.
or
X To select No
No: turn and press the controller.
The process is canceled.
i If you delete these call lists from the
mobile phone (see the separate mobile
phone operating instructions), COMAND
updates the call list display the next time it connects. Speed dial lists
Setting up
X To call up the telephone menu: press the
002B button.
X To call up the menu bar: slide 6the con-
troller.
X To select Call Lists
Call Lists: turn and press the
controller.
X Select Speed Dial Preset List
Speed Dial Preset List.
The speed dial list is displayed.
X To highlight a memory position for the
speed dial: turn the controller.
If you highlight an entry that already exists
in the speed dial list, this is overwritten with the new entry.
X To select G: slide 9the controller.
X Select Assign Speed Dial Preset Assign Speed Dial Preset.
The phone book is displayed.
X Search for a contact (Y page 148).
X To select a contact: turn and press the con-
troller.
The phone number has been saved as a
speed dial. Deleting
Deleting a speed dial preset X
To call up the telephone menu: press the
002B button.
X To call up the menu bar: slide 6the con-
troller.
X To select Call Lists Call Lists: turn and press the
controller.
X Select Speed Dial Preset List
Speed Dial Preset List.
The speed dial list is displayed.
X To highlight the memory position you want
to delete: turn the controller.
X To select G: slide 9the controller.
X To select Delete Speed Dial Preset
Delete Speed Dial Preset:
turn and press the controller.
X To select Yes
Yes: turn and press the controller.
The speed dial preset has been deleted.
or
X To select No
No: turn and press the controller.
The process is canceled.
Deleting all speed dial presets X
To call up the telephone menu: press the
002B button.
X To call up the menu bar: slide 6the con-
troller.
X To select Call Lists Call Lists: turn and press the
controller.
X Select Speed Dial Preset List
Speed Dial Preset List.
The speed dial list is displayed.
X To highlight the desired memory position:
turn the controller.
X To select G: slide 9the controller.
X To select Delete All Speed Dial Pre‐
Delete All Speed Dial Pre‐
sets sets: turn and press the controller.
X To select Yes
Yes: turn and press the controller.
All speed dials are deleted.
or
X To select No
No: turn and press the controller.
The process is canceled. 154
Speed dial listsTelephone