ESP MERCEDES-BENZ S-Class 2015 W222 Comand Manual
[x] Cancel search | Manufacturer: MERCEDES-BENZ, Model Year: 2015, Model line: S-Class, Model: MERCEDES-BENZ S-Class 2015 W222Pages: 298, PDF Size: 6.39 MB
Page 271 of 298
X
Select Language
Language using the00630064 but-
tons and press the 008Bbutton to confirm.
The list of languages appears. A 0036dot
indicates the current setting.
X Select the language using the 00630064
buttons and press the 008Bbutton to confirm.
The system activates the corresponding
language. Switching the display design
X Select Vehicle
Vehicle using the
006300640059 buttons on the
remote control and press the 008Bbutton to
confirm.
X Select System Settings
System Settings using the0064
00590065 buttons on the remote control
and press the 008Bbutton to confirm.
You see the System Settings
System Settings menu on
the selected rear screen.
X Select Display
Display using the 00630064 but-
tons on the remote control and press the
008B button to confirm.
X Select Day Mode
Day Mode, Night Mode
Night Mode orAuto‐
Auto‐
matic
matic using the 00630064 buttons and
press the 008Bbutton to confirm.
The dot indicates the current setting. Design Explanation
Day Mode
Day Mode The display is set per-
manently to day
design.
Night Mode Night Mode The display is set per-
manently to night
design.
Automatic Automatic The display design
changes depending on
the vehicle instrument
cluster illumination.
Setting the brightness
X Select Vehicle Vehicle using the
006300640059 buttons on the remote control and press the
008Bbutton to
confirm.
X Select System Settings
System Settings using the0064
00590065 buttons on the remote control
and press the 008Bbutton to confirm.
You see the System Settings
System Settings menu on
the selected rear screen.
X Select Display
Display using the 00630064 but-
tons on the remote control and press the
008B button to confirm.
X Select Brightness
Brightness using the00630064
buttons and press the 008Bbutton to confirm.
A scale appears.
X Adjust the brightness using the 00630064
buttons and press the 008Bbutton to confirm.
The brightness bar moves up or down. The picture becomes lighter or darker in
accordance with the scale. Showing/hiding the picture
X Select Vehicle Vehicle using the
006300640059 buttons on the
remote control and press the 008Bbutton to
confirm.
X Press button 0064on the remote control.
A menu appears.
X Select Display Off
Display Off using the
006300640059 buttons and press
the 008Bbutton to confirm.
X To display the picture: press the008Bbut-
ton. Adjusting sound settings
You can select the sound settings in the radio, audio CD/audio DVD/MP3, video DVD and
AUX modes.
X Select a medium (e.g. audio CD mode)
(Y page 274).
X To show the menu: press the 0064button
on the remote control. System settings
269Rear Seat Entertainment System Z
Page 274 of 298
Radio mode
X To switch on: press the002Abutton on
the remote control.
Radio mode starts.
Further information on radio mode
(Y page 198). Media mode
Activating media mode
There are several ways to activate media
sources using COMAND.
The relevant sections of the Operator's Man-
ual describe the simplest way to activate a
media source.
This section describes all options for activat-
ing media sources. Using the MEDIA button
X Press the 00FDbutton on the remote
control.
The menu for the last accessed media
source appears.
X To select the media source: keep press-
ing the 00FDbutton on the remote control
until the required media source has been
set.
If playable music files are found, they will be
played by COMAND. Switching on automatically
If COMAND is only active at one operating
position in the rear compartment, the respec-
tive medium will switch on automatically once connected/inserted.
If a media function is already switched on in
COMAND, this will be interrupted and the
basic display of the newly connected/
inserted medium will appear.
If COMAND is being operated in another func-
tion, such as navigation, when an external media source is connected/inserted, the
basic display will not change. Only the music
from the newly connected data carrier will
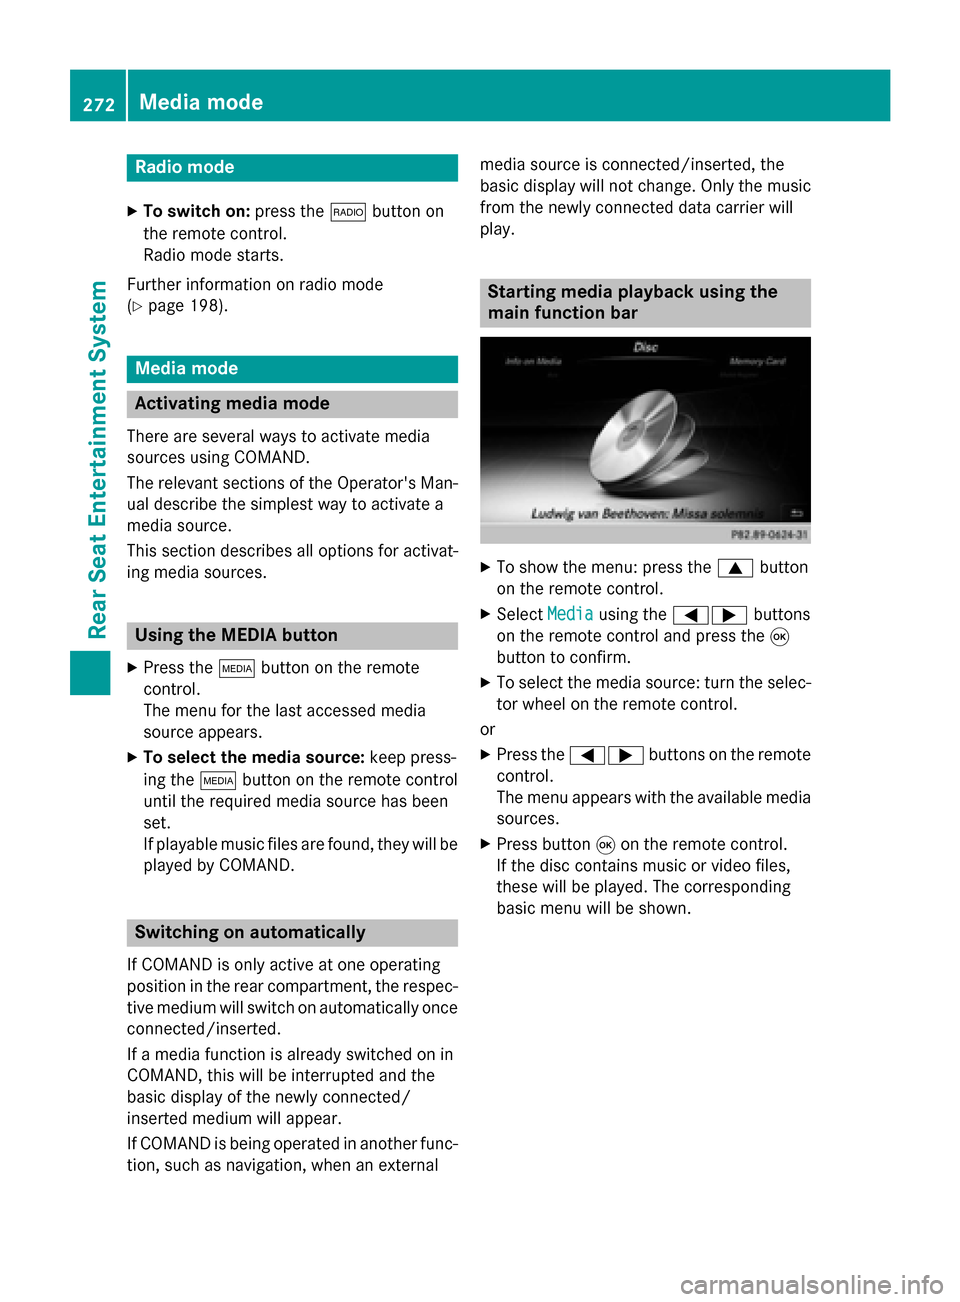
play. Starting media playback using the
main function bar
X
To show the menu: press the 0063button
on the remote control.
X Select Media Mediausing the 00590065 buttons
on the remote control and press the 008B
button to confirm.
X To select the media source: turn the selec-
tor wheel on the remote control.
or
X Press the 00590065 buttons on the remote
control.
The menu appears with the available media
sources.
X Press button 008Bon the remote control.
If the disc contains music or video files,
these will be played. The corresponding
basic menu will be shown. 272
Media modeRear Seat Entertainment System
Page 276 of 298
Depending on the vehicle model and equip-
ment level, the CD/DVD drive is found:
R at the rear of the center console under the
automatic climate control panel or
R between the parcel shelf and skibag.
The CD/DVD drive is a single disc drive. If
there is already a disc inserted, this must be
ejected before another is inserted.
X Insert a disc into the disc slot.
The printed side of the disc must face
upwards. If neither side of the disc is
printed, the side you wish to play must face
downwards.
The CD/DVD drive draws in the disc.
The CD/DVD drive plays the disc:
R if it has been inserted correctly and is a
permissible disc, and
R once you have activated disc mode.
Data on an MP3 CD first needs to be loaded by the drive. Loading may take some time,
depending on the number of folders and
tracks. Switching to audio/video mode
X Insert a CD/DVD (Y page 264).
The system loads the inserted disc and
starts playback.
or
X Select Media Mediausing the 006300590065
buttons on the remote control and press
the 008Bbutton to confirm.
X Select Disc
Discusing the 00590065 buttons
and press the 008Bbutton to confirm.
The system plays the disc.
X To switch to other media: insert the
device into the corresponding jack.
The system searches for files on the device that can be played back, and then plays
them. Selecting a track
Selecting by skipping to a track X
To skip forwards or backwards to a
track: press the 0059or0065 button on
the remote control.
or
X Press the 0048or0049 button.
The skip forward function skips to the next track.
If the elapsed track time has exceeded 8
seconds, the function skips back to the
beginning of the track. If the elapsed time is shorter, it will skip to the start of the pre-
vious track.
If the Random Tracks Random Tracks orRandom Folder
Random Folder
playback option has been selected, the
track order is random.
Selecting by track list In audio CD mode, the track list contains all
tracks on the disc currently playing.
In MP3 mode, the track list shows all tracks in
the currently active folder as well as the folder
structure, allowing you to select any track on
the MP3 CD.
X Select Search Search using the 006400590065
buttons on the remote control and press
the 008Bbutton to confirm.
X Select Current Tracklist
Current Tracklist using the
00630064 buttons and press the 008Bbutton
to confirm.
The track list appears. The 0036dot indicates
the current track.
X Select the track using the 00630064but-
tons and press the 008Bbutton to confirm.
Making a selection by entering the track number directly This function is only available in Media mode.
X Press the 007Ebutton on the remote
control.
The track entry display appears. 274
Audio/video modeRear Seat Entertainment System
Page 277 of 298
Example: track 2
X
Press number button 2.
Example: track 12 X Press the corresponding number keys in
rapid succession.
X Wait for approximately three seconds after
making the entry.
You will hear the track which has been
entered. The corresponding basic menu
then reappears.
i It is not possible to enter numbers that
exceed the number of tracks on the CD or in
the currently active folder. Fast forwarding/rewinding
X With the display/selection window active,
press the 0059or0065 button on the
remote control repeatedly until you reach
the desired position.
or
X Press and hold the 0048or0049 button
until the desired position is reached. Selecting a folder
This function is only available in MP3 mode.
X Select Search
Search using the 006400590065
buttons on the remote control and press
the 008Bbutton to confirm.
X Select Folder
Folder using the 006400590065
buttons and press the 008Bbutton to confirm.
The folder content appears.
X To switch to the next folder up: press the
0059 button on the remote control.
The display shows the next folder up.
X Select the folder with the 00630064but-
tons and press the 008Bbutton to confirm.
You will see the tracks in the folder.
X Select the track using the 00630064but-
tons and press the 008Bbutton to confirm.
The track is played and the corresponding
folder is now the active folder. Pause/Playback
X To pause playback: press the0065/
00CF button on the remote control.
The 00CF display changes to 00D0.
X To continue playback: press the0065/
00CF button.
The 00D0 display changes to 00CF. Playback options
X Select Options Options using the 006400590065
buttons and press the 008Bbutton to confirm.
X The options list appears. The 0036dot indi-
cates the option currently selected.
X Select Normal Normal Track
TrackSequence
Sequence ,Random
Random
Tracks
Tracks orRandom Folder
Random Folder using the
00630064 buttons and press the 008Bbutton
to confirm.
The option is switched on. For all options
except Normal Track Sequence
Normal Track Sequence, you will
see a corresponding display in the display/
selection window.
i If you switch the data carrier which you
are currently listening to, the Normal
Normal
Track Sequence Track Sequence option is activated auto-
matically. If an option is selected, it
remains selected after the system is
switched on or off. Switching track information on/off
If the function is switched on, the information saved in the audio files, such as track, artist or
album, will be shown (if available).
If the function is switched off, the names of
the files and folders on the disc are shown.
X Select Options Options using the 006400590065
buttons and press the 008Bbutton to confirm.
X Select Show Track Information
Show Track Information using
the 00630064 buttons and press the 008B
button to confirm.
The function is switched on 0073or off 0053,
depending on the previous status. Audio/video mode
275Rear Seat Entertainment System Z
Page 278 of 298
Video DVD mode
Important safety notes
G
WARNING
The CD/DVD drive is a class 1 laser product. If you open the housing of the CD/DVD drive,
there is a risk of exposure to invisible laser
radiation. This laser radiation could damage
your retina. There is a risk of injury.
Never open the housing. Always have main-
tenance and repair work carried out at a quali- fied specialist workshop. General notes
DVD playback conditions Playback problems may occur when playing
copied discs. There is a large variety of discs,
DVD authoring software, writing software and writers available. This variety means that
there is no guarantee that the system will be
able to play video DVDs you have copied your-
self.
More information on the playback criteria
(Y page 241).
Function restrictions Depending on the DVD, certain functions or
actions may be temporarily blocked or not
function at all. As soon as you try to activate
these functions, you will see the
0047symbol in
the display. Switching to video DVD mode
X Insert a video DVD (Y page 264).
The system loads the disc.
If disc mode was the last mode selected, it will now be active.
X Manually switch to video DVD mode:
repeatedly press the 00FDbutton on the remote control until the video DVD mode is
switched on.
If the video DVD fulfills the playback crite-
ria, the film starts automatically or the DVD
menu appears. If the DVD menu appears,
you must start the film manually.
X Select the corresponding menu item in the
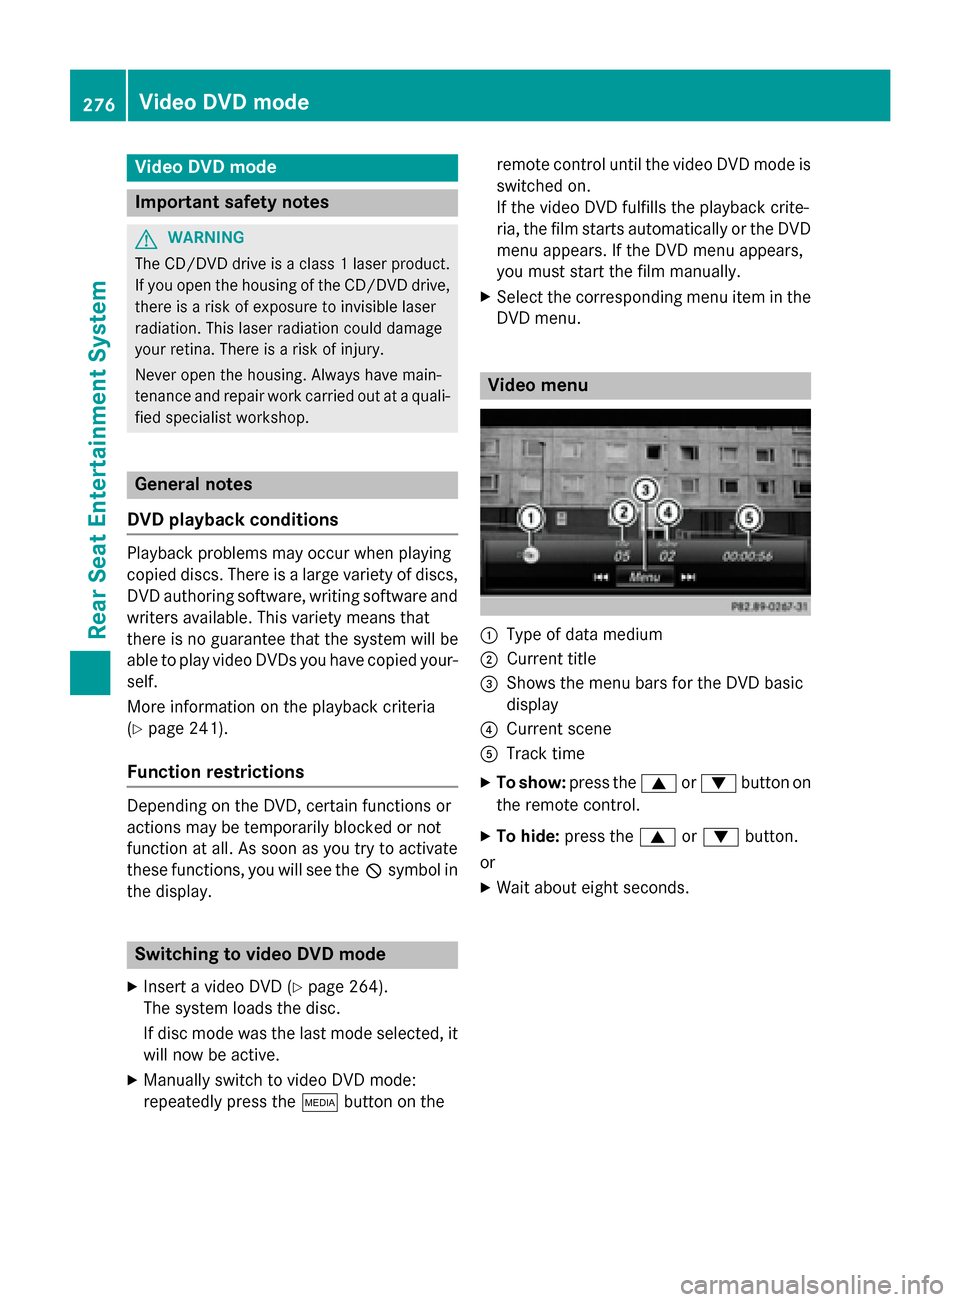
DVD menu. Video menu
0043
Type of data medium
0044 Current title
0087 Shows the menu bars for the DVD basic
display
0085 Current scene
0083 Track time
X To show: press the0063or0064 button on
the remote control.
X To hide: press the 0063or0064 button.
or X Wait about eight seconds. 276
Video DVD modeRear Seat Entertainment System
Page 280 of 298
X
Option 1: while the film is playing, press
the 007E button on the remote control.
X Press the corresponding number key, such
as 5.
X Option 2: while the film is playing, press
the 008Bbutton on the remote control and
show the menu.
X Select Menu
Menu and press the 008Bbutton to
confirm.
The DVD menu appears.
X Select Scene
Scene Selection Selection and press the 008B
button to confirm.
X Using button 0063or0064, select 5
5and
press the 008Bbutton to confirm.
In both cases, playback will begin from the 5th scene/chapter after a brief pause. Selecting a film/track
Option 1:
X Press the 008Bbutton on the remote control
and show the menu.
X Select Menu
Menuusing the 0063006400590065
buttons on the remote control and press
the 008Bbutton to confirm.
The DVD menu appears.
X Select Track Selection
Track Selection using the
0063006400590065 buttons on the
remote control and press the 008Bbutton to
confirm.
X To call up the selection list: press the008B
button.
X Select a film/track.
Option 2:
Example: selecting film 2
X Press button 2.
After a brief pause, the second film is
played. DVD menu
Calling up the DVD menu The DVD menu is the menu stored on the DVD
itself. It is structured in various ways accord-
ing to the individual DVD and permits certain
actions and settings.
In the case of multi-language DVDs, for exam- ple, you can change the DVD language in the
DVD menu.
X Press the 008Bbutton on the remote control
and show the menu.
X Select Menu Menuusing the 0063006400590065
buttons on the remote control and press
the 008Bbutton to confirm.
The DVD menu appears.
Selecting menu items in the DVD menu X
Select a menu item using the
0063006400590065 buttons on the
remote control and press the 008Bbutton to
confirm.
X Select Select Select using the
0063006400590065 buttons on the
remote control and press the 008Bbutton to
confirm.
The system executes the function or shows a submenu.
X If available, additional options can now be
selected.
The system then switches back to the DVD
menu.
i Menu items which cannot be selected are
shown in gray.
i Depending on the DVD, certain menu
items may not function. For example, the
menu items:
R Back (to film) Back (to film)
R Play
Play
R Stop
Stop
R 0048
R 0049
R Go Up
Go Up. 278
Video DVD modeRear Seat Entertainment System
Page 281 of 298
To indicate this, the
0047symbol appears in
the display.
Stopping a film or skipping to the begin-
ning or end of a scene X
Select any menu item from the DVD menu.
The menu appears.
X To stop the film: select theStop
Stopmenu
item and press the 008Bbutton on the remote
control to confirm.
X To skip to the end of a scene: select the
0049 menu item and press 008Bto confirm.
X To skip to the start of a scene: select the
0048 menu item and press 008Bto confirm.
Moving up one level in the DVD menu X
Show the DVD menu.
X Press the 0038back button on the remote
control or select the corresponding menu
item in the DVD menu.
Back to the film X
Press the 0038back button repeatedly
until you see the movie. Setting the audio format
This function is not available on all DVDs. If it
is available, you can set the audio language or the audio format. The number of settings is
determined by the DVD content. It may also
be possible to access the settings from the
DVD menu.
X Press the 008Bbutton on the remote control
and show the menu.
X Select DVD-Video
DVD-Video using the
0063006400590065 buttons on the
remote control and press the 008Bbutton to
confirm.
X Select DVD Functions
DVD Functions and press the008B
button to confirm. X
Select Audio Language Audio Language and press the008B
button to confirm.
A menu appears after a short while. The 003B
dot in front of an entry indicates the cur-
rently selected language.
X Select the language using the 00630064
buttons and press the 008Bbutton to confirm.
X To exit the menu: press the0059or0065
button. Subtitles and camera angle
These functions are not available on all DVDs.
The number of subtitle languages and camera
angles available depends on the content of
the DVD. It may also be possible to access the settings from the DVD menu.
X Press the 008Bbutton on the remote control
and show the menu.
X Select DVD-Video DVD-Video using the
0063006400590065 buttons on the
remote control and press the 008Bbutton to
confirm.
X Select DVD Functions
DVD Functions and press the008B
button to confirm.
X Select Subtitles
Subtitles orCamera Angle
Camera Angle and
press the 008Bbutton to confirm.
In both cases, a menu appears after a few
seconds. The 003Bdot in front of an entry indi-
cates the current setting.
X Select the setting using the 00630064but-
tons and press the 008Bbutton to confirm.
X To exit the menu: press the0059or0065
button. Interactive content
DVDs can also contain interactive content
(e.g. a video game). In a video game, you may be able to influence events by selecting and
triggering actions. The type and number of
actions depend on the DVD. Video DVD mode
279Rear Seat Entertainment System Z
Page 282 of 298
X
Select an action using the
006300650064 buttons on the
remote control and press the 008Bbutton to
execute it.
A menu appears and the first entry, Select Select,
is highlighted.
X Press the 008Bbutton. AUX mode
General notes
You can connect an external video source in
the rear compartment.
Depending on the vehicle model and equip-
ment level, the AUX jacks are found:
R in the stowage box between the rear seats
or
R in the rear-compartment armrest
(Y page 264).
Please see the corresponding operating
instructions for information on how to oper-
ate the external video source.
For further details about external video sour- ces, please consult an authorized Mercedes-
Benz Center. Connecting AUX equipment
X Insert the audio plugs for the left and right
signals into the corresponding Land R
jacks.
X Insert the video plug into the Vjack. Activating AUX mode
X Select AUX AUXusing the 006300590065 but-
tons on the remote control and press the
008B button to confirm.
The AUX source is switched on once the
AUX device is active. 280
AUX modeRear Seat Entertainment System
Page 288 of 298
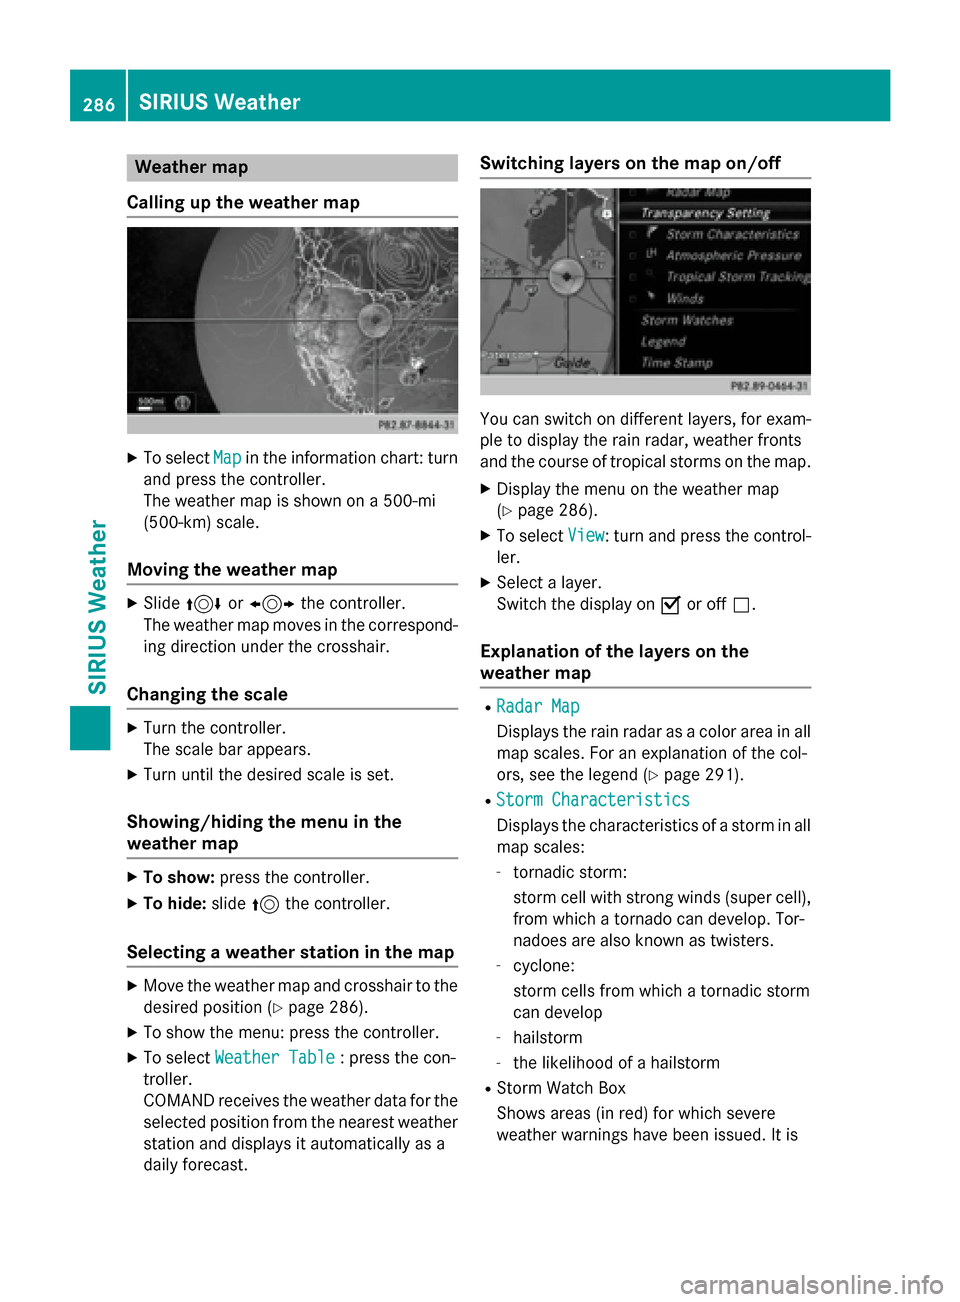
Weather map
Calling up the weather map X
To select Map
Mapin the information chart: turn
and press the controller.
The weather map is shown on a 500-mi
(500-km) scale.
Moving the weather map X
Slide 4 or1 the controller.
The weather map moves in the correspond-
ing direction under the crosshair.
Changing the scale X
Turn the controller.
The scale bar appears.
X Turn until the desired scale is set.
Showing/hiding the menu in the
weather map X
To show: press the controller.
X To hide: slide5the controller.
Selecting a weather station in the map X
Move the weather map and crosshair to the
desired position (Y page 286).
X To show the menu: press the controller.
X To select Weather Table
Weather Table : press the con-
troller.
COMAND receives the weather data for the
selected position from the nearest weather
station and displays it automatically as a
daily forecast. Switching layers on the map on/off
You can switch on different layers, for exam-
ple to display the rain radar, weather fronts
and the course of tropical storms on the map.
X Display the menu on the weather map
(Y page 286).
X To select View View: turn and press the control-
ler.
X Select a layer.
Switch the display on 0073or off 0053.
Explanation of the layers on the
weather map R
Radar Map Radar Map
Displays the rain radar as a color area in all
map scales. For an explanation of the col-
ors, see the legend (Y page 291).
R Storm Characteristics Storm Characteristics
Displays the characteristics of a storm in all
map scales:
- tornadic storm:
storm cell with strong winds (super cell),
from which a tornado can develop. Tor-
nadoes are also known as twisters.
- cyclone:
storm cells from which a tornadic storm
can develop
- hailstorm
- the likelihood of a hailstorm
R Storm Watch Box
Shows areas (in red) for which severe
weather warnings have been issued. It is 286
SIRIUS WeatherSIRIUS Weather
Page 293 of 298
You can also see the time stamp for the weather data on map scales of 50 miles and smaller.
The weather map shows wind directions and wind speeds.
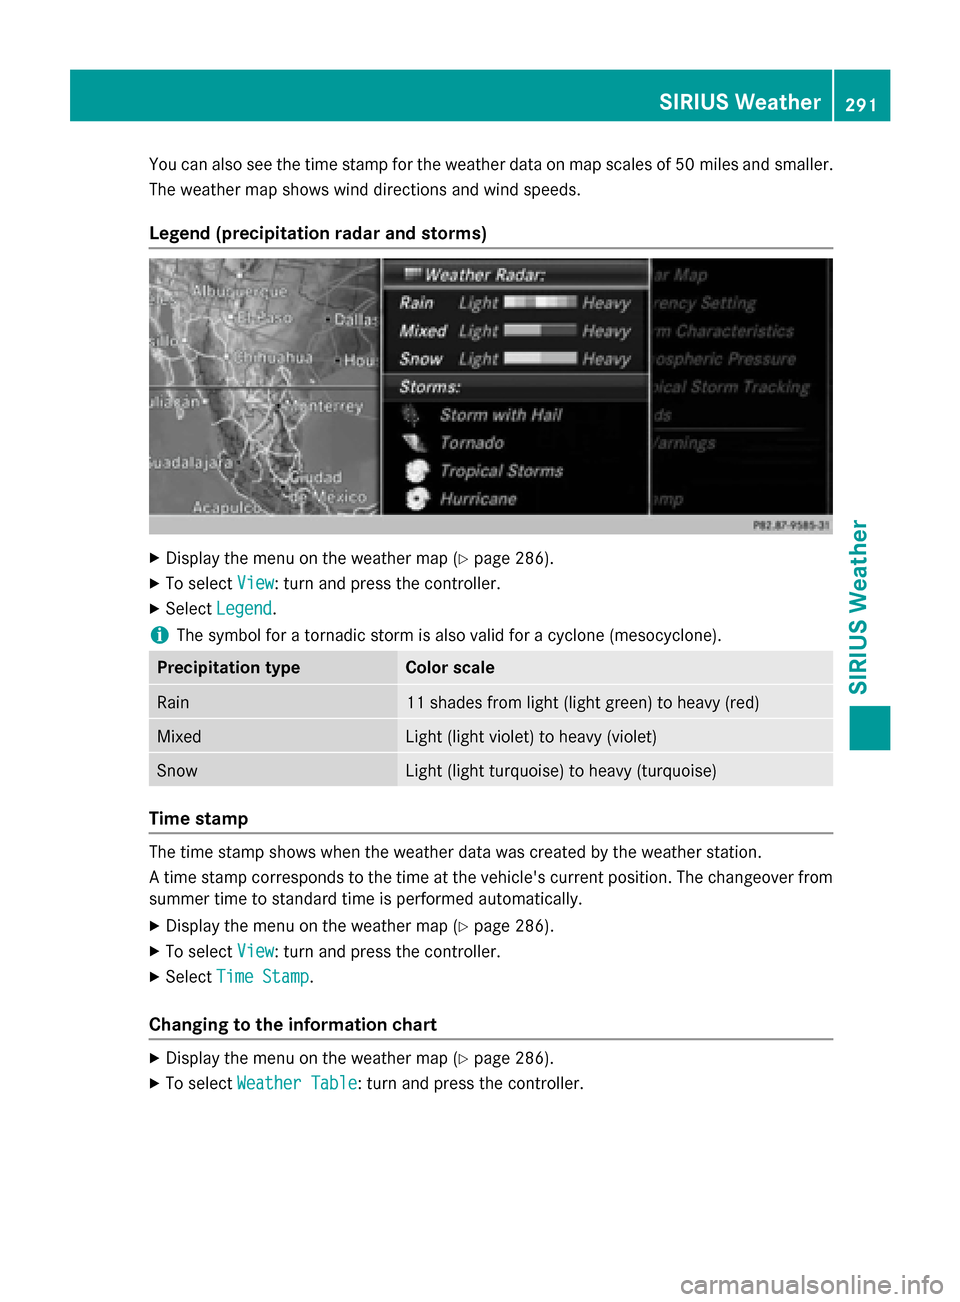
Legend (precipitation radar and storms) X
Display the menu on the weather map (Y page 286).
X To select View
View : turn and press the controller.
X Select Legend
Legend.
i The symbol for a tornadic storm is also valid for a cyclone (mesocyclone). Precipitation type Color scale
Rain 11 shades from light (light green) to heavy (red)
Mixed Light (light violet) to heavy (violet)
Snow Light (light turquoise) to heavy (turquoise)
Time stamp
The time stamp shows when the weather data was created by the weather station.
A time stamp corresponds to the time at the vehicle's current position. The changeover from
summer time to standard time is performed automatically.
X Display the menu on the weather map (Y page 286).
X To select View
View : turn and press the controller.
X Select Time Stamp Time Stamp.
Changing to the information chart X
Display the menu on the weather map (Y page 286).
X To select Weather Table
Weather Table: turn and press the controller. SIRIUS Weather
291SIRIUS Weather