display MERCEDES-BENZ S-Class 2015 W222 Comand Manual
[x] Cancel search | Manufacturer: MERCEDES-BENZ, Model Year: 2015, Model line: S-Class, Model: MERCEDES-BENZ S-Class 2015 W222Pages: 298, PDF Size: 6.39 MB
Page 74 of 298
Child-proof locks
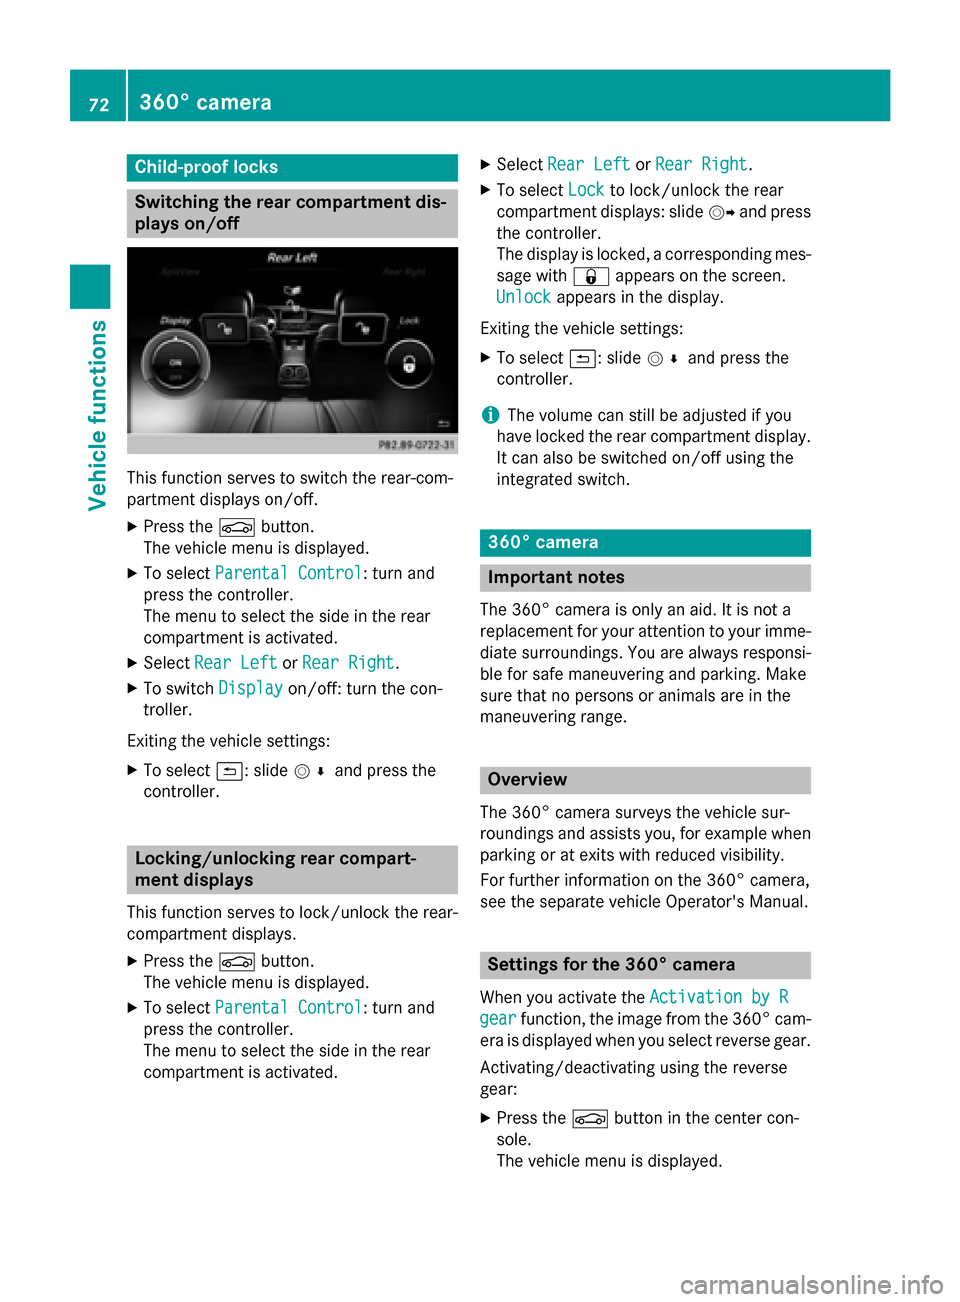
Switching the rear compartment dis-
plays on/off This function serves to switch the rear-com-
partment displays on/off.
X Press the 00D4button.
The vehicle menu is displayed.
X To select Parental Control
Parental Control: turn and
press the controller.
The menu to select the side in the rear
compartment is activated.
X Select Rear Left Rear Left orRear Right
Rear Right.
X To switch Display
Display on/off: turn the con-
troller.
Exiting the vehicle settings: X To select 0039: slide 005200C5and press the
controller. Locking/unlocking rear compart-
ment displays
This function serves to lock/unlock the rear-
compartment displays.
X Press the 00D4button.
The vehicle menu is displayed.
X To select Parental Control
Parental Control: turn and
press the controller.
The menu to select the side in the rear
compartment is activated. X
Select Rear Left Rear Left orRear Right
Rear Right.
X To select Lock
Lockto lock/unlock the rear
compartment displays: slide 00520096and press
the controller.
The display is locked, a corresponding mes- sage with 0037appears on the screen.
Unlock Unlock appears in the display.
Exiting the vehicle settings: X To select 0039: slide 005200C5and press the
controller.
i The volume can still be adjusted if you
have locked the rear compartment display. It can also be switched on/off using the
integrated switch. 360° camera
Important notes
The 360° camera is only an aid. It is not a
replacement for your attention to your imme- diate surroundings. You are always responsi-
ble for safe maneuvering and parking. Make
sure that no persons or animals are in the
maneuvering range. Overview
The 360° camera surveys the vehicle sur-
roundings and assists you, for example when
parking or at exits with reduced visibility.
For further information on the 360° camera,
see the separate vehicle Operator's Manual. Settings for the 360° camera
When you activate the Activation by R Activation by R
gear
gear function, the image from the 360° cam-
era is displayed when you select reverse gear.
Activating/deactivating using the reverse
gear:
X Press the 00D4button in the center con-
sole.
The vehicle menu is displayed. 72
360° cameraVehicle functions
Page 75 of 298
X
To switch to the menu bar: slide 6the
controller.
X To select System Settings
System Settings: turn and
press the controller.
X Select 360° Camera
360° Camera.
X Select Activation by R gear
Activation by R gear.
The function is switched on 0073or off 0053,
depending on the previous status. Displaying the 360° camera image
The 360° camera image can be displayed if:
R your vehicle is equipped with a 360° cam-
era
R COMAND is switched on (Y page 25)
R the 360° Camera
360° Camera function is switched on
Displaying the image of the 360° camera:
X Press the 00D4button in the center con-
sole.
A menu appears.
X Select 360° Camera 360° Camera.
The 360° camera image appears in split-
screen mode.
You will see the previous view on the display if you have switched the function on:
R and turn the key to position 1in the ignition
lock
R select transmission position P
R the vehicle exceeds a speed of approx.
30 km/h
Manually switching the display
X To select 0039: slide 6and press the con-
troller.
Automatically switching the display: X You can automatically switch the 360 cam-
era display using reverse gear (Y page 72). Opening the camera cover for clean-
ing
X To select Open OpenCamera
Camera Cover
Coverin the 360°
camera menu: turn the controller and press
to confirm.
The Please Please Wait...
Wait... message appears for
approximately three seconds.
The camera cover opens.
The camera cover closes automatically if:
R the ignition is switched off.
R the vehicle exceeds a speed of approx.
30 km/h Rear view camera
Important notes
The rear view camera is only an aid. It is not a replacement for your attention to your imme- diate surroundings. You are always responsi-
ble for safe maneuvering and parking. When
maneuvering or parking, make sure that there are no persons, animals or objects in the area
in which you are maneuvering. Overview
The rear view camera covers the immediate
surroundings of the vehicle and assists you
when parking.
You can find further information about the
rear view camera in the vehicle Operator's
Manual. Settings for the rear view camera
When you activate the Activation by R Activation by R
gear
gear function, the image from the rear view
camera is displayed when you select reverse
gear. Rear view camera
73Vehicle functions
Page 76 of 298
Activating/deactivating using the reverse
gear:
X Press the 00D4button in the center con-
sole.
The vehicle menu is displayed.
X Slide 6the controller.
X To select System Settings System Settings: turn and
press the controller.
X Select Rear View Camera
Rear View Camera .
The Rear View Camera
Rear View Camera menu appears.
X Select Activation by R gear
Activation by R gear.
The function is switched on 0073or off 0053,
depending on the previous status.
When you start the vehicle and engage
reverse gear, the camera cover opens auto- matically if the function is activated. The
area behind the vehicle is shown with guide
lines in the display (see the vehicle Opera-
tor's Manual). Object detection
The rear view camera can detect moving and
stationary objects. If, for example, a pedes-
trian or another vehicle is detected, these
objects are marked with bars. The system is
only able to detect and mark stationary
objects when your vehicle is moving. By con- trast, stationary objects will always be
detected and marked.
Switching object detection on/off
X To select Object Detection Object Detection in the rear
view camera menu: turn and press the con-
troller.
The function is switched on 0073or off 0053,
depending on the previous status. Opening the camera cover for clean-
ing
X To select Open Camera Cover Open Camera Cover in the rear
view camera menu: turn and press the con-
troller.
The Please
Please Wait...
Wait... message appears for
approximately three seconds.
The camera cover opens.
The camera cover closes automatically if: R the ignition is switched off
R the vehicle pulls away 74
Rear view cameraVehicle functions
Page 78 of 298
Your COMAND equipment
These operating instructions describe all
standard and optional equipment available
for your COMAND system at the time of pur-
chase. Country-specific differences are pos-
sible. Please note that your COMAND system may not be equipped with all the features
described. This also applies to safety-relevant
systems and functions. Therefore, the equip-
ment on your COMAND system may differ
from that in the descriptions and illustrations. Should you have any questions concerning
equipment and operation, please consult an
authorized Mercedes-Benz Center. Introduction
Important safety notes
G
WARNING
If you operate information systems and com-
munication equipment integrated in the vehi- cle while driving, you will be distracted from
traffic conditions. You could also lose control of the vehicle. There is a risk of an accident.
Only operate the equipment when the traffic
situation permits. If you are not sure that this
is possible, park the vehicle paying attention
to traffic conditions and operate the equip-
ment when the vehicle is stationary.
You must observe the legal requirements for
the country in which you are currently driving when operating COMAND.
COMAND calculates the route to the destina-
tion without taking account of the following,
for example:
R traffic lights
R stop and yield signs
R merging lanes
R parking or stopping in a no parking/no
stopping zone
R other road and traffic rules and regulations
R narrow bridges COMAND can give incorrect navigation com-
mands if the actual street/traffic situation
does not correspond with the digital map's
data. Digital maps do not cover all areas nor
all routes in an area. For example, a route may
have been diverted or the direction of a one-
way street may have changed.
For this reason, you must always observe
road and traffic rules and regulations during
your journey. Road and traffic rules and reg-
ulations always have priority over the sys-
tem's driving recommendations.
Navigation announcements are intended to
direct you while driving without diverting your attention from the road and driving.
Please always use this feature instead of con-sulting the map display for directions. Look-
ing at the icons or map display can distract
you from traffic conditions and driving, and
increase the risk of an accident. General notes
Operational readiness of the navigation system The navigation system must determine the
position of the vehicle before first use or
whenever operational status is restored.
Therefore, you may have to drive for a while
before precise route guidance is possible.
GPS reception Among other things, correct functioning of
the navigation system depends on GPS recep-
tion. In certain situations, GPS reception may
be impaired, there may be interference or
there may be no reception at all, e.g. in tun-
nels or parking garages.
i Using roof carriers may impair the correct
functioning of a roof antenna (phone, sat-
ellite radio, GPS). 76
Int
roductionNavigation
Page 81 of 298
X
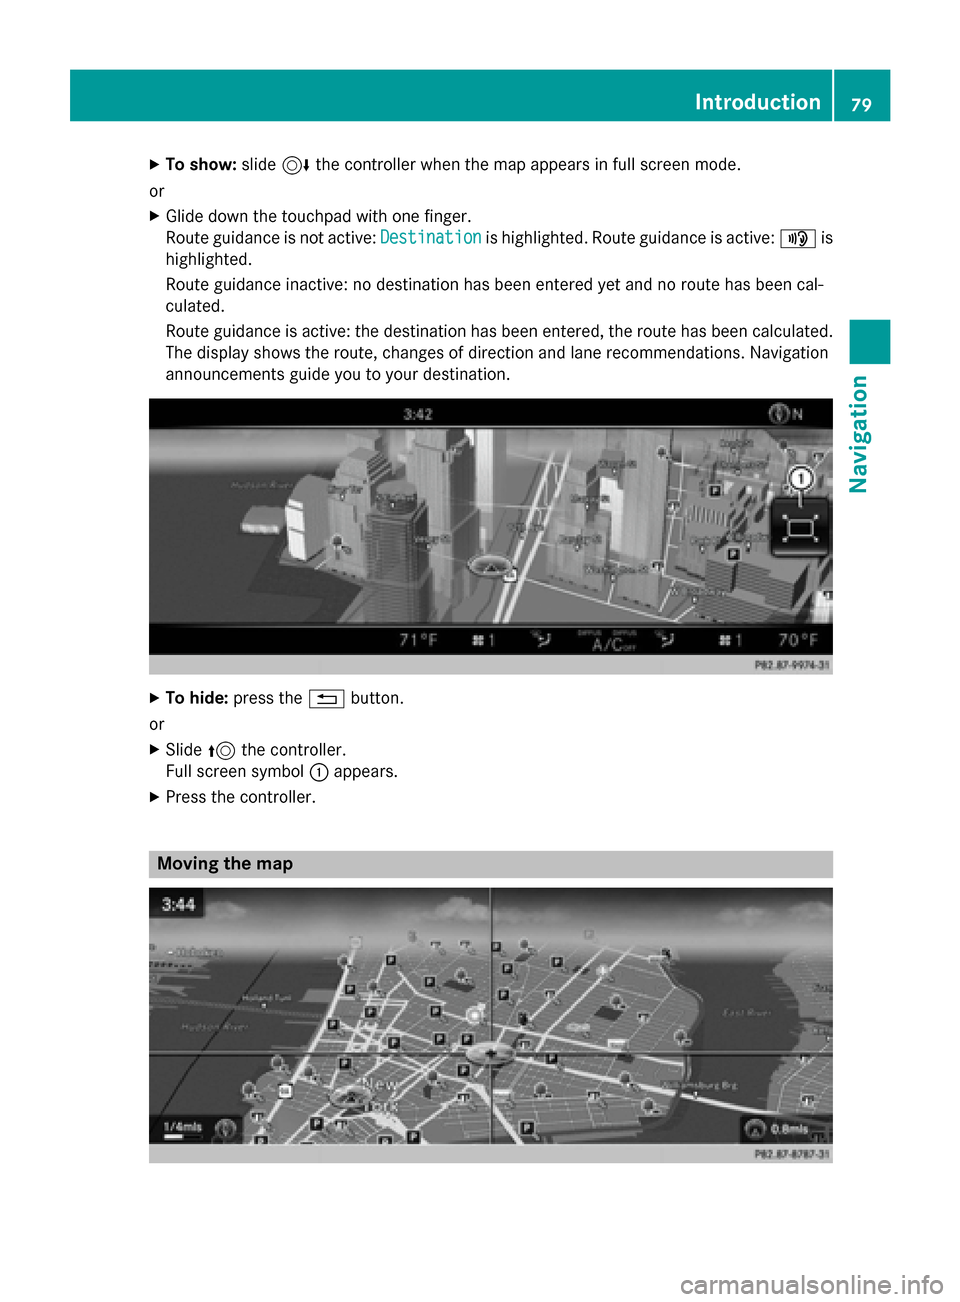
To show: slide6the controller when the map appears in full screen mode.
or X Glide down the touchpad with one finger.
Route guidance is not active: Destination Destinationis highlighted. Route guidance is active: 008Fis
highlighted.
Route guidance inactive: no destination has been entered yet and no route has been cal-
culated.
Route guidance is active: the destination has been entered, the route has been calculated.
The display shows the route, changes of direction and lane recommendations. Navigation
announcements guide you to your destination. X
To hide: press the 0038button.
or X Slide 5the controller.
Full screen symbol 0043appears.
X Press the controller. Moving the map Introduction
79Navigation Z
Page 82 of 298
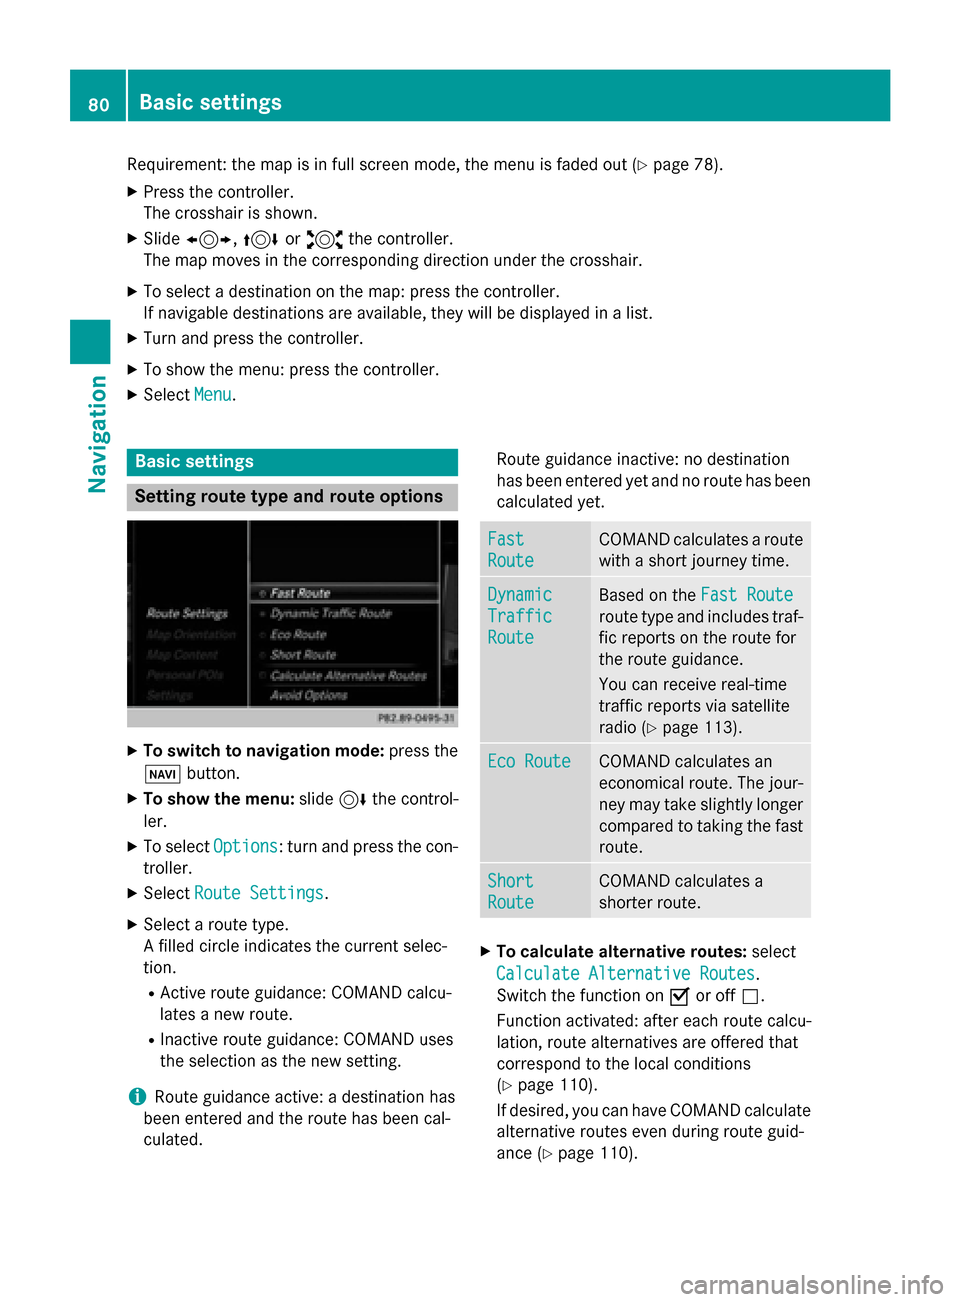
Requirement: the map is in full screen mode, the menu is faded out (Y
page 78).
X Press the controller.
The crosshair is shown.
X Slide 1, 4or2 the controller.
The map moves in the corresponding direction under the crosshair.
X To select a destination on the map: press the controller.
If navigable destinations are available, they will be displayed in a list.
X Turn and press the controller.
X To show the menu: press the controller.
X Select Menu
Menu. Basic settings
Setting route type and route options
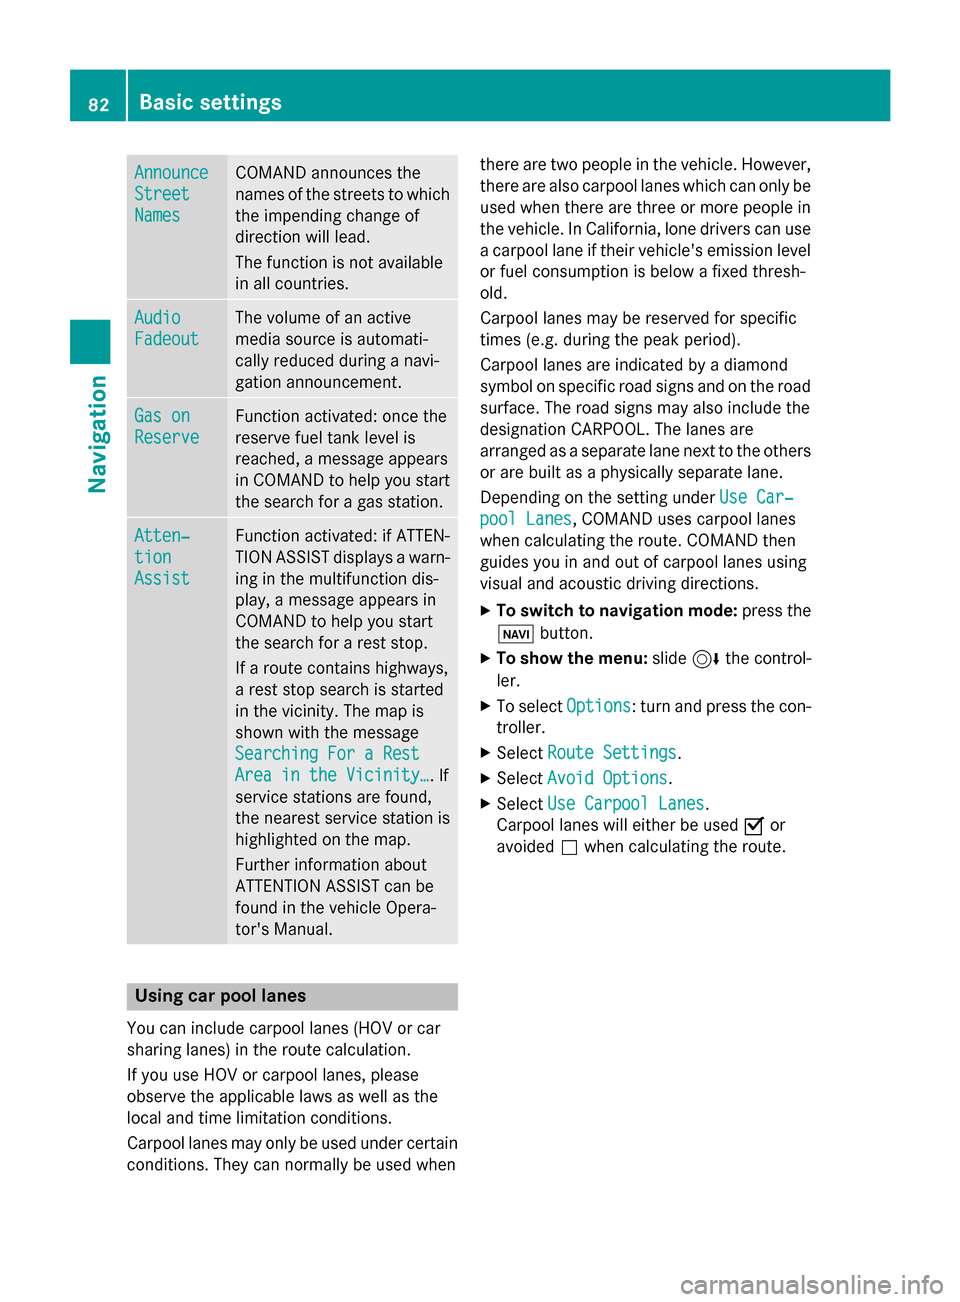
X
To switch to navigation mode: press the
00BE button.
X To show the menu: slide6the control-
ler.
X To select Options
Options: turn and press the con-
troller.
X Select Route Settings Route Settings.
X Select a route type.
A filled circle indicates the current selec-
tion.
R Active route guidance: COMAND calcu-
lates a new route.
R Inactive route guidance: COMAND uses
the selection as the new setting.
i Route guidance active: a destination has
been entered and the route has been cal-
culated. Route guidance inactive: no destination
has been entered yet and no route has been
calculated yet. Fast Fast
Route Route COMAND calculates a route
with a short journey time. Dynamic
Dynamic
Traffic Traffic
Route Route Based on the
Fast Route
Fast Route
route type and includes traf-
fic reports on the route for
the route guidance.
You can receive real-time
traffic reports via satellite
radio (Y page 113). Eco Route Eco Route COMAND calculates an
economical route. The jour-
ney may take slightly longer
compared to taking the fast route. Short Short
Route Route COMAND calculates a
shorter route.
X
To calculate alternative routes: select
Calculate Alternative Routes
Calculate Alternative Routes .
Switch the function on 0073or off 0053.
Function activated: after each route calcu-
lation, route alternatives are offered that
correspond to the local conditions
(Y page 110).
If desired, you can have COMAND calculate alternative routes even during route guid-
ance (Y page 110). 80
Basic settingsNavigation
Page 84 of 298
Announce
Announce
Street Street
Names Names COMAND announces the
names of the streets to which the impending change of
direction will lead.
The function is not available
in all countries. Audio Audio
Fadeout Fadeout The volume of an active
media source is automati-
cally reduced during a navi-
gation announcement.
Gas on Gas on
Reserve Reserve Function activated: once the
reserve fuel tank level is
reached, a message appears
in COMAND to help you start the search for a gas station. Atten‐ Atten‐
tion tion
Assist Assist Function activated: if ATTEN-
TION ASSIST displays a warn-
ing in the multifunction dis-
play, a message appears in
COMAND to help you start
the search for a rest stop.
If a route contains highways,
a rest stop search is started
in the vicinity. The map is
shown with the message
Searching For a Rest Searching For a Rest
Area in the Vicinity… Area in the Vicinity…. If
service stations are found,
the nearest service station is
highlighted on the map.
Further information about
ATTENTION ASSIST can be
found in the vehicle Opera-
tor's Manual. Using car pool lanes
You can include carpool lanes (HOV or car
sharing lanes) in the route calculation.
If you use HOV or carpool lanes, please
observe the applicable laws as well as the
local and time limitation conditions.
Carpool lanes may only be used under certain
conditions. They can normally be used when there are two people in the vehicle. However,
there are also carpool lanes which can only be
used when there are three or more people in
the vehicle. In California, lone drivers can use
a carpool lane if their vehicle's emission level or fuel consumption is below a fixed thresh-
old.
Carpool lanes may be reserved for specific
times (e.g. during the peak period).
Carpool lanes are indicated by a diamond
symbol on specific road signs and on the road surface. The road signs may also include the
designation CARPOOL. The lanes are
arranged as a separate lane next to the others
or are built as a physically separate lane.
Depending on the setting under Use Car‐ Use Car‐
pool Lanes
pool Lanes, COMAND uses carpool lanes
when calculating the route. COMAND then
guides you in and out of carpool lanes using
visual and acoustic driving directions.
X To switch to navigation mode: press the
00CB button.
X To show the menu: slide6the control-
ler.
X To select Options Options: turn and press the con-
troller.
X Select Route Settings
Route Settings.
X Select Avoid Options
Avoid Options.
X Select Use Carpool Lanes
Use Carpool Lanes.
Carpool lanes will either be used 0073or
avoided 0053when calculating the route. 82
Basic settingsNavigation
Page 88 of 298
Starting route calculation
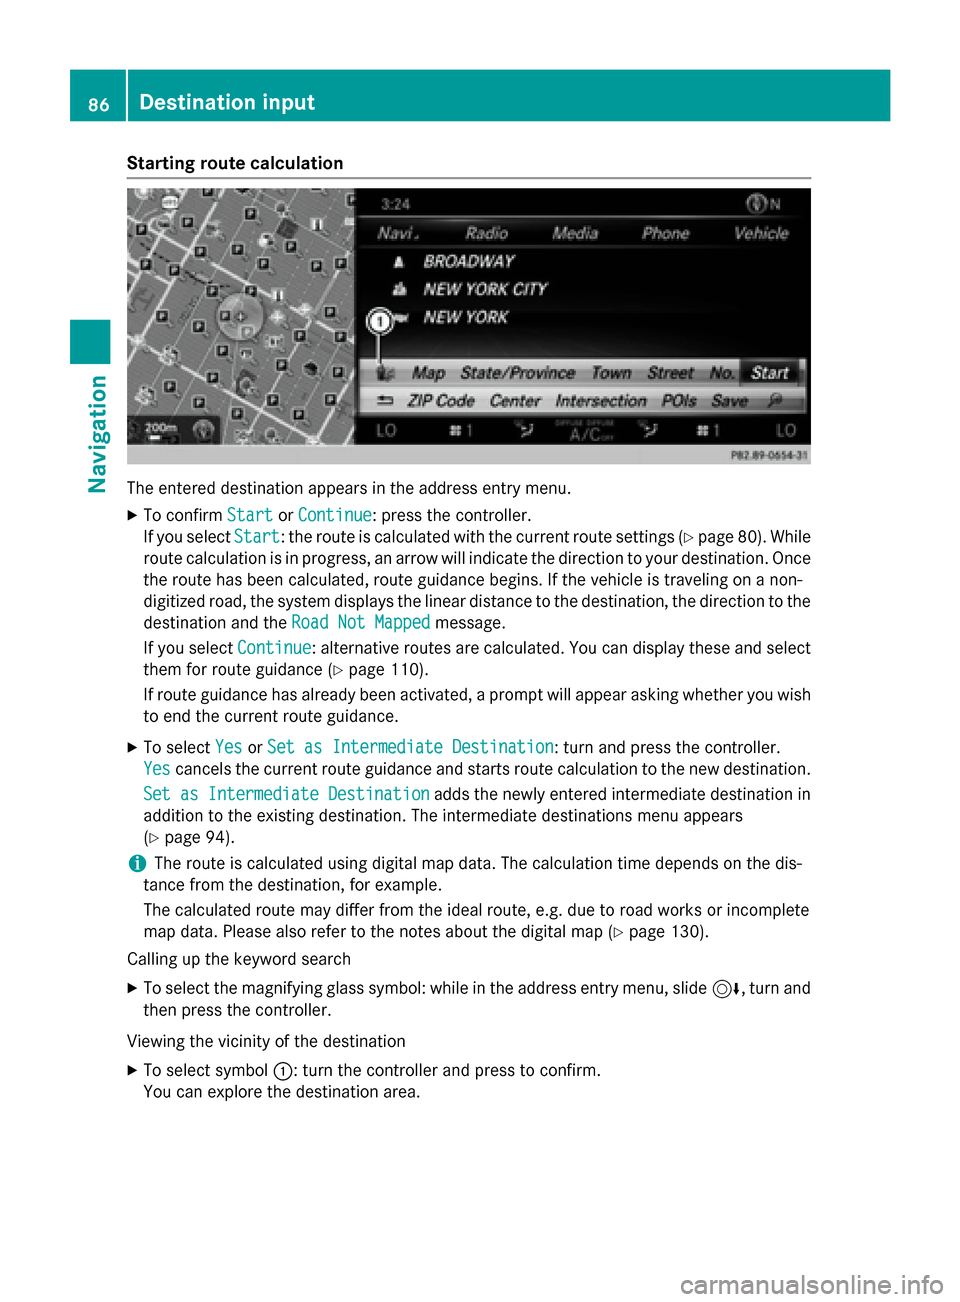
The entered destination appears in the address entry menu.
X To confirm Start StartorContinue Continue: press the controller.
If you select Start
Start: the route is calculated with the current route settings (Y page 80). While
route calculation is in progress, an arrow will indicate the direction to your destination. Once the route has been calculated, route guidance begins. If the vehicle is traveling on a non-
digitized road, the system displays the linear distance to the destination, the direction to the
destination and the Road Not Mapped
Road Not Mapped message.
If you select Continue
Continue: alternative routes are calculated. You can display these and select
them for route guidance (Y page 110).
If route guidance has already been activated, a prompt will appear asking whether you wish to end the current route guidance.
X To select Yes
YesorSet as Intermediate Destination
Set as Intermediate Destination: turn and press the controller.
Yes
Yes cancels the current route guidance and starts route calculation to the new destination.
Set as Intermediate Destination
Set as Intermediate Destination adds the newly entered intermediate destination in
addition to the existing destination. The intermediate destinations menu appears
(Y page 94).
i The route is calculated using digital map data. The calculation time depends on the dis-
tance from the destination, for example.
The calculated route may differ from the ideal route, e.g. due to road works or incomplete
map data. Please also refer to the notes about the digital map (Y page 130).
Calling up the keyword search
X To select the magnifying glass symbol: while in the address entry menu, slide 6, turn and
then press the controller.
Viewing the vicinity of the destination
X To select symbol 0043: turn the controller and press to confirm.
You can explore the destination area. 86
Destination inputNavigation
Page 89 of 298
Requirement for exploring a destination: mbrace must be activated for Internet access
(Y page 173). Keyword search
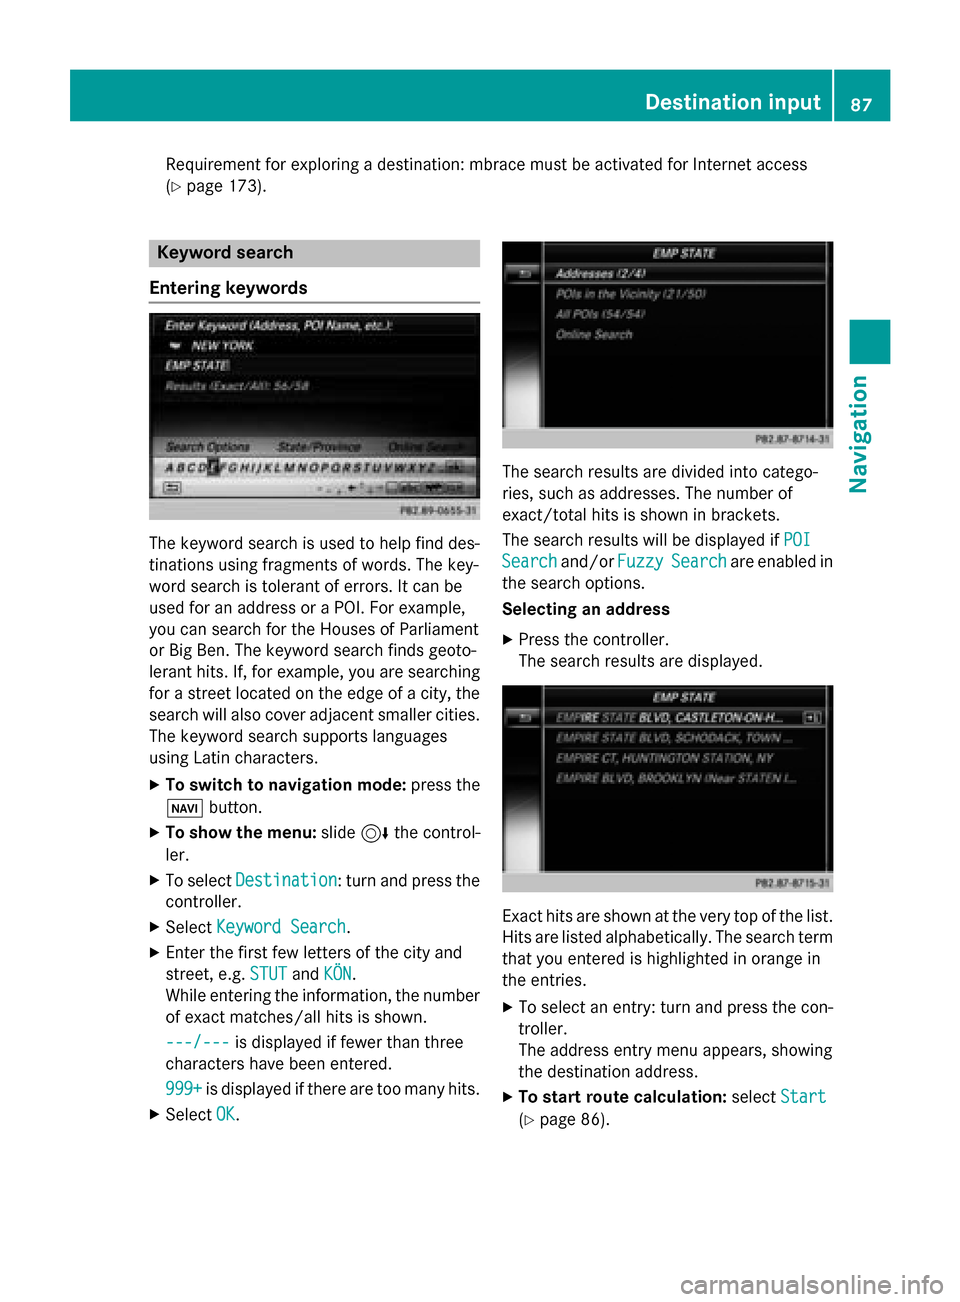
Entering keywords The keyword search is used to help find des-
tinations using fragments of words. The key-
word search is tolerant of errors. It can be
used for an address or a POI. For example,
you can search for the Houses of Parliament
or Big Ben. The keyword search finds geoto-
lerant hits. If, for example, you are searching for a street located on the edge of a city, thesearch will also cover adjacent smaller cities.
The keyword search supports languages
using Latin characters.
X To switch to navigation mode: press the
00BE button.
X To show the menu: slide6the control-
ler.
X To select Destination
Destination: turn and press the
controller.
X Select Keyword Search
Keyword Search .
X Enter the first few letters of the city and
street, e.g. STUT STUTandKÖN
KÖN.
While entering the information, the number of exact matches/all hits is shown.
---/---
---/--- is displayed if fewer than three
characters have been entered.
999+
999+ is displayed if there are too many hits.
X Select OK
OK. The search results are divided into catego-
ries, such as addresses. The number of
exact/total hits is shown in brackets.
The search results will be displayed if
POI POI
Search
Search and/orFuzzy
FuzzySearch
Search are enabled in
the search options.
Selecting an address
X Press the controller.
The search results are displayed. Exact hits are shown at the very top of the list.
Hits are listed alphabetically. The search term
that you entered is highlighted in orange in
the entries.
X To select an entry: turn and press the con-
troller.
The address entry menu appears, showing
the destination address.
X To start route calculation: selectStart Start
(Y page 86). Destination input
87Navigation Z
Page 93 of 298
Selection Instructions
Menu item
Search By
Search By
Name
Name
Search for all POIs on the
digital map or around
one of the three previ-
ously specified positions X
Call up the POI menu (Y page 89).
X To select Search By Name Search By Name: turn and press the controller.
X Select All POIs
All POIs or one of the three previously selected posi-
tions.
The point of interest list with character bar appears.
X Enter a name.
or
X To select Mercedes-Benz Service Mercedes-Benz Service: turn and press the con-
troller. Menu item
Search By
Search By
Phone Number
Phone Number
This function gives you
access to all points of
interest that have a
phone number. X
Call up the POI menu (Y page 89).
X To select Search SearchBy
ByPhone
Phone Number
Number : turn and press the con-
troller.
You will see a list of phone numbers.
X Enter the telephone number.
The telephone number consists of: R the country code (international dialing code)
R the area code
When entering the area code, omit the leading "0".
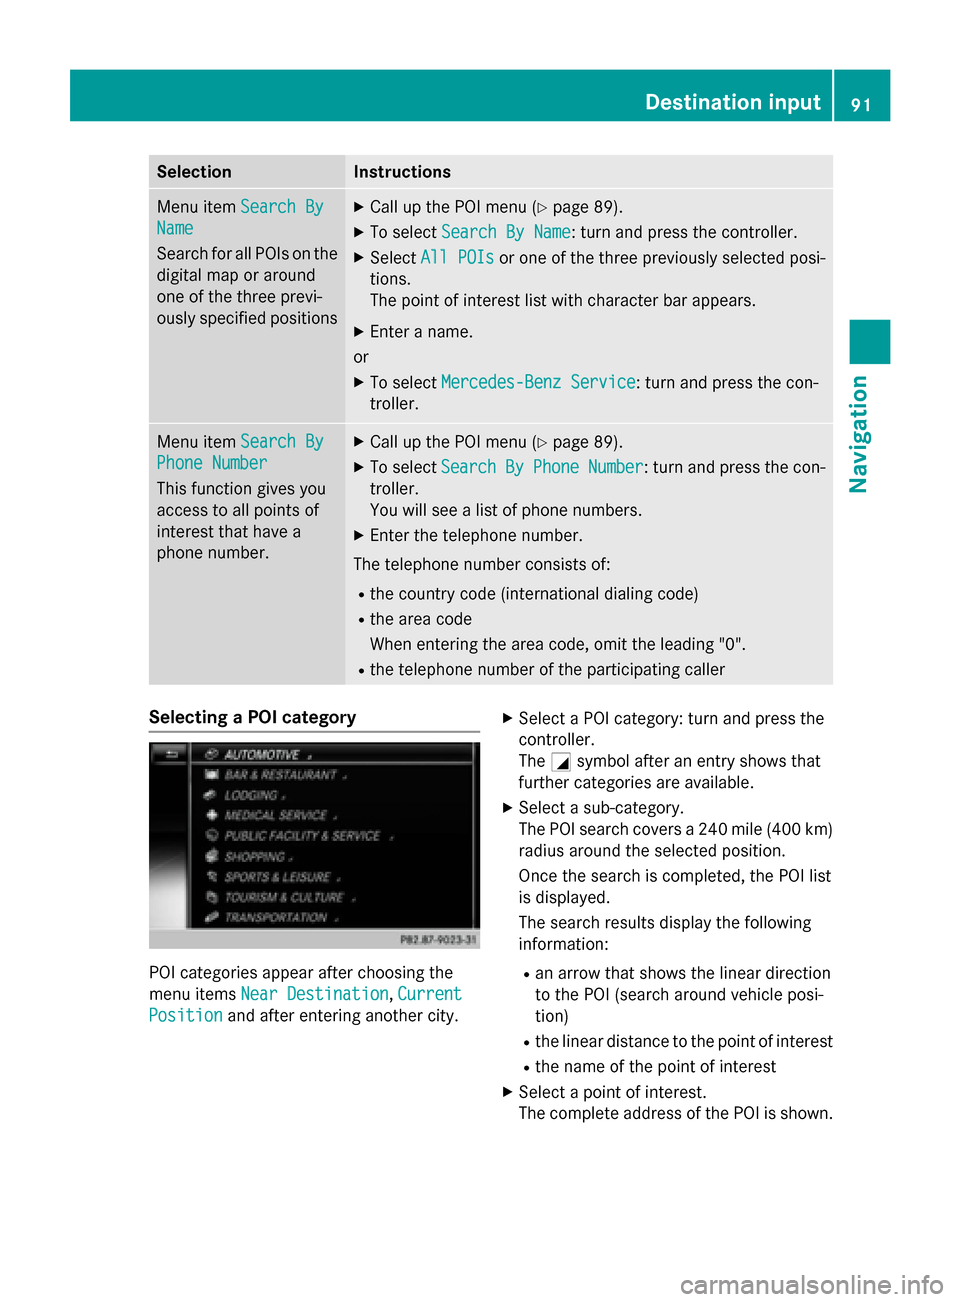
R the telephone number of the participating caller Selecting a POI category
POI categories appear after choosing the
menu items
Near Destination Near Destination, Current
Current
Position
Position and after entering another city. X
Select a POI category: turn and press the
controller.
The 0043symbol after an entry shows that
further categories are available.
X Select a sub-category.
The POI search covers a 240 mile (400 km)
radius around the selected position.
Once the search is completed, the POI list
is displayed.
The search results display the following
information:
R an arrow that shows the linear direction
to the POI (search around vehicle posi-
tion)
R the linear distance to the point of interest
R the name of the point of interest
X Select a point of interest.
The complete address of the POI is shown. Destination input
91Navigation Z