check engine MERCEDES-BENZ S-Class CABRIOLET 2017 A217 Owner's Manual
[x] Cancel search | Manufacturer: MERCEDES-BENZ, Model Year: 2017, Model line: S-Class CABRIOLET, Model: MERCEDES-BENZ S-Class CABRIOLET 2017 A217Pages: 338, PDF Size: 8.14 MB
Page 10 of 338
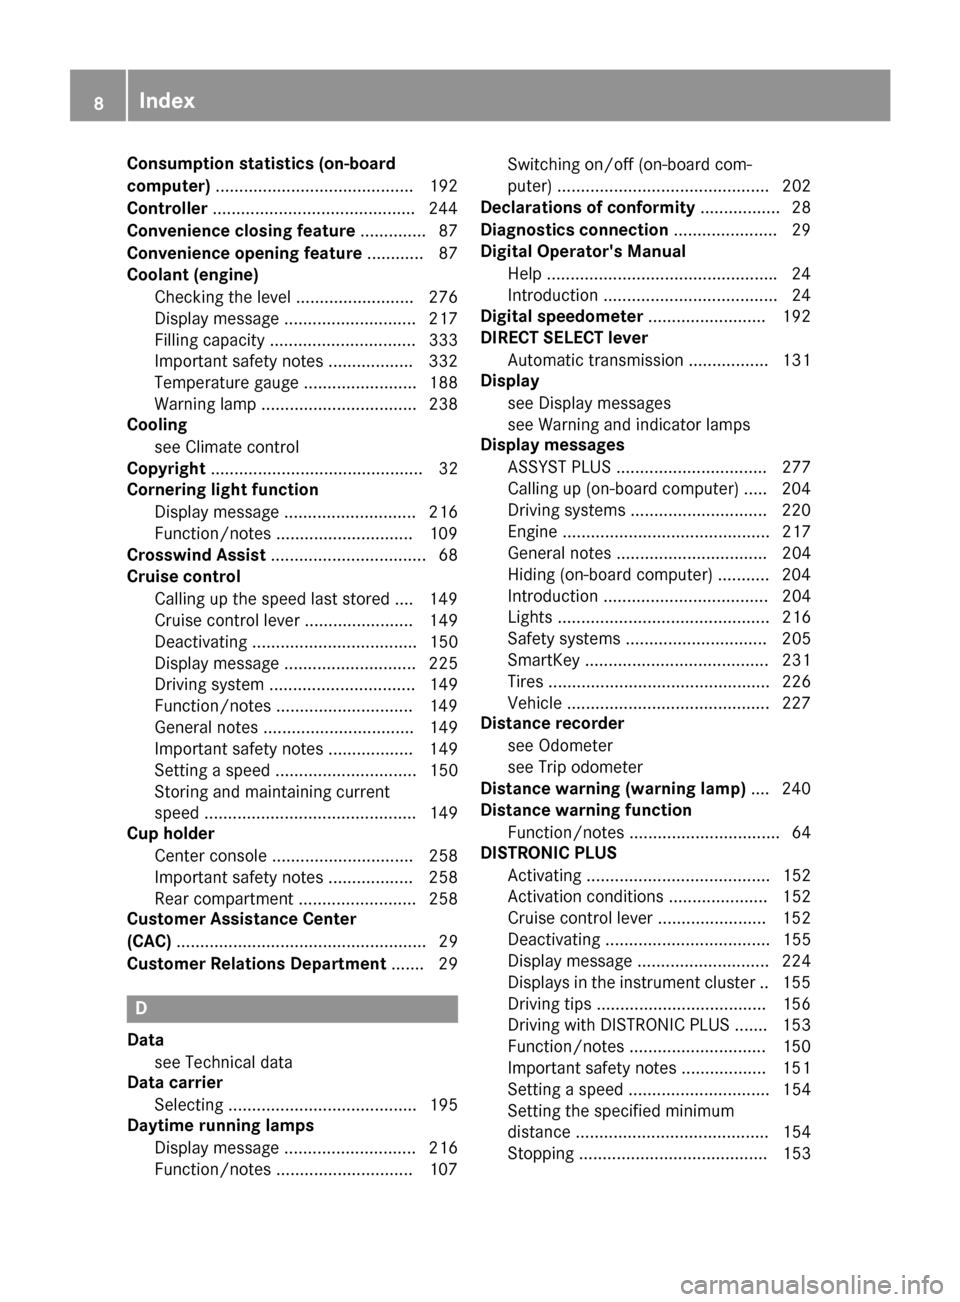
Consumption statistics (on-board
computer).......................................... 192
Controller .......................................... .244
Convenience closing feature .............. 87
Convenience opening feature ............ 87
Coolant (engine)
Checking the level ......................... 276
Display message ............................ 217
Filling capacity ............................... 333
Important safety notes .................. 332
Temperature gauge ........................ 188
Warning lamp ................................. 238
Cooling
see Climate control
Copyright ............................................. 32
Cornering light function
Display message ............................ 216
Function/notes .............................1 09
Crosswind Assist ................................. 68
Cruise control
Calling up the speed last stored .... 149
Cruise control lever ....................... 149
Deactivating ................................... 150
Display message ............................ 225
Driving system ............................... 149
Function/notes .............................1 49
General notes ................................ 149
Important safety notes .................. 149
Setting a speed .............................. 150
Storing and maintaining current
speed ............................................. 149
Cup holder
Center console .............................. 258
Important safety notes .................. 258
Rear compartment ......................... 258
Customer Assistance Center
(CAC) ..................................................... 29
Customer Relations Department ....... 29
D
Data
see Technical data
Data carrier
Selecting ........................................ 195
Daytime running lamps
Display message ............................ 216
Function/notes .............................1 07Switching on/off (on-board com-
puter) ............................................. 202
Declarations of conformity ................. 28
Diagnostics connection ......................29
Digital Operator's Manua l
Help ................................................ .24
Introduction .....................................2 4
Digital speedomete r........................ .192
DIRECT SELECT lever
Automatic transmission ................. 131
Display
see Display messages
see Warning and indicator lamps
Display messages
ASSYST PLUS ................................ 277
Calling up (on-board computer) ..... 204
Driving systems .............................2 20
Engine ............................................ 217
General notes ................................ 204
Hiding (on-board computer) ........... 204
Introduction ................................... 204
Lights ............................................. 216
Safety systems .............................. 205
SmartKey ....................................... 231
Tires ............................................... 226
Vehicle ...........................................2 27
Distance recorder
see Odometer
see Trip odometer
Distance warning (warning lamp) .... 240
Distance warning function
Function/notes ................................ 64
DISTRONIC PLUS
Activating ....................................... 152
Activation conditions ..................... 152
Cruise control lever ....................... 152
Deactivating ................................... 155
Display message ............................ 224
Displays in the instrument cluster .. 155
Driving tips ....................................1 56
Driving with DISTRONIC PLUS ....... 153
Fu
nction/notes .............................1 50
Important safety notes .................. 151
Setting a speed .............................. 154
Setting the specified minimum
distance ......................................... 154
Stopping ........................................ 153
8Index
Page 12 of 338
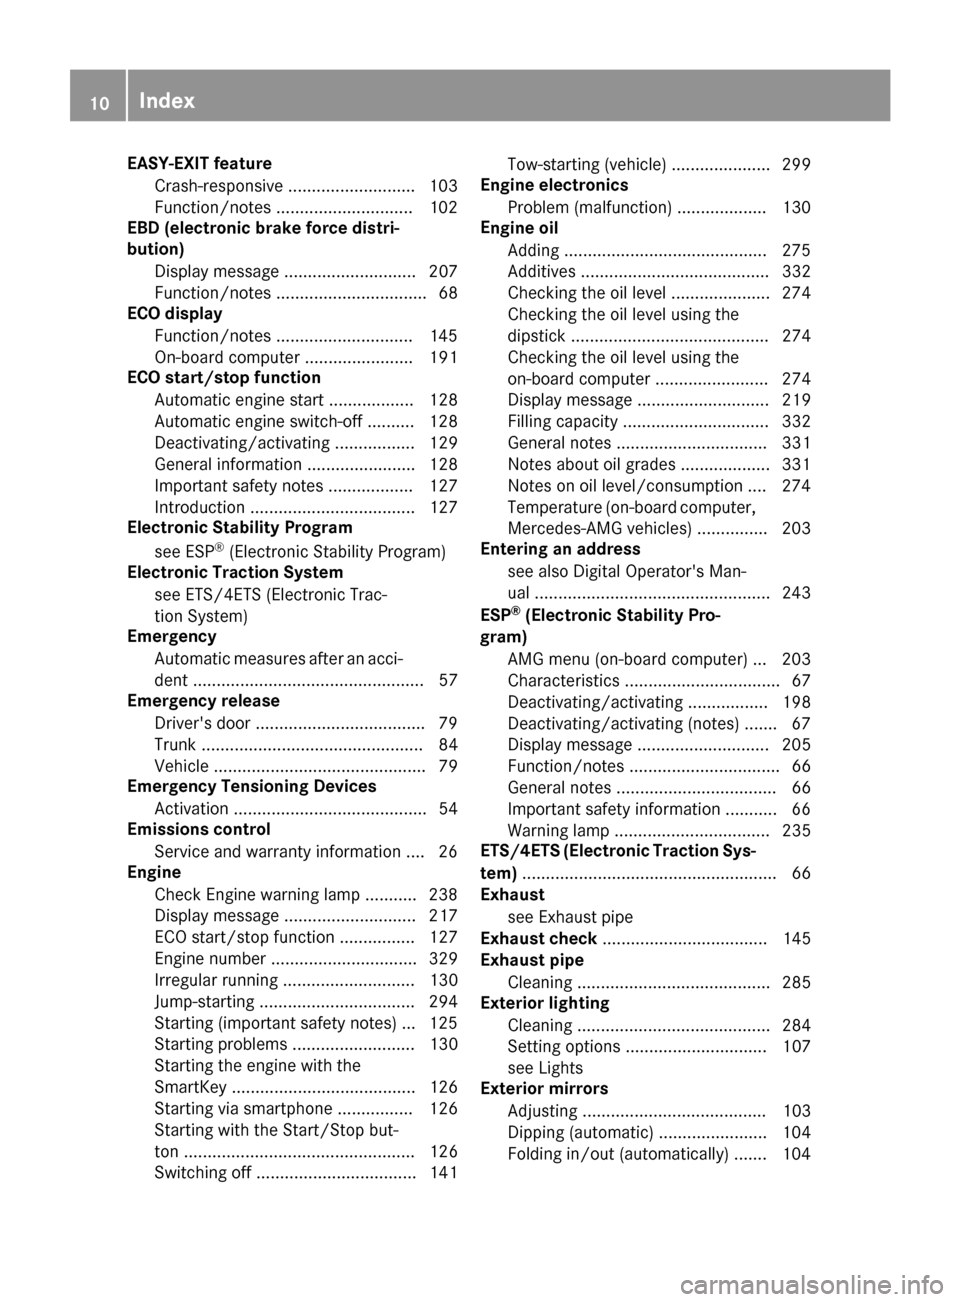
EASY-EXIT featureCrash-responsive .......................... .103
Function/notes .............................1 02
EBD (electronic brake force distri-
bution)
Display message ............................ 207
Function/notes ................................ 68
ECO display
Function/notes .............................1 45
On-board computer ....................... 191
ECO start/stop function
Automatic engine start .................. 128
Automatic engine switch-off .......... 128
Deactivating/activating ................. 129
General information ....................... 128
Important safety notes .................. 127
Introduction ................................... 127
Electronic Stability Program
see ESP
®(Electronic Stability Program)
Electronic Traction System
see ETS/4ETS (Electronic Trac-
tion System)
Emergency
Automatic measures after an acci-
dent ................................................. 57
Emergency release
Driver's door ....................................7 9
Trunk ............................................... 84
Vehicle ............................................. 79
Emergency Tensioning Devices
Activation ......................................... 54
Emissions control
Service and warranty information ....2 6
Engine
Check Engine warning lamp .......... .238
Display message ............................ 217
ECO start/stop function ................ 127
Engine number ............................... 329
Irregular running ............................ 130
Jump-starting ................................. 294
Starting (important safety notes) ... 125
Starting problems .......................... 130
Starting the engine with the
SmartKey ....................................... 126
Starting via smartphone ................ 126
Starting with the Start/Stop but-
ton ................................................. 126
Switching off .................................. 141 Tow-starting (vehicle) ..................... 299
Engine electronics
Problem (malfunction) ................... 130
E
ngine oil
Adding ...........................................2 75
Additives ........................................ 332
Checking the oil level ..................... 274
Checking the oil level using the
dipstick .......................................... 274
Checking the oil level using the
on-board computer ........................ 274
Display message ............................ 219
Filling capacity ............................... 332
General notes ................................ 331
Notes about oil grades ................... 331
Notes on oil level/consumption .... 274
Temperature (on-board computer,
Mercedes-AMG vehicles) ...............2 03
Entering an address
see also Digital Operator's Man-
ual ..................................................2 43
ESP
®(Electronic Stability Pro-
gram)
AMG menu (on-board computer) ... 203
Characteristics ................................. 67
Deactivating/activating ................. 198
Deactivating/activating (notes) ....... 67
Display message ............................ 205
Function/notes ................................ 66
General notes .................................. 66
Important safety information ........... 66
Warning lamp ................................. 235
ETS/4ETS (Electronic Traction Sys-
tem) ...................................................... 66
Exhaust
see Exhaust pipe
Exhaust check ................................... 145
Exhaust pipe
Cleaning ......................................... 285
Exterior lighting
Cleaning ......................................... 284
Setting options .............................. 107
see Lights
Exterior mirrors
Adjusting ....................................... 103
Dipping (automatic) ....................... 104
Folding in/out (automatically) ....... 104
10Index
Page 20 of 338
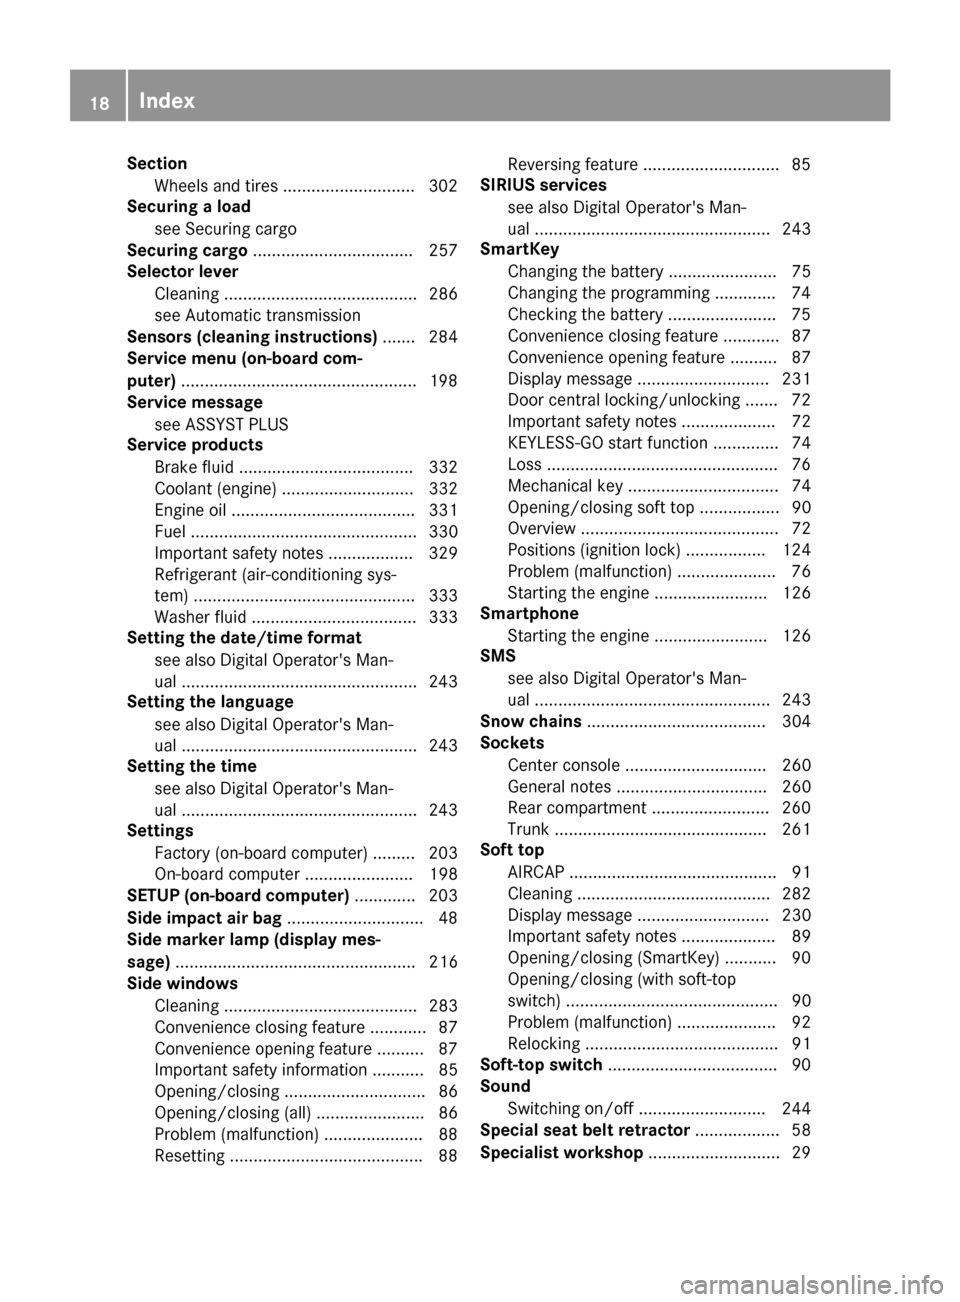
SectionWheels and tires ............................3 02
Securing a load
see Securing cargo
Securing cargo .................................. 257
Selector lever
Cleaning ......................................... 286
see Automatic transmission
Sensors (cleaning instructions) ....... 284
Service menu (on-board com-
puter) ..................................................1 98
Service message
see ASSYST PLUS
Service products
Brake fluid ..................................... 332
Coolant (engine) ............................ 332
Engine oil ....................................... 331
Fuel ................................................ 330
Important safety notes .................. 329
Refrigerant (air-conditioning sys-
tem) ............................................... 333
Washer fluid ................................... 333
Setting the date/time format
see also Digital Operator's Man-
ual ..................................................2 43
Setting the language
see also Digital Operator's Man-
ual ..................................................2 43
Setting the time
see also Digital Operator's Man-
ual ..................................................2 43
Settings
Factory (on-board computer) ......... 203
On-board computer ....................... 198
SETUP (on-board computer) ............. 203
Side impact air bag .............................4 8
Side marker lamp (display mes-
sage) ................................................... 216
Side windows
Cleaning ......................................... 283
Convenience closing feature ............ 87
Convenience opening feature ..........8 7
Important safety information ........... 85
Opening/closing .............................. 86
Opening/closing (all) ....................... 86
Problem (malfunction) .....................8 8
Resettin g........................................ .88 R
eversin
gfeature ............................ .85
SIRIUS services
see also Digital Operator's Man-
ual .................................................. 243
SmartKey
Changing the battery ....................... 75
Changing the programming .............7 4
Checking the battery ...................... .75
Convenience closing feature ............ 87
Convenience opening feature .......... 87
Display message ............................ 231
Door central locking/unlocking ...... .72
Important safety notes .................... 72
KEYLESS-GO start function .............. 74
Loss .................................................7 6
Mechanical key ................................ 74
Opening/closing soft top ................. 90
Overview .......................................... 72
Positions (ignition lock) ................. 124
Problem (malfunction) ..................... 76
Starting the engine ........................ 126
Smartphone
Starting the engine ........................ 126
SMS
see also Digital Operator's Man-
ual .................................................. 243
Snow chains ...................................... 304
Sockets
Center console .............................. 260
General notes ................................ 260
Rear compartment .........................2 60
Trunk ............................................. 261
Soft top
AIRCAP ............................................ 91
Cleaning ......................................... 282
Display message ....... ..................... 230
Important sa
fety notes .................... 89
Opening/closing (SmartKey) ........... 90
Opening/closing (with soft-top
switch) ............................................. 90
Problem (malfunction) ..................... 92
Relocking ......................................... 91
Soft-top switch ....................................9 0
Sound
Switching on/off ........................... 244
Special seat belt retractor .................. 58
Specialist workshop ............................29
18Index
Page 22 of 338
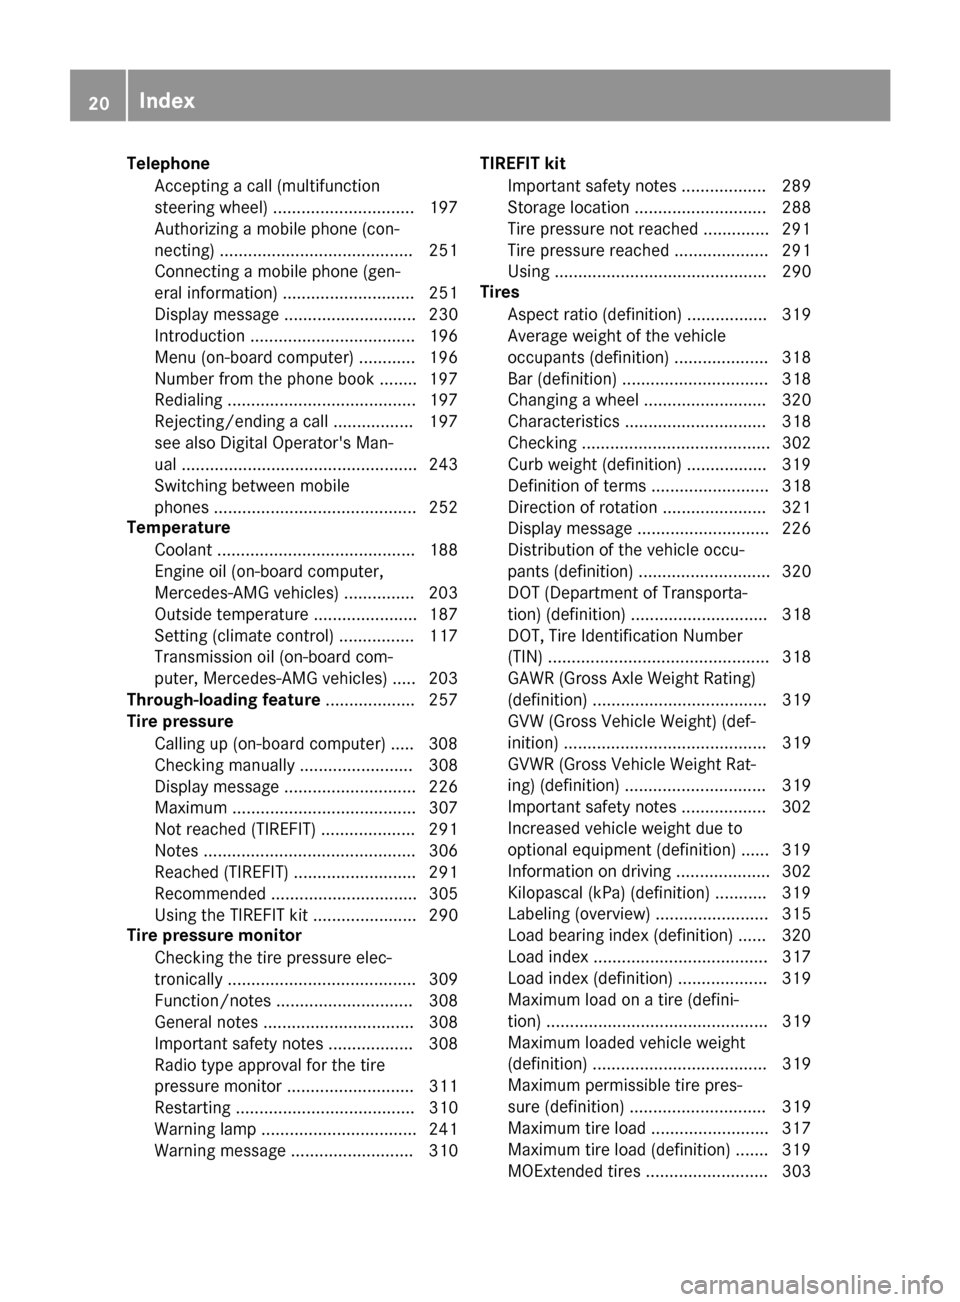
TelephoneAccepting a call (multifunction
steering wheel) .............................. 197
Authorizing a mobile phone (con-
necting) ......................................... 251
Connecting a mobile phone (gen-
eral information) ............................ 251
Display message ............................ 230
Introduction ................................... 196
Menu (on-board computer) ............ 196
Number from the phone book ........ 197
Redialing ........................................ 197
Rejecting/ending a call ................. 197
see also Digital Operator's Man-
ual .................................................. 243
Switching between mobile
phones ........................................... 252
Temperature
Coolant .......................................... 188
Engine oil (on-board computer,
Mercedes-AMG vehicles) ............... 203
Outside temperature ...................... 187
Setting (climate control) ................ 117
Transmission oil (on-board com-
puter, Mercedes-AMG vehicles) ..... 203
Through-loading feature ................... 257
Tire pressure
Calling up (on-board computer) ..... 308
Checking manually ........................ 308
Display message ............................ 226
Maximum ....................................... 307
Not reached (TIREFIT) .................... 291
Notes ............................................. 306
Reached (TIREFIT) .......................... 291
Recommended ............................... 305
Using the TIREFIT kit ...................... 290
Tire pressure monitor
Checking the tire pressure elec-
tronically ........................................ 309
Function/notes ............................. 308
General notes ................................ 308
Important safety notes .................. 308
Radio type approval for the tire
pressure monitor ........................... 311
Restarting ...................................... 310
Warning lamp ................................. 241
Warning message .......................... 310 TIREFIT kit
Important safety notes .................. 289
Storage location ............................ 288
Tire pressure not reached .............. 291
Tire pre ssure re
ached .................... 291
Using ............................................. 290
Tires
Aspect ratio (definition) ................. 319
Average weight of the vehicle
occupants (definition) .................... 318
Bar (definition) ............................... 318
Changing a wheel .......................... 320
Characteristics .............................. 318
Checking ........................................ 302
Curb weight (definition) ................. 319
Definition of terms ......................... 318
Direction of rotation ...................... 321
Display message ............................ 226
Distribution of the vehicle occu-
pants (definition) ............................ 320
DOT (Department of Transporta-
tion) (definition) ............................. 318
DOT, Tire Identification Number
(TIN) ............................................... 318
GAWR (Gross Axle Weight Rating)
(definition) ..................................... 319
GVW (Gross Vehicle Weight) (def-
inition) ........................................... 319
GVWR (Gross Vehicle Weight Rat-
ing) (definition) .............................. 319
Important safety notes .................. 302
Increased vehicle weight due to
optional equipment (definition) ...... 319
Information on driving .................... 302
Kilopascal (kPa) (definition) ........... 319
Labeling (overview) ........................ 315
Load bearing index (definition) ...... 320
Load index ..................................... 317
Load index (definition) ................... 319
Maximum load on a tire (defini-
tion) ............................................... 319
Maximum loaded vehicle weight
(definition) ..................................... 319
Maximum permissible tire pres-
sure (definition) ............................. 319
Maximum tire load ......................... 317
Maximum tire load (definition) ....... 319
MOExtended tires .......................... 303
20Index
Page 24 of 338
Power closing ..................................79
Trunk lid
Display message ............................ 229
Obstacle recognition ........................8 0
Opening dimensions ......................3 34
Opening/closing .............................. 80
Trunk load (maximum) ......................334
Trunk partition
Display message ............................ 230
General notes .................................. 91
Opening/closing .............................. 91
Turn signals
Display message ............................ 216
Switching on/off ........................... 108
Two-way radio
Frequencies ................................... 327
Installation ..................................... 327
Transmission output (maximum) .... 327
Windshield (infrared reflective) ...... 271
Type identification plate
see Vehicle identification plate
U
UnlockingEmergency unlocking ....................... 79
From inside the vehicle (central
unlocking button) .............................7 8
Upshift indicator (on-board com-
puter, Mercedes-AMG vehicles) .......203
USB devices
Connecting to the Media Inter-
face ............................................... 252
V
Vanity mirror (in the sun visor) ........259
Vehicle
Correct use ...................................... 29
Data acquisition ............................... 30
Display message ............................ 227
Equipment ....................................... 26
Individual settings .......................... 198
Limited Warranty .............................3 0
Loading .......................................... 311
Locking (in an emergency) ............... 79
Locking (SmartKey) .......................... 72
Lowering ........................................ 325 Maintenance .................................... 27
Operating safety .............................. 28
Parking .......................................... 140
Parking for a long period ................ 143
Pulling away ................................... 127
Raising ........................................... 322
Reporting problems ......................... 29
Securing from rolling away ............ 321
Towing away .................................. 297
Transporting .................................. 299
Unlocking (in an emergency) ........... 79
Unlocking (SmartKey) ...................... 72
Vehicle data ................................... 334
Vehicle dimensions ........................... 334
Vehicle emergency locking ................ 79
Vehicle identification number
see VIN
Vehicle identification plate .............. 328
Vehicle level
AIRMATIC ...................................... 160
Display message ............................ 220
Vehicle tool kit .................................. 288
Video
Operating the DVD ......................... 196
see also Digital Operator's Man-
ual .................................................. 243
Video-AUX
Connecting an external video
source ............................................ 253
VIN
Type plate ...................................... 328
W
Warning and indicator lampsABS ................................................ 235
Brakes ........................................... 234
Check Engine ................................. 238
Coolant .......................................... 238
Distance warning ........................... 240
ESP
®.............................................. 235
ESP®OFF ....................................... 237
Fuel tank ........................................ 238
General notes ................................ 232
Overview .......................................... 34
Parking brake ................................ 237
PASSENGER AIR BAG ...................... 42
Reserve fuel ................................... 238
22Index
Page 44 of 338

Restraint system warning lamp
The functions of the restraint system are
checked after the ignition is switched on and at
regular intervals while the engine is running.
Therefore, malfunctions can be detected in
good time.
The6 restraint system warning lamp in the
instrument cluster lights up when the ignition is
switched on. It goes out no later than a few sec-
onds after the vehicle is started. The compo-
nents of the restraint system are in operational
readiness.
A malfunction has occurred if the 6restraint
system warning lamp:
Rdoes not light up after the ignition is switched
on
Rdoes not go out after a few seconds with the
engine running
Rlights up again while the engine is running
GWARNING
If the restraint system is malfunctioning,
restraint system components may be trig-
gered unintentionally or may not deploy as
intended during an accident. This can affect
for example the Emergency Tensioning
Device or the air bag. This poses an increased
risk of injury or even fatal injury.
Have the restraint system checked and
repaired in a qualified specialist workshop as
soon as possible.
PASSENGER AIR BAG indicator lamp
PASSENGER AIR BAG ON indicator lamp :and
PASSENGER AIR BAG OFF indicator lamp ;are
part of the Occupant Classification System
(OCS). The indicator lamps display the status of the
front-passenger front air bag.
RPASSENGER AIR BAG ON lights up for 60 sec-
onds, subsequently both indicator lamps are
off (PASSENGER AIR BAG ON and OFF): the
front-passenger front air bag is able to deploy
in the event of an accident.
RPASSENGER AIR BAG OFF lights up: the front-
passenger front air bag is deactivated. It will
then not be deployed in the event of an acci-
dent.
If the PASSENGER AIR BAG ON indicator lamp is
off, only the PASSENGER AIR BAG OFF indicator lamp shows the status of the front-passenger
front air bag. The PASSENGER AIR BAG OFF
indicator lamp may be lit continuously or be off.
Depending on the person in the front-passenger
seat, the front-passenger front air bag must
either be deactivated or enabled; see the fol-
lowing points. You must make sure of this both
before and during a journey.
RChildren in a child restraint system:
whether the front-passenger front air bag is
enabled or deactivated depends on the instal-led child restraint system, and the age and
size of the child. Therefore, be sure to observe
the notes on the "Occupant Classification
System (OCS)" (
Ypage 49) and on "Chil-
dren in the vehicle" (Ypage 57). There you
will also find instructions on rearward and
forward-facing child restraint systems on the
front-passenger seat.
RAll other persons: depending on the classi-
fication of the person in the front-passenger
seat, the front-passenger front air bag is ena-
bled or deactivated (
Ypage 49). Be sure to
observe the notes on "Seat
belts“ (
Ypage 42) and "Air bags"
(Ypage 46). There you can also find infor-
mation on the correct seat position.
Seat belts
Introduction
Seat belts are the most effective means of
restricting the movement of vehicle occupants
in the event of an accident or the vehicle rolling over. This reduces the risk of vehicle occupants
coming into contact with parts of the vehicle
interior or being ejected from the vehicle. Fur-
thermore, the seat belt helps to keep the vehicle
42Occupant safety
Safety
Page 68 of 338
If adaptive Brake Assist demands particularly
high braking force, preventative passenger pro-
tection measures (PRE-SAFE
®) are activated
simultaneously (Ypage 56).
XKeep the brake pedal depressed until the
emergency braking situation is over.
ABS prevents the wheels from locking.
The brakes will work normally again if:
Ryou release the brake pedal.
Rthere is no longer any danger of a collision.
Rno obstacle is detected in front of your vehi-
cle.
Adaptive Brake Assist is then deactivated.
Important safety notes
GWARNING
Adaptive Brake Assist cannot always clearly
identify objects and complex traffic situa-
tions.
In such cases, Adaptive Brake Assist can:
Rintervene unnecessarily
Rnot intervene
There is a risk of an accident.
Always pay careful attention to the traffic sit- uation and be ready to brake. Terminate the
intervention in a non-critical driving situation.
GWARNING
Adaptive Brake Assist does not react:
Rto people or animals
Rto oncoming vehicles
Rto crossing traffic
Rwhen cornering
As a result, the Adaptive Brake Assist may not
intervene in all critical conditions. There is a
risk of an accident.
Always pay careful attention to the traffic sit- uation and be ready to brake.
Due to the nature of the system, particularly
complicated but non-critical driving conditions
may also cause Brake Assist to intervene.
If adaptive Brake Assist is not available due to a
malfunction in the radar sensor system, the
brake system remains available with full brake
boosting effect and BAS.
ESP®(Electronic Stability Program)
General notes
iObserve the "Important safety notes" sec-
tion (Ypage 61).
ESP
®monitors driving stability and traction, i.e.
power transmission between the tires and the
road surface.
If ESP
®detects that the vehicle is deviating from
the direction desired by the driver, one or more
wheels are braked to stabilize the vehicle. The
engine output is also modified to keep the vehi-
cle on the desired course within physical limits.
ESP
®assists the driver when pulling away on
wet or slippery roads. ESP®can also stabilize
the vehicle during braking.
ETS/4ETS (Electronic Traction System)
iObserve the "Important safety notes" sec-
tion (Ypage 61).
ETS traction control is part of ESP
®. On vehicles
with 4MATIC, 4ETS is part of ESP®.
Traction control brakes the drive wheels indi-
vidually if they spin. This enables you to pull
away and accelerate on slippery surfaces, for
example if the road surface is slippery on one
side. In addition, more drive torque is transfer-
red to the wheel or wheels with traction.
Traction control remains active, even if you
deactivate ESP
®.
Important safety notes
GWARNING
If ESP
®is malfunctioning, ESP®is unable to
stabilize the vehicle. Additionally, further driv-
ing safety systems are deactivated. This
increases the risk of skidding and an accident.
Drive on carefully. Have ESP
®checked at a
qualified specialist workshop.
If the å ESP
®OFF warning lamp lights up
continuously, then ESP®is deactivated.
If the ÷ ESP®warning lamp lights up contin-
uously, ESP®is not available due to a malfunc-
tion.
Observe the information on warning lamps
(
Ypage 235) and display messages which may
66Driving safety systems
Safety
Page 75 of 338

signal can be activated and deactivated via the
multimedia system; see the Digital Operator's
Manual.
You will receive visual and acoustic locking con-
firmation if all components were able to be
locked.
When the locator lighting is activated via the
multimedia system, it lights up when it is dark
after the vehicle is unlocked with the SmartKey;
see the Digital Operator's Manual.
XTo open the trunk lid automatically from
outside the vehicle:press and hold theF
button until the trunk lid opens.
KEYLESS-GO
General notes
Bear in mind that the engine can be started by
any of the vehicle occupants if there is a Smart-
Key in the vehicle (
Ypage 126).
Locking/unlocking centrally
You can start, lock or unlock the vehicle using
KEYLESS-GO. To do this, you only need carry the
SmartKey with you. You can combine the func-
tions of KEYLESS-GO with those of a conven-
tional SmartKey. Unlock the vehicle by using
KEYLESS-GO, for instance, and lock it using the
& button on the SmartKey.
The driver's door and the door at which the han-
dle is used, must both be closed. The SmartKey
must be outside the vehicle. When locking or
unlocking with KEYLESS-GO, the distance
between the SmartKey and the corresponding
door handle must not be greater than 3 ft (1 m).
A brief radio connection between the vehicle
and the SmartKey determines whether a valid
SmartKey is in, or in the direct vicinity of, the
vehicle. This occurs, for example:
Rwhen starting the engine
Rwhile driving
Rwhen using HANDS-FREE ACCESS
Rwhen the external door handles are touched
Rduring convenience closing
XTo unlock the vehicle: touch the inner sur-
face of the door handle.
XTo lock the vehicle: touch sensor surface :
or ;.
Make sure that you do not touch the inner
surface of the door handle.
XConvenience closing feature: touch
recessed sensor surface ;for an extended
period.
XTo open the trunk lid: push in the top of the
star on the trunk lid.
The trunk lid opens.
Deactivating and activating
If you do not intend to use a SmartKey for an
extended period of time, you can deactivate the
KEYLESS-GO function of the SmartKey. The
SmartKey will then use very little power, thereby
conserving battery power. For the purposes of
activation/deactivation, the vehicle must not be
nearby.
XTo deactivate: press the&button on the
SmartKey twice in rapid succession.
The battery check lamp (
Ypage 75) of the
SmartKey flashes twice briefly and lights up
once, then KEYLESS-GO is deactivated.
XTo activate: press any button on the Smart-
Key.
or
XInsert the SmartKey into the ignition lock.
KEYLESS-GO and all of its associated features
are available again.
SmartKey73
Opening and closing
Z
Page 79 of 338

ProblemPossible causes/consequences andMSolutions
KEYLESS-GO is malfunctioning.
XLock/unlock the vehicle using the remote control function of the
SmartKey.
XHave the vehicle and SmartKey checked at a qualified specialist
workshop.
If the vehicle can also not be locked/unlocked using the remote con-
trol function:
XLock or unlock the vehicle using the mechanical key (Ypage 79).
XHave the vehicle and SmartKey checked at a qualified specialist
workshop.
The engine cannot be
started using the Smart-
Key.The on-board voltage is too low.
XSwitch off non-essential consumers, e.g. seat heating or interior
lighting, and try to start the engine again.
If this does not work:
XCheck the starter battery and charge it if necessary (Ypage 294).
or
XJump-start the vehicle (Ypage 294).
or
XConsult a qualified specialist workshop.
The engine cannot be
started using the Start/
Stop button. The Smart-
Key is in the vehicle.The vehicle is locked.
XUnlock the vehicle and try to start the vehicle again.
The SmartKey battery is discharged or nearly discharged.
XCheck the SmartKey battery (Ypage 75) and replace it if necessary
(Ypage 75).
If this does not work:
XStart your vehicle with the SmartKey in the ignition lock.
There is interference from a powerful source of radio waves.
XStart your vehicle with the SmartKey in the ignition lock.
You have lost a Smart-
Key.XHave the SmartKey deactivated at a qualified specialist workshop.
XReport the loss immediately to the vehicle insurers.
XIf necessary, have the locks changed as well.
You have lost the
mechanical key.XReport the loss immediately to the vehicle insurers.
XIf necessary, have the locks changed as well.
SmartKey77
Opening and closing
Z
Page 88 of 338

GWARNING
The reversing feature does not react:
Rto soft, light and thin objects, e.g. small fin-
gers
Rwhile resetting
This means that the reversing feature cannot
prevent someone being trapped in these sit-
uations. There is a risk of injury.
Make sure that no body parts are in close
proximity during the closing procedure. If
someone becomes trapped, press the switch
to open the side window again.
Opening and closing the side win-
dows
The switches for all side windows are located on the driver's door. There is also a switch for the
front-passenger side window on the front-
passenger door.
The switches on the driver's door take prece-
dence.
:Front left
;Front right
=Rear right
?Rear left
XTurn the SmartKey to position 1or 2in the
ignition lock.
XTo open manually: press and hold the cor-
responding button.
XTo open fully: press the switch beyond the
point of resistance and release it.
Automatic operation is started.
XTo close manually: pull and hold the corre-
sponding button.
XTo fully close the front side windows: pull
the button beyond the point of resistance and
release it.
Automatic operation is started.
XTo interrupt automatic operation: press/
pull the corresponding switch again.
You can continue to operate the side windows
after you switch off the engine or remove the
SmartKey. This function remains active for five
minutes or until you open a door.
Before opening or closing the side windows, a
check is carried out to see whether a valid
SmartKey is in the vehicle. The check is carried out if you use the start/stop button instead of a
SmartKey in the ignition and you press or pull a
button while the engine is switched off. This is
carried out by means of a brief radio connection
between the vehicle and the SmartKey.
Opening and closing all side windows
Using the switch on the center console
GWARNING
While closing the side windows, body parts in
the closing area could become trapped. There is a risk of injury.
When closing make sure that no parts of the
body are in the closing area. If somebody
becomes trapped, release the switch or press
the switch to open the side window again.
Use switch :in the stowage compartment
under the armrest to close or open all side win-
dows simultaneously.
86Side windows
Opening and closing