warning light MERCEDES-BENZ SLK ROADSTER 2012 Owner's Guide
[x] Cancel search | Manufacturer: MERCEDES-BENZ, Model Year: 2012, Model line: SLK ROADSTER, Model: MERCEDES-BENZ SLK ROADSTER 2012Pages: 321, PDF Size: 6.9 MB
Page 107 of 321

over 10 km/h again after a full brake appli-
cation.
i
The hazard warning lamps still operate if
the ignition is switched off. Intelligent Light System
Important notes The Intelligent Light System is a system that
adjusts the headlamps automatically to suit
the prevailing driving and weather conditions.
It offers advanced functions for improved illu-
mination of the road surface, e.g. depending
on the vehicle speed or weather conditions.
The system includes the active light function,
cornering light function, motorway mode and
extended range foglamps. The system is only
active when it is dark.
You can activate or deactivate the "Intelligent
Light System" using the on-board computer
(Y page 191).
Active light function The active light function is a system that
moves the headlamps according to the steer-
ing movements of the front wheels. In this
way, relevant areas remain illuminated while
driving. This allows you to recognise pedes-
trians, cyclists and animals.
Active: when the lights are switched on. Cornering light function
The cornering light function improves the illu-
mination of the road over a wide angle in the
direction you are turning, enabling better vis-
ibility in tight bends, for example. The corner-
ing light function can only be activated when
the dipped-beam headlamps are switched on.
Active:
R
if you are driving at speeds below
40 km/h and switch on the turn signal or
turn the steering wheel.
R if you are driving at speeds between
40 km/h and 70 km/h and turn the steer-
ing wheel.
Not active: if you are driving at speeds above
40 km/h or switch off the turn signal or turn
the steering wheel to the straight-ahead posi-
tion.
The cornering light function may remain lit for
a short time, but is automatically switched off
after no more than three minutes.
Motorway mode 104
Exterior lightingLights and windscreen wipers
Page 109 of 321
The interior lighting automatically switches
on if you:
R unlock the vehicle
R open a door
R remove the key from the ignition lock
The interior light is activated for a short while
when the key is removed from the ignition
lock. You can activat ethis delayed switch-off
using the on-board computer (Y page 193).
Manual interior lighting control X
To switch the interior lighting on/off:
press the cbutton.
X To switch the reading lamps on/off:
press the pbutton. Crash-responsive emergency lighting
The interior lighting is activated automatically
if the vehicle is involved in an accident.
X To switch off the crash-responsive
emergency lighting: press the hazard
warning lamp button.
or
X Lock and then unlock the vehicle using the
key. Replacing bulbs
Important safety notes
Xenon bulbs G
DANGER
Xenon bulbs are under high voltage. If you
touch the electrical contacts of a xenon bulb,
you could suffer an electric shock and be seri-
ously or even fatally injured. For this reason,
do not remove the cover of xenon bulbs.
Do not change the xenon bulbs yourself, but
have them replaced at a qualified workshop.
If your vehicle is equipped with xenon bulbs,
you can recognise this by the following: the cone of light from the xenon bulbs moves
from the top to the bottom and back again
when you start the engine. For this to be
observed, the lights must be switched on
before starting the engine.
Bulbs and lamps are an important aspect of
vehicle safety. You must therefore make sure
that these function correctly at all times.
Have the headlamp setting checked regularly.
Other bulbs
There are bulbs other than the xenon bulbs
that you cannot replace. Replace only the
bulbs listed (Y
page 107). Have the bulbs that
you cannot replace yourself changed at a
qualified specialist workshop.
If you require assistance changing bulbs, con-
sult a qualified specialist workshop.
Do not touch the glass tube of new bulbs with
your bare hands. Even minor contamination
can burn into the glass surface and reduce
the service life of the bulbs. Always use a lint-
free cloth or only touch the base of the bulb
when fitting.
Only use bulbs of the correct type.
If the new bulb still does not light up, consult
a qualified specialist workshop.
Bulbs and lamps are an important aspect of
vehicle safety. You must therefore make sure
that these function correctly at all times.
Have the headlamp setting checked regularly. G
WARNING
Bulbs and lamps can be very hot. You should
therefore allow them to cool down before you
change them. Otherwise, you could be burned
if you touch them.
Keep bulbs out of the reach of children. Oth-
erwise, they could damage the bulbs, for
example, and injure themselves.
Never use a bulb which has been dropped.
Such a bulb may break or even explode and
injure you.
Halogen bulbs are pressurised and can
explode when you change them, particularly
if they are very hot. You should therefore wear 106
Replacing bulbsLights and windscreen wipers
Page 112 of 321
Replacing the rear bulbs
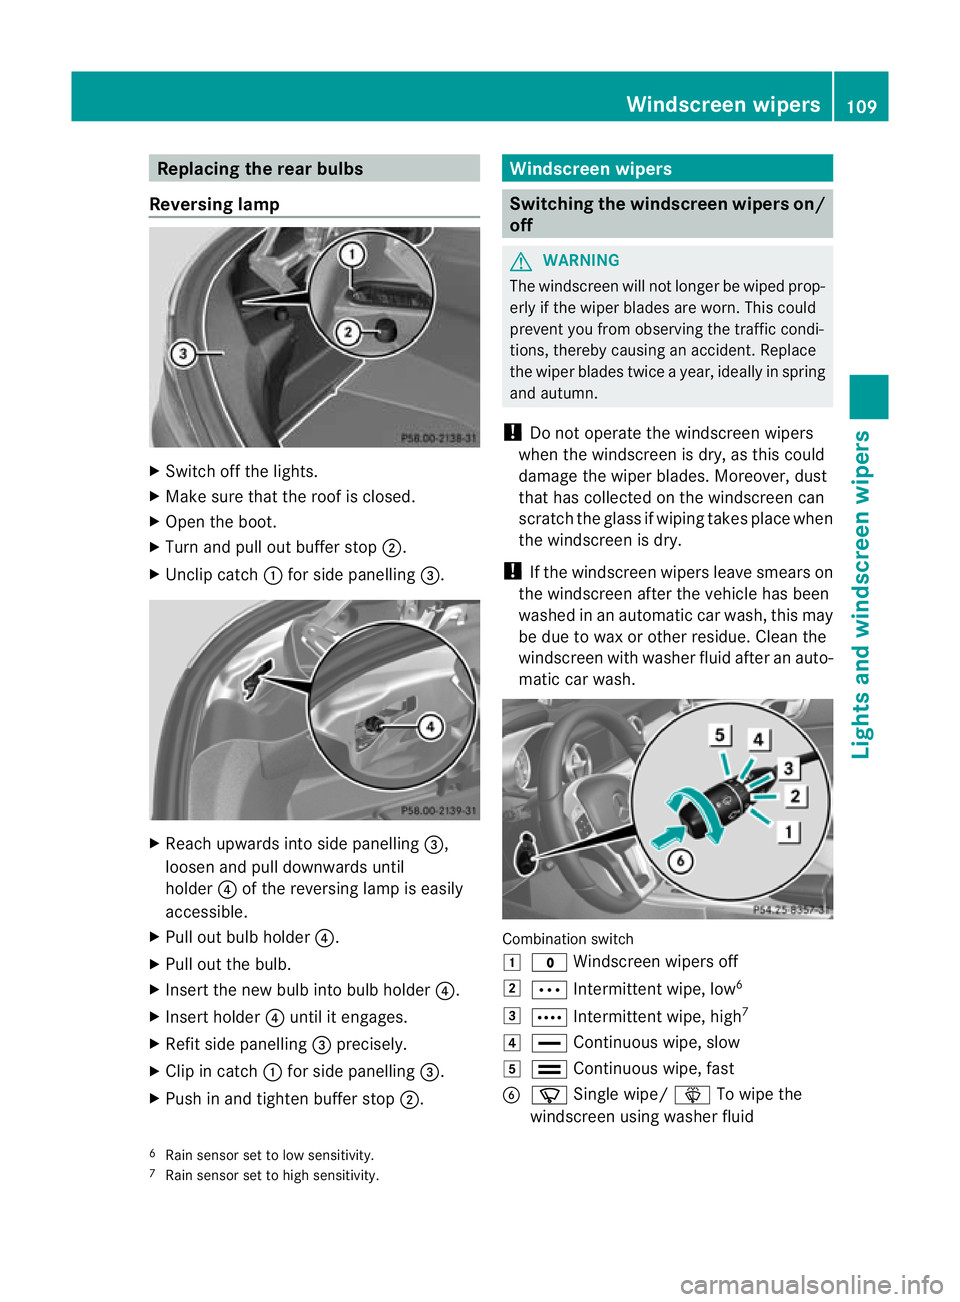
Reversing lamp X
Switch off the lights.
X Make sure that the roo fis closed.
X Open the boot.
X Turn and pull out buffer stop ;.
X Unclip catch :for side panelling =. X
Reach upwards into side panelling =,
loosen and pull downwards until
holder ?of the reversing lamp is easily
accessible.
X Pull out bulb holder ?.
X Pull out the bulb.
X Insert the new bulb into bulb holder ?.
X Insert holder ?until it engages.
X Refit side panelling =precisely.
X Clip in catch :for side panelling =.
X Push in and tighten buffer stop ;. Windscreen wipers
Switching the windscreen wipers on/
off
G
WARNING
The windscreen will not longer be wiped prop-
erly if the wiper blades are worn. This could
prevent you from observing the traffic condi-
tions, thereby causing an accident. Replace
the wiper blades twice a year, ideally in spring
and autumn.
! Do not operate the windscreen wipers
when the windscreen is dry, as this could
damage the wiper blades. Moreover, dust
that has collected on the windscreen can
scratch the glass if wiping takes place when
the windscreen is dry.
! If the windscreen wipers leave smears on
the windscreen after the vehicle has been
washed in an automatic car wash, this may
be due to wax or other residue. Cleant he
windscreen with washer fluid after an auto-
matic car wash. Combination switch
1
$ Windscreen wipers off
2 Ä Intermittent wipe, low 6
3 Å Intermittent wipe, high 7
4 ° Continuous wipe, slow
5 ¯ Continuous wipe, fast
B í Single wipe/ îTo wipe the
windscreen using washer fluid
6 Rain sensor set to low sensitivity.
7 Rain sensor set to high sensitivity. Windscreen wipers
109Lights and windscreen wipers Z
Page 113 of 321
X
Turn the key to position 1or 2in the ignition
lock.
X Turn the combination switch to the corre-
sponding position.
! Vehicles with a rain sensor: if the wind-
screen becomes dirty in dry weather con-
ditions, the windscreen wipers may be acti-
vated inadvertently. This could damage the
windscreen wiper blades or scratch the
windscreen.
For this reason, you should always switch
off the windscreen wipers in dry weather.
In the ÄorÅ position, the appropriate
wiping frequency is set automatically accord-
ing to the intensity of the rain. In the Å
position, the rain sensor is more sensitive
than in the Äposition, causing the wind-
screen wiper to wipe more frequently. Replacing the wiper blades
Important safety notes G
WARNING
The wiper arms could start moving and cause
an injury if you leave the windscreen wipers
switched on.
Remove the key from the ignition lock before
replacing the wiper blades.
! To avoid damaging the windscreen wiper
blades, make sure that you touch only the
wiper arm of the windscreen wiper.
Important safety notes G
WARNING
The wiper arms could start moving and cause
an injury if you leave the windscreen wipers
switched on.
Remove the key from the ignition lock before
replacing the wiper blades. !
To avoid damaging the windscreen wiper
blades, make sure that you touch only the
wiper arm of the windscreen wiper.
! Never open the bonnet if a windscreen
wiper arm has been folded away from the
windscreen.
Never fold a windscreen wiper arm without
a wiper blade back onto the windscreen.
Hold the windscreen wiper arm firmly when
you change the wiper blade. If you release
the windscreen wiper arm without a wiper
blade and it falls onto the windscreen, the
windscreen may be damaged by the force
of the impact.
Mercedes-Benz recommends that you have
the wiper blades changed at aqualified
specialist workshop.
Replacing the wiper blades Removing the wiper blades
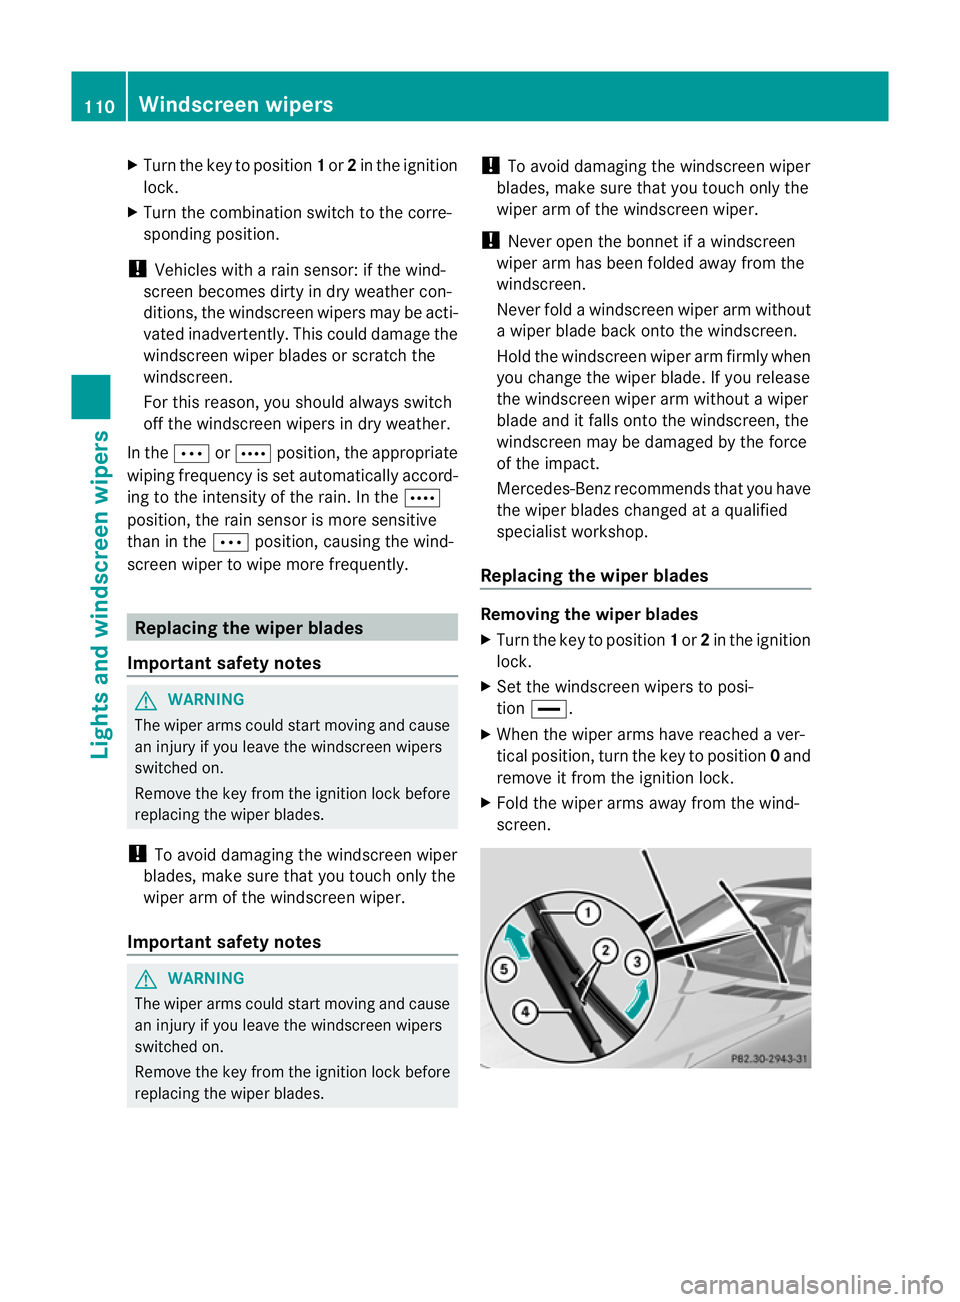
X
Turn the key to position 1or 2in the ignition
lock.
X Se tthe windscreen wipers to posi-
tion °.
X When the wiper arms have reached a ver-
tical position, turn the key to position 0and
remove it from the ignition lock.
X Fold the wiper arms away from the wind-
screen. 110
Windscreen wipersLights and windscreen wipers
Page 120 of 321
partment as well. The indicator lamp in the
á button goes out.
R Use the residual heat function if you want
to heat or ventilate the vehicle interior
when the ignition is switched off. The resid-
ual heat function can only be activated or
deactivated with the ignition switched off. Operating the climate control system
Switching climate control on/off
Important information i
When climate control is switched off, the
air supply and air circulation are also
switched off. Only select this setting
briefly. Otherwise, the windows may mist
up.
i Switch on climate control primarily using
the à button (Y page 118).
Activating/deactivating Air-conditioning system
X
To activate: turn airflow control
C(Y page 115) clockwise to the desired
position (except position 0).
X To deactivate: turn airflow control
C(Y page 115) anti-clockwise to position
0. THERMOTRONIC automatic climate con-
trol
X
Turn the key to position 2in the ignition
lock.
X To activate: press theÃbutton.
The indicator lamp in the Ãbutton lights
up. Airflow and air distribution are set to
automatic mode.
or
X Press the ^button.
The indicator lamp in the ^button goes
out. The previously selected settings come
into effect again.
X To switch off: press the^button.
The indicator lamp in the ^button lights
up. Activating/deactivating the cooling
with air dehumidification function
Important information The cooling with air dehumidification function
is only available when the engine is running.
The air inside the vehicle is cooled and dehu-
midified according to the temperature selec-
ted.
G
WARNING
If the "cooling with air dehumidification" func-
tion is deactivated, the air inside the vehicle
will not be cooled (during warm weather) or
dehumidified. The windows could mist up
more quickly. This may preven tyou from
observing the traffic conditions, thereby caus-
ing an accident.
Condensation may drip from the underside of
the vehicle when THERMOTRONIC is in cool-
ing mode. This is normal and not a sign that
there is a malfunction.
Depending on the equipment level, the con-
trol panel has either the Ábutton or the
¿ button.
i The cooling with air dehumidification
function uses refrigerant R134a. This cool- Operating the climate control system
117Climate control Z
Page 123 of 321
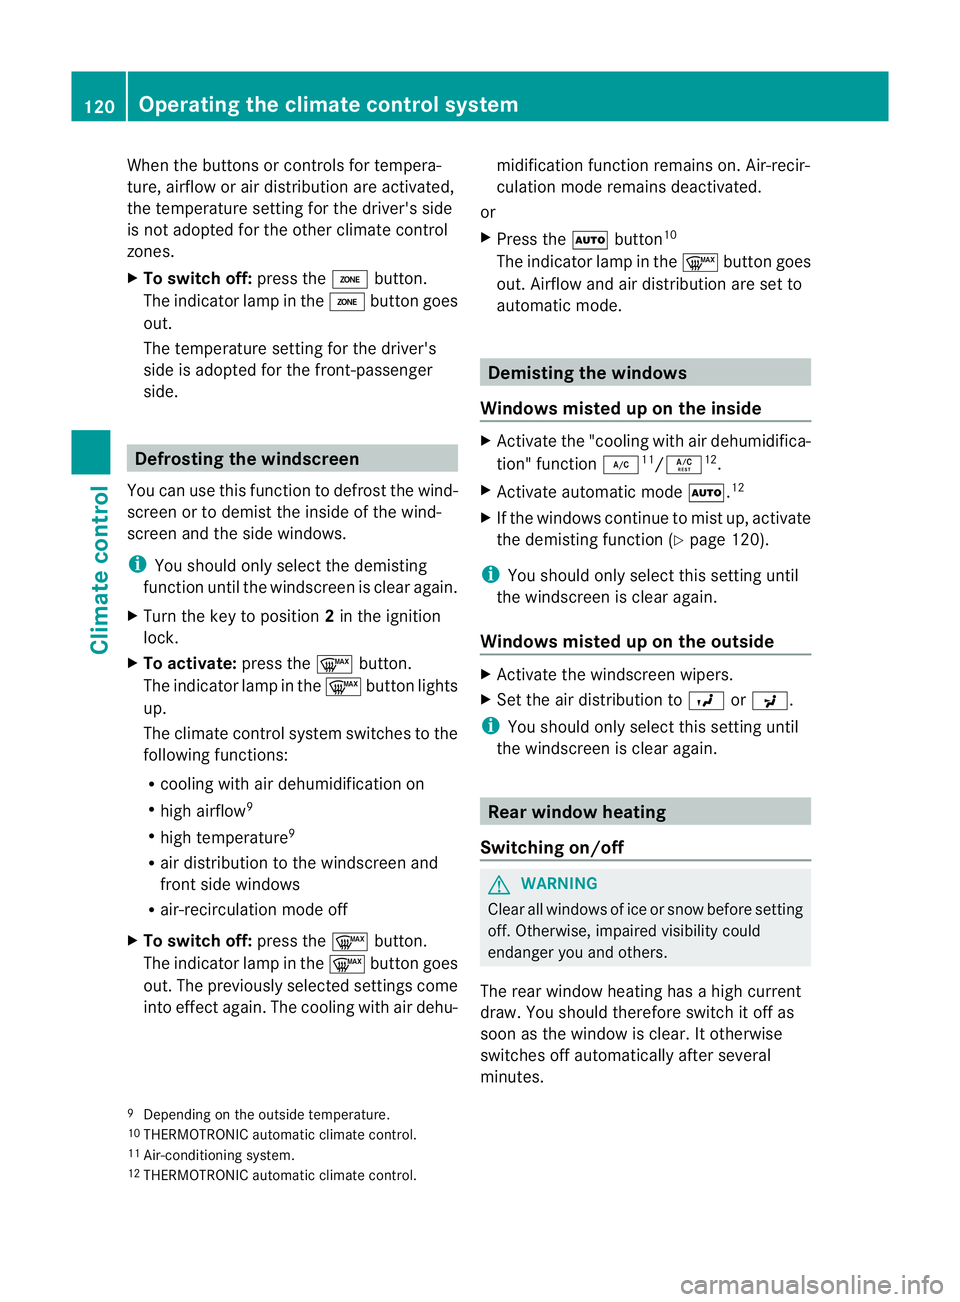
When the buttons or controls for tempera-
ture, airflow or air distribution are activated,
the temperature setting for the driver's side
is not adopted for the other climate control
zones.
X To switch off: press theábutton.
The indicato rlamp in the ábuttongoes
out.
The temperature setting for the driver's
side is adopted for the front-passenger
side. Defrosting the windscreen
You can use this function to defrost the wind-
screen or to demist the inside of the wind-
screen and the side windows.
i You should only select the demisting
function until the windscreen is clear again.
X Turn the key to position 2in the ignition
lock.
X To activate: press the¬button.
The indicator lamp in the ¬button lights
up.
The climate control system switches to the
following functions:
R cooling with air dehumidification on
R high airflow 9
R high temperature 9
R air distribution to the windscreen and
front side windows
R air-recirculation mode off
X To switch off: press the¬button.
The indicator lamp in the ¬button goes
out. The previously selected settings come
into effect again. The cooling with air dehu- midification function remains on. Air-recir-
culation mode remains deactivated.
or
X Press the Ãbutton 10
The indicator lamp in the ¬button goes
out. Airflow and air distribution are set to
automatic mode. Demisting the windows
Windows misted up on the inside X
Activate the "cooling with air dehumidifica-
tion" function ¿11
/Á 12
.
X Activate automatic mode Ã.12
X If the windows continue to mist up, activate
the demisting function (Y page 120).
i You should only select this setting until
the windscreen is clear again.
Windows misted up on the outside X
Activate the windscreen wipers.
X Set the air distribution to OorP.
i You should only select this setting until
the windscreen is clear again. Rear window heating
Switching on/off G
WARNING
Clear all windows of ice or snow before setting
off. Otherwise, impaired visibility could
endanger you and others.
The rear window heating has ahigh current
draw. You should therefore switch it off as
soon as the window is clear .Itotherwise
switches off automatically after several
minutes.
9 Depending on the outside temperature.
10 THERMOTRONIC automatic climate control.
11 Air-conditioning system.
12 THERMOTRONIC automatic climate control. 120
Operating the climate control systemClimate control
Page 124 of 321
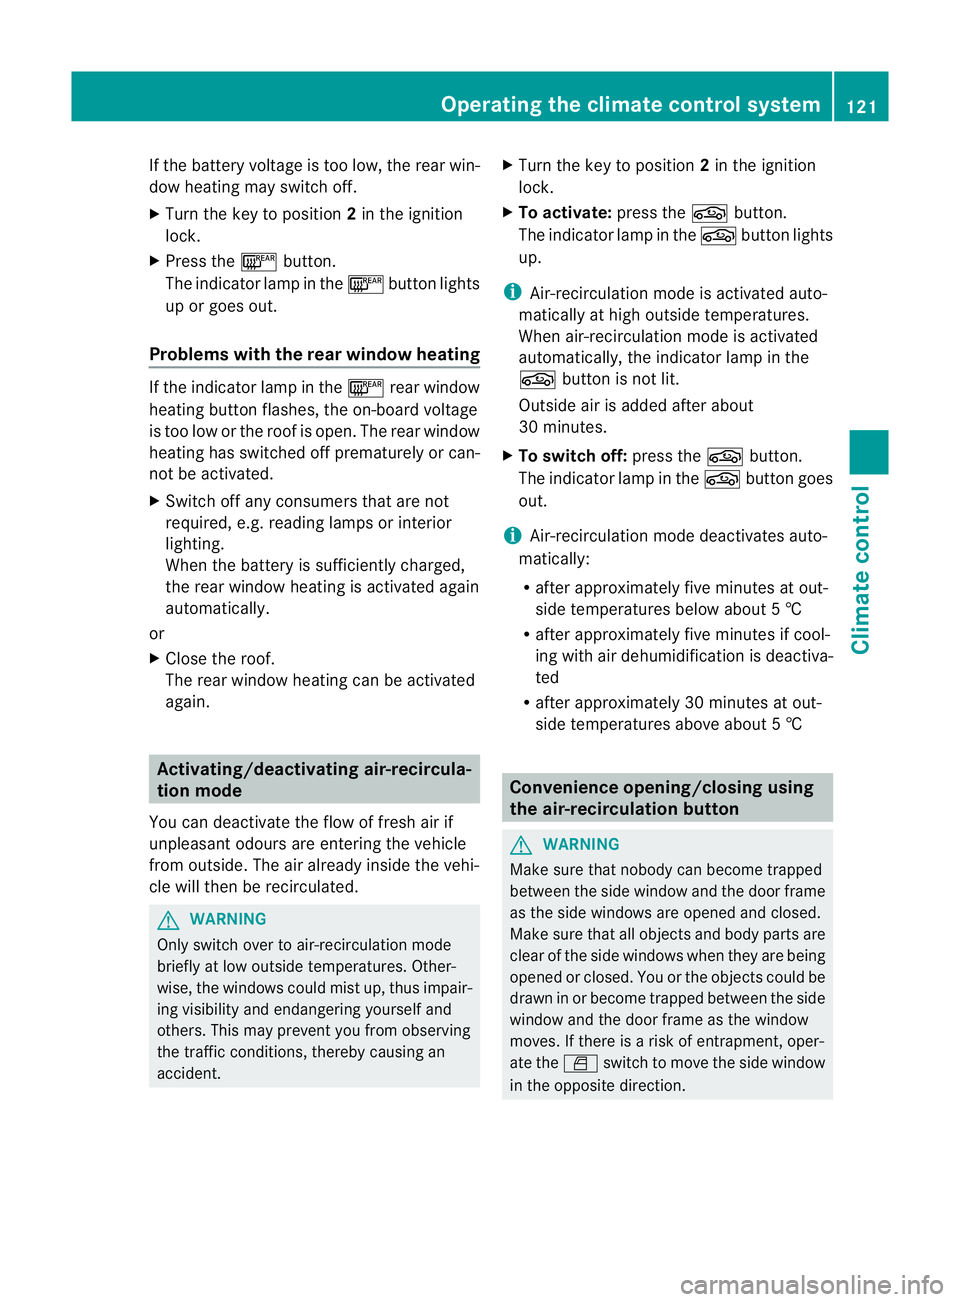
If the battery voltage is too low, the rear win-
dow heating may switch off.
X Turn the key to position 2in the ignition
lock.
X Press the ¤button.
The indicator lamp in the ¤button lights
up or goes out.
Problems with the rear window heating If the indicator lamp in the
¤rear window
heating button flashes, the on-board voltage
is too low or the roof is open. The rear window
heating has switched off prematurely or can-
not be activated.
X Switch off any consumers that are not
required, e.g. reading lamps or interior
lighting.
When the battery is sufficiently charged,
the rear window heating is activated again
automatically.
or
X Close the roof.
The rear window heating can be activated
again. Activating/deactivating air-recircula-
tion mode
You can deactivate the flow of fresh air if
unpleasant odours are entering the vehicle
from outside. The air already inside the vehi-
cle will then be recirculated. G
WARNING
Only switch over to air-recirculationm ode
briefly at low outside temperatures. Other-
wise, the windows could mist up, thus impair-
ing visibility and endangering yourself and
others. This may prevent you from observing
the traffic conditions, thereby causing an
accident. X
Turn the key to position 2in the ignition
lock.
X To activate: press thegbutton.
The indicator lamp in the gbutton lights
up.
i Air-recirculation mode is activated auto-
matically at high outside temperatures.
When air-recirculation mode is activated
automatically, the indicator lamp in the
g button is not lit.
Outside air is added after about
30 minutes.
X To switch off: press thegbutton.
The indicator lamp in the gbutton goes
out.
i Air-recirculation mode deactivates auto-
matically:
R after approximately five minutes at out-
side temperatures below about 5†
R after approximately five minutes if cool-
ing with air dehumidification is deactiva-
ted
R after approximately 30 minutes at out-
side temperatures above about 5† Convenience opening/closing using
the air-recirculation button
G
WARNING
Make sure that nobody can become trapped
between the side window and the door frame
as the side windows are opened and closed.
Make sure that all object sand body parts are
clear of the side windows when they are being
opened or closed .You or the objects could be
drawn in or become trapped between the side
window and the door frame as the window
moves. If there is arisk of entrapment, oper-
ate the Wswitch to move the side window
in the opposite direction. Operating the climate control system
121Climate control Z
Page 125 of 321
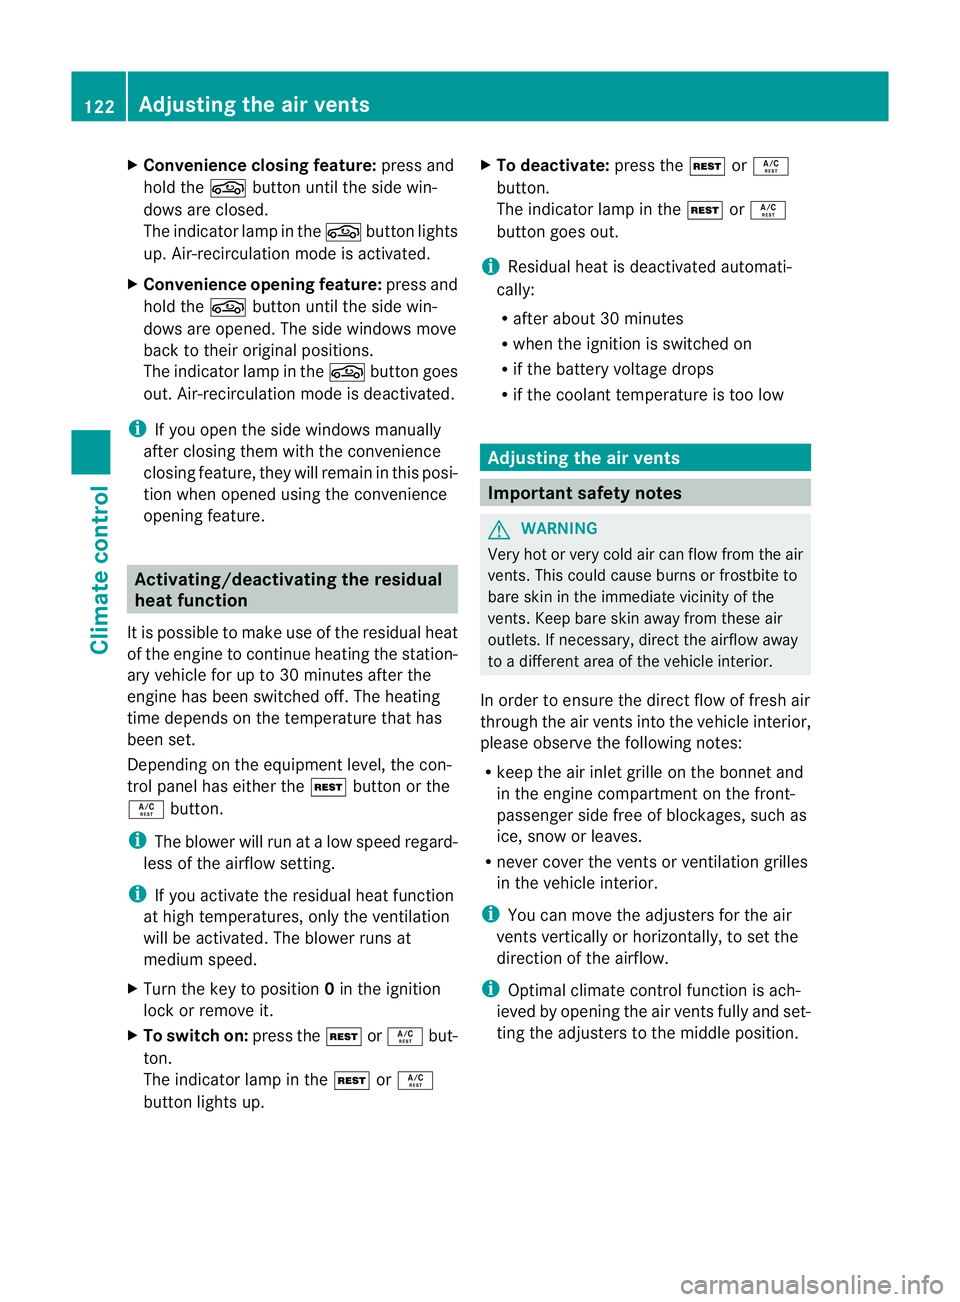
X
Convenience closing feature: press and
hold the gbutton until the side win-
dows are closed.
The indicator lamp in the gbutton lights
up. Air-recirculation mode is activated.
X Convenience opening feature: press and
hold the gbutton until the side win-
dows are opened. The side windows move
back to their original positions.
The indicator lamp in the gbutton goes
out .Air-recirculation mode is deactivated.
i If you open the side windows manually
after closing them with the convenience
closing feature, they will remain in this posi-
tion when opened using the convenience
opening feature. Activating/deactivating the residual
heat function
It is possible to make use of the residual heat
of the engine to continue heating the station-
ary vehicle for up to 30 minutes after the
engine has been switched off .The heating
time depends on the temperature that has
been set.
Depending on the equipment level, the con-
trol panel has either the Ìbutton or the
Á button.
i The blower will run at a low speed regard-
less of the airflow setting.
i If you activate the residual heat function
at high temperatures, only the ventilation
will be activated. The blower runs at
medium speed.
X Turn the key to position 0in the ignition
lock or remove it.
X To switch on: press theÌorÁ but-
ton.
The indicator lamp in the ÌorÁ
button lights up. X
To deactivate: press theÌorÁ
button.
The indicator lamp in the ÌorÁ
button goes out.
i Residual heat is deactivated automati-
cally:
R after about 30 minutes
R when the ignition is switched on
R if the battery voltage drops
R if the coolant temperature is too low Adjusting the air vents
Important safety notes
G
WARNING
Very hot or very cold air can flow from the air
vents.T his could cause burns or frostbite to
bare skin in the immediate vicinity of the
vents.K eep bare skin away from these air
outlets. If necessary, direct the airflow away
to a different area of the vehicle interior.
In order to ensure the direct flow of fresh air
through the air vents into the vehicle interior,
please observe the following notes:
R keep the air inlet grille on the bonnet and
in the engine compartment on the front-
passenger side free of blockages, such as
ice, snow or leaves.
R never cover the vents or ventilation grilles
in the vehicle interior.
i You can move the adjuster sfor the air
vents vertically or horizontally, to set the
direction of the airflow.
i Optimal climate control function is ach-
ieved by opening the air vents fully and set-
ting the adjusters to the middle position. 122
Adjusting the air ventsClimate control
Page 132 of 321
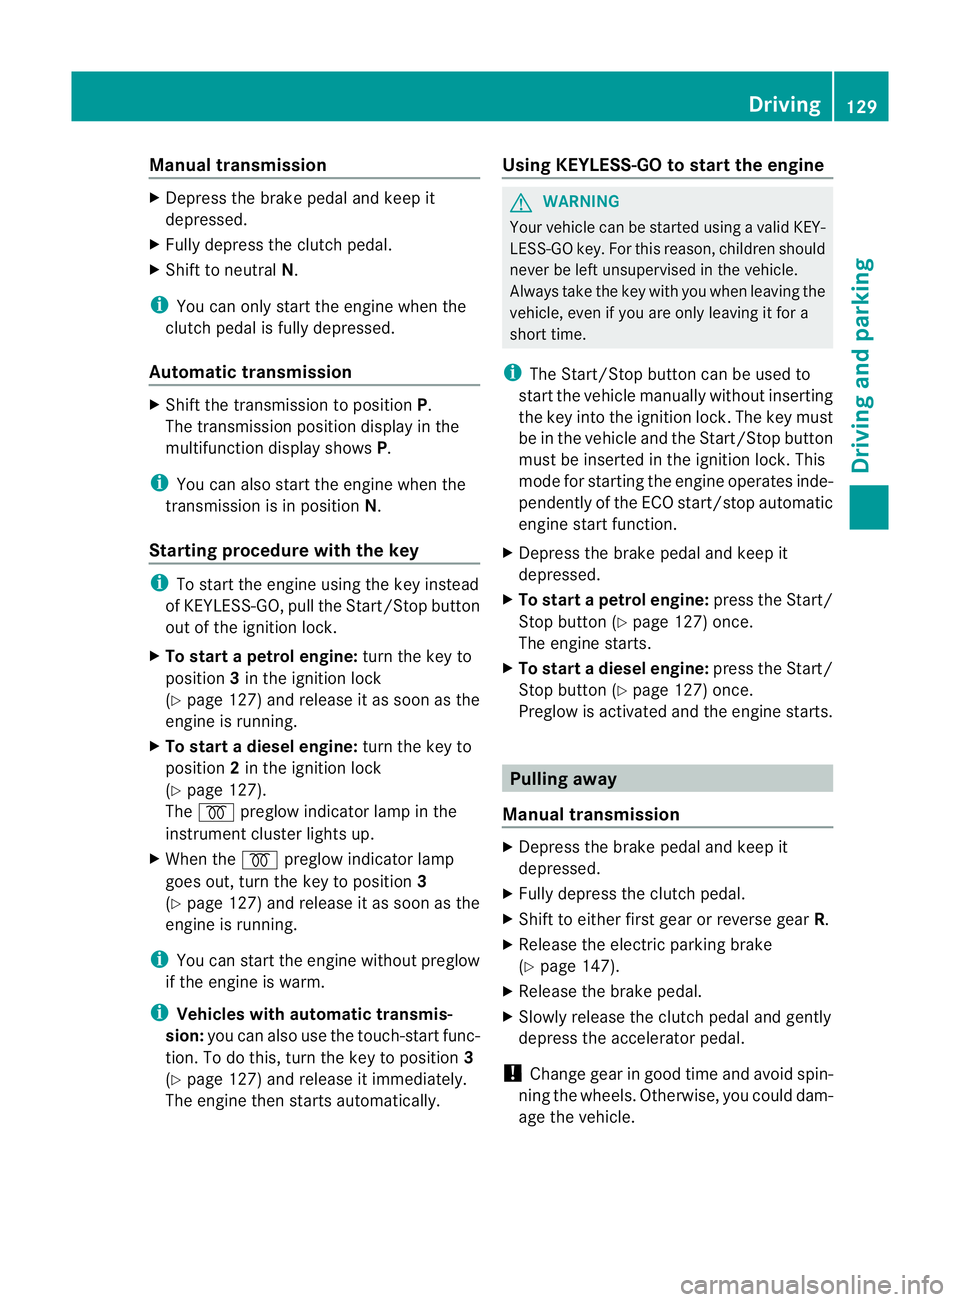
Manual transmission
X
Depress the brake pedal and keep it
depressed.
X Fully depress the clutch pedal.
X Shift to neutral N.
i You can only start the engine when the
clutch pedal is fully depressed.
Automatic transmission X
Shift the transmission to position P.
The transmission position display in the
multifunction display shows P.
i You can also start the engine when the
transmission is in position N.
Starting procedure with the key i
To start the engine using the key instead
of KEYLESS-GO, pullt he Start/Stop button
out of the ignition lock.
X To start a petrol engine: turn the key to
position 3in the ignition lock
(Y page 127) and release it as soon as the
engine is running.
X To startad iesel engine: turn the key to
position 2in the ignition lock
(Y page 127).
The % preglow indicator lamp in the
instrumen tcluster lights up.
X When the %preglow indicator lamp
goes out, tur nthe key to position 3
(Y page 127) and release it as soon as the
engine is running.
i You can start the engine without preglow
if the engine is warm.
i Vehicles with automatic transmis-
sion: you can also use the touch-start func-
tion. To do this, turn the key to position 3
(Y page 127) and release it immediately.
The engine then starts automatically. Using KEYLESS-GO to startt
he engine G
WARNING
You rvehicle can be started using a valid KEY-
LESS-GO key. For this reason, children should
never be left unsupervised in the vehicle.
Always take the key with you when leaving the
vehicle, even if you are only leaving it for a
short time.
i The Start/Stop button can be used to
start the vehicle manually without inserting
the key into the ignition lock. The key must
be in the vehicle and the Start/Stop button
must be inserted in the ignition lock. This
mode for starting the engine operates inde-
pendently of the ECO start/stop automatic
engine start function.
X Depress the brake pedal and keep it
depressed.
X To star tapetrol engine: press the Start/
Stop button (Y page 127) once.
The engine starts.
X To start adiesel engine: press the Start/
Stop button (Y page 127) once.
Preglow is activated and the engine starts. Pulling away
Manual transmission X
Depress the brake pedal and keep it
depressed.
X Fully depress the clutch pedal.
X Shift to either first gear or reverse gear R.
X Release the electric parking brake
(Y page 147).
X Release the brake pedal.
X Slowly release the clutch pedal and gently
depress the accelerato rpedal.
! Change gear in good time and avoid spin-
ning the wheels. Otherwise, you could dam-
age the vehicle. Driving
129Driving and parking Z
Page 152 of 321
Heavy and light loads
G
WARNING
Never depress the brake peda lcontinuously
while the vehicle is in motion, e.g. never cause
the brakes to rub by applying constant slight
pedal pressure. This causes the brake system
to overheat, increases the braking distance
and can lead to the brakes failing completely.
If the brakes have been subjected to a heavy
load, do not stop the vehicle immediately, but
drive on for a short while. This allows the air-
flow to cool the brakes more quickly.
If the brakes have been used only moderately,
you should occasionally test their effective-
ness. To do this, brake more firmly from a
higher speed. This improves the grip of the
brakes.
Wet road surfaces If driving in heavy rain for a prolonged period
of time without braking, there may be a
delayed reaction from the brakes when brak-
ing for the first time. This may also occur after
the vehicle has been washed.
You have to depress the brake pedal more
firmly. Maintain a greater distance from the
vehicle in front.
After driving on a wet road or having the vehi-
cle washed, brake firmly while paying atten-
tion to the traffic conditions. This will warm
up the brake discs, thereby drying them more
quickly and protecting them against corro-
sion.
Limited braking performance on salt-
treated roads G
WARNING
The layer of salt on the brake discs and the
brake pads/linings may cause a delay in the
braking effect, resulting in a significantly lon-
ger braking distance, which could lead to an
accident.
To avoid this danger, you should: R
occasionally brake carefully, without put-
ting other road users at risk, when you are
driving on salted roads. This helps to
remove any salt that may have started to
build up on the brake discs and the brake
pads/linings.
R maintain a greater distance to the vehicle
ahead and drive with particular care.
R carefully apply the brakes at the end of a
trip and immediately after commencing a
new trip, so that salt residues are removed
from the brake discs.
New brake pads/linings G
WARNING
New brake pads/linings only reach their opti-
mum braking effect after several hundred kil-
ometres of driving. Before this optimum brak-
ing effect is reached, you should compensate
for the reduced braking effect by applying
greater pressure when braking. This also
applies after the brake discs or the brake
pads/linings have been replaced.
For safety reasons, Mercedes-Benz recom-
mends that you only have brake pads/linings
fitted to your vehicle which have been
approved for Mercedes-Benz vehicles or
which correspond to an equivalent quality
standard. Brake pads/linings which have not
been approved for Mercedes-Benz vehicles or
which are not of an equivalent quality could
affect your vehicle's operating safety.
High-performance brake system for
AMG vehicles The high-performance brake system is
designed for heavy loads. This may lead to
noise when braking. This will depend on:
R
speed
R braking force
R environmental conditions, such as temper-
ature and humidity
The wear of individual components of the
brake system, such as the brake pads/linings Driving tips
149Driving and parking Z