buttons MERCEDES-BENZ SLS AMG COUPE GT 2013 C197 Owner's Manual
[x] Cancel search | Manufacturer: MERCEDES-BENZ, Model Year: 2013, Model line: SLS AMG COUPE GT, Model: MERCEDES-BENZ SLS AMG COUPE GT 2013 C197Pages: 286, PDF Size: 3.26 MB
Page 16 of 286
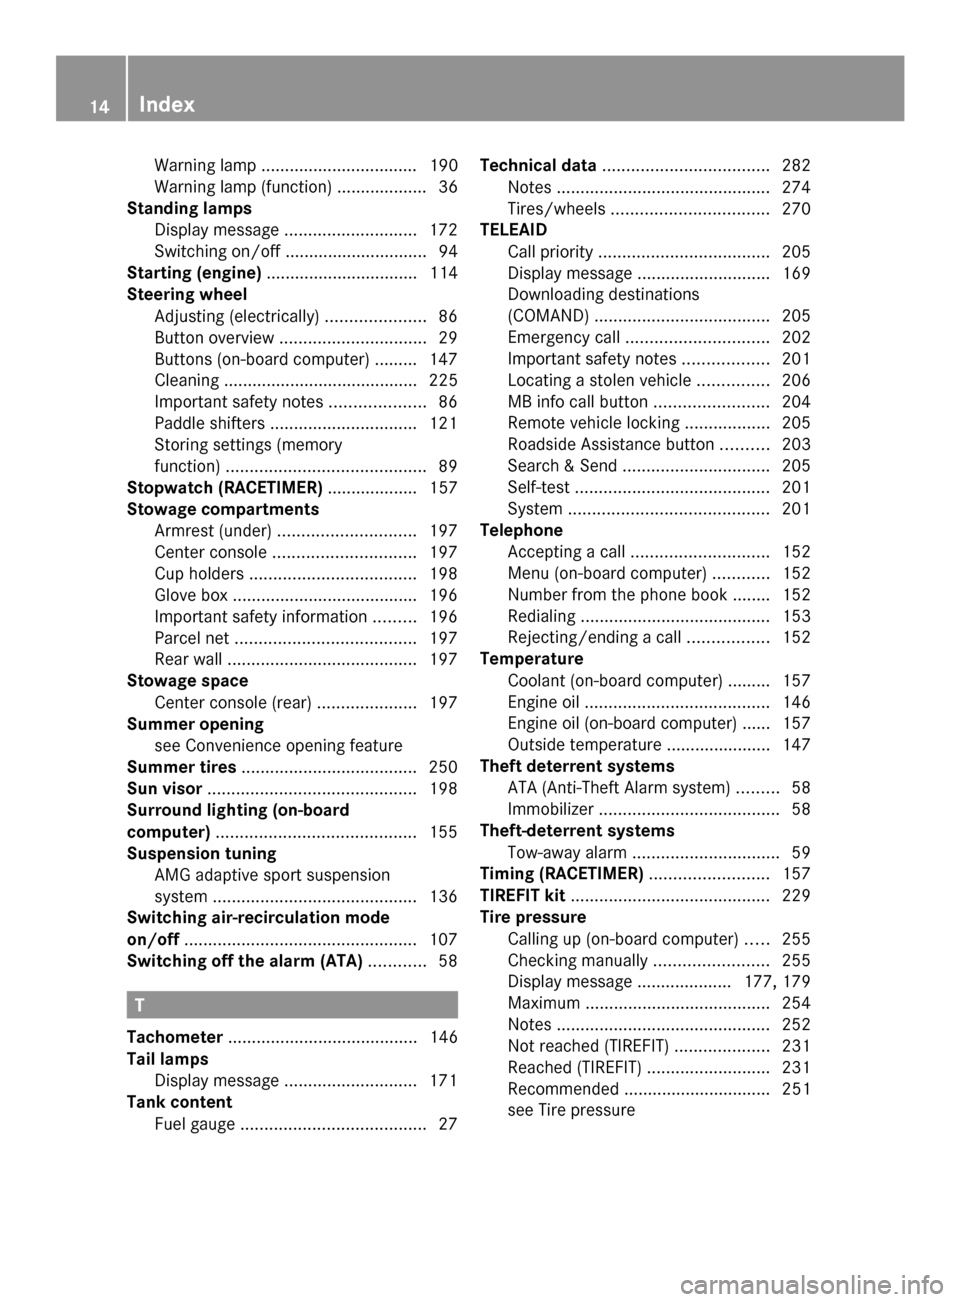
Warning lamp ................................. 190
Warning lamp (function) ...................36
Standing lamps
Display message ............................ 172
Switching on/off .............................. 94
Starting (engine) ................................ 114
Steering wheel Adjusting (electrically) .....................86
Button overview ............................... 29
Buttons (on-board computer) ......... 147
Cleaning ......................................... 225
Important safety notes ....................86
Paddle shifters ............................... 121
Storing settings (memory
function) .......................................... 89
Stopwatch (RACETIMER) ................... 157
Stowage compartments Armrest (under) ............................. 197
Center console .............................. 197
Cup holders ................................... 198
Glove box ...................................... .196
Important safety information .........196
Parcel net ...................................... 197
Rear wall ........................................ 197
Stowage space
Center console (rear) .....................197
Summer opening
see Convenience opening feature
Summer tires ..................................... 250
Sun visor ............................................ 198
Surround lighting (on-board
computer) .......................................... 155
Suspension tuning AMG adaptive sport suspension
system ........................................... 136
Switching air-recirculation mode
on/off ................................................. 107
Switching off the alarm (ATA) ............58 T
Tachometer ........................................ 146
Tail lamps Display message ............................ 171
Tank content
Fuel gauge ....................................... 27Technical data
................................... 282
Notes ............................................. 274
Tires/wheels ................................. 270
TELEAID
Call priority .................................... 205
Display message ............................ 169
Downloading destinations
(COMAND) ..................................... 205
Emergency call .............................. 202
Important safety notes ..................201
Locating a stolen vehicle ...............206
MB info call button ........................204
Remote vehicle locking ..................205
Roadside Assistance button ..........203
Search & Send ............................... 205
Self-test ......................................... 201
System .......................................... 201
Telephone
Accepting a call ............................. 152
Menu (on-board computer) ............152
Number from the phone book ....... .152
Redialing ........................................ 153
Rejecting/ending a call .................152
Temperature
Coolant (on-board computer) ......... 157
Engine oil ....................................... 146
Engine oil (on-board computer) ...... 157
Outside temperature ..................... .147
Theft deterrent systems
ATA (Anti-Theft Alarm system) .........58
Immobilizer ...................................... 58
Theft-deterrent systems
Tow-away alarm ............................... 59
Timing (RACETIMER) .........................157
TIREFIT kit .......................................... 229
Tire pressure Calling up (on-board computer) .....255
Checking manually ........................255
Display message .................... 177, 179
Maximum ....................................... 254
Notes ............................................. 252
Not reached (TIREFIT) ....................231
Reached (TIREFIT) ..........................231
Recommended ............................... 251
see Tire pressure 14
Index
Page 34 of 286

Overhead control panel
Function Page
0043
003D
Switches the left-
hand reading lamp on/off 95
0044
004A
Switches the interior
lighting on/off 96
0087
0033
Switches the
automatic interior lighting
control on/off 95
0085
003D
Switches the right-
hand reading lamp on/off 95
0083
00D9
MB Info call button
(mbrace system) 204
0084
0053
SOS button (mbrace
system) 202 Function Page
006B
Rear-view mirror 87
006C
Transmitter buttons for the
garage door opener 208
006D
Microphone for mbrace
(emergency call system)
telephone and the Voice
Control System
006E
0052
Roadside Assistance
call button (mbrace
system) 20332
Overhead control panelAt a glance
Page 65 of 286

When it is dark, the surround lighting also
comes on if it is activated in the on-board
computer (Y page 155).
You can also set an audible signal to confirm
that the vehicle has been locked or unlocked.
The audible signal can be activated and
deactivated using the on-board computer
(Y page 156).
X To unlock centrally: press the0036
button.
If you do not open the vehicle within
approximately 40 seconds of unlocking:
R the vehicle is locked again.
R the anti-theft alarm system is armed again.
X To lock centrally: press the0037button. Changing the settings of the locking
system
You can change the setting of the locking
system in such a way that only the driver's
door and the fuel filler flap are unlocked. This
is useful if you frequently travel on your own.
X To change the setting: press and hold
down the 0036and0037 buttons
simultaneously for approximately six
seconds until the battery check lamp
(Y page 64) flashes twice.
The SmartKey now functions as follows:
X To unlock the driver's door: press the
0036 button once.
X To unlock centrally: press the0036
button twice.
X To lock centrally: press the0037button. Restoring the factory settings
X Press the 0036and0037 buttons
simultaneously for approximately six
seconds until the battery check lamp
flashes twice. Mechanical key
General notes If the vehicle can no longer be locked or
unlocked with the SmartKey, use the
mechanical key.
If you use the mechanical key to unlock and
open the driver's door, the anti-theft alarm
system will be triggered (Y
page 58).
There are several ways to turn off the alarm:
X Press the 0036or0037 button on the
SmartKey.
or
X Insert the SmartKey into the ignition lock.
X To unlock the fuel filler flap: insert the
SmartKey into the ignition lock.
Removing the mechanical key X
Push release catch 0043in the direction of
the arrow and at the same time remove
mechanical key 0044from the SmartKey. SmartKey battery
Important safety notes Have the batteries changed at a qualified
specialist workshop.
G
WARNING
Batteries contain toxic substances.
Swallowing batteries can lead to serious
health issues or death. SmartKey
63Opening and closing
Z
Page 66 of 286

Keep batteries out of the reach of children.
Seek medical attention immediately if a
battery is swallowed. G
WARNING
The SmartKey batteries contain perchlorate
material, which may require special handling
and regard for the environment. Observe
government disposal guidelines. California
residents, see www.dtsc.ca.gov/
HazardousWaste/Perchlorate/
index.cfm.
Checking the battery X
Press the 0037or0036 button.
The SmartKey battery is working properly if
battery check lamp 0043lights up briefly.
If battery check lamp 0043does not light up
briefly during the test, the SmartKey battery
is discharged.
X Changing the battery (Y page 64)
i The battery can be obtained from any
authorized Mercedes-Benz Center.
i If the SmartKey battery is checked within
the signal range of the vehicle, pressing the
0037 or0036 button locks or unlocks the
vehicle.
Replacing the battery X
Take the mechanical key out of the
SmartKey (Y page 63).
You require a CR 2025 3 V cell battery. X
Press mechanical key 0044into the opening
in the SmartKey in the direction of the
arrow until battery tray cover 0043opens. Do
not hold the cover closed while doing so. X
Remove the cover of the battery tray.
X Repeatedly tap the SmartKey against your
palm until battery 0087falls out.
X Insert the new battery with the positive
terminal facing upwards. Use a lint-free
cloth to do so.
X Insert the front tabs of the battery tray's
cover first, and then press to close it.
X Check the function of all SmartKey buttons
on the vehicle. 64
SmartKeyOpening and closing
Page 71 of 286

X
To lock: press button 0044.
If both doors are closed, the vehicle locks.
X To unlock: press button 0043.
You can open a door from inside the vehicle
even if it has been locked. Only open the door
when the traffic situation permits.
If the vehicle has been locked with the central
locking button:
R and the SmartKey is set to its factory
setting, the entire vehicle is unlocked if a
door is opened from the inside
R and the SmartKey is set to an individual
setting, only the door that is opened from
inside the vehicle is unlocked. Automatic locking feature
Coupe You can only open a door from the inside if it
is unlocked.
The vehicle locks the doors automatically,
when you drive faster than 9 mph
(15 km/h).
The doors are automatically unlocked after a
journey if you switch off the engine.
Roadster The vehicle locks automatically when the
ignition is switched on and the wheels of the
vehicle are moving at a speed of more than
9 mph (15 km/h). There is therefore a risk of
being locked out when the vehicle is being
pushed, towed or tested on a dynamometer. X
To deactivate: press and hold button 0043
for about five seconds until a tone sounds.
X To activate: press and hold button 0044for
about five seconds until a tone sounds.
i If you press one of the two buttons and
do not hear a tone, the relevant setting has
already been selected.
You can also switch the automatic locking
function on and off using the on-board
computer (Y page 155). Unlocking the driver's door
(mechanical key)
If the vehicle can no longer be unlocked with
the SmartKey, use the mechanical key.
If you use the mechanical key to unlock and
open the driver's door, the anti-theft alarm
system will be triggered (Y page 58).
X Take the mechanical key out of the
SmartKey (Y page 63).
X Insert the mechanical key into the lock of
the driver's door as far as it will go. Doors
69Opening and closing Z
Page 92 of 286

X
Select SmartKey position 2with the Start/
Stop button.
X Adjust the seat ( Ypage 84).
X On the driver's side, adjust the steering
wheel (Y page 86) and the exterior mirrors
(Y page 87).
X Press memory button Mand one of the
storage position buttons 1,2or 3within
three seconds.
The settings are stored in the selected
preset position. A tone sounds when the
settings have been completed. Calling up a stored setting
X Press and hold the relevant storage
position button 1,2or 3until the seat,
steering wheel and exterior mirrors are in
the stored position.
i The setting procedure is interrupted as
soon as you release the storage position
button. 90
Memory functionSeats, steering wheel and mirrors
Page 106 of 286
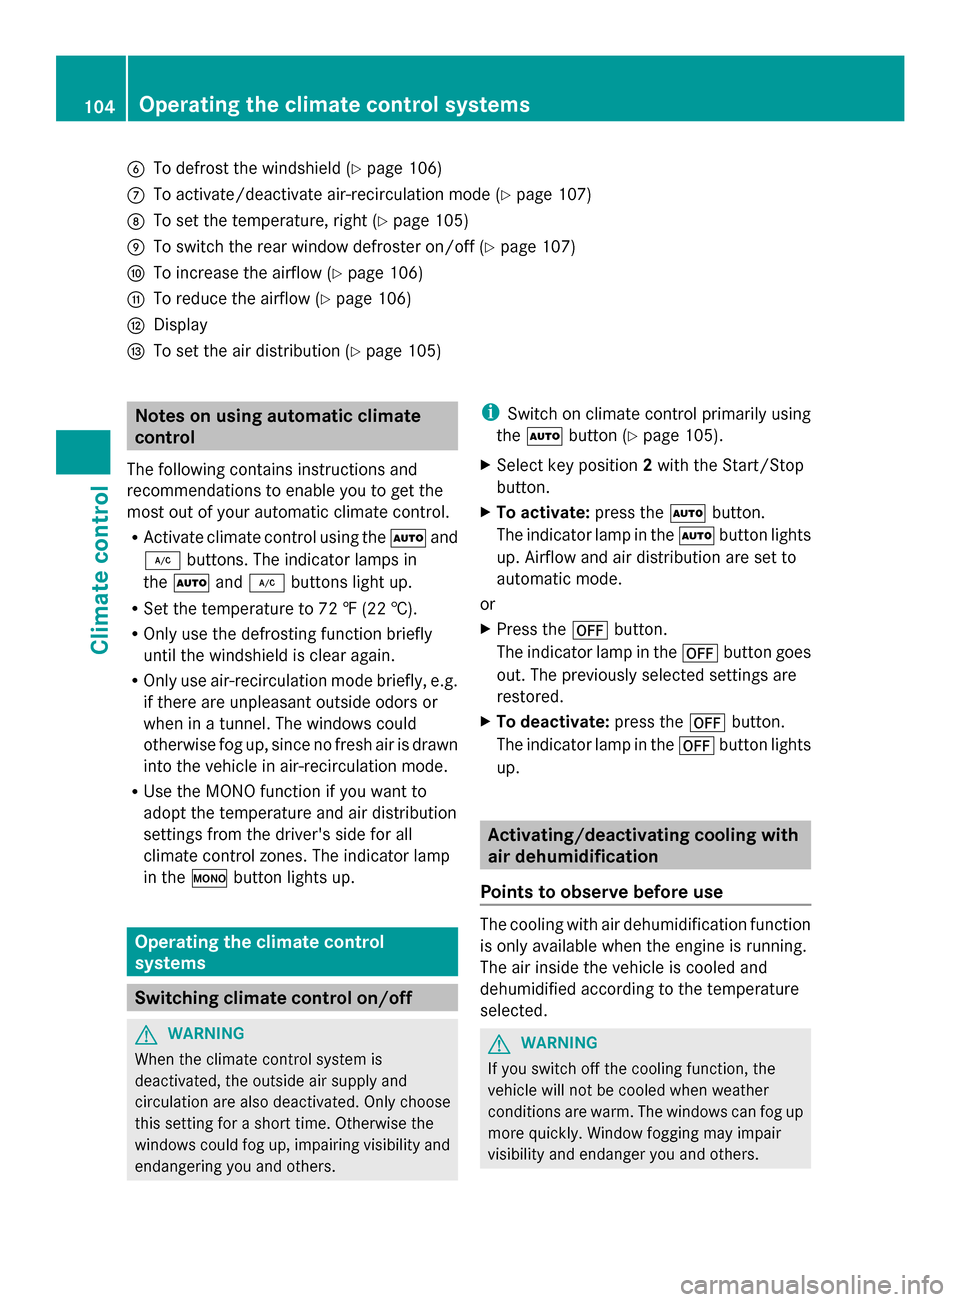
0084
To defrost the windshield (Y page 106)
006B To activate/deactivate air-recirculation mode (Y page 107)
006C To set the temperature, right (Y page 105)
006D To switch the rear window defroster on/off (Y page 107)
006E To increase the airflow (Y page 106)
006F To reduce the airflow (Y page 106)
0070 Display
0071 To set the air distribution (Y page 105)Notes on using automatic climate
control
The following contains instructions and
recommendations to enable you to get the
most out of your automatic climate control.
R Activate climate control using the 0058and
005A buttons. The indicator lamps in
the 0058 and005A buttons light up.
R Set the temperature to 72 ‡ (22 †).
R Only use the defrosting function briefly
until the windshield is clear again.
R Only use air-recirculation mode briefly, e.g.
if there are unpleasant outside odors or
when in a tunnel. The windows could
otherwise fog up, since no fresh air is drawn
into the vehicle in air-recirculation mode.
R Use the MONO function if you want to
adopt the temperature and air distribution
settings from the driver's side for all
climate control zones. The indicator lamp
in the 005Bbutton lights up. Operating the climate control
systems
Switching climate control on/off
G
WARNING
When the climate control system is
deactivated, the outside air supply and
circulation are also deactivated. Only choose
this setting for a short time. Otherwise the
windows could fog up, impairing visibility and
endangering you and others. i
Switch on climate control primarily using
the 0058 button (Y page 105).
X Select key position 2with the Start/Stop
button.
X To activate: press the0058button.
The indicator lamp in the 0058button lights
up. Airflow and air distribution are set to
automatic mode.
or
X Press the 0078button.
The indicator lamp in the 0078button goes
out. The previously selected settings are
restored.
X To deactivate: press the0078button.
The indicator lamp in the 0078button lights
up. Activating/deactivating cooling with
air dehumidification
Points to observe before use The cooling with air dehumidification function
is only available when the engine is running.
The air inside the vehicle is cooled and
dehumidified according to the temperature
selected.
G
WARNING
If you switch off the cooling function, the
vehicle will not be cooled when weather
conditions are warm. The windows can fog up
more quickly. Window fogging may impair
visibility and endanger you and others. 104
Operating the climate control systemsClimate control
Page 149 of 286

Outside temperature display
G
WARNING
The outside temperature indicator is not
designed to serve as an ice-warning device
and is therefore unsuitable for that purpose.
Indicated temperatures just above the
freezing point do not guarantee that the road
surface is free of ice. The road may still be icy,
especially in wooded areas or on bridges.
The outside temperature display is in the
multifunction display (Y page 147).
Changes in the outside temperature are
displayed after a short delay. Operating the on-board computer
The on-board computer is activated as soon
as you turn the SmartKey to position 1in the
ignition lock.
You can control the multifunction display and
the settings in the on-board computer using
the buttons on the multifunction steering
wheel. 0043
Multifunction display
0044
006A007F
Makes/accepts or
rejects/ends a call
00810082 Increases/reduces
volume 0087
0062
Switches on the Voice Control
System; see the separate operating
instructions 0085
0041Press briefly:
back, deactivates the Voice Control
System and fades out display
messages
0041Press and hold:
selects the standard display
0083
00590065
Selects the menu bar and
selects menus 00630064Press briefly:
selects a submenu or scrolls through
lists
In the
Audio Audio menu, selects a stored
station, an audio track or a video
scene
In the Tel Telmenu (telephone),
switches to the telephone book and
selects a name or a telephone
number 00630064Press and hold:
In the
Audio Audio menu, selects the
previous/next station, selects an
audio track or a video scene using
rapid scroll
In the Tel Telmenu (telephone), starts
telephone book rapid scroll 0076
Confirms selection and hides
display messages
In the Tel
Tel menu (telephone),
switches to the phone book and
starts dialing Multifunction display
Values and settings as well as display
messages are shown in the multifunction
display. Displays and operation
147On-board computer and displays Z
Page 158 of 286
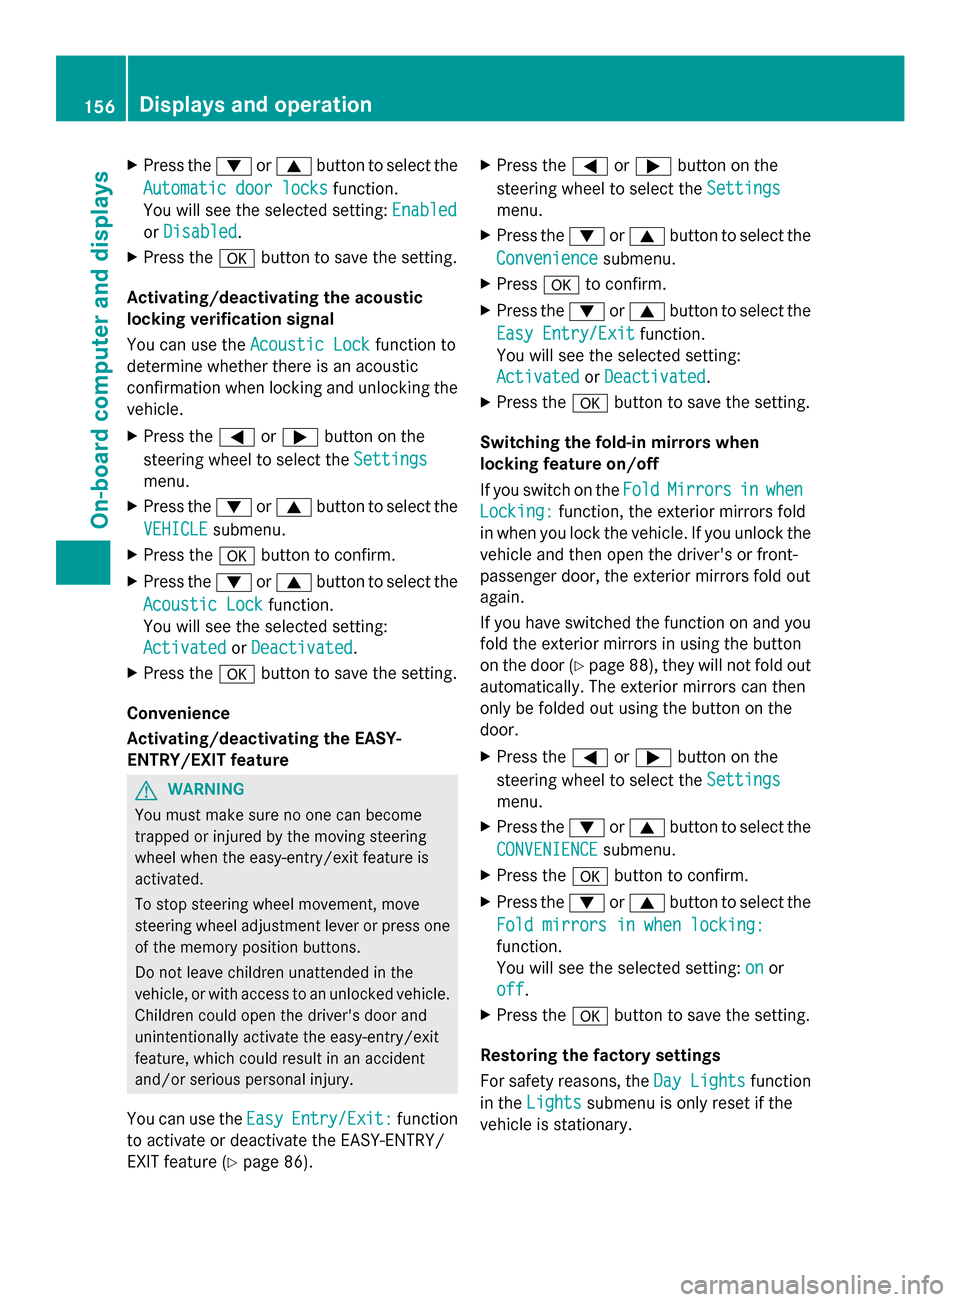
X
Press the 0064or0063 button to select the
Automatic door locks
Automatic door locks function.
You will see the selected setting: Enabled
Enabled
or Disabled
Disabled .
X Press the 0076button to save the setting.
Activating/deactivating the acoustic
locking verification signal
You can use the Acoustic Lock
Acoustic Lock function to
determine whether there is an acoustic
confirmation when locking and unlocking the
vehicle.
X Press the 0059or0065 button on the
steering wheel to select the Settings
Settings
menu.
X Press the 0064or0063 button to select the
VEHICLE
VEHICLE submenu.
X Press the 0076button to confirm.
X Press the 0064or0063 button to select the
Acoustic Lock
Acoustic Lock function.
You will see the selected setting:
Activated Activated orDeactivated
Deactivated.
X Press the 0076button to save the setting.
Convenience
Activating/deactivating the EASY-
ENTRY/EXIT feature G
WARNING
You must make sure no one can become
trapped or injured by the moving steering
wheel when the easy-entry/exit feature is
activated.
To stop steering wheel movement, move
steering wheel adjustment lever or press one
of the memory position buttons.
Do not leave children unattended in the
vehicle, or with access to an unlocked vehicle.
Children could open the driver's door and
unintentionally activate the easy-entry/exit
feature, which could result in an accident
and/or serious personal injury.
You can use the Easy EasyEntry/Exit:
Entry/Exit: function
to activate or deactivate the EASY-ENTRY/
EXIT feature (Y page 86). X
Press the 0059or0065 button on the
steering wheel to select the Settings Settings
menu.
X Press the 0064or0063 button to select the
Convenience
Convenience submenu.
X Press 0076to confirm.
X Press the 0064or0063 button to select the
Easy Entry/Exit
Easy Entry/Exit function.
You will see the selected setting:
Activated Activated orDeactivated
Deactivated.
X Press the 0076button to save the setting.
Switching the fold-in mirrors when
locking feature on/off
If you switch on the Fold FoldMirrors
Mirrors in
inwhen
when
Locking:
Locking: function, the exterior mirrors fold
in when you lock the vehicle. If you unlock the
vehicle and then open the driver's or front-
passenger door, the exterior mirrors fold out
again.
If you have switched the function on and you
fold the exterior mirrors in using the button
on the door (Y page 88), they will not fold out
automatically. The exterior mirrors can then
only be folded out using the button on the
door.
X Press the 0059or0065 button on the
steering wheel to select the Settings
Settings
menu.
X Press the 0064or0063 button to select the
CONVENIENCE CONVENIENCE submenu.
X Press the 0076button to confirm.
X Press the 0064or0063 button to select the
Fold mirrors in when locking:
Fold mirrors in when locking:
function.
You will see the selected setting: on
on or
off off.
X Press the 0076button to save the setting.
Restoring the factory settings
For safety reasons, the Day Lights Day Lightsfunction
in the Lights
Lights submenu is only reset if the
vehicle is stationary. 156
Displays and operationOn-board computer and displays
Page 159 of 286

X
Press the 0059or0065 button on the
steering wheel to select the Settings
Settings
menu.
X Press the 0064or0063 button to select the
Factory Settings
Factory Settings submenu.
X Press 0076to confirm.
The Reset All Settings?
Reset All Settings? message
appears.
X Press the 0064or0063 button to select
Yes
Yes orNo
No.
X Press the 0076button to confirm the
selection.
If you have selected Yes
Yes, the multifunction
display shows a confirmation message.
AMG menu AMG displays
X
Press 0059or0065 on the steering wheel
to select the AMG AMGmenu. 0043
Digital speedometer
0044 Engine oil temperature
0087 Coolant temperature
0085 Transmission fluid temperature
If the engine oil temperature is below 80 †
or if the transmission fluid temperature is
below 60 †, the corresponding temperature
gauge flashes. Avoid driving at full engine
output during this time.
SETUP
SETUP displays the drive program, the AMG
adaptive sport suspension system setting
and the selected traction assist. X
Press 0059or0065 on the steering wheel
to select the AMG
AMG menu.
X Press the 0063button repeatedly until
SETUP is displayed.
or
X Press the AMG button on the center
console. 0043
Drive program (C/S/S+/M)
0044 ESP ®
mode (ON ON/SportSport Handling Handling Mode
Mode/
OFF
OFF)
0087 AMG adaptive sport suspension system
setting (COMFORT COMFORT /SPORTSPORT /SPORT +SPORT +)
RACETIMER
Displaying and starting RACETIMER G
WARNING
The RACETIMER feature is only for use on
roads and in conditions where high speed
driving is permitted. Racing on public roads is
prohibited under all circumstances. The driver
is and must always remain responsible for
following posted speed limits.
You can use the RACETIMER to store lap
times.
X Press 0059or0065 on the steering wheel
to select the AMG
AMG menu.
X Press the 0063button repeatedly until the
RACETIMER is shown.
i If the RACETIMER is selected, the 0059
and 0065 buttons are inoperative. Displays and operation
157On-board computer and displays Z