brakes MERCEDES-BENZ SPRINTER 2017 MY17 Operator’s Manual
[x] Cancel search | Manufacturer: MERCEDES-BENZ, Model Year: 2017, Model line: SPRINTER, Model: MERCEDES-BENZ SPRINTER 2017Pages: 286, PDF Size: 4.36 MB
Page 8 of 286
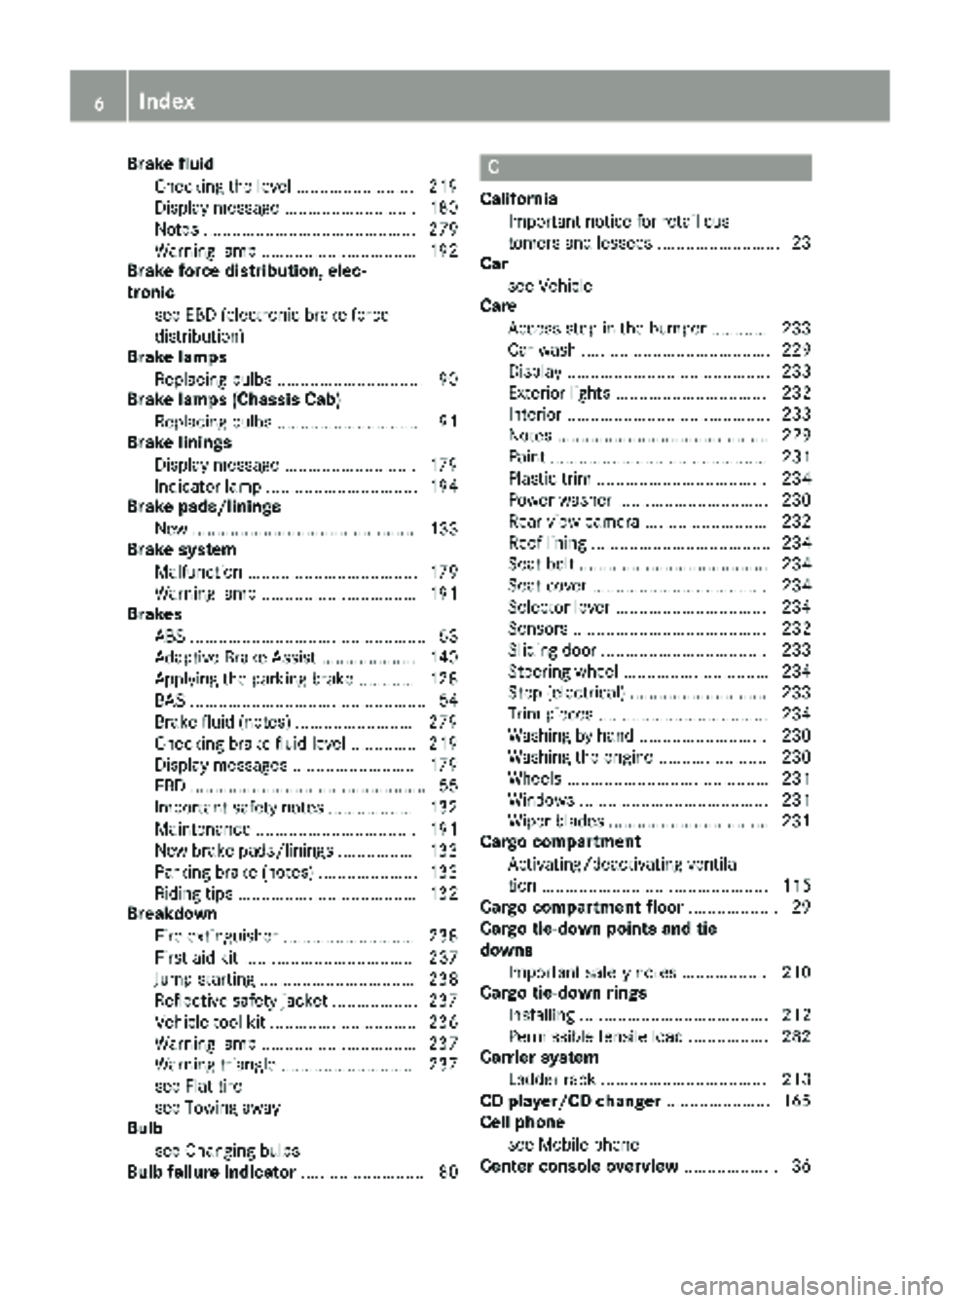
Brake fluidChecking the level ......................... 219
Display message ............................ 180
Notes ............................................. 279
Warning lamp ................................. 192
Brake force distribution, elec-
tronic
see EBD (electronic brake force
distribution)
Brake lamps
Replacing bulbs ............................... 90
Brake lamps (Chassis Cab)
Replacing bulbs ............................... 91
Brake linings
Display message ............................ 179
Indicator lamp ................................ 194
Brake pads/linings
New ............................................... 133
Brake system
Malfunction .................................... 179
Warning lamp ................................. 191
Brakes
ABS .................................................. 53
Adaptive Brake Assist .................... 140
Applying the parking brake ............ 128
BAS .................................................. 54
Brake fluid (notes) ......................... 279
Checking brake fluid level .............. 219
Display messages .......................... 179
EBD .................................................. 55
Important safety notes .................. 132
Maintenance .................................. 191
New brake pads/linings ................ 133
Parking brake (notes) ..................... 133
Riding tips ...................................... 132
Breakdown
Fire extinguisher ............................ 238
First-aid kit .................................... 237
Jump-starting ................................. 238
Reflective safety jacket .................. 237
Vehicle tool kit ............................... 236
Warning lamp ................................. 237
Warning triangle ............................ 237
see Flat tire
see Towing away
Bulb
see Changing bulbs
Bulb failure indicator .......................... 80C
California
Important notice for retail cus-
tomers and lessees .......................... 23
Car
see Vehicle
Care
Access step in the bumper ............ 233
Car wash ........................................ 229
Display ........................................... 233
Exterior lights ................................ 232
Interior ........................................... 233
Notes ............................................. 229
Paint .............................................. 231
Plastic trim .................................... 234
Power washer ................................ 230
Rear view camera .......................... 232
Roof lining ...................................... 234
Seat belt ........................................ 234
Seat cover ..................................... 234
Selector lever ................................ 234
Sensors ......................................... 232
Sliding door ................................... 233
Steering wheel ............................... 234
Step (electrical) ............................. 233
Trim pieces .................................... 234
Washing by hand ........................... 230
Washing the engine ....................... 230
Wheels ........................................... 231
Windows ........................................ 231
Wiper blades .................................. 231
Cargo compartment
Activating/deactivating ventila-
tion ................................................ 115
Cargo compartment floor ................... 29
Cargo tie-down points and tie
downs
Important safety notes .................. 210
Cargo tie-down rings
Installing ........................................ 212
Permissible tensile load ................. 282
Carrier system
Ladder rack ................................... 213
CD player/CD changer ...................... 165
Cell phone
see Mobile phone
Center console overview .................... 36
6Index
Page 12 of 286
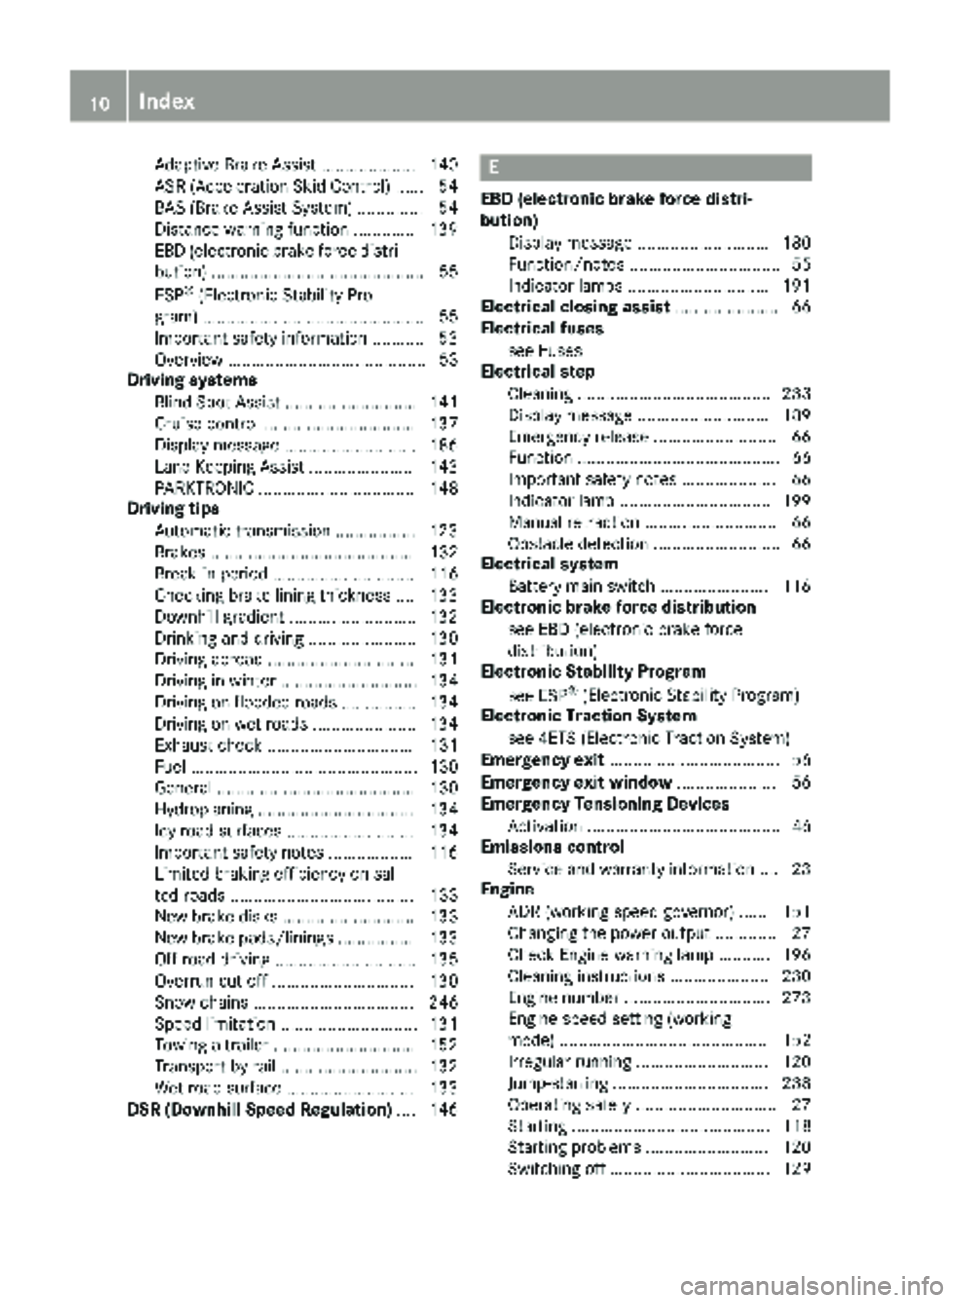
Adaptive Brake Assist .................... 140
ASR (Acceleration Skid Control) ...... 54
BAS (Brake Assist System) .............. 54
Distance warning function ............. 139
EBD (electronic brake force distri-
bution) ............................................. 55
ESP
®(Electronic Stability Pro-
gram) ............................................... 55
Important safety information ........... 53
Overview .......................................... 53
Driving systems
Blind Spot Assist ............................ 141
Cruise control ................................ 137
Display message ............................ 186
Lane Keeping Assist ...................... 143
PARKTRONIC ................................. 148
Driving tips
Automatic transmission ................. 123
Brakes ........................................... 132
Break-in period .............................. 116
Checking brake lining thickness .... 133
Downhill gradient ........................... 132
Drinking and driving ....................... 130
Driving abroad ............................... 131
Driving in winter ............................. 134
Driving on flooded roads ................ 134
Driving on wet roads ...................... 134
Exhaust check ............................... 131
Fuel ................................................ 130
General .......................................... 130
Hydroplaning ................................. 134
Icy road surfaces ........................... 134
Important safety notes .................. 116
Limited braking efficiency on sal-
ted roads ....................................... 133
New brake disks ............................ 133
New brake pads/linings ................ 133
Off-road driving .............................. 135
Overrun cut-off .............................. 130
Snow chains .................................. 246
Speed limitation ............................. 131
Towing a trailer .............................. 152
Transport by rail ............................. 132
Wet road surface ........................... 133
DSR (Downhill Speed Regulation) .... 146
E
EBD (electronic brake force distri-
bution)
Display message ............................ 180
Function/notes ................................ 55
Indicator lamps .............................. 191
Electrical closing assist ...................... 66
Electrical fuses
see Fuses
Electrical step
Cleaning ......................................... 233
Display message ............................ 189
Emergency release .......................... 66
Function ........................................... 66
Important safety notes .................... 66
Indicator lamp ................................ 199
Manual retraction ............................ 66
Obstacle detection ........................... 66
Electrical system
Battery main switch ....................... 116
Electronic brake force distribution
see EBD (electronic brake force
distribution)
Electronic Stability Program
see ESP
®(Electronic Stability Program)
Electronic Traction System
see 4ETS (Electronic Traction System)
Emergency exit .................................... 56
Emergency exit window ..................... 56
Emergency Tensioning Devices
Activation ......................................... 46
Emissions control
Service and warranty information .... 23
Engine
ADR (working speed governor) ...... 151
Changing the power output ............. 27
Check Engine warning lamp ........... 196
Cleaning instructions ..................... 230
Engine number ............................... 273
Engine speed setting (working
mode) ............................................ 152
Irregular running ............................ 120
Jump-starting ................................. 238
Operating safety .............................. 27
Starting .......................................... 118
Starting problems .......................... 120
Switching off .................................. 129
10Index
Page 23 of 286
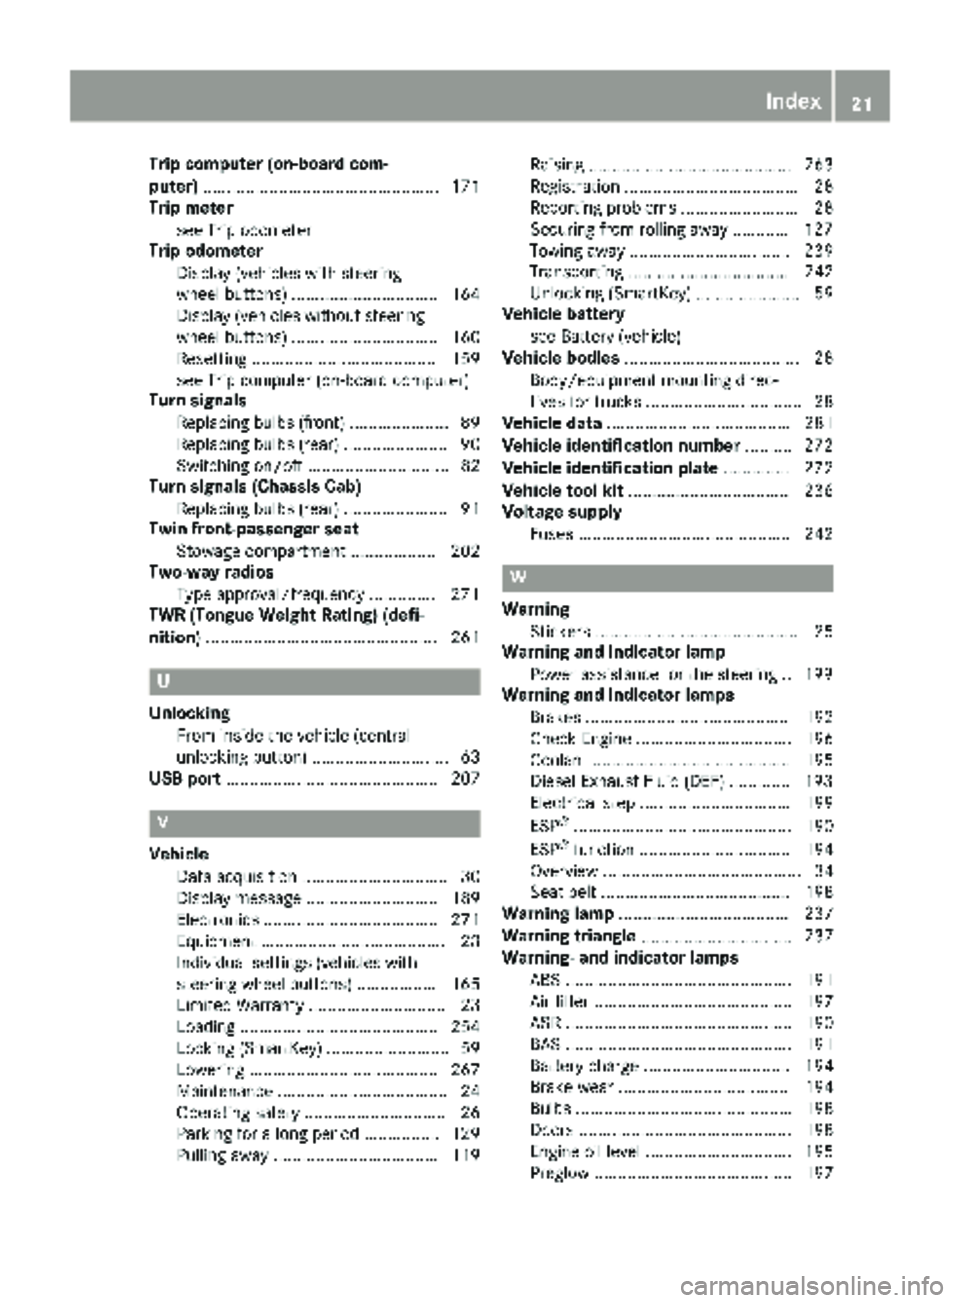
Trip computer (on-board com-
puter).................................................. 171
Trip meter
see Trip odometer
Trip odometer
Display (vehicles with steering
wheel buttons) ............................... 164
Display (vehicles without steering
wheel buttons) ............................... 160
Resetting ....................................... 159
see Trip computer (on-board computer)
Turn signals
Replacing bulbs (front) ..................... 89
Replacing bulbs (rear) ...................... 90
Switching on/off .............................. 82
Turn signals (Chassis Cab)
Replacing bulbs (rear) ...................... 91
Twin front-passenger seat
Stowage compartment .................. 202
Two-way radios
Type approval/frequency .............. 271
TWR (Tongue Weight Rating) (defi-
nition) ................................................. 261
U
Unlocking
From inside the vehicle (central
unlocking button) ............................. 63
USB port ............................................. 207
V
Vehicle
Data acquisition ............................... 30
Display message ............................ 189
Electronics ..................................... 271
Equipment ....................................... 23
Individual settings (vehicles with
steering wheel buttons) ................. 165
Limited Warranty ............................. 23
Loading .......................................... 254
Locking (SmartKey) .......................... 59
Lowering ........................................ 267
Maintenance .................................... 24
Operating safety .............................. 26
Parking for a long period ................ 129
Pulling away ................................... 119 Raising ........................................... 263
Registration ..................................... 28
Reporting problems ......................... 28
Securing from rolling away ............ 127
Towing away .................................. 239
Transporting .................................. 242
Unlocking (SmartKey) ...................... 59
Vehicle battery
see Battery (vehicle)
Vehicle bodies ..................................... 28
Body/equipment mounting direc-
tives for trucks ................................. 28
Vehicle data ....................................... 281
Vehicle identification number .......... 272
Vehicle identification plate .............. 272
Vehicle tool kit .................................. 236
Voltage supply
Fuses ............................................. 242
W
WarningStickers ........................................... 25
Warning and indicator lamp
Power assistance for the steering .. 199
Warning and indicator lamps
Brakes ........................................... 192
Check Engine ................................. 196
Coolant .......................................... 195
Diesel Exhaust Fluid (DEF) ............. 193
Electrical step ................................ 199
ESP
®.............................................. 190
ESP®function ................................ 194
Overview .......................................... 34
Seat belt ........................................ 198
Warning lamp .................................... 237
Warning triangle ................................ 237
Warning- and indicator lamps
ABS ................................................ 191
Air filter .......................................... 197
ASR ................................................ 190
BAS ................................................ 191
Battery charge ............................... 194
Brake wear .................................... 194
Bulbs .............................................. 198
Doors ............................................. 198
Engine oil level ............................... 195
Preglow .......................................... 197
Index21
Page 32 of 286
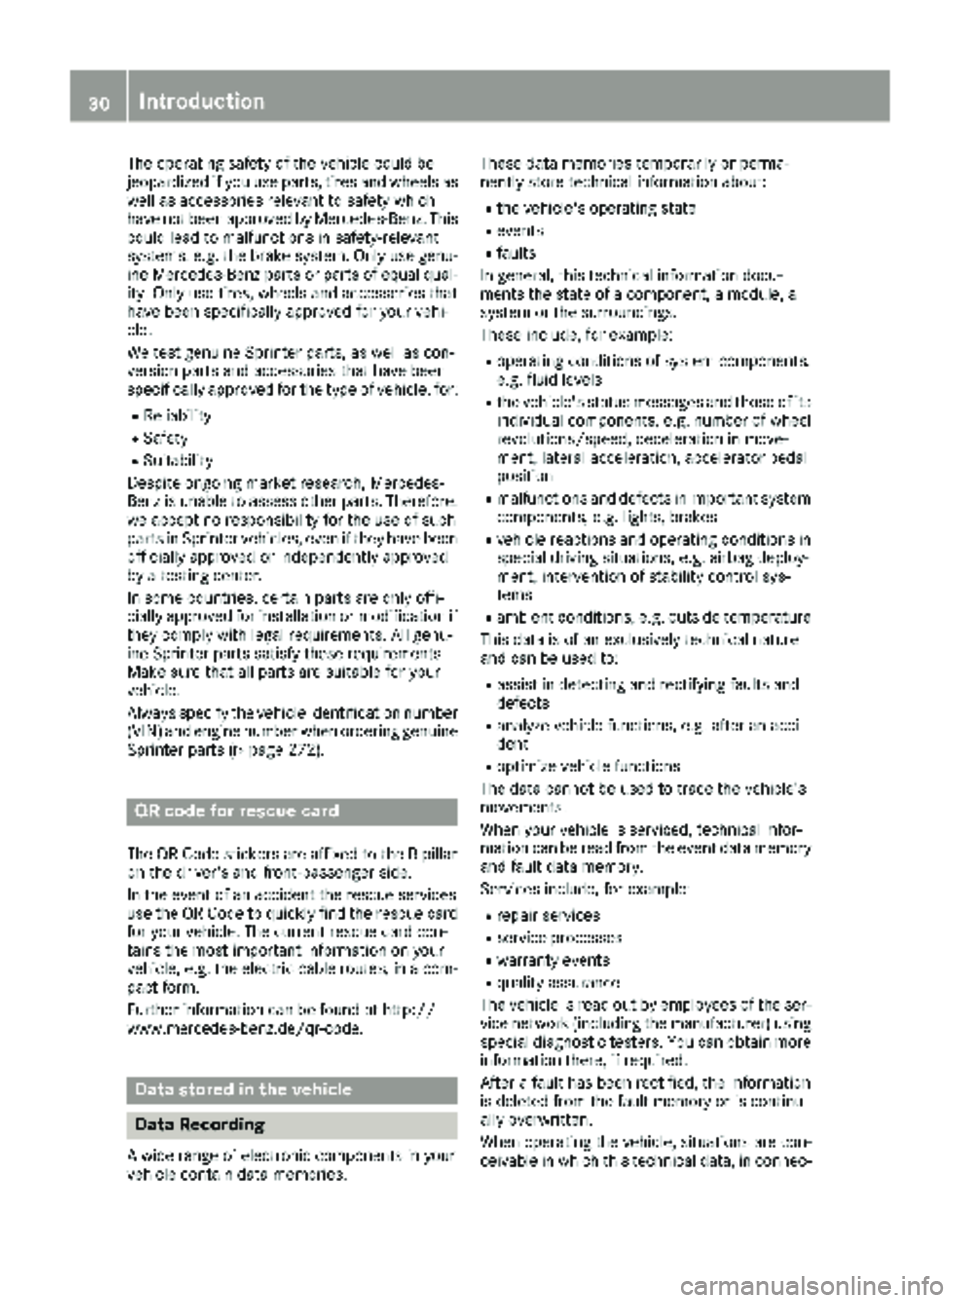
The operating safety of the vehicle could be
jeopardized if you use parts, tires and wheels as
well as accessories relevant to safety which
have not been approved by Mercedes-Benz. This
could lead to malfunctions in safety-relevant
systems, e.g. the brake system. Only use genu-
ine Mercedes-Benz parts or parts of equal qual-ity. Only use tires, wheels and accessories that
have been specifically approved for your vehi-
cle.
We test genuine Sprinter parts, as well as con-
version parts and accessories that have been
specifically approved for the type of vehicle, for:
RReliability
RSafety
RSuitability
Despite ongoing market research, Mercedes-
Benz is unable to assess other parts. Therefore,
we accept no responsibility for the use of such
parts in Sprinter vehicles, even if they have been
officially approved or independently approved
by a testing center.
In some countries, certain parts are only offi-
cially approved for installation or modification if
they comply with legal requirements. All genu-
ine Sprinter parts satisfy these requirements.
Make sure that all parts are suitable for your
vehicle.
Always specify the vehicle identification number
(VIN) and engine number when ordering genuine Sprinter parts (
Ypage 272).
QR code for rescue card
The QR Code stickers are affixed to the B-pillar
on the driver's and front-passenger side.
In the event of an accident the rescue services
use the QR Code to quickly find the rescue card
for your vehicle. The current rescue card con-
tains the most important information on your
vehicle, e.g. the electric cable routes, in a com-
pact form.
Further information can be found at http://
www.mercedes-benz.de/qr-code.
Data stored in the vehicle
Data Recording
A wide range of electronic components in your
vehicle contain data memories. These data memories temporarily or perma-
nently store technical information about:
Rthe vehicle's operating state
Revents
Rfaults
In general, this technical information docu-
ments the state of a component, a module, a
system or the surroundings.
These include, for example:
Roperating conditions of system components,
e.g. fluid levels
Rthe vehicle's status messages and those of its
individual components, e.g. number of wheel
revolutions/speed, deceleration in move-
ment, lateral acceleration, accelerator pedal
position
Rmalfunctions and defects in important system
components, e.g. lights, brakes
Rvehicle reactions and operating conditions in
special driving situations, e.g. airbag deploy-
ment, intervention of stability control sys-
tems
Rambient conditions, e.g. outside temperature
This data is of an exclusively technical nature
and can be used to:
Rassist in detecting and rectifying faults and
defects
Ranalyze vehicle functions, e.g. after an acci-
dent
Roptimize vehicle functions
The data cannot be used to trace the vehicle's
movements.
When your vehicle is serviced, technical infor-
mation can be read from the event data memory
and fault data memory.
Services include, for example:
Rrepair services
Rservice processes
Rwarranty events
Rquality assurance
The vehicle is read out by employees of the ser- vice network (including the manufacturer) using
special diagnostic testers. You can obtain more
information there, if required.
After a fault has been rectified, the information
is deleted from the fault memory or is continu-
ally overwritten.
When operating the vehicle, situations are con-
ceivable in which this technical data, in connec-
30Introduction
Page 56 of 286
ASR (accelerationskid control )
Gene ral notes
Important safety notes
Observ eth eimportant safet yguidelines for th e
drivin gsafet ysystem (Ypage 53).
AS Rcan neither reduce th eris kof an acciden t
no rsuspen dth elaws of physics if th edriver
does no tpay attention when pullin gaway or
accelerating .AS Ris only an aid. Always adapt
your drivin gstyle to suit th eprevailing road and
weather conditions.
If you activat eor deactivat eth eall-whee ldrive
in avehicl ewit hthis option ,AS Rwill be deacti -
vated for th eduration of th eactivation/deacti-
vation process.
Vehicles without steering whee lbuttons :if AS R
is malfunctioning ,th e: indicator lamp lights
up while th eengin eis runnin gand th eengin e
powe rmay be reduce d (
Ypage 191).
AS Rsignificantly improve straction ,i.e .th e
transmission of powe rfrom th etires to th eroad
surface, and thus increases th evehicle's drivin g
stability. If th edrivin gwheels start to spin ,AS R
brakes individual drive wheels and limits th e
engin etorque .AS Rthus significantly assist syou
when pullin gaway and accelerating ,especially
on wet or slipper yroads.
If traction on th eroad surfac eis no tsufficient,
eve nAS Rwill no tallow you to pull away without
difficulty. The typ eof tire
s and total weigh
tof th e
vehicl eas well as th egradien tof th eroad also
play acrucia lrole.
If AS Rintervenes, th ed warning lamp in th e
instrumen tcluste rflashes .
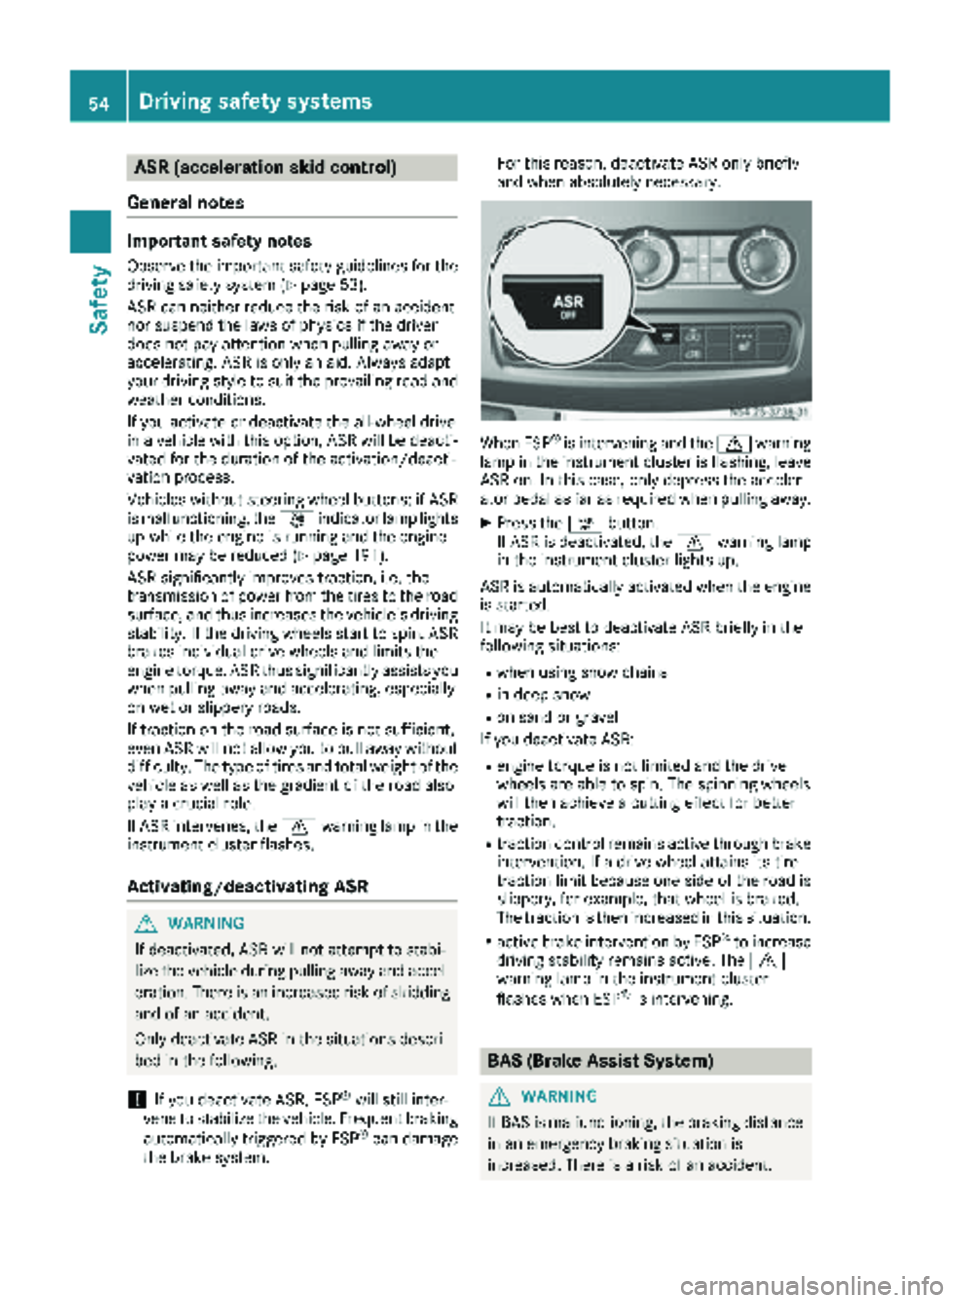
Activating/deactivating ASR
GWARNIN G
If deactivated, AS Rwill no tattemp tto stabi-
liz eth evehicl eduring pullin gaway and accel-
eration .There is an increased ris kof skiddin g
and of an accident.
Only deactivat eAS Rin th esituation sdescri-
bed in th efollowing.
!If you deactivat eASR, ES P®will still inter-
ven eto stabiliz eth evehicle. Frequen tbraking
automatically triggered by ES P
®can damage
th ebrak esystem. Fo
rthis reason ,deactivat eAS Ronly briefl y
and when absolutely necessary.
When ES P®is intervening and th ed warning
lamp in th einstrumen tcluste ris flashing, leav e
AS Ron .In this case, only depress th eacceler -
ato rpedal as far as require dwhen pullin gaway.
XPress th eà button.
If AS Ris deactivated, th ed warning lamp
in th einstrumen tcluste rlights up.
AS Ris automatically activated when th eengin e
is started.
It may be best to deactivat eAS Rbriefl yin th e
followin gsituations:
Rwhen usin gsnow chain s
Rin deep snow
Ron sandor gravel
If you deactivat eASR:
Rengin etorque is no tlimite dand th edrive
wheels are able to spin .The spinnin gwheels
will then achiev e acutting effec tfor bette r
traction .
Rtraction control remain sactive throug hbrak e
intervention .If adrive whee lattain sits tire
traction limi tbecause on eside of th eroad is
slippery, for example, that whee lis braked.
The traction is then increased in this situation .
Ractive brakeintervention by ES P®to increase
drivin gstabilit yremain sactive .The d
warning lamp in th einstrumen tcluste r
flashes when ES P
®is intervening.
BAS (Brake Assist System)
GWARNING
If BA Sis malfunctioning ,th ebraking distanc e
in an emergenc ybraking situation is
increased. There is aris kof an accident.
54Driving safety systems
Safety
Page 57 of 286
In an emergency braking situation, depress
the brake pedal with full force. ABS prevents
the wheels from locking.
Vehicles without steering wheel buttons: if the
BAS driving safety system is malfunctioning,
the : warning lamp lights up while the
engine is running (
Ypage 191).
BAS operates in emergency braking situations.
If you depress the brake quickly, BAS automat-
ically increases the brake pressure, thereby
reducing the stopping distance.
The brakes will function as usual once you
release the brake pedal. BAS is deactivated.
EBD (electronic brake force distribu-
tion)
GWARNING
If EBD is malfunctioning, the rear wheels can
lock, e.g. under full braking. This increases the
risk of skidding and an accident.
You should therefore adapt your driving style
to the different handling characteristics. Have
the brake system checked at a qualified spe-
cialist workshop.
EBD monitors and controls the brake pressure
to the rear wheels. This enables EBD to improve
handling during braking.
Observe the information on warning and indica-
tor lamps (
Ypage 191).
ESP®(Electronic Stability Program)
Important safety notes
GWARNING
If ESP
®is malfunctioning it will not provide
any vehicle stabilization. There is an increased
risk of skidding or of an accident.
Exercise caution when continuing to drive.
Have ESP
®checked at a qualified specialist
workshop.
!Do not run the vehicle on a roller dynamom-
eter (e.g. for performance tests). If you must
operate the vehicle on a roller dynamometer, please consult a qualified specialist workshop
in advance. You could otherwise damage the
drive train or the brake system.
If you activate or deactivate the all-wheel drive
in a vehicle with this option, ESP
®will be deac-
tivated for the duration of the activation/deac-
tivation process.
If ESP
®is malfunctioning, the hindicator
lamp lights up while the engine is running and
the engine power may be reduced
(
Ypage 190).
iOnly use wheels with the recommended tire
sizes. Only then will ESP®function properly.
4ETS (Electronic Traction System)
!A function or performance test should only
be carried out on a two-axle dynamometer.
Before you operate the vehicle on such a
dynamometer, please consult a qualified
workshop. You could otherwise damage the
drive train or the brake system.
4ETS is only active when all-wheel drive is acti-
vated (
Ypage 145).
4ETS ensures permanent drive for all four
wheels, and together with ESP
®it improves the
vehicle's traction.
If a driven wheel spins due to lack of traction:
RWhen pulling away, make use of the traction
control integrated in ESP®. Depress the
accelerator pedal as far as necessary.
RWhile driving, slowly take your foot off the
accelerator pedal.
In wintry driving conditions, always use winter
tires (M+S tires) and if necessary, snow chains
(
Ypage 246). This is the only way to get the full
benefit from the all-wheel drive system.
Crosswind Assist
Crosswind Assist does not work if ESP®is deac-
tivated or disabled because of a malfunction.
Crosswind Assist does not react:
Rin the event of severe jolts and vibrations, e.g.
as a result of uneven surfaces or potholes.
Rif the vehicle loses traction, e.g. on snow or
ice or when hydroplaning.
Rto large and sudden steering movements by
the driver.
Driving safety systems55
Safety
Z
Page 124 of 286
The display in the instrument cluster shows the
present selector lever position or the current
shift range:
Ron vehicles with steering wheel buttons
(Ypage 164)
Ron vehicles without steering wheel buttons
(Ypage 160)
Selector lever positions
BPark position
This prevents the vehicle from rolling
away when stopped. Only move the
selector lever toPif the vehicle is
stationary.
You can only remove the key when
the selector lever is in this position.
The selector lever is locked in posi-
tion Pif the key is removed.
The parking lock should not be used
as a brake when parking. Always
apply the parking brake as well once
you have parked the vehicle.
CReverse gear
Only move the selector lever to R
when the vehicle is stationary.
ANeutral
No power is transmitted from the
engine to the drive wheels. Releasing
the brakes will allow you to move the
vehicle freely, e.g. by pushing.
Do not move the selector lever to N
while driving. The automatic trans-
mission could otherwise be dam-
aged.
If ASR is deactivated or ESP
®has
malfunctioned: only move the selec-
tor lever to Nif the vehicle is in dan-
ger of skidding, e.g. on icy roads.
7Drive
The automatic transmission changes
gear itself. All forward gears are avail-
able.
You can influence the gearshifts and
shift gears yourself or limit the shift
range.
Changing gear
The 5-speed automatic transmission adapts to
your individual driving style by continuously
adjusting its shift points. These shift point
adjustments take into account the current oper-
ating and driving conditions. If the operating or
driving conditions change, the automatic trans-
mission reacts by adjusting the gearshift pro-
gram.
When the selector lever is in position D, the
automatic transmission selects the individual
gears automatically. This depends on:
Rany restriction in the shift range
(Ypage 123)
Rthe position of the accelerator pedal
Rthe road speed
Touchshift
When the selector lever is in position D, you can
perform gearshifts yourself.
XTo shift down: press the selector lever to the
left towards D–.
The automatic transmission shifts to the next gear down, depending on the gear currently
engaged. The shift range is also restricted.
iThe automatic transmission does not shift
down if you press the selector lever towards
D– while traveling at too high a speed. This
protects the engine from overrevving.
XTo shift up: briefly press the selector lever to
the right towards D+.
The automatic transmission shifts to the next
gear up, depending on the current gearshift
program. This also extends the shift range.
XTo derestrict the shift range: press and hold
the selector lever towards D+until D
appears
in the display again.
The automatic transmission shifts from the
current shift range directly to D.
XTo select the optimum shift range: press
and hold the selector lever to the left towards
D–.
The automatic transmission will shift to a
range which allows easy acceleration and
deceleration. To do this, the automatic trans-
mission will shift down one or more gears.
122Automatic transmission
Driving and parking
Page 125 of 286
Shift ranges
When the selector lever is in positionDyou can
restrict or derestrict the shift range for the auto- matic transmission.
XTo extend and restrict the shift range:
press the selector lever briefly to the right
towards D+or left towards D–.
The display shows the selected shift range.
The automatic transmission shifts only as far
as the relevant gear.
iIf the maximum engine speed for the restric-
ted shift range is reached and you depress the
accelerator pedal, the automatic transmis-
sion will not shift up.
Driving situations
5Use the braking effect of the engine
on steep downhill gradients and for
driving:
Ron steep mountain roads
Rin mountainous terrain
Rin arduous conditions
4Use the braking effect of the engine
on extremely steep downhill gradi-
ents and long downhill stretches.
Driving tips
Accelerator pedal position
Your style of driving influences how the auto-
matic transmission shifts gear:
Rlittle throttle: early upshifts
Rlots of throttle: later upshifts
Kickdown
Use kickdown for maximum acceleration:
XDepress the accelerator pedal beyond the
pressure point.
The automatic transmission shifts to the next
gear down, depending on the engine speed.
XEase off on the accelerator pedal once the
desired speed is reached.
The automatic transmission shifts up again.
Maneuvering
Maneuvering in a tight space:
XControl the vehicle's speed by braking care-
fully.
XDepress the accelerator pedal slightly and
evenly.
iYou can shift back and forth between drive
position Dand reverse gear Rat low speeds
without applying the brakes. This can help
you, for example when rapidly maneuvering
the vehicle or rocking it out of snow or slush.
Towing a trailer
XDrive at moderate engine speeds on steep
uphill gradients.
XDepending on the uphill or downhill gradient,
shift down to a shift range adapted to the
driving situation (
Ypage 123), even if cruise
control is activated.
Automatic transmission123
Driving and parking
Z
Page 134 of 286
Low-beam headlamps
When driving in countries in which traffic drives
on the opposite side of the road to the country
where the vehicle is registered, the halogen
headlamps must be partially masked. This pre-
vents glare to oncoming traffic and no longer
illuminates the edge of the road to the same
height and distance.
Have the halogen headlamps masked at a quali-fied specialist workshop before you cross the
border, but as close to it as possible.
When returning from your journey, remove the
adhesive surfaces from the halogen headlamps
as close to the border as possible. Clean the
glass of the headlamps if necessary.
It is not necessary to adjust Bi-Xenon head-
lamps. Legal requirements are fulfilled even
without adjustment.
Transport by rail
Transporting your vehicle by rail may be subject
to certain restrictions or require special meas-
ures to be taken in some countries due to vary-ing tunnel heights and loading standards.
You can obtain further information from any
authorized Sprinter dealer.
Braking
Important safety notes
GWARNING
If you shift down on a slippery road surface in an attempt to increase the engine's braking
effect, the drive wheels could lose their grip.
There is an increased danger of skidding and
accidents.
Do not shift down for additional engine brak-
ing on a slippery road surface.
GWARNING
If you rest your foot on the brake pedal while
driving, the braking system can overheat. This increases the stopping distance and can even
cause the braking system to fail. There is a
risk of an accident.
Never use the brake pedal as a footrest. Never
depress the brake pedal and the accelerator
pedal at the same time.
!Depressing the brake pedal constantly
results in excessive and premature wear to
the brake pads.
Downhill gradients
!Depressing the brake pedal constantly
results in excessive and premature wear to
the brake pads.
On long and steep downhill gradients, you
should change down to shift range 2or1 in
good time. This should be observed in particular
when driving with a laden vehicle and when tow-
ing a trailer.
iYou must also change the shift range in
good time when cruise control is switched on.
You thereby make use of the braking effect of
the engine and do not have to brake as often to
maintain the speed. This relieves the load on the
service brake and prevents the brakes from
overheating and wearing too quickly.
Heavy and light loads
GWARNING
If you rest your foot on the brake pedal while
driving, the braking system can overheat. This increases the stopping distance and can even
cause the braking system to fail. There is a
risk of an accident.
Never use the brake pedal as a footrest. Never
depress the brake pedal and the accelerator
pedal at the same time.
!Depressing the brake pedal constantly
results in excessive and premature wear to
the brake pads.
If the brakes have been subjected to a heavy
load, do not stop the vehicle immediately. Drive
on for a short while. The brakes are cooled down
more quickly in the airflow.
132Driving tips
Driving and parking
Page 135 of 286
Wet road surfaces
If you have been driving for a long time in heavy
rain without braking, there may be a delayed
response when you first apply the brakes. This
may also occur after driving through a car wash
or deep water.
You must depress the brake pedal more firmly.
Maintain a longer distance to the vehicle in
front.
While paying attention to the traffic conditions,
you should brake the vehicle firmly after driving
on a wet road surface or through a car wash. This
heats the brake discs, so that they dry more
quickly, which protects them against corrosion.
Limited braking performance on salt-
treated roads
When driving on salted roads, salt may start to
build up on the brake disks and brake pads. Thiscan increase braking distances considerably.
Maintain a greater distance to the vehicle in
front.
To remove any build-up of salt that may have
formed:
XApply the brakes at the start of the journey,
occasionally during journey and at the end of
the journey. Make sure that you do not endan-
ger other road users when doing so.
Checking the brake pad thickness
In addition to monitoring using the brake pad
wear sensor, regularly monitor and check all of
the brake pads by performing a visual inspection
to look for pad material wear.
If you are unable to check the brake wear on the
inside of the wheels, remove the wheels with the tools provided.
Make sure that the brake pad material thickness
never falls below 0.12 in (3 mm). Have the brake pads checked and replaced at a qualified spe-
cialist workshop, if necessary.
Do not solely rely on the brake pad wear sensor.
It is strongly recommended that you have the
brake pads checked at a qualified specialist
workshop at every service displayed in the main-
tenance interval indicator, prior to long journeys
and whenever the wheels are removed.
New brake discs and brake pads/
linings
New brake pads and brake discs only reach their
optimal braking effect after a few
100 kilometers. Until then, compensate for this
by applying greater force to the brake pedal.
For safety reasons, Mercedes-Benz recom-
mends only installing the following brake discs
and brake pads/linings:
Rbrake discs that have been approved by
Mercedes-Benz
Rbrake pads/linings that have been approved
by Mercedes-Benz or are of an equivalent
standard of quality
Other brake discs or brake pads/linings can
compromise the safety of your vehicle.
Always replace all brake discs and brake pads/
linings on an axle at the same time. Always
install new brake pads/linings when replacing
brake discs.
Parking brake
GWARNING
If you must brake the vehicle with the parking brake, the braking distance is considerably
longer and the wheels could lock. There is an
increased danger of skidding and accidents.
Only use the parking brake to brake the vehi-
cle when the service brake is faulty. Do not
apply the parking brake too firmly. If the
wheels lock, release the parking brake until
the wheels begin turning again.
When driving on wet roads or dirt-covered sur-
faces, road salt and/or dirt may get into the
parking brake. This causes corrosion and a
reduction of braking force.
In order to prevent this, drive with the parking
brake lightly applied from time to time. When
doing so, drive for a distance of approximately
110 yds (100 m) at a maximum speed of 12 mph
(20 km/h).
The brake lamps are not illuminated when you
brake the vehicle using the parking brake.
Driving tips133
Driving and parking
Z