tongue Mercury Grand Marquis 1011 Owner's Manuals
[x] Cancel search | Manufacturer: MERCURY, Model Year: 1011, Model line: Grand Marquis, Model: Mercury Grand Marquis 2011Pages: 333, PDF Size: 2.23 MB
Page 101 of 333
Safety restraints precautions
WARNING:Always drive and ride with your seatback upright
and the lap belt snug and low across the hips.
WARNING:To reduce the risk of injury, make sure children sit
in a rear seating position where they can be properly restrained.
WARNING:Never let a passenger hold a child on his or her lap
while the vehicle is moving. The passenger cannot protect the
child from injury in a collision.
WARNING:All occupants of the vehicle, including the driver,
should always properly wear their safety belts, even when an
airbag supplemental restraint system (SRS) is provided.
WARNING:It is extremely dangerous to ride in a cargo area,
inside or outside of a vehicle. In a collision, people riding in
these areas are more likely to be seriously injured or killed. Do not
allow people to ride in any area of your vehicle that is not equipped
with seats and safety belts. Be sure everyone in your vehicle is in a
seat and using a safety belt properly.
WARNING:In a rollover crash, an unbelted person is
significantly more likely to die than a person wearing a safety
belt.
WARNING:Each seating position in your vehicle has a specific
safety belt assembly which is made up of one buckle and one
tongue that are designed to be used as a pair. 1) Use the shoulder belt
on the outside shoulder only. Never wear the shoulder belt under the
arm. 2) Never swing the safety belt around your neck over the inside
shoulder. 3) Never use a single belt for more than one person.
WARNING:When possible, all children 12 years old and under
should be properly restrained in a rear seating position.
Seating and Safety Restraints
101
2011 Crown Victoria(cro)
Owners Guide, 3rd Printing
USA(fus)
Page 102 of 333
WARNING:Safety belts and seats can become hot in a vehicle
that has been closed up in sunny weather; they could burn a
small child. Check seat covers and buckles before you place a child
anywhere near them.
WARNING:Front and rear seat occupants, including pregnant
women, should wear safety belts for optimum protection in an
accident.
Combination lap and shoulder belts
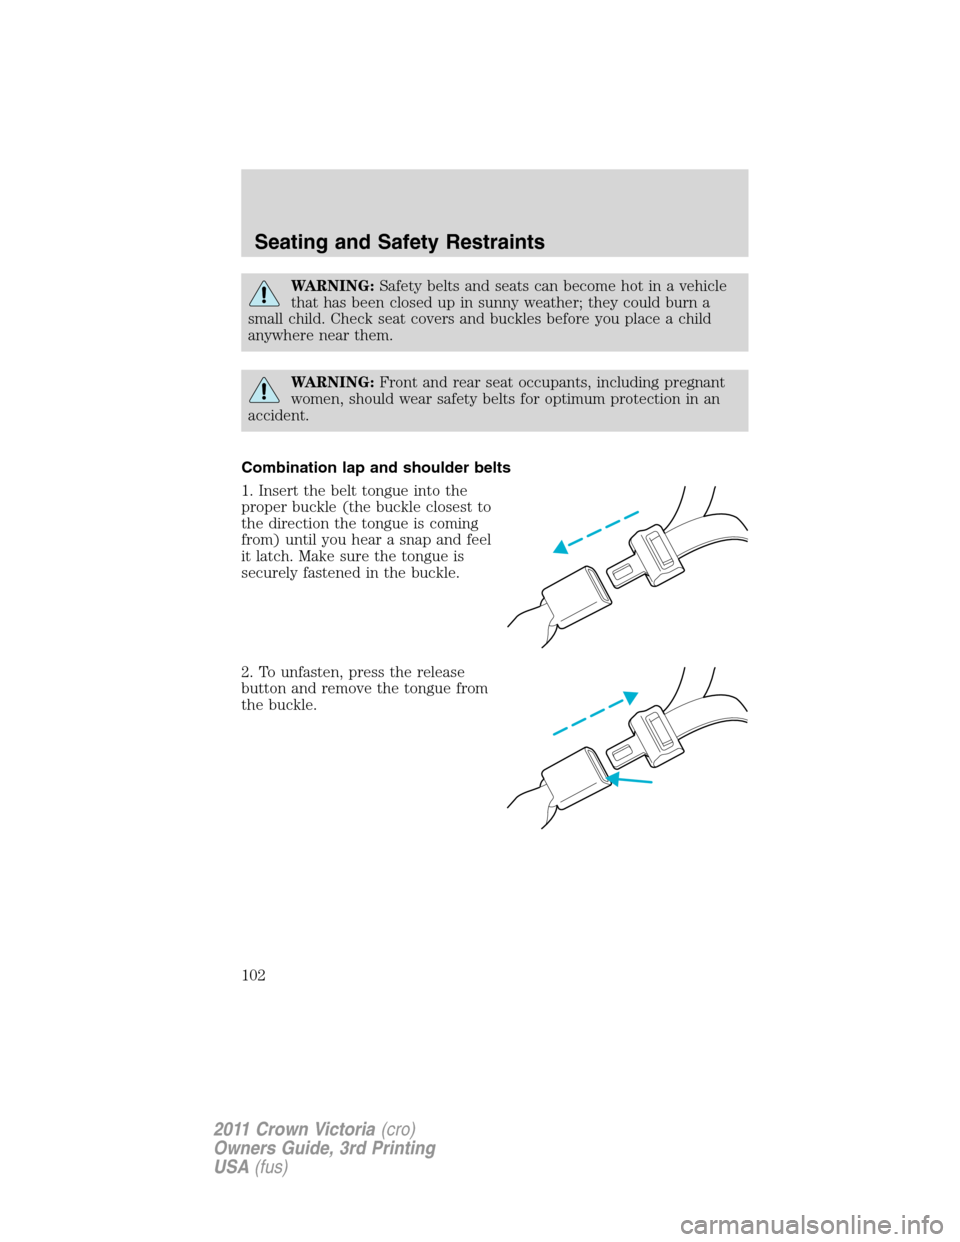
1. Insert the belt tongue into the
proper buckle (the buckle closest to
the direction the tongue is coming
from) until you hear a snap and feel
it latch. Make sure the tongue is
securely fastened in the buckle.
2. To unfasten, press the release
button and remove the tongue from
the buckle.
Seating and Safety Restraints
102
2011 Crown Victoria(cro)
Owners Guide, 3rd Printing
USA(fus)
Page 103 of 333
Restraint of pregnant women
WARNING:Always ride and drive with your seatback upright
and the safety belt properly fastened. The lap portion of the
safety belt should fit snug and be positioned low across the hips. The
shoulder portion of the safety belt should be positioned across the
chest. Pregnant women should also follow this practice. See figure
below.
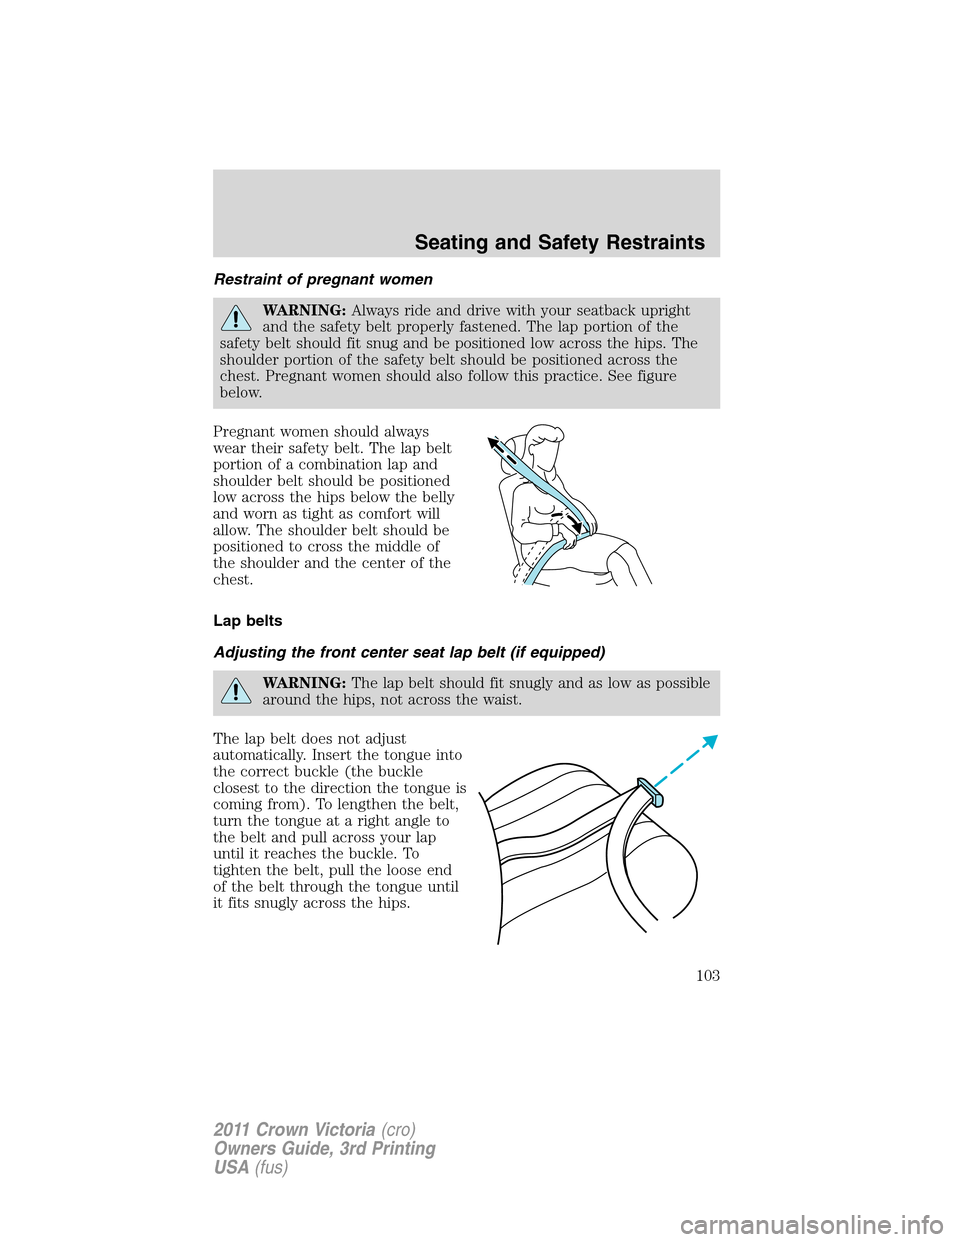
Pregnant women should always
wear their safety belt. The lap belt
portion of a combination lap and
shoulder belt should be positioned
low across the hips below the belly
and worn as tight as comfort will
allow. The shoulder belt should be
positioned to cross the middle of
the shoulder and the center of the
chest.
Lap belts
Adjusting the front center seat lap belt (if equipped)
WARNING:The lap belt should fit snugly and as low as possible
around the hips, not across the waist.
The lap belt does not adjust
automatically. Insert the tongue into
the correct buckle (the buckle
closest to the direction the tongue is
coming from). To lengthen the belt,
turn the tongue at a right angle to
the belt and pull across your lap
until it reaches the buckle. To
tighten the belt, pull the loose end
of the belt through the tongue until
it fits snugly across the hips.
Seating and Safety Restraints
103
2011 Crown Victoria(cro)
Owners Guide, 3rd Printing
USA(fus)
Page 130 of 333
position whenever possible. If all children cannot be seated and
restrained properly in a rear seating position, properly restrain the
largest child in the front seat.
When installing a child safety seat with combination lap/shoulder belts:
•Use the correct safety belt buckle for that seating position.
•Insert the belt tongue into the proper buckle until you hear a snap
and feel it latch. Make sure the tongue is securely fastened in the
buckle.
•Keep the buckle release button pointing up and away from the safety
seat, with the tongue between the child seat and the release button,
to help prevent accidental unbuckling.
•Place vehicle seat back in upright position.
•Put the safety belt in the automatic locking mode. Refer to Step 5
below. This vehicle does not require the use of a locking clip.
WARNING:Depending on where you secure a child restraint,
and depending on the child restraint design, you may block
access to certain safety belt buckle assemblies and/or LATCH lower
anchors, rendering those features potentially unusable. To avoid risk of
injury, occupants should only use seating positions where they are able
to be properly restrained.
Perform the following steps when installing the child seat with
combination lap/shoulder belts:
Note:Although the child seat illustrated is a forward facing child seat,
the steps are the same for installing a rear facing child seat.
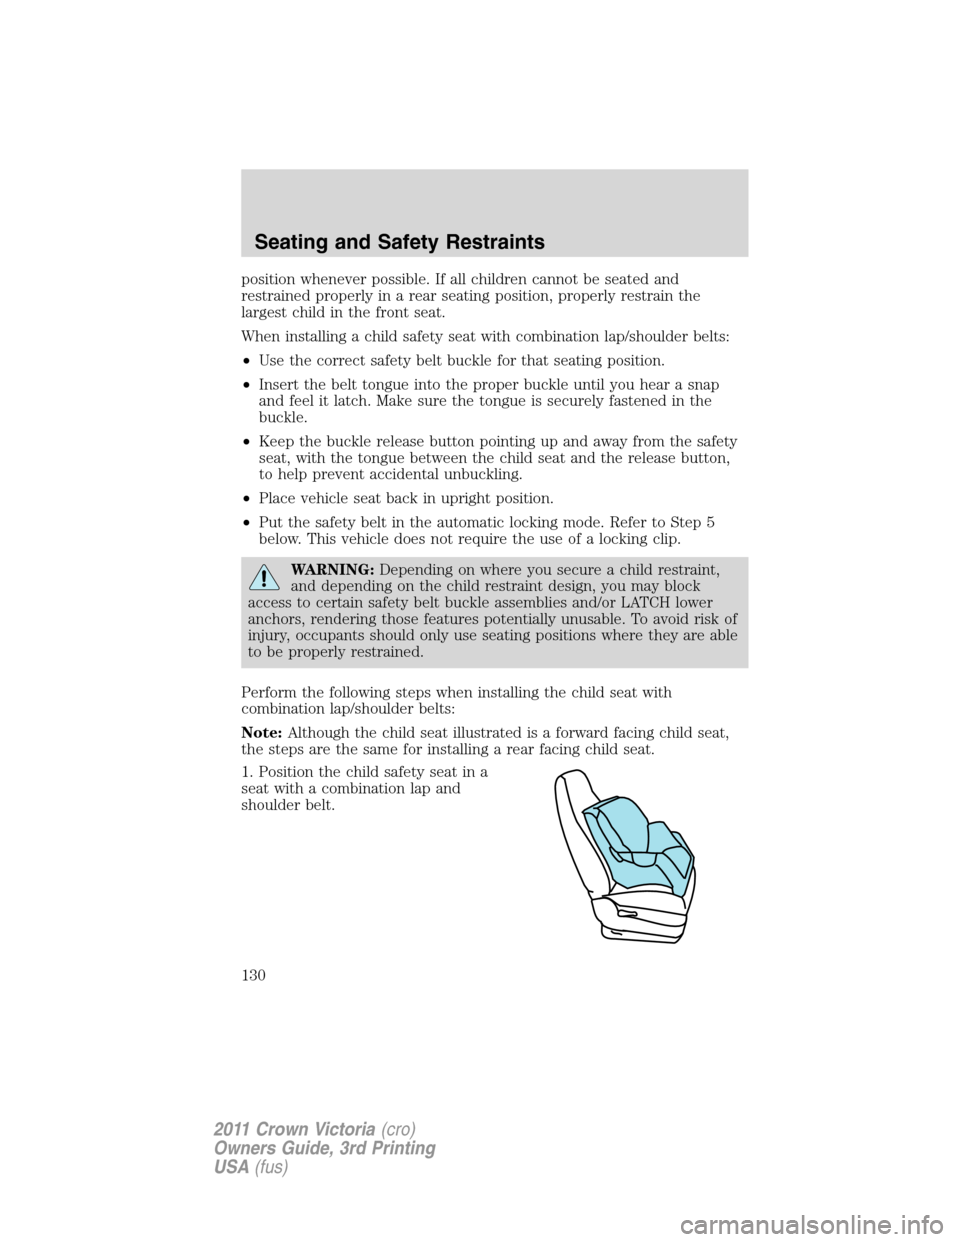
1. Position the child safety seat in a
seat with a combination lap and
shoulder belt.
Seating and Safety Restraints
130
2011 Crown Victoria(cro)
Owners Guide, 3rd Printing
USA(fus)
Page 131 of 333
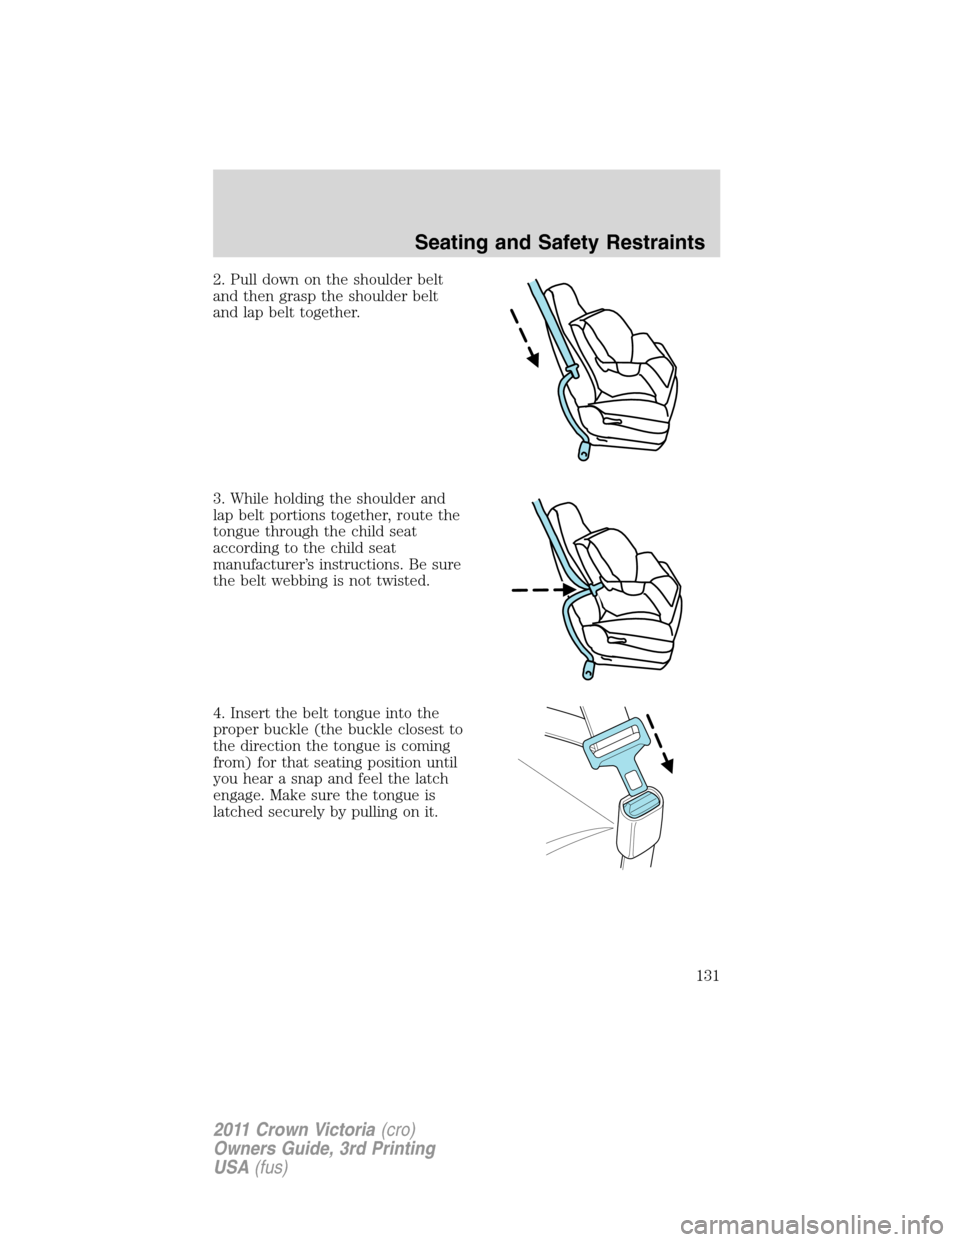
2. Pull down on the shoulder belt
and then grasp the shoulder belt
and lap belt together.
3. While holding the shoulder and
lap belt portions together, route the
tongue through the child seat
according to the child seat
manufacturer’s instructions. Be sure
the belt webbing is not twisted.
4. Insert the belt tongue into the
proper buckle (the buckle closest to
the direction the tongue is coming
from) for that seating position until
you hear a snap and feel the latch
engage. Make sure the tongue is
latched securely by pulling on it.
Seating and Safety Restraints
131
2011 Crown Victoria(cro)
Owners Guide, 3rd Printing
USA(fus)
Page 134 of 333
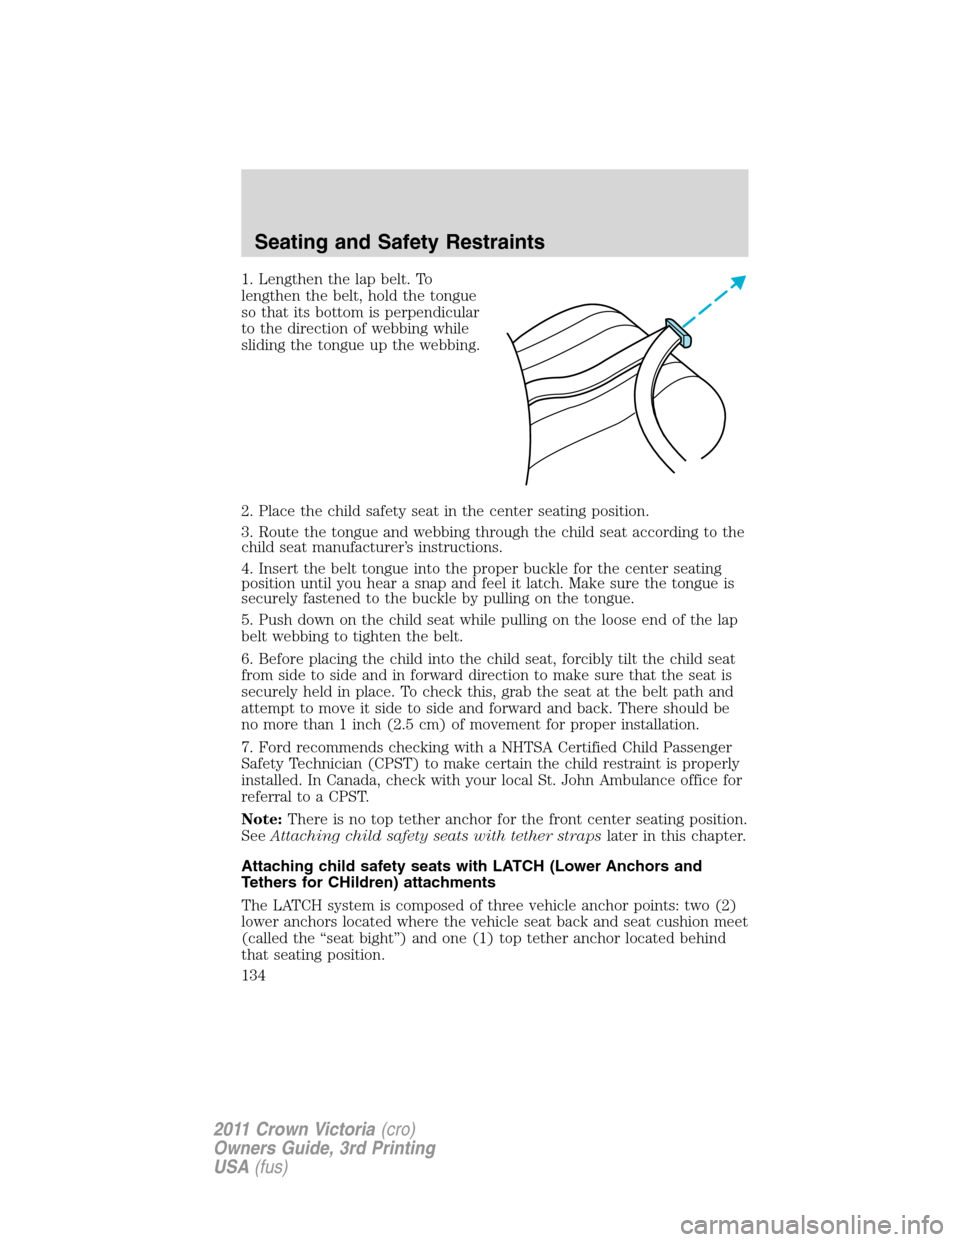
1. Lengthen the lap belt. To
lengthen the belt, hold the tongue
so that its bottom is perpendicular
to the direction of webbing while
sliding the tongue up the webbing.
2. Place the child safety seat in the center seating position.
3. Route the tongue and webbing through the child seat according to the
child seat manufacturer’s instructions.
4. Insert the belt tongue into the proper buckle for the center seating
position until you hear a snap and feel it latch. Make sure the tongue is
securely fastened to the buckle by pulling on the tongue.
5. Push down on the child seat while pulling on the loose end of the lap
belt webbing to tighten the belt.
6. Before placing the child into the child seat, forcibly tilt the child seat
from side to side and in forward direction to make sure that the seat is
securely held in place. To check this, grab the seat at the belt path and
attempt to move it side to side and forward and back. There should be
no more than 1 inch (2.5 cm) of movement for proper installation.
7. Ford recommends checking with a NHTSA Certified Child Passenger
Safety Technician (CPST) to make certain the child restraint is properly
installed. In Canada, check with your local St. John Ambulance office for
referral to a CPST.
Note:There is no top tether anchor for the front center seating position.
SeeAttaching child safety seats with tether strapslater in this chapter.
Attaching child safety seats with LATCH (Lower Anchors and
Tethers for CHildren) attachments
The LATCH system is composed of three vehicle anchor points: two (2)
lower anchors located where the vehicle seat back and seat cushion meet
(called the “seat bight”) and one (1) top tether anchor located behind
that seating position.
Seating and Safety Restraints
134
2011 Crown Victoria(cro)
Owners Guide, 3rd Printing
USA(fus)
Page 165 of 333
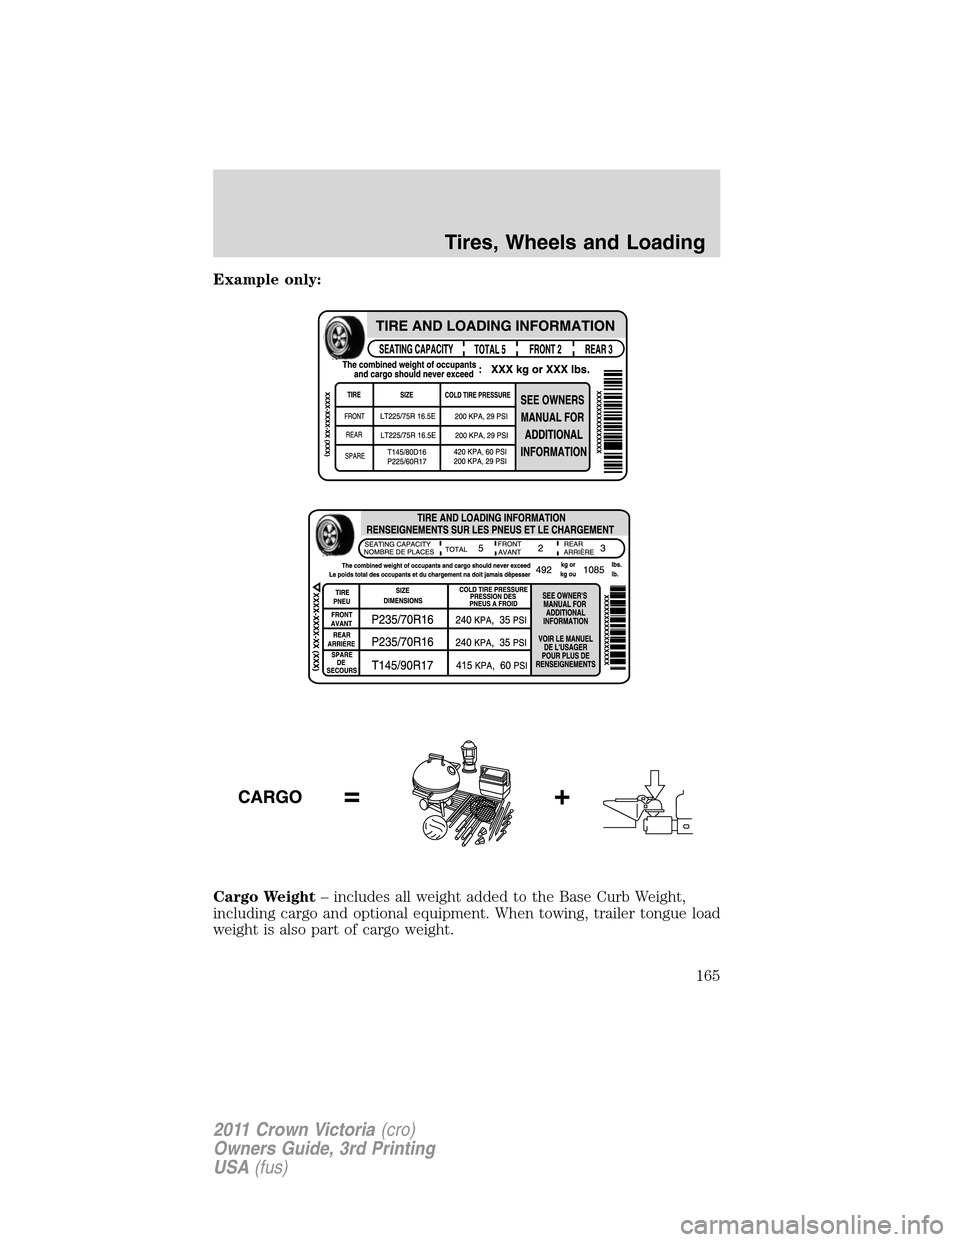
Example only:
Cargo Weight– includes all weight added to the Base Curb Weight,
including cargo and optional equipment. When towing, trailer tongue load
weight is also part of cargo weight.
Tires, Wheels and Loading
165
2011 Crown Victoria(cro)
Owners Guide, 3rd Printing
USA(fus)
Page 168 of 333
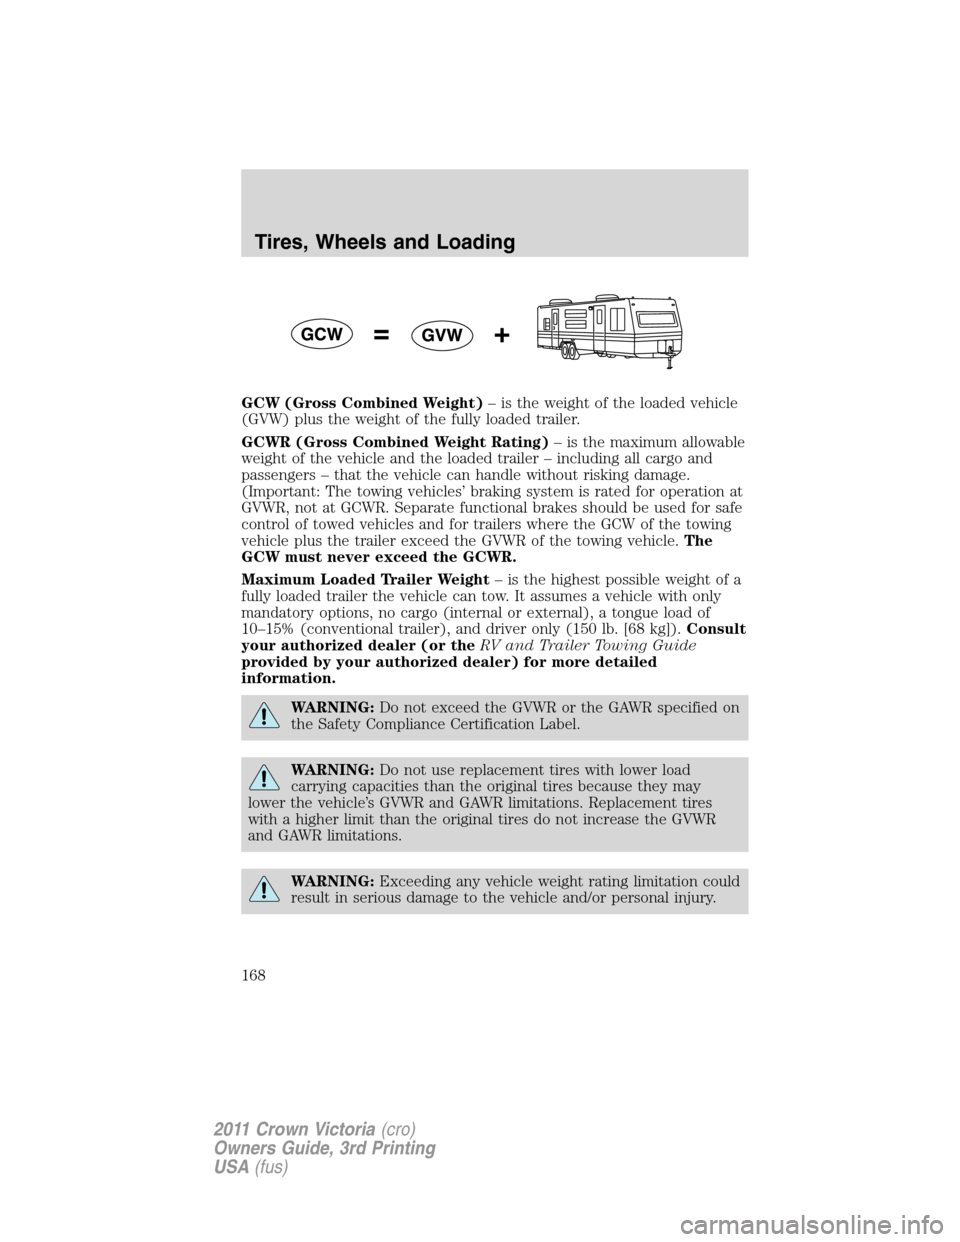
GCW (Gross Combined Weight)– is the weight of the loaded vehicle
(GVW) plus the weight of the fully loaded trailer.
GCWR (Gross Combined Weight Rating)– is the maximum allowable
weight of the vehicle and the loaded trailer – including all cargo and
passengers – that the vehicle can handle without risking damage.
(Important: The towing vehicles’ braking system is rated for operation at
GVWR, not at GCWR. Separate functional brakes should be used for safe
control of towed vehicles and for trailers where the GCW of the towing
vehicle plus the trailer exceed the GVWR of the towing vehicle.The
GCW must never exceed the GCWR.
Maximum Loaded Trailer Weight– is the highest possible weight of a
fully loaded trailer the vehicle can tow. It assumes a vehicle with only
mandatory options, no cargo (internal or external), a tongue load of
10–15% (conventional trailer), and driver only (150 lb. [68 kg]).Consult
your authorized dealer (or theRV and Trailer Towing Guide
provided by your authorized dealer) for more detailed
information.
WARNING:Do not exceed the GVWR or the GAWR specified on
the Safety Compliance Certification Label.
WARNING:Do not use replacement tires with lower load
carrying capacities than the original tires because they may
lower the vehicle’s GVWR and GAWR limitations. Replacement tires
with a higher limit than the original tires do not increase the GVWR
and GAWR limitations.
WARNING:Exceeding any vehicle weight rating limitation could
result in serious damage to the vehicle and/or personal injury.
Tires, Wheels and Loading
168
2011 Crown Victoria(cro)
Owners Guide, 3rd Printing
USA(fus)
Page 170 of 333
calculation would be: 635 kg - (2 x 99 kg) - (12 x 45 kg) = 635 - 198 -
540 = -103 kg. You will need to reduce the load weight by at least
240 lb. (104 kg). If you remove 3-100 lb. (45 kg) cement bags, then
the load calculation would be:
1,400 - (2 x 220) - (9 x 100) = 1,400 - 440 - 900 = 60 lb. Now you
have the load capacity to transport the cement and your friend home.
In metric units, the calculation would be: 635 kg - (2 x 99 kg) - (9 x
45 kg) = 635 - 198 - 405 = 32 kg.
The above calculations also assume that the loads are positioned in your
vehicle in a manner that does not overload the Front or the Rear Gross
Axle Weight Rating specified for your vehicle on the Safety Compliance
Certification Label found on the edge of the driver’s door.
TRAILER TOWING
Trailer towing puts additional loads on your vehicle’s engine,
transmission, axle, brakes, tires and suspension. For your safety and to
maximize vehicle performance, be sure to use the proper equipment
while towing.
Note:Long wheel based vehicles are NOT rated for towing.
Follow these guidelines to ensure safe towing:
•Do not tow a trailer until your vehicle has been driven at least
1,000 miles (1,600 km).
•Consult your local motor vehicle laws for towing a trailer.
•Refer to the instructions included with towing accessories for the
proper installation and adjustment specifications.
•Thoroughly prepare your vehicle for towing. Refer toPreparing to
towin this chapter.
•Stay within your vehicle’s load limits.
•Use extra caution when driving while trailer towing. Refer toDriving
while you towin this chapter.
•Service your vehicle more frequently if you tow a trailer. Refer to
Special operating conditionsin your scheduled maintenance.
Your loaded trailer should weigh no more than 1,500 lb (680 kg). The
GCW of your vehicle and trailer should not exceed 6,600 lb (2,993 kg).
For load specification terms found on the label and instructions on
calculating your vehicle’s load, refer toVehicle loading - with and
without a trailerin this chapter. Remember to figure in the tongue load
of your loaded vehicle when figuring the total weight.
Tires, Wheels and Loading
170
2011 Crown Victoria(cro)
Owners Guide, 3rd Printing
USA(fus)
Page 171 of 333
WARNING:Do not exceed the GVWR or the GAWR specified on
the certification label.
WARNING:Towing trailers beyond the maximum recommended
gross trailer weight exceeds the limit of the vehicle and could
result in engine damage, transmission damage, structural damage, loss
of vehicle control, vehicle rollover and personal injury.
Preparing to tow
Use the proper equipment for towing a trailer and make sure it is
properly attached to your vehicle. Contact your authorized dealer or a
reliable trailer dealer as soon as possible if you require assistance.
Hitches
Do not use a hitch that clamps onto the vehicle’s bumper; use a
load-carrying hitch. You must distribute the load in your trailer so that
10–15% of the total weight of the trailer is on the tongue.
Safety chains
Always connect the trailer’s safety chains to the frame or hook retainers
of the vehicle hitch. To connect the trailer’s safety chains, cross the
chains under the trailer tongue and allow slack for turning corners.
If you use a rental trailer, follow the instructions that the rental agency
gives to you.
Do not attach safety chains to the bumper.
Trailer brakes
Electric brakes and manual, automatic or surge-type trailer brakes are
safe if installed properly and adjusted to the manufacturer’s
specifications. The trailer brakes must meet local and Federal
regulations.
WARNING:Do not connect a trailer’s hydraulic brake system
directly to your vehicle’s brake system. Your vehicle may not
have enough braking power and your chances of having a collision
greatly increase.
The braking system of the tow vehicle is rated for operation at the
GVWR not GCWR.
Tires, Wheels and Loading
171
2011 Crown Victoria(cro)
Owners Guide, 3rd Printing
USA(fus)