display Mercury Grand Marquis 2002 s User Guide
[x] Cancel search | Manufacturer: MERCURY, Model Year: 2002, Model line: Grand Marquis, Model: Mercury Grand Marquis 2002Pages: 248, PDF Size: 1.81 MB
Page 73 of 248
Electronic compass (if equipped)
The compass reading will remain accurate during most driving
conditions. Unknown to the driver, the compass is continuously
recalibrating due to magnetic fields and subtle, slow changes in vehicle
magnetics which can occur over the life of the vehicle.
The compass reading will remain fixed when significant levels are
experienced (such as steel bridges). The compass will return to normal
operation upon leaving the magnetized area.
If highly magnetized items (such as magnetic mount antennas) are
placed very near the compass the display will change to ªCº for 15
seconds, then display all segments until the magnetized item is removed.
If a ªCº is displayed, refer toCompass calibration adjustment.
Most geographic areas (zones) have a magnetic north compass point that
varies slightly from the northerly direction on maps. This variation is four
degrees between adjacent zones and will become noticeable as the
vehicle crosses multiple zones. A correct zone setting will eliminate this
error. Refer toCompass zone adjustment.
Compass zone adjustment
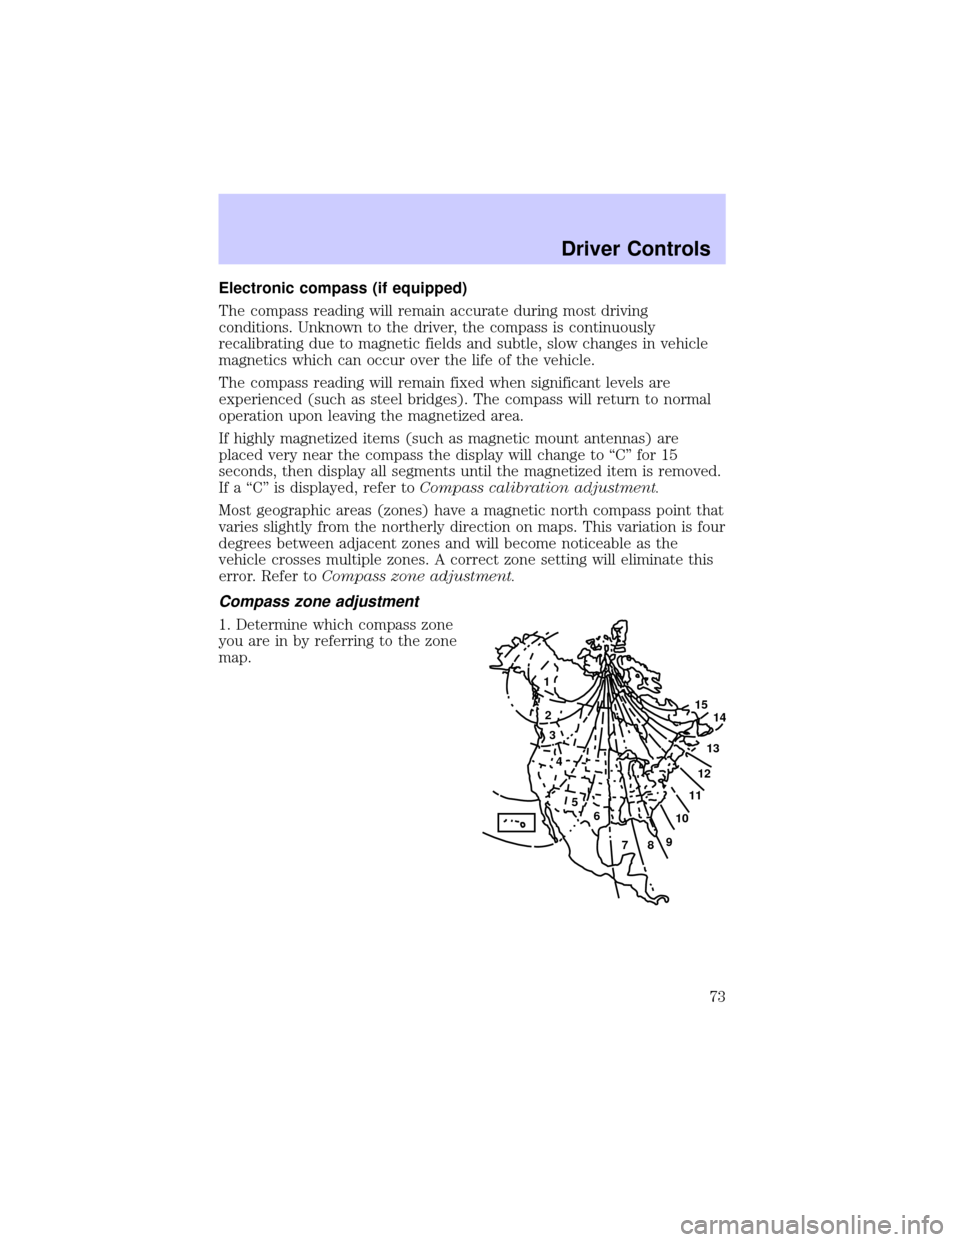
1. Determine which compass zone
you are in by referring to the zone
map.
1
2
3
4
5
6
7891011121314 15
Driver Controls
73
Page 74 of 248
2. With the compass display turned
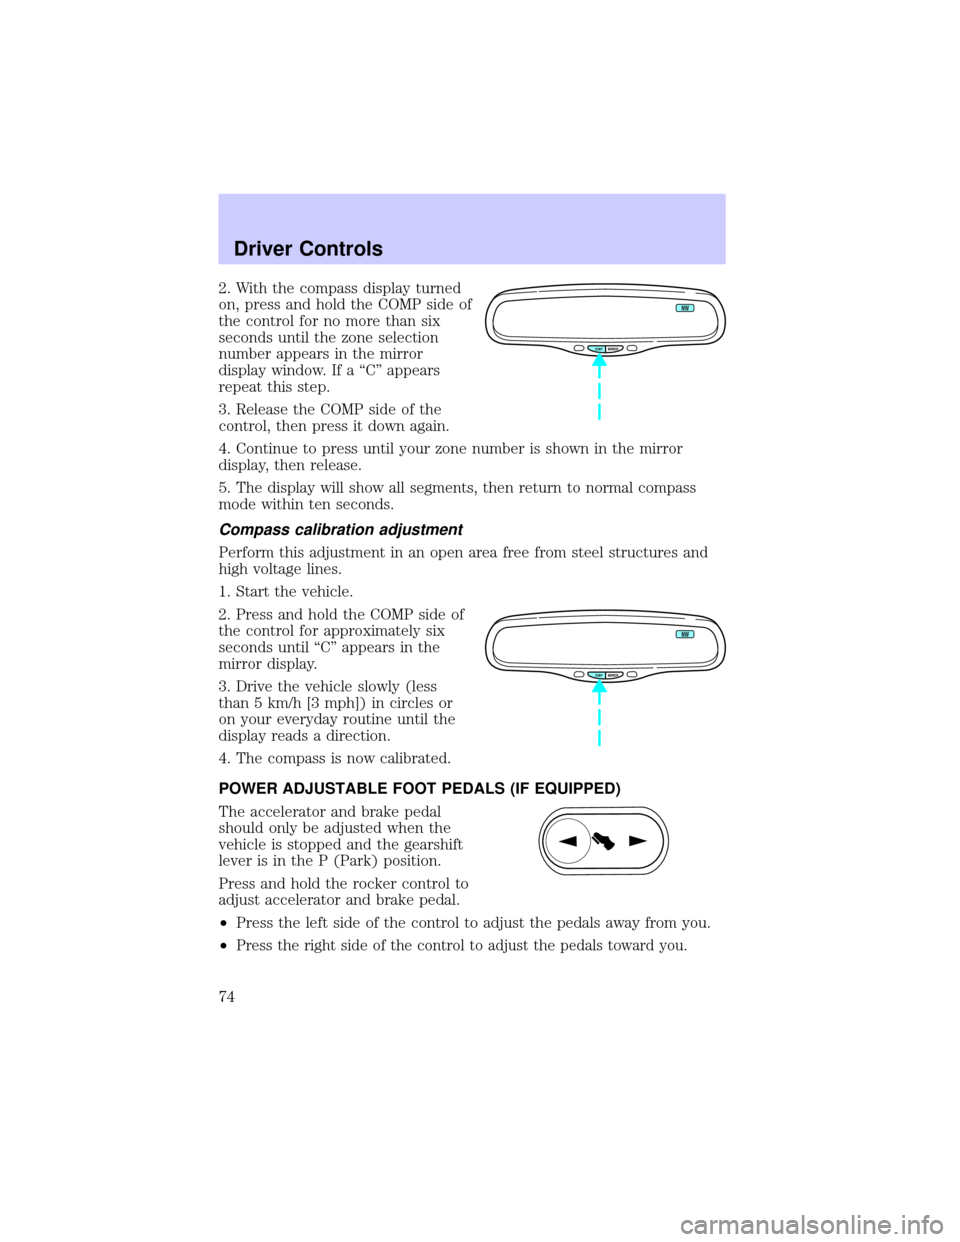
on, press and hold the COMP side of
the control for no more than six
seconds until the zone selection
number appears in the mirror
display window. If a ªCº appears
repeat this step.
3. Release the COMP side of the
control, then press it down again.
4. Continue to press until your zone number is shown in the mirror
display, then release.
5. The display will show all segments, then return to normal compass
mode within ten seconds.
Compass calibration adjustment
Perform this adjustment in an open area free from steel structures and
high voltage lines.
1. Start the vehicle.
2. Press and hold the COMP side of
the control for approximately six
seconds until ªCº appears in the
mirror display.
3. Drive the vehicle slowly (less
than 5 km/h [3 mph]) in circles or
on your everyday routine until the
display reads a direction.
4. The compass is now calibrated.
POWER ADJUSTABLE FOOT PEDALS (IF EQUIPPED)
The accelerator and brake pedal
should only be adjusted when the
vehicle is stopped and the gearshift
lever is in the P (Park) position.
Press and hold the rocker control to
adjust accelerator and brake pedal.
²Press the left side of the control to adjust the pedals away from you.
²
Press the right side of the control to adjust the pedals toward you.
COMP MIRROR
NW
COMP MIRROR
NW
Driver Controls
74
Page 85 of 248
E/M
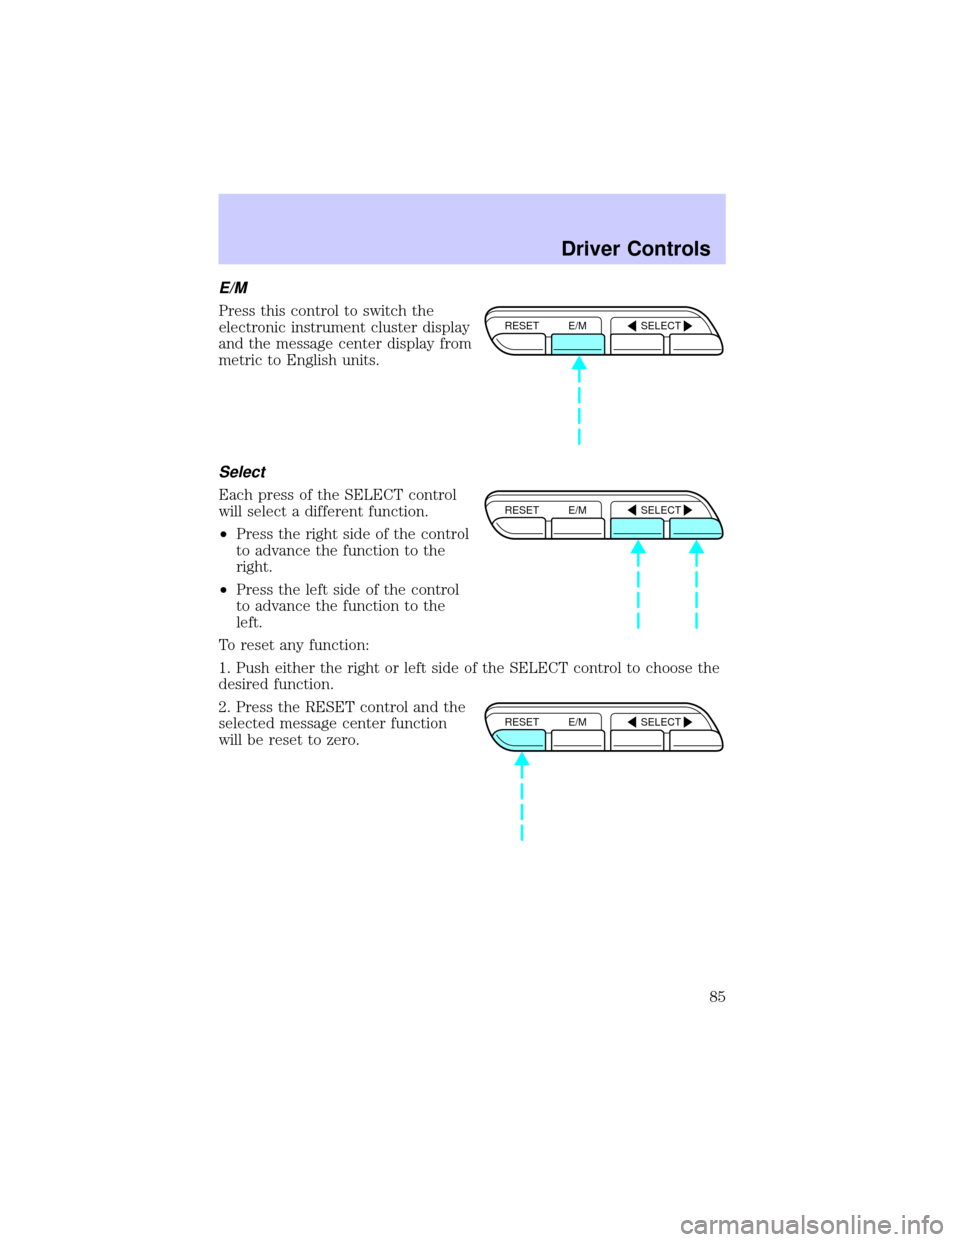
Press this control to switch the
electronic instrument cluster display
and the message center display from
metric to English units.
Select
Each press of the SELECT control
will select a different function.
²Press the right side of the control
to advance the function to the
right.
²Press the left side of the control
to advance the function to the
left.
To reset any function:
1. Push either the right or left side of the SELECT control to choose the
desired function.
2. Press the RESET control and the
selected message center function
will be reset to zero.
RESET E/M SELECT
RESET E/M SELECT
RESET E/M SELECT
Driver Controls
85
Page 86 of 248
Message center functions
DISTANCE TO EMPTY (DTE)
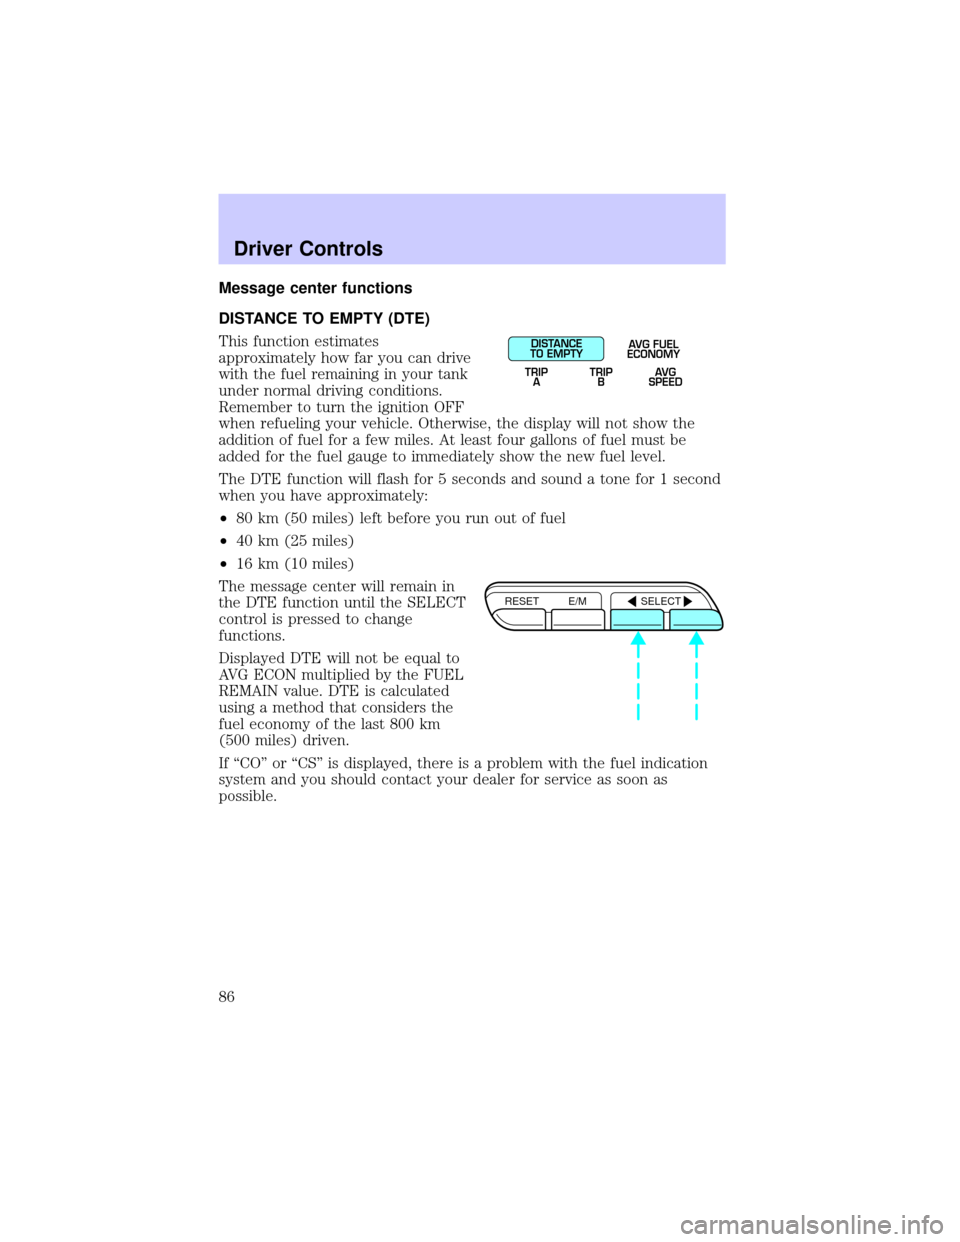
This function estimates
approximately how far you can drive
with the fuel remaining in your tank
under normal driving conditions.
Remember to turn the ignition OFF
when refueling your vehicle. Otherwise, the display will not show the
addition of fuel for a few miles. At least four gallons of fuel must be
added for the fuel gauge to immediately show the new fuel level.
The DTE function will flash for 5 seconds and sound a tone for 1 second
when you have approximately:
²80 km (50 miles) left before you run out of fuel
²40 km (25 miles)
²16 km (10 miles)
The message center will remain in
the DTE function until the SELECT
control is pressed to change
functions.
Displayed DTE will not be equal to
AVG ECON multiplied by the FUEL
REMAIN value. DTE is calculated
using a method that considers the
fuel economy of the last 800 km
(500 miles) driven.
If ªCOº or ªCSº is displayed, there is a problem with the fuel indication
system and you should contact your dealer for service as soon as
possible.
DISTANCE
TO EMPTY
TRIP
AAVG FUEL
ECONOMY
TRIP
BAVG
SPEED
RESET E/M SELECT
Driver Controls
86
Page 87 of 248
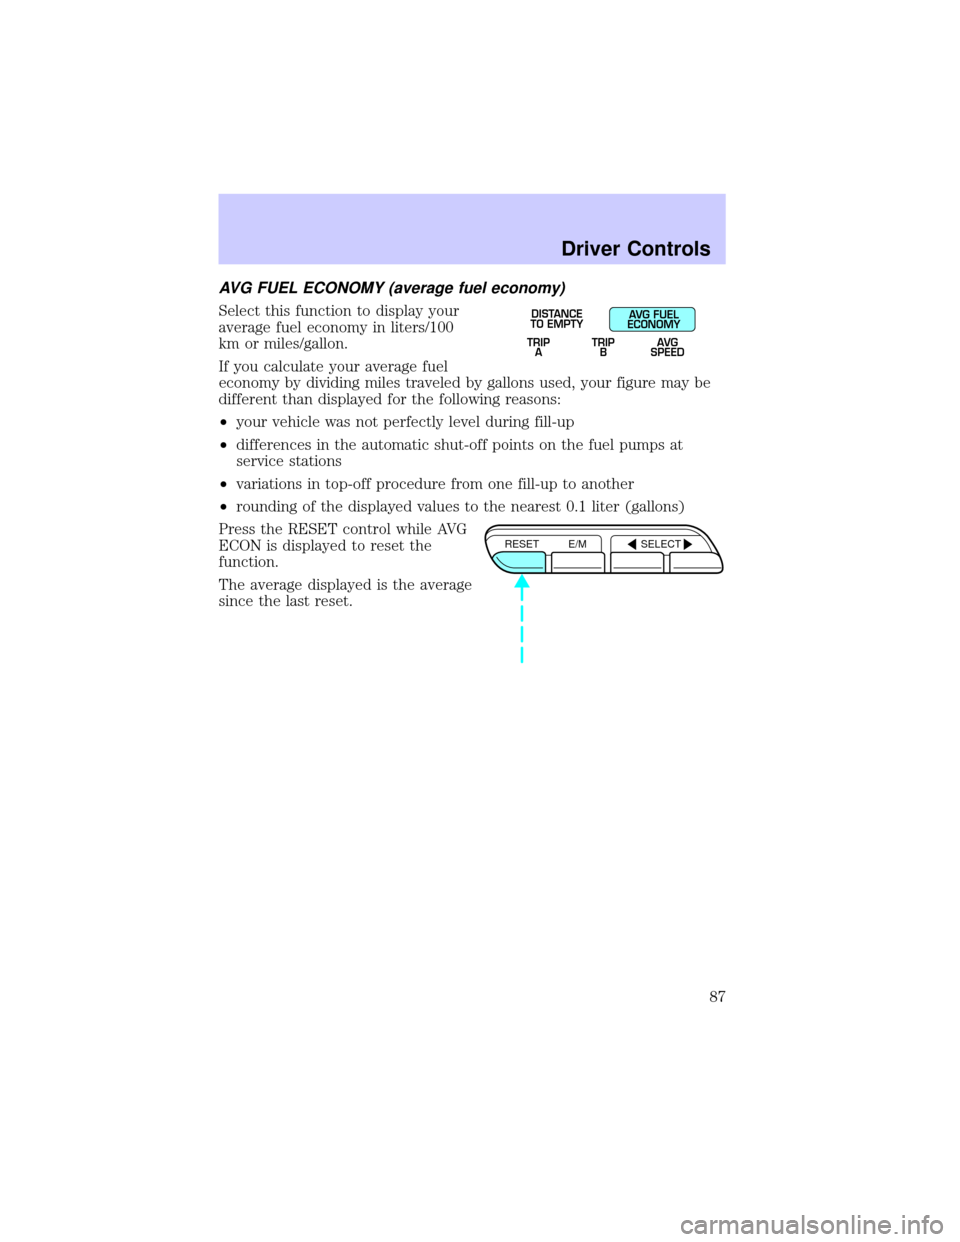
AVG FUEL ECONOMY (average fuel economy)
Select this function to display your
average fuel economy in liters/100
km or miles/gallon.
If you calculate your average fuel
economy by dividing miles traveled by gallons used, your figure may be
different than displayed for the following reasons:
²your vehicle was not perfectly level during fill-up
²differences in the automatic shut-off points on the fuel pumps at
service stations
²variations in top-off procedure from one fill-up to another
²rounding of the displayed values to the nearest 0.1 liter (gallons)
Press the RESET control while AVG
ECON is displayed to reset the
function.
The average displayed is the average
since the last reset.
TRIP
ATRIP
BAVG
SPEED
DISTANCE
TO EMPTYAVG FUEL
ECONOMY
RESET E/M SELECT
Driver Controls
87
Page 88 of 248
TRIP A and TRIP B
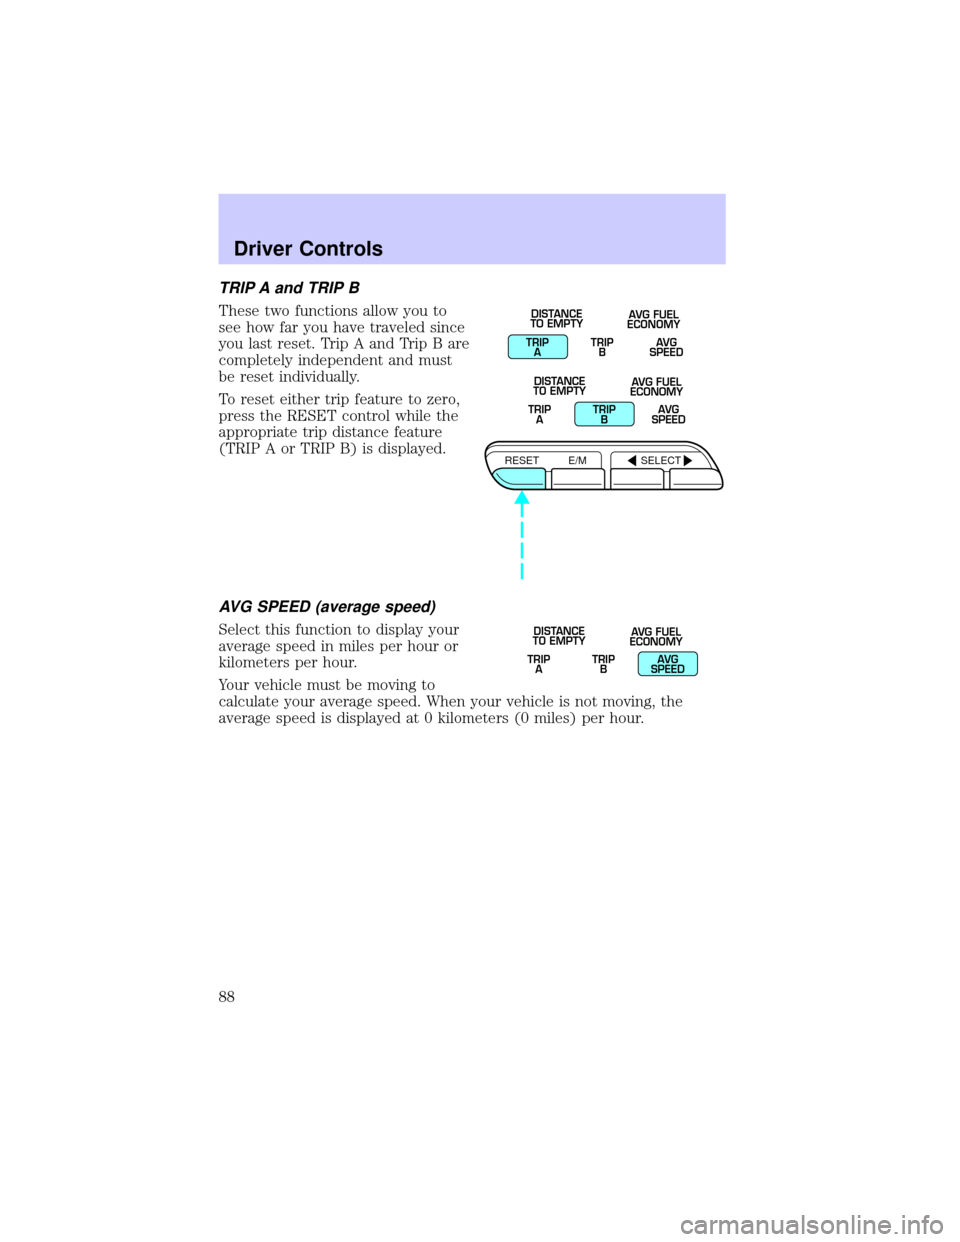
These two functions allow you to
see how far you have traveled since
you last reset. Trip A and Trip B are
completely independent and must
be reset individually.
To reset either trip feature to zero,
press the RESET control while the
appropriate trip distance feature
(TRIP A or TRIP B) is displayed.
AVG SPEED (average speed)
Select this function to display your
average speed in miles per hour or
kilometers per hour.
Your vehicle must be moving to
calculate your average speed. When your vehicle is not moving, the
average speed is displayed at 0 kilometers (0 miles) per hour.
TRIP
ATRIP
BAVG
SPEED DISTANCE
TO EMPTYAVG FUEL
ECONOMY
TRIP
ATRIP
BAVG
SPEED DISTANCE
TO EMPTYAVG FUEL
ECONOMY
RESET E/M SELECT
TRIP
ATRIP
BAVG
SPEED DISTANCE
TO EMPTYAVG FUEL
ECONOMY
Driver Controls
88
Page 151 of 248
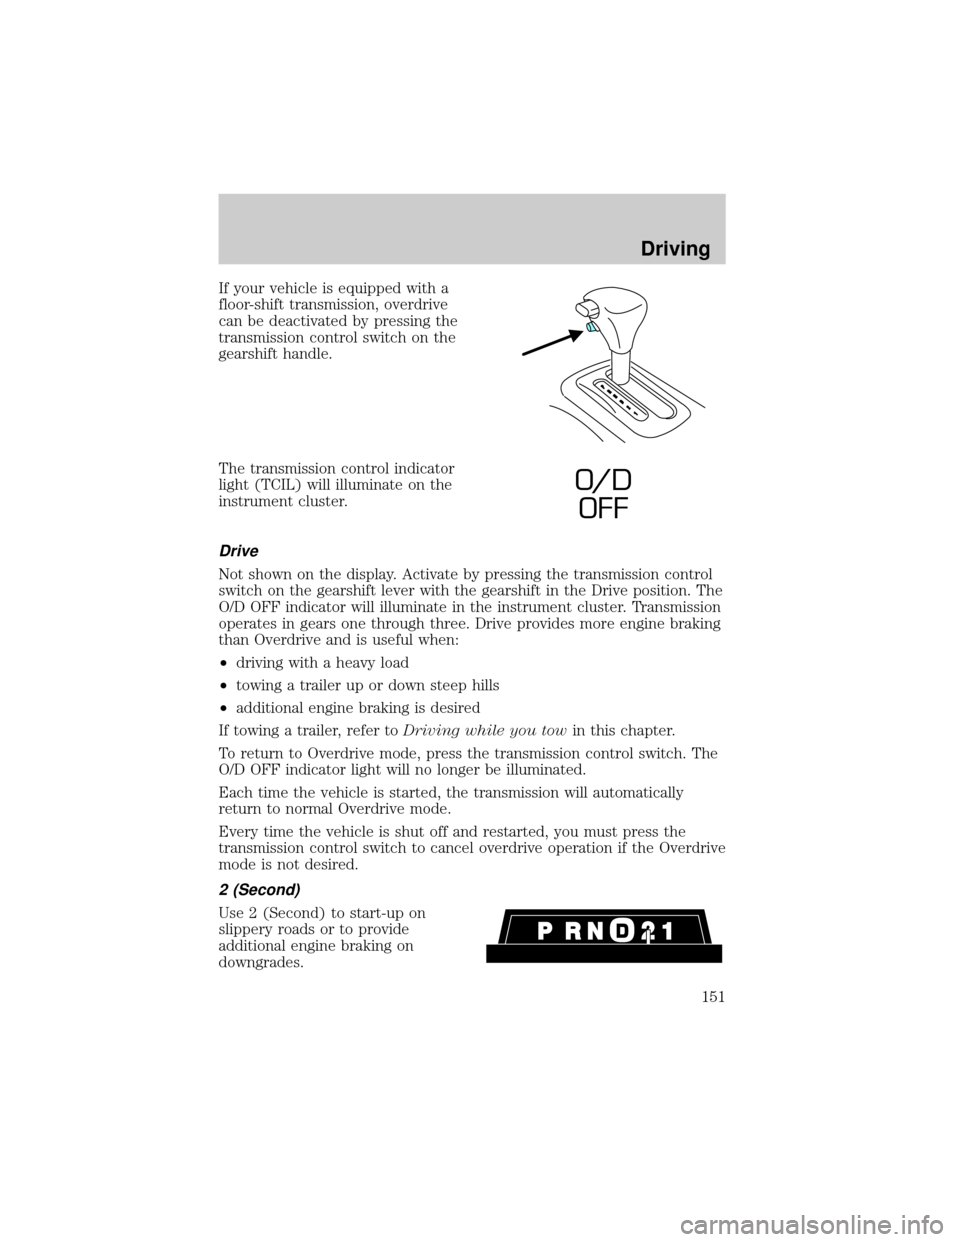
If your vehicle is equipped with a
floor-shift transmission, overdrive
can be deactivated by pressing the
transmission control switch on the
gearshift handle.
The transmission control indicator
light (TCIL) will illuminate on the
instrument cluster.
Drive
Not shown on the display. Activate by pressing the transmission control
switch on the gearshift lever with the gearshift in the Drive position. The
O/D OFF indicator will illuminate in the instrument cluster. Transmission
operates in gears one through three. Drive provides more engine braking
than Overdrive and is useful when:
²driving with a heavy load
²towing a trailer up or down steep hills
²additional engine braking is desired
If towing a trailer, refer toDriving while you towin this chapter.
To return to Overdrive mode, press the transmission control switch. The
O/D OFF indicator light will no longer be illuminated.
Each time the vehicle is started, the transmission will automatically
return to normal Overdrive mode.
Every time the vehicle is shut off and restarted, you must press the
transmission control switch to cancel overdrive operation if the Overdrive
mode is not desired.
2 (Second)
Use 2 (Second) to start-up on
slippery roads or to provide
additional engine braking on
downgrades.
O/ D
OFF
Driving
151
Page 214 of 248
more pronounced. If the problems persist, see your dealer or a qualified
service technician.
It should not be necessary to add any aftermarket products to your fuel
tank if you continue to use high quality fuel of the recommended octane
rating. Aftermarket products could cause damage to the fuel system.
Repairs to correct the effects of using an aftermarket product in your
fuel may not be covered by your warranty.
Many of the world's automakers
issued the World-wide Fuel Charter
that recommends gasoline
specifications to provide improved
performance and emission control
system protection for your vehicle.
Gasolines that meet the World-wide
Fuel Charter should be used when
available. Ask your fuel supplier
about gasolines that meet the
World-wide Fuel Charter. In Canada,
look for fuels that display theAuto Makers' Choiceylogo.
Cleaner air
Ford endorses the use of reformulated ªcleaner-burningº gasolines to
improve air quality.
Running out of fuel
Avoid running out of fuel because this situation may have an adverse
affect on powertrain components.
If you have run out of fuel:
²You may need to cycle the ignition from OFF to ON several times after
refueling, to allow the fuel system to pump the fuel from the tank to
the engine.
²Your ªCheck Engineº indicator may come on. For more information on
the ªCheck Engineº indicator, refer to theInstrument Cluster
chapter.
Fuel Filter
For fuel filter replacement, see your dealer or a qualified service
technician. Refer to the scheduled maintenance guide for the appropriate
intervals for changing the fuel filter.
Maintenance and Specifications
214
Page 238 of 248

Comfort and convenience
Cargo nets
Cargo organizer
Electrochromic compass mirror
Electrochromic compass mirror with temperature display
Engine block heaters
HomeLinkt
Remote start system
Travel equipment
Automatic headlamps with daytime running lights (DRL)
Daytime running lights (DRL)
Protection and appearance equipment
Carpet floor mats
Door edge guards
First aid kit
Flat splash guards
Front end covers
Highway safety kit
Locking gas cap
Molded splash guards
Styled hood deflector
Universal floor mats
For maximum vehicle performance, keep the following information in
mind when adding accessories or equipment to your vehicle:
²When adding accessories, equipment, passengers and luggage to your
vehicle, do not exceed the total weight capacity of the vehicle or of
the front or rear axle (GVWR or GAWR as indicated on the Safety
compliance certification label). Consult your dealer for specific weight
information.
Accessories
238