Flash control Mercury Grand Marquis 2002 Owner's Manuals
[x] Cancel search | Manufacturer: MERCURY, Model Year: 2002, Model line: Grand Marquis, Model: Mercury Grand Marquis 2002Pages: 248, PDF Size: 1.81 MB
Page 2 of 248
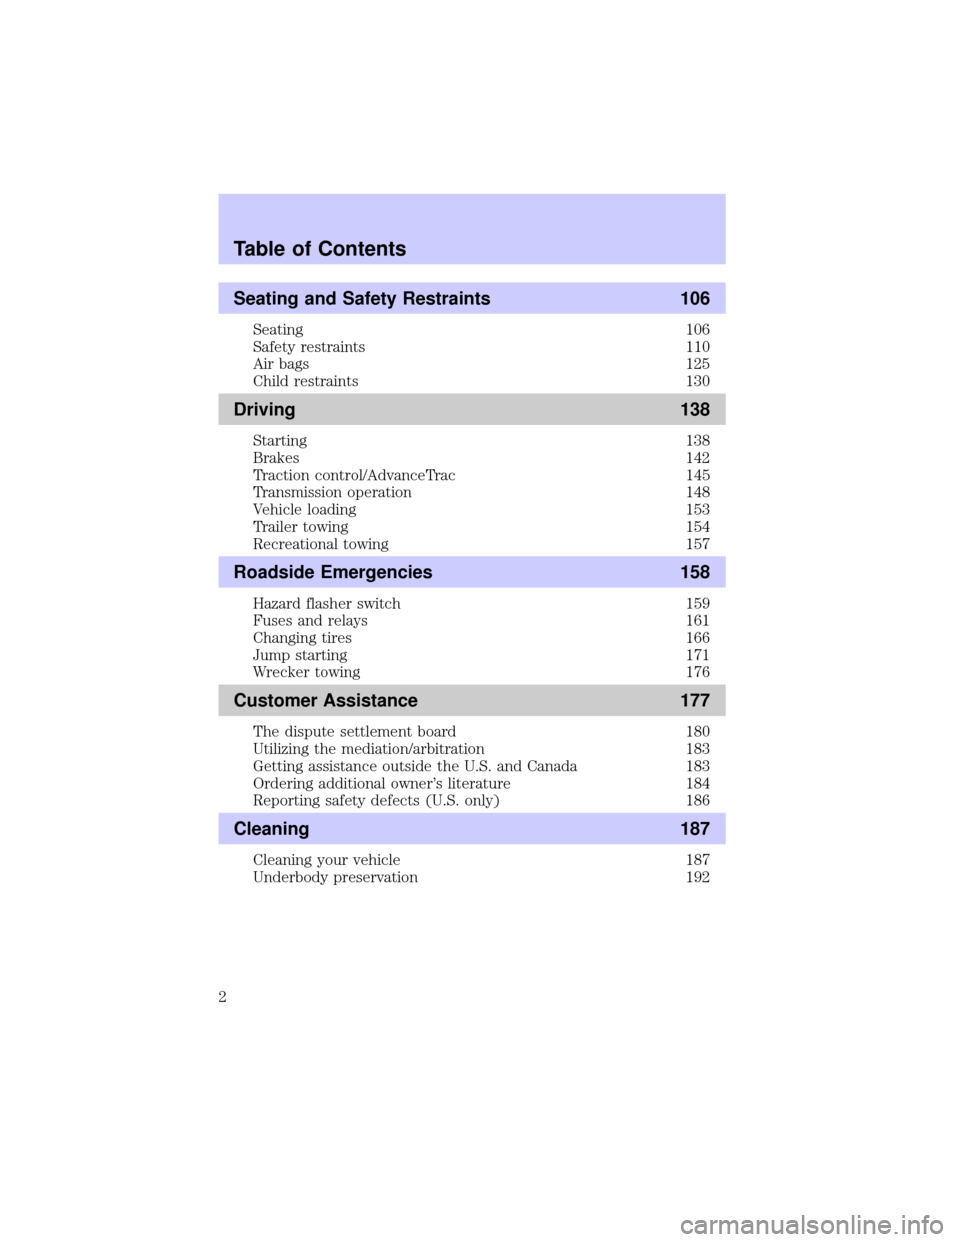
Seating and Safety Restraints 106
Seating 106
Safety restraints 110
Air bags 125
Child restraints 130
Driving 138
Starting 138
Brakes 142
Traction control/AdvanceTrac 145
Transmission operation 148
Vehicle loading 153
Trailer towing 154
Recreational towing 157
Roadside Emergencies 158
Hazard flasher switch 159
Fuses and relays 161
Changing tires 166
Jump starting 171
Wrecker towing 176
Customer Assistance 177
The dispute settlement board 180
Utilizing the mediation/arbitration 183
Getting assistance outside the U.S. and Canada 183
Ordering additional owner's literature 184
Reporting safety defects (U.S. only) 186
Cleaning 187
Cleaning your vehicle 187
Underbody preservation 192
Table of Contents
2
Page 8 of 248
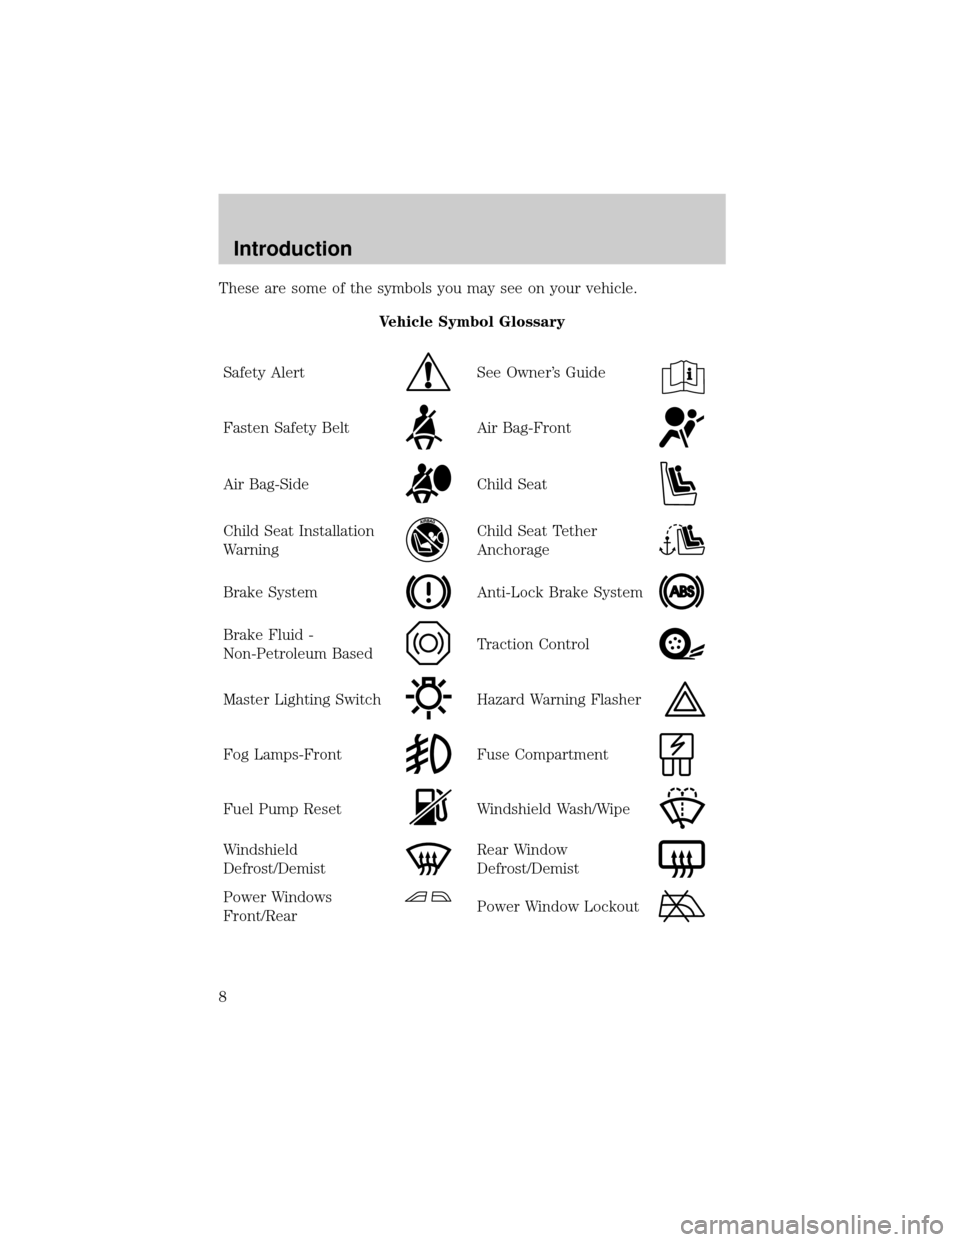
These are some of the symbols you may see on your vehicle.
Vehicle Symbol Glossary
Safety Alert
See Owner's Guide
Fasten Safety BeltAir Bag-Front
Air Bag-SideChild Seat
Child Seat Installation
WarningChild Seat Tether
Anchorage
Brake SystemAnti-Lock Brake System
Brake Fluid -
Non-Petroleum BasedTraction Control
Master Lighting SwitchHazard Warning Flasher
Fog Lamps-FrontFuse Compartment
Fuel Pump ResetWindshield Wash/Wipe
Windshield
Defrost/DemistRear Window
Defrost/Demist
Power Windows
Front/RearPower Window Lockout
Introduction
8
Page 14 of 248
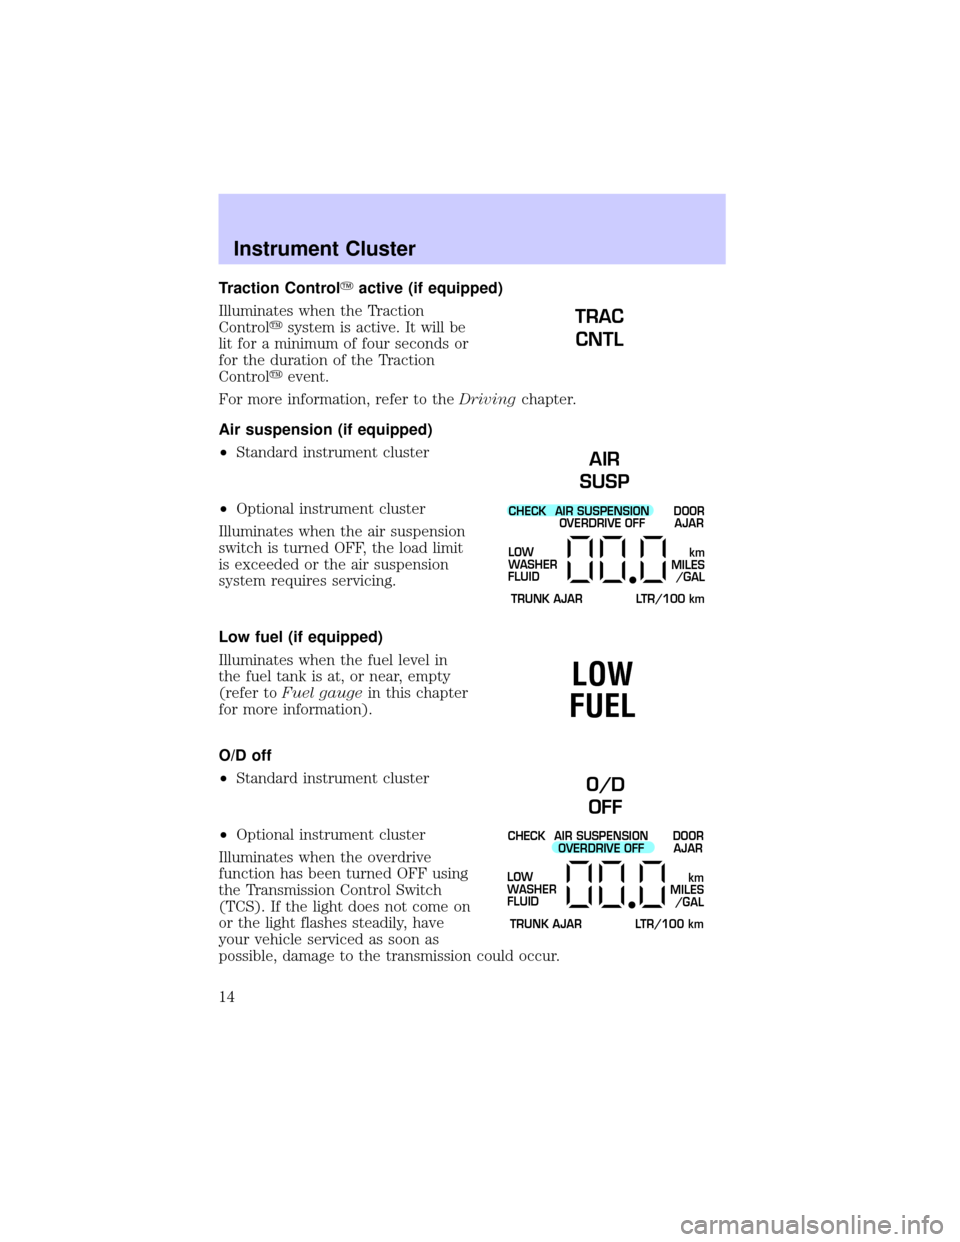
Traction ControlYactive (if equipped)
Illuminates when the Traction
Controlysystem is active. It will be
lit for a minimum of four seconds or
for the duration of the Traction
Controlyevent.
For more information, refer to theDrivingchapter.
Air suspension (if equipped)
²Standard instrument cluster
²Optional instrument cluster
Illuminates when the air suspension
switch is turned OFF, the load limit
is exceeded or the air suspension
system requires servicing.
Low fuel (if equipped)
Illuminates when the fuel level in
the fuel tank is at, or near, empty
(refer toFuel gaugein this chapter
for more information).
O/D off
²Standard instrument cluster
²Optional instrument cluster
Illuminates when the overdrive
function has been turned OFF using
the Transmission Control Switch
(TCS). If the light does not come on
or the light flashes steadily, have
your vehicle serviced as soon as
possible, damage to the transmission could occur.
TRAC
CNTL
AIR
SUSP
CHECK
TRUNK AJAR LTR/100 kmAIR SUSPENSION
OVERDRIVE OFFDOOR
AJAR
LOW
WASHER
FLUID
km
MILES
/GAL
LOW
FUEL
O/D
OFF
CHECK
TRUNK AJAR LTR/100 kmAIR SUSPENSION
OVERDRIVE OFFDOOR
AJAR
LOW
WASHER
FLUID
km
MILES
/GAL
Instrument Cluster
14
Page 15 of 248
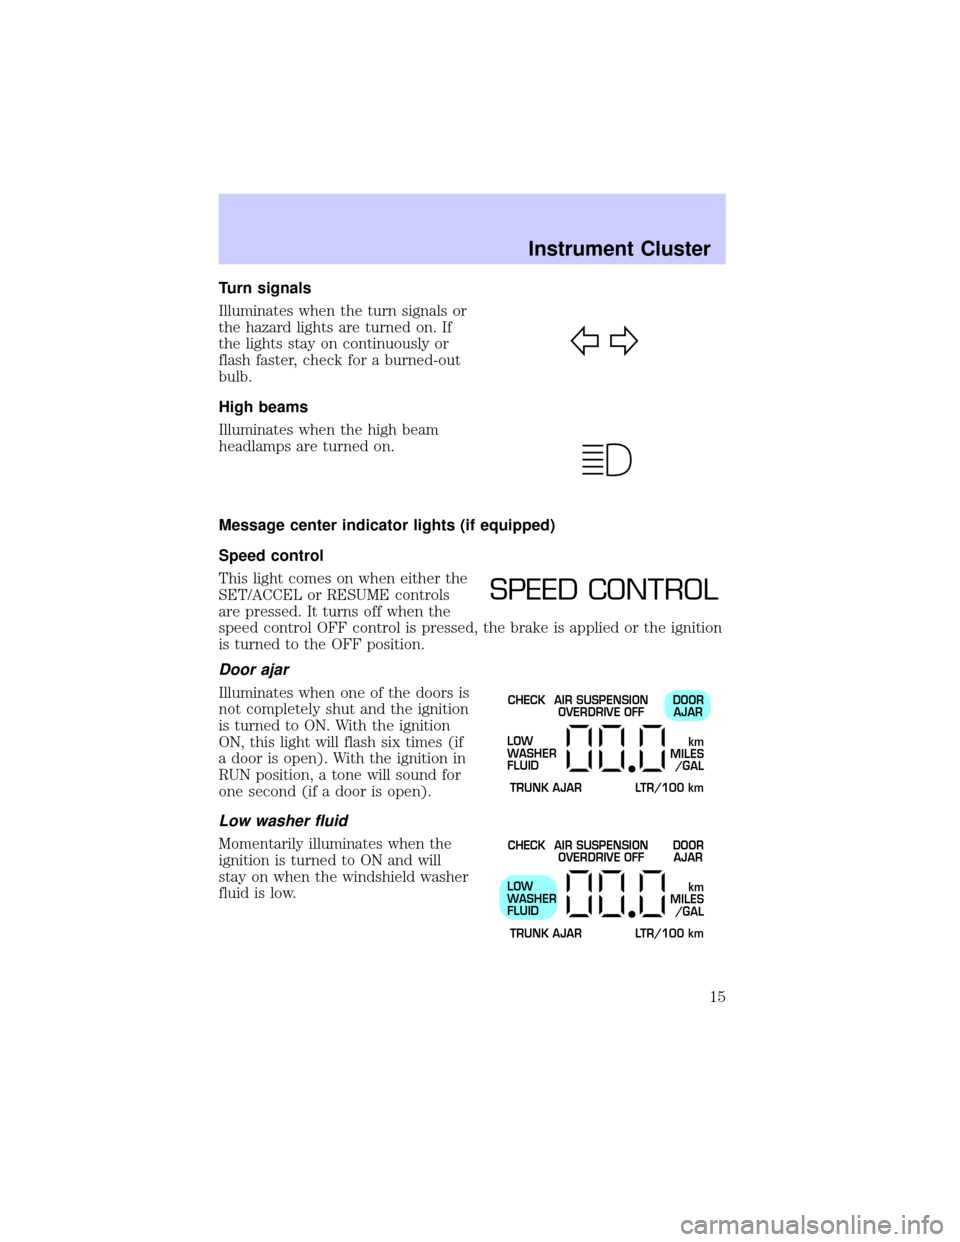
Turn signals
Illuminates when the turn signals or
the hazard lights are turned on. If
the lights stay on continuously or
flash faster, check for a burned-out
bulb.
High beams
Illuminates when the high beam
headlamps are turned on.
Message center indicator lights (if equipped)
Speed control
This light comes on when either the
SET/ACCEL or RESUME controls
are pressed. It turns off when the
speed control OFF control is pressed, the brake is applied or the ignition
is turned to the OFF position.
Door ajar
Illuminates when one of the doors is
not completely shut and the ignition
is turned to ON. With the ignition
ON, this light will flash six times (if
a door is open). With the ignition in
RUN position, a tone will sound for
one second (if a door is open).
Low washer fluid
Momentarily illuminates when the
ignition is turned to ON and will
stay on when the windshield washer
fluid is low.
SPEED CONTROL
CHECK
TRUNK AJAR LTR/100 kmAIR SUSPENSION
OVERDRIVE OFFDOOR
AJAR
LOW
WASHER
FLUID
km
MILES
/GAL
CHECK
TRUNK AJAR LTR/100 kmAIR SUSPENSION
OVERDRIVE OFFDOOR
AJAR
LOW
WASHER
FLUID
km
MILES
/GAL
Instrument Cluster
15
Page 60 of 248
Daytime running lamps (DRL) (if equipped)
Turns the highbeam headlamps on with a reduced output. To activate:
²the key must be in the ON position,
²the parking brake released, and
²the headlamp control is in the OFF or Parking lamps position
Always remember to turn on your headlamps at dusk or during
inclement weather. The Daytime Running Light (DRL) System
does not activate your tail lamps and generally may not provide
adequate lighting during these conditions. Failure to activate your
headlamps under these conditions may result in a collision.
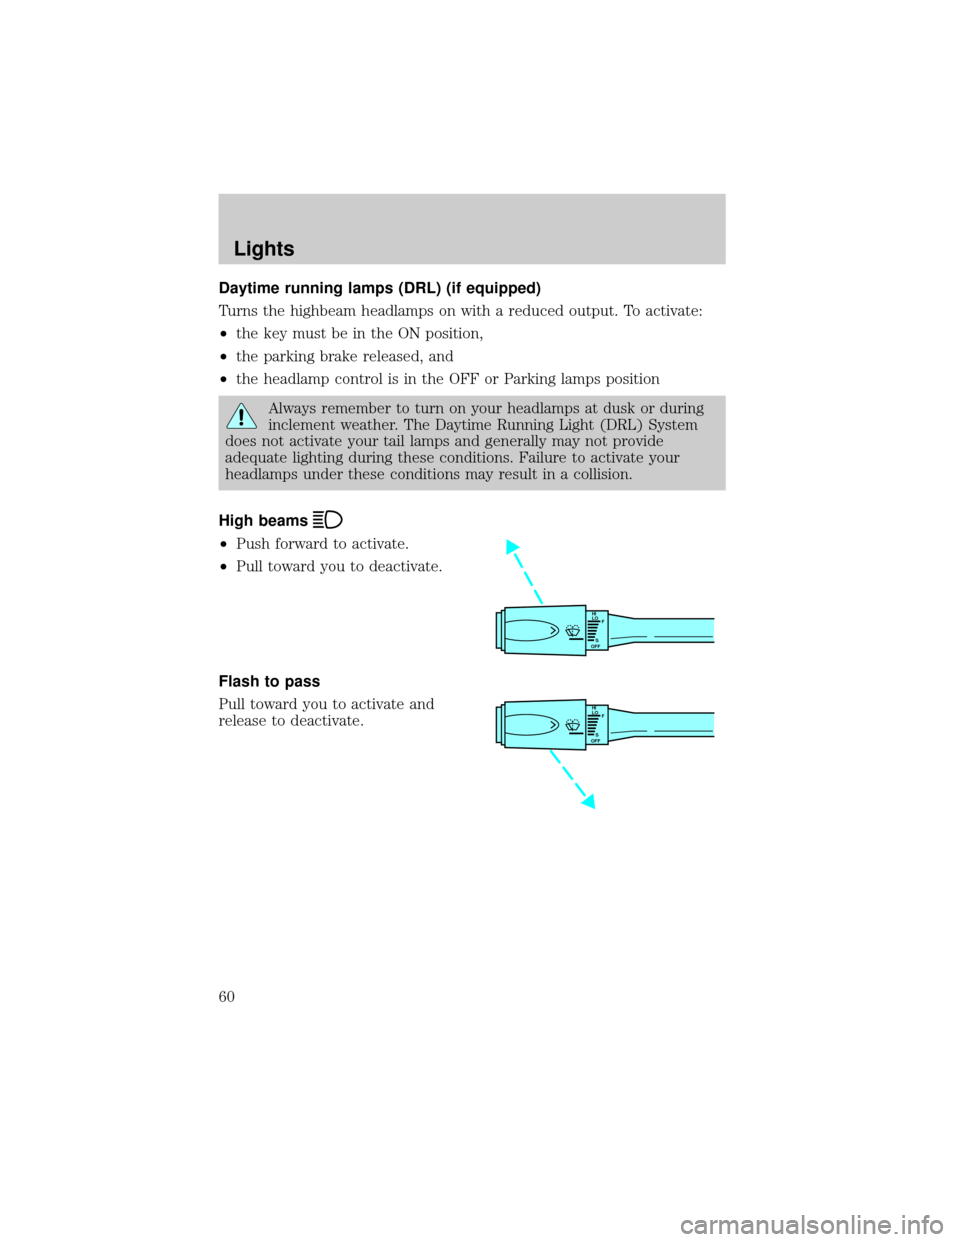
High beams
²Push forward to activate.
²Pull toward you to deactivate.
Flash to pass
Pull toward you to activate and
release to deactivate.
HI
LO
F
S
OFF
HI
LO
F
S
OFF
Lights
60
Page 61 of 248
PANEL DIMMER CONTROL
Use to adjust the brightness of the
instrument panel during headlight
and parklamp operation.
²Push up to brighten.
²Push down to dim.
During full daylight, the instrument panel will still be visible with the
headlamps operating.
AIMING THE HEADLAMPS
The headlamps on your vehicle are properly aimed at the assembly plant.
If your vehicle has been in an accident the alignment of your headlamps
should be checked by a qualified service technician.
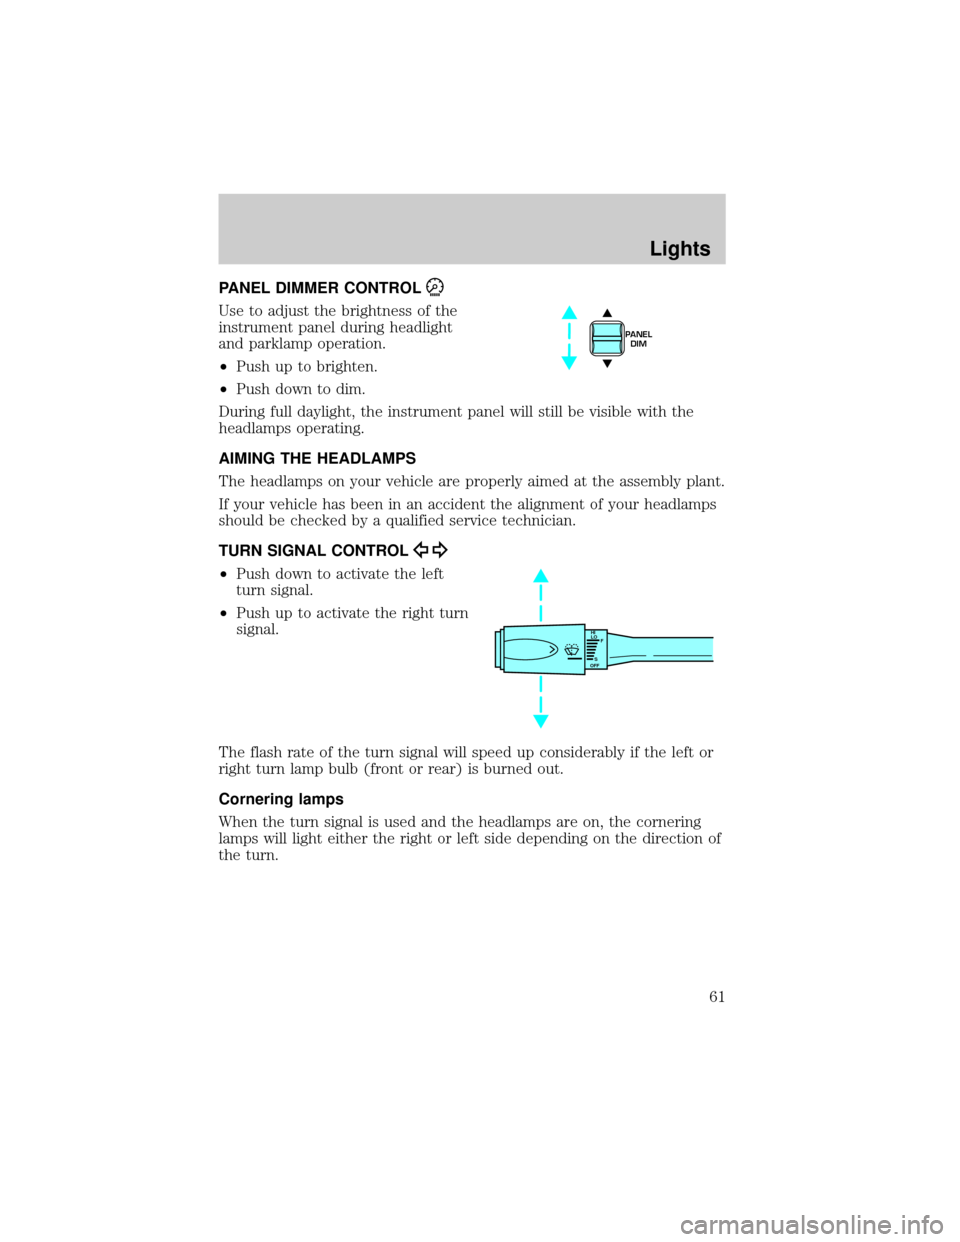
TURN SIGNAL CONTROL
²Push down to activate the left
turn signal.
²Push up to activate the right turn
signal.
The flash rate of the turn signal will speed up considerably if the left or
right turn lamp bulb (front or rear) is burned out.
Cornering lamps
When the turn signal is used and the headlamps are on, the cornering
lamps will light either the right or left side depending on the direction of
the turn.
PANEL
DIM
HI
LO
F
S
OFF
Lights
61
Page 80 of 248
HOMELINKTUNIVERSAL TRANSCEIVER (IF EQUIPPED)
The HomeLinktUniversal Transceiver, located on the driver's visor,
provides a convenient way to replace up to three hand-held transmitters
with a single built-in device. This feature will learn the radio frequency
codes of most current transmitters to operate garage doors, entry gates,
security systems, entry door locks, and home or office lighting.
When programming your HomeLinktUniversal Transceiver, to a
garage door or gate be sure that people and objects are out of
the way to prevent potential harm or damage.
Do not use the HomeLinktUniversal Transceiver with any garage door
opener that lacks safety stop and reverse features as required by U.S.
federal safety standards (this includes any garage door opener model
manufactured before April 1, 1982). A garage door which cannot detect
an object, signaling the door to stop and reverse, does not meet current
U.S. federal safety standards. For more information on this matter, call
toll-free: 1±800±355±3515 or on the Internet atHomeLink.jci.com.
Programming
Do not program the HomeLinktUniversal Transceiver with the
vehicle parked in the garage.
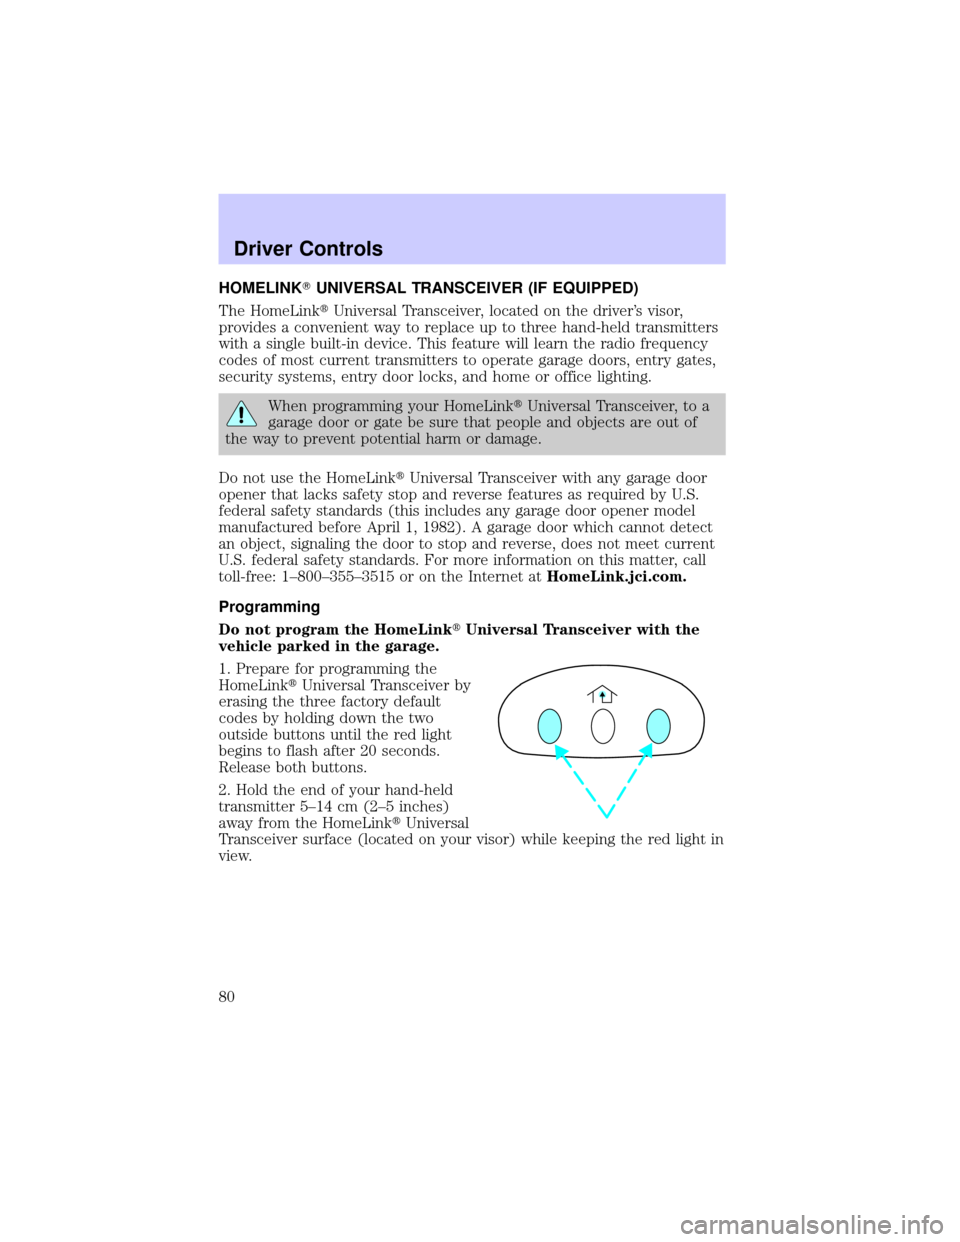
1. Prepare for programming the
HomeLinktUniversal Transceiver by
erasing the three factory default
codes by holding down the two
outside buttons until the red light
begins to flash after 20 seconds.
Release both buttons.
2. Hold the end of your hand-held
transmitter 5±14 cm (2±5 inches)
away from the HomeLinktUniversal
Transceiver surface (located on your visor) while keeping the red light in
view.
Driver Controls
80
Page 81 of 248
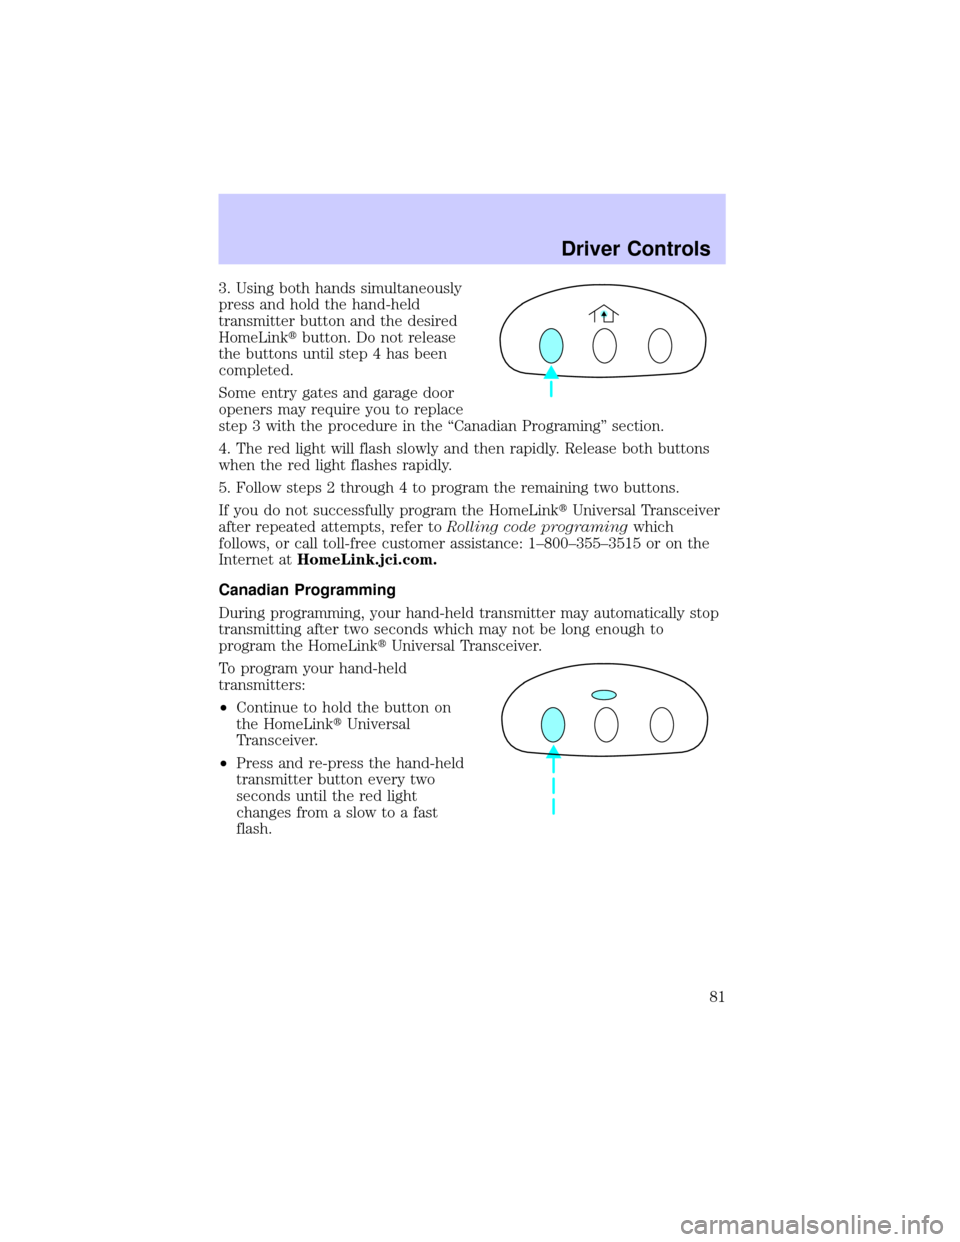
3. Using both hands simultaneously
press and hold the hand-held
transmitter button and the desired
HomeLinktbutton. Do not release
the buttons until step 4 has been
completed.
Some entry gates and garage door
openers may require you to replace
step 3 with the procedure in the ªCanadian Programingº section.
4. The red light will flash slowly and then rapidly. Release both buttons
when the red light flashes rapidly.
5. Follow steps 2 through 4 to program the remaining two buttons.
If you do not successfully program the HomeLinktUniversal Transceiver
after repeated attempts, refer toRolling code programingwhich
follows, or call toll-free customer assistance: 1±800±355±3515 or on the
Internet atHomeLink.jci.com.
Canadian Programming
During programming, your hand-held transmitter may automatically stop
transmitting after two seconds which may not be long enough to
program the HomeLinktUniversal Transceiver.
To program your hand-held
transmitters:
²Continue to hold the button on
the HomeLinktUniversal
Transceiver.
²Press and re-press the hand-held
transmitter button every two
seconds until the red light
changes from a slow to a fast
flash.
Driver Controls
81
Page 82 of 248
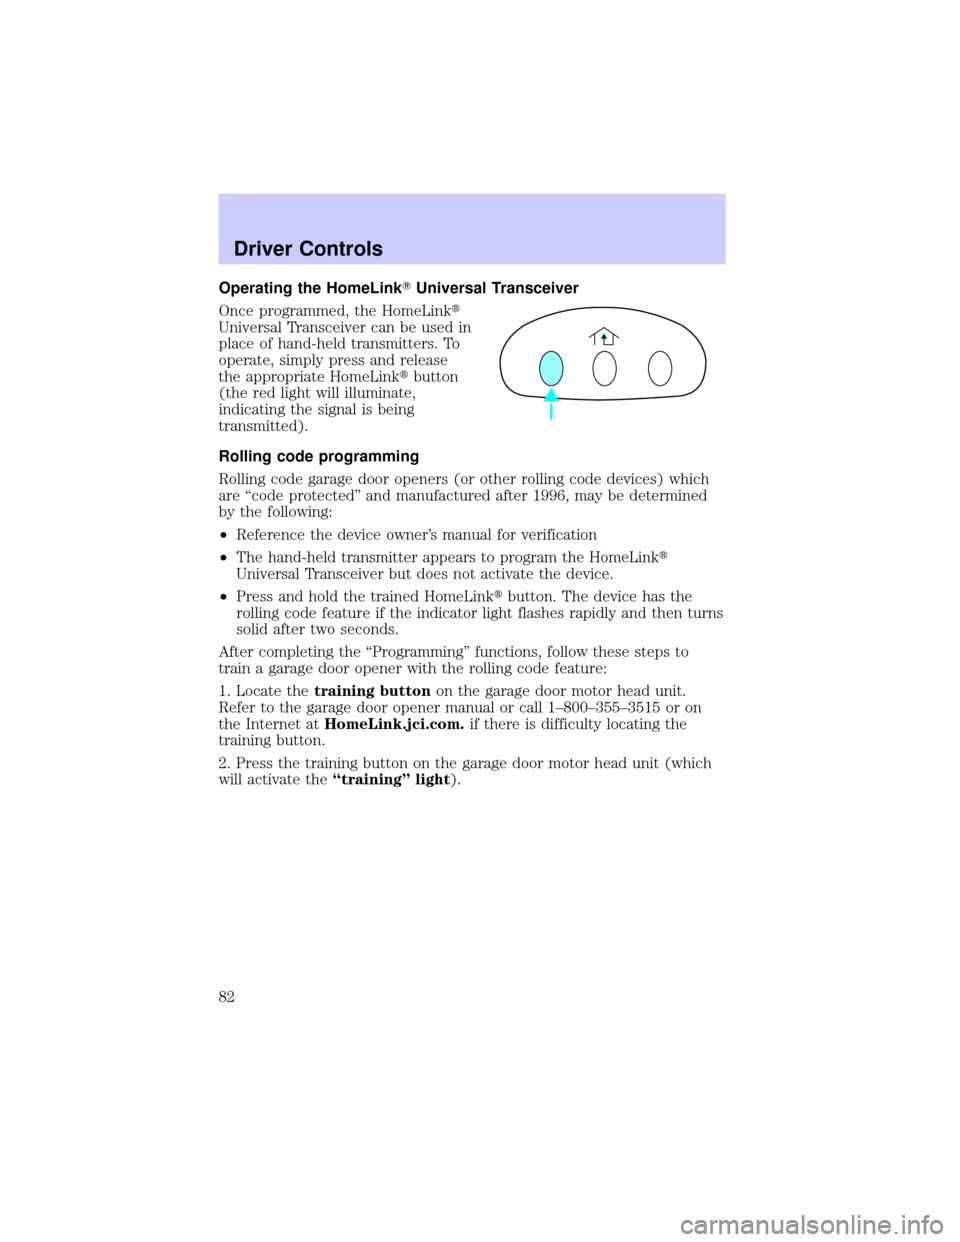
Operating the HomeLinkTUniversal Transceiver
Once programmed, the HomeLinkt
Universal Transceiver can be used in
place of hand-held transmitters. To
operate, simply press and release
the appropriate HomeLinktbutton
(the red light will illuminate,
indicating the signal is being
transmitted).
Rolling code programming
Rolling code garage door openers (or other rolling code devices) which
are ªcode protectedº and manufactured after 1996, may be determined
by the following:
²Reference the device owner's manual for verification
²The hand-held transmitter appears to program the HomeLinkt
Universal Transceiver but does not activate the device.
²Press and hold the trained HomeLinktbutton. The device has the
rolling code feature if the indicator light flashes rapidly and then turns
solid after two seconds.
After completing the ªProgrammingº functions, follow these steps to
train a garage door opener with the rolling code feature:
1. Locate thetraining buttonon the garage door motor head unit.
Refer to the garage door opener manual or call 1±800±355±3515 or on
the Internet atHomeLink.jci.com.if there is difficulty locating the
training button.
2. Press the training button on the garage door motor head unit (which
will activate theªtrainingº light).
Driver Controls
82
Page 83 of 248
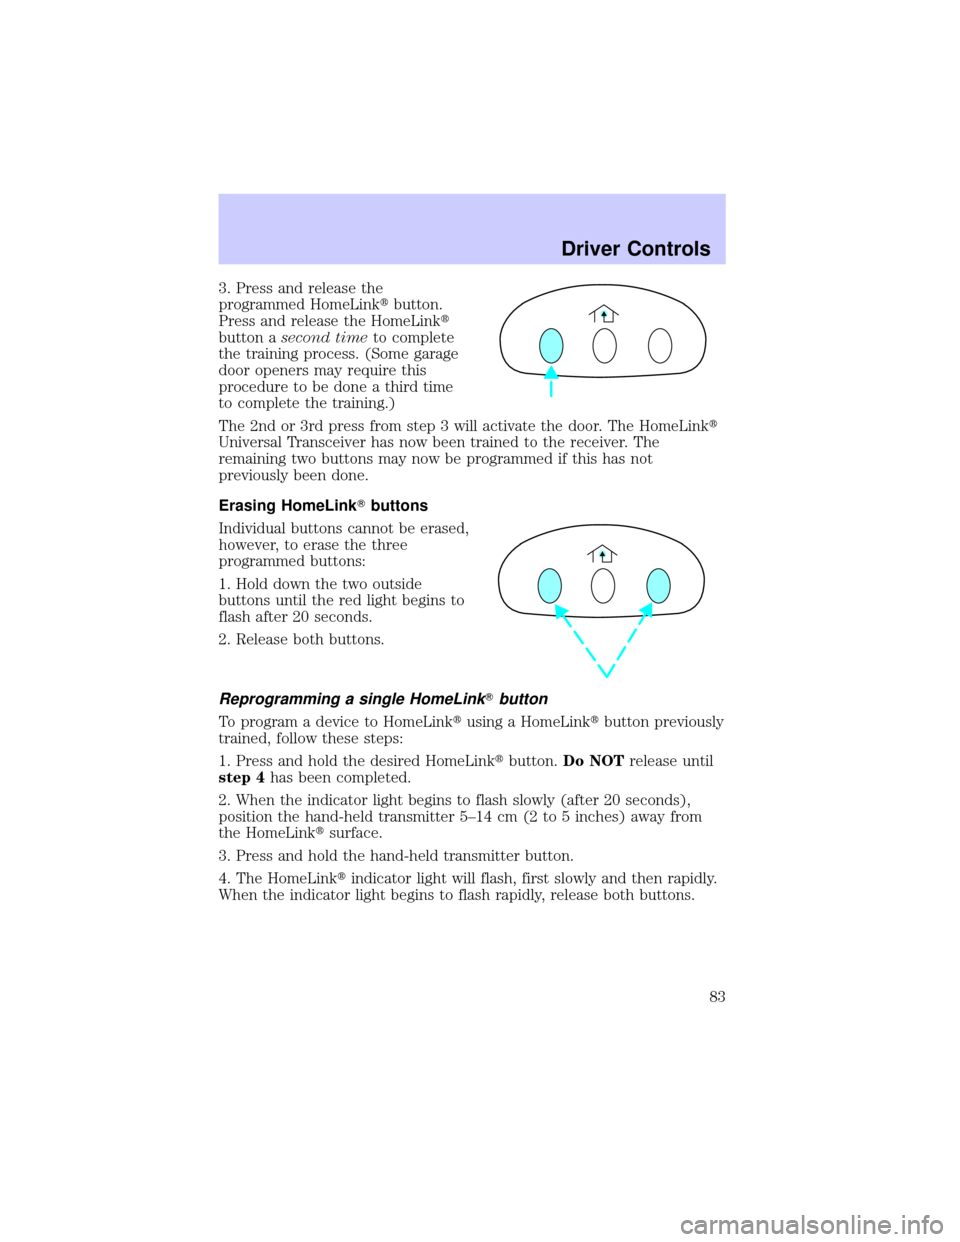
3. Press and release the
programmed HomeLinktbutton.
Press and release the HomeLinkt
button asecond timeto complete
the training process. (Some garage
door openers may require this
procedure to be done a third time
to complete the training.)
The 2nd or 3rd press from step 3 will activate the door. The HomeLinkt
Universal Transceiver has now been trained to the receiver. The
remaining two buttons may now be programmed if this has not
previously been done.
Erasing HomeLinkTbuttons
Individual buttons cannot be erased,
however, to erase the three
programmed buttons:
1. Hold down the two outside
buttons until the red light begins to
flash after 20 seconds.
2. Release both buttons.
Reprogramming a single HomeLinkTbutton
To program a device to HomeLinktusing a HomeLinktbutton previously
trained, follow these steps:
1. Press and hold the desired HomeLinktbutton.Do NOTrelease until
step 4has been completed.
2. When the indicator light begins to flash slowly (after 20 seconds),
position the hand-held transmitter 5±14 cm (2 to 5 inches) away from
the HomeLinktsurface.
3. Press and hold the hand-held transmitter button.
4. The HomeLinktindicator light will flash, first slowly and then rapidly.
When the indicator light begins to flash rapidly, release both buttons.
Driver Controls
83