set clock Mercury Grand Marquis 2002 Owner's Manuals
[x] Cancel search | Manufacturer: MERCURY, Model Year: 2002, Model line: Grand Marquis, Model: Mercury Grand Marquis 2002Pages: 248, PDF Size: 1.81 MB
Page 26 of 248
Radio station memory preset
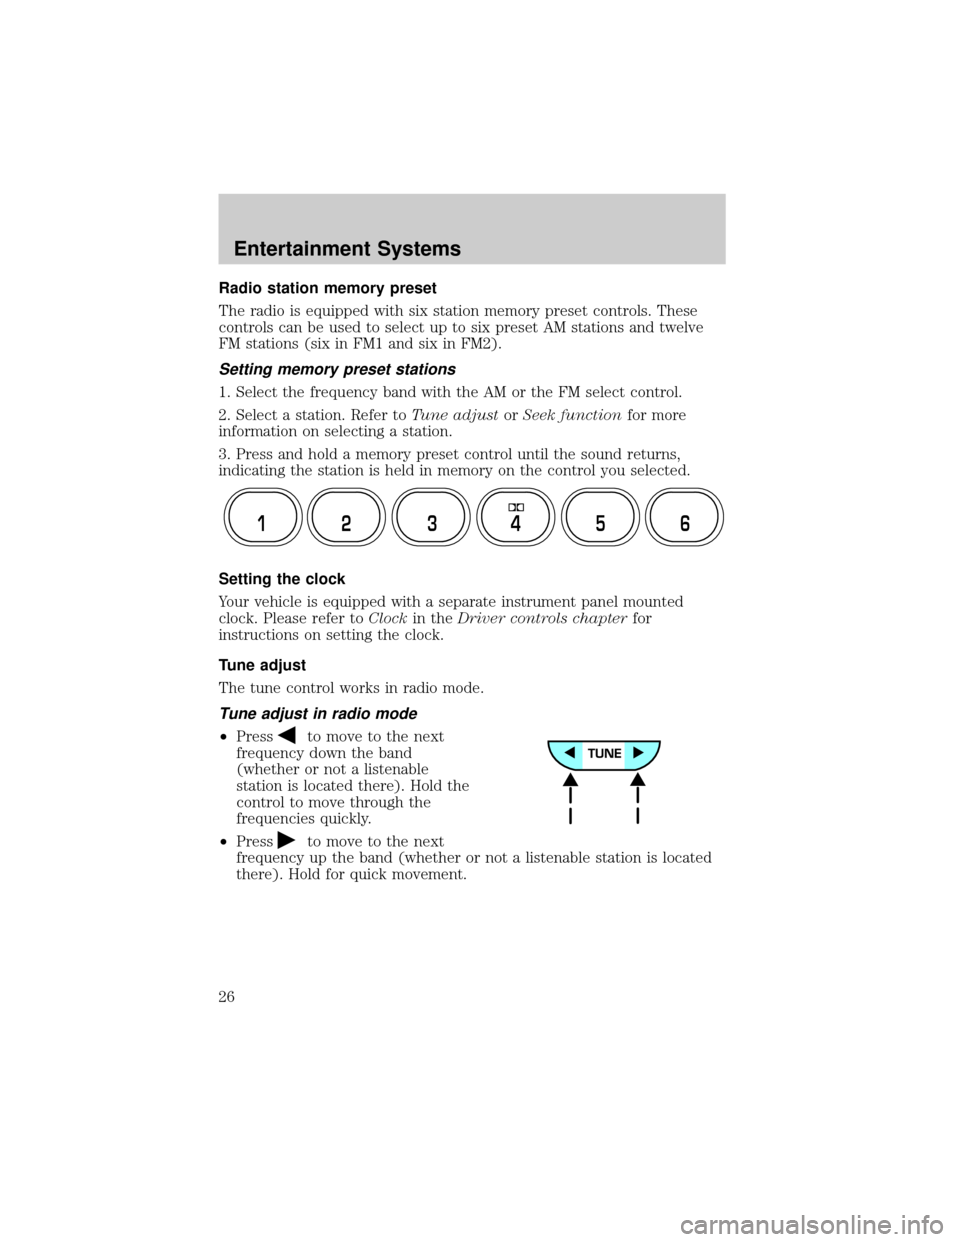
The radio is equipped with six station memory preset controls. These
controls can be used to select up to six preset AM stations and twelve
FM stations (six in FM1 and six in FM2).
Setting memory preset stations
1. Select the frequency band with the AM or the FM select control.
2. Select a station. Refer toTune adjustorSeek functionfor more
information on selecting a station.
3. Press and hold a memory preset control until the sound returns,
indicating the station is held in memory on the control you selected.
Setting the clock
Your vehicle is equipped with a separate instrument panel mounted
clock. Please refer toClockin theDriver controls chapterfor
instructions on setting the clock.
Tune adjust
The tune control works in radio mode.
Tune adjust in radio mode
²Pressto move to the next
frequency down the band
(whether or not a listenable
station is located there). Hold the
control to move through the
frequencies quickly.
²Press
to move to the next
frequency up the band (whether or not a listenable station is located
there). Hold for quick movement.
12 3456
Entertainment Systems
26
Page 32 of 248
AM/FM select in radio mode
The AM/FM control allows you to select AM or FM frequency bands.
Press the control to switch between AM, FM1 or FM2 memory preset
stations.
AM/FM select in CD or CD changer mode (if equipped)
The AM/FM control to stop CD play and begin radio play.
Radio station memory preset
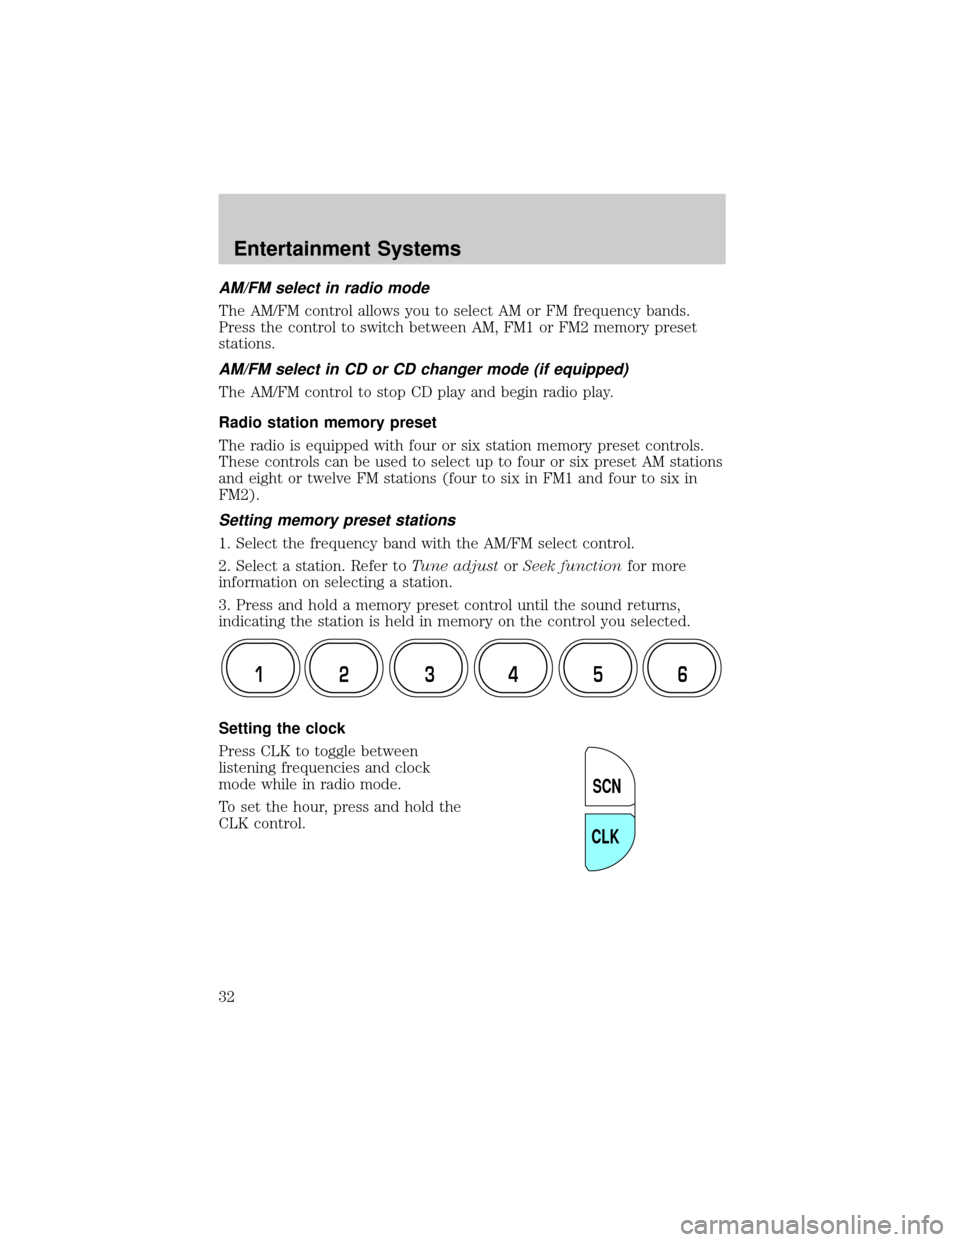
The radio is equipped with four or six station memory preset controls.
These controls can be used to select up to four or six preset AM stations
and eight or twelve FM stations (four to six in FM1 and four to six in
FM2).
Setting memory preset stations
1. Select the frequency band with the AM/FM select control.
2. Select a station. Refer toTune adjustorSeek functionfor more
information on selecting a station.
3. Press and hold a memory preset control until the sound returns,
indicating the station is held in memory on the control you selected.
Setting the clock
Press CLK to toggle between
listening frequencies and clock
mode while in radio mode.
To set the hour, press and hold the
CLK control.
12 3456
SCN
CLK
Entertainment Systems
32
Page 40 of 248
Starting autoset memory preset
1. Select a frequency using the AM/FM select controls.
2. Press the AUTO control.
3. When the first six strong stations
are filled, the station stored in
memory preset control 1 will start
playing.
If there are less than six strong stations available on the frequency band,
the remaining memory preset controls will all store the last strong
station available.
To deactivate autoset and return to your audio system's manually set
memory stations, press the control again.
Setting the clock
Your vehicle is equipped with a separate instrument panel mounted
clock. Please refer toClockin theDriver controls chapterfor
instructions on setting the clock.
Tune adjust
The tune control works in radio or CD mode (if equipped).
Tune adjust in radio mode
²Pressto move to the next
frequency down the band
(whether or not a listenable
station is located there). Hold the control to move through the
frequencies quickly.
²Press
to move to the next frequency up the band (whether or not
a listenable station is located there). Hold for quick movement.
Tune adjust for CD changer
²Pressto select the previous
disc in the CD changer. (Play will
begin on the first track of the
disc unless the CD changer is in shuffle mode.) Refer toShuffle
featurefor more information. Hold the control to continue reversing
through the discs.
²Press
to select the next disc in the CD changer. Hold the control
to fast-forward through the remaining discs.
AUTO
TUNE
TUNE
Entertainment Systems
40
Page 70 of 248
CLOCK
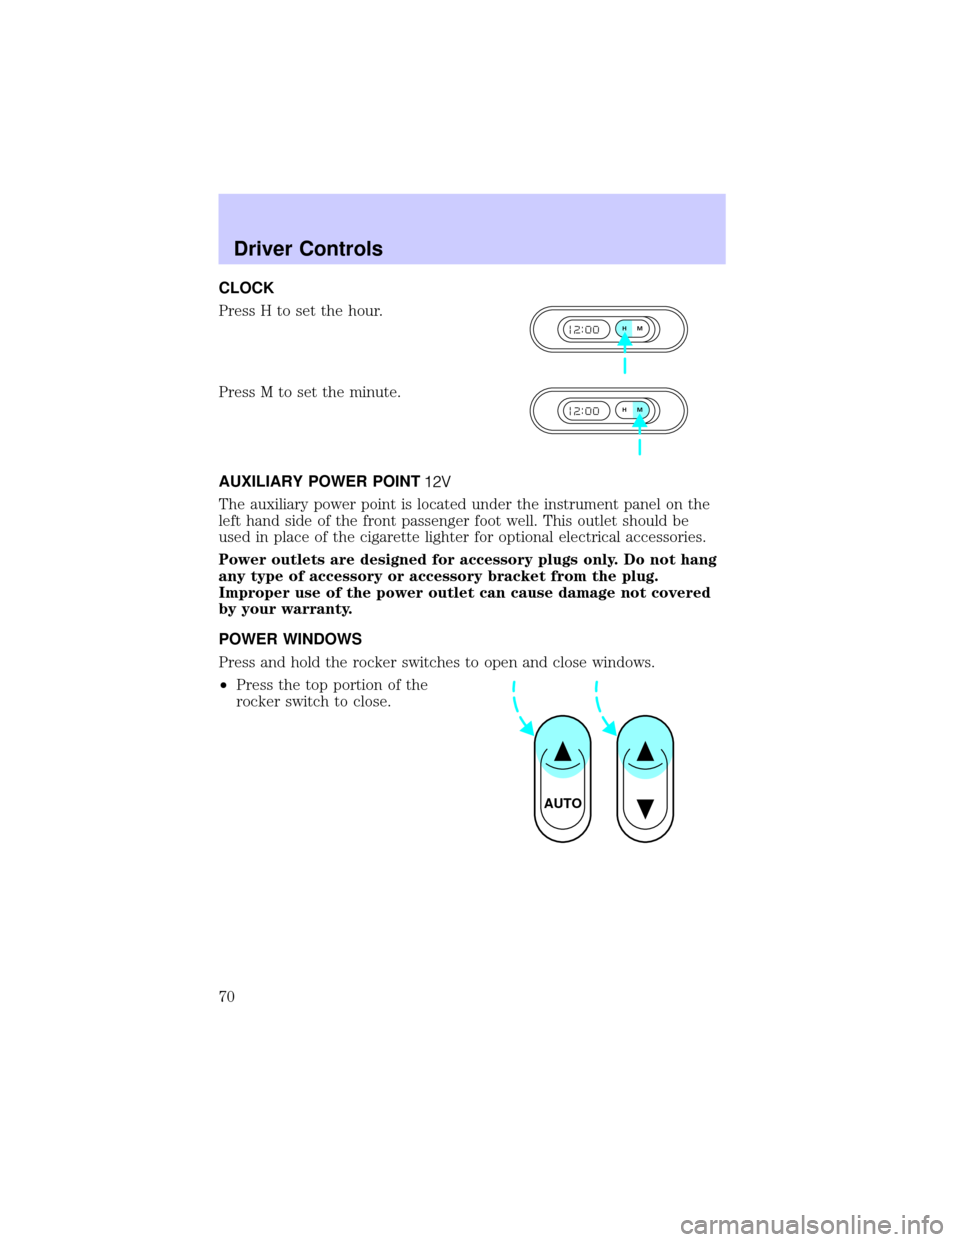
Press H to set the hour.
Press M to set the minute.
AUXILIARY POWER POINT
The auxiliary power point is located under the instrument panel on the
left hand side of the front passenger foot well. This outlet should be
used in place of the cigarette lighter for optional electrical accessories.
Power outlets are designed for accessory plugs only. Do not hang
any type of accessory or accessory bracket from the plug.
Improper use of the power outlet can cause damage not covered
by your warranty.
POWER WINDOWS
Press and hold the rocker switches to open and close windows.
²Press the top portion of the
rocker switch to close.
HM
HM
AUTO
Driver Controls
70
Page 202 of 248
Because your vehicle's engine is electronically controlled by a computer,
some control conditions are maintained by power from the battery. When
the battery is disconnected or a new battery is installed, the engine must
relearn its idle and fuel trim strategy for optimum driveability and
performance. To begin this process:
1. With the vehicle at a complete stop, set the parking brake.
2. Put the gearshift in P (Park), turn off all accessories and start the
engine.
3. Run the engine until it reaches normal operating temperature.
4. Allow the engine to idle for at least one minute.
5. Turn the A/C on and allow the engine to idle for at least one minute.
6. With your foot on the brake pedal and with the A/C on, put the
vehicle in D (Drive) and allow the engine to idle for at least one minute.
7. Drive the vehicle to complete the relearning process.
²The vehicle may need to be driven 16 km (10 miles) or more to
relearn the idle and fuel trim strategy.
²If you do not allow the engine to relearn its idle trim, the idle
quality of your vehicle may be adversely affected until the idle
trim is eventually relearned.
If the battery has been disconnected or a new battery has been installed,
the clock must be reset once the battery is reconnected.
²Always dispose of automotive
batteries in a responsible manner.
Follow your local authorized
standards for disposal. Call your
local authorized recycling center
to find out more about recycling
automotive batteries.
LEAD
RETURN
RECYCLE
Maintenance and Specifications
202
Page 241 of 248

instrument panel ....................191
interior .....................................191
plastic parts ............................190
safety belts ..............................192
washing ....................................187
waxing .....................................187
wheels ......................................188
windows ..................................192
wiper blades ............................190
Clock ......................................32, 70
Compass, electronic ....................73
calibration .................................74
set zone adjustment .................73
Console ........................................91
Controls
power seat .......................108, 110
steering column ........................79
Coolant
checking and adding ..............203
coolant temperature light ........13
refill capacities ................206, 230
specifications ..................232±233
Cruise control
(see Speed control) ....................75
Customer Assistance ................158
Ford accessories for your
vehicle .....................................193
Ford Extended Service
Plan ..........................................179
Getting assistance outside the
U.S. and Canada .....................183
Getting roadside assistance ...158
Getting the service you
need .........................................177
Ordering additional owner's
literature .................................184
The Dispute Settlement
Board .......................................180Utilizing the
Mediation/Arbitration
Program ...................................183
D
Daytime running lamps
(see Lamps) ................................60
Defrost
rear window ..............................58
Dipstick
automatic transmission
fluid ..........................................222
engine oil .................................197
Doors
lubricant specifications ..........232
Driving under special
conditions
through water .........................152
E
Electronic message center .........84
Emergencies, roadside
jump-starting ..........................171
Emission control system ..........218
Engine ................................233±234
check engine/service
engine soon light ......................11
cleaning ...................................189
coolant .....................................203
fail-safe coolant ......................207
idle speed control ...................200
lubrication
specifications ..................232±233
refill capacities ........................230
service points ..........................196
starting after a collision .........160
Engine block heater .................141
Index
241