trunk release Mercury Grand Marquis 2002 Owner's Manuals
[x] Cancel search | Manufacturer: MERCURY, Model Year: 2002, Model line: Grand Marquis, Model: Mercury Grand Marquis 2002Pages: 248, PDF Size: 1.81 MB
Page 45 of 248
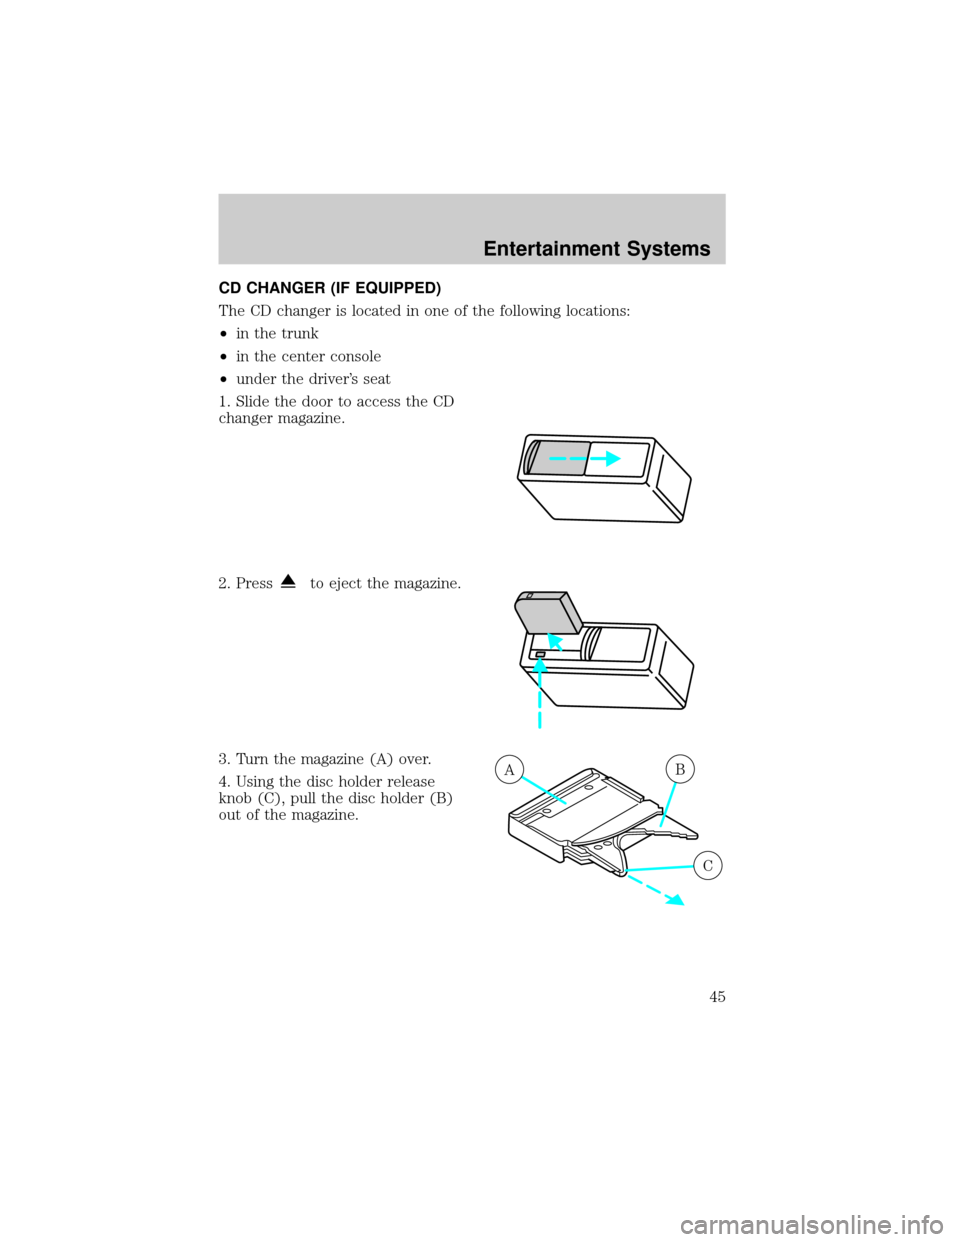
CD CHANGER (IF EQUIPPED)
The CD changer is located in one of the following locations:
²in the trunk
²in the center console
²under the driver's seat
1. Slide the door to access the CD
changer magazine.
2. Press
to eject the magazine.
3. Turn the magazine (A) over.
4. Using the disc holder release
knob (C), pull the disc holder (B)
out of the magazine.
AB
C
Entertainment Systems
45
Page 90 of 248
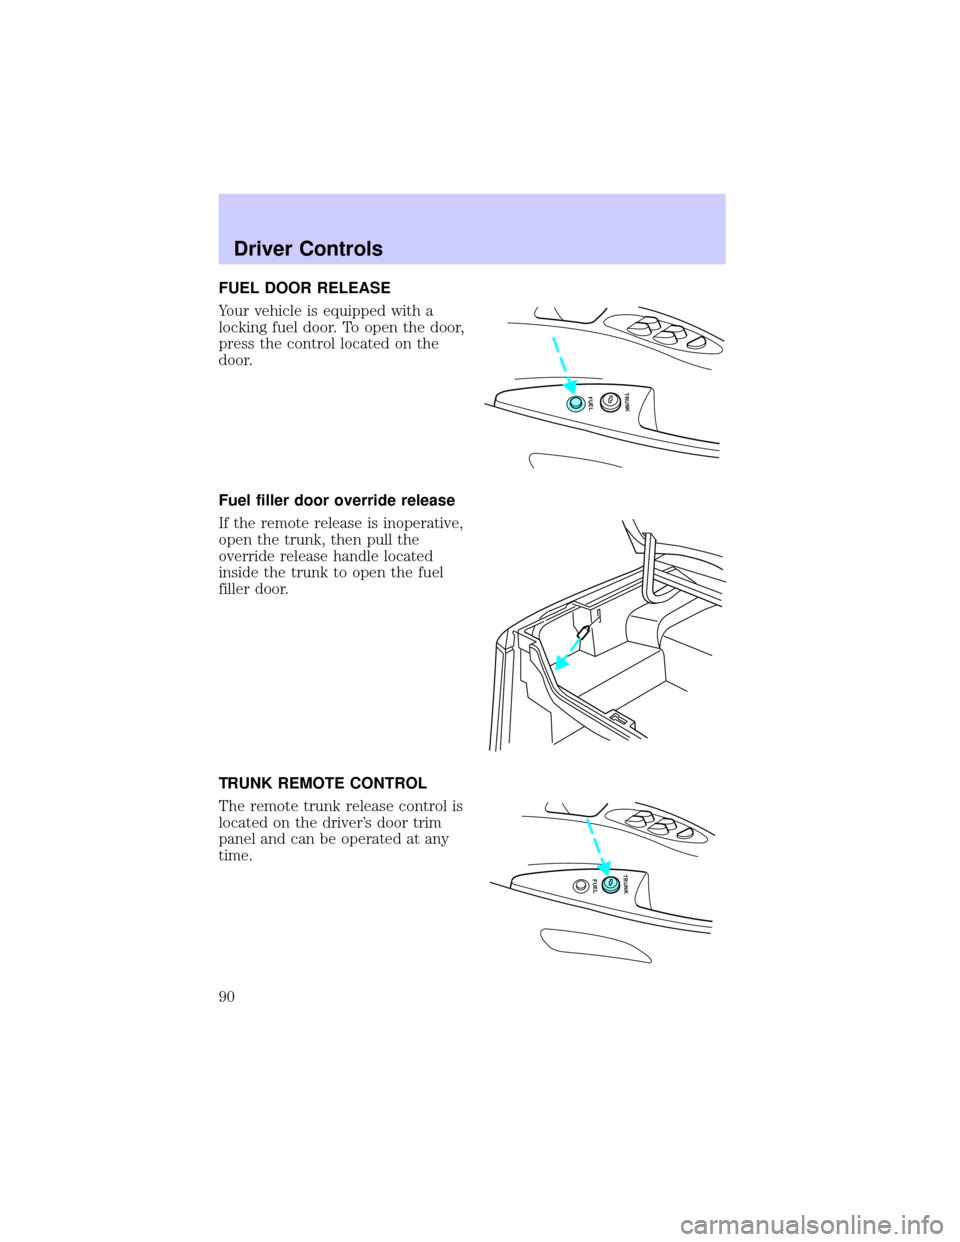
FUEL DOOR RELEASE
Your vehicle is equipped with a
locking fuel door. To open the door,
press the control located on the
door.
Fuel filler door override release
If the remote release is inoperative,
open the trunk, then pull the
override release handle located
inside the trunk to open the fuel
filler door.
TRUNK REMOTE CONTROL
The remote trunk release control is
located on the driver's door trim
panel and can be operated at any
time.
FUEL TRUNK
FUEL TRUNK
Driver Controls
90
Page 93 of 248
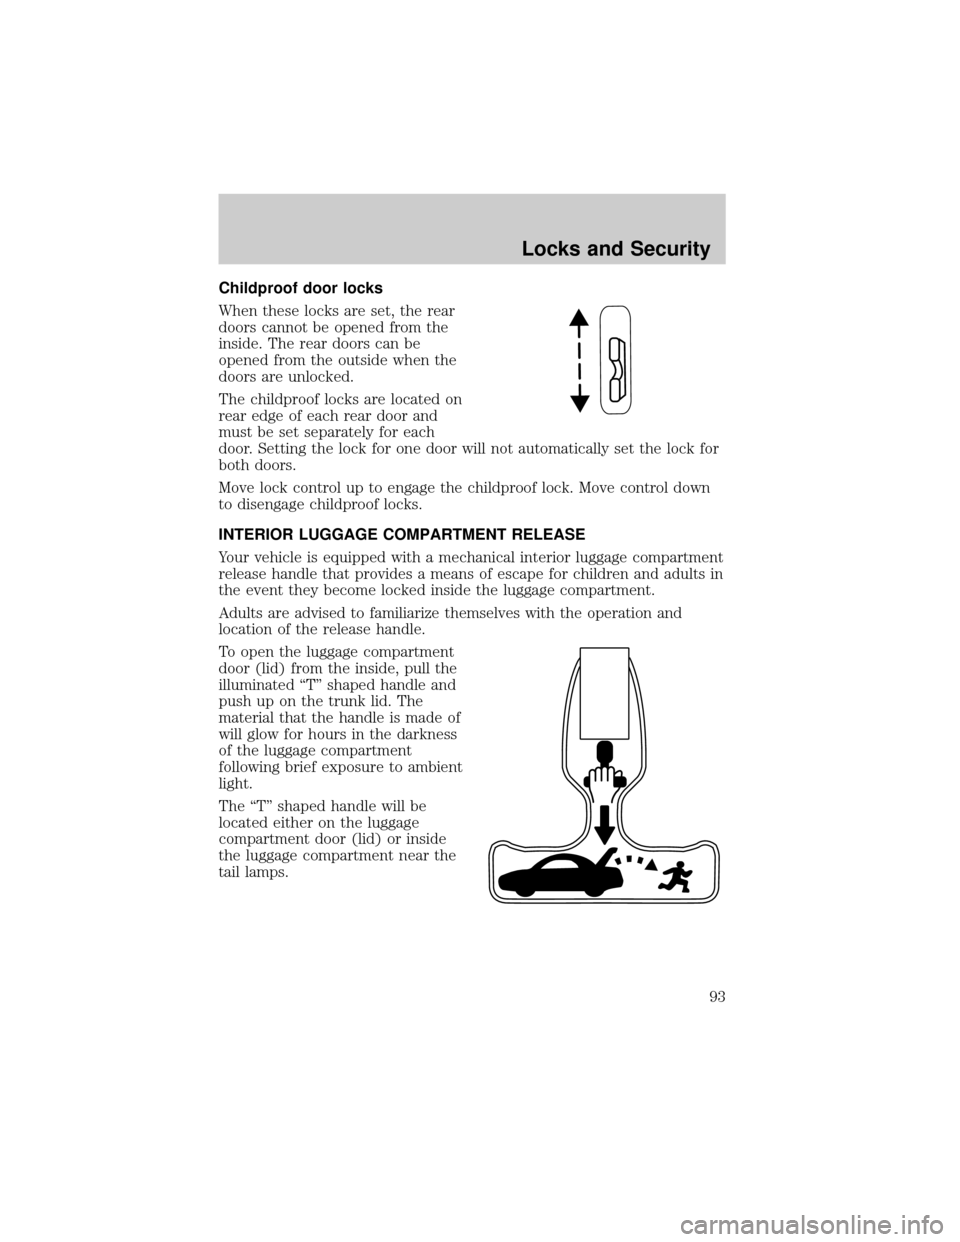
Childproof door locks
When these locks are set, the rear
doors cannot be opened from the
inside. The rear doors can be
opened from the outside when the
doors are unlocked.
The childproof locks are located on
rear edge of each rear door and
must be set separately for each
door. Setting the lock for one door will not automatically set the lock for
both doors.
Move lock control up to engage the childproof lock. Move control down
to disengage childproof locks.
INTERIOR LUGGAGE COMPARTMENT RELEASE
Your vehicle is equipped with a mechanical interior luggage compartment
release handle that provides a means of escape for children and adults in
the event they become locked inside the luggage compartment.
Adults are advised to familiarize themselves with the operation and
location of the release handle.
To open the luggage compartment
door (lid) from the inside, pull the
illuminated ªTº shaped handle and
push up on the trunk lid. The
material that the handle is made of
will glow for hours in the darkness
of the luggage compartment
following brief exposure to ambient
light.
The ªTº shaped handle will be
located either on the luggage
compartment door (lid) or inside
the luggage compartment near the
tail lamps.
Locks and Security
93
Page 96 of 248
7. After a five to ten second delay, the door locks will cycle lock/unlock
to confirm successful programming.
8. Turn the ignition to OFF.
This feature can also be turned
on/off through the following
procedure using the keyless entry
keypad.
1. Enter the keyless entry keypad factory-set code.
2. Within 5 seconds press and hold 7/8 control.
3. Within 5 seconds with 7/8 held down, press and release 1/2 control.
4. Release 7/8 control. The doors will lock/unlock to confirm successful
programming.
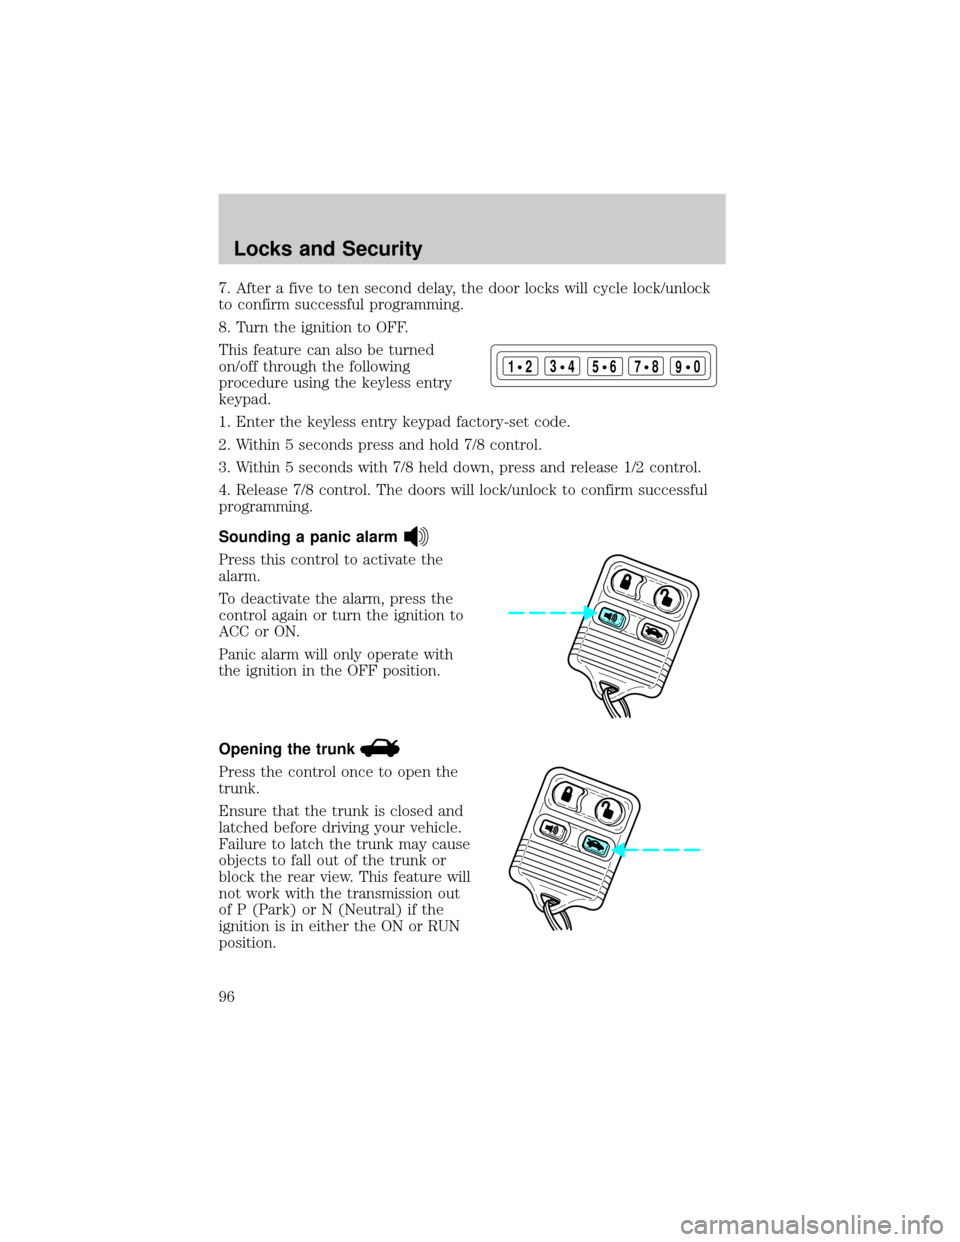
Sounding a panic alarm
Press this control to activate the
alarm.
To deactivate the alarm, press the
control again or turn the ignition to
ACC or ON.
Panic alarm will only operate with
the ignition in the OFF position.
Opening the trunk
Press the control once to open the
trunk.
Ensure that the trunk is closed and
latched before driving your vehicle.
Failure to latch the trunk may cause
objects to fall out of the trunk or
block the rear view. This feature will
not work with the transmission out
of P (Park) or N (Neutral) if the
ignition is in either the ON or RUN
position.
123
45678
90
Locks and Security
96
Page 101 of 248
All of the vehicle doors will lock and unlock to confirm programming of
the new code.
Do not set a code that includes five of the same number or presents
them in sequential order. Thieves can easily figure out these types of
codes.
You can program up to three personal codes to unlock your vehicle.
These codes do not replace the permanent code that the dealership gave
you.
Erasing personal code
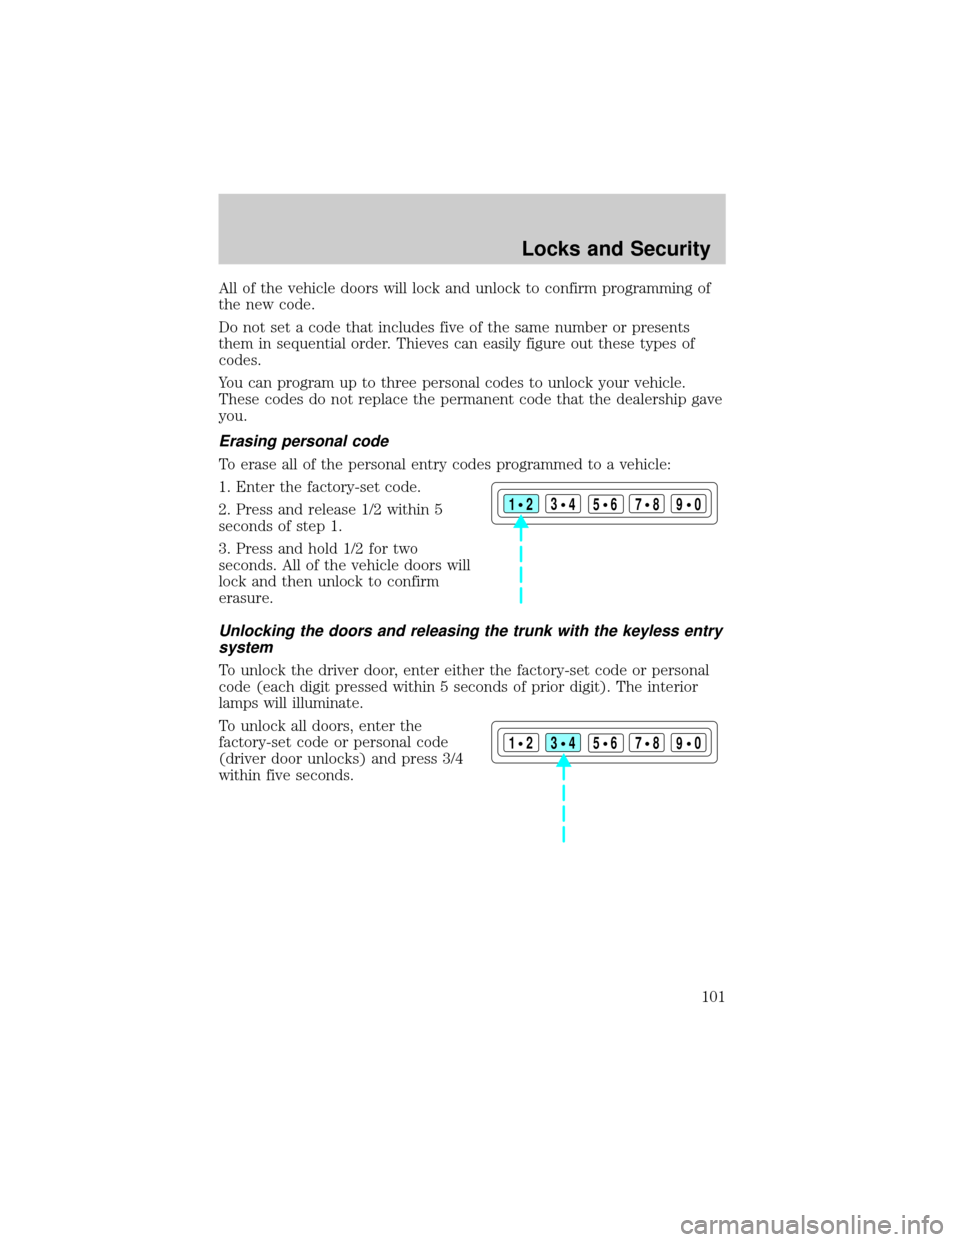
To erase all of the personal entry codes programmed to a vehicle:
1. Enter the factory-set code.
2. Press and release 1/2 within 5
seconds of step 1.
3. Press and hold 1/2 for two
seconds. All of the vehicle doors will
lock and then unlock to confirm
erasure.
Unlocking the doors and releasing the trunk with the keyless entry
system
To unlock the driver door, enter either the factory-set code or personal
code (each digit pressed within 5 seconds of prior digit). The interior
lamps will illuminate.
To unlock all doors, enter the
factory-set code or personal code
(driver door unlocks) and press 3/4
within five seconds.
123
45678
90
123
45678
90
Locks and Security
101
Page 102 of 248
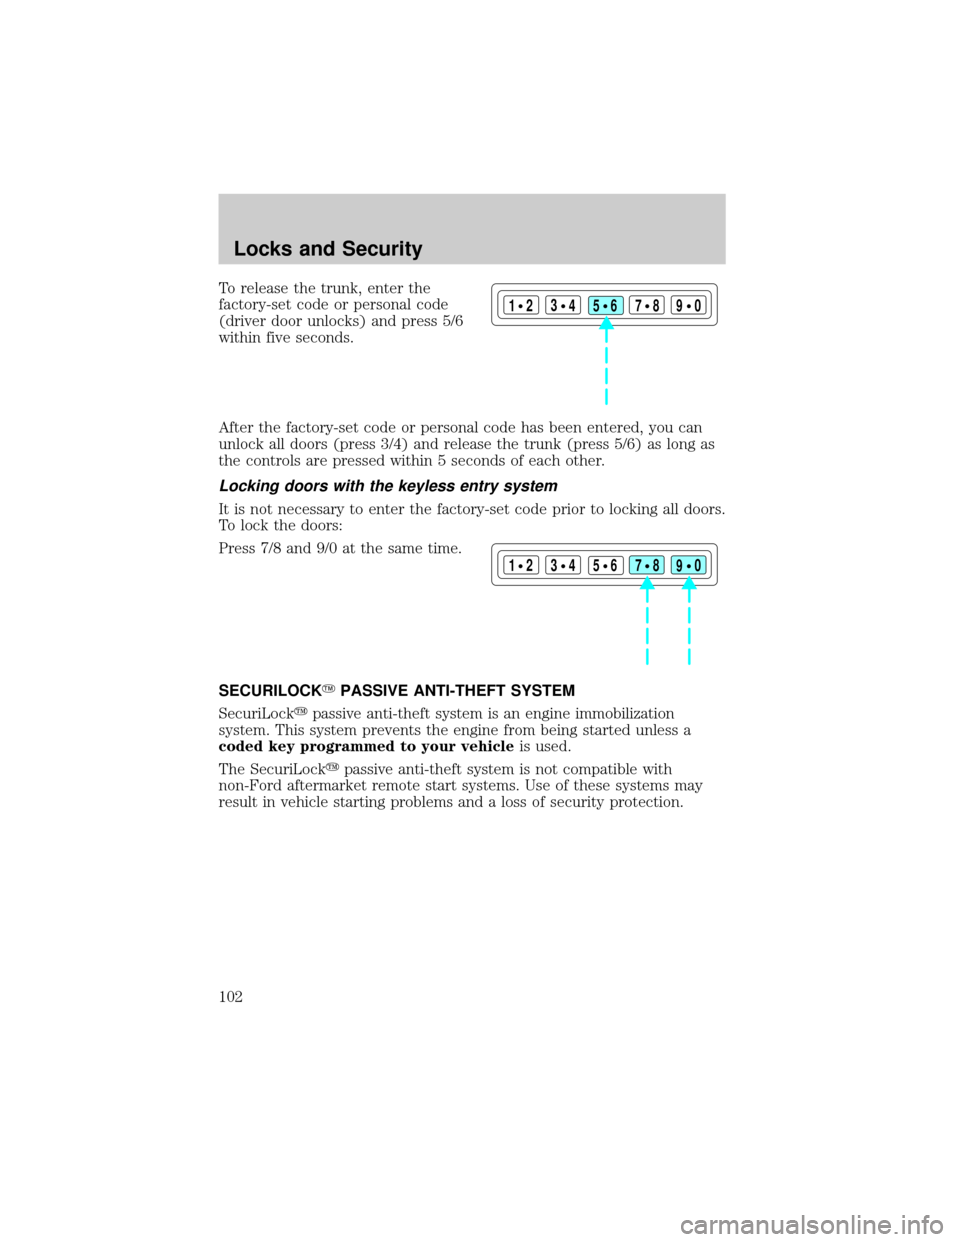
To release the trunk, enter the
factory-set code or personal code
(driver door unlocks) and press 5/6
within five seconds.
After the factory-set code or personal code has been entered, you can
unlock all doors (press 3/4) and release the trunk (press 5/6) as long as
the controls are pressed within 5 seconds of each other.
Locking doors with the keyless entry system
It is not necessary to enter the factory-set code prior to locking all doors.
To lock the doors:
Press 7/8 and 9/0 at the same time.
SECURILOCKYPASSIVE ANTI-THEFT SYSTEM
SecuriLockypassive anti-theft system is an engine immobilization
system. This system prevents the engine from being started unless a
coded key programmed to your vehicleis used.
The SecuriLockypassive anti-theft system is not compatible with
non-Ford aftermarket remote start systems. Use of these systems may
result in vehicle starting problems and a loss of security protection.
123
45678
90
123
45678
90
Locks and Security
102
Page 165 of 248
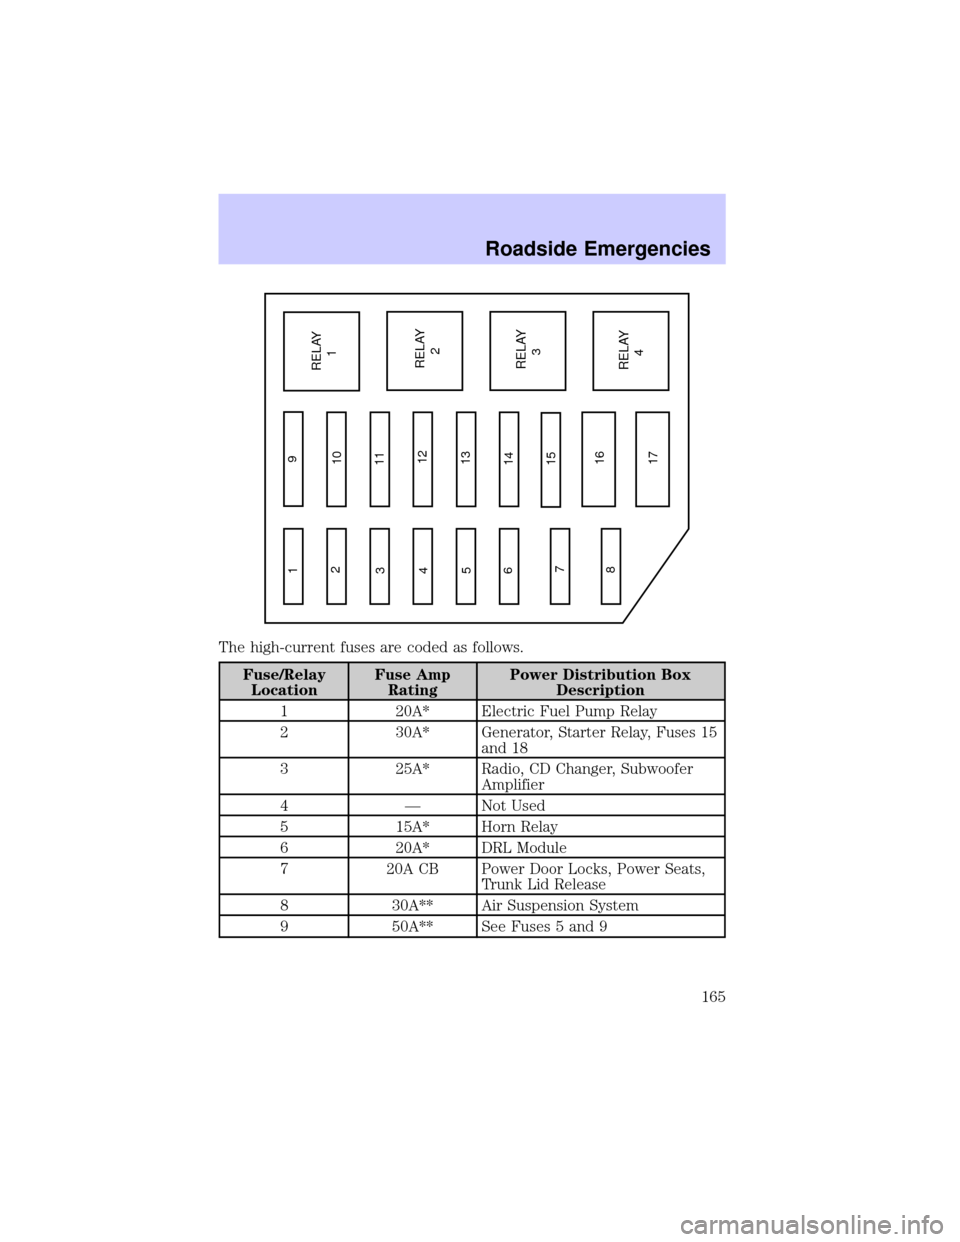
The high-current fuses are coded as follows.
Fuse/Relay
LocationFuse Amp
RatingPower Distribution Box
Description
1 20A* Electric Fuel Pump Relay
2 30A* Generator, Starter Relay, Fuses 15
and 18
3 25A* Radio, CD Changer, Subwoofer
Amplifier
4 Ð Not Used
5 15A* Horn Relay
6 20A* DRL Module
7 20A CB Power Door Locks, Power Seats,
Trunk Lid Release
8 30A** Air Suspension System
9 50A** See Fuses 5 and 9
1
2
3
4
5
6
7
89
10
11
12
13
14
15
16
17RELAY
1
RELAY
2
RELAY
3
RELAY
4
Roadside Emergencies
165
Page 245 of 248

SecuriLock passive anti-theft
system ........................102±103, 105
Servicing your vehicle ..............194
Spark plugs,
specifications .............230, 233±234
Specification chart,
lubricants ...........................232±233
Speed control ..............................75
Speedometer ...............................21
Starting your vehicle .......138±139,
141
jump starting ..........................171
Steering
speed sensitive .......................147
Steering wheel
controls ..........................69, 75, 79
tilting .........................................69
T
Tires ...........................166, 225±227
changing ..........................166±167
checking the pressure ............227
replacing ..................................228
rotating ....................................227
snow tires and chains ............229
tire grades ...............................226
treadwear ................................226
Towing .......................................154
recreational towing .................157
trailer towing ..........................154
wrecker ....................................176
Traction control ........................145
active light ................................14
Traction-lok rear axle ...............152Transmission .............................148
fluid, checking and adding
(automatic) .............................222
fluid, refill capacities ..............230
lubricant specifications ..232±233
Trip odometer .............................22
Trunk ...........................................93
remote release ....................90, 96
Turn signal ............................15, 61
V
Vehicle dimensions ...................234
Vehicle Identification Number
(VIN) ..........................................235
Vehicle loading ..........................153
Ventilating your vehicle ...........142
W
Warning chimes ...........................16
Warning lights (see Lights) .......10
Washer fluid ..............................197
Water, Driving through .............152
Windows
power .........................................70
Windshield washer fluid and
wipers
checking and adding fluid .....197
checking and cleaning ..............68
operation ...................................68
replacing wiper blades .............68
Wrecker towing .........................176
Index
245