heater Mercury Marauder 2003 Owner's Manuals
[x] Cancel search | Manufacturer: MERCURY, Model Year: 2003, Model line: Marauder, Model: Mercury Marauder 2003Pages: 232, PDF Size: 2.29 MB
Page 53 of 232

Compass mode
The compass reading may be affected when you drive near large
buildings, bridges, power lines and powerful broadcast antenna. Magnetic
or metallic objects placed in, on or near the vehicle may also affect
compass accuracy.
1. Turn ignition to the ON position.
2. Start the engine.
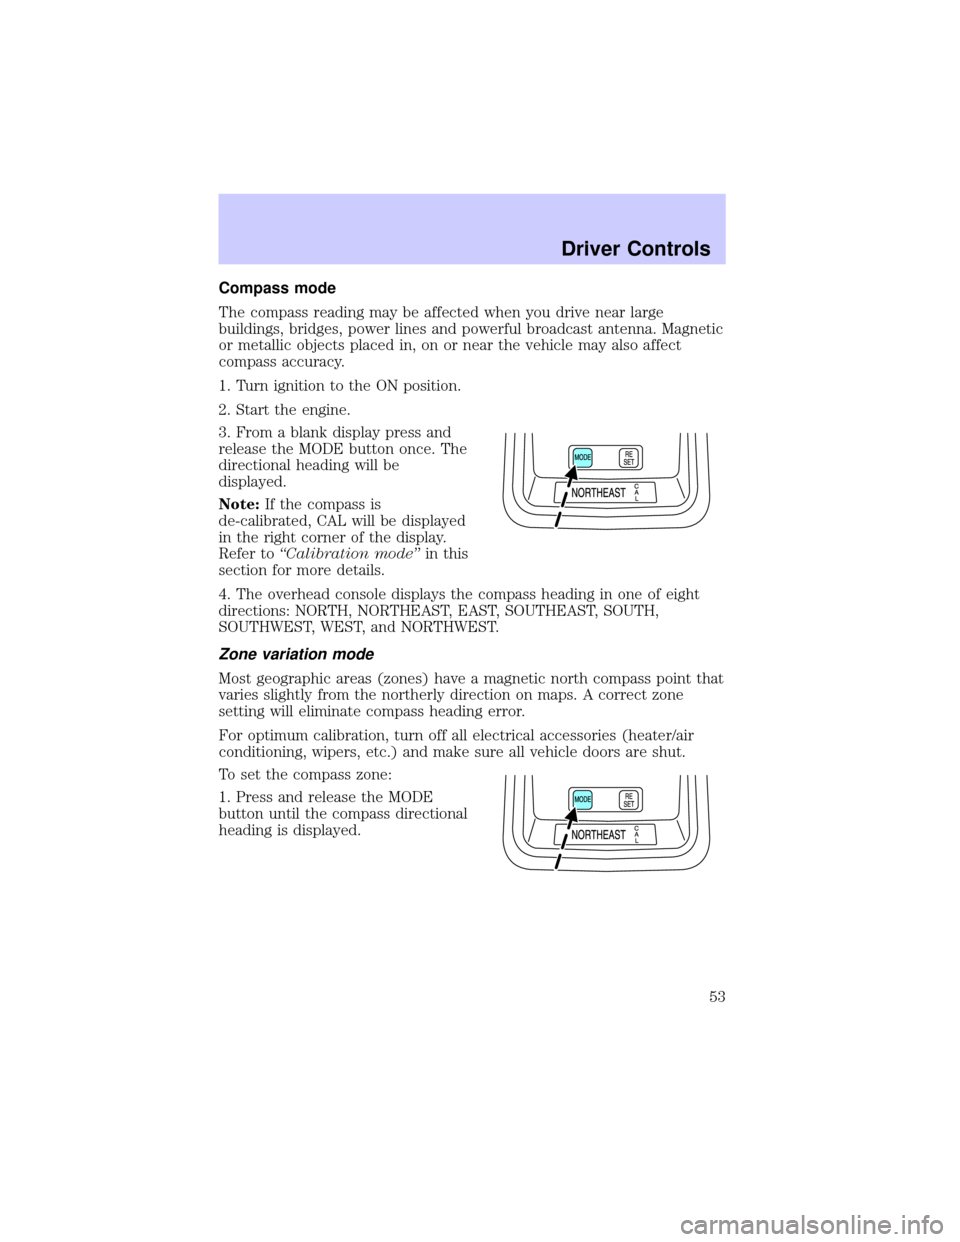
3. From a blank display press and
release the MODE button once. The
directional heading will be
displayed.
Note:If the compass is
de-calibrated, CAL will be displayed
in the right corner of the display.
Refer toªCalibration modeºin this
section for more details.
4. The overhead console displays the compass heading in one of eight
directions: NORTH, NORTHEAST, EAST, SOUTHEAST, SOUTH,
SOUTHWEST, WEST, and NORTHWEST.
Zone variation mode
Most geographic areas (zones) have a magnetic north compass point that
varies slightly from the northerly direction on maps. A correct zone
setting will eliminate compass heading error.
For optimum calibration, turn off all electrical accessories (heater/air
conditioning, wipers, etc.) and make sure all vehicle doors are shut.
To set the compass zone:
1. Press and release the MODE
button until the compass directional
heading is displayed.
Driver Controls
53
Page 125 of 232

Starting the engine
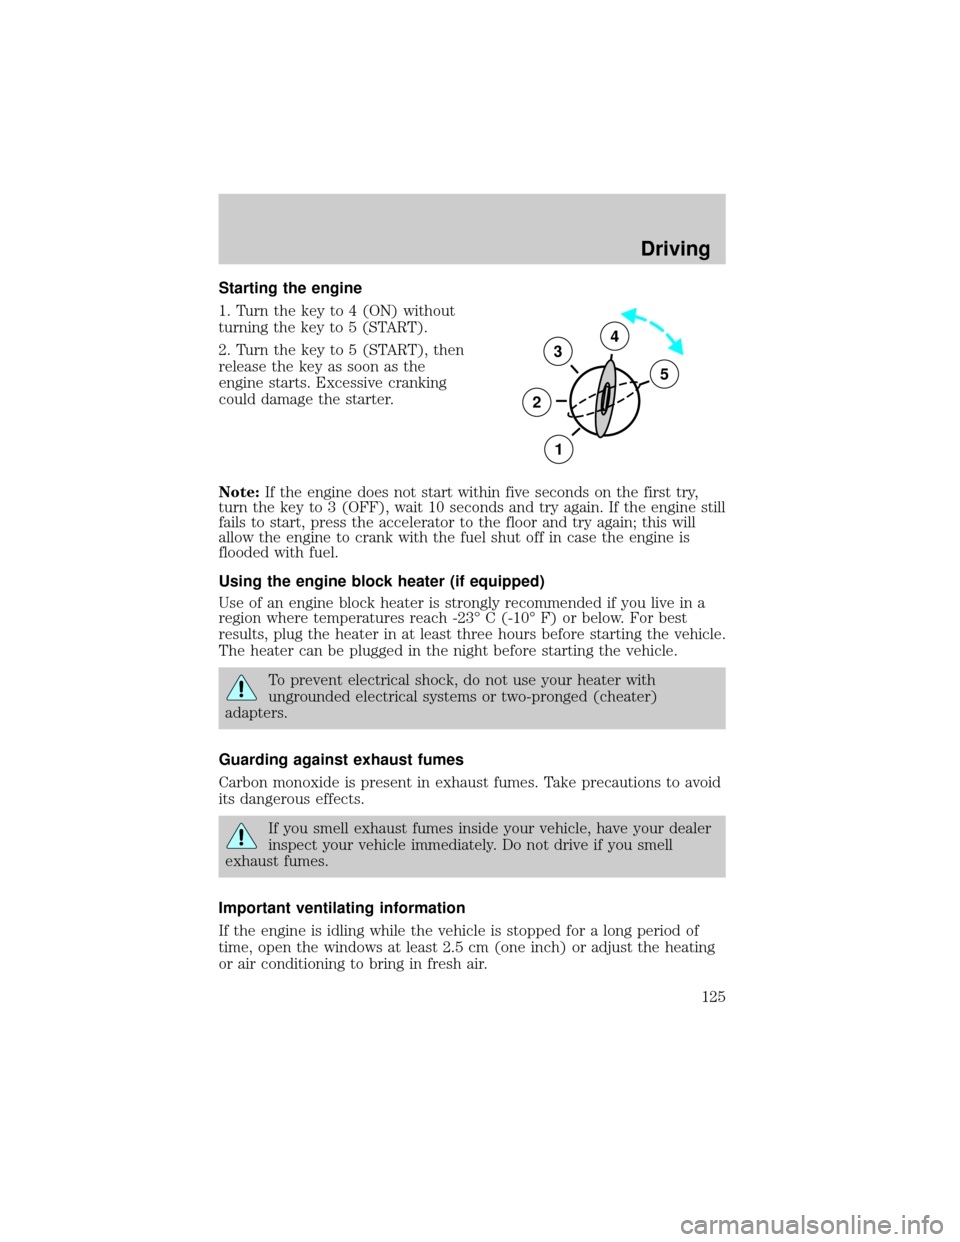
1. Turn the key to 4 (ON) without
turning the key to 5 (START).
2. Turn the key to 5 (START), then
release the key as soon as the
engine starts. Excessive cranking
could damage the starter.
Note:If the engine does not start within five seconds on the first try,
turn the key to 3 (OFF), wait 10 seconds and try again. If the engine still
fails to start, press the accelerator to the floor and try again; this will
allow the engine to crank with the fuel shut off in case the engine is
flooded with fuel.
Using the engine block heater (if equipped)
Use of an engine block heater is strongly recommended if you live in a
region where temperatures reach -23É C (-10É F) or below. For best
results, plug the heater in at least three hours before starting the vehicle.
The heater can be plugged in the night before starting the vehicle.
To prevent electrical shock, do not use your heater with
ungrounded electrical systems or two-pronged (cheater)
adapters.
Guarding against exhaust fumes
Carbon monoxide is present in exhaust fumes. Take precautions to avoid
its dangerous effects.
If you smell exhaust fumes inside your vehicle, have your dealer
inspect your vehicle immediately. Do not drive if you smell
exhaust fumes.
Important ventilating information
If the engine is idling while the vehicle is stopped for a long period of
time, open the windows at least 2.5 cm (one inch) or adjust the heating
or air conditioning to bring in fresh air.
3
2
1
5
4
Driving
125
Page 157 of 232

Preparing your vehicle
When the battery is disconnected or a new battery is installed, the
transmission must relearn its shift strategy. As a result, the transmission
may have firm and/or soft shifts. This operation is considered normal and
will not affect function or durability of the transmission. Over time, the
adaptive learning process will fully update transmission operation.
1.Use only a 12±volt supply to start your vehicle.
2. Do not disconnect the battery of the disabled vehicle as this could
damage the vehicle's electrical system.
3. Park the booster vehicle close to the hood of the disabled vehicle
making sure the two vehiclesdo nottouch. Set the parking brake on
both vehicles and stay clear of the engine cooling fan and other moving
parts.
4. Check all battery terminals and remove any excessive corrosion before
you attach the battery cables. Ensure that vent caps are tight and level.
5. Turn the heater fan on in both vehicles to protect any electrical
surges. Turn all other accessories off.
Connecting the jumper cables
1. Connect the positive (+) booster cable to the positive (+) terminal of
the discharged battery.
Note:In the illustrations,lightning boltsare used to designate the
assisting (boosting) battery.
+–+–
Roadside Emergencies
157
Page 218 of 232

FORD ACCESSORIES FOR YOUR VEHICLE
A wide selection of genuine Ford accessories are available for your
vehicle through your local authorized Ford, Lincoln, Mercury or Ford of
Canada dealer. These quality accessories have been specifically
engineered to fulfill your automotive needs; they are custom designed to
complement the style and aerodynamic appearance of your vehicle. In
addition, each accessory is made from high quality materials and meets
or exceeds Ford's rigorous engineering and safety specifications. Ford
Motor Company will repair or replace any properly dealer-installed Ford
accessory found to be defective in factory-supplied materials or
workmanship during the warranty period, as well as any component
damaged by the defective accessory. The accessory will be warranted for
whichever provides you the greatest benefit:
²12 months or 20,000 km (12,000 miles) (whichever occurs first), or
²the remainder of your new vehicle limited warranty.
This means that genuine Ford accessories purchased along with your
new vehicle and installed by the dealer are covered for the full length of
your New Vehicle's Limited Warranty Ð 3 years or 60,000 km (36,000
miles) (whichever occurs first). Contact your dealer for details and a
copy of the warranty.
Not all accessories are available for all models.
Vehicle Security
Air bag anti-theft locks
Locking gas cap
Remote keyless entry
Styled wheel locks
Vehicle security systems
Comfort and convenience
Cargo organizer
Electrochromic compass mirror
Engine block heaters
Remote start system
Accessories
218
Page 223 of 232

idle speed control ...................186
lubrication
specifications ..................212, 214
refill capacities ........................211
service points ..........................181
starting after a collision .........143
Engine block heater .................125
Engine oil ..................................182
change oil soon warning,
message center .......................182
checking and adding ..............182
dipstick ....................................182
filter, specifications ........184, 211
recommendations ...................184
refill capacities ........................211
specifications ..................212, 214
Exhaust fumes ..........................125
F
Floor mats ...................................74
Fluid capacities .........................211
Foglamps .....................................39
Fuel ............................................194
calculating fuel
economy ............................55, 198
cap .....................................11, 196
capacity ...................................211
choosing the right fuel ...........196
comparisons with EPA fuel
economy estimates .................201
detergent in fuel .....................198
filling your vehicle with
fuel ...........................194, 196, 198
filter, specifications ........198, 211
fuel filler door override ............73
fuel filler door release ..............72
fuel pump shut-off switch .....143gauge .........................................17
improving fuel economy ........198
low fuel warning light ..............13
octane rating ...................197, 214
quality ......................................197
running out of fuel .................198
safety information relating to
automotive fuels .....................194
Fuses ..................................144±145
G
Garage door opener ....................68
Gas cap (see Fuel cap) ......11, 196
Gas mileage (see Fuel
economy) ...................................198
Gauges .........................................15
battery voltage gauge ...............16
engine coolant temperature
gauge .........................................15
engine oil pressure gauge ........16
fuel gauge ..................................17
odometer ...................................17
speedometer .............................17
tachometer ................................18
trip odometer ............................18
GAWR (Gross Axle Weight
Rating) .......................................136
definition .................................136
driving with a heavy load ......136
location ....................................136
GVWR (Gross Vehicle Weight
Rating) .......................................136
calculating ...............................136
definition .................................136
driving with a heavy load ......136
location ....................................136
Index
223