ignition Mercury Marauder 2003 Owner's Manuals
[x] Cancel search | Manufacturer: MERCURY, Model Year: 2003, Model line: Marauder, Model: Mercury Marauder 2003Pages: 232, PDF Size: 2.29 MB
Page 11 of 232
should turn off. (A driving cycle consists of a cold engine startup
followed by mixed city/highway driving.) No additional vehicle service is
required.
If the light remains on, have your vehicle serviced at the first available
opportunity.
Light is blinking:
Engine misfire is occurring which could damage your catalytic converter.
You should drive in a moderate fashion (avoid heavy acceleration and
deceleration) and have your vehicle serviced at the first available
opportunity.
Under engine misfire conditions, excessive exhaust temperatures
could damage the catalytic converter, the fuel system, interior
floor coverings or other vehicle components, possibly causing a fire.
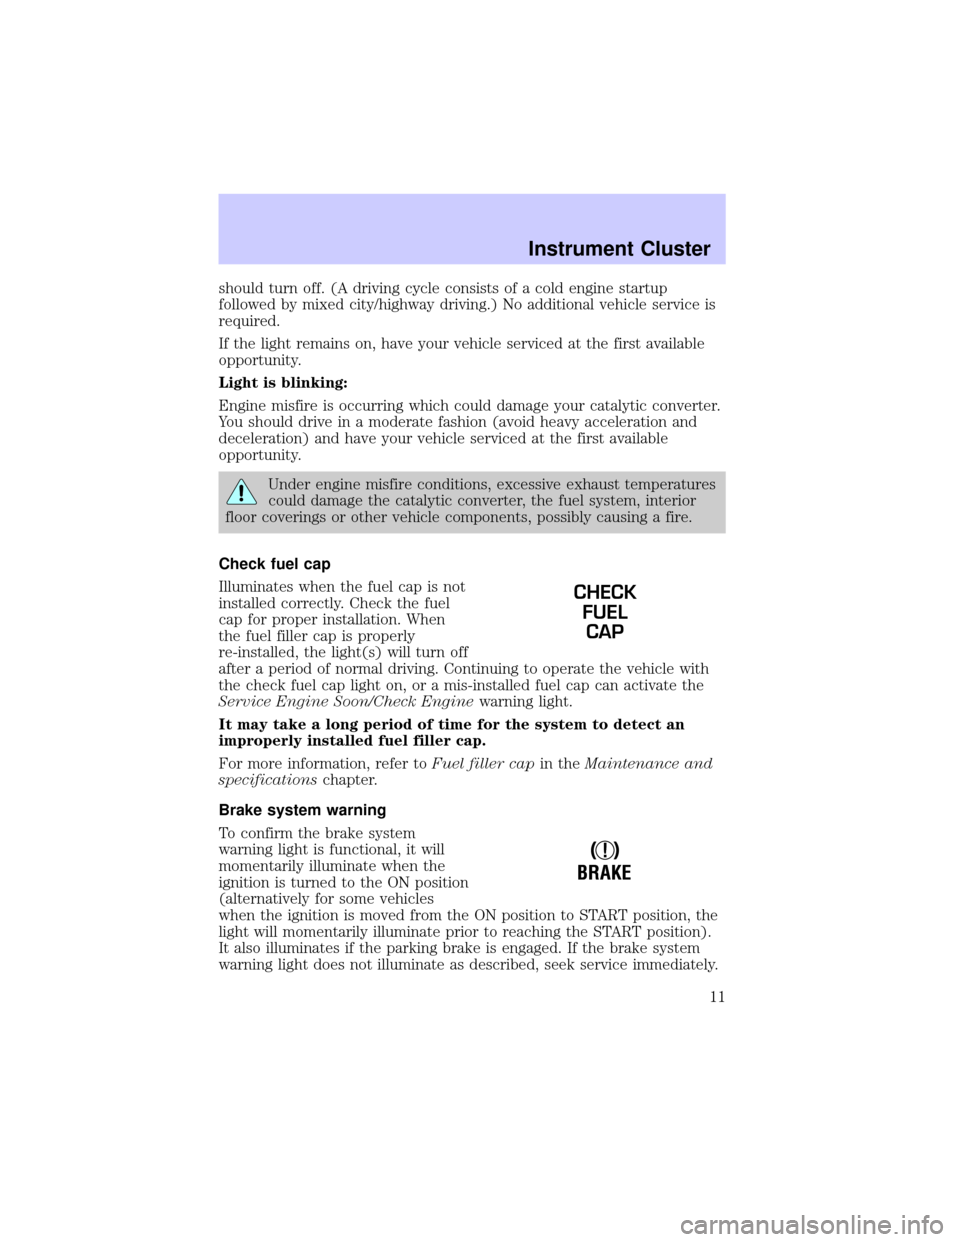
Check fuel cap
Illuminates when the fuel cap is not
installed correctly. Check the fuel
cap for proper installation. When
the fuel filler cap is properly
re-installed, the light(s) will turn off
after a period of normal driving. Continuing to operate the vehicle with
the check fuel cap light on, or a mis-installed fuel cap can activate the
Service Engine Soon/Check Enginewarning light.
It may take a long period of time for the system to detect an
improperly installed fuel filler cap.
For more information, refer toFuel filler capin theMaintenance and
specificationschapter.
Brake system warning
To confirm the brake system
warning light is functional, it will
momentarily illuminate when the
ignition is turned to the ON position
(alternatively for some vehicles
when the ignition is moved from the ON position to START position, the
light will momentarily illuminate prior to reaching the START position).
It also illuminates if the parking brake is engaged. If the brake system
warning light does not illuminate as described, seek service immediately.
CHECK
FUEL
CAP
!
BRAKE
Instrument Cluster
11
Page 12 of 232
Illumination after the parking brake is released indicates low brake fluid
level or a brake system malfunction and the brake system should be
serviced immediately by a qualified technician.
Refer toBrakesin theDrivingchapter for more information.
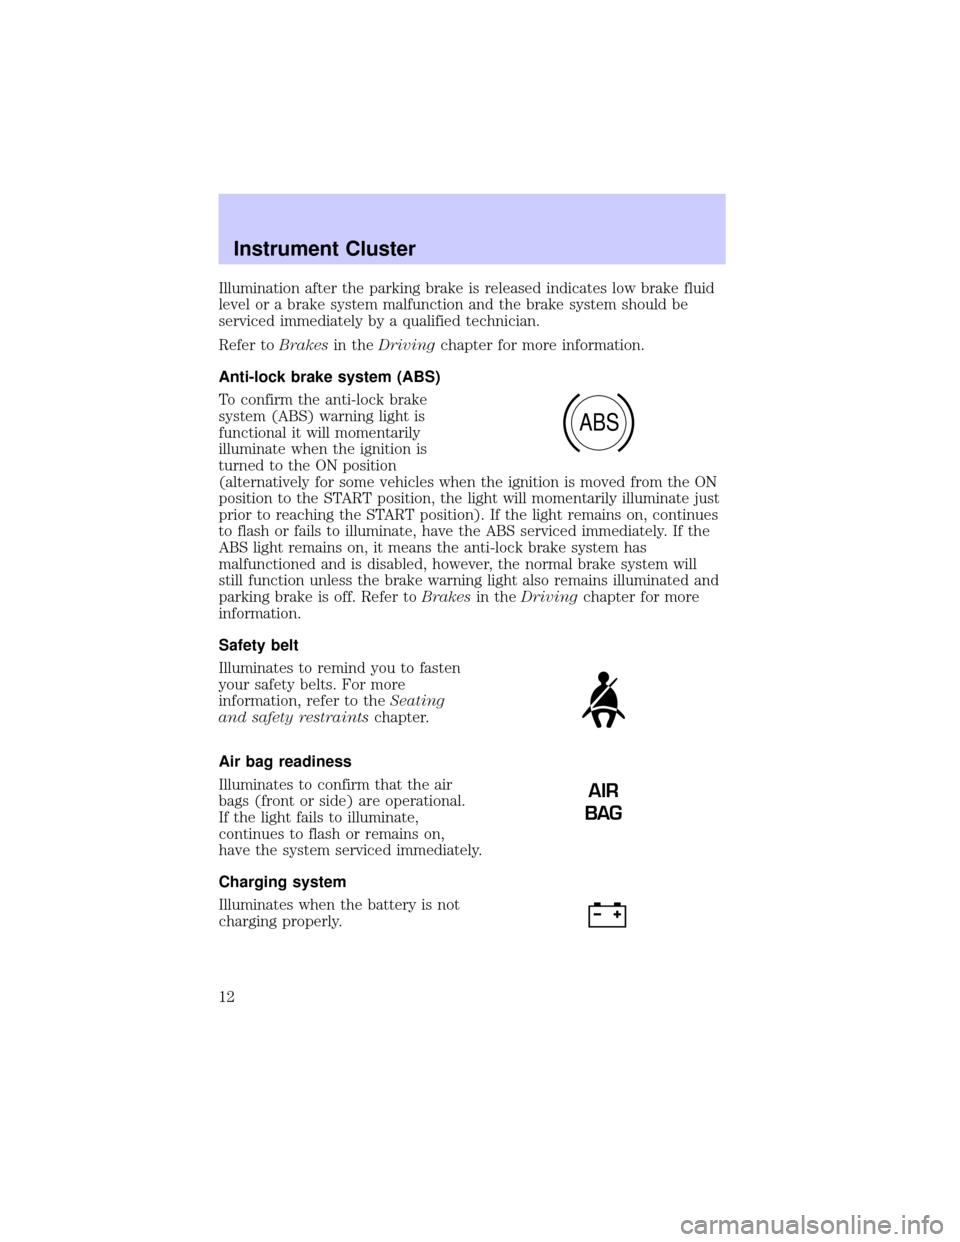
Anti-lock brake system (ABS)
To confirm the anti-lock brake
system (ABS) warning light is
functional it will momentarily
illuminate when the ignition is
turned to the ON position
(alternatively for some vehicles when the ignition is moved from the ON
position to the START position, the light will momentarily illuminate just
prior to reaching the START position). If the light remains on, continues
to flash or fails to illuminate, have the ABS serviced immediately. If the
ABS light remains on, it means the anti-lock brake system has
malfunctioned and is disabled, however, the normal brake system will
still function unless the brake warning light also remains illuminated and
parking brake is off. Refer toBrakesin theDrivingchapter for more
information.
Safety belt
Illuminates to remind you to fasten
your safety belts. For more
information, refer to theSeating
and safety restraintschapter.
Air bag readiness
Illuminates to confirm that the air
bags (front or side) are operational.
If the light fails to illuminate,
continues to flash or remains on,
have the system serviced immediately.
Charging system
Illuminates when the battery is not
charging properly.
ABS
AIR
BAG
Instrument Cluster
12
Page 14 of 232
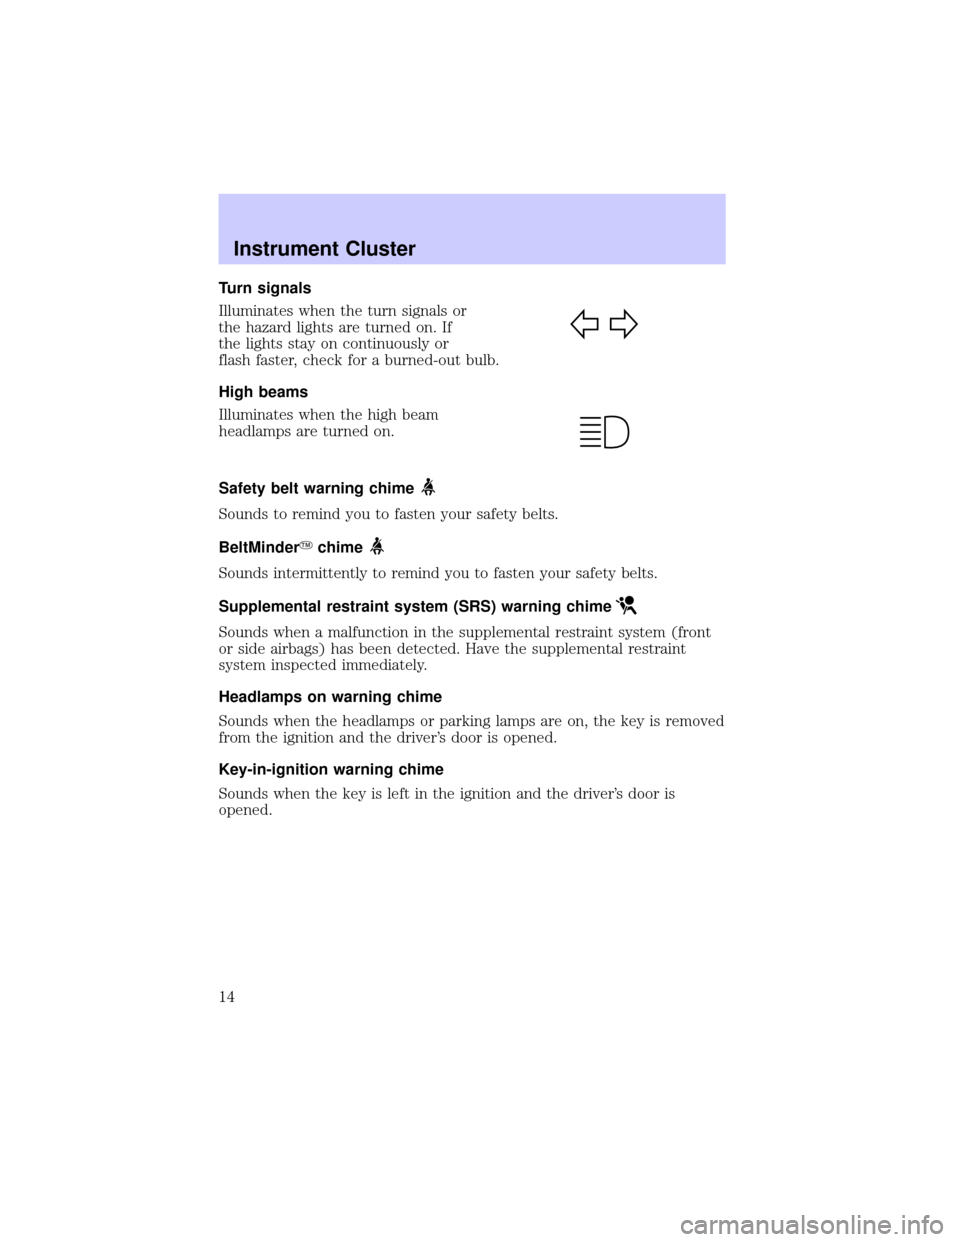
Turn signals
Illuminates when the turn signals or
the hazard lights are turned on. If
the lights stay on continuously or
flash faster, check for a burned-out bulb.
High beams
Illuminates when the high beam
headlamps are turned on.
Safety belt warning chime
Sounds to remind you to fasten your safety belts.
BeltMinderYchime
Sounds intermittently to remind you to fasten your safety belts.
Supplemental restraint system (SRS) warning chime
Sounds when a malfunction in the supplemental restraint system (front
or side airbags) has been detected. Have the supplemental restraint
system inspected immediately.
Headlamps on warning chime
Sounds when the headlamps or parking lamps are on, the key is removed
from the ignition and the driver's door is opened.
Key-in-ignition warning chime
Sounds when the key is left in the ignition and the driver's door is
opened.
Instrument Cluster
14
Page 20 of 232
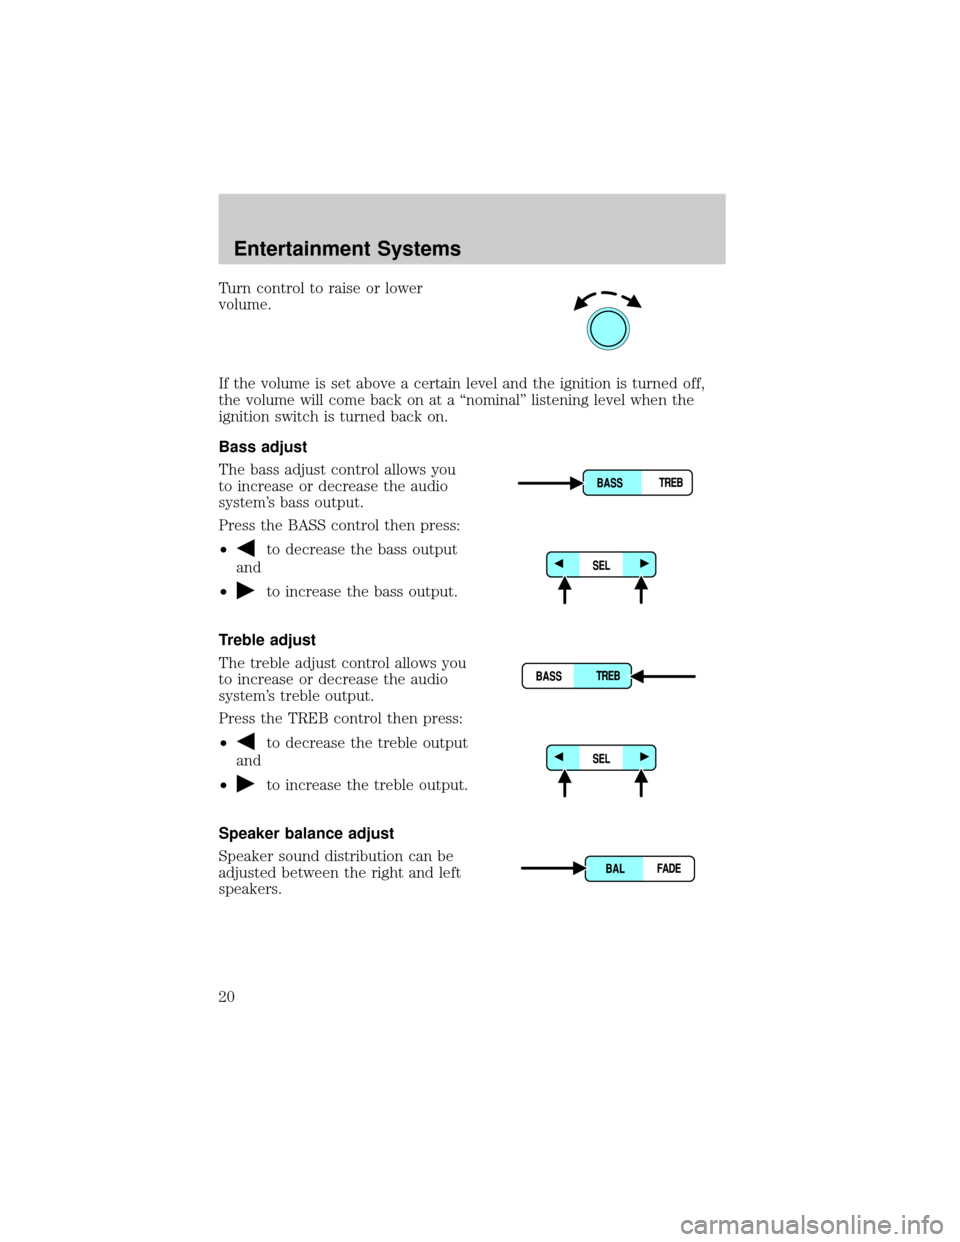
Turn control to raise or lower
volume.
If the volume is set above a certain level and the ignition is turned off,
the volume will come back on at a ªnominalº listening level when the
ignition switch is turned back on.
Bass adjust
The bass adjust control allows you
to increase or decrease the audio
system's bass output.
Press the BASS control then press:
²
to decrease the bass output
and
²
to increase the bass output.
Treble adjust
The treble adjust control allows you
to increase or decrease the audio
system's treble output.
Press the TREB control then press:
²
to decrease the treble output
and
²
to increase the treble output.
Speaker balance adjust
Speaker sound distribution can be
adjusted between the right and left
speakers.
Entertainment Systems
20
Page 36 of 232

²Norm A/C- Distributes outside air through the instrument panel
registers. The A/C compressor will only function if the outside
temperature is above approximately 2ÉC (36ÉF). Norm A/C is more
quiet than Max A/C, but not as economic and efficient.
²Vent-Distributes outside air through the instrument panel registers.
The air cannot be cooled below the outside temperature.
²Floor- Distributes outside air through the floor ducts. The air cannot
be cooled below the outside temperature.
²Floor & Defrost - Distributes outside air through the windshield
defroster ducts, floor ducts and the side window demisters. The A/C
compressor will operate automatically if the outside temperature is
above approximately 2ÉC (36ÉF). The air distributed through the floor
ducts will be slightly warmer than that sent to the windshield
defroster ducts and the side window demisters.
²Defrost - Distributes outside air through the windshield defroster
ducts and the side window demisters. The A/C compressor will
operate automatically if the outside temperature is above
approximately 2ÉC (36ÉF). This mode will clear ice and fog from the
windshield.
Operating tips
²To reduce fogging under humid weather conditions, place the climate
control system in Defrost and Rear Defrost (if equipped) mode before
driving.
²To reduce humidity buildup inside the vehicle: Do not drive with the
climate control system in Off mode. Do not drive with the climate
control system in Max A/C mode (if equipped).
²Under normal weather conditions, do not leave your vehicle in Max
A/C (if equipped), recirculation control (if equipped) or Off mode
when turning off the ignition.
²Under snowy or dirty weather conditions, leave your vehicle in Max
A/C (if equipped), recirculation control (if equipped), or Off mode
when turning off the ignition.
²Remove any snow, ice or leaves from the exterior base of the
windshield.
²To increase the efficiency of the A/C (if equipped), drive with the
windows slightly open for 2±3 minutes or until the vehicle has been
ªairedº out.
²Do not place objects under the front seat or over the defroster ducts.
They may reduce visibility, fall into the ducts, or degrade the
performance of your climate control system.
Climate Controls
36
Page 37 of 232
To aid in side window defogging/demisting in cold weather conditions:
1. Select VENT
2. Set the temperature control to full heat
3. Set the fan speed to HI
4. Direct the outer panel vents towards to side windows
To increase airflow to the outer panel vents, close the central panel
vents.
Do not place objects on top of the instrument panel, as these
objects may become projectiles in a collision or sudden stop.
REAR WINDOW DEFROSTER
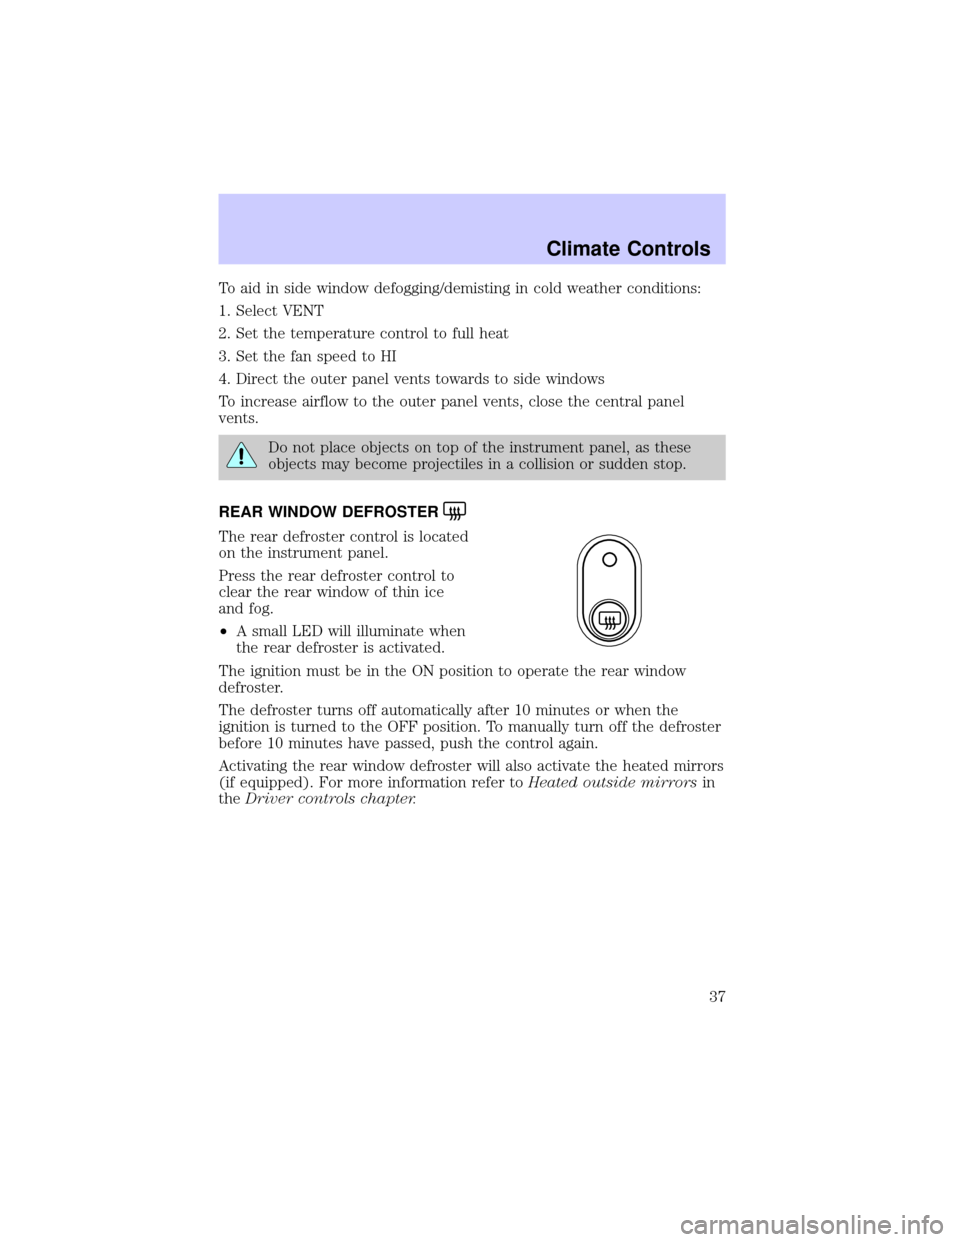
The rear defroster control is located
on the instrument panel.
Press the rear defroster control to
clear the rear window of thin ice
and fog.
²A small LED will illuminate when
the rear defroster is activated.
The ignition must be in the ON position to operate the rear window
defroster.
The defroster turns off automatically after 10 minutes or when the
ignition is turned to the OFF position. To manually turn off the defroster
before 10 minutes have passed, push the control again.
Activating the rear window defroster will also activate the heated mirrors
(if equipped). For more information refer toHeated outside mirrorsin
theDriver controls chapter.
Climate Controls
37
Page 38 of 232
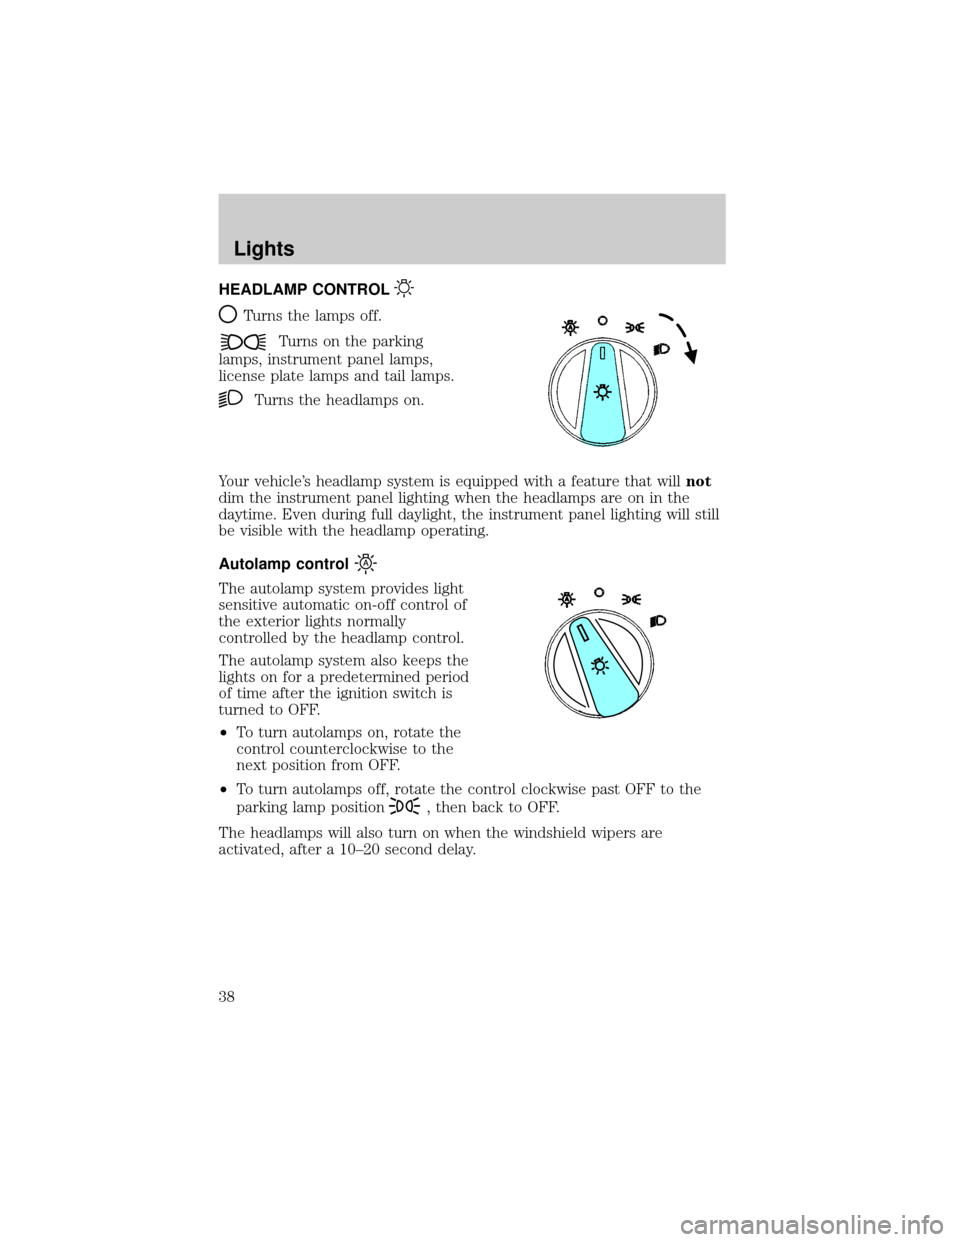
HEADLAMP CONTROL
Turns the lamps off.
Turns on the parking
lamps, instrument panel lamps,
license plate lamps and tail lamps.
Turns the headlamps on.
Your vehicle's headlamp system is equipped with a feature that willnot
dim the instrument panel lighting when the headlamps are on in the
daytime. Even during full daylight, the instrument panel lighting will still
be visible with the headlamp operating.
Autolamp control
The autolamp system provides light
sensitive automatic on-off control of
the exterior lights normally
controlled by the headlamp control.
The autolamp system also keeps the
lights on for a predetermined period
of time after the ignition switch is
turned to OFF.
²To turn autolamps on, rotate the
control counterclockwise to the
next position from OFF.
²To turn autolamps off, rotate the control clockwise past OFF to the
parking lamp position
, then back to OFF.
The headlamps will also turn on when the windshield wipers are
activated, after a 10±20 second delay.
Lights
38
Page 49 of 232
WINDSHIELD WIPER/WASHER CONTROLS
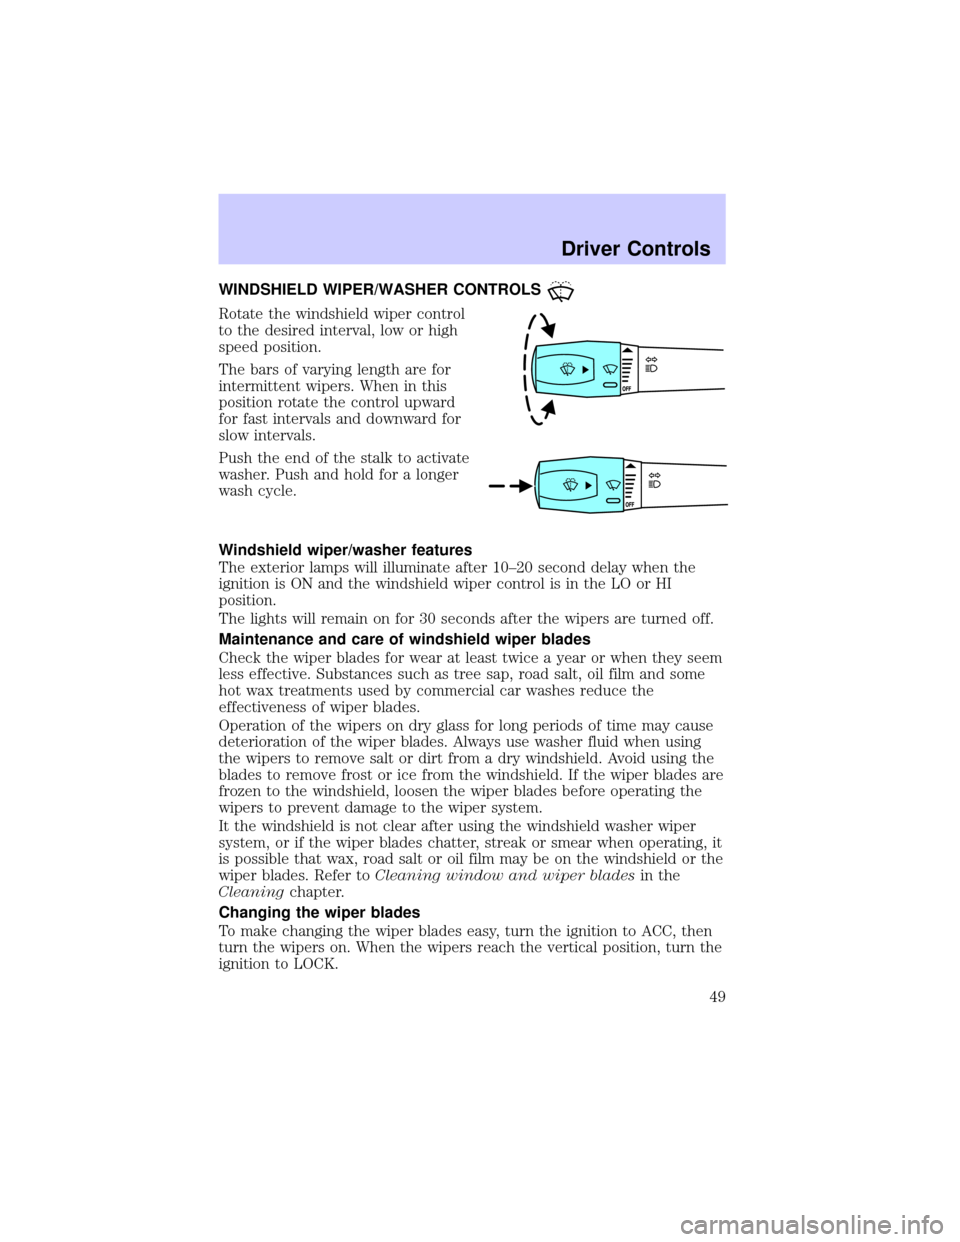
Rotate the windshield wiper control
to the desired interval, low or high
speed position.
The bars of varying length are for
intermittent wipers. When in this
position rotate the control upward
for fast intervals and downward for
slow intervals.
Push the end of the stalk to activate
washer. Push and hold for a longer
wash cycle.
Windshield wiper/washer features
The exterior lamps will illuminate after 10±20 second delay when the
ignition is ON and the windshield wiper control is in the LO or HI
position.
The lights will remain on for 30 seconds after the wipers are turned off.
Maintenance and care of windshield wiper blades
Check the wiper blades for wear at least twice a year or when they seem
less effective. Substances such as tree sap, road salt, oil film and some
hot wax treatments used by commercial car washes reduce the
effectiveness of wiper blades.
Operation of the wipers on dry glass for long periods of time may cause
deterioration of the wiper blades. Always use washer fluid when using
the wipers to remove salt or dirt from a dry windshield. Avoid using the
blades to remove frost or ice from the windshield. If the wiper blades are
frozen to the windshield, loosen the wiper blades before operating the
wipers to prevent damage to the wiper system.
It the windshield is not clear after using the windshield washer wiper
system, or if the wiper blades chatter, streak or smear when operating, it
is possible that wax, road salt or oil film may be on the windshield or the
wiper blades. Refer toCleaning window and wiper bladesin the
Cleaningchapter.
Changing the wiper blades
To make changing the wiper blades easy, turn the ignition to ACC, then
turn the wipers on. When the wipers reach the vertical position, turn the
ignition to LOCK.
Driver Controls
49
Page 52 of 232
Compass zone adjustment
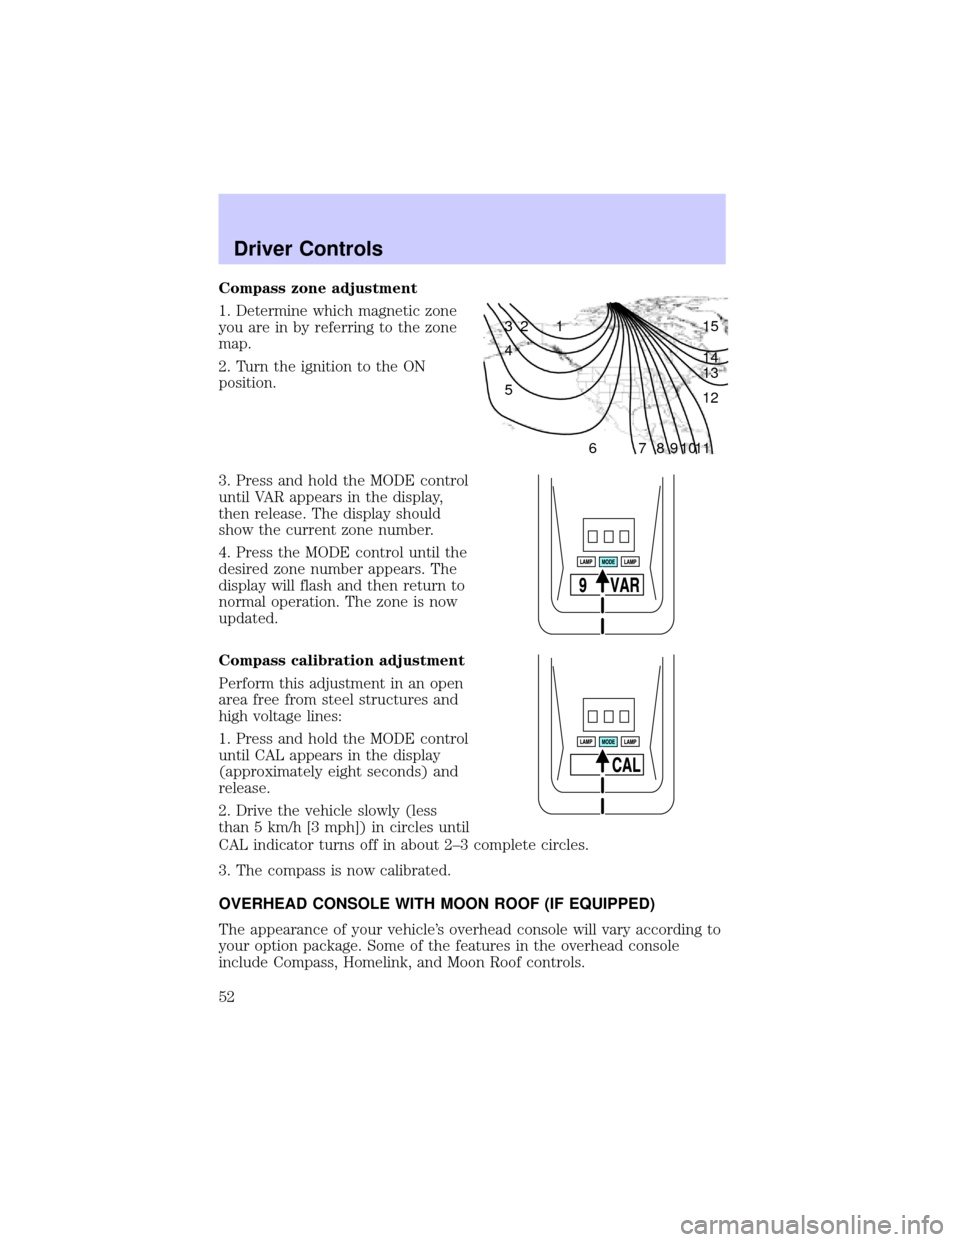
1. Determine which magnetic zone
you are in by referring to the zone
map.
2. Turn the ignition to the ON
position.
3. Press and hold the MODE control
until VAR appears in the display,
then release. The display should
show the current zone number.
4. Press the MODE control until the
desired zone number appears. The
display will flash and then return to
normal operation. The zone is now
updated.
Compass calibration adjustment
Perform this adjustment in an open
area free from steel structures and
high voltage lines:
1. Press and hold the MODE control
until CAL appears in the display
(approximately eight seconds) and
release.
2. Drive the vehicle slowly (less
than 5 km/h [3 mph]) in circles until
CAL indicator turns off in about 2±3 complete circles.
3. The compass is now calibrated.
OVERHEAD CONSOLE WITH MOON ROOF (IF EQUIPPED)
The appearance of your vehicle's overhead console will vary according to
your option package. Some of the features in the overhead console
include Compass, Homelink, and Moon Roof controls.
1 2 3
4
5
6 7 8 9 101112 13 14 15
Driver Controls
52
Page 53 of 232
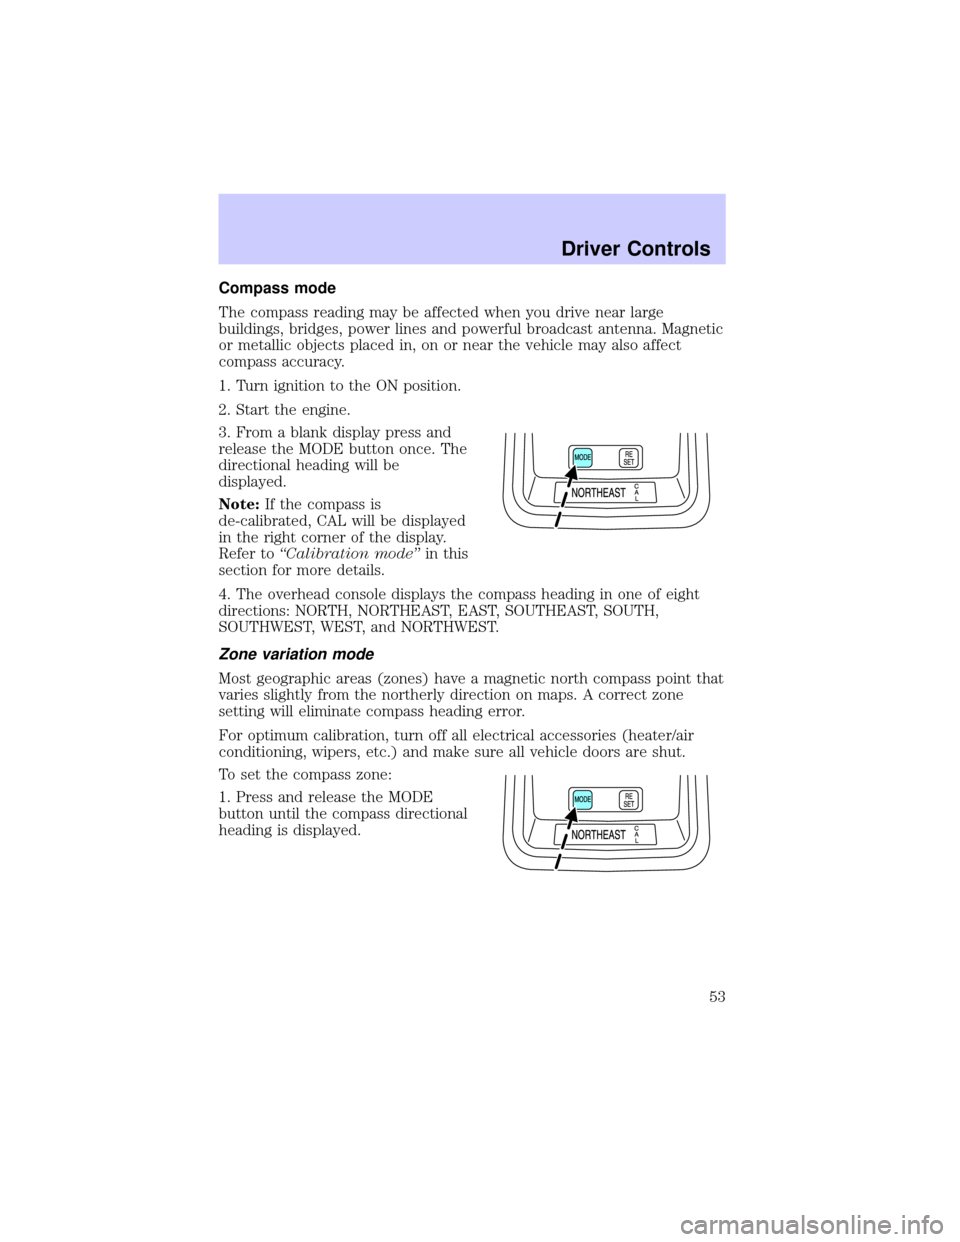
Compass mode
The compass reading may be affected when you drive near large
buildings, bridges, power lines and powerful broadcast antenna. Magnetic
or metallic objects placed in, on or near the vehicle may also affect
compass accuracy.
1. Turn ignition to the ON position.
2. Start the engine.
3. From a blank display press and
release the MODE button once. The
directional heading will be
displayed.
Note:If the compass is
de-calibrated, CAL will be displayed
in the right corner of the display.
Refer toªCalibration modeºin this
section for more details.
4. The overhead console displays the compass heading in one of eight
directions: NORTH, NORTHEAST, EAST, SOUTHEAST, SOUTH,
SOUTHWEST, WEST, and NORTHWEST.
Zone variation mode
Most geographic areas (zones) have a magnetic north compass point that
varies slightly from the northerly direction on maps. A correct zone
setting will eliminate compass heading error.
For optimum calibration, turn off all electrical accessories (heater/air
conditioning, wipers, etc.) and make sure all vehicle doors are shut.
To set the compass zone:
1. Press and release the MODE
button until the compass directional
heading is displayed.
Driver Controls
53