keyless entry Mercury Marauder 2003 Owner's Manuals
[x] Cancel search | Manufacturer: MERCURY, Model Year: 2003, Model line: Marauder, Model: Mercury Marauder 2003Pages: 232, PDF Size: 2.29 MB
Page 75 of 232

KEYS
The key operates all locks on your vehicle. In case of loss, replacement
keys are available from your dealer.
You should always carry a second key with you in a safe place in case
you require it in an emergency.
Refer toSecuriLockyPassive Anti-Theft Systemfor more information.
POWER DOOR LOCKS
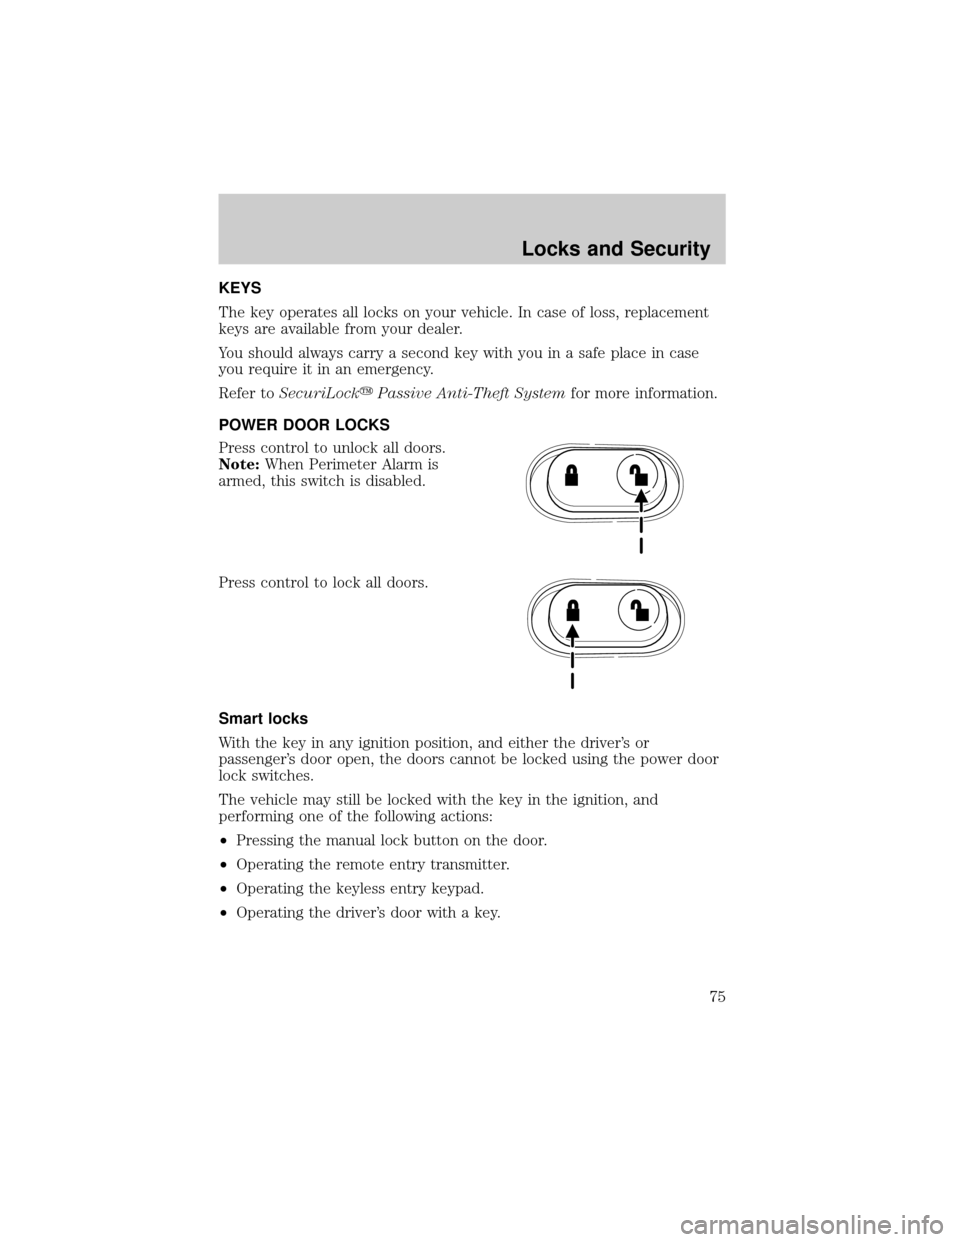
Press control to unlock all doors.
Note:When Perimeter Alarm is
armed, this switch is disabled.
Press control to lock all doors.
Smart locks
With the key in any ignition position, and either the driver's or
passenger's door open, the doors cannot be locked using the power door
lock switches.
The vehicle may still be locked with the key in the ignition, and
performing one of the following actions:
²Pressing the manual lock button on the door.
²Operating the remote entry transmitter.
²Operating the keyless entry keypad.
²Operating the driver's door with a key.
Locks and Security
75
Page 77 of 232

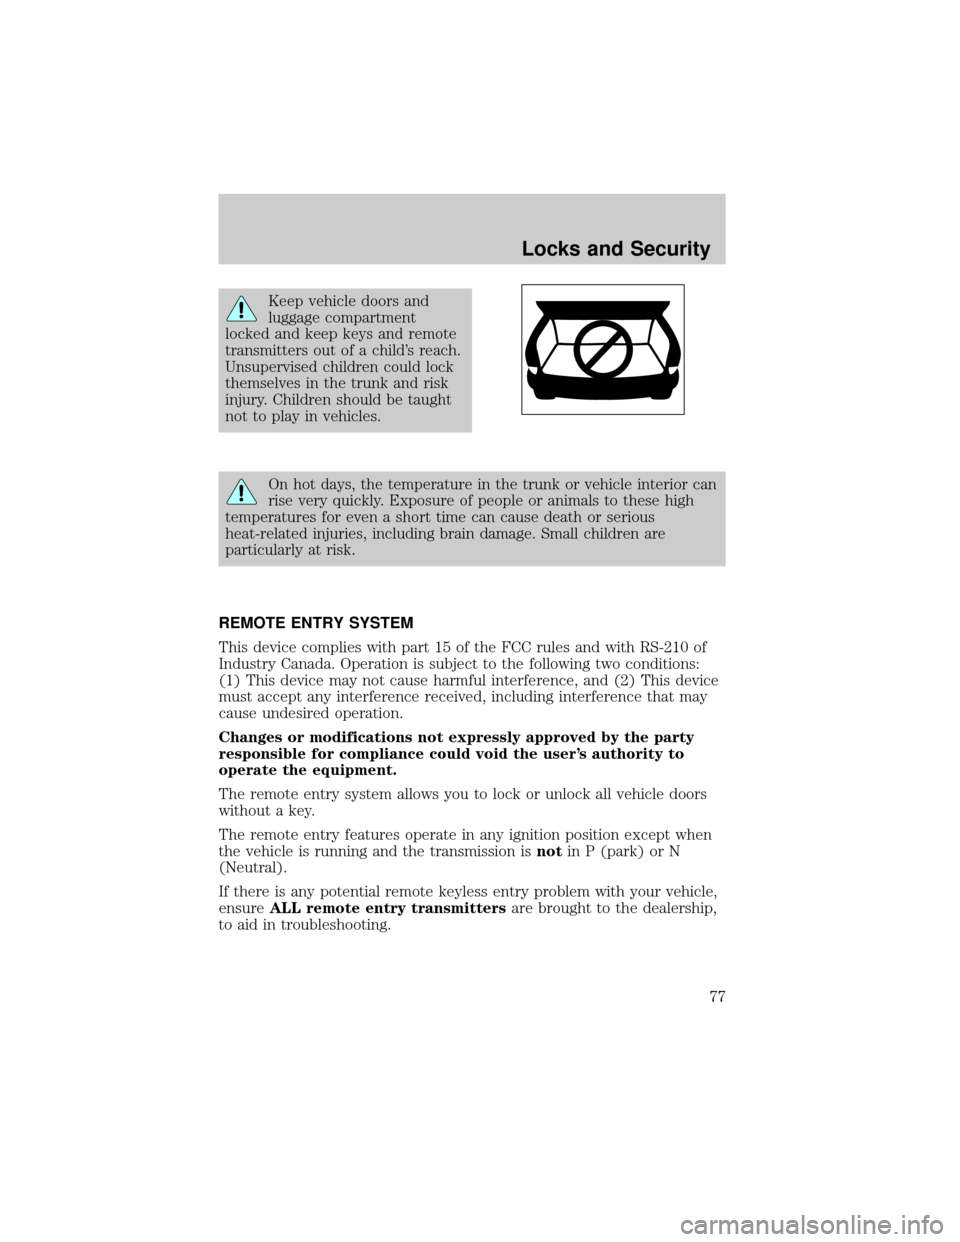
Keep vehicle doors and
luggage compartment
locked and keep keys and remote
transmitters out of a child's reach.
Unsupervised children could lock
themselves in the trunk and risk
injury. Children should be taught
not to play in vehicles.
On hot days, the temperature in the trunk or vehicle interior can
rise very quickly. Exposure of people or animals to these high
temperatures for even a short time can cause death or serious
heat-related injuries, including brain damage. Small children are
particularly at risk.
REMOTE ENTRY SYSTEM
This device complies with part 15 of the FCC rules and with RS-210 of
Industry Canada. Operation is subject to the following two conditions:
(1) This device may not cause harmful interference, and (2) This device
must accept any interference received, including interference that may
cause undesired operation.
Changes or modifications not expressly approved by the party
responsible for compliance could void the user's authority to
operate the equipment.
The remote entry system allows you to lock or unlock all vehicle doors
without a key.
The remote entry features operate in any ignition position except when
the vehicle is running and the transmission isnotin P (park) or N
(Neutral).
If there is any potential remote keyless entry problem with your vehicle,
ensureALL remote entry transmittersare brought to the dealership,
to aid in troubleshooting.
Locks and Security
77
Page 81 of 232

Illuminated entry
The interior lamps illuminate:
²when the remote entry system is used to unlock the door(s) or sound
the panic alarm, or
²when the driver door is unlocked using the key in the driver door key
cylinder.
The system automatically turns off after 25 seconds after the UNLOCK
button on the RUN or ACC position.
The inside lights will not turn off if:
²they have been turned on with the dimmer control, or
²any door is open.
The battery saver will shut off the interior lamps 10 minutes after the
ignition is turned off. Demand lighting will turn off after 30 minutes.
Autolock
This feature automatically locks all vehicle doors when:
²all doors are closed,
²the ignition is in the ON position,
²the brake pedal is depressed and
²you shift into any gear.
Relock
The autolock feature repeats when:
²the ignition is in the ON position,
²a door is open and then closed,
²the transmission is placed in Reverse or any Drive gear, and then
²the brake pedal is depressed and then released.
Deactivating/activating the autolock feature
Before following the procedure, make sure that the ignition is OFF and
all vehicle doors are closed.
Automatic door locks can be turned on/off with the keyless entry keypad
through the following procedure:
You must complete steps 1-5 within 30 seconds or the procedure will
have to be repeated. If the procedure needs to be repeated, you must
wait 30 seconds.
Locks and Security
81
Page 82 of 232

1. Enter the keyless entry keypad factory code.
2. Within 5 seconds, press and hold control 7/8.
3. Within 5 seconds (while holding down control 7/8), press and release
control 3/4.
4. Release control 7/8.
The door will lock/unlock to confirm the feature has been disabled. Once
disabled, the feature can be enabled by repeating the same sequence.
Automatic door locks can also be turned on/off through the following
procedure:
You must complete steps 1-7 within 30 seconds or the procedure will
have to be repeated. If the procedure needs to be repeated, you must
wait 30 seconds.
1. Turn the ignition key to ON.
2. Press the power door unlock control on the door panel three times.
3. Turn the ignition key from ON to OFF.
4. Press the power door unlock control three times.
5. Turn the ignition back to ON.
6. Press the unlock control once. After a five to ten second delay, the
door will lock/unlock to confirm successful programming.
7. Turn the ignition to OFF.
KEYLESS ENTRY SYSTEM
With the keyless entry keypad, you
can:
²lock or unlock the vehicle doors
without using the key.
²open the trunk.
²disable/enable autolock.
See alsoRemote entry systemin this chapter for more information.
Your vehicle has a factory-set 5±digit code that operates the keyless
entry system. You can also program your own 5±digit personal entry
code.
The factory-set code is located:
²On the owner's wallet card in the glove compartment,
²Taped to the computer module, or
123
45678
90
Locks and Security
82
Page 83 of 232

²At your dealer.
When using the keyless entry keypad, press the middle of each button in
order to ensure a good activation.
Programming your own entry code
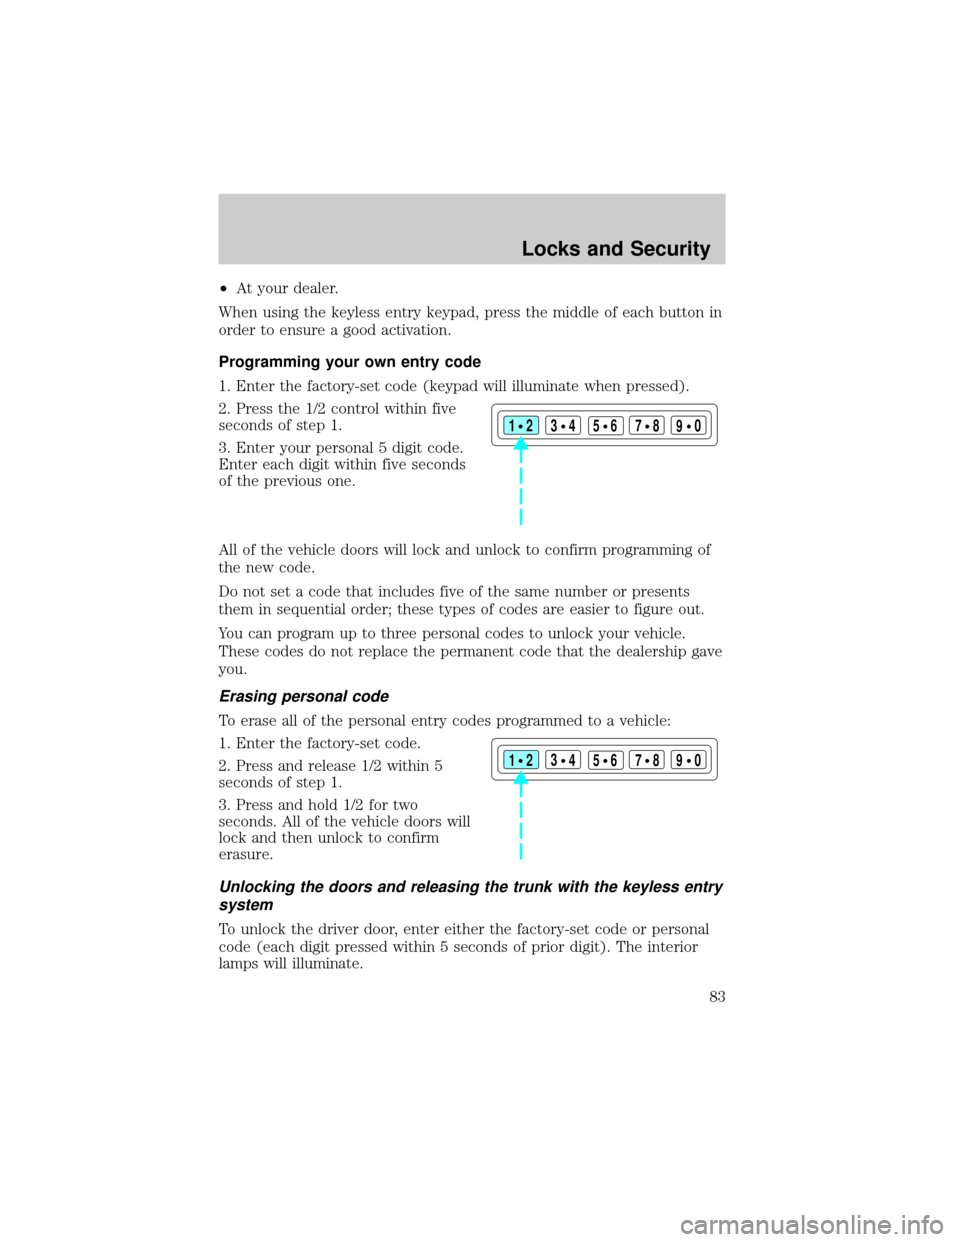
1. Enter the factory-set code (keypad will illuminate when pressed).
2. Press the 1/2 control within five
seconds of step 1.
3. Enter your personal 5 digit code.
Enter each digit within five seconds
of the previous one.
All of the vehicle doors will lock and unlock to confirm programming of
the new code.
Do not set a code that includes five of the same number or presents
them in sequential order; these types of codes are easier to figure out.
You can program up to three personal codes to unlock your vehicle.
These codes do not replace the permanent code that the dealership gave
you.
Erasing personal code
To erase all of the personal entry codes programmed to a vehicle:
1. Enter the factory-set code.
2. Press and release 1/2 within 5
seconds of step 1.
3. Press and hold 1/2 for two
seconds. All of the vehicle doors will
lock and then unlock to confirm
erasure.
Unlocking the doors and releasing the trunk with the keyless entry
system
To unlock the driver door, enter either the factory-set code or personal
code (each digit pressed within 5 seconds of prior digit). The interior
lamps will illuminate.
123
45678
90
123
45678
90
Locks and Security
83
Page 84 of 232

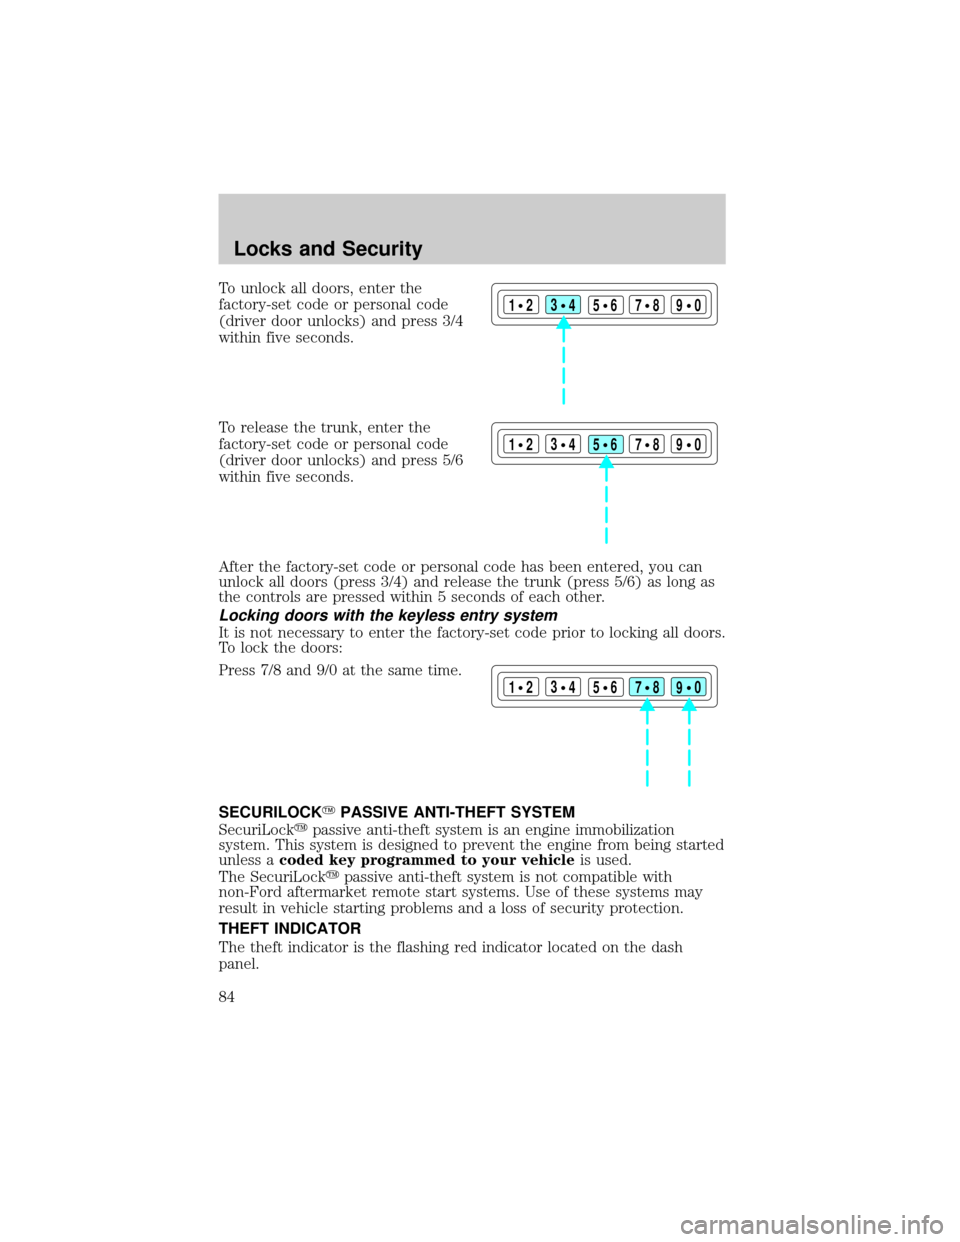
To unlock all doors, enter the
factory-set code or personal code
(driver door unlocks) and press 3/4
within five seconds.
To release the trunk, enter the
factory-set code or personal code
(driver door unlocks) and press 5/6
within five seconds.
After the factory-set code or personal code has been entered, you can
unlock all doors (press 3/4) and release the trunk (press 5/6) as long as
the controls are pressed within 5 seconds of each other.
Locking doors with the keyless entry system
It is not necessary to enter the factory-set code prior to locking all doors.
To lock the doors:
Press 7/8 and 9/0 at the same time.
SECURILOCKYPASSIVE ANTI-THEFT SYSTEM
SecuriLockypassive anti-theft system is an engine immobilization
system. This system is designed to prevent the engine from being started
unless acoded key programmed to your vehicleis used.
The SecuriLockypassive anti-theft system is not compatible with
non-Ford aftermarket remote start systems. Use of these systems may
result in vehicle starting problems and a loss of security protection.
THEFT INDICATOR
The theft indicator is the flashing red indicator located on the dash
panel.
123
45678
90
123
45678
90
123
45678
90
Locks and Security
84
Page 218 of 232

FORD ACCESSORIES FOR YOUR VEHICLE
A wide selection of genuine Ford accessories are available for your
vehicle through your local authorized Ford, Lincoln, Mercury or Ford of
Canada dealer. These quality accessories have been specifically
engineered to fulfill your automotive needs; they are custom designed to
complement the style and aerodynamic appearance of your vehicle. In
addition, each accessory is made from high quality materials and meets
or exceeds Ford's rigorous engineering and safety specifications. Ford
Motor Company will repair or replace any properly dealer-installed Ford
accessory found to be defective in factory-supplied materials or
workmanship during the warranty period, as well as any component
damaged by the defective accessory. The accessory will be warranted for
whichever provides you the greatest benefit:
²12 months or 20,000 km (12,000 miles) (whichever occurs first), or
²the remainder of your new vehicle limited warranty.
This means that genuine Ford accessories purchased along with your
new vehicle and installed by the dealer are covered for the full length of
your New Vehicle's Limited Warranty Ð 3 years or 60,000 km (36,000
miles) (whichever occurs first). Contact your dealer for details and a
copy of the warranty.
Not all accessories are available for all models.
Vehicle Security
Air bag anti-theft locks
Locking gas cap
Remote keyless entry
Styled wheel locks
Vehicle security systems
Comfort and convenience
Cargo organizer
Electrochromic compass mirror
Engine block heaters
Remote start system
Accessories
218
Page 224 of 232

H
Hazard flashers .........................143
Head restraints ...........................88
Headlamps ...................................38
aiming ........................................40
autolamp system .......................38
bulb specifications ....................43
daytime running lights .............39
flash to pass ..............................40
high beam ...........................14, 39
replacing bulbs .........................44
turning on and off ....................38
warning chime ..........................14
Heating
heating and air conditioning
system .......................................33
HomeLink universal
transceiver (see Garage
door opener) ...................56, 68, 70
Hood ..........................................180
I
Ignition ...............................122, 214
Infant seats
(see Safety seats) .....................114
Inspection/maintenance (I/M)
testing ........................................202
Instrument panel
cleaning ...................................176
cluster ........................................10
lighting up panel and
interior .......................................40
J
Jack ............................................151
positioning ...............................151
storage .....................................151Jump-starting your vehicle ......156
K
Keyless entry system .................82
autolock .....................................81
keypad .......................................82
programming entry code .........83
Keys .......................................84±86
key in ignition chime ...............14
positions of the ignition .........122
L
Lamps
autolamp system .......................38
bulb replacement
specifications chart ..................43
cargo lamps ...............................40
daytime running light ...............39
fog lamps ...................................39
headlamps .................................38
headlamps, flash to pass ..........40
instrument panel, dimming .....40
interior lamps .....................42±43
replacing bulbs ....... 43±45, 47±48
Lane change indicator
(see Turn signal) ........................42
Lights, warning and indicator ....10
air bag ........................................12
air suspension ...........................13
anti-lock brakes (ABS) ....12, 127
brake ..........................................11
charging system ........................12
check engine .............................10
fuel cap light .............................11
high beam .................................14
low coolant ................................13
low fuel ......................................13
overdrive off ..............................13
safety belt .................................12
Index
224