glove box Mercury Milan 2009 Owner's Manuals
[x] Cancel search | Manufacturer: MERCURY, Model Year: 2009, Model line: Milan, Model: Mercury Milan 2009Pages: 317, PDF Size: 2.67 MB
Page 38 of 317

3. Attach one end of the audio extension cable to the headphone output
of your player and the other end of the audio extension cable to the AIJ
in your vehicle.
4. Turn the radio on, using either a tuned FM station or a CD loaded into
the system. Adjust the volume to a comfortable listening level.
5. Turn the portable music player on and adjust the volume to 1/2 the
volume.
6. Press AUX on the vehicle radio repeatedly until LINE, LINE IN or
SYNC LINE IN appears in the display.
You should hear audio from your portable music player, although it may
be low.
7. Adjust the sound on your portable music player until it reaches the
level of the FM station or CD by switching back and forth between the
AUX and FM or CD controls.
Troubleshooting:
1. Do not connect the audio input jack to a line level output. Line level
outputs are intended for connection to a home stereo and are not
compatible with the AIJ. The AIJ will only work correctly with devices
that have a headphone output with a volume control.
2. Do not set the portable music player’s volume level higher than is
necessary to match the volume of the CD or FM radio in your audio
system as this will cause distortion and will reduce sound quality. Many
portable music players have different output levels, so not all players
should be set at the same levels. Some players will sound best at full
volume and others will need to be set at a lower volume.
3. If the music sounds distorted at lower listening levels, turn the
portable music player volume down. If the problems persists, replace or
recharge the batteries in the portable music player.
4. The portable music player must be controlled in the same manner
when it is used with headphones as the AIJ does not provide control
(play, pause, etc.) over the attached portable music player.
5. For safety reasons, connecting or adjusting the settings on your
portable music player should not be attempted while the vehicle is
moving. Also, the portable music player should be stored in a secure
location, such as the center console or the glove box, when the vehicle is
in motion. The audio extension cable must be long enough to allow the
portable music player to be safely stored while the vehicle is in motion.
2009 Milan(mln)
Owners Guide, 2nd Printing
USA(fus)
Entertainment Systems
38
Page 60 of 317

Take your vehicle to dealer for service if any of the above conditions of
unacceptable moisture are present.
Using the right bulbs
Replacement bulbs are specified in the chart below. Headlamp bulbs must
be marked with an authorized “D.O.T.” for North America and an “E” for
Europe to ensure lamp performance, light brightness and pattern and safe
visibility. The correct bulbs will not damage the lamp assembly or void the
lamp assembly warranty and will provide quality bulb burn time.
FunctionNumber of
bulbsTrade
number
Headlamp high beam 2 H7
Headlamp low beam 2 H11LL
Front park/turn signal lamp 23457NAK
(amber)
Front sidemarker lamp 2 168
*Rear sidemarker lamp N/ASNAP LED
70
*Stop/tail lamp N/A LED
Rear turn signal lamp 23157 A
(amber)
Backup lamp 2 921
License plate lamp 2 C5W
High-mount brake lamp 1 921
Fog lamp (if equipped) 2 H11
Map lamp 2 12V6W
Dome/reading lamp 6 578
Visor vanity lamp - Slide on Rail system
(SOR)2 37 or 14V1CP
Puddle lamp (if equipped) 2 W5W
Glove box lamp 1 194
Luggage compartment lamp 1 578
All replacement bulbs are clear in color except where noted.
To replace all instrument panel lights - see your authorized dealer.
*To replace these lamps - see your authorized dealer.
2009 Milan(mln)
Owners Guide, 2nd Printing
USA(fus)
Lights
60
Page 111 of 317

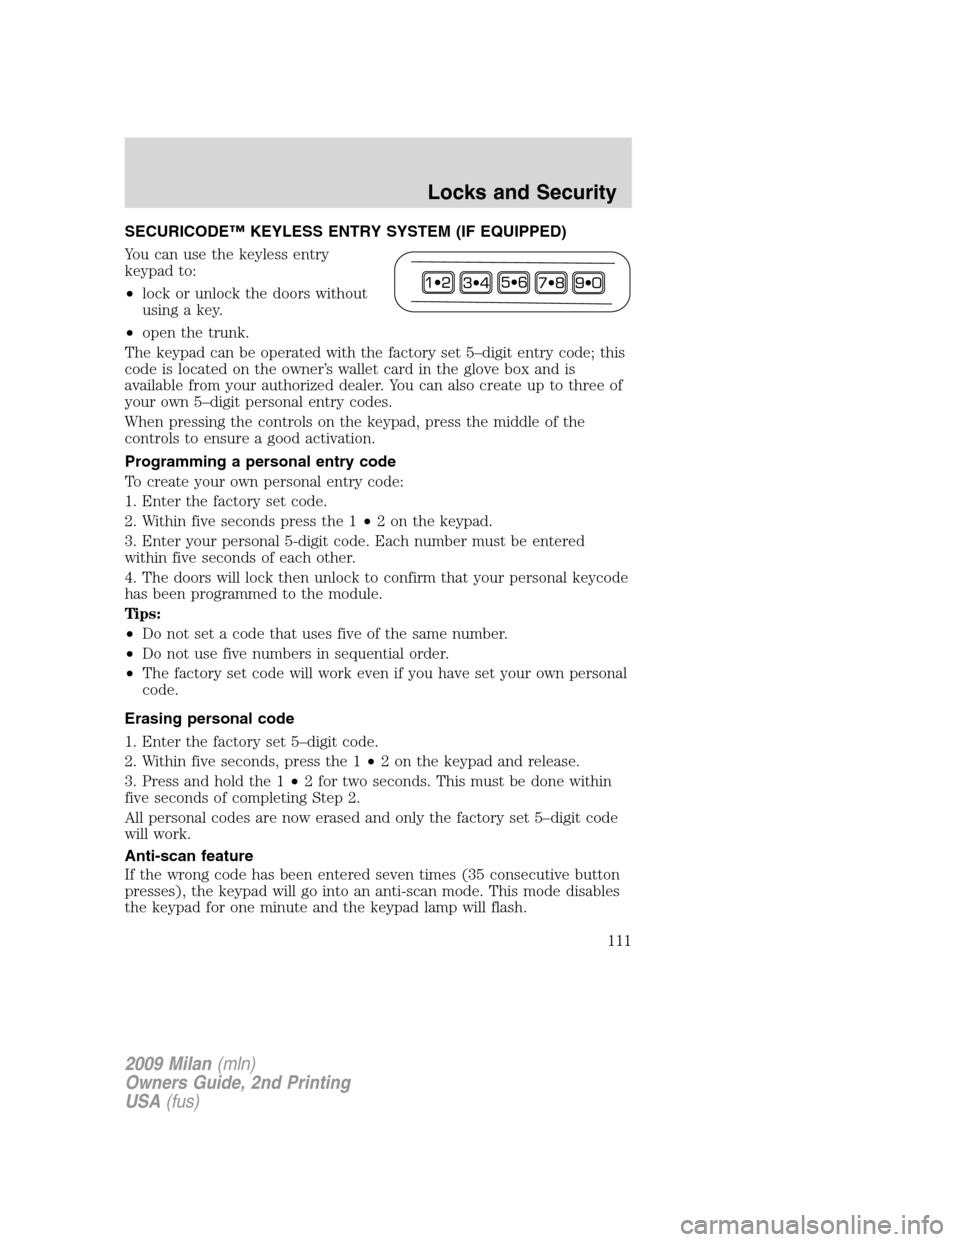
SECURICODE™ KEYLESS ENTRY SYSTEM (IF EQUIPPED)
You can use the keyless entry
keypad to:
•lock or unlock the doors without
using a key.
•open the trunk.
The keypad can be operated with the factory set 5–digit entry code; this
code is located on the owner’s wallet card in the glove box and is
available from your authorized dealer. You can also create up to three of
your own 5–digit personal entry codes.
When pressing the controls on the keypad, press the middle of the
controls to ensure a good activation.
Programming a personal entry code
To create your own personal entry code:
1. Enter the factory set code.
2. Within five seconds press the 1•2 on the keypad.
3. Enter your personal 5-digit code. Each number must be entered
within five seconds of each other.
4. The doors will lock then unlock to confirm that your personal keycode
has been programmed to the module.
Tips:
•Do not set a code that uses five of the same number.
•Do not use five numbers in sequential order.
•The factory set code will work even if you have set your own personal
code.
Erasing personal code
1. Enter the factory set 5–digit code.
2. Within five seconds, press the 1•2 on the keypad and release.
3. Press and hold the 1•2 for two seconds. This must be done within
five seconds of completing Step 2.
All personal codes are now erased and only the factory set 5–digit code
will work.
Anti-scan feature
If the wrong code has been entered seven times (35 consecutive button
presses), the keypad will go into an anti-scan mode. This mode disables
the keypad for one minute and the keypad lamp will flash.
2009 Milan(mln)
Owners Guide, 2nd Printing
USA(fus)
Locks and Security
111