ignition Mercury Mountaineer 1999 s User Guide
[x] Cancel search | Manufacturer: MERCURY, Model Year: 1999, Model line: Mountaineer, Model: Mercury Mountaineer 1999Pages: 248, PDF Size: 1.74 MB
Page 31 of 248

Selectfor air to flow through
these vents:
REAR WINDOW DEFROSTER
The rear defroster control is located
on the instrument panel.
Press the rear defroster control to
clear the rear window of thin ice
and fog.
²The small LED will illuminate when the rear defroster is activated.
The ignition must be in the ON position to operate the rear window
defroster.
The defroster turns off automatically after 10 minutes or when the
ignition is turned to the OFF position. To manually turn off the defroster
before ten minutes have passed, push the control again.
SEEK– VOLUME + BAND
MEMORY
Controls and features
31
Page 33 of 248

The reverse sensing system detects
obstacles within approximately 1.8
meters (5.9 ft.) of the rear bumper
with a decreased coverage area at
the outer corners of the bumper. As
you move closer to the obstacle, the
rate of the tone increases. When the
distance to the obstacle is less than
20.0 cm (8 in.), the tone will sound
continuously.
A reverse sensing control allows the
driver to enable and disable the RSS
when the ignition is ON. The
reverse sensing control indicator
momentarily illuminates when the
ignition is turned ON. The OFF
indicator remains illuminated when
the system is disabled. The system
defaults to ON every time the
reverse gear is selected. The
indicator will remain illuminated to
indicate a failure of the reverse
sensing system.
Always keep the sensors (located on the rear bumper/fascia) free
from dirt, snow and ice (do not clean the sensors with sharp
objects). These elements may cause the system to operate
inaccurately.
If the vehicle sustains damage to the rear bumper/fascia, leaving it
misaligned or bent, the sensing zone may be altered causing inaccurate
measurement of obstacles.
OFF
Controls and features
33
Page 35 of 248

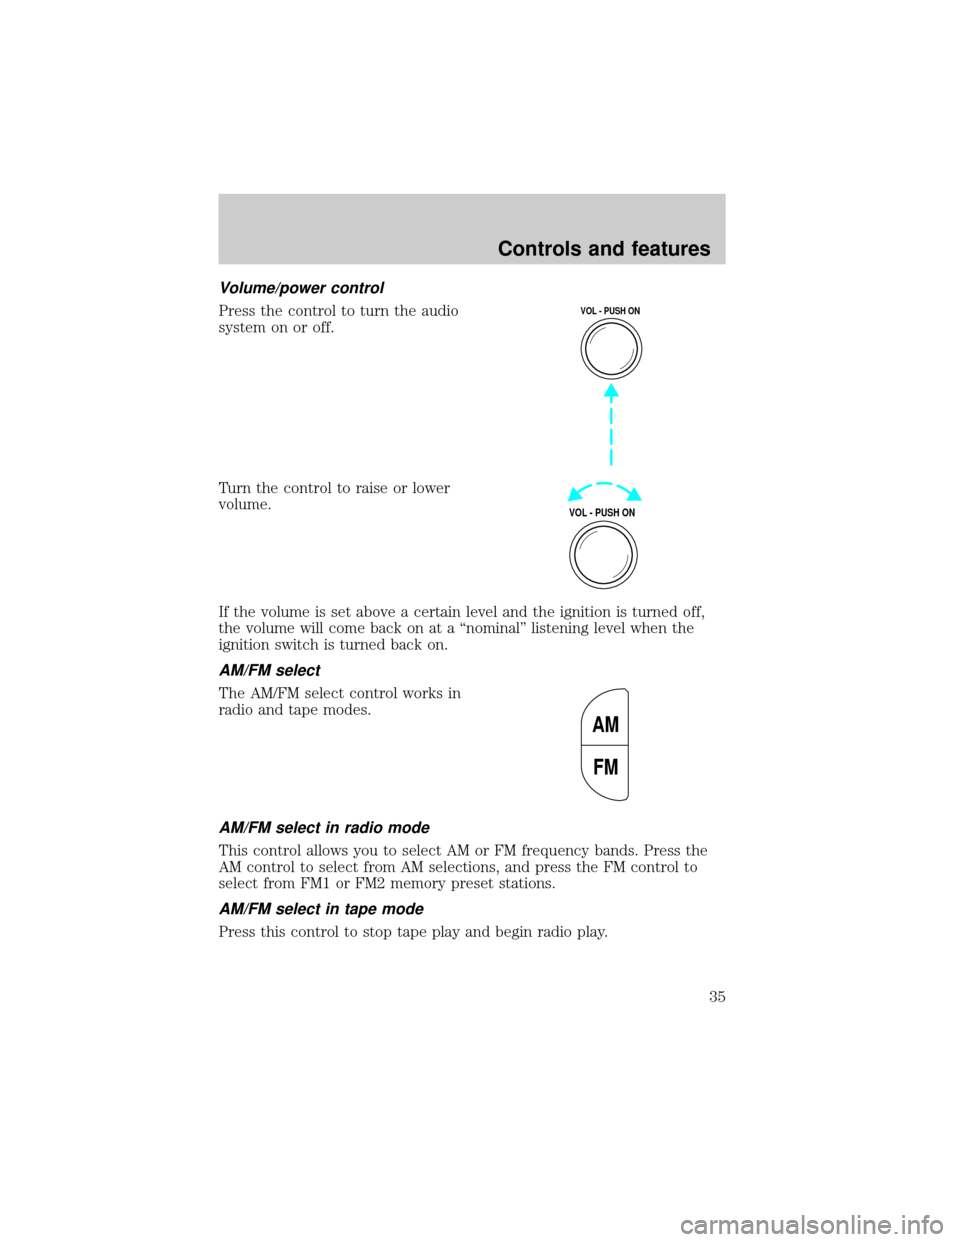
Volume/power control
Press the control to turn the audio
system on or off.
Turn the control to raise or lower
volume.
If the volume is set above a certain level and the ignition is turned off,
the volume will come back on at a ªnominalº listening level when the
ignition switch is turned back on.
AM/FM select
The AM/FM select control works in
radio and tape modes.
AM/FM select in radio mode
This control allows you to select AM or FM frequency bands. Press the
AM control to select from AM selections, and press the FM control to
select from FM1 or FM2 memory preset stations.
AM/FM select in tape mode
Press this control to stop tape play and begin radio play.
VOL - PUSH ON
VOL - PUSH ON
AM
FM
Controls and features
35
Page 42 of 248

Turn the control to raise or lower
volume.
If the volume is set above a certain level and the ignition is turned off,
the volume will come back on at a ªnominalº listening level when the
ignition switch is turned back on.
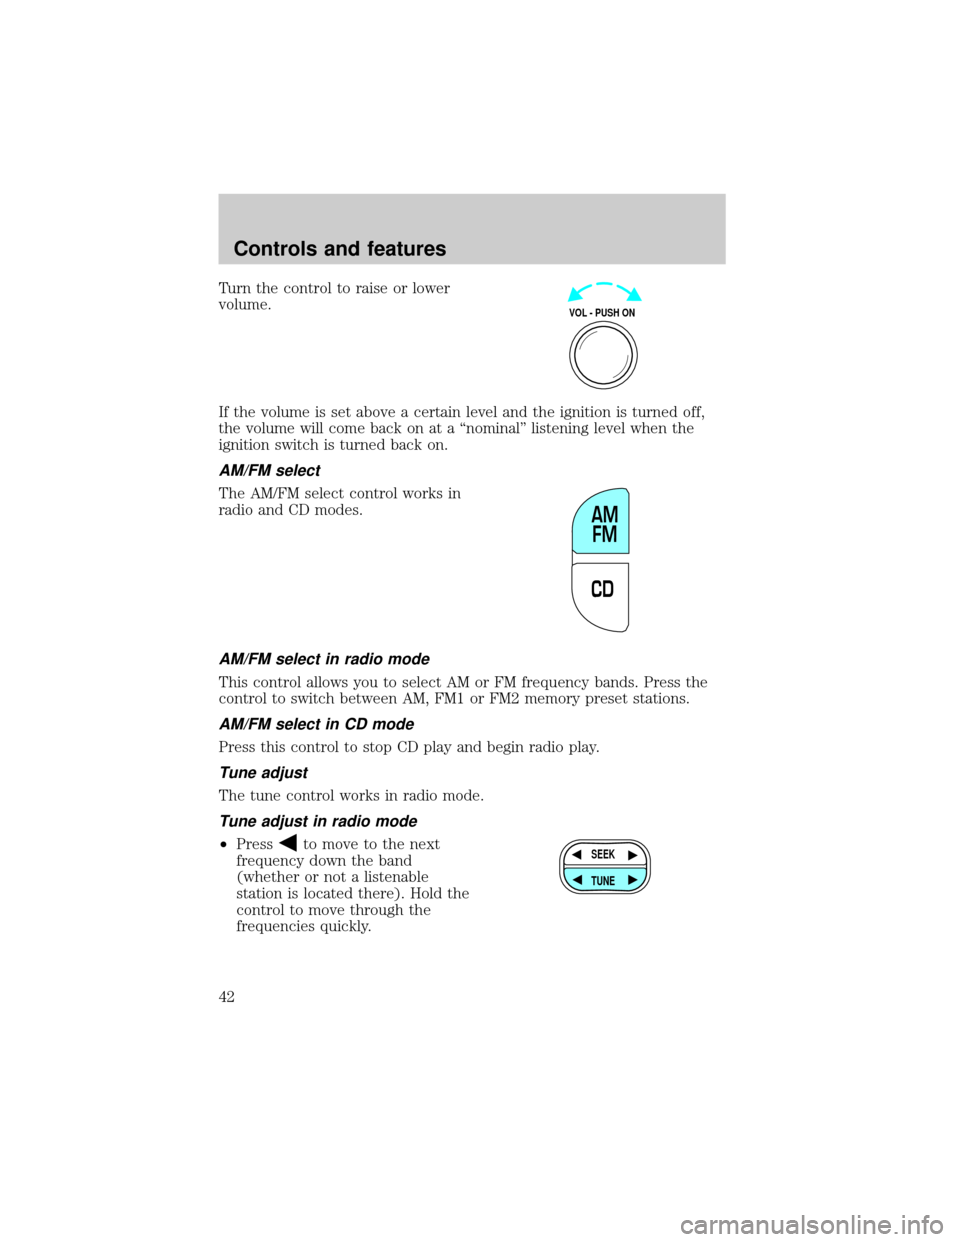
AM/FM select
The AM/FM select control works in
radio and CD modes.
AM/FM select in radio mode
This control allows you to select AM or FM frequency bands. Press the
control to switch between AM, FM1 or FM2 memory preset stations.
AM/FM select in CD mode
Press this control to stop CD play and begin radio play.
Tune adjust
The tune control works in radio mode.
Tune adjust in radio mode
²Pressto move to the next
frequency down the band
(whether or not a listenable
station is located there). Hold the
control to move through the
frequencies quickly.
VOL - PUSH ON
CDAM
FM
SEEK
TUNE
Controls and features
42
Page 48 of 248

If the volume is set above a certain level and the ignition is turned off,
the volume will come back on at a ªnominalº listening level when the
ignition switch is turned back on.
AM/FM select
The AM/FM select control works in
radio, tape and CD modes.
AM/FM select in radio mode
This control allows you to select AM or FM frequency bands. Press the
control to switch between AM, FM1 or FM2 memory preset stations.
AM/FM select in tape mode
Press this control to stop tape play and begin radio play.
AM/FM select in CD or CD changer mode (if equipped)
Press this control to stop CD play and begin radio play.
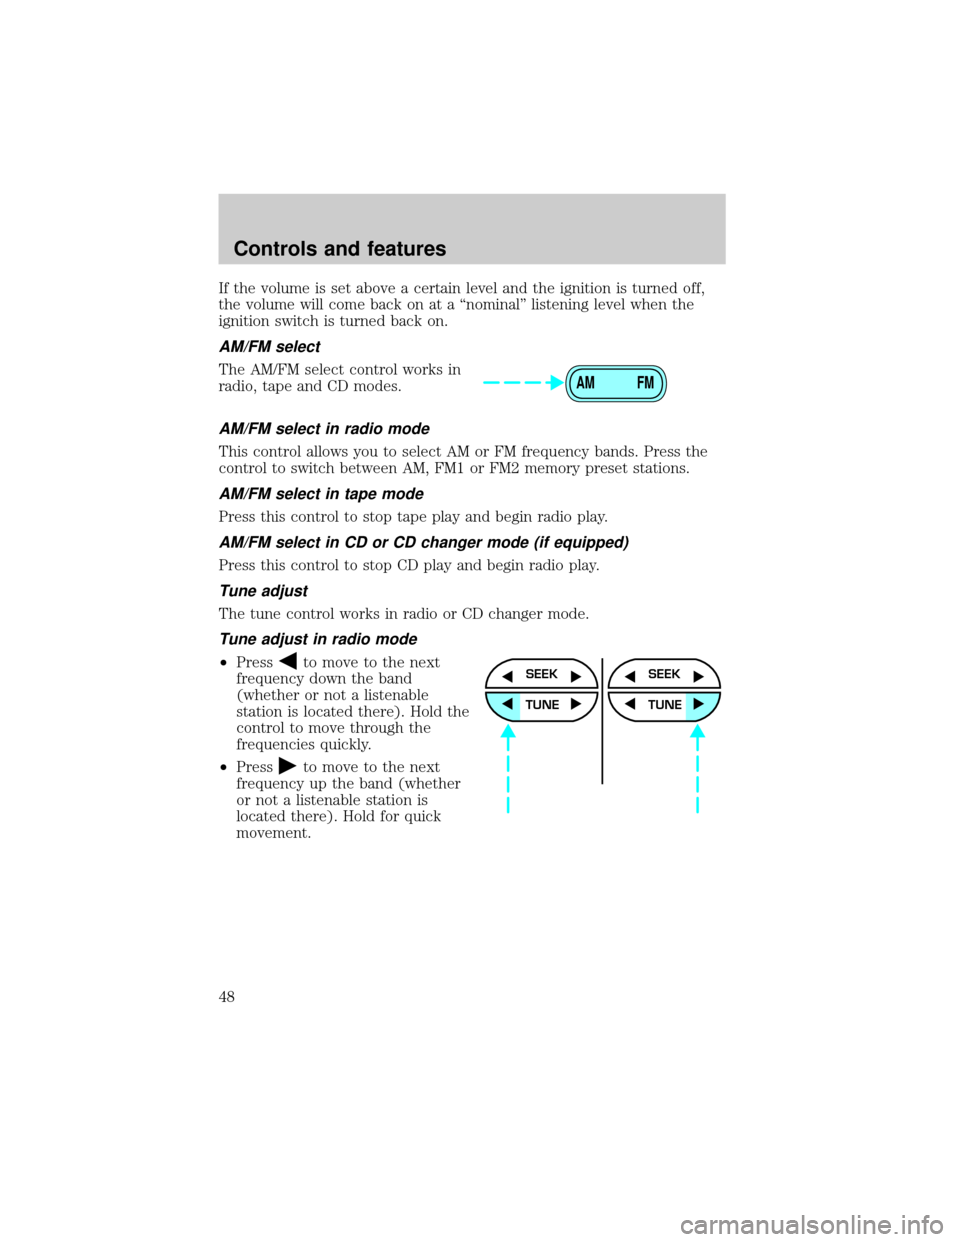
Tune adjust
The tune control works in radio or CD changer mode.
Tune adjust in radio mode
²Pressto move to the next
frequency down the band
(whether or not a listenable
station is located there). Hold the
control to move through the
frequencies quickly.
²Press
to move to the next
frequency up the band (whether
or not a listenable station is
located there). Hold for quick
movement.
AM FM
SEEK
TUNE
SEEK
TUNE
Controls and features
48
Page 62 of 248

Turn control to raise or lower
volume.
If the volume is set above a certain level and the ignition is turned off,
the volume will come back on at a ªnominalº listening level when the
ignition switch is turned back on. If you wish to maintain your preset
volume level, turn the audio system off with the power control before
switching off the ignition.
AM/FM select
The AM/FM select control works in
radio, tape and CD modes.
AM/FM select in radio mode
This control allows you to select AM or FM frequency bands. Press the
control to switch between AM, FM1 or FM2 memory preset stations.
AM/FM select in tape mode
Press this control to stop tape play and begin radio play.
AM/FM select in CD mode
Press this control to stop CD play and begin radio play.
Tune adjust
The tune control works in radio or CD mode.
VOL - PUSH ON
AM FM
Controls and features
62
Page 80 of 248

²Station overload.Weak signals are sometimes captured by stronger
signals when you pass a broadcast tower. A stronger signal may
temporarily overtake a weaker signal and play while the weak station
frequency is displayed.
The audio system automatically switches to single channel reception if it
will improve the reception of a station normally received in stereo.
Audio system warranties and service
Refer to the ªWarranty Guideº for audio system warranty information.
If service is necessary, see your dealer or a qualified technician.
TURN SIGNAL CONTROL
²Push down to activate the left
turn signal.
²Push up to activate the right turn
signal.
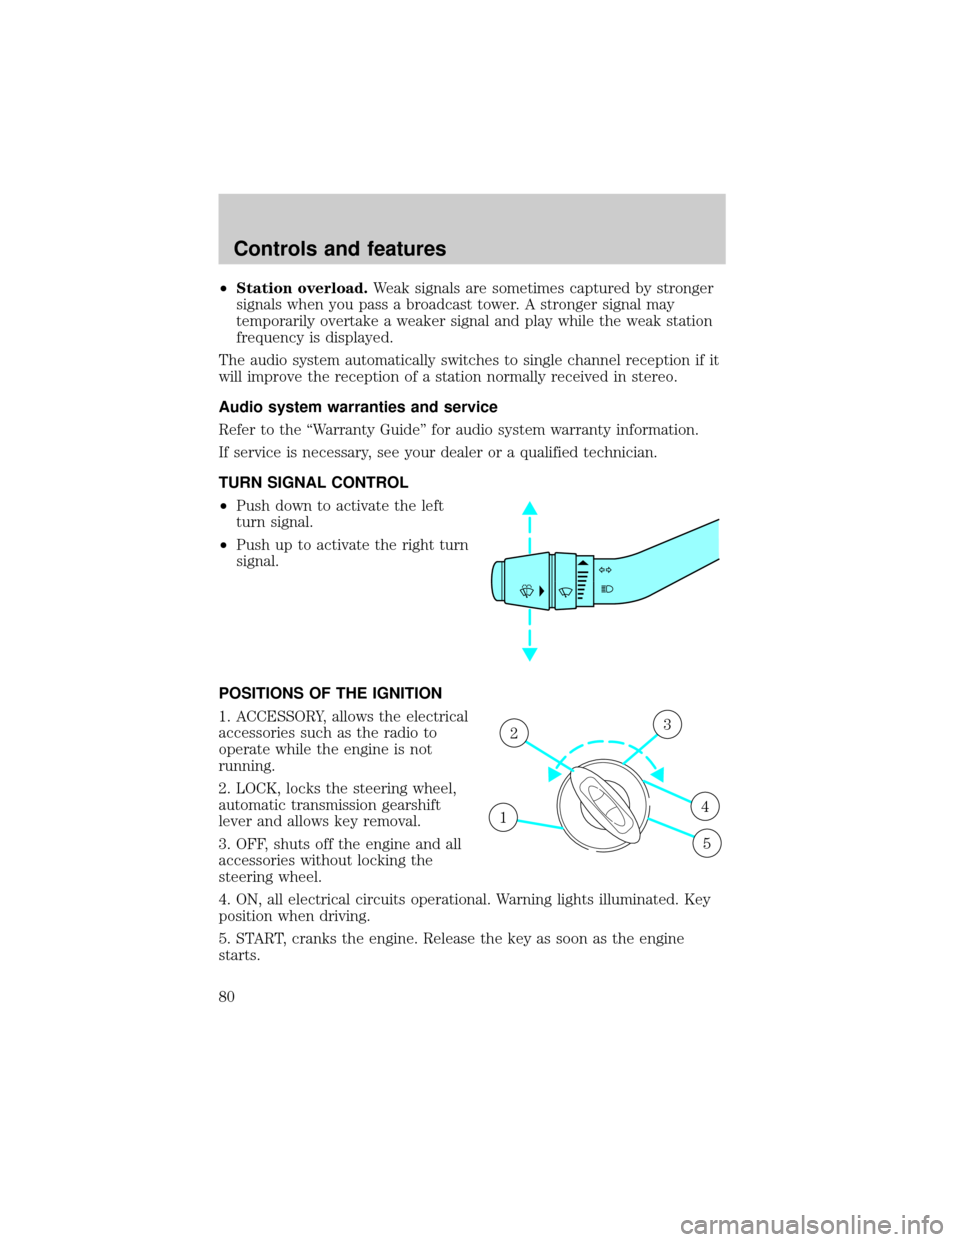
POSITIONS OF THE IGNITION
1. ACCESSORY, allows the electrical
accessories such as the radio to
operate while the engine is not
running.
2. LOCK, locks the steering wheel,
automatic transmission gearshift
lever and allows key removal.
3. OFF, shuts off the engine and all
accessories without locking the
steering wheel.
4. ON, all electrical circuits operational. Warning lights illuminated. Key
position when driving.
5. START, cranks the engine. Release the key as soon as the engine
starts.
1
23
4
5
Controls and features
80
Page 81 of 248

SPEED CONTROL
To turn speed control on
²Press ON.
Vehicle speed cannot be controlled
until the vehicle is traveling at or
above 48 km/h (30 mph).
Do not use the speed control in heavy traffic or on roads that
are winding, slippery, or unpaved.
Do not shift the gearshift lever into N (Neutral) with the speed
control on.
To turn speed control off
²Press OFF or
²Turn off the vehicle ignition.
Once speed control is switched off, the previously programmed set speed
will be erased.
OFF ON
OFF ON
Controls and features
81
Page 84 of 248

Pressing OFF will erase the
previously programmed set speed.
To return to a previously set speed
²Press RES/RSM/RESUME. For
RES/RSM/RESUME to operate,
the vehicle speed must be faster
than 48 km/h (30 mph).
Indicator light
This light comes on when either the
SET ACC/SET ACCEL or
RES/RSM/RESUME controls are
pressed. It turns off when the speed
control OFF control is pressed, the brake is applied or the ignition is
turned to the OFF position.
OFF ON
RSM
SET
ACC
COAST
SPEED
CONT
Controls and features
84
Page 98 of 248

Setting autolamp
1. Make sure the headlamp control
is in the OFF position. Leaving the
headlamp control on will override
the autolamp.
2. Turn the ignition to the ON
position or start the vehicle.
3. Slide the delay control all the way
to the left.
The further you move the knob to
the right, the longer the headlamps
stay on after the ignition is turned
to the OFF position. The autolamp
will keep the headlamps on for a maximum of three minutes after the
ignition is turned to OFF.
4. The autolamp automatically turns the lamps on and off. The indicator
light will illuminate when the headlamps turn on.
Automatic dimming rear view mirror
The autolamp/automatic dimming
mirror is equipped with an
automatic dimming feature. This
feature will change from the normal
state to the non-glare ªactiveº state
when bright lights (glare) reach the
mirror. When the mirror detects bright light from front or behind, it will
adjust automatically to minimize glare.
The mirror will automatically return to the normal position whenever the
vehicle is placed in R (Reverse) (when the mirror is in the ON position).
This helps to ensure a bright clear view in the mirror when backing up.
OFF
AUTOLAMP
OFFMAX.DELAY
AUTOLAMP
OFFMAX.DELAY
Controls and features
98