display Mercury Mountaineer 1999 Owner's Manuals
[x] Cancel search | Manufacturer: MERCURY, Model Year: 1999, Model line: Mountaineer, Model: Mercury Mountaineer 1999Pages: 248, PDF Size: 1.74 MB
Page 15 of 248
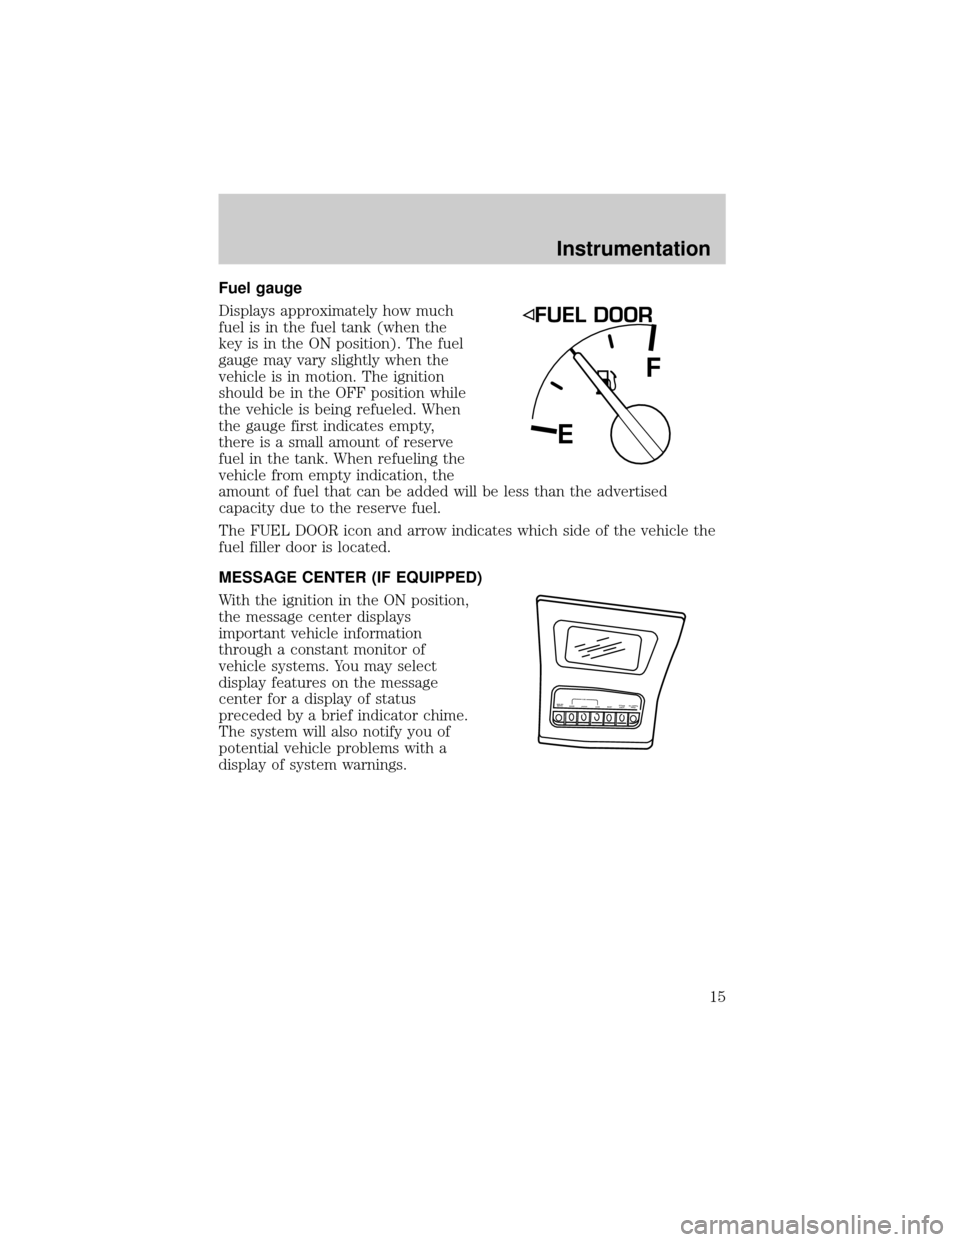
Fuel gauge
Displays approximately how much
fuel is in the fuel tank (when the
key is in the ON position). The fuel
gauge may vary slightly when the
vehicle is in motion. The ignition
should be in the OFF position while
the vehicle is being refueled. When
the gauge first indicates empty,
there is a small amount of reserve
fuel in the tank. When refueling the
vehicle from empty indication, the
amount of fuel that can be added will be less than the advertised
capacity due to the reserve fuel.
The FUEL DOOR icon and arrow indicates which side of the vehicle the
fuel filler door is located.
MESSAGE CENTER (IF EQUIPPED)
With the ignition in the ON position,
the message center displays
important vehicle information
through a constant monitor of
vehicle systems. You may select
display features on the message
center for a display of status
preceded by a brief indicator chime.
The system will also notify you of
potential vehicle problems with a
display of system warnings.
EF
ENGLISH
METRICRANGESTATUS
ECONRESETSYSTEM
CHECKOIL CHANGE
RESETFUEL
Instrumentation
15
Page 16 of 248
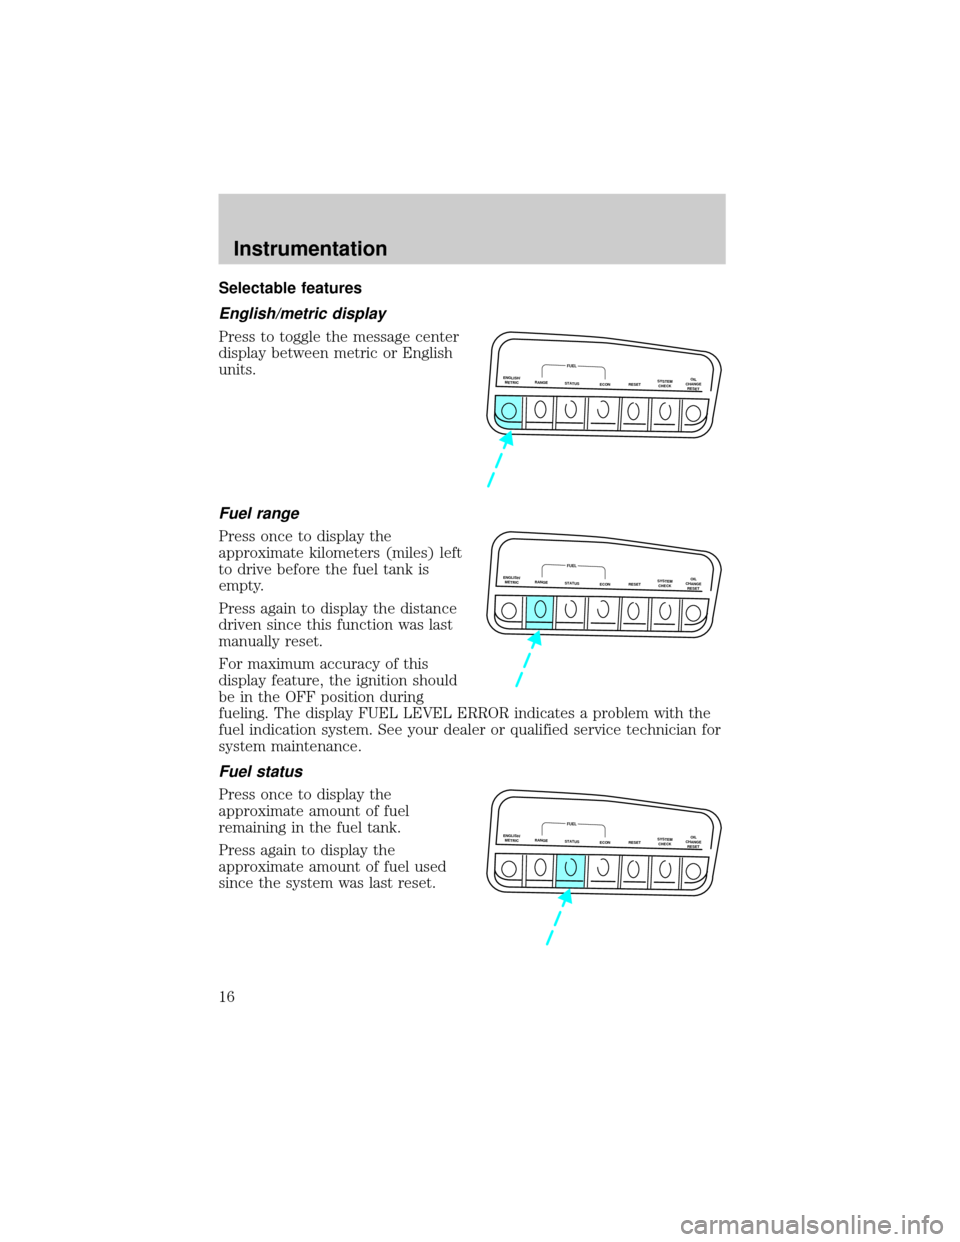
Selectable features
English/metric display
Press to toggle the message center
display between metric or English
units.
Fuel range
Press once to display the
approximate kilometers (miles) left
to drive before the fuel tank is
empty.
Press again to display the distance
driven since this function was last
manually reset.
For maximum accuracy of this
display feature, the ignition should
be in the OFF position during
fueling. The display FUEL LEVEL ERROR indicates a problem with the
fuel indication system. See your dealer or qualified service technician for
system maintenance.
Fuel status
Press once to display the
approximate amount of fuel
remaining in the fuel tank.
Press again to display the
approximate amount of fuel used
since the system was last reset.
ENGLISH/
METRICRANGESTATUS
ECONRESETSYSTEM
CHECKOIL
CHANGE
RESET
FUEL
ENGLISH/
METRICRANGESTATUS
ECONRESETSYSTEM
CHECKOIL
CHANGE
RESET
FUEL
ENGLISH/
METRICRANGESTATUS
ECONRESETSYSTEM
CHECKOIL
CHANGE
RESET
FUEL
Instrumentation
16
Page 17 of 248
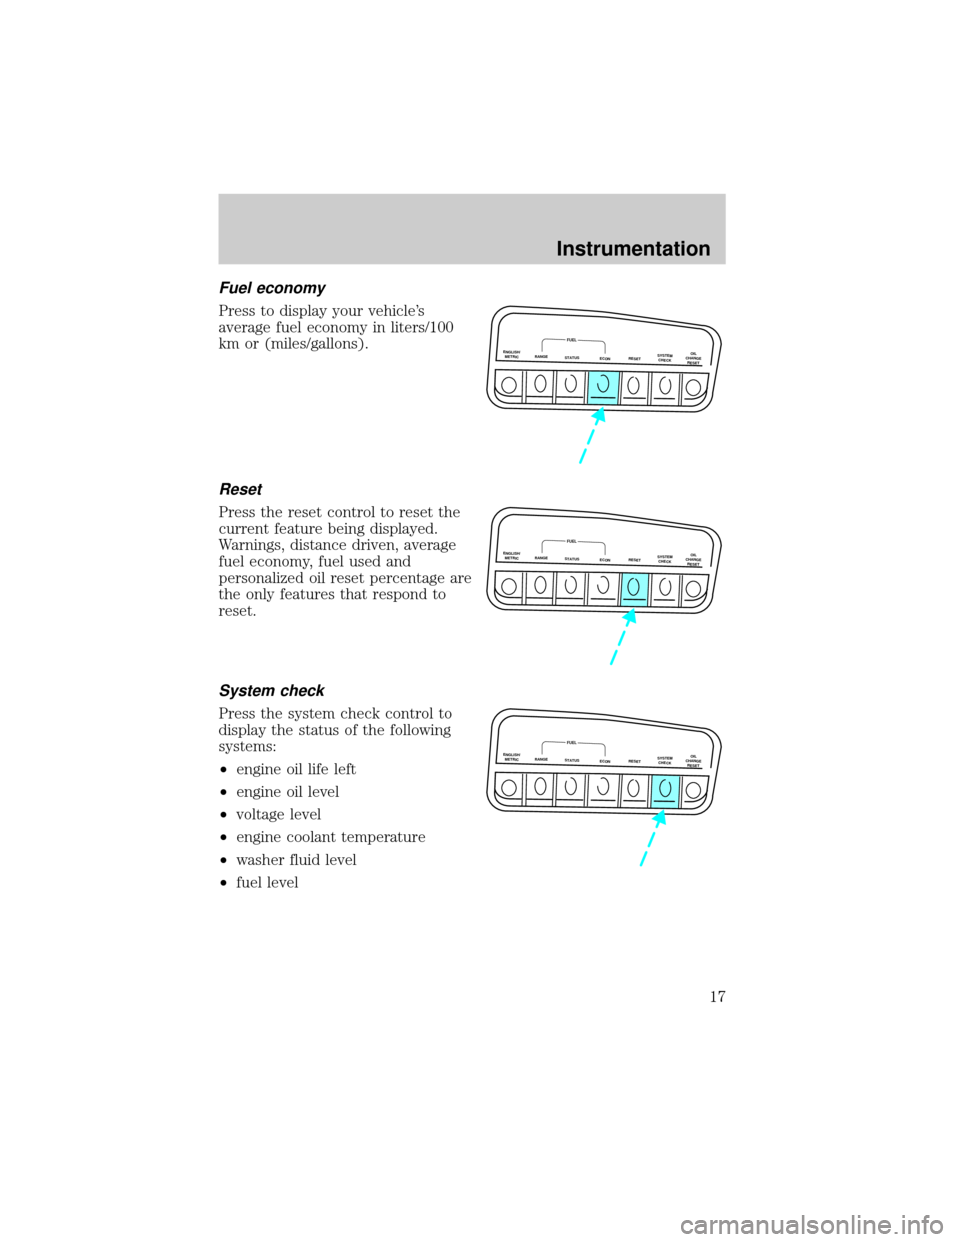
Fuel economy
Press to display your vehicle's
average fuel economy in liters/100
km or (miles/gallons).
Reset
Press the reset control to reset the
current feature being displayed.
Warnings, distance driven, average
fuel economy, fuel used and
personalized oil reset percentage are
the only features that respond to
reset.
System check
Press the system check control to
display the status of the following
systems:
²engine oil life left
²engine oil level
²voltage level
²engine coolant temperature
²washer fluid level
²fuel level
ENGLISH/
METRICRANGESTATUS
ECONRESETSYSTEM
CHECKOIL
CHANGE
RESET
FUEL
ENGLISH/
METRICRANGESTATUS
ECONRESETSYSTEM
CHECKOIL
CHANGE
RESET
FUEL
ENGLISH/
METRICRANGESTATUS
ECONRESETSYSTEM
CHECKOIL
CHANGE
RESET
FUEL
Instrumentation
17
Page 18 of 248
The engine oil life left has two phases. The first display will indicate the
oil change status (OK, SOON, REQUIRED). The second display will
indicate the percentage of oil life remaining. The display OIL TEMP
SIGNAL ERROR indicates a problem with the system. Following this
display, contact your dealer or qualified service technician for system
maintenance.
Operating the message center during system check
The message center controls can be operated as follows during the
system check sequence:
1. Press the system check controls to advance to the next display.
2. Press the reset control to immediately conclude the system check.
3. Press the range, fuel status or fuel economy control to conclude the
system check and display the requested feature.
4. Press the metric/English control to conclude the system check and
change the previous display to the new mode.
5. Press the oil change reset control to conclude the system check and
begin the oil change reset procedure.
An oil change is recommended whenever indicated by the message
center. Use only recommended engine oils.
The message center will tell you the percent of oil life left during system
check. This percentage is based on your driving history and the time
since your last oil change. In order to ensure accurate oil life left
indications, you should only perform the following procedure after you
have the oil changed.
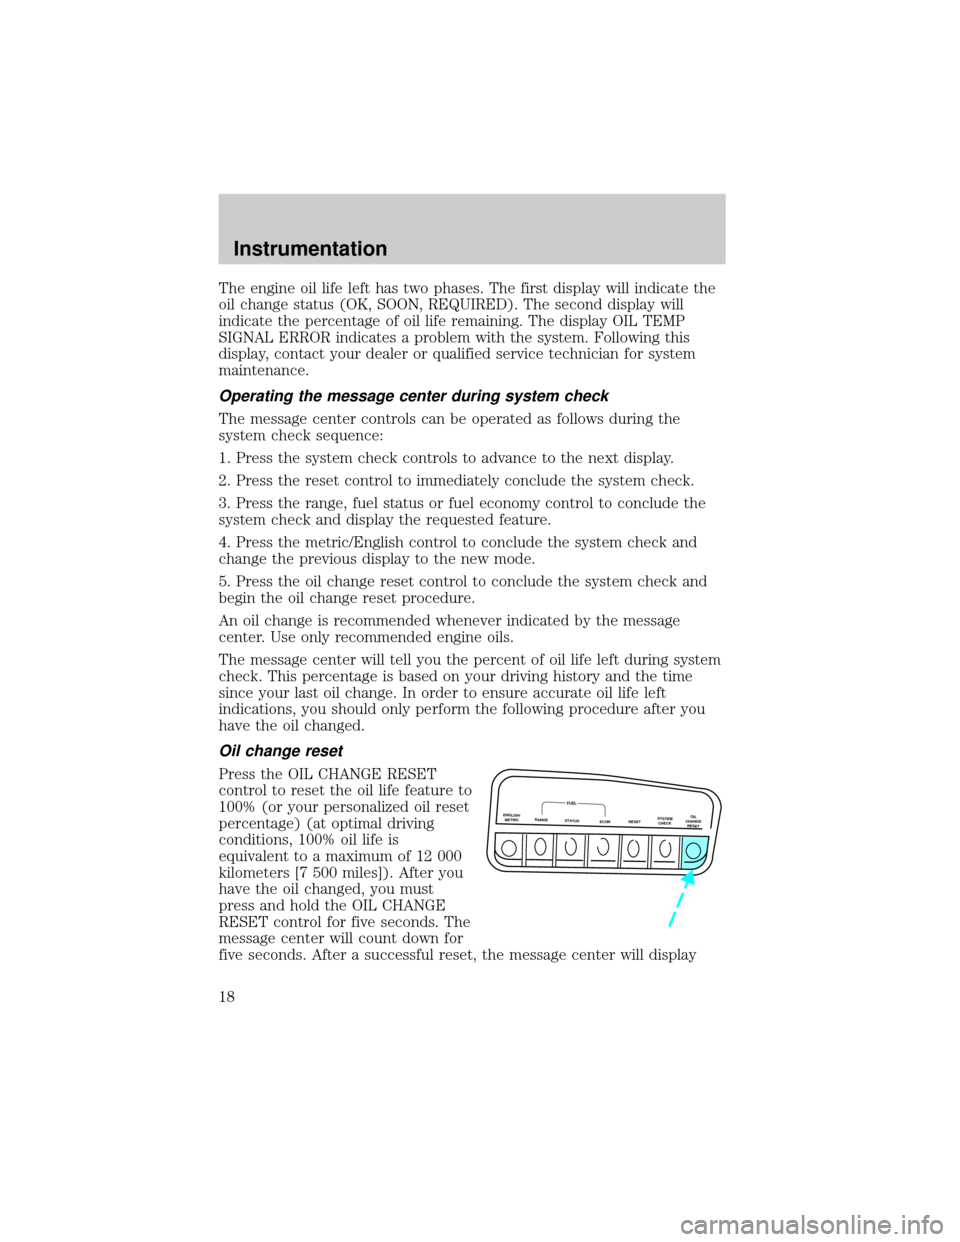
Oil change reset
Press the OIL CHANGE RESET
control to reset the oil life feature to
100% (or your personalized oil reset
percentage) (at optimal driving
conditions, 100% oil life is
equivalent to a maximum of 12 000
kilometers [7 500 miles]). After you
have the oil changed, you must
press and hold the OIL CHANGE
RESET control for five seconds. The
message center will count down for
five seconds. After a successful reset, the message center will display
ENGLISH/
METRICRANGESTATUS
ECONRESETSYSTEM
CHECKOIL
CHANGE
RESET
FUEL
Instrumentation
18
Page 19 of 248
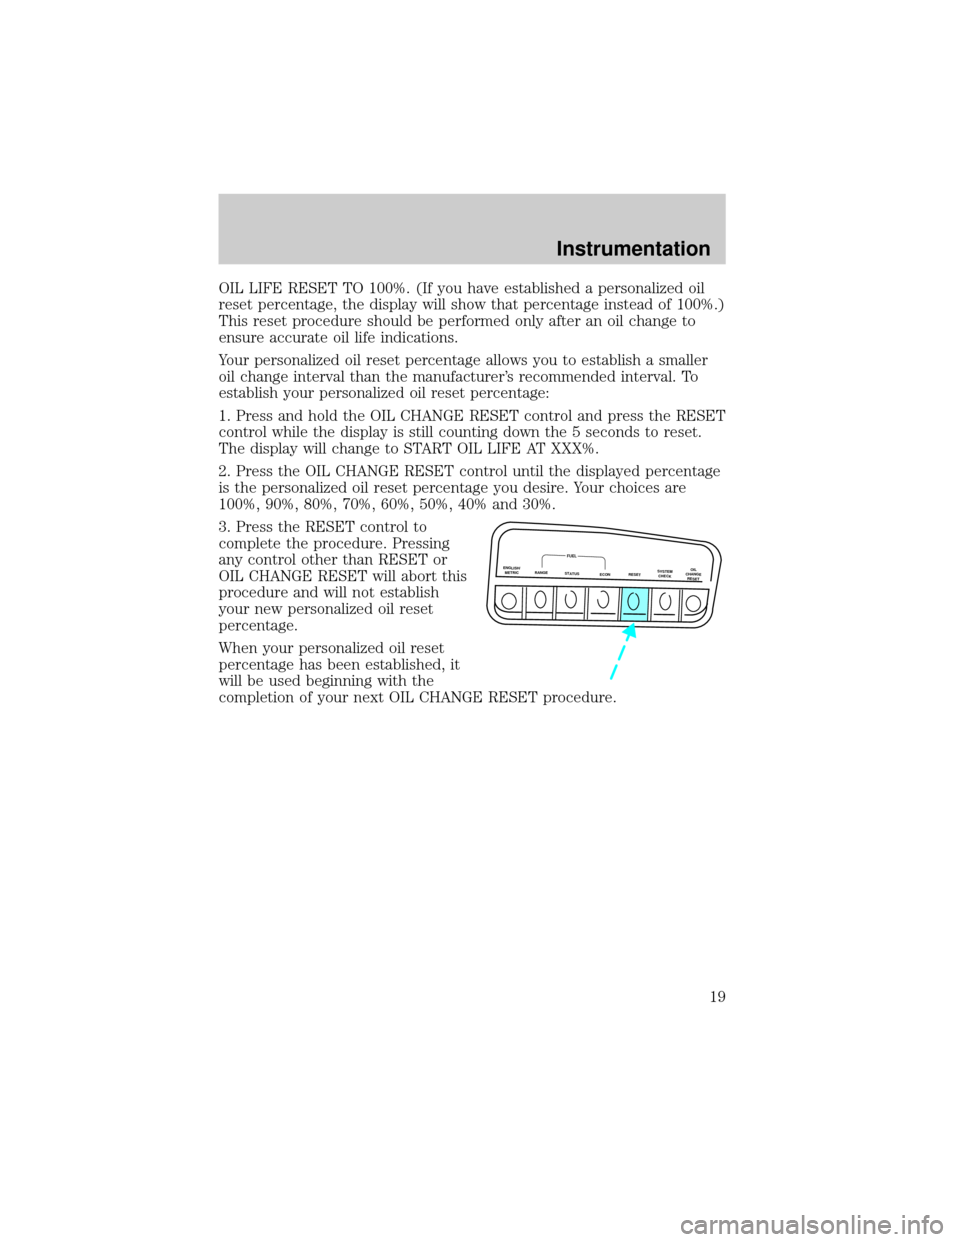
OIL LIFE RESET TO 100%. (If you have established a personalized oil
reset percentage, the display will show that percentage instead of 100%.)
This reset procedure should be performed only after an oil change to
ensure accurate oil life indications.
Your personalized oil reset percentage allows you to establish a smaller
oil change interval than the manufacturer's recommended interval. To
establish your personalized oil reset percentage:
1. Press and hold the OIL CHANGE RESET control and press the RESET
control while the display is still counting down the 5 seconds to reset.
The display will change to START OIL LIFE AT XXX%.
2. Press the OIL CHANGE RESET control until the displayed percentage
is the personalized oil reset percentage you desire. Your choices are
100%, 90%, 80%, 70%, 60%, 50%, 40% and 30%.
3. Press the RESET control to
complete the procedure. Pressing
any control other than RESET or
OIL CHANGE RESET will abort this
procedure and will not establish
your new personalized oil reset
percentage.
When your personalized oil reset
percentage has been established, it
will be used beginning with the
completion of your next OIL CHANGE RESET procedure.
ENGLISH/
METRICRANGESTATUS
ECONRESETSYSTEM
CHECKOIL
CHANGE
RESET
FUEL
Instrumentation
19
Page 25 of 248
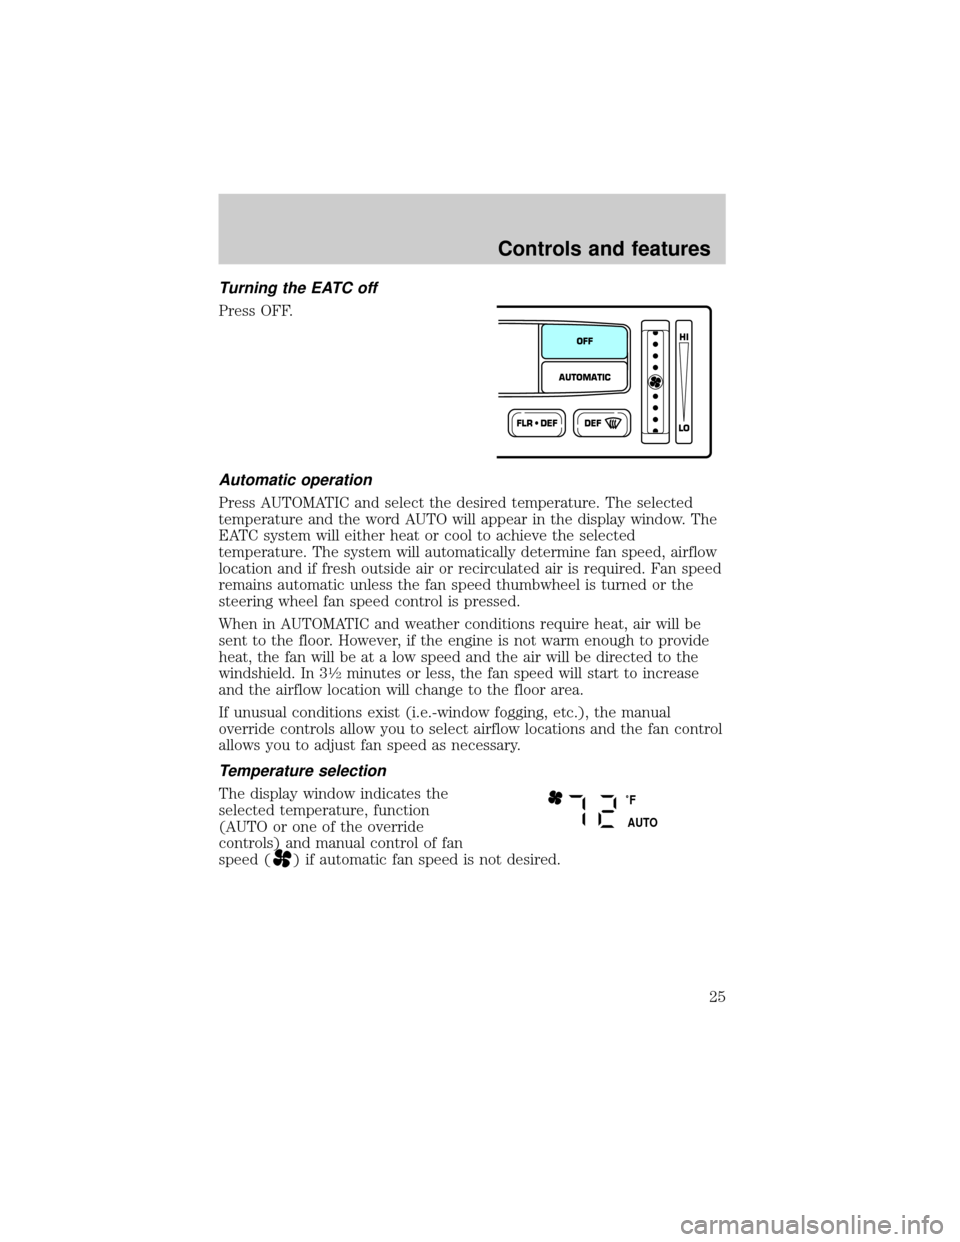
Turning the EATC off
Press OFF.
Automatic operation
Press AUTOMATIC and select the desired temperature. The selected
temperature and the word AUTO will appear in the display window. The
EATC system will either heat or cool to achieve the selected
temperature. The system will automatically determine fan speed, airflow
location and if fresh outside air or recirculated air is required. Fan speed
remains automatic unless the fan speed thumbwheel is turned or the
steering wheel fan speed control is pressed.
When in AUTOMATIC and weather conditions require heat, air will be
sent to the floor. However, if the engine is not warm enough to provide
heat, the fan will be at a low speed and the air will be directed to the
windshield. In 3
1¤2minutes or less, the fan speed will start to increase
and the airflow location will change to the floor area.
If unusual conditions exist (i.e.-window fogging, etc.), the manual
override controls allow you to select airflow locations and the fan control
allows you to adjust fan speed as necessary.
Temperature selection
The display window indicates the
selected temperature, function
(AUTO or one of the override
controls) and manual control of fan
speed (
) if automatic fan speed is not desired.
FLR • DEFDEF
HI
LO
AUTOMATICOFF
˚F
AUTO
Controls and features
25
Page 26 of 248
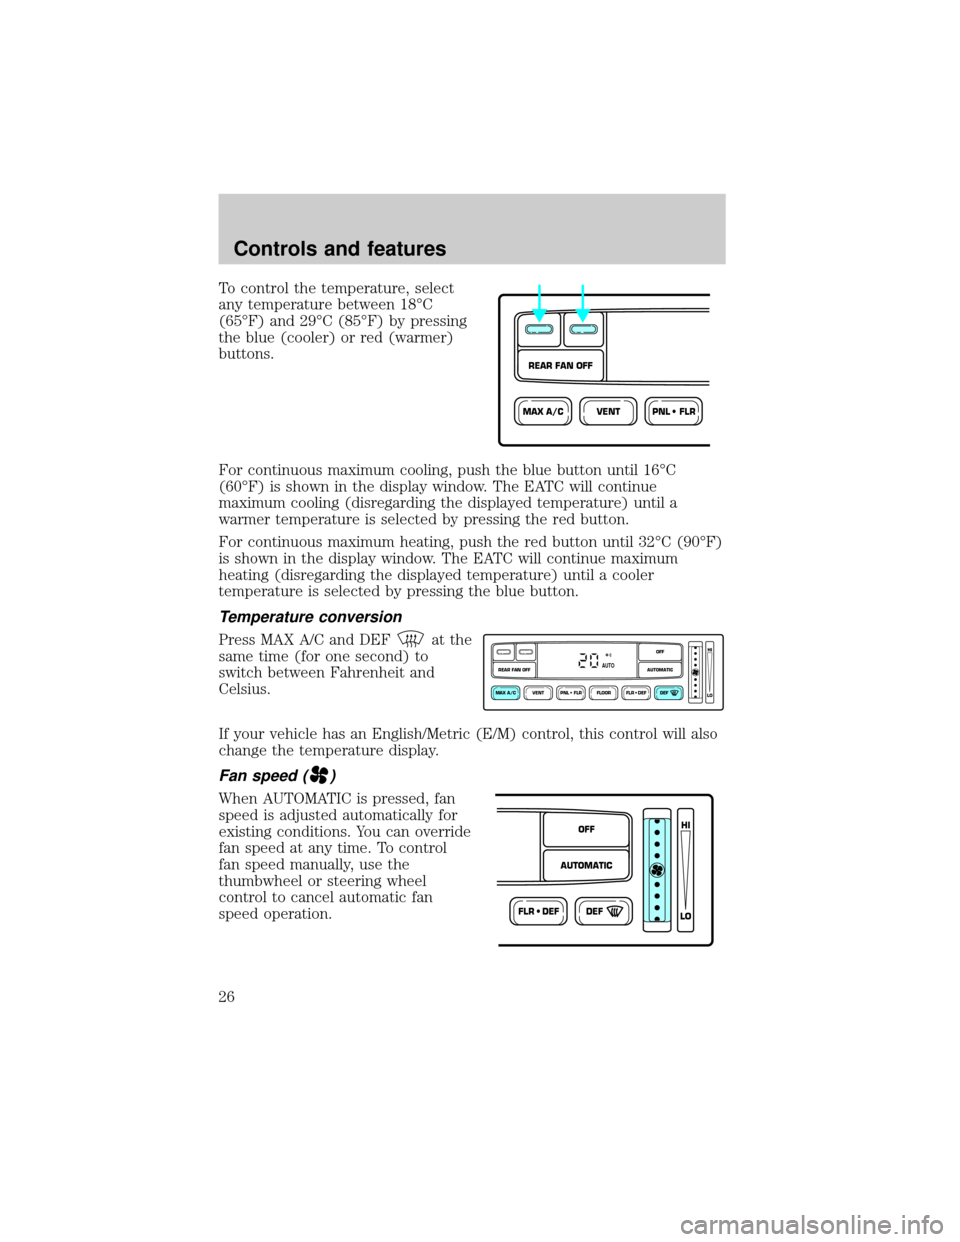
To control the temperature, select
any temperature between 18ÉC
(65ÉF) and 29ÉC (85ÉF) by pressing
the blue (cooler) or red (warmer)
buttons.
For continuous maximum cooling, push the blue button until 16ÉC
(60ÉF) is shown in the display window. The EATC will continue
maximum cooling (disregarding the displayed temperature) until a
warmer temperature is selected by pressing the red button.
For continuous maximum heating, push the red button until 32ÉC (90ÉF)
is shown in the display window. The EATC will continue maximum
heating (disregarding the displayed temperature) until a cooler
temperature is selected by pressing the blue button.
Temperature conversion
Press MAX A/C and DEFat the
same time (for one second) to
switch between Fahrenheit and
Celsius.
If your vehicle has an English/Metric (E/M) control, this control will also
change the temperature display.
Fan speed ()
When AUTOMATIC is pressed, fan
speed is adjusted automatically for
existing conditions. You can override
fan speed at any time. To control
fan speed manually, use the
thumbwheel or steering wheel
control to cancel automatic fan
speed operation.
VENTPNL • FLRMAX A/C
REAR FAN OFF
VENT PNL • FLR FLOOR FLR • DEF DEF
HI
LO
MAX A/C
REAR FAN OFF AUTOMATICOFFAUTO
FLR • DEFDEF
HI
LO
AUTOMATICOFF
Controls and features
26
Page 27 of 248
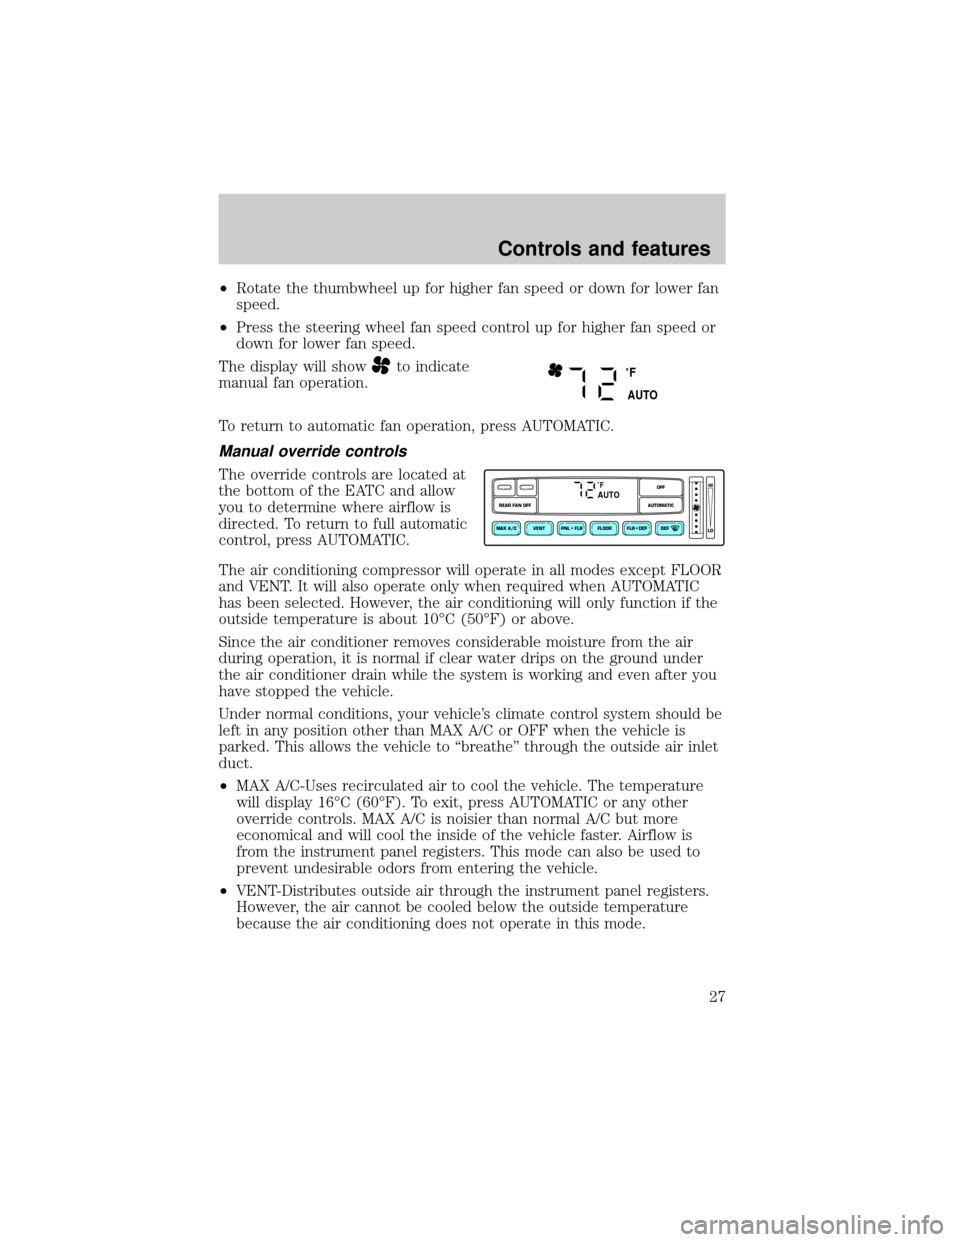
²Rotate the thumbwheel up for higher fan speed or down for lower fan
speed.
²Press the steering wheel fan speed control up for higher fan speed or
down for lower fan speed.
The display will show
to indicate
manual fan operation.
To return to automatic fan operation, press AUTOMATIC.
Manual override controls
The override controls are located at
the bottom of the EATC and allow
you to determine where airflow is
directed. To return to full automatic
control, press AUTOMATIC.
The air conditioning compressor will operate in all modes except FLOOR
and VENT. It will also operate only when required when AUTOMATIC
has been selected. However, the air conditioning will only function if the
outside temperature is about 10ÉC (50ÉF) or above.
Since the air conditioner removes considerable moisture from the air
during operation, it is normal if clear water drips on the ground under
the air conditioner drain while the system is working and even after you
have stopped the vehicle.
Under normal conditions, your vehicle's climate control system should be
left in any position other than MAX A/C or OFF when the vehicle is
parked. This allows the vehicle to ªbreatheº through the outside air inlet
duct.
²MAX A/C-Uses recirculated air to cool the vehicle. The temperature
will display 16ÉC (60ÉF). To exit, press AUTOMATIC or any other
override controls. MAX A/C is noisier than normal A/C but more
economical and will cool the inside of the vehicle faster. Airflow is
from the instrument panel registers. This mode can also be used to
prevent undesirable odors from entering the vehicle.
²VENT-Distributes outside air through the instrument panel registers.
However, the air cannot be cooled below the outside temperature
because the air conditioning does not operate in this mode.
˚F
AUTO
VENT PNL • FLR FLOOR FLR • DEF DEF
HI
LO
MAX A/C
REAR FAN OFF AUTOMATICOFF
˚FAUTO
Controls and features
27
Page 29 of 248
The EATC display window will indicate REAR FAN OFF.
The rear console fan will remain off until REAR FAN OFF is pressed
again.
Operating tips
²In humid weather, select DEFbefore driving. This will prevent
your windshield from fogging. After a few minutes, select any desired
position.
²To prevent humidity buildup inside the vehicle, don't drive with the
climate control system in the OFF position.
²Don't put objects under the front seat that will interfere with the
airflow to the back seats.
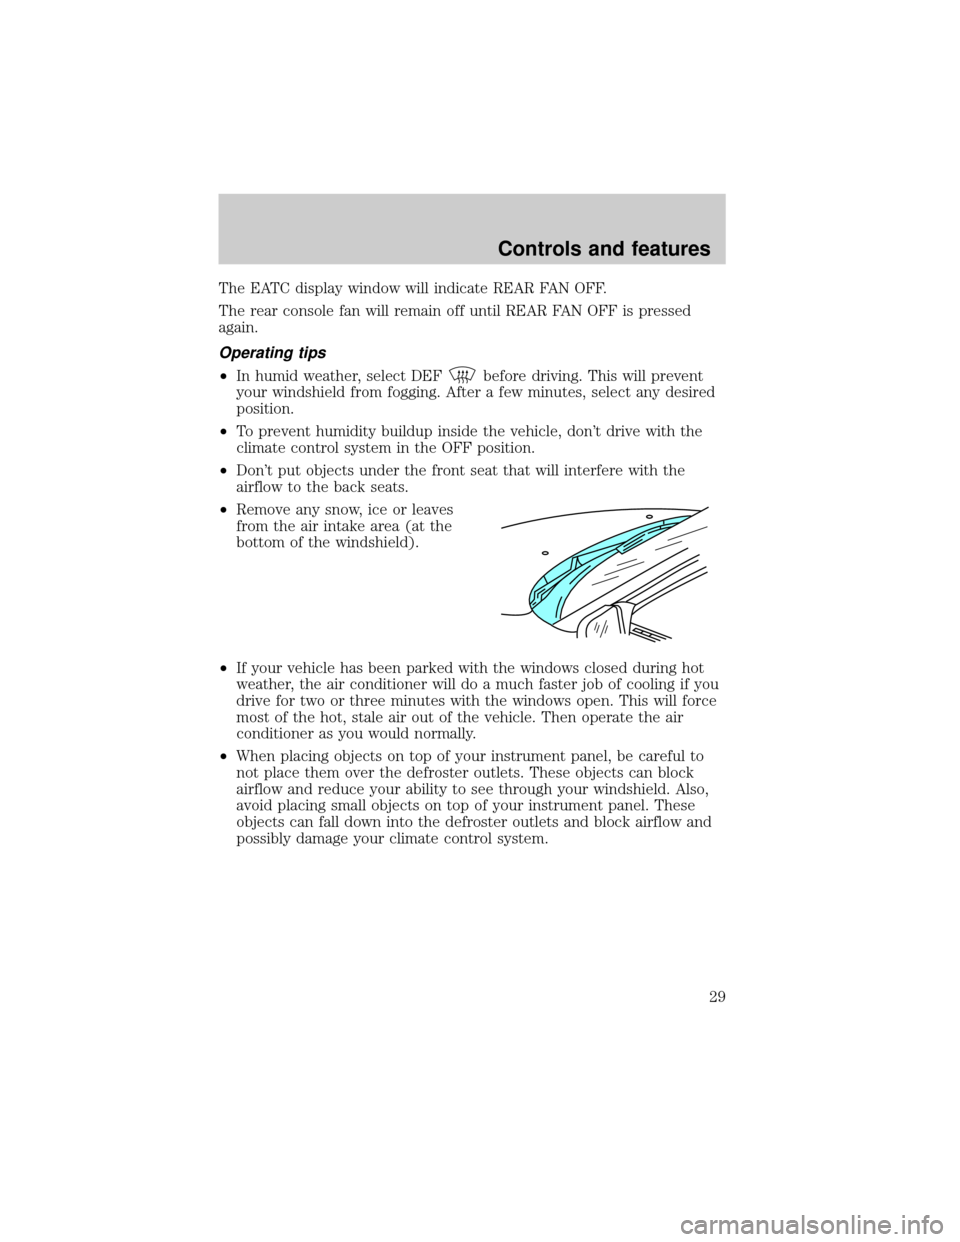
²Remove any snow, ice or leaves
from the air intake area (at the
bottom of the windshield).
²If your vehicle has been parked with the windows closed during hot
weather, the air conditioner will do a much faster job of cooling if you
drive for two or three minutes with the windows open. This will force
most of the hot, stale air out of the vehicle. Then operate the air
conditioner as you would normally.
²When placing objects on top of your instrument panel, be careful to
not place them over the defroster outlets. These objects can block
airflow and reduce your ability to see through your windshield. Also,
avoid placing small objects on top of your instrument panel. These
objects can fall down into the defroster outlets and block airflow and
possibly damage your climate control system.
Controls and features
29
Page 56 of 248
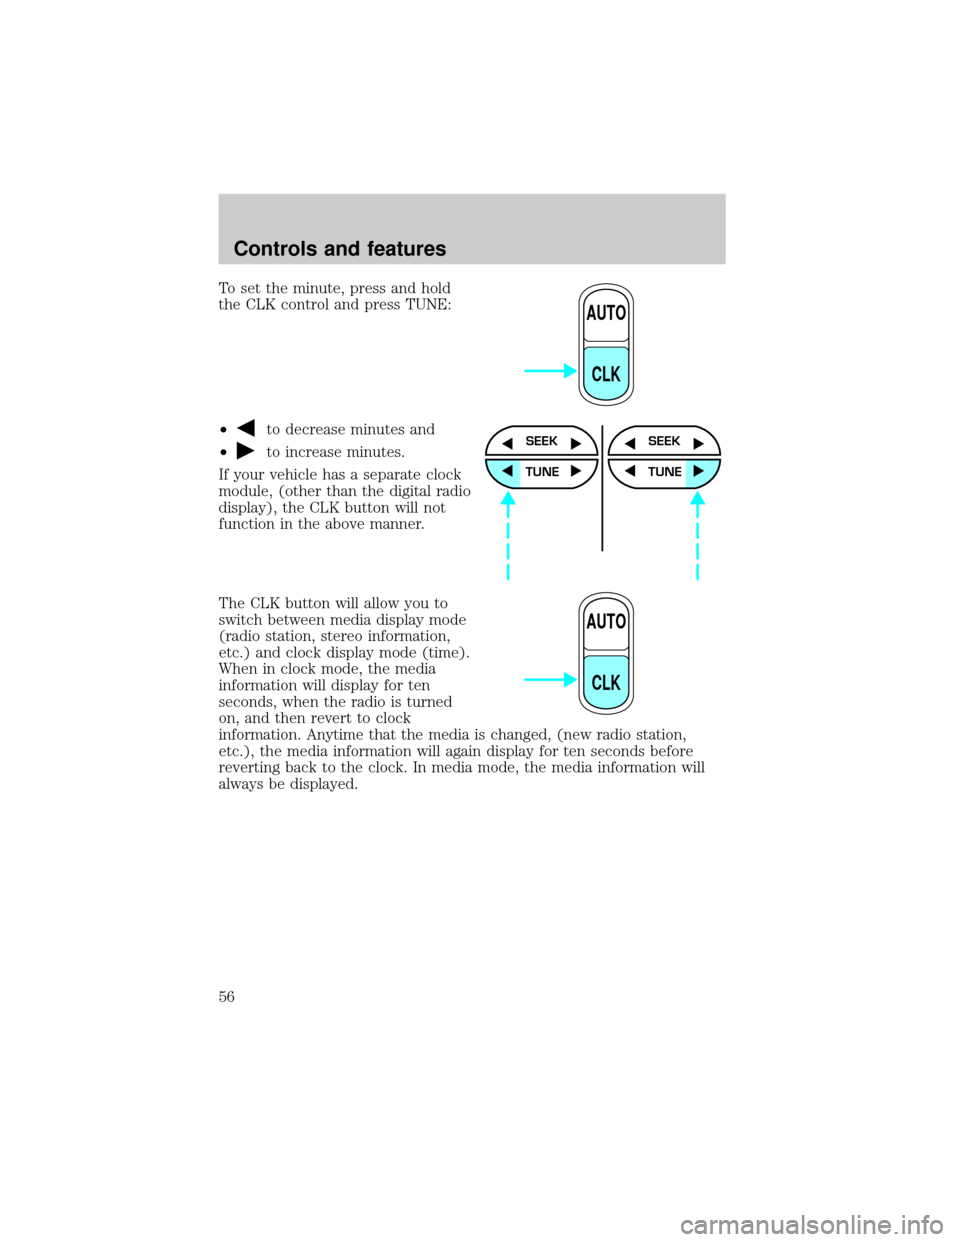
To set the minute, press and hold
the CLK control and press TUNE:
²
to decrease minutes and
²
to increase minutes.
If your vehicle has a separate clock
module, (other than the digital radio
display), the CLK button will not
function in the above manner.
The CLK button will allow you to
switch between media display mode
(radio station, stereo information,
etc.) and clock display mode (time).
When in clock mode, the media
information will display for ten
seconds, when the radio is turned
on, and then revert to clock
information. Anytime that the media is changed, (new radio station,
etc.), the media information will again display for ten seconds before
reverting back to the clock. In media mode, the media information will
always be displayed.
AUTO
CLK
SEEK
TUNE
SEEK
TUNE
AUTO
CLK
Controls and features
56