ECO mode Mercury Mountaineer 2000 Owner's Manuals
[x] Cancel search | Manufacturer: MERCURY, Model Year: 2000, Model line: Mountaineer, Model: Mercury Mountaineer 2000Pages: 264, PDF Size: 2.29 MB
Page 9 of 264

3. The fuel cap may not have been properly installed and securely
tightened.
These temporary malfunctions can be corrected by filling the fuel tank
with high quality fuel of the recommended octane and/or properly
installing and securely tightening the gas cap. After three driving cycles
without these or any other temporary malfunctions present, theCheck
Enginelight should turn off. (A driving cycle consists of a cold engine
startup followed by mixed city/highway driving.) No additional vehicle
service is required.
If theCheck Enginelight remains on, have your vehicle serviced at the
first available opportunity.
Light is blinking:
Engine misfire is occurring which could damage your catalytic converter.
You should drive in a moderate fashion (avoid heavy acceleration and
deceleration) and have your vehicle serviced at the first available
opportunity.
Under engine misfire conditions, excessive exhaust temperatures
could damage the catalytic converter, the fuel system, interior
floor coverings or other vehicle components, possibly causing a fire.
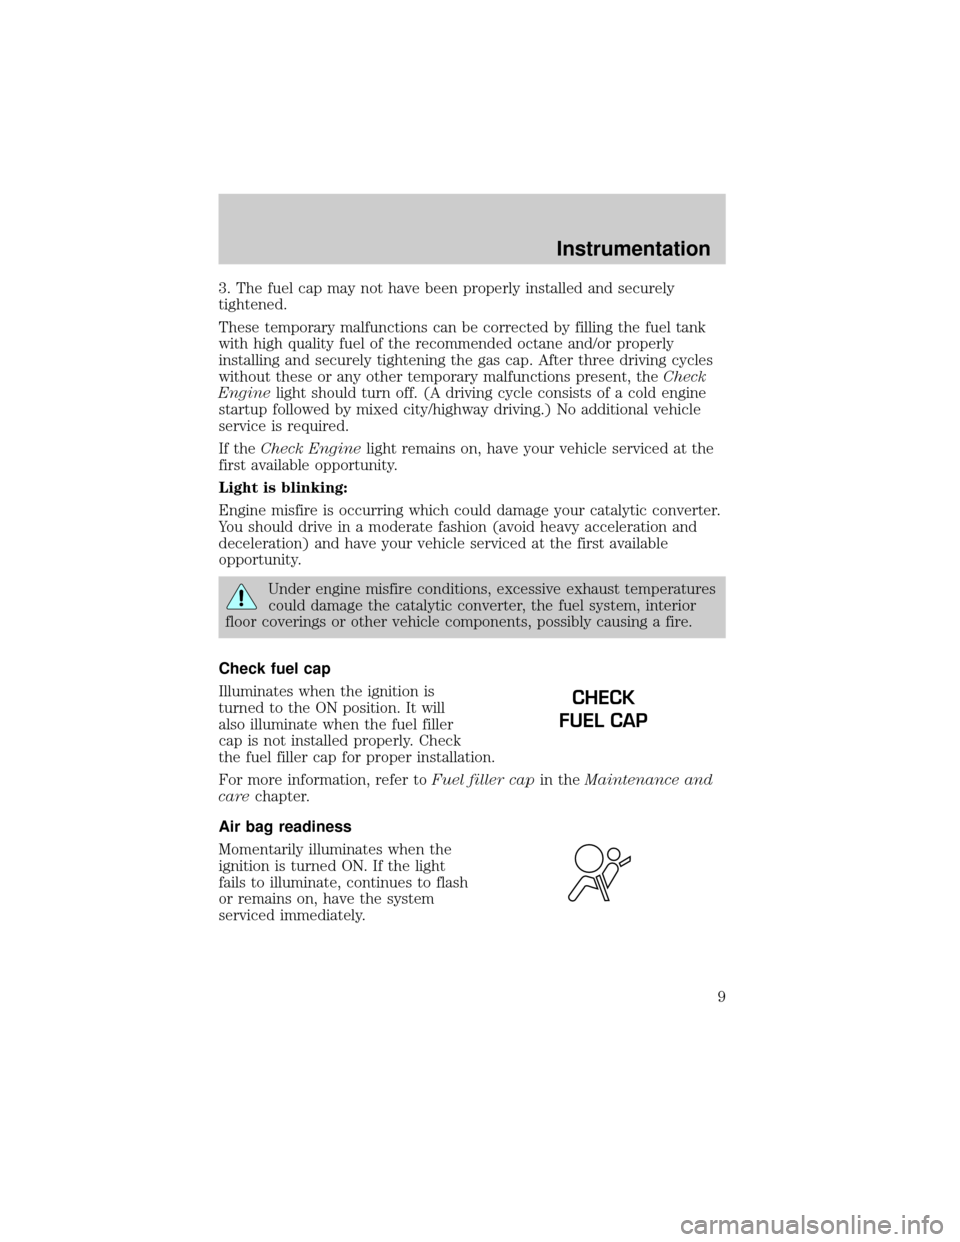
Check fuel cap
Illuminates when the ignition is
turned to the ON position. It will
also illuminate when the fuel filler
cap is not installed properly. Check
the fuel filler cap for proper installation.
For more information, refer toFuel filler capin theMaintenance and
carechapter.
Air bag readiness
Momentarily illuminates when the
ignition is turned ON. If the light
fails to illuminate, continues to flash
or remains on, have the system
serviced immediately.
CHECK
FUEL CAP
Instrumentation
9
Page 12 of 264

Four wheel drive high (if equipped)
Momentarily illuminates when the
ignition is turned to the START
position. Illuminates when
four-wheel drive high is engaged. If
the light continues to flash have the system serviced.
Door ajar
Illuminates when the ignition is in
the ON or START position and any
door is open.
O/D off
Illuminates when the Transmission
Control Switch (TCS), refer to
Overdrive controlin theControls
and Featureschapter, has been
pushed turning the transmission overdrive function OFF. When the light
is on, the transmission does not operate in the overdrive mode, refer to
theDrivingchapter for transmission function and operation.
The light may also flash steadily if a transmission malfunction is
detected. If the light does not come on when the Transmission Control
Switch is depressed or if the light flashes steadily, have your vehicle
serviced as soon as possible, damage to the transmission could occur.
Check air suspension (if equipped)
Illuminates momentarily when the
ignition is turned to the ON position
and the engine is OFF. The light
also illuminates when the air
suspension system requires servicing.
For information, refer toAir suspension systemin theDrivingchapter.
4WD
HIGH
DOOR
AJAR
O/D
OFF
CHECK
SUSP
Instrumentation
12
Page 19 of 264

System check
Press the system check control to
display the status of the following
systems:
²engine oil life left
²engine oil level
²voltage level
²engine coolant temperature
²washer fluid level
²fuel level
The engine oil life left has two phases. The first display will indicate the
oil change status (OK, SOON, REQUIRED). The second display will
indicate the percentage of oil life remaining. The display OIL TEMP
SIGNAL ERROR indicates a problem with the system. Following this
display, contact your dealer or qualified service technician for system
maintenance.
Operating the message center during system check
The message center controls can be operated as follows during the
system check sequence:
1. Press the system check controls to advance to the next display.
2. Press the reset control to immediately conclude the system check.
3. Press the range, fuel status or fuel economy control to conclude the
system check and display the requested feature.
4. Press the metric/English control to conclude the system check and
change the previous display to the new mode.
5. Press the oil change reset control to conclude the system check and
begin the oil change reset procedure.
An oil change is recommended whenever indicated by the message
center. Use only recommended engine oils.
The message center will tell you the percent of oil life left during system
check. This percentage is based on your driving history and the time
since your last oil change. In order to ensure accurate oil life left
indications, you should only perform the following procedure after you
have the oil changed.
ENGLISH/
METRICRANGESTATUS
ECONRESETSYSTEM
CHECKOIL
CHANGE
RESET
FUEL
Instrumentation
19
Page 23 of 264

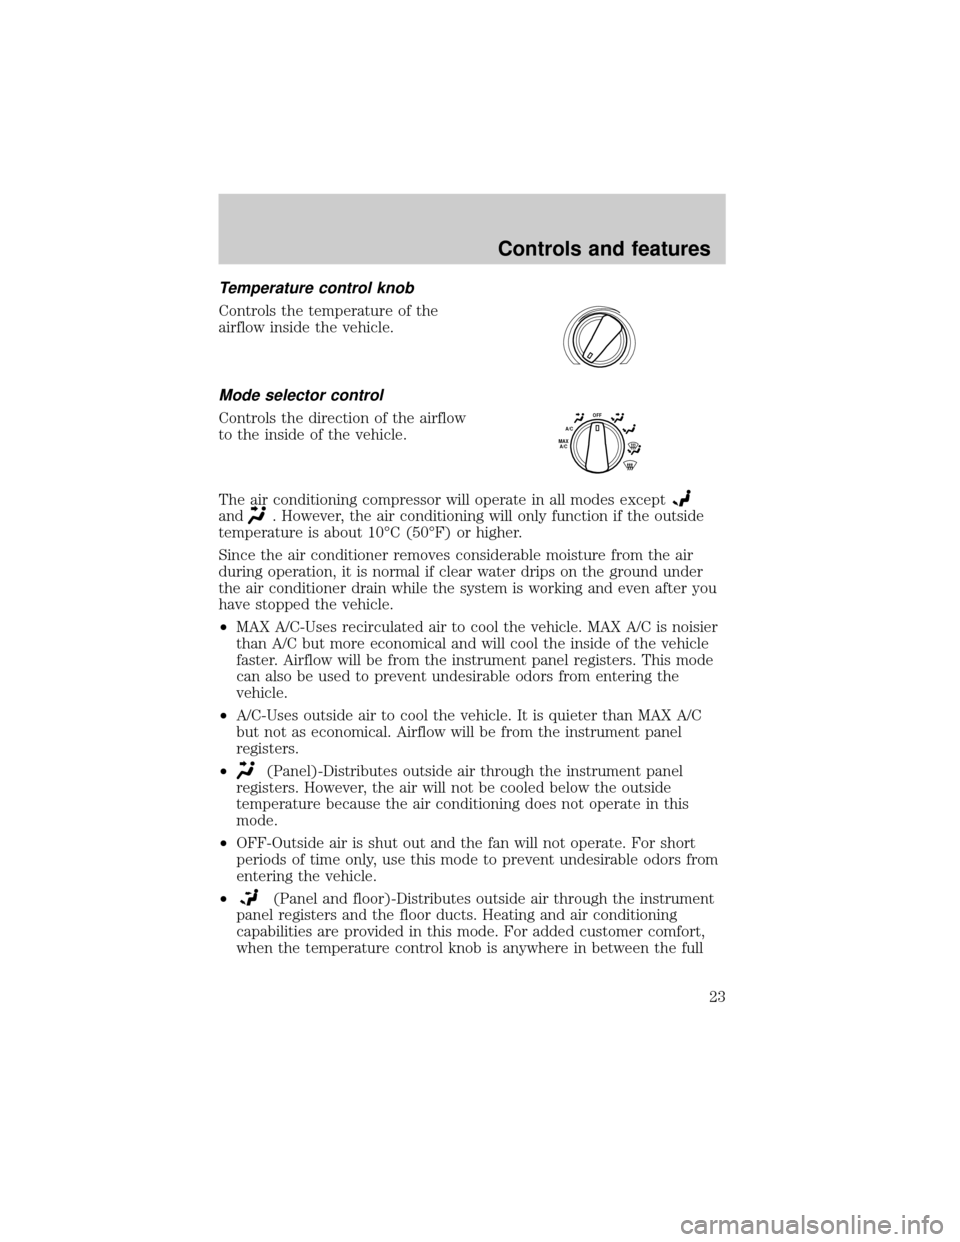
Temperature control knob
Controls the temperature of the
airflow inside the vehicle.
Mode selector control
Controls the direction of the airflow
to the inside of the vehicle.
The air conditioning compressor will operate in all modes except
and. However, the air conditioning will only function if the outside
temperature is about 10ÉC (50ÉF) or higher.
Since the air conditioner removes considerable moisture from the air
during operation, it is normal if clear water drips on the ground under
the air conditioner drain while the system is working and even after you
have stopped the vehicle.
²MAX A/C-Uses recirculated air to cool the vehicle. MAX A/C is noisier
than A/C but more economical and will cool the inside of the vehicle
faster. Airflow will be from the instrument panel registers. This mode
can also be used to prevent undesirable odors from entering the
vehicle.
²A/C-Uses outside air to cool the vehicle. It is quieter than MAX A/C
but not as economical. Airflow will be from the instrument panel
registers.
²
(Panel)-Distributes outside air through the instrument panel
registers. However, the air will not be cooled below the outside
temperature because the air conditioning does not operate in this
mode.
²OFF-Outside air is shut out and the fan will not operate. For short
periods of time only, use this mode to prevent undesirable odors from
entering the vehicle.
²
(Panel and floor)-Distributes outside air through the instrument
panel registers and the floor ducts. Heating and air conditioning
capabilities are provided in this mode. For added customer comfort,
when the temperature control knob is anywhere in between the full
OFFA/CMAX
A/C
Controls and features
23
Page 29 of 264

Since the air conditioner removes considerable moisture from the air
during operation, it is normal if clear water drips on the ground under
the air conditioner drain while the system is working and even after you
have stopped the vehicle.
²MAX A/C-Uses recirculated air to cool the vehicle. The temperature
will display 16ÉC (60ÉF). To exit, press AUTOMATIC or any other
override controls. MAX A/C is noisier than normal A/C but more
economical and will cool the inside of the vehicle faster. Airflow is
from the instrument panel registers. This mode can also be used to
prevent undesirable odors from entering the vehicle.
²VENT-Distributes outside air through the instrument panel registers.
However, the air cannot be cooled below the outside temperature
because the air conditioning does not operate in this mode.
²PNL²FLR-Distributes outside air through the instrument panel
registers and the floor ducts. Heating and air conditioning capabilities
are provided in this mode. The air will be heated or cooled based on
the temperature selection. For added customer comfort, the air
distributed through the floor ducts will be slightly warmer than the air
sent to the instrument panel registers.
²FLOOR-Allows for maximum heating by distributing outside air
through the floor ducts. However, the air cannot be cooled below the
outside temperature because the air conditioning does not operate in
this mode.
²FLR²DEF-Distributes outside air through the windshield defroster
ducts and the floor ducts. Heating and air conditioning capabilities are
provided in this mode. The air will be heated or cooled based on the
temperature selection. For added customer comfort, the air
distributed through the floor ducts will be slightly warmer than the air
sent to the windshield defroster ducts. If the temperature is about
10ÉC (50ÉF) or higher, the air conditioner will automatically
dehumidify the air to reduce fogging.
²DEF
-Distributes outside air through the windshield defroster
ducts. It can be used to clear ice or fog from the windshield. If the
outside air temperature is about 10ÉC (50ÉF) or higher, the air
conditioner will automatically dehumidify the air to reduce fogging.
²OFF-Outside air is shut out and the fan will not operate. For short
periods of time only, use this mode to reduce undesirable odors from
entering the vehicle.
Controls and features
29
Page 31 of 264

²Remove any snow, ice or leaves
from the air intake area (at the
bottom of the windshield).
²If your vehicle has been parked with the windows closed during hot
weather, the air conditioner will do a much faster job of cooling if you
drive for two or three minutes with the windows open. This will force
most of the hot, stale air out of the vehicle. Then operate the air
conditioner as you would normally.
²When placing objects on top of your instrument panel, be careful to
not place them over the defroster outlets. These objects can block
airflow and reduce your ability to see through your windshield. Also,
avoid placing small objects on top of your instrument panel. These
objects can fall down into the defroster outlets and block airflow and
possibly damage your climate control system.
Do not place objects on top of the instrument panel, as these
objects may become projectiles in a collision or sudden stop.
Rear console climate controls (if equipped)
Depending on the equipment
package of your vehicle, the rear
console may be equipped with rear
console audio/climate controls.
The instrument panel climate controls must be on in order for the rear
console climate controls to work.
Turn the air distribution control to the desired airflow position.
- VOLUME +
MODE
SEEK MEMORY
Controls and features
31
Page 40 of 264

selection). The tape deck stops and returns to play mode when the AMS
circuit senses a blank section on the tape.
In order to ensure proper operation of the AMS feature, the tape MUST
have a blank section of at least four seconds duration between programs.
Rewind
The rewind control works in tape
mode.
To rewind in tape mode, press the
REW control.
Fast forward
The fast forward control works in
tape mode.
²In the tape mode, tape direction
will automatically reverse when
the end of the tape is reached.
Tape direction select
Press SIDE and 1±2 at the same
time to play the alternate side of a
tape.
Eject function
Press the control to stop and eject a
tape.
DolbyTnoise reduction
Dolbytnoise reduction operates
only in tape mode. Dolbytnoise
reduction reduces the amount of
hiss and static during tape playback.
Press the
control to activate (and deactivate) Dolbytnoise
reduction.
Dolbytnoise reduction is manufactured under license from Dolbyt
Laboratories Licensing Corporation. ªDolbytº and the double-D symbol
are trademarks of Dolby Laboratories Licensing Corporation.
SIDE
REW FF1 - 2
SIDE
REW FF1 - 2
SIDE
REW FF1 - 2
EJ
4
Controls and features
40
Page 42 of 264

When in clock mode, the media information will display for 10 seconds,
when the radio is turned on, and then revert to clock information.
Anytime that the media is changed, (new radio station, etc.), the media
information will again display for 10 seconds before reverting back to the
clock. In media mode, the media information will always be displayed.
Premium AM/FM Stereo/Cassette/Single CD
Volume/power control
Press the control to turn the audio
system on or off.
Audio power can also be turned on
by pressing the AM/FM select
control or the tape/CD select
control. Audio power is turned off
by using the volume/power control.
FM 1
AMC
BL RF
REW FFSCAN
BASS TREB SEL BALTAPE DISC
EJ CD
FADEAUTO
CLK
SIDE 1-2 COMP SHUFFLEEJ
MUTE
VOL PUSH ON
SEEK
TUNE AM FM
12 3456
DOLBY B NR
ST
VOL - PUSH ON
Controls and features
42
Page 45 of 264

Seek function in radio mode
²Pressto find the next
listenable station down the
frequency band.
²Press
to find the next
listenable station up the
frequency band.
Seek function in tape mode
²Pressto listen to the previous selection on the tape.
²Press
to listen to the next selection on the tape.
Seek function for CD or CD changer (if equipped)
²Pressto seek to the previous
track of the current disc. If a
selection has been playing for
three seconds or more and you
press
, the CD changer will
replay that selection from the
beginning.
²Press
to seek forward to the
next track of the current disc.
After the last track has been
completed, the first track of the
current disc will automatically replay.
Scan function
The scan function works in radio,
tape or CD mode.
Scan function in radio mode
Press the SCAN control to hear a brief sampling of all listenable stations
on the frequency band. Press the control again to stop the scan mode.
SEEKSEEK
TUNE TUNE
SEEKSEEK
TUNE TUNE
SCAN
Controls and features
45
Page 52 of 264

The CLK button will allow you to
switch between media display mode
(radio station, stereo information,
etc.) and clock display mode (time).
When in clock mode, the media
information will display for 10
seconds, when the radio is turned
on, and then revert to clock
information. Anytime that the media
is changed, (new radio station, etc.), the media information will again
display for 10 seconds before reverting back to the clock. In media mode,
the media information will always be displayed.
Mute mode
Press the control to mute the
playing media. Press the control
again to return to the playing media.
Rear seat controls (if equipped)
The Personal Audio System, a
feature of the optional Premium
AM/FM Stereo/Cassette/Single CD
and the MACHtAudio System with
AM/FM Stereo/Cassette/Single CD,
allows front and middle seat
passengers to listen to different
media sources (radio, cassette or
CD) simultaneously. However, the
front and middle-seat passengers
cannot listen to two different radio
stations at the same time.
AUTO
CLK
EJ
MUTE
- VOLUME +
MODE
SEEK MEMORY
Controls and features
52