steering wheel Mercury Mountaineer 2003 Owner's Manuals
[x] Cancel search | Manufacturer: MERCURY, Model Year: 2003, Model line: Mountaineer, Model: Mercury Mountaineer 2003Pages: 264, PDF Size: 2.5 MB
Page 1 of 264

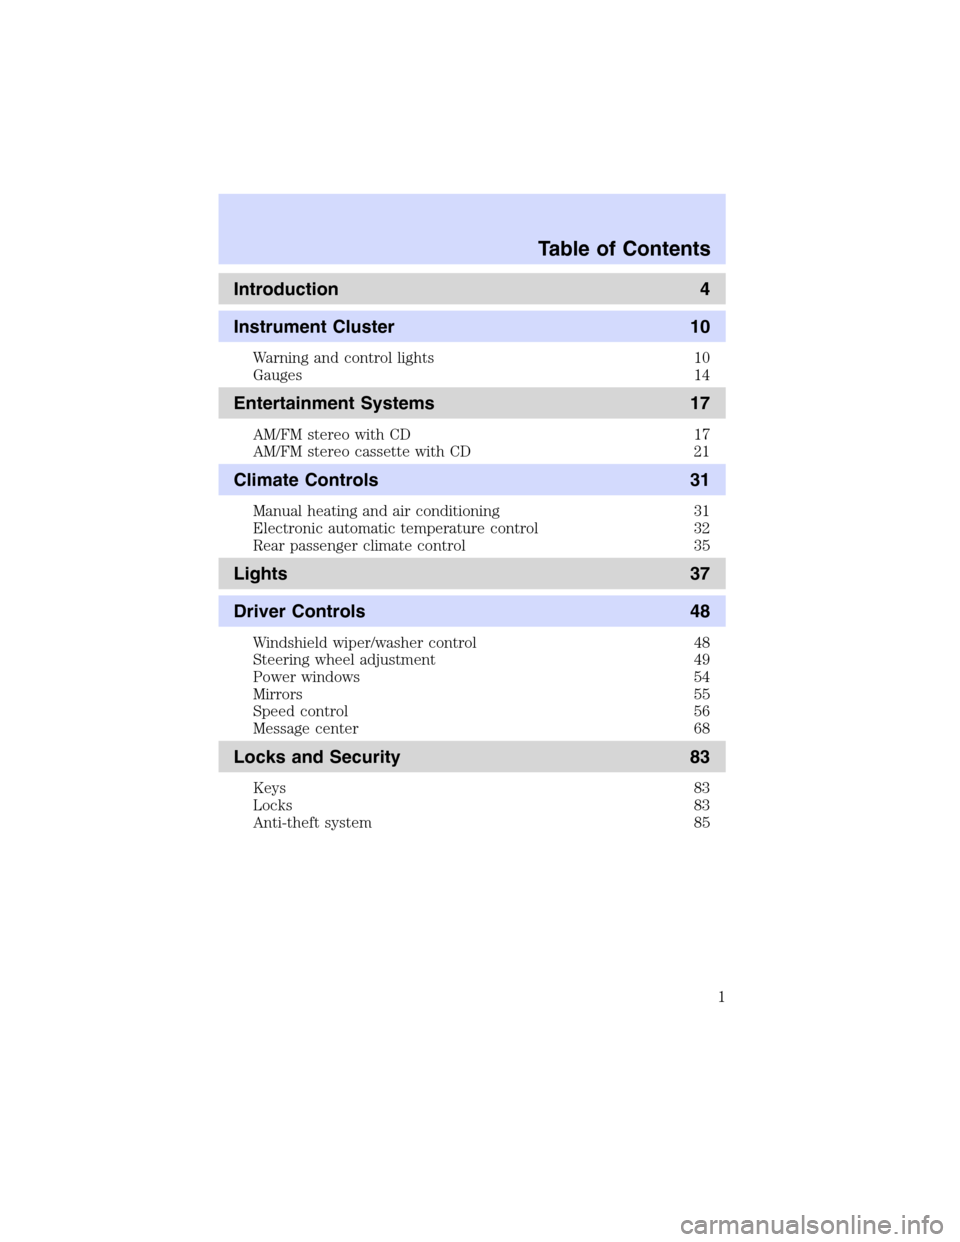
Introduction 4
Instrument Cluster 10
Warning and control lights 10
Gauges 14
Entertainment Systems 17
AM/FM stereo with CD 17
AM/FM stereo cassette with CD 21
Climate Controls 31
Manual heating and air conditioning 31
Electronic automatic temperature control 32
Rear passenger climate control 35
Lights 37
Driver Controls 48
Windshield wiper/washer control 48
Steering wheel adjustment 49
Power windows 54
Mirrors 55
Speed control 56
Message center 68
Locks and Security 83
Keys 83
Locks 83
Anti-theft system 85
Table of Contents
Table of Contents
1
Page 57 of 264

Setting speed control
The controls for using your speed
control are located on the steering
wheel for your convenience.
1. Press the ON control and release
it.
2. Accelerate to the desired speed.
3. Press the SET + control and
release it.
4. Take your foot off the accelerator
pedal.
5. The indicator light
on the
instrument cluster will turn on.
Note:
•Vehicle speed may vary momentarily when driving up and down a
steep hill.
•If the vehicle speed increases above the set speed on a downhill, you
may want to apply the brakes to reduce the speed.
•If the vehicle speed decreases more than 16 km/h (10 mph) below
your set speed on an uphill, your speed control will disengage.
RES
SET
COAST+
Driver Controls
57
Page 60 of 264

STEERING WHEEL CONTROLS (IF EQUIPPED)
These controls allow you to operate some radio and climate control
features.
Audio control features
Press
to select:
•AM, FM1, FM2,
•TAPE (if equipped),
•CD (if equipped), or
•DVD (if equipped).
In AM, FM1, or FM2 mode:
•Press MEM to select preset
stations within the selected radio
band.
In Tape mode:
•Press MEM to select the next
selection on the tape.
In CD mode:
•Press MEM to select the next
selection on the CD.
In any mode:
•Press VOL + or � to adjust
volume.
Driver Controls
60
Page 100 of 264

Memory seats/adjustable pedals/easy entry-exit feature
This system allows automatic
positioning of the driver seat and
adjustable pedals to two
programmable positions.
The memory seat control is located
on the instrument panel to the left
of the steering wheel.
•To program position one, move
the driver seat to the desired
position using the seat controls.
Press the SET control. The SET control indicator light will briefly
illuminate (5 seconds). While the light is illuminated, press control 1.
•To program position two, repeat the previous procedure using control
2.
A position can only be recalled when the transmission gearshift is in Park
or Neutral. A memory seat position may be programmed at any time.
The memory seat positions can also be recalled when you press your
remote entry transmitter UNLOCK control.
To program the memory seat to remote entry transmitter, refer to
Remote entry systemin theLocks and security chapter.
The easy entry/exit feature automatically moves the drivers seat
backwards slightly (if room is available) when the key is removed from
the ignition. It will automatically move the seat forward to the original
position when the key is inserted into the ignition.
Seating and Safety Restraints
100
Page 142 of 264

STARTING
Positions of the ignition
1. OFF/LOCK, shuts off the engine
and all accessories/locks the steering
wheel, gearshift lever and allows key
removal.
2. ACC, allows the electrical
accessories such as the radio to
operate while the engine is not
running. This position also unlocks
the steering wheel.
3. ON, all electrical circuits
operational. Warning lights illuminated. Key position when driving.
4. START, cranks the engine. Release the key as soon as the engine
starts.
Important safety precautions
When the engine starts, the idle RPM runs faster to warm the engine. If
the engine idle speed does not slow down automatically, have the vehicle
checked.
Before starting the vehicle:
1. Make sure all occupants buckle their safety belts. For more
information on safety belts and their proper usage, refer to theSeating
and safety restraintschapter.
2. Make sure the headlamps and electrical accessories are off.
•Make sure the parking brake is
set.
4
3
2
1
Driving
Driving
142
Page 144 of 264

Starting the engine
1. Turn the key to 3 (ON) without
turning the key to 4 (START). If
there is difficulty in turning the key,
rotate the steering wheel until the
key turns freely. This condition may
occur when:
•the front wheels are turned
•a front wheel is against the curb
Turn the key to 4 (START), then
release the key as soon as the engine starts. Excessive cranking could
damage the starter.
Note:If the engine does not start within five seconds on the first try,
turn the key to 1 (OFF/LOCK), wait 10 seconds and try again.
Cold weather starting (flexible fuel vehicles only)
As the outside temperature approaches freezing, ethanol fuel distributors
should supply winter grade ethanol (same as with unleaded gasoline). If
summer grade ethanol is used in cold weather conditions, you may
experience increased cranking times, rough idle or hesitation until the
engine has warmed up. Consult your fuel distributor for the availability of
winter grade ethanol.
Do not crank the engine for more than 30 seconds at a time as starter
damage may occur. If the engine fails to start, turn the key to OFF and
wait 30 seconds before trying again.
Do not use starting fluid such as ether in the air intake system (see Air
Cleaner decal). Such fluid could cause immediate explosive damage to
the engine and possible personal injury.
If you should experience cold weather starting problems on E
85ethanol,
and neither an alternative brand of E
85ethanol nor an engine block
heater is available, the addition of unleaded gasoline to your tank will
improve cold starting performance. Your vehicle is designed to operate
on E
85ethanol alone, unleaded gasoline alone, or any mixture of the two.
SeeChoosing the right fuelin theMaintenance and specifications
chapter for more information on ethanol.
4
3
2
1
Driving
144
Page 145 of 264

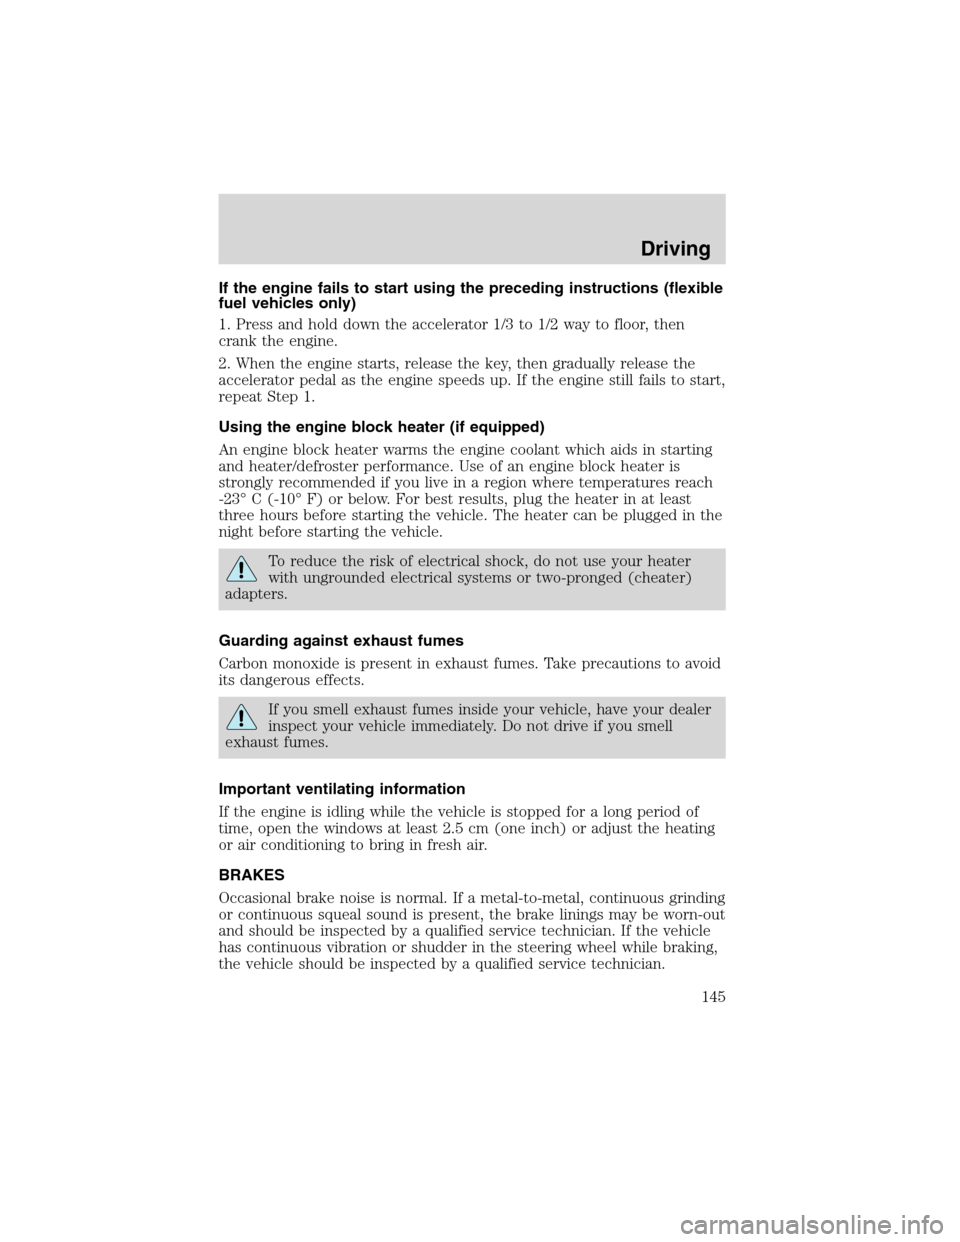
If the engine fails to start using the preceding instructions (flexible
fuel vehicles only)
1. Press and hold down the accelerator 1/3 to 1/2 way to floor, then
crank the engine.
2. When the engine starts, release the key, then gradually release the
accelerator pedal as the engine speeds up. If the engine still fails to start,
repeat Step 1.
Using the engine block heater (if equipped)
An engine block heater warms the engine coolant which aids in starting
and heater/defroster performance. Use of an engine block heater is
strongly recommended if you live in a region where temperatures reach
-23°C (-10°F) or below. For best results, plug the heater in at least
three hours before starting the vehicle. The heater can be plugged in the
night before starting the vehicle.
To reduce the risk of electrical shock, do not use your heater
with ungrounded electrical systems or two-pronged (cheater)
adapters.
Guarding against exhaust fumes
Carbon monoxide is present in exhaust fumes. Take precautions to avoid
its dangerous effects.
If you smell exhaust fumes inside your vehicle, have your dealer
inspect your vehicle immediately. Do not drive if you smell
exhaust fumes.
Important ventilating information
If the engine is idling while the vehicle is stopped for a long period of
time, open the windows at least 2.5 cm (one inch) or adjust the heating
or air conditioning to bring in fresh air.
BRAKES
Occasional brake noise is normal. If a metal-to-metal, continuous grinding
or continuous squeal sound is present, the brake linings may be worn-out
and should be inspected by a qualified service technician. If the vehicle
has continuous vibration or shudder in the steering wheel while braking,
the vehicle should be inspected by a qualified service technician.
Driving
145
Page 146 of 264

Four-wheel anti-lock brake system (ABS)
Your vehicle is equipped with an Anti-lock Braking System (ABS). This
system helps you maintain steering control during emergency stops by
keeping the brakes from locking. Noise from the ABS pump motor and
brake pedal pulsation may be observed during ABS braking; any
pulsations or mechanical noise you may feel or hear is normal.
ABS warning lamp
ABS
TheABSlamp in the instrument cluster momentarily illuminates when
the ignition is turned to ON. If the light does not illuminate during start
up, remains on or flashes, the ABS may be disabled and may need to be
serviced.
Even when the ABS is disabled,
normal braking is still effective. (If
your BRAKE warning lamp
illuminates with the parking brake
released, have your brake system serviced immediately.)
Parking brake
Apply the parking brake whenever
the vehicle is parked. To set the
parking brake, press the parking
brake pedal down until the pedal
stops.
The BRAKE warning lamp in the
instrument cluster illuminates and
remains illuminated (when the
ignition is turned ON) until the
parking brake is released.
Always set the parking brake fully and make sure that the
gearshift is securely latched in P (Park).
Driving
146
Page 147 of 264

The parking brake is not recommended to stop a moving vehicle.
However, if the normal brakes fail, the parking brake can be used to stop
your vehicle in an emergency. Since the parking brake applies only the
rear brakes, the vehicle’s stopping distance will increase greatly and the
handling of your vehicle will be adversely affected.
Pull the release lever to release the
brake. Driving with the parking
brake on will cause the brakes to
wear out quickly and reduce fuel
economy.
STEERING
To prevent damage to the power steering system:
•Never hold the steering wheel at its furthest turning points (until it
stops) for more than a few seconds when the engine is running.
•Do not operate the vehicle with a low power steering pump fluid level
(below the MIN mark on the reservoir).
If the power steering system breaks down (or if the engine is turned
off), you can steer the vehicle manually, but it takes more effort.
If the steering wanders or pulls, check for:
•an improperly inflated tire
•uneven tire wear
•loose or worn suspension components
•loose or worn steering components
•improper steering alignment
Driving
147
Page 164 of 264

USING ROADSIDE ASSISTANCE
Complete the roadside assistance identification card and place it in your
wallet for quick reference. In the United States, this card is found in the
Owner Guide portfolio in the glove compartment in Ford vehicles and is
mailed to you if you own a Mercury or Lincoln. In Canada, the card is
found in the Owner Information Guide in the glove compartment.
U.S. Ford or Mercury vehicle customers who require roadside assistance,
call 1–800–241–3673; Lincoln vehicle customers call 1–800–521–4140.
Canadian customers who require roadside assistance, call
1–800–665–2006.
If you need to arrange roadside assistance for yourself, Ford Motor
Company will reimburse a reasonable amount. To obtain reimbursement
information, U.S. Ford or Mercury vehicles customers call
1-800-241-3673; Lincoln vehicle customers call 1–800–521–4140.
Canadian customers who need to obtain reimbursement information, call
1–800–665–2006.
ROADSIDE COVERAGE BEYOND BASIC WARRANTY
In the United States, you may purchase additional roadside assistance
coverage beyond this period through the Ford Auto Club by contacting
your Ford or Lincoln Mercury dealer.
Similarly in Canada, for uninterrupted Roadside Assistance coverage, you
may purchase extended coverage prior to your Basic Warranty’s Roadside
Assistance expiring. For more information and enrollment, contact
1–877–294–2582 or visit our website at www.ford.ca.
HAZARD FLASHER
The hazard flasher is located on the
steering column, just behind the
steering wheel. The hazard flashers
will operate when the ignition is in
any position.
Push in the flasher control and all
front and rear direction signals will
flash. Press the flasher control again
to turn them off. Use it when your
vehicle is disabled and is creating a
safety hazard for other motorists.
Note:With extended use, the flasher may run down your battery.
Roadside Emergencies
164