tow Mercury Mountaineer 2004 Owner's Manuals
[x] Cancel search | Manufacturer: MERCURY, Model Year: 2004, Model line: Mountaineer, Model: Mercury Mountaineer 2004Pages: 280, PDF Size: 5.38 MB
Page 2 of 280
Seating and Safety Restraints 92
Seating 92
Safety restraints 102
Air bags 115
Child restraints 123
Driving 135
Starting 135
Brakes 139
Traction control/AdvanceTrac 141
Transmission operation 145
Vehicle loading 161
Trailer towing 167
Recreational towing 172
Roadside Emergencies 173
Getting roadside assistance 173
Hazard flasher switch 174
Fuel pump shut-off switch 175
Fuses and relays 176
Changing tires 186
Jump starting 195
Wrecker towing 200
Customer Assistance 201
Reporting safety defects (U.S. only) 208
Cleaning 209
Table of Contents
2
Page 5 of 280
to such questions are contained in comments highlighted by the warning
triangle symbol. These comments should be read and observed.
Warning symbols on your vehicle
When you see this symbol, it is
imperative that you consult the
relevant section of this guide before
touching or attempting adjustment
of any kind.
Protecting the environment
We must all play our part in
protecting the environment. Correct
vehicle usage and the authorized
disposal of waste, cleaning and
lubrication materials are significant
steps towards this aim. Information in this respect is highlighted in this
guide with the tree symbol.
BREAKING-IN YOUR VEHICLE
Your vehicle does not need an extensive break-in. Try not to drive
continuously at the same speed for the first 1,000 miles (1,600 km) of
new vehicle operation. Vary your speed to allow parts to adjust
themselves to other parts.
Drive your new vehicle at least 500 miles (800 km) before towing a
trailer.
Do not add friction modifier compounds or special break-in oils during
the first few thousand miles (kilometers) of operation, since these
additives may prevent piston ring seating. SeeEngine oilin the
Maintenance and Specificationschapter for more information on oil
usage.
SPECIAL NOTICES
Emission warranty
The New Vehicle Limited Warranty includes Bumper-to-Bumper
Coverage, Safety Restraint Coverage, Corrosion Coverage, and 6.0L
Power Stroke Diesel Engine Coverage. In addition, your vehicle is eligible
for Emissions Defect and Emissions Performance Warranties. For a
detailed description of what is covered and what is not covered, refer to
theWarranty Guidethat is provided to you along with your Owner’s
Guide.
2004 Mountaineer(mnt)
Owners Guide (post-2002-fmt)
USA English(fus)
Introduction
5
Page 25 of 280
For information regarding SIRIUS Satellite Radio, please call toll-free
888-539-SIRIUS (888-539-7474) or visit the SIRIUS website at
www.siriusradio.com
RADIO FREQUENCIES
AM and FM frequencies are established by the Federal Communications
Commission (FCC) and the Canadian Radio and Telecommunications
Commission (CRTC). Those frequencies are:
AM - 530, 540–1700, 1710 kHz
FM- 87.7, 87.9–107.7, 107.9 MHz
RADIO RECEPTION FACTORS
There are three factors that can effect radio reception:
•Distance/strength: The further you travel from an FM station, the
weaker the signal and the weaker the reception.
•Terrain: Hills, mountains, tall buildings, power lines, electric fences,
traffic lights and thunderstorms can interfere with your reception.
•Station overload: When you pass a broadcast tower, a stronger signal
may overtake a weaker one and play while the weak station frequency
is displayed.
CD/CD PLAYER CARE
Do:
•Handle discs by their edges only. Never touch the playing surface.
•Inspect discs before playing. Clean only with an approved CD cleaner
and wipe from the center out.
Don’t:
•Expose discs to direct sunlight or heat sources for extended periods
of time.
•Insert more than one disc into each slot of the CD changer magazine.
•Clean using a circular motion.
CD units are designed to play commercially pressed 12 cm
(4.75 in) audio compact discs only. Due to technical
incompatibility, certain recordable and re-recordable compact
discs may not function correctly when used in Ford CD players.
Irregular shaped CDs, CDs with a scratch protection film
attached, and CDs with homemade paper (adhesive) labels should
2004 Mountaineer(mnt)
Owners Guide (post-2002-fmt)
USA English(fus)
Entertainment Systems
25
Page 28 of 280
To allow side window defogging and demisting while warming up the
vehicle cabin:
1. Select
.
2. Select A/C.
3. Set the temperature control to maintain comfort.
4. Set the highest fan speed.
5. Direct the outer instrument panel vents towards the side windows.
To increase airflow to the outer instrument panel vents, close the vents
located in the middle of the instrument panel.
Do not place objects on top of the instrument panel as these
objects may become projectiles in a collision or sudden stop.
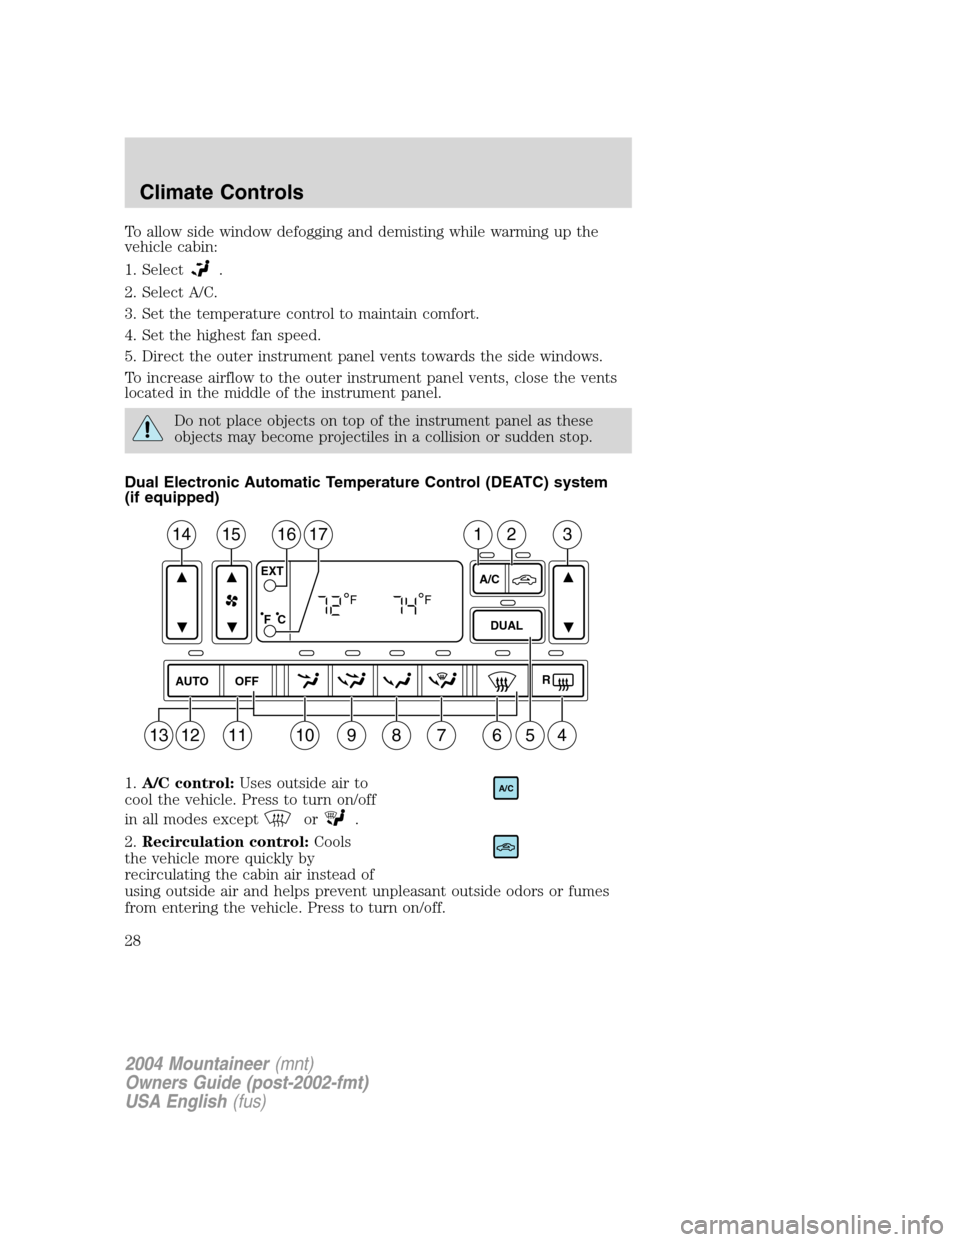
Dual Electronic Automatic Temperature Control (DEATC) system
(if equipped)
1.A/C control:Uses outside air to
cool the vehicle. Press to turn on/off
in all modes except
or.
2.Recirculation control:Cools
the vehicle more quickly by
recirculating the cabin air instead of
using outside air and helps prevent unpleasant outside odors or fumes
from entering the vehicle. Press to turn on/off.
AUTO
OFFR
DUAL A/C EXT
F C
FF
14151617231
10987613541211
A/C
2004 Mountaineer(mnt)
Owners Guide (post-2002-fmt)
USA English(fus)
Climate Controls
28
Page 30 of 280
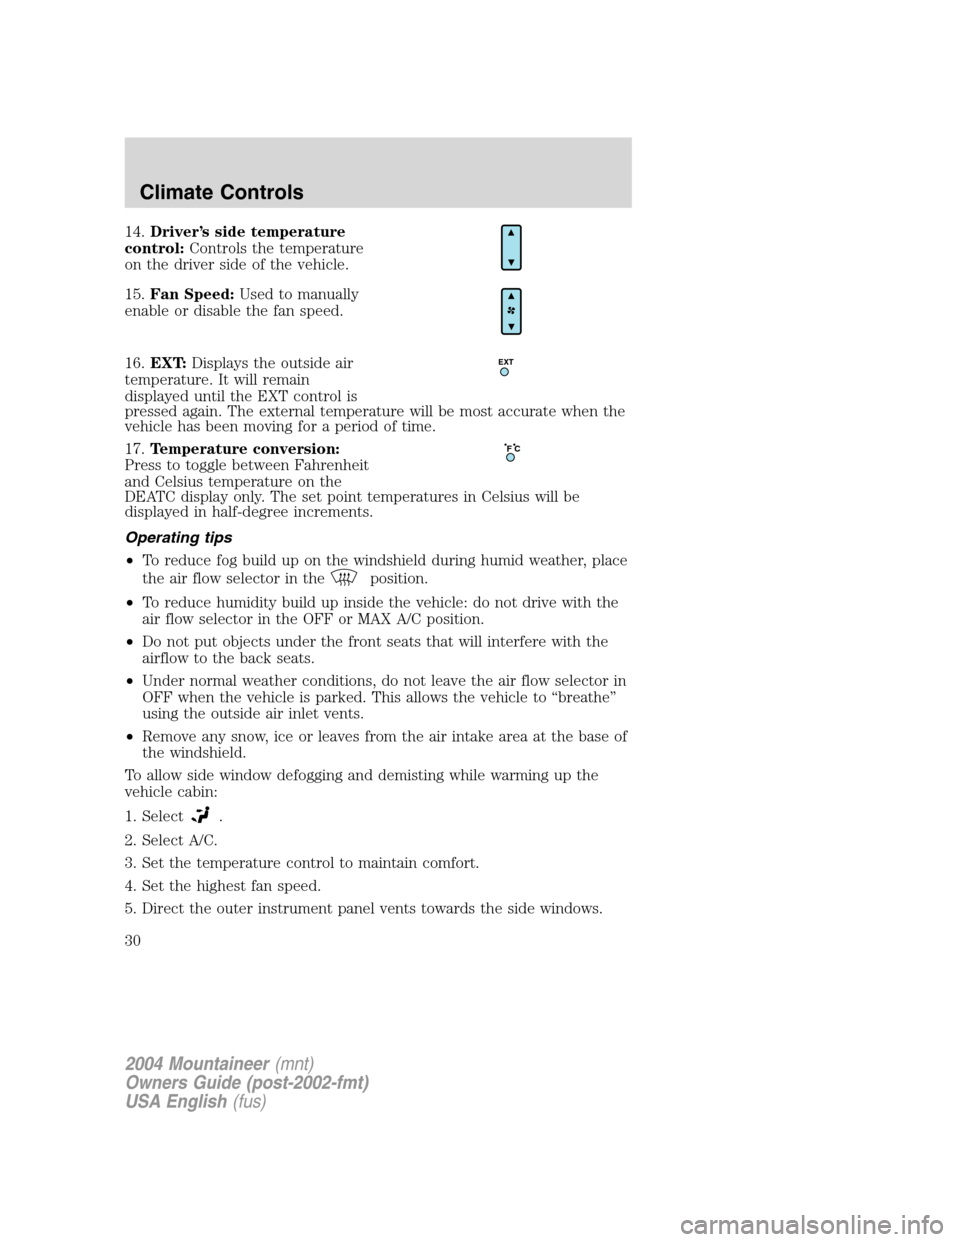
14.Driver’s side temperature
control:Controls the temperature
on the driver side of the vehicle.
15.Fan Speed:Used to manually
enable or disable the fan speed.
16.EXT:Displays the outside air
temperature. It will remain
displayed until the EXT control is
pressed again. The external temperature will be most accurate when the
vehicle has been moving for a period of time.
17.Temperature conversion:
Press to toggle between Fahrenheit
and Celsius temperature on the
DEATC display only. The set point temperatures in Celsius will be
displayed in half-degree increments.
Operating tips
•To reduce fog build up on the windshield during humid weather, place
the air flow selector in the
position.
•To reduce humidity build up inside the vehicle: do not drive with the
air flow selector in the OFF or MAX A/C position.
•Do not put objects under the front seats that will interfere with the
airflow to the back seats.
•Under normal weather conditions, do not leave the air flow selector in
OFF when the vehicle is parked. This allows the vehicle to “breathe”
using the outside air inlet vents.
•Remove any snow, ice or leaves from the air intake area at the base of
the windshield.
To allow side window defogging and demisting while warming up the
vehicle cabin:
1. Select
.
2. Select A/C.
3. Set the temperature control to maintain comfort.
4. Set the highest fan speed.
5. Direct the outer instrument panel vents towards the side windows.
EXT
F C
2004 Mountaineer(mnt)
Owners Guide (post-2002-fmt)
USA English(fus)
Climate Controls
30
Page 33 of 280
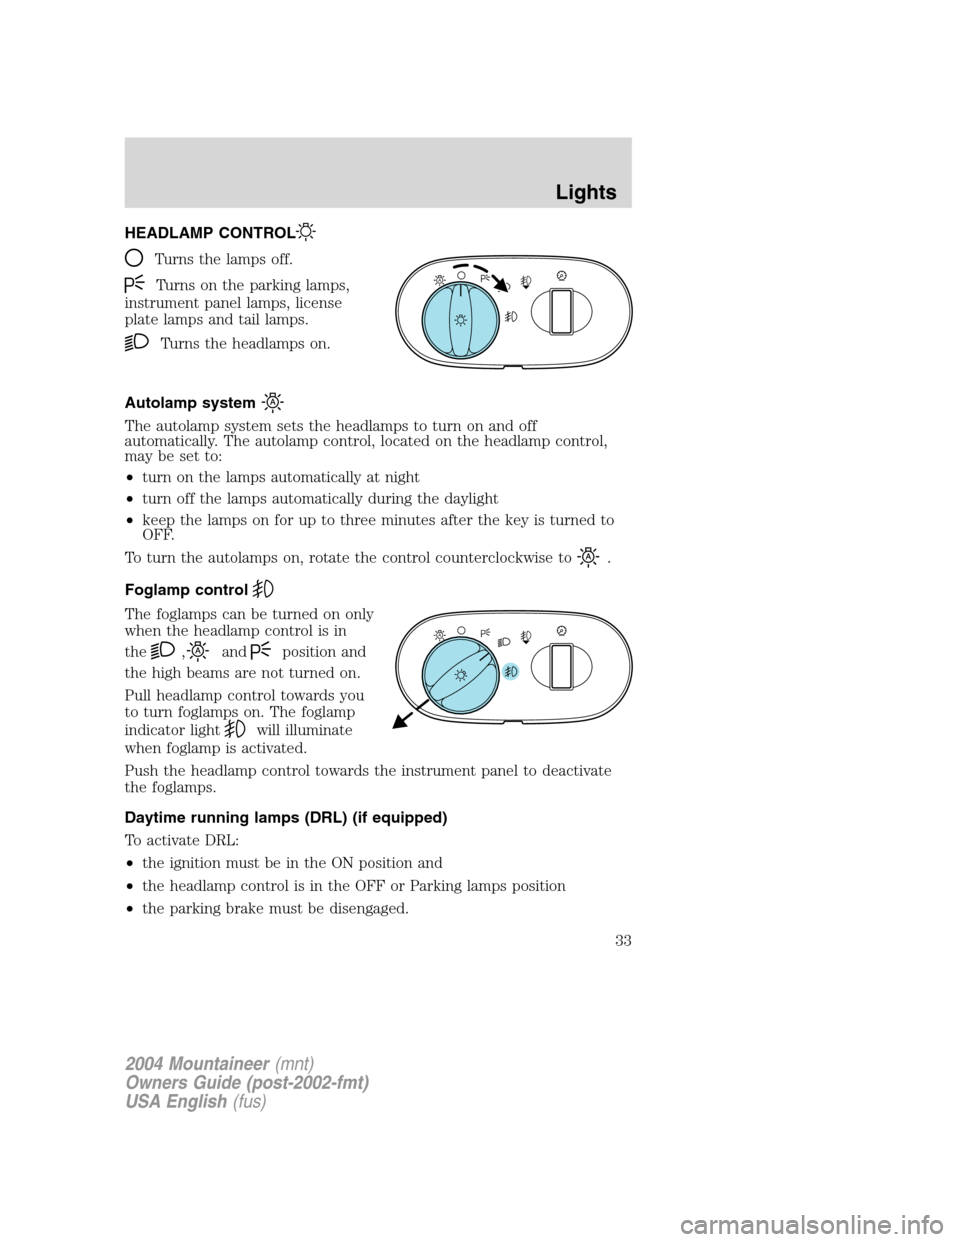
HEADLAMP CONTROL
Turns the lamps off.
Turns on the parking lamps,
instrument panel lamps, license
plate lamps and tail lamps.
Turns the headlamps on.
Autolamp system
The autolamp system sets the headlamps to turn on and off
automatically. The autolamp control, located on the headlamp control,
may be set to:
•turn on the lamps automatically at night
•turn off the lamps automatically during the daylight
•keep the lamps on for up to three minutes after the key is turned to
OFF.
To turn the autolamps on, rotate the control counterclockwise to
.
Foglamp control
The foglamps can be turned on only
when the headlamp control is in
the
,andposition and
the high beams are not turned on.
Pull headlamp control towards you
to turn foglamps on. The foglamp
indicator light
will illuminate
when foglamp is activated.
Push the headlamp control towards the instrument panel to deactivate
the foglamps.
Daytime running lamps (DRL) (if equipped)
To activate DRL:
•the ignition must be in the ON position and
•the headlamp control is in the OFF or Parking lamps position
•the parking brake must be disengaged.
A
A
2004 Mountaineer(mnt)
Owners Guide (post-2002-fmt)
USA English(fus)
Lights
Lights
33
Page 34 of 280
Always remember to turn on your headlamps at dusk or during
inclement weather. The Daytime Running Light (DRL) System
does not activate your tail lamps and generally may not provide
adequate lighting during these conditions. Failure to activate your
headlamps under these conditions may result in a collision.
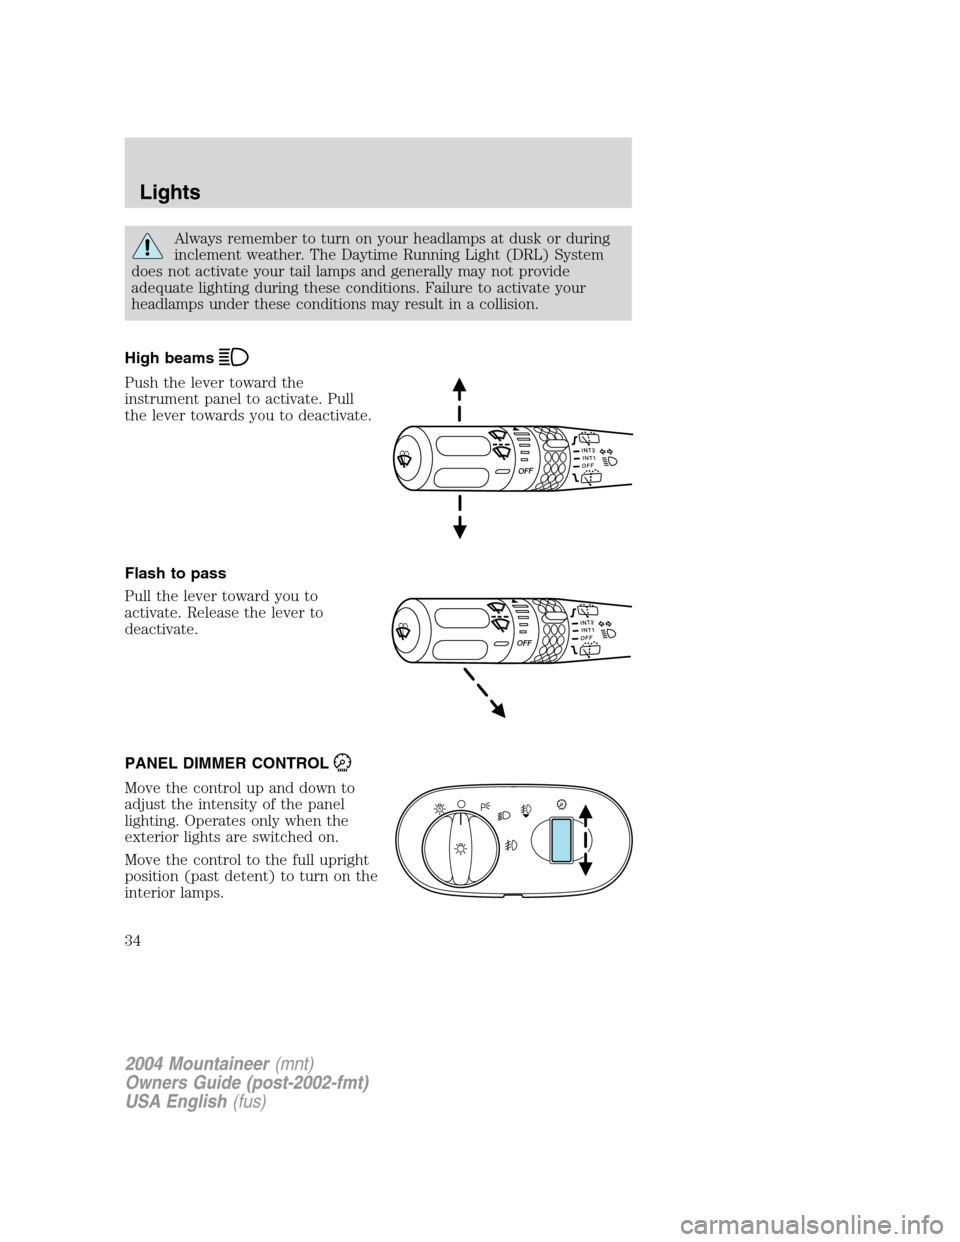
High beams
Push the lever toward the
instrument panel to activate. Pull
the lever towards you to deactivate.
Flash to pass
Pull the lever toward you to
activate. Release the lever to
deactivate.
PANEL DIMMER CONTROL
Move the control up and down to
adjust the intensity of the panel
lighting. Operates only when the
exterior lights are switched on.
Move the control to the full upright
position (past detent) to turn on the
interior lamps.
INT2OFFOFFINT1
INT2OFFOFFINT1
A
2004 Mountaineer(mnt)
Owners Guide (post-2002-fmt)
USA English(fus)
Lights
34
Page 43 of 280
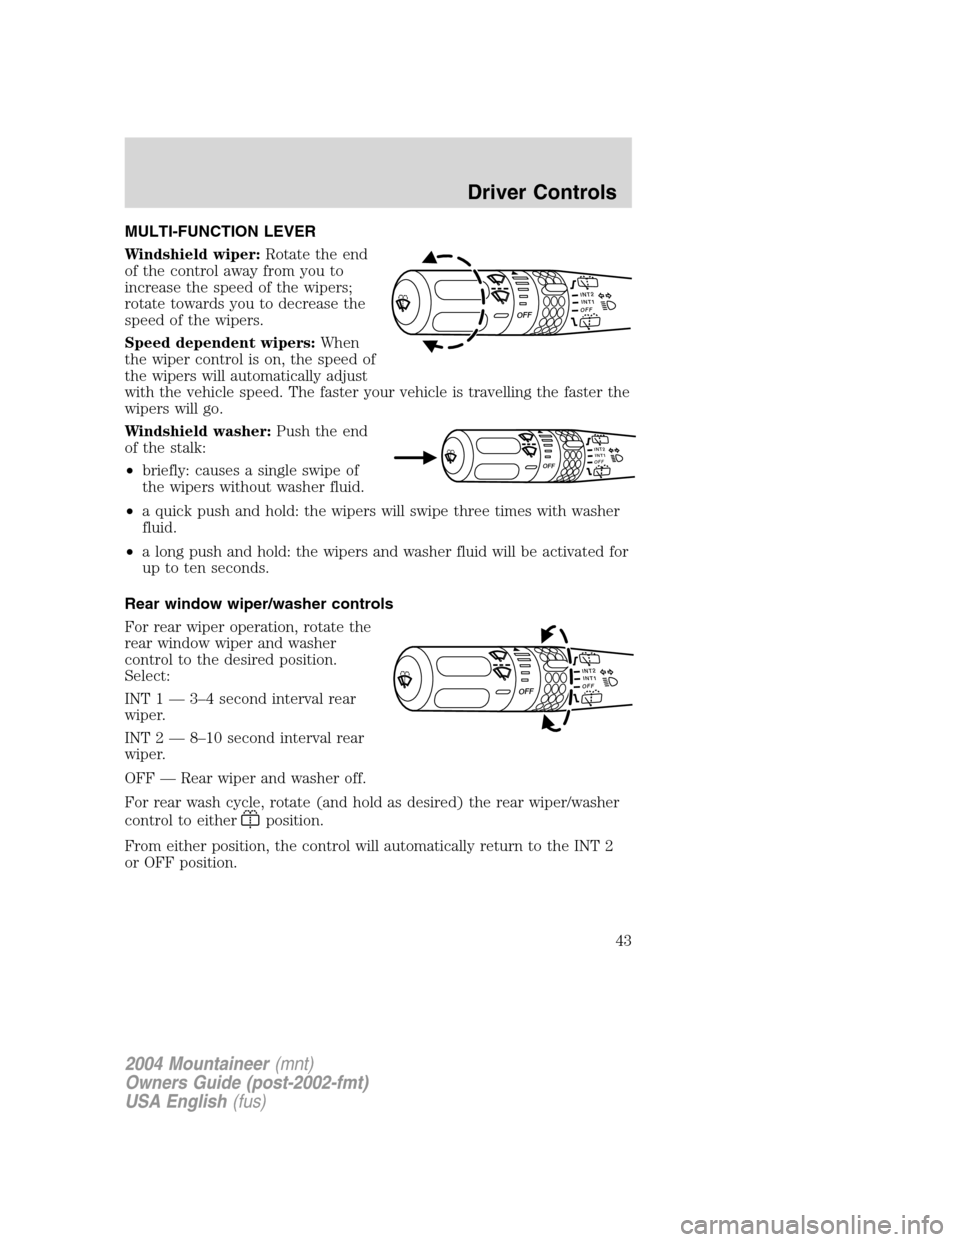
MULTI-FUNCTION LEVER
Windshield wiper:Rotate the end
of the control away from you to
increase the speed of the wipers;
rotate towards you to decrease the
speed of the wipers.
Speed dependent wipers:When
the wiper control is on, the speed of
the wipers will automatically adjust
with the vehicle speed. The faster your vehicle is travelling the faster the
wipers will go.
Windshield washer:Push the end
of the stalk:
•briefly: causes a single swipe of
the wipers without washer fluid.
•a quick push and hold: the wipers will swipe three times with washer
fluid.
•a long push and hold: the wipers and washer fluid will be activated for
up to ten seconds.
Rear window wiper/washer controls
For rear wiper operation, rotate the
rear window wiper and washer
control to the desired position.
Select:
INT 1 — 3–4 second interval rear
wiper.
INT 2 — 8–10 second interval rear
wiper.
OFF — Rear wiper and washer off.
For rear wash cycle, rotate (and hold as desired) the rear wiper/washer
control to either
position.
From either position, the control will automatically return to the INT 2
or OFF position.
INT2OFFOFFINT1
INT1INT2O
F
FOFF
INT2OFFOFFINT1
2004 Mountaineer(mnt)
Owners Guide (post-2002-fmt)
USA English(fus)
Driver Controls
Driver Controls
43
Page 44 of 280
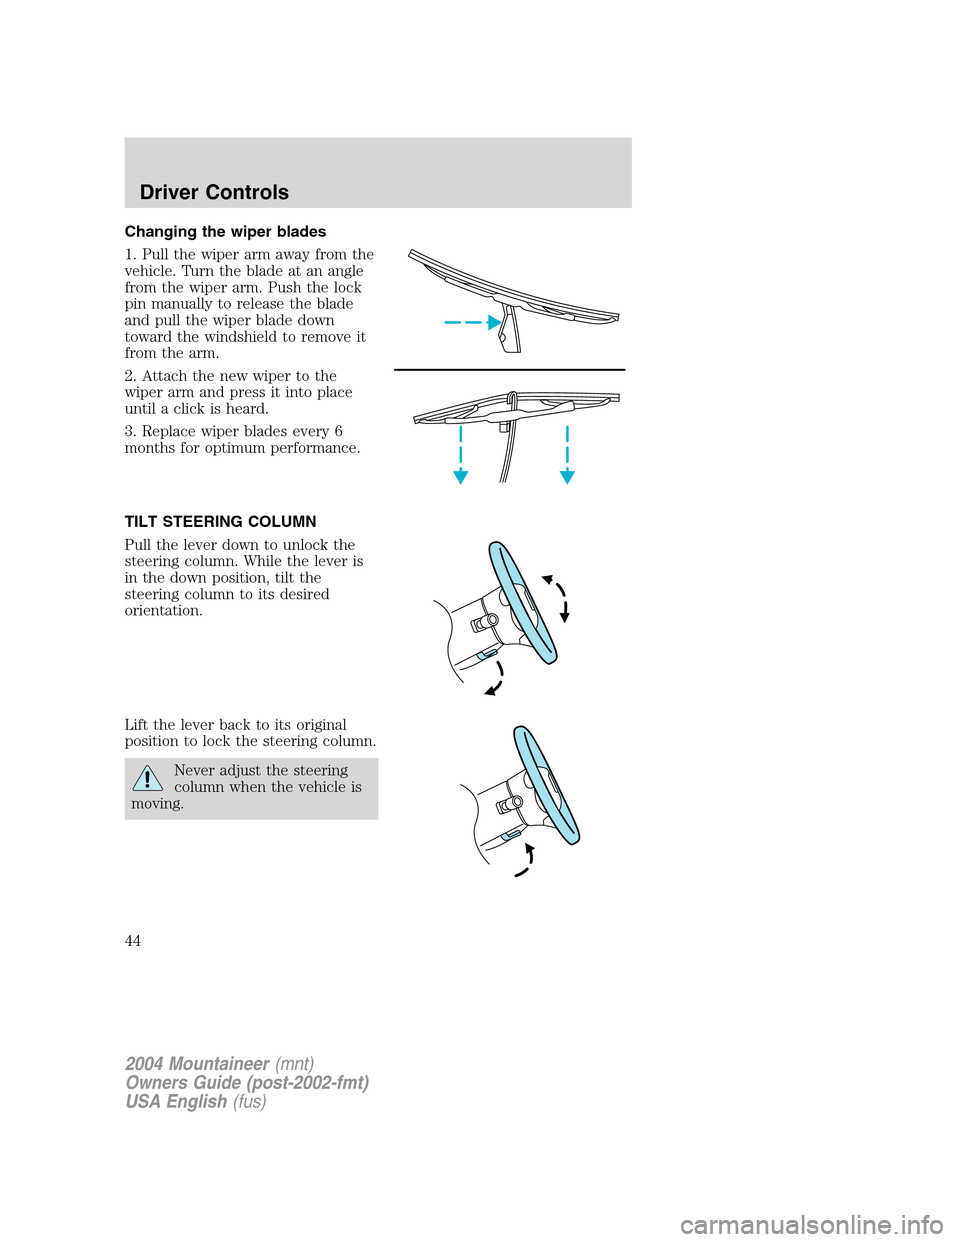
Changing the wiper blades
1. Pull the wiper arm away from the
vehicle. Turn the blade at an angle
from the wiper arm. Push the lock
pin manually to release the blade
and pull the wiper blade down
toward the windshield to remove it
from the arm.
2. Attach the new wiper to the
wiper arm and press it into place
until a click is heard.
3. Replace wiper blades every 6
months for optimum performance.
TILT STEERING COLUMN
Pull the lever down to unlock the
steering column. While the lever is
in the down position, tilt the
steering column to its desired
orientation.
Lift the lever back to its original
position to lock the steering column.
Never adjust the steering
column when the vehicle is
moving.
2004 Mountaineer(mnt)
Owners Guide (post-2002-fmt)
USA English(fus)
Driver Controls
44
Page 51 of 280

POWER ADJUSTABLE FOOT PEDALS (IF EQUIPPED)
The accelerator and brake pedal
should only be adjusted when the
vehicle is stopped and the gearshift
lever is in the P (Park) position.
Press and hold the rocker control to
adjust accelerator and brake pedal
toward you or away from you.
The adjustment allows for approximately 71–76 mm (3 inches) of
maximum travel.
Never adjust the accelerator and brake pedal with feet on the
pedals while the vehicle is moving.
SPEED CONTROL
With speed control set, you can maintain a speed of 48 km/h (30 mph)
or more without keeping your foot on the accelerator pedal. Speed
control does not work at speeds below 48 km/h (30 mph).
Do not use the speed control in heavy traffic or on roads that
are winding, slippery or unpaved.
Setting speed control
The controls for using your speed
control are located on the steering
wheel for your convenience.
1. Press the ON control and release
it.
2. Accelerate to the desired speed.
2004 Mountaineer(mnt)
Owners Guide (post-2002-fmt)
USA English(fus)
Driver Controls
51