engine Mercury Sable 1997 s User Guide
[x] Cancel search | Manufacturer: MERCURY, Model Year: 1997, Model line: Sable, Model: Mercury Sable 1997Pages: 167, PDF Size: 1.59 MB
Page 60 of 167
Safety belt maintenance
Check the safety belt systems periodically to make
sure they work properly and are not damaged.
Check the safety belts to make sure there are no
nicks, wears or cuts. All safety belt assemblies,
including retractors, buckles, front seat belt buckle
assemblies (slide bar)(if equipped), shoulder belt
height adjusters (if equipped), child safety seat
tether bracket assemblies (if equipped), and
attaching hardware, should be inspected after a
collision. Ford recommends that all safety belt
assemblies used in vehicles involved in a collision be
replaced. However, if the collision was minor and a
qualified technician finds that the belts do not show
damage and continue to operate properly, they do
not need to be replaced. Safety belt assemblies not
in use during a collision should also be inspected
and replaced if either damage or improper operation
is noted.
Refer toCleaning and maintaining the safety
beltsin theMaintenance and Caresection.
IMPORTANT SUPPLEMENTAL RESTRAINT
SYSTEM (SRS) PRECAUTIONS
The supplemental
restraint system is
designed to:
²work with the safety
belt to protect the
driver and right front passenger
²reduce certain upper body injuries
Failure to follow these instructions will
affect the performance of the safety belts
and increase the risk of personal injury.
BASSTREBBALFADEREWFFEJECT1234
56wTAPE SIDETAPE
R-DEFTUNESEEKSCAN AM
FMMHLO
HIOFF
A/C
MAX
A/CVENTVOL
PUSH-ONwSTFM 12
AMCBLRFEFC HFUEL DOOR>SERVICE
ENGINE
SOONLOW
COOLANTTHEFT102030405060
70
80
90
100
1202060100
140
180P R N D 2 1MPH km/h0000000000P!
BRAKE+ –110CRUISERPMx1000ABSO/D
OFFREAR
LAMP
OUTPREMIUM UNLEADED
FUEL RECOMMENDED0 1234
5
6
78
dno_belt-maintenance
com_important_precautions.01
Seating and safety restraints
60
Page 76 of 167
PREPARING TO START THE VEHICLE
Engine starting is controlled by the spark ignition
system. This system meets all Canadian
Interference-Causing Equipment standard
requirements regulating the impulse electrical field
strength of radio noise.
When starting a fuel-injected engine, avoid pressing
the accelerator before or during starting. Only use
the accelerator when you have difficulty starting the
engine. For more information on starting the vehicle,
refer toStarting the vehiclein this chapter.
Before starting the vehicle:
1. Make sure all vehicle occupants have buckled
their safety belts. For more information on safety
belts and their proper usage, refer to theSeating
and safety restraintschapter.
2. Make sure the
headlamps and vehicle
accessories are off.
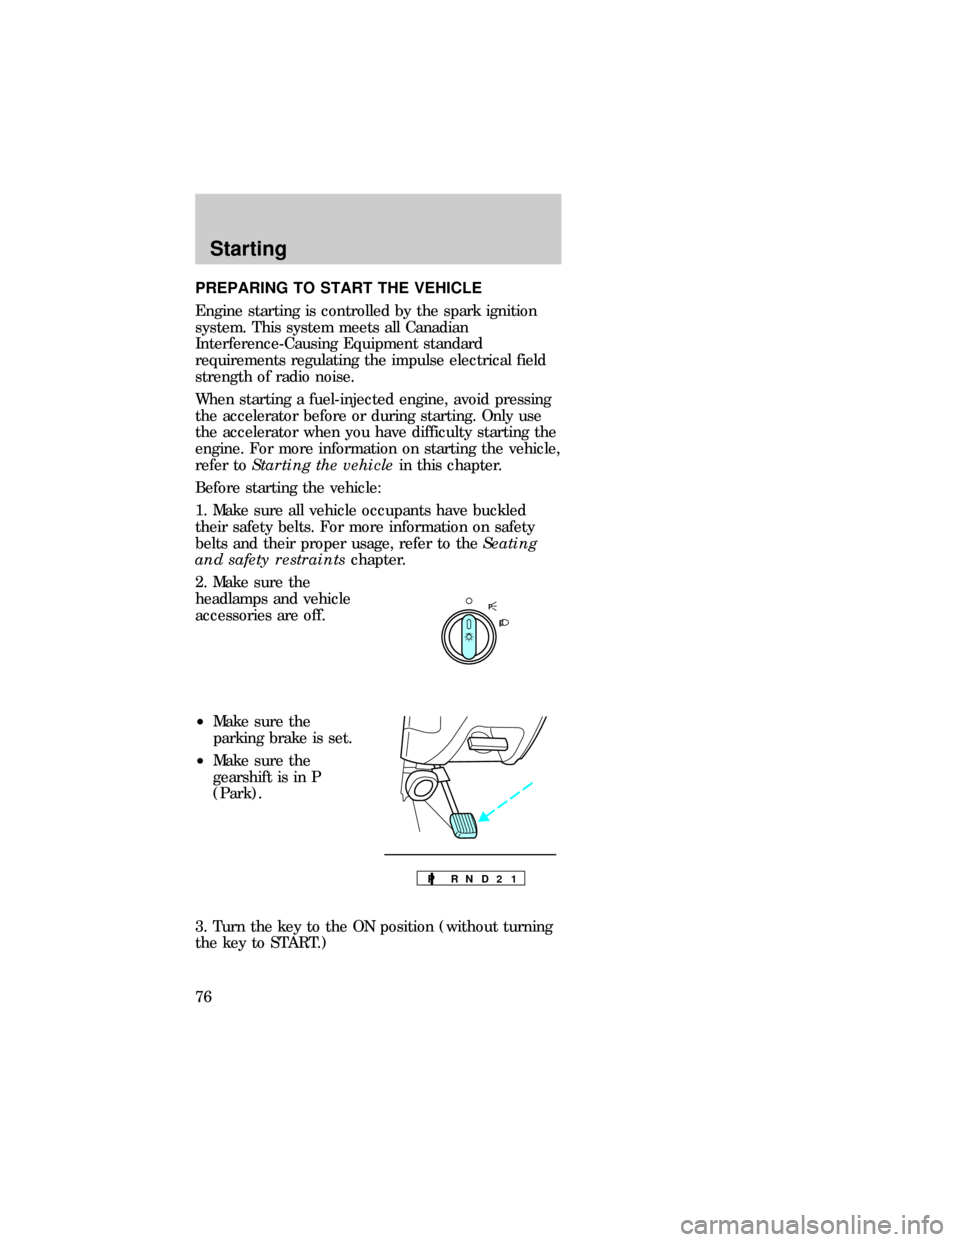
²Make sure the
parking brake is set.
²Make sure the
gearshift is in P
(Park).
3. Turn the key to the ON position (without turning
the key to START.)
P
P R N D 2 1
dno_preparing_start
Starting
76
Page 77 of 167
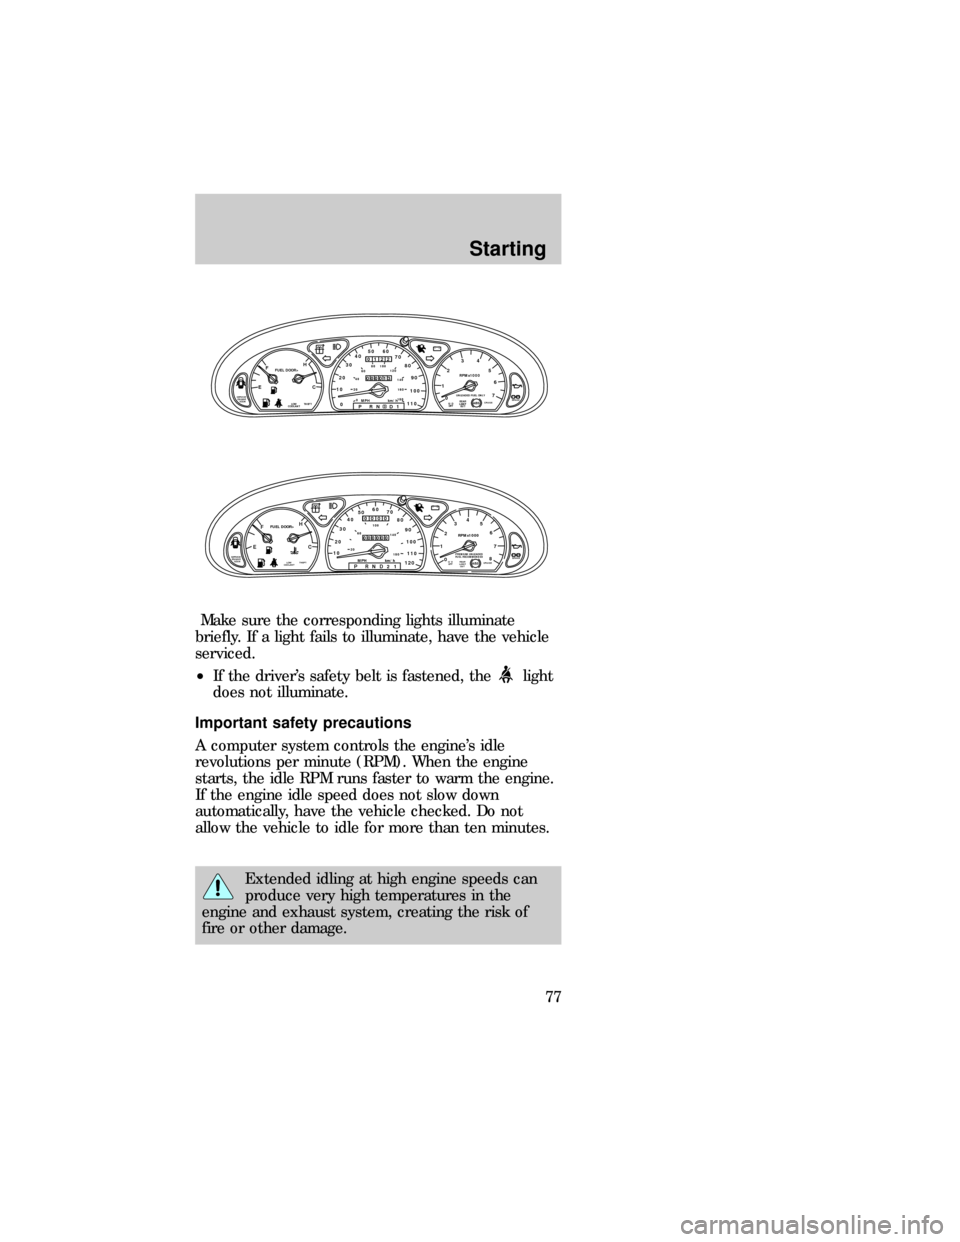
Make sure the corresponding lights illuminate
briefly. If a light fails to illuminate, have the vehicle
serviced.
²If the driver's safety belt is fastened, the
light
does not illuminate.
Important safety precautions
A computer system controls the engine's idle
revolutions per minute (RPM). When the engine
starts, the idle RPM runs faster to warm the engine.
If the engine idle speed does not slow down
automatically, have the vehicle checked. Do not
allow the vehicle to idle for more than ten minutes.
Extended idling at high engine speeds can
produce very high temperatures in the
engine and exhaust system, creating the risk of
fire or other damage.
CRUISE
RPMx1000
0 1234
5
6
7EFC H
FUEL DOOR>
SERVICE
ENGINE
SOON1020304050 60
70
80
90
100
110
00 20406080100
120
140
160
180P R N D D 1MPH km/h
00
122
00013
P!
BRAKEABS
+ –
UNLEADED FUEL ONLY
THEFT LOW
COOLANTO/D
OFFREAR
LAMP
OUT
EFC H
FUEL DOOR>
SERVICE
ENGINE
SOONTHEFT102030405060
70
80
90
100
1202060100
140
180
P R N D 2 1MPH km/h
00
000
00000
P!
BRAKELOW
COOLANT
+ –
110CRUISE
RPMx1000
ABSO/D
OFFREAR
LAMP
OUTPREMIUM UNLEADED
FUEL RECOMMENDED0 1234
5
6
78
com_important_precautions.05
Starting
77
Page 78 of 167
Do not park, idle, or drive your vehicle in
dry grass or other dry ground cover. The
emission system heats up the engine compartment
and exhaust system, which can start a fire.
Do not start your vehicle in a closed garage
or in other enclosed areas. Exhaust fumes
can be toxic. Always open the garage door before
you start the engine. SeeGuarding against
exhaust fumesin this chapter for more
instructions.
If you smell exhaust fumes inside your
vehicle, have your dealer inspect your
vehicle immediately. Do not drive if you smell
exhaust fumes.
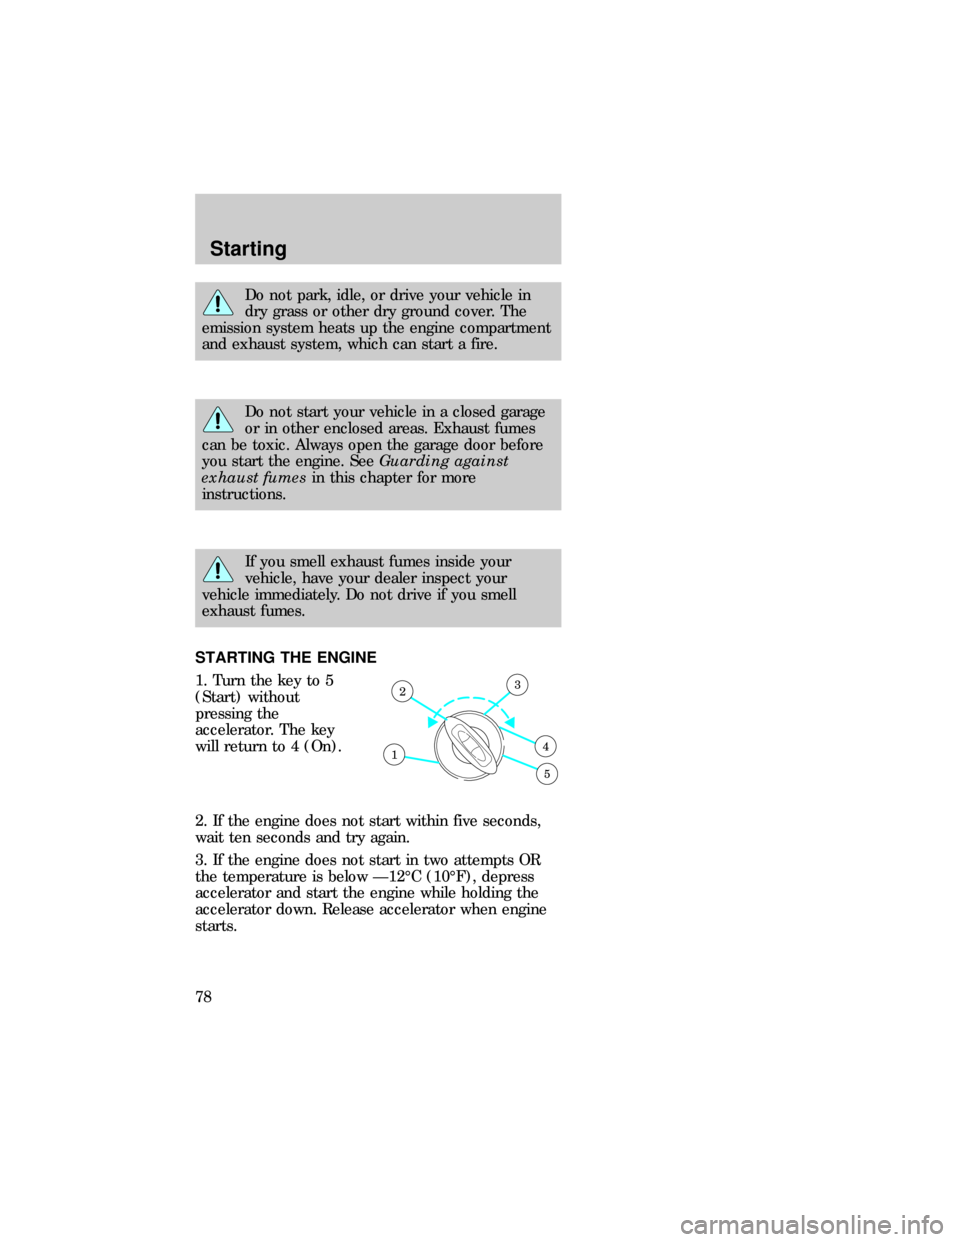
STARTING THE ENGINE
1. Turn the key to 5
(Start) without
pressing the
accelerator. The key
will return to 4 (On).
2. If the engine does not start within five seconds,
wait ten seconds and try again.
3. If the engine does not start in two attempts OR
the temperature is below Ð12ÉC (10ÉF), depress
accelerator and start the engine while holding the
accelerator down. Release accelerator when engine
starts.
1
23
4
5
com_starting_vehicle.01
Starting
78
Page 79 of 167
4. After idling for a few seconds, apply the brake
and release the parking brake.
Using the engine block heater (if equipped)
An engine block heater warms the engine coolant,
which improves starting, warms up the engine faster
and allows the heater-defroster system to respond
quickly. They are strongly recommended if you live
in a region where temperatures reach Ð23ÉC
(±10ÉF) or below.
For best results, plug the heater in at least three
hours before starting the vehicle. Using the heater
for longer than three hours will not harm the engine,
so the heater can be plugged in the night before
starting the vehicle.
To prevent electrical shock, do not use your
heater with ungrounded electrical systems
or two-pronged (cheater) adapters.
Guarding against exhaust fumes
Although odorless and colorless, carbon monoxide is
present in exhaust fumes. Take precautions to avoid
its dangerous effects.
If you ever smell exhaust fumes of any kind
inside your vehicle, have your dealer inspect
and fix your vehicle immediately. Do not drive if
you smell exhaust fumes. These fumes are harmful
and could kill you.
Have the exhaust and body ventilation systems
checked whenever:
²the vehicle is raised for service
²the sound of the exhaust system changes
²the vehicle has been damaged in a collision
com_engine_heater.01
com_guarding_exhaust.01
com_ventilation_info.01
Starting
79
Page 80 of 167
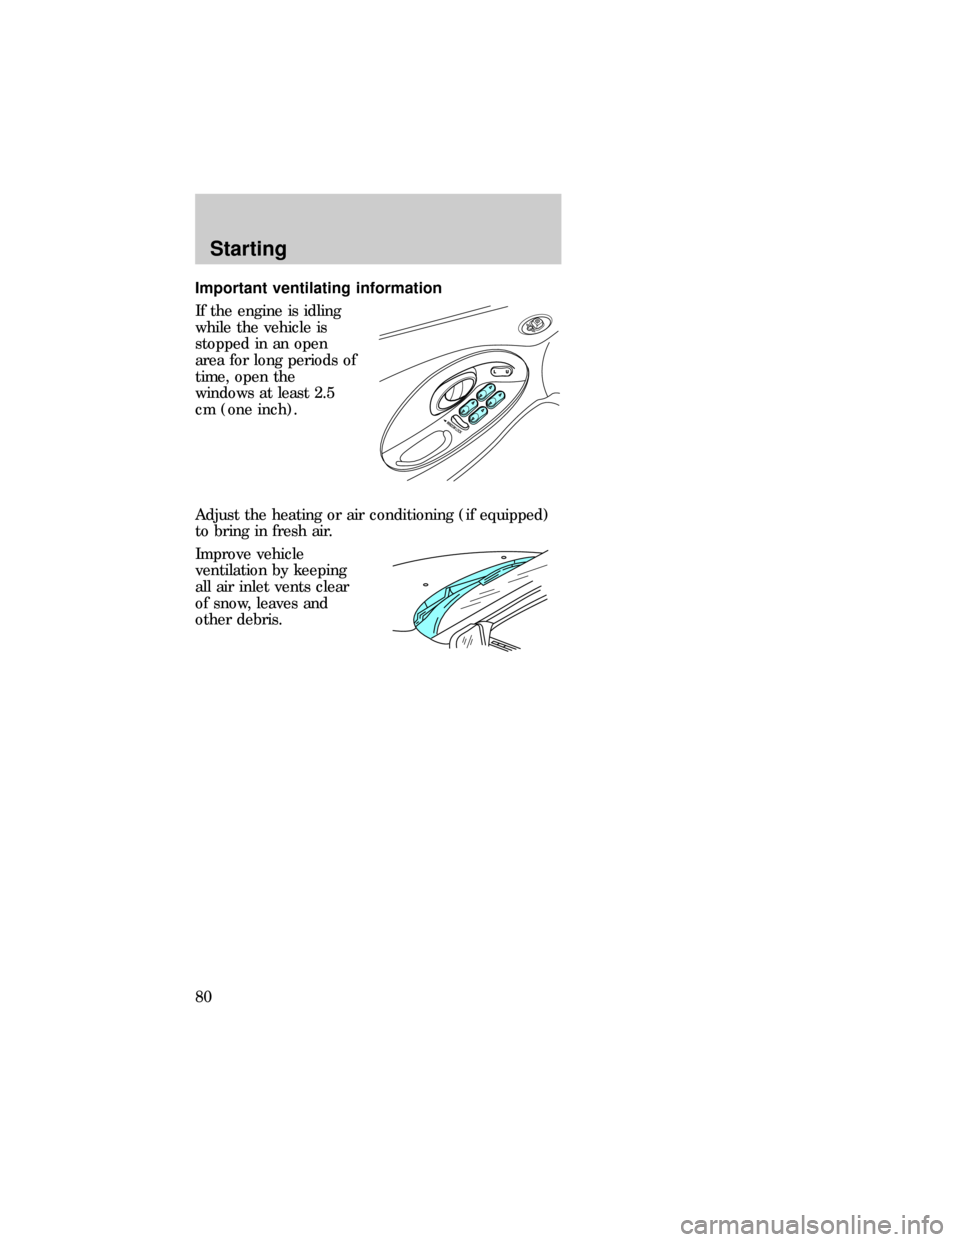
Important ventilating information
If the engine is idling
while the vehicle is
stopped in an open
area for long periods of
time, open the
windows at least 2.5
cm (one inch).
Adjust the heating or air conditioning (if equipped)
to bring in fresh air.
Improve vehicle
ventilation by keeping
all air inlet vents clear
of snow, leaves and
other debris.
Starting
80
Page 84 of 167
accelerator in each gear. Do not rock the vehicle for
more than a few minutes, because it could damage
the vehicle.
Always set the parking brake fully and make
sure the gearshift is latched in P (Park).
Turn off the ignition whenever you leave your
vehicle.
Driving with an automatic overdrive transaxle
(column gearshift without O/D off switch)
Your automatic overdrive transaxle provides fully
automatic operation in either
(Overdrive) or D
(Drive). Driving with the shift selector in
gives
the best fuel economy for normal driving conditions.
For manual control start in 1 (First) and then shift
manually.
To put your vehicle in gear, start the engine, depress
the brake pedal, then move gearshift out of P
(Park).
Hold the brake pedal down while you move
the gearshift lever from position to position.
If you do not hold the brake pedal down, your
vehicle may move unexpectedly and injure
someone.
dno_column-shift-od-off
dno_console-shift-with-od-off
Driving
84
Page 88 of 167
If the O/D OFF indicator light (if equipped) is
flashing on and off when the vehicle is started or
does not come on when the O/D OFF switch is
pressed, it means there is a malfunction in your
transaxle's electronic system. Contact your dealer as
soon as possible or damage to the transaxle may
occur.
When to use D (Drive) or press the O/D OFF
switch (if equipped)
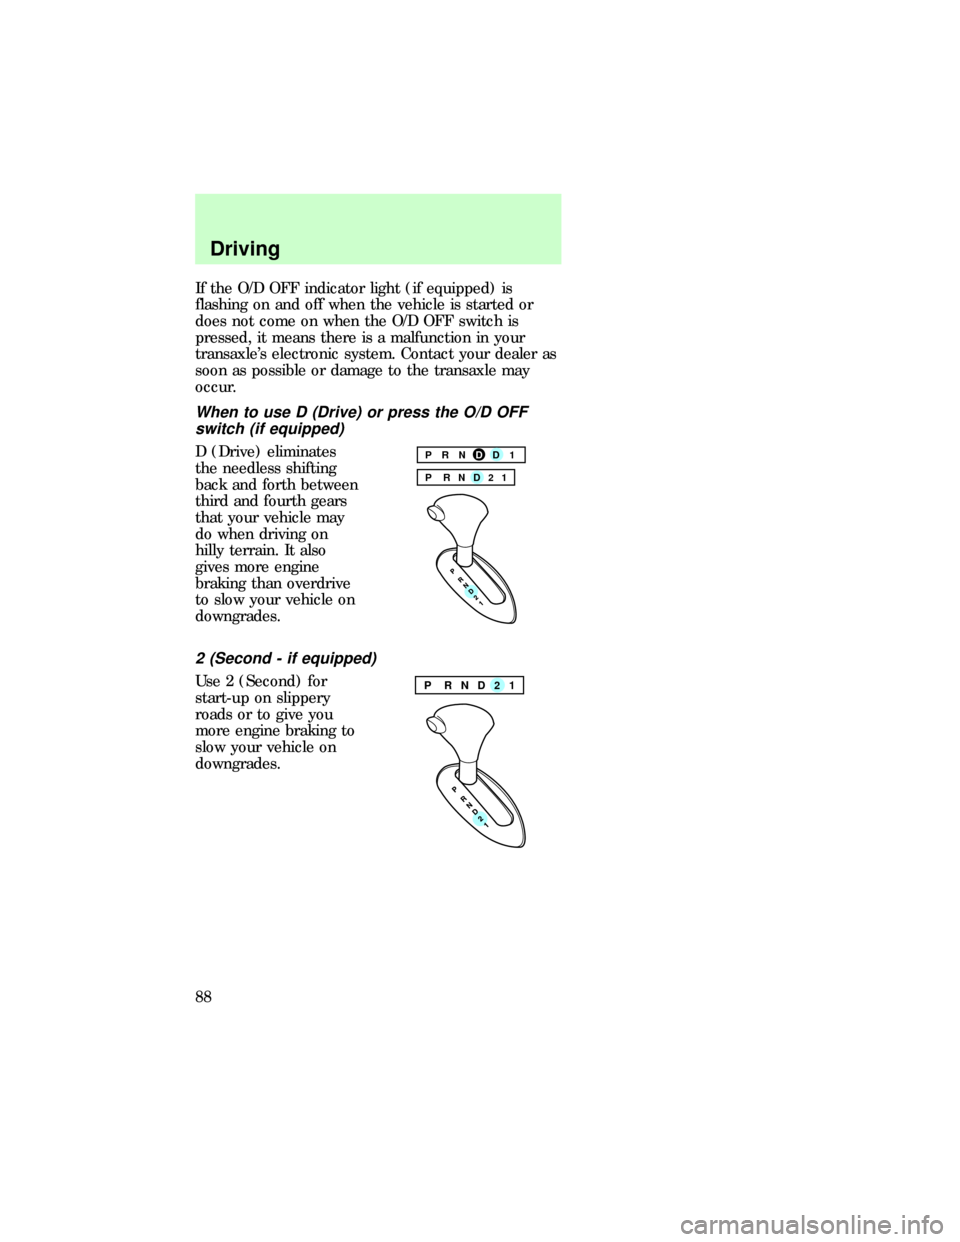
D (Drive) eliminates
the needless shifting
back and forth between
third and fourth gears
that your vehicle may
do when driving on
hilly terrain. It also
gives more engine
braking than overdrive
to slow your vehicle on
downgrades.
2 (Second - if equipped)
Use 2 (Second) for
start-up on slippery
roads or to give you
more engine braking to
slow your vehicle on
downgrades.
PRNDD1
P RND21
P RND21
Driving
88
Page 89 of 167
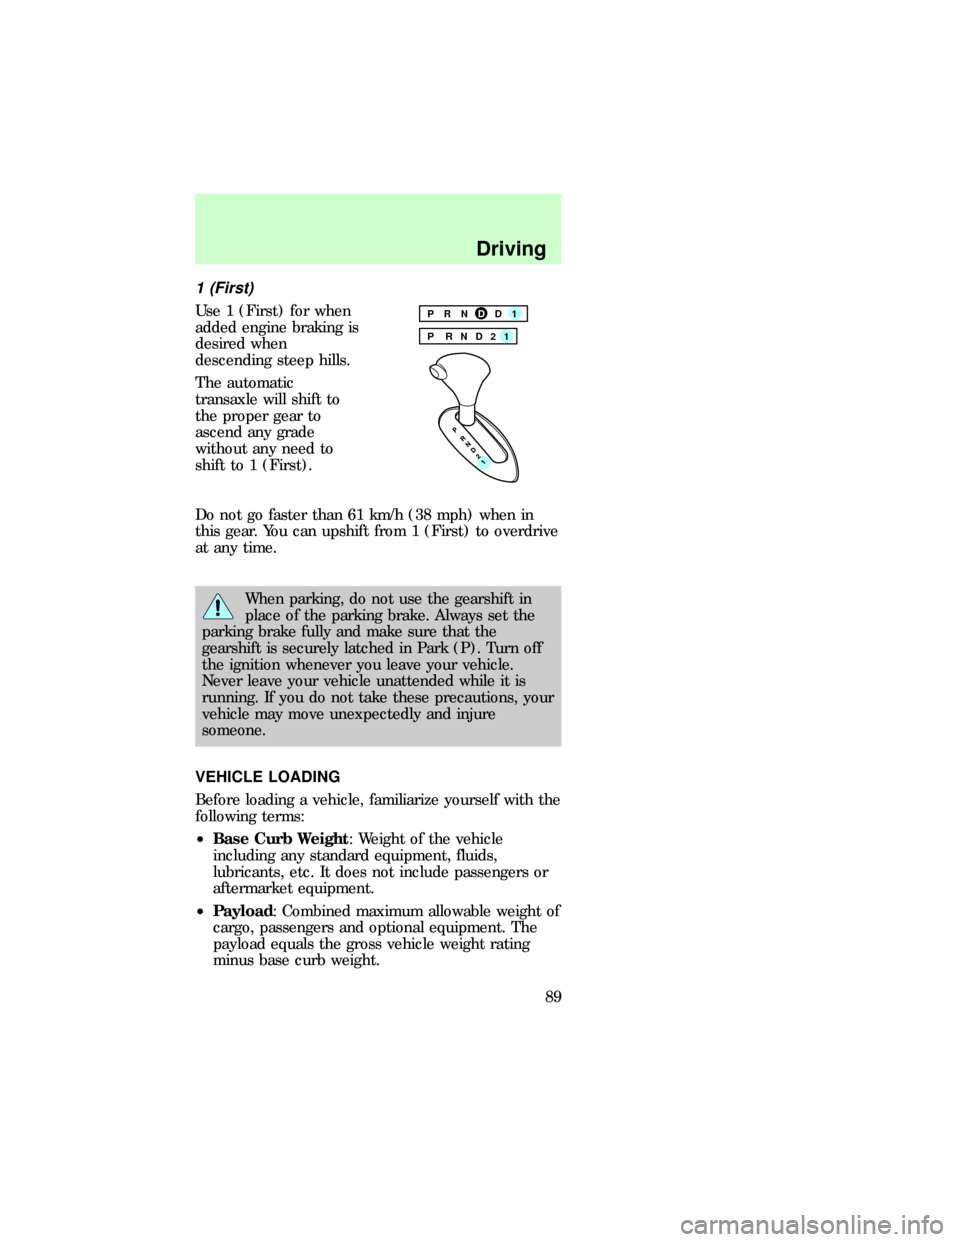
1 (First)
Use 1 (First) for when
added engine braking is
desired when
descending steep hills.
The automatic
transaxle will shift to
the proper gear to
ascend any grade
without any need to
shift to 1 (First).
Do not go faster than 61 km/h (38 mph) when in
this gear. You can upshift from 1 (First) to overdrive
at any time.
When parking, do not use the gearshift in
place of the parking brake. Always set the
parking brake fully and make sure that the
gearshift is securely latched in Park (P). Turn off
the ignition whenever you leave your vehicle.
Never leave your vehicle unattended while it is
running. If you do not take these precautions, your
vehicle may move unexpectedly and injure
someone.
VEHICLE LOADING
Before loading a vehicle, familiarize yourself with the
following terms:
²Base Curb Weight: Weight of the vehicle
including any standard equipment, fluids,
lubricants, etc. It does not include passengers or
aftermarket equipment.
²Payload: Combined maximum allowable weight of
cargo, passengers and optional equipment. The
payload equals the gross vehicle weight rating
minus base curb weight.
PRNDD1
P RND21
dno_vehicle-loading
Driving
89
Page 90 of 167

²GVW (Gross Vehicle Weight): Base curb weight
plus payload and weight. The GVW is not a limit
or a specification.
²GVWR (Gross Vehicle Weight Rating):
Maximum total weight of the base vehicle,
passengers, optional equipment and cargo. The
GVWR is specific to each vehicle and is listed on
the Safety Compliance Label on the driver's door
pillar.
²GAWR (Gross Axle Weight Rating): Carrying
capacity for each axle system. The GAWR is
specific to each vehicle and is listed on the Safety
Compliance Label on the driver's door pillar.
²GCWR (Gross Combined Weight Rating):
Maximum combined weight of towing vehicle
(including passengers and cargo) and the trailer.
The GCWR indicates the maximum loaded weight
that the vehicle is allowed to tow.
²Maximum Trailer Weight Rating: Maximum
weight of a trailer the vehicle is permitted to tow.
The maximum trailer weight rating equals the
vehicle curb weight for each engine/transaxle
combination, any required option weight for
trailer towing and the weight of the driver from
the GCWR for the towing vehicle.
²Maximum Trailer Weight: maximum weight of a
trailer the loaded vehicle (including passengers
and cargo) is permitted to tow. It is determined
by subtracting the weight of the loaded trailer
towing vehicle from the GCWR for the towing
vehicle.
²Trailer Weight Range: Specified weight range
that the trailer must fall within that ranges from
zero to the maximum trailer weight rating
Remember to figure in the tongue load of your
loaded trailer when figuring the total weight.
Driving
90