ignition Mercury Sable 1997 s Owner's Guide
[x] Cancel search | Manufacturer: MERCURY, Model Year: 1997, Model line: Sable, Model: Mercury Sable 1997Pages: 167, PDF Size: 1.59 MB
Page 63 of 167

If the air bag is inflated,the air bag will
not function again and must be replaced
immediately. If the air bag is not replaced, the
unrepaired area will increase the risk of injury in a
collision.
The SRS consists of:
²driver and passenger air bag modules (which
include the inflators and air bags),
²one or more impact and safing sensors,
²a readiness light and tone
²and the electrical wiring which connects the
components.
The diagnostic module monitors its own internal
circuits and the supplemental air bag electrical
system readiness (including the impact sensors), the
system wiring, the air bag system readiness light, the
air bag back up power and the air bag ignitors.
DETERMINING IF THE SYSTEM IS
OPERATIONAL
The SRS uses a readiness light in the instrument
cluster or a tone to indicate the condition of the
system. Refer to theAir bag readinesssection in
theInstrumentationchapter. Routine maintenance
of the air bag is not required.
A difficulty with the system is indicated by one or
more of the following:
²The readiness light
will either flash or
stay lit.
²The readiness light
will not illuminate immediately after ignition is
turned on.
²A group of five beeps will be heard. The tone
pattern will repeat periodically until the problem
and light are repaired.
com_determing_operational.01
Seating and safety restraints
63
Page 76 of 167

PREPARING TO START THE VEHICLE
Engine starting is controlled by the spark ignition
system. This system meets all Canadian
Interference-Causing Equipment standard
requirements regulating the impulse electrical field
strength of radio noise.
When starting a fuel-injected engine, avoid pressing
the accelerator before or during starting. Only use
the accelerator when you have difficulty starting the
engine. For more information on starting the vehicle,
refer toStarting the vehiclein this chapter.
Before starting the vehicle:
1. Make sure all vehicle occupants have buckled
their safety belts. For more information on safety
belts and their proper usage, refer to theSeating
and safety restraintschapter.
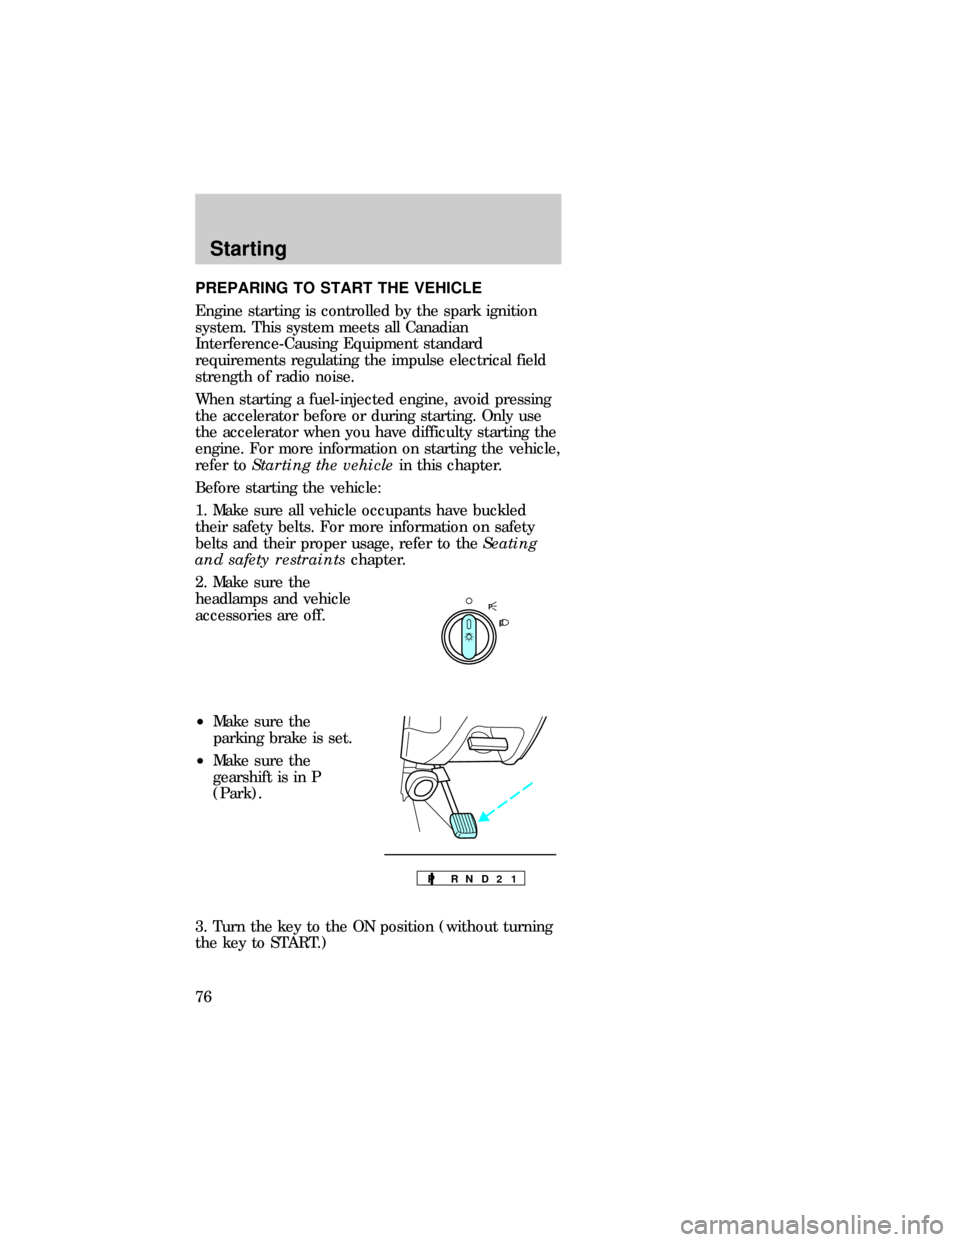
2. Make sure the
headlamps and vehicle
accessories are off.
²Make sure the
parking brake is set.
²Make sure the
gearshift is in P
(Park).
3. Turn the key to the ON position (without turning
the key to START.)
P
P R N D 2 1
dno_preparing_start
Starting
76
Page 82 of 167

²We recommend that you familiarize yourself with
this braking technique. However, avoid taking any
unnecessary risks.
Parking brake
The parking brake
should be used
whenever the vehicle is
parked. Push pedal
downward to set the
parking brake.
The BRAKE warning
lamp in the instrument
cluster illuminates and
remains illuminated
(when the ignition is turned ON) until the parking
brake is released.
Always set the parking brake fully and make
sure the gearshift is latched in P (Park).
Turn off the ignition whenever you leave your
vehicle.
The parking brake is not designed to stop a moving
vehicle. However, if the normal brakes fail, the
parking brake can be used to stop your vehicle in an
emergency. Since the parking brake applies only the
rear brakes, the vehicle's stopping distance will
increase greatly and the handling of your vehicle will
be adversely affected.
P!
BRAKE
dno_parking-brake
Driving
82
Page 83 of 167

Pull release handle
toward you to release
parking brake. Driving
with the parking brake
on will cause the
brakes to wear out
quickly and reduce fuel
economy.
TRANSAXLE
Brake-shift interlock
This vehicle is equipped with a brake-shift interlock
feature that prevents the gearshift from being moved
from P (Park) unless the brake pedal is pressed.
If you cannot move the gearshift out of P (Park)
with the brake pedal depressed:
1. Apply the parking brake, turn ignition key to
LOCK, then remove the key.
2. Insert the key and turn it to OFF. Apply the brake
pedal and shift to N (Neutral).
3. Start the vehicle.
If it is necessary to use the above procedure to
move the gearshift, it is possible that a fuse has
blown and the vehicle's brake lamps may not be
operating properly. Refer toFuses and relaysin the
Roadside emergencieschapter.
Do not drive your vehicle until you verify
that the brakelamps are working.
If your vehicle gets stuck in mud or snow it may be
rocked out by shifting from forward and reverse
gears in a steady pattern. Press lightly on the
dno_transaxle
dno_bsi
Driving
83
Page 84 of 167

accelerator in each gear. Do not rock the vehicle for
more than a few minutes, because it could damage
the vehicle.
Always set the parking brake fully and make
sure the gearshift is latched in P (Park).
Turn off the ignition whenever you leave your
vehicle.
Driving with an automatic overdrive transaxle
(column gearshift without O/D off switch)
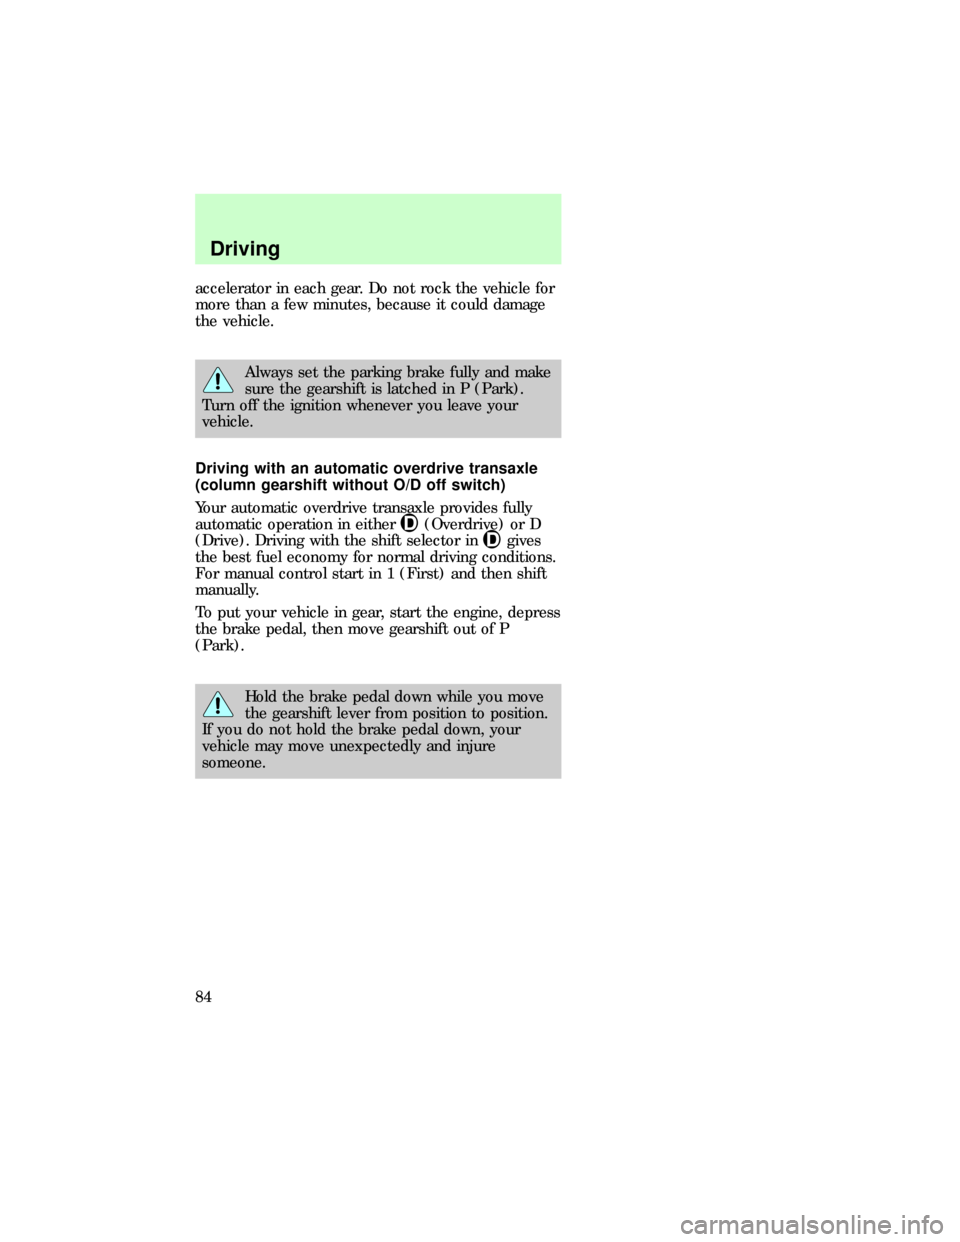
Your automatic overdrive transaxle provides fully
automatic operation in either
(Overdrive) or D
(Drive). Driving with the shift selector in
gives
the best fuel economy for normal driving conditions.
For manual control start in 1 (First) and then shift
manually.
To put your vehicle in gear, start the engine, depress
the brake pedal, then move gearshift out of P
(Park).
Hold the brake pedal down while you move
the gearshift lever from position to position.
If you do not hold the brake pedal down, your
vehicle may move unexpectedly and injure
someone.
dno_column-shift-od-off
dno_console-shift-with-od-off
Driving
84
Page 89 of 167

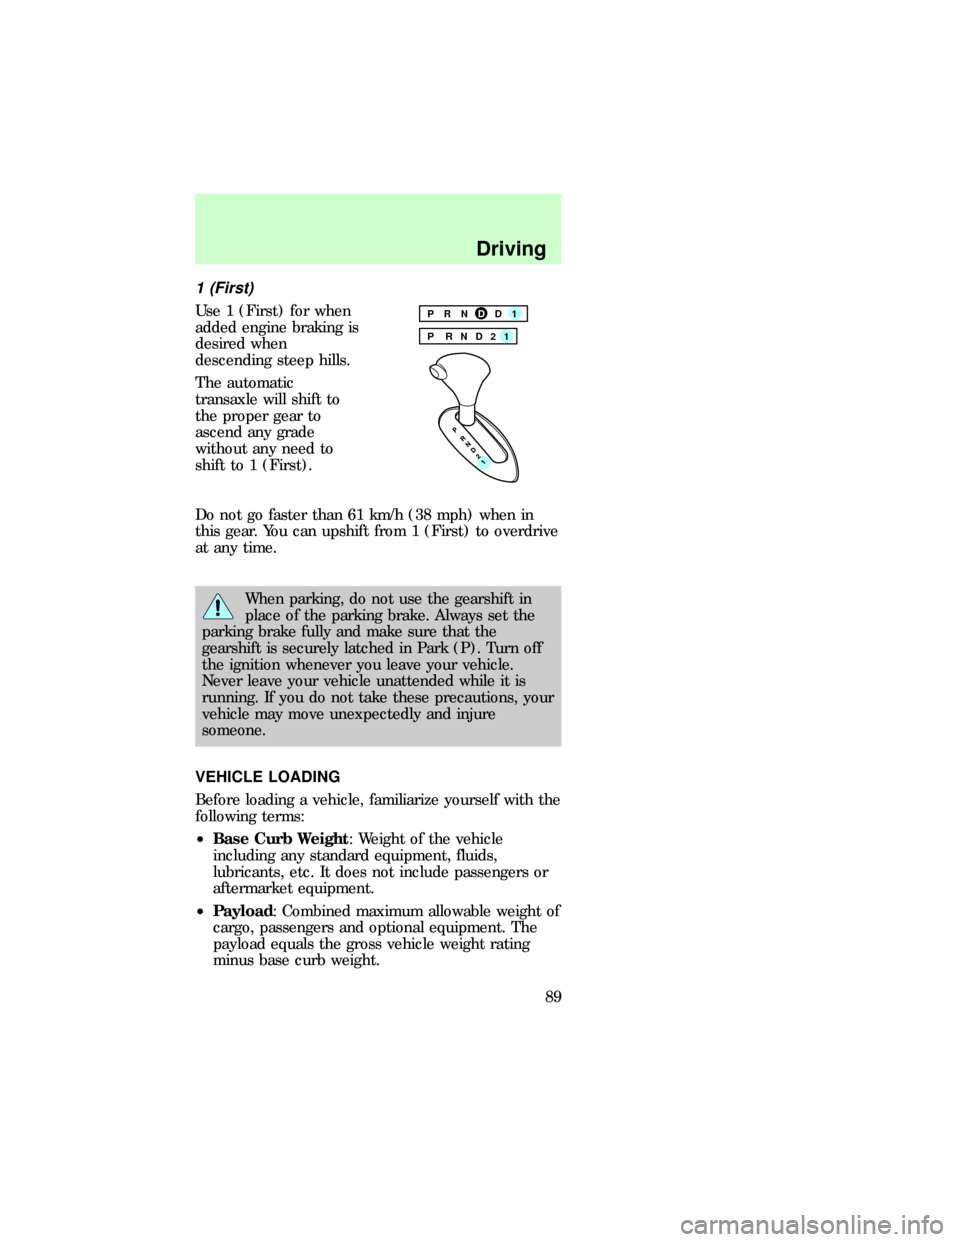
1 (First)
Use 1 (First) for when
added engine braking is
desired when
descending steep hills.
The automatic
transaxle will shift to
the proper gear to
ascend any grade
without any need to
shift to 1 (First).
Do not go faster than 61 km/h (38 mph) when in
this gear. You can upshift from 1 (First) to overdrive
at any time.
When parking, do not use the gearshift in
place of the parking brake. Always set the
parking brake fully and make sure that the
gearshift is securely latched in Park (P). Turn off
the ignition whenever you leave your vehicle.
Never leave your vehicle unattended while it is
running. If you do not take these precautions, your
vehicle may move unexpectedly and injure
someone.
VEHICLE LOADING
Before loading a vehicle, familiarize yourself with the
following terms:
²Base Curb Weight: Weight of the vehicle
including any standard equipment, fluids,
lubricants, etc. It does not include passengers or
aftermarket equipment.
²Payload: Combined maximum allowable weight of
cargo, passengers and optional equipment. The
payload equals the gross vehicle weight rating
minus base curb weight.
PRNDD1
P RND21
dno_vehicle-loading
Driving
89
Page 96 of 167

HAZARD LIGHTS CONTROL
Use only in an
emergency to warn
traffic of vehicle
breakdown,
approaching danger,
etc. Depress to activate
all indicators
simultaneously.
Depress again to switch
off. The warning lights
can be operated when
the ignition is off.
FUEL PUMP SHUT-OFF SWITCH
If the engine cranks but does not start after a
collision, the fuel pump shut-off switch may have
been activated. The shut-off switch is a device
intended to stop the electric fuel pump when your
vehicle has been involved in a substantial jolt.
1. Turn the ignition switch to the OFF position.
2. Check the fuel system for leaks.
3. If no fuel leak is apparent, reset the fuel pump
shut-off switch by pushing in the button on the
switch.
4. Turn the ignition switch to the ON position. Pause
for a few seconds and return the key to the OFF
position.
5. Make a further check for leaks in the fuel system.com_hazard_switch.01
dno_fuel-shut-off
Roadside emergencies
96
Page 99 of 167

Fuse/Relay
LocationFuse Amp
RatingDescription
1 - Not used
2 5A Instrument
Illumination
3 10A Left low beam
headlamp
4 10A Right low beam
headlamp
5 5A Brake shift
interlock , rear
defroster
6 15A MLPS switch,
backup lamps,
speed control,
climate control
7 10A MLPS switch,
starter relay
8 5A Power antenna,
radio control
unit, GEM
9 10A ABS, central
temperature
monitor
10 20A EEEC relay,
ignition coil,
PATS, radio
11 5A Air bag
indicator,
instrument
cluster
Roadside emergencies
99
Page 102 of 167

Fuse/Relay
LocationFuse Amp
RatingDescription
36 - Rear defroster
relay
37 - Interior lamps
relay
38 - One touch
window down
relay
39 - Accessory delay
relay
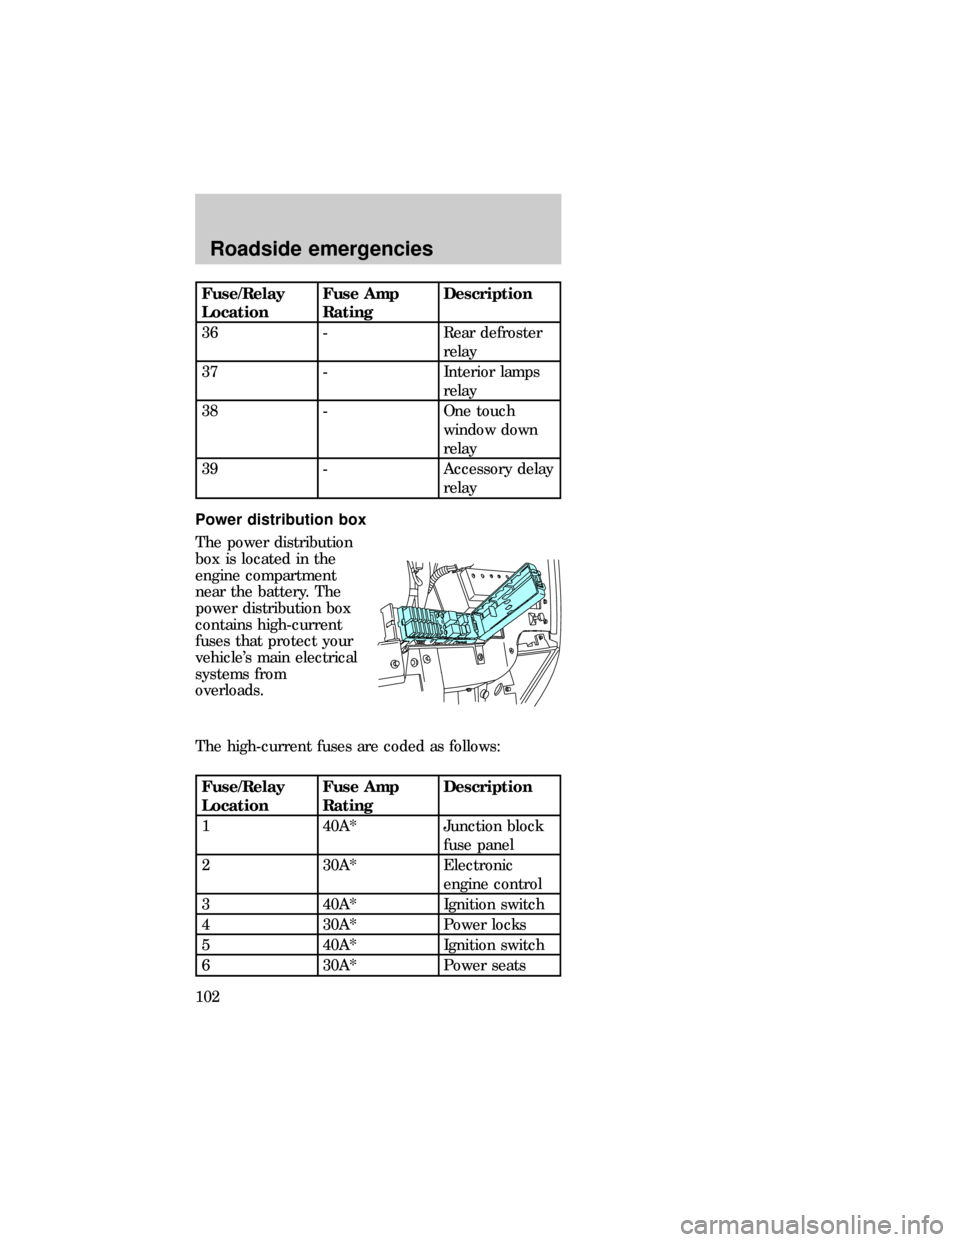
Power distribution box
The power distribution
box is located in the
engine compartment
near the battery. The
power distribution box
contains high-current
fuses that protect your
vehicle's main electrical
systems from
overloads.
The high-current fuses are coded as follows:
Fuse/Relay
LocationFuse Amp
RatingDescription
1 40A* Junction block
fuse panel
2 30A* Electronic
engine control
3 40A* Ignition switch
4 30A* Power locks
5 40A* Ignition switch
6 30A* Power seats
sab_pdb
Roadside emergencies
102
Page 113 of 167

TOWING YOUR VEHICLE BEHIND ANOTHER
VEHICLE
At times, you may want to tow your vehicle behind
another vehicle, such as a recreational vehicle, car
or a truck.
Before you have your vehicle towed:
²Release the parking brake.
²Move the gearshift to N (Neutral).
²Turn the key in the ignition to OFF.
²Unlock the steering wheel.
Do not tow your vehicle at a speed faster than 56
km/h (35 mph) or for a distance greater than 80 km
(50 miles), unless the drive wheels are placed on
dollies.
Never use a tow bar that attaches to the
bumper when you tow your vehicle. This
could damage the bumper and cause an accident.
Roadside emergencies
113