window Mercury Sable 1997 Owner's Manuals
[x] Cancel search | Manufacturer: MERCURY, Model Year: 1997, Model line: Sable, Model: Mercury Sable 1997Pages: 167, PDF Size: 1.59 MB
Page 17 of 167

To turn on the EATC
Press AUTO or any of
the six manual override
buttons along the
bottom of the control.
The control will
operate only when the
ignition is turned to the
ON position.
To turn off the EATC
Press OFF. When the
system is off, the
display window will be
blank (dark).
Automatic operation
Press AUTO and select the desired temperature.
The system will automatically determine fan speed
and airflow location. Fan speed remains automatic
unless you press FAN. The selected temperature will
be shown on the display.
Temperature selection
TEMP will increase or
decrease the set
temperature. Pressing
TEMP will change the
temperature one
degree in either
direction. Pressing and
holding TEMP will
rapidly change the temperature (in one degree
increments) in either direction until either 18ÉC
(65ÉF) or 29ÉC (85ÉF). The temperature will then
jump ±15ÉC (5ÉF) and stop at either 16ÉC (60ÉF)
which is maximum cooling or 32ÉC (90ÉF) which is
maximum heating.
TEMP
—+OFFAUTOTEMPOUT
SIDEA/C MAXF-DEF
R-DEFVENT
AUTO
AUTO F—+
TEMP
—+OFFAUTOTEMPOUT
SIDEA/C MAXF-DEF
R-DEFVENT
OFF
—+
TEMP
—+OFFAUTOTEMPOUT
SIDEA/C MAXF-DEF
R-DEF
AUTO
VENT
TEMP
F—+
—+
Controls and features
17
Page 18 of 167

Changing modes (Temperature conversion)
Press MAX A/C and
the
F-DEF button
at the same time to
switch between
Fahrenheit and Celsius.
If the battery is
disconnected, the
display will revert to
Fahrenheit.
(fan speed)
Once AUTO is pressed, fan speed is adjusted
automatically for existing conditions.
You can override
automatic fan speed (at
any time) by pressing
FAN. The display
window will show FAN
and a series of dots
indicating fan speed. To
return to automatic fan
control, press AUTO.
Manual override controls
The override controls are located on the bottom of
the EATC and allow you to determine where airflow
is directed. To return to full automatic control, press
AUTO.
²MAX A/C - Uses recirculated air to cool the
vehicle. The temperature will display 16ÉC
TEMP
—+OFFAUTOTEMPOUT
SIDEA/C MAXF-DEF
R-DEF
AUTO
VENT
A/C
F—+
TEMP
—+OFFAUTOTEMPOUT
SIDEA/C MAXF-DEF
R-DEF
AUTO
VENT
—+
F—+
TEMP
—+OFFAUTO
TEMPOUT
SIDEA/C MAXF-DEF
R-DEF
AUTO
VENT
F—+
Controls and features
18
Page 20 of 167

The outside temperature reading is most accurate
when the vehicle is moving. Higher readings may be
obtained when the vehicle is not moving. The
readings that you get may not agree with
temperatures given on the radio due to differences
in vehicle and station locations.
Operating tips
²In humid weather, selectF-DEF before
driving. This will prevent your windshield from
fogging. After a few minutes, select any desired
position.
²To prevent humidity buildup inside the vehicle,
don't drive with the climate control system in the
OFF position.
²Don't put objects under the front seat that will
interfere with the air circulation to the back seats.
²Remove any snow, ice or leaves from the air
intake area (at the bottom of the windshield
under the hood) on the passenger side of your
vehicle.
²If the air conditioner works well in MAX A/C but
not in A/C, this may indicate that the passenger
compartment air filter (if equipped) needs to be
replaced.
Rear window defroster and heated outside rear
view mirrors
The defroster clears
away fog, frost and
thin ice from the rear
window and outside
rear view mirrors.
Clear away snow from rear window and mirrors. The
defroster operates for 10 minutes then shuts off. If
more defrosting is required, press the control again.
R-DEF
dno_defroster
dno_rear-wiper
Controls and features
20
Page 28 of 167

The dome lamp will
stay on if the control is
moved to the ON
position. When the
control is in the DOOR
position, the lamp will
only come on when a
door is opened. If the
control is moved to the
OFF position, the lamp will not come on at all.
The dome lamp will illuminate whenever a front
door is opened. If either front door has been opened
from the outside, the lamp will remain on for 25
seconds after the door is shut. If any other door has
been opened from the inside, the lamp will shut off
immediately after the door is closed.
The map lamps and
controls are located on
the dome lamp. Press
the controls on either
side of each map lamp to activate the lamps.
If equipped with a
moon roof, the map
lamps are located on
the moon roof control
panel. Press LIGHT to
illuminate the map
lamp.
OFF DOOR ON
TILT
LIGHTLIGHT
SLIDE
dno_pwr-windows
Controls and features
28
Page 29 of 167

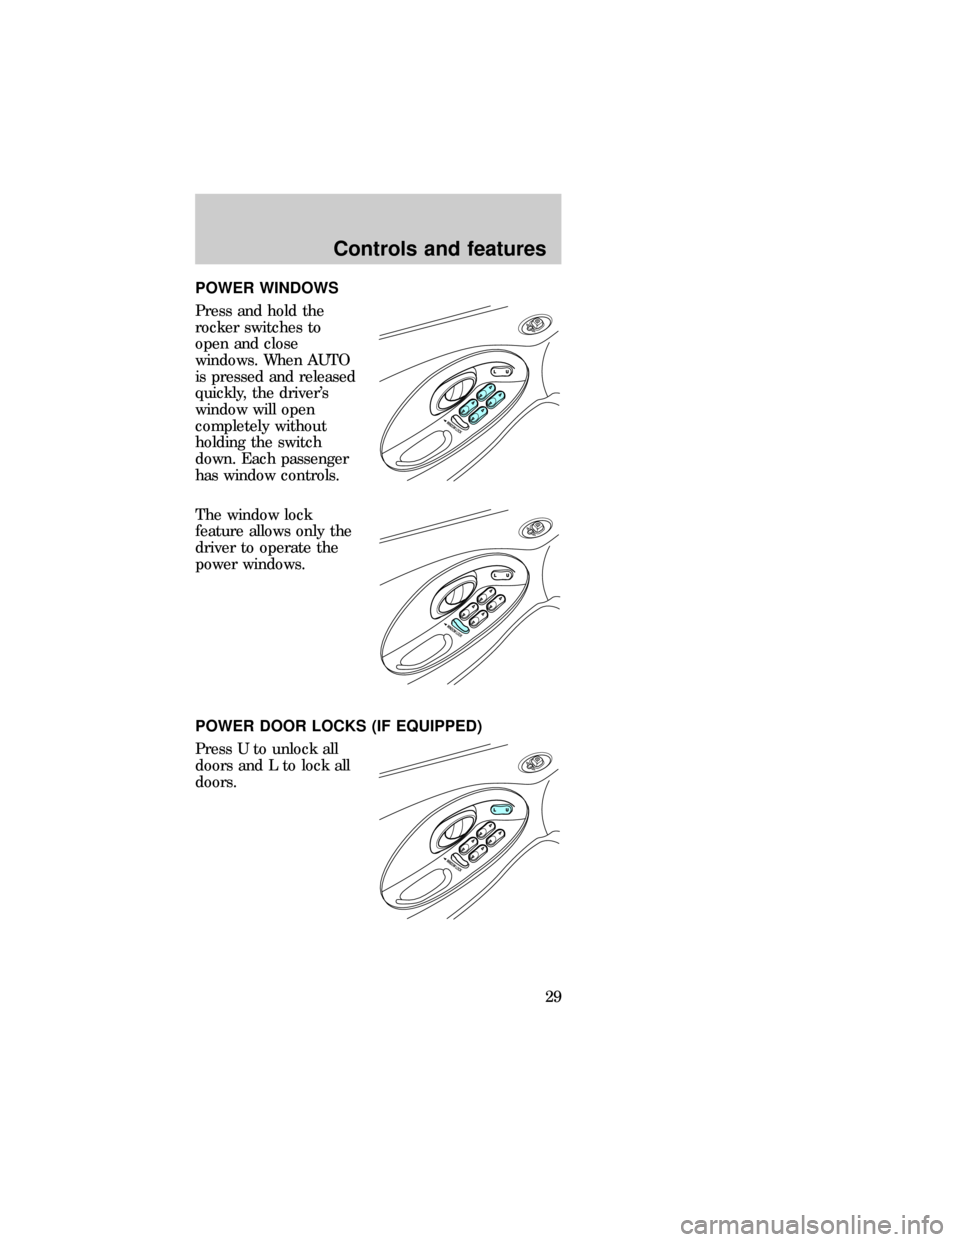
POWER WINDOWS
Press and hold the
rocker switches to
open and close
windows. When AUTO
is pressed and released
quickly, the driver's
window will open
completely without
holding the switch
down. Each passenger
has window controls.
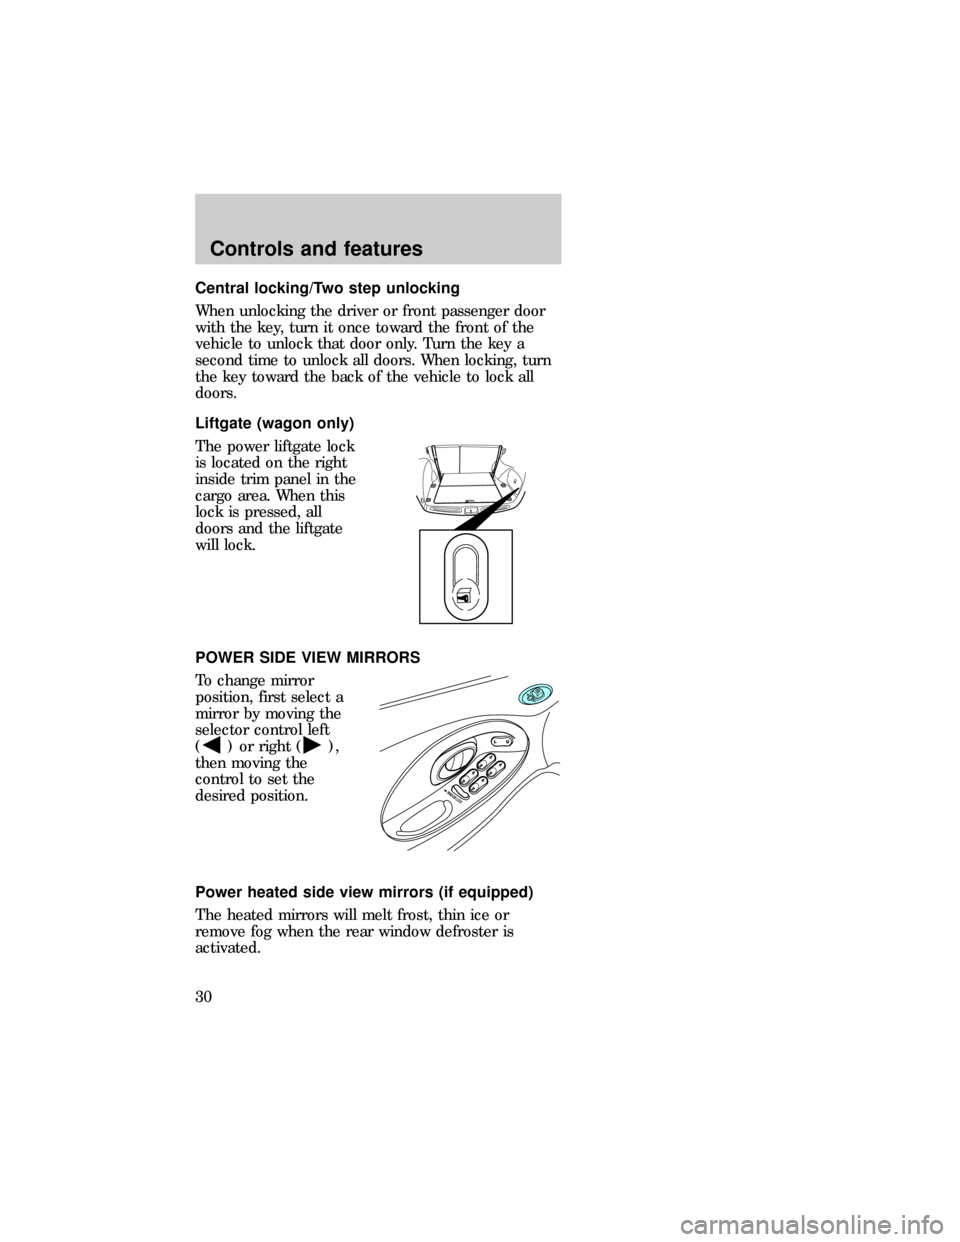
The window lock
feature allows only the
driver to operate the
power windows.
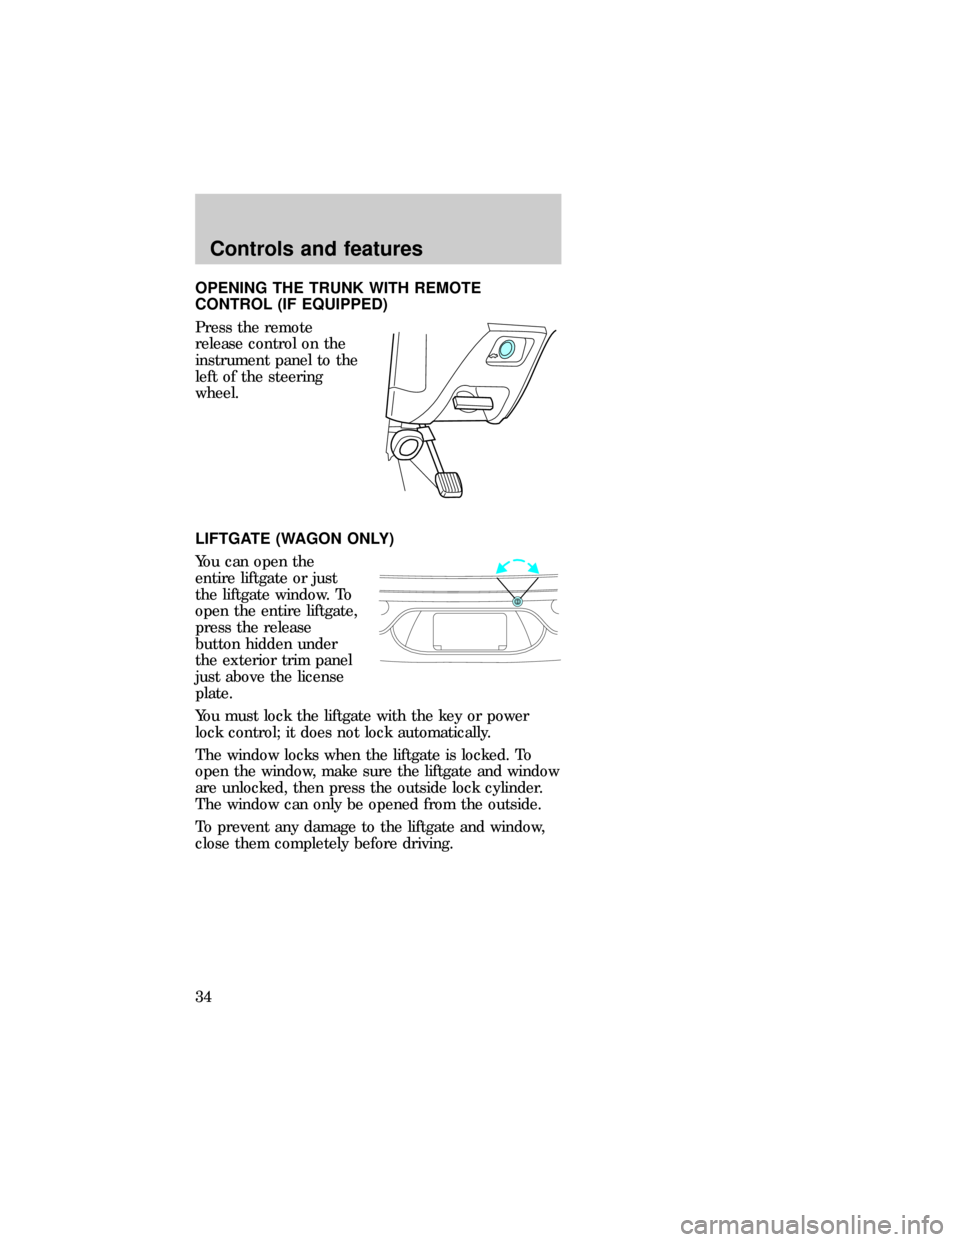
POWER DOOR LOCKS (IF EQUIPPED)
Press U to unlock all
doors and L to lock all
doors.
dno_power-doors
dno_central-lock
Controls and features
29
Page 30 of 167

Central locking/Two step unlocking
When unlocking the driver or front passenger door
with the key, turn it once toward the front of the
vehicle to unlock that door only. Turn the key a
second time to unlock all doors. When locking, turn
the key toward the back of the vehicle to lock all
doors.
Liftgate (wagon only)
The power liftgate lock
is located on the right
inside trim panel in the
cargo area. When this
lock is pressed, all
doors and the liftgate
will lock.
POWER SIDE VIEW MIRRORS
To change mirror
position, first select a
mirror by moving the
selector control left
(
) or right (),
then moving the
control to set the
desired position.
Power heated side view mirrors (if equipped)
The heated mirrors will melt frost, thin ice or
remove fog when the rear window defroster is
activated.
dno_liftgate-locking
dno_power-mirrors
dno_mirrors
dno_child-locks
Controls and features
30
Page 34 of 167

OPENING THE TRUNK WITH REMOTE
CONTROL (IF EQUIPPED)
Press the remote
release control on the
instrument panel to the
left of the steering
wheel.
LIFTGATE (WAGON ONLY)
You can open the
entire liftgate or just
the liftgate window. To
open the entire liftgate,
press the release
button hidden under
the exterior trim panel
just above the license
plate.
You must lock the liftgate with the key or power
lock control; it does not lock automatically.
The window locks when the liftgate is locked. To
open the window, make sure the liftgate and window
are unlocked, then press the outside lock cylinder.
The window can only be opened from the outside.
To prevent any damage to the liftgate and window,
close them completely before driving.
dno_opening-liftgate
dno_storage-compControls and features
34
Page 73 of 167

2. Continue to unfold
the child seat until it
rests on the seat.
3. Read all information
and warnings on the
child seat cushion and
shoulder safety belt.
Make sure the child is
not too large for the
child seat.
4. If connected, squeeze the top and the bottom of
the right half of the chest clip and pull to separate
both halves.
5. Place the child on the child seat and position the
shoulder belts over each shoulder.
6. Insert either the left
or the right safety belt
tongue into the single
opening of the crotch
safety belt buckle (it
doesn't matter which
tongue is inserted
first). Insert other
tongue. The color
green must appear in the indicator window on the
Seating and safety restraints
73
Page 74 of 167

crotch safety belt buckle when buckled. Allow belts
to retract and fit snugly.
7. Fasten both halves
of the chest clip below
the child's shoulders
and adjust it to
comfortably hold the shoulder belts in place on the
child's chest. The color green must appear in the
indicator window when fastened.
8. Pull the shoulder belts toward you to make sure
the crotch safety belt buckle is properly fastened
and the retractor is locked.
9. If the belts become too tight, unbuckle the crotch
safety belt buckle to unlock the retractors, then
reinsert both belt tongues.
Removing your child from the built-in child seat
1. Squeeze the tabs on the top and the bottom of
the chest clip and pull the halves apart to open the
chest clip.
2. Press the release button on the crotch safety belt
buckle.
3. Slide the shoulder belts off the child's shoulders
and remove the child.
To stow the built-in child seat
Return the child seat
cushion to the upright
position, then press
firmly in the center and
top of the child seat.
dno_inspect
Seating and safety restraints
74
Page 80 of 167

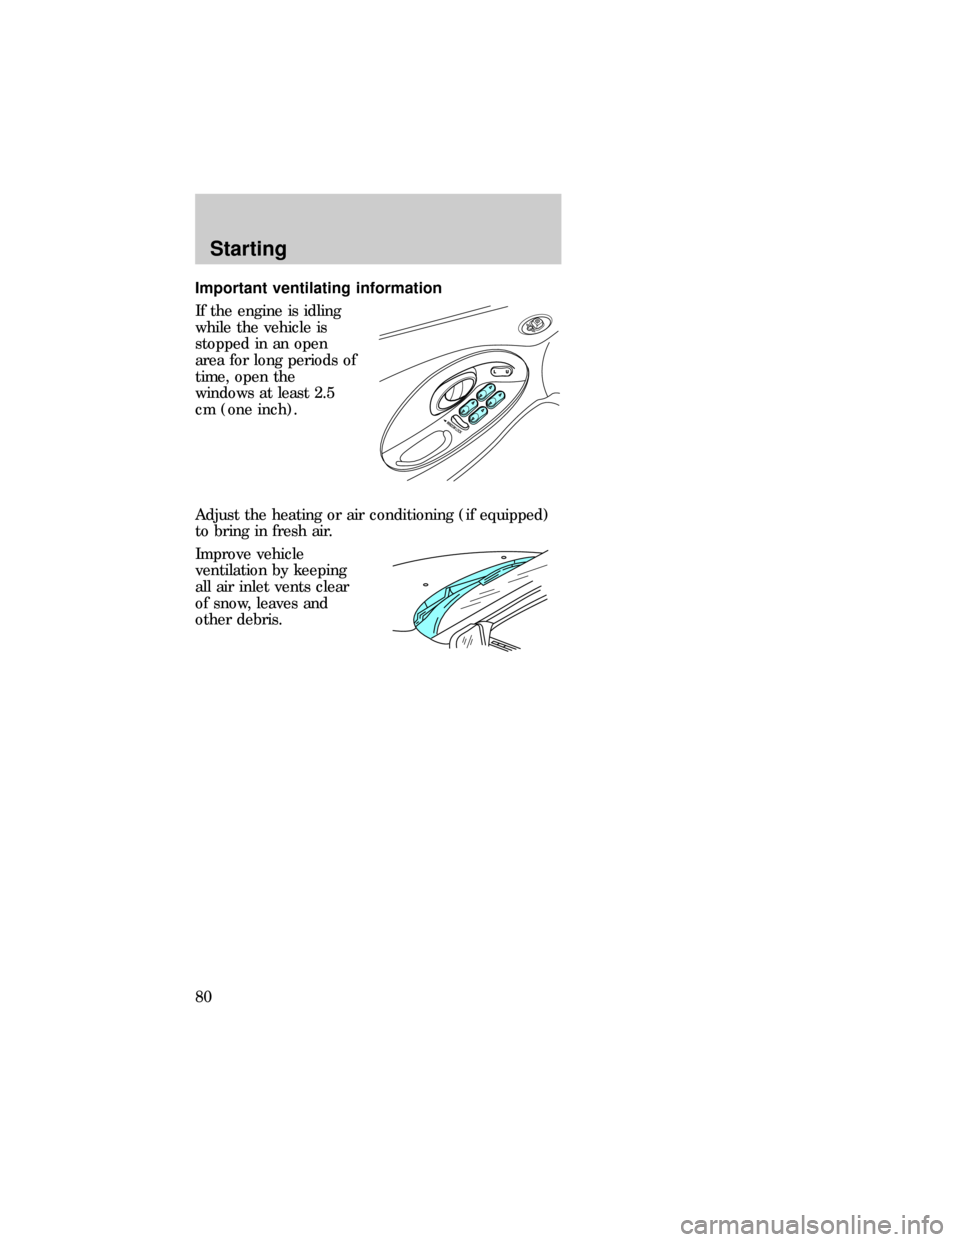
Important ventilating information
If the engine is idling
while the vehicle is
stopped in an open
area for long periods of
time, open the
windows at least 2.5
cm (one inch).
Adjust the heating or air conditioning (if equipped)
to bring in fresh air.
Improve vehicle
ventilation by keeping
all air inlet vents clear
of snow, leaves and
other debris.
Starting
80