lock Mercury Sable 1998 s Owner's Guide
[x] Cancel search | Manufacturer: MERCURY, Model Year: 1998, Model line: Sable, Model: Mercury Sable 1998Pages: 190, PDF Size: 1.29 MB
Page 78 of 190

10. Try to pull the belt out of the retractor to make
sure the retractor is in the automatic locking mode
(you should not be able to pull more belt out). If the
retractor is not locked, unbuckle the belt and repeat
steps two through nine.
Check to make sure the child seat is properly
secured before each use.
Installing a child safety seat in the center rear
seating position with adjustable lap belt
1. Lengthen the lap belt. To lengthen the belt, hold
the tongue so that its bottom is perpendicular to the
direction of webbing while sliding the tongue up the
webbing.
2. Place the child safety seat in the center seating
position.
3. Route the tongue and webbing through the child
seat according to the child seat manufacturer's
instructions.
4. Insert the belt tongue into the proper buckle for
the center seating position until you hear a snap and
feel it latch. Make sure the tongue is securely
fastened to the buckle by pulling on tongue.
5. Push down on the child seat while pulling on the
loose end of the lap belt webbing to tighten the belt.
6. Before placing the child into the child seat,
forcibly tilt the child seat from side to side and in
forward direction to make sure that the seat is held
securely in place. If the child seat moves excessively,
repeat steps 5 through 6, or properly install the
child seat in a different position.
Attaching safety seats with tether straps
Some manufacturers make safety seats that include
a tether strap that goes over the back of the vehicle
seat and attaches to an anchoring point. Other
manufacturers offer the tether strap as an accessory.
Contact the manufacturer of your child safety seat
for information about ordering a tether strap.
Seating and safety restraints
78
Page 80 of 190

BUILT-IN CHILD SEATS
Built-in child safety seat (if equipped)
The rear seat may include a built-in child seat. This
child seat conforms to all Federal and local motor
vehicle safety standards. Read the labels located on
the child seat cushion and shoulder belt for
information on the built-in child seat.
Use the built-in child seatonlyif the child is at least
9 months old, weighs 9±27 kg (20±60 lb) and the
child's shoulders (top) are below the shoulder
harness slots in the built-in child seat.
Children not meeting these requirements should be
secured in an approved aftermarket seat. Refer to
Children and infant or child safety seatsin this
chapter.
Built-in child seat retractors
The belts on built-in child seats are equipped with a
retractor that locks when both tongues are latched
into the crotch safety belt buckle. The retractor will
automatically snug the belts around the child. If the
belts do not remain snug, take the vehicle to the
dealer for child seat repair. The belts will not snug
during a collision.
Placing your child in the built-in child seat
Failure to follow all of the instructions on
the use of this child restraint system can
result in your child striking the vehicle's interior
during a sudden stop or crash.
Seating and safety restraints
80
Page 81 of 190

Never use the Built-In Child Seat as a
booster cushion with the adult safety belts.
A child using the adult belts could slide forward
and out from under the safety belts.
The rear seatback must be fully locked
before operating the child restraint system.
1. Grasp the child seat
at the top of the
seatback and pull the
top forward to release
the latch.
2. Continue to unfold
the child seat until it
rests on the seat.
Seating and safety restraints
81
Page 82 of 190

3. Read all information
and warnings on the
child seat cushion and
shoulder safety belt.
Make sure the child is
not too large for the
child seat.
4. If connected, squeeze the top and the bottom of
the right half of the chest clip and pull to separate
both halves.
5. Place the child on the child seat and position the
shoulder belts over each shoulder.
6. Insert either the left
or the right safety belt
tongue into the single
opening of the crotch
safety belt buckle (it
doesn't matter which
tongue is inserted
first). Insert other
tongue. The color
green must appear in the indicator window on the
crotch safety belt buckle when buckled. Allow belts
to retract and fit snugly.
7. Fasten both halves
of the chest clip below
the child's shoulders
and adjust it to
comfortably hold the shoulder belts in place on the
child's chest. The color green must appear in the
indicator window when fastened.
8. Pull the shoulder belts toward you to make sure
the crotch safety belt buckle is properly fastened
and the retractor is locked.
Seating and safety restraints
82
Page 83 of 190

9. If the belts become too tight, unbuckle the crotch
safety belt buckle to unlock the retractors, then
reinsert both belt tongues.
Removing your child from the built-in child seat
1. Squeeze the tabs on the top and the bottom of
the chest clip and pull the halves apart to open the
chest clip.
2. Press the release button on the crotch safety belt
buckle.
3. Slide the shoulder belts off the child's shoulders
and remove the child.
To stow the built-in child seat
Return the child seat
cushion to the upright
position, then press
firmly in the center and
top of the child seat.
Inspecting the built-in child seat after a collision
Inspect all built-in child restraints, including seats,
buckles, retractors, seat latches. Interlocks and
attaching hardware should be inspected by a
qualified technician after any collision. If the child
seat was in use during a collision, Ford recommends
replacing it. Built-in child restraints not in use
during a collision should be inspected and replaced
if either damage or improper operation is noted.
Seating and safety restraints
83
Page 87 of 190

again. If the engine does not start in two attempts,
depress the accelerator and start the engine while
holding the accelerator down to the floor. Release
the accelerator when the engine starts.
4. After idling for a few seconds, apply the brake
and release the parking brake.
Using the engine block heater (if equipped)
An engine block heater warms the engine coolant,
which improves starting, warms up the engine faster
and allows the heater-defroster system to respond
quickly. Use of an engine block heater is strongly
recommended if you live in a region where
temperatures reach -23ÉC (-10ÉF) or below.
For best results, plug the heater in at least three
hours before starting the vehicle. Using the heater
for longer than three hours will not harm the engine,
so the heater can be plugged in the night before
starting the vehicle.
To prevent electrical shock, do not use your
heater with ungrounded electrical systems
or two-pronged (cheater) adapters.
Guarding against exhaust fumes
Although odorless and colorless, carbon monoxide is
present in exhaust fumes. Take precautions to avoid
its dangerous effects.
If you ever smell exhaust fumes of any kind
inside your vehicle, have your dealer inspect
and fix your vehicle immediately. Do not drive if
you smell exhaust fumes. These fumes are harmful
and could kill you.
Starting
87
Page 89 of 190

BRAKES
Your brakes are self-adjusting. Refer to the ªService
Guideº for scheduled maintenance.
Occasional brake noise is normal and often does not
indicate a performance concern with the vehicle's
brake system. In normal operation, automotive brake
systems may emit occasional or intermittent squeal
or groan noises when the brakes are applied. Such
noises are usually heard during the first few brake
applications in the morning; however, they may be
heard at any time while braking and can be
aggravated by environmental conditions such as
cold, heat, moisture, road dust, salt or mud. If a
ªmetal-to-metal,º ªcontinuous grindingº or
ªcontinuous squealº sound is present while braking,
the brake linings may be worn-out and should be
inspected by a qualified service technician.
Anti-lock brake system (ABS) (if equipped)
On vehicles equipped with an anti-lock braking
system (ABS), a noise from the hydraulic pump
motor and pulsation in the pedal may be observed
during ABS braking events. Pedal pulsation coupled
with noise while braking under panic conditions or
on loose gravel, bumps, wet or snowy roads is
normal and indicates proper functioning of the
vehicle's anti-lock brake system. If the vehicle has
continuous vibration or shudder in the steering
wheel while braking, the vehicle should be inspected
by a qualified service technician.
Driving
89
Page 90 of 190

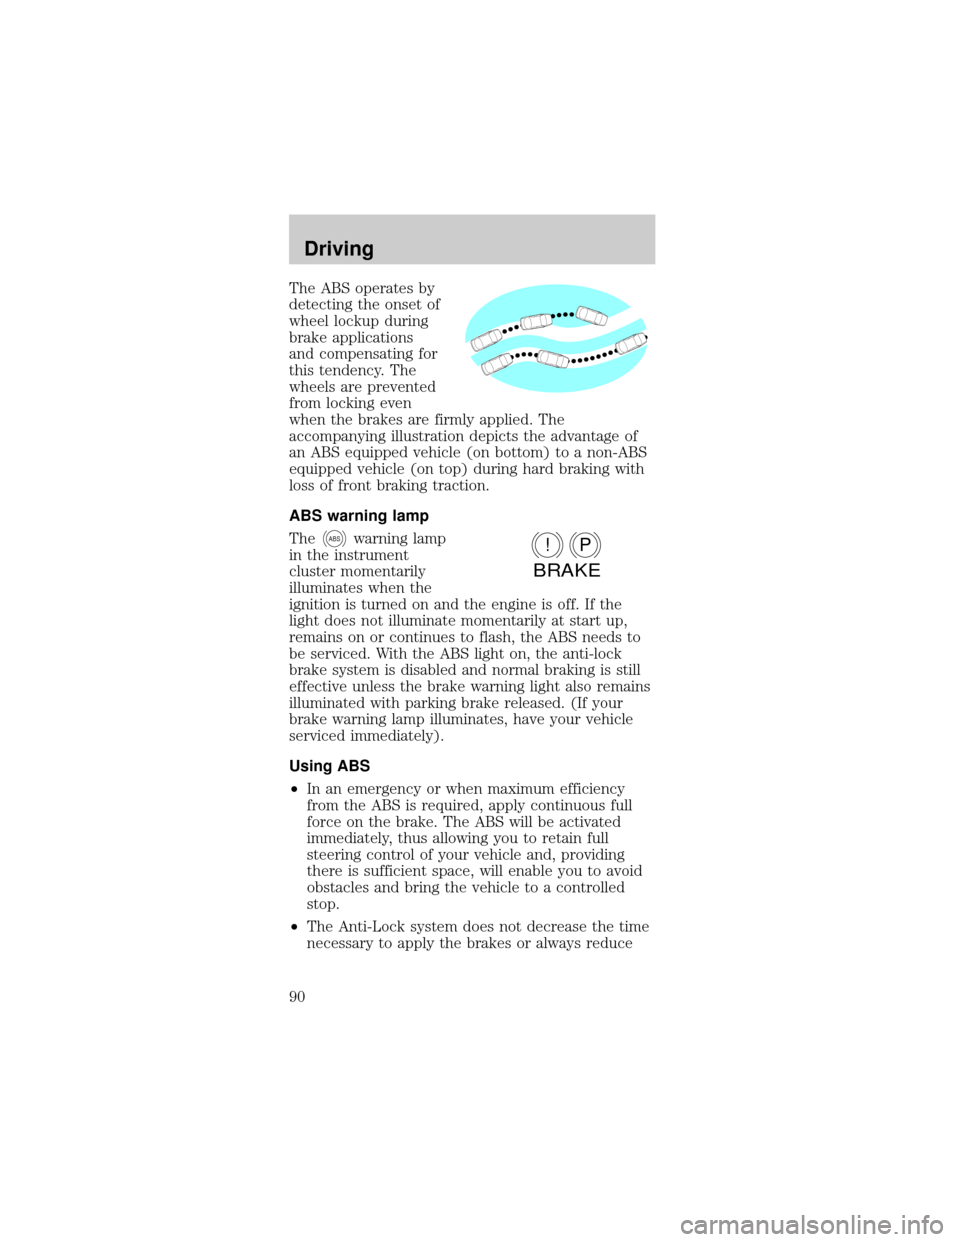
The ABS operates by
detecting the onset of
wheel lockup during
brake applications
and compensating for
this tendency. The
wheels are prevented
from locking even
when the brakes are firmly applied. The
accompanying illustration depicts the advantage of
an ABS equipped vehicle (on bottom) to a non-ABS
equipped vehicle (on top) during hard braking with
loss of front braking traction.
ABS warning lamp
The
ABSwarning lamp
in the instrument
cluster momentarily
illuminates when the
ignition is turned on and the engine is off. If the
light does not illuminate momentarily at start up,
remains on or continues to flash, the ABS needs to
be serviced. With the ABS light on, the anti-lock
brake system is disabled and normal braking is still
effective unless the brake warning light also remains
illuminated with parking brake released. (If your
brake warning lamp illuminates, have your vehicle
serviced immediately).
Using ABS
²In an emergency or when maximum efficiency
from the ABS is required, apply continuous full
force on the brake. The ABS will be activated
immediately, thus allowing you to retain full
steering control of your vehicle and, providing
there is sufficient space, will enable you to avoid
obstacles and bring the vehicle to a controlled
stop.
²The Anti-Lock system does not decrease the time
necessary to apply the brakes or always reduceP!
BRAKE
Driving
90
Page 93 of 190

AUTOMATIC TRANSAXLE OPERATION
Brake-shift interlock
This vehicle is equipped with a brake-shift interlock
feature that prevents the gearshift from being moved
from P (Park) unless the brake pedal is pressed.
If you cannot move the gearshift out of P (Park)
with the brake pedal depressed:
1. Apply the parking brake, turn ignition key to
LOCK, then remove the key.
2. Insert the key and turn it to OFF. Apply the brake
pedal and shift to N (Neutral).
3. Start the vehicle.
If it is necessary to use the above procedure to
move the gearshift, it is possible that a fuse has
blown and the vehicle's brakelamps may not be
operating properly. Refer toFuses and relaysin the
Roadside emergencieschapter.
Do not drive your vehicle until you verify
that the brakelamps are working.
If your vehicle gets stuck in mud or snow it may be
rocked out by shifting from forward and reverse
gears, stopping between shifts, in a steady pattern.
Press lightly on the accelerator in each gear. Do not
rock the vehicle for more than a few minutes,
because it could damage the vehicle.
Always set the parking brake fully and make
sure the gearshift is latched in P (Park).
Turn off the ignition whenever you leave your
vehicle.
Driving
93
Page 96 of 190

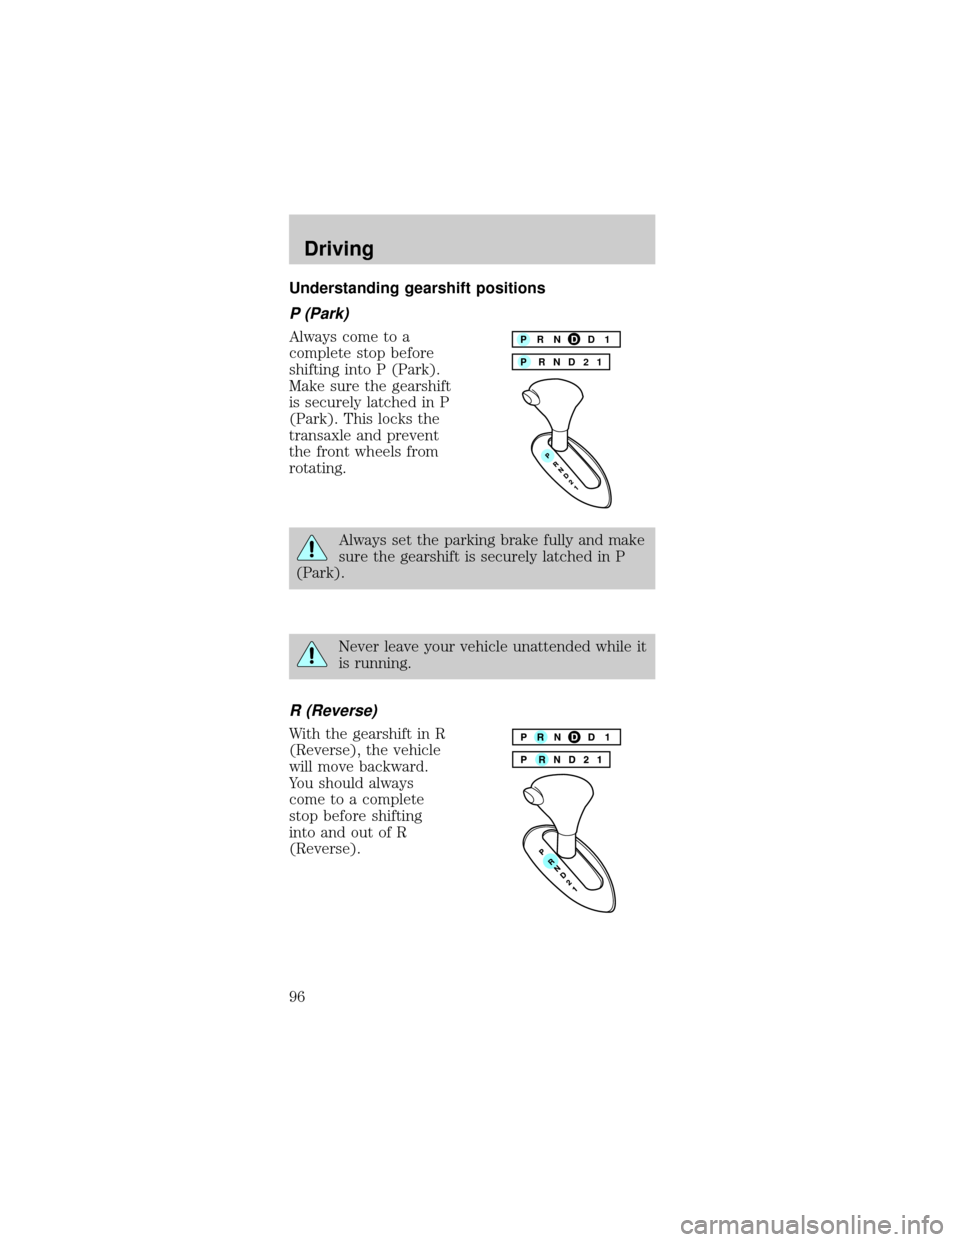
Understanding gearshift positions
P (Park)
Always come to a
complete stop before
shifting into P (Park).
Make sure the gearshift
is securely latched in P
(Park). This locks the
transaxle and prevent
the front wheels from
rotating.
Always set the parking brake fully and make
sure the gearshift is securely latched in P
(Park).
Never leave your vehicle unattended while it
is running.
R (Reverse)
With the gearshift in R
(Reverse), the vehicle
will move backward.
You should always
come to a complete
stop before shifting
into and out of R
(Reverse).
P RND21 PRNDD1
Driving
96