remove seats Mercury Sable 1998 Owner's Manuals
[x] Cancel search | Manufacturer: MERCURY, Model Year: 1998, Model line: Sable, Model: Mercury Sable 1998Pages: 190, PDF Size: 1.29 MB
Page 20 of 190

Operating tips
²In humid weather, selectbefore driving. This
will prevent your windshield from fogging. After a
few minutes, select any desired position.
²To prevent humidity buildup inside the vehicle,
don't drive with the climate control system in the
OFF position.
²Don't put objects under the front seat that will
interfere with the airflow to the back seats.
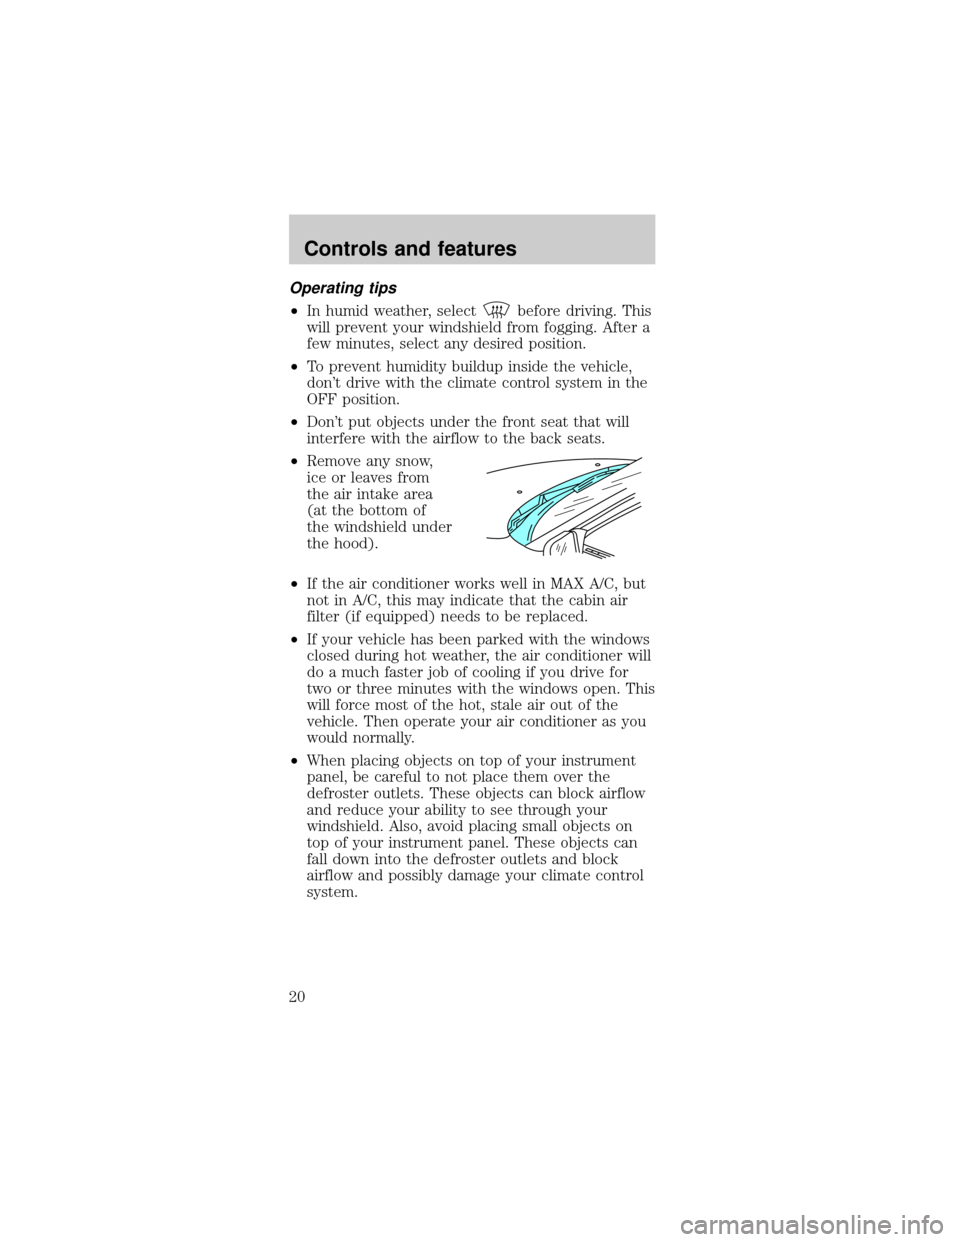
²Remove any snow,
ice or leaves from
the air intake area
(at the bottom of
the windshield under
the hood).
²If the air conditioner works well in MAX A/C, but
not in A/C, this may indicate that the cabin air
filter (if equipped) needs to be replaced.
²If your vehicle has been parked with the windows
closed during hot weather, the air conditioner will
do a much faster job of cooling if you drive for
two or three minutes with the windows open. This
will force most of the hot, stale air out of the
vehicle. Then operate your air conditioner as you
would normally.
²When placing objects on top of your instrument
panel, be careful to not place them over the
defroster outlets. These objects can block airflow
and reduce your ability to see through your
windshield. Also, avoid placing small objects on
top of your instrument panel. These objects can
fall down into the defroster outlets and block
airflow and possibly damage your climate control
system.
Controls and features
20
Page 56 of 190

Press the other side of the control to adjust
softness.
REAR SEATS
2nd seat/Split-folding rear seat (if equipped)
One or both rear seatbacks can be folded down to
provide additional cargo space.
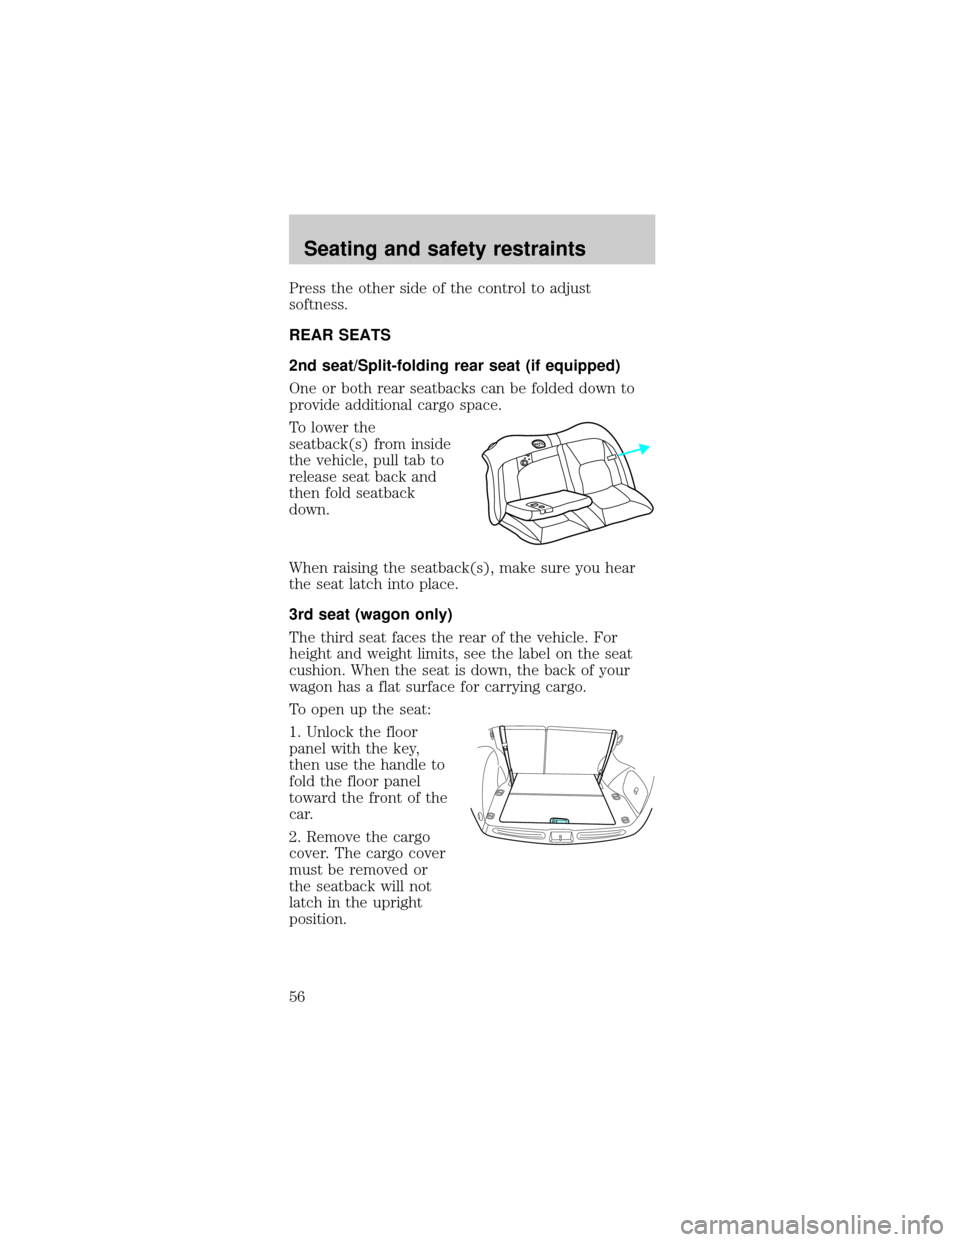
To lower the
seatback(s) from inside
the vehicle, pull tab to
release seat back and
then fold seatback
down.
When raising the seatback(s), make sure you hear
the seat latch into place.
3rd seat (wagon only)
The third seat faces the rear of the vehicle. For
height and weight limits, see the label on the seat
cushion. When the seat is down, the back of your
wagon has a flat surface for carrying cargo.
To open up the seat:
1. Unlock the floor
panel with the key,
then use the handle to
fold the floor panel
toward the front of the
car.
2. Remove the cargo
cover. The cargo cover
must be removed or
the seatback will not
latch in the upright
position.
Seating and safety restraints
56
Page 59 of 190

2. To unfasten, push
the release button and
remove the tongue
from the buckle.
The front and rear outboard safety restraints in the
vehicle are combination lap and shoulder belts. The
front and rear seat passenger outboard safety belts
have two types of locking modes described below:
Vehicle sensitive mode
The vehicle sensitive mode is the normal retractor
mode, allowing free shoulder belt length adjustment
to your movements and locking in response to
vehicle movement. For example, if the driver brakes
suddenly or turns a corner sharply, or the vehicle
receives an impact of 8 km/h (5 mph) or more, the
combination safety belts will lock to help reduce
forward movement of the driver and passengers.
Automatic locking mode
In this mode, the shoulder belt is automatically
pre-locked. The belt will still retract to remove any
slack in the shoulder belt.
The automatic locking mode is not available on the
driver safety belt.
When to use the automatic locking mode
²When a tight lap/shoulder fit is desired.
²Anytimea child safety seat is installed in the
vehicle. Refer toSafety Restraints for Children
orSafety Seats for Childrenlater in this chapter.
Seating and safety restraints
59
Page 83 of 190

9. If the belts become too tight, unbuckle the crotch
safety belt buckle to unlock the retractors, then
reinsert both belt tongues.
Removing your child from the built-in child seat
1. Squeeze the tabs on the top and the bottom of
the chest clip and pull the halves apart to open the
chest clip.
2. Press the release button on the crotch safety belt
buckle.
3. Slide the shoulder belts off the child's shoulders
and remove the child.
To stow the built-in child seat
Return the child seat
cushion to the upright
position, then press
firmly in the center and
top of the child seat.
Inspecting the built-in child seat after a collision
Inspect all built-in child restraints, including seats,
buckles, retractors, seat latches. Interlocks and
attaching hardware should be inspected by a
qualified technician after any collision. If the child
seat was in use during a collision, Ford recommends
replacing it. Built-in child restraints not in use
during a collision should be inspected and replaced
if either damage or improper operation is noted.
Seating and safety restraints
83
Page 171 of 190

Cleaning the interior fabric
Remove dust and loose dirt with a whisk broom or a
vacuum cleaner. Remove fresh spots immediately. Do
not use household or glass cleaners. These agents
can stain and discolor the fabric. Use a mild soap
and water solution if necessary.
Cleaning leather seats (if equipped)
For routine cleaning, wipe the surface with a soft,
damp cloth. For more thorough cleaning, wipe the
surface with a mild soap.
If the leather cannot be completely cleaned using a
mild soap and water solution, the leather may be
cleaned using a commercially available cleaning
product ªTanners Preserve Leather Cleanerº and a
3M ªType T' scrubbing pad by using the following
steps;
The type of scrubbing pad is very critical
because the common 3M ªScotch Briteº green
pad is too aggressive and will damage the
leather surface
²Spray a small amount of the leather cleaner on
the pad and rub the area to be cleaned with the
pad using a circular motion. Only clean 1/4 of the
area at a time. For heavily soiled areas, spray the
cleaner directly onto the leather (two squirts
should be adequate) and rub with the pad. Repeat
if necessary.
²Use a soft, damp cloth to remove the loosened
dirt and foam.
²Dry with a soft cloth.
Do not use household cleaners, glass cleaner,
alcohol solutions or cleaner intended for vinyl,
rubber or plastics. These products can damage
the leather.
In some instances, color or dye transfer can
occur when wet clothing (wool, denim, leathers
or other non-colorfast garments) comes in
Maintenance and care
171