ignition Mercury Sable 1999 s User Guide
[x] Cancel search | Manufacturer: MERCURY, Model Year: 1999, Model line: Sable, Model: Mercury Sable 1999Pages: 216, PDF Size: 1.33 MB
Page 40 of 216

modulation.º Signal modulation is a process radio
stations use to increase their strength/volume
relative to other stations.
²Terrain.Hills, mountains and tall buildings
between your vehicle's antenna and the radio
station signal can cause FM reception problems.
Static can be caused on AM stations by power
lines, electric fences, traffic lights and
thunderstorms. Moving away from an interfering
structure (out of its ªshadowº) returns your
reception to normal.
²Station overload.Weak signals are sometimes
captured by stronger signals when you pass a
broadcast tower. A stronger signal may
temporarily overtake a weaker signal and play
while the weak station frequency is displayed.
The audio system automatically switches to single
channel reception if it will improve the reception of
a station normally received in stereo.
Audio system warranties and service
Refer to the ªWarranty Guideº for audio system
warranty information.
If service is necessary, see your dealer or a qualified
technician.
POSITIONS OF THE IGNITION
1. ACCESSORY, allows
the electrical
accessories such as the
radio to operate while
the engine is not
running.
2. LOCK, locks the
steering wheel,
automatic transmission gearshift lever and allows
key removal.
3. OFF, shuts off the engine and all accessories
without locking the steering wheel.
1
23
4
5
Controls and features
40
Page 41 of 216
4. ON, all electrical circuits operational. Warning
lights illuminated. Key position when driving.
5. START, cranks the engine. Release the key as
soon as the engine starts.
SPEED CONTROL (IF EQUIPPED)
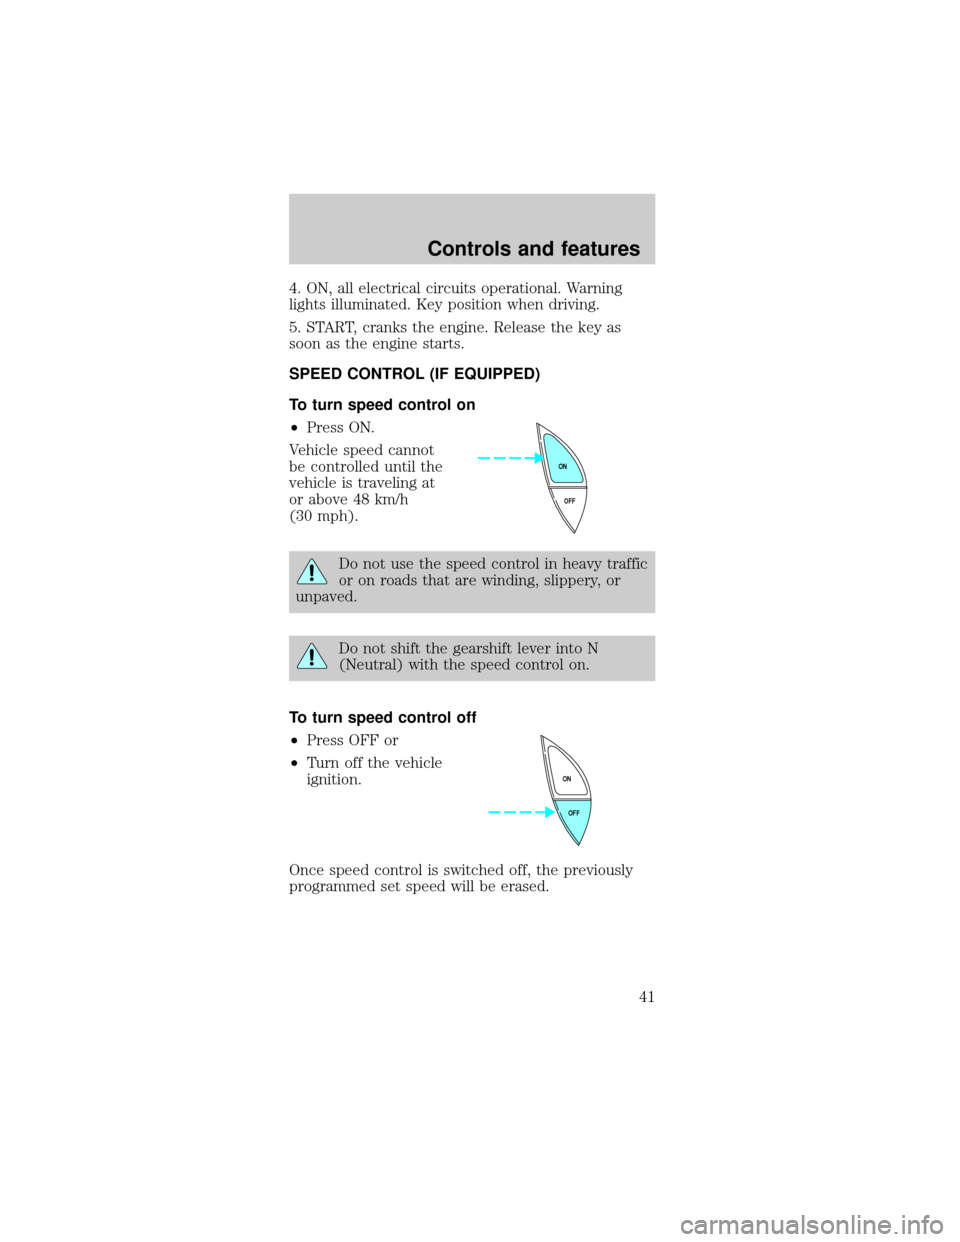
To turn speed control on
²Press ON.
Vehicle speed cannot
be controlled until the
vehicle is traveling at
or above 48 km/h
(30 mph).
Do not use the speed control in heavy traffic
or on roads that are winding, slippery, or
unpaved.
Do not shift the gearshift lever into N
(Neutral) with the speed control on.
To turn speed control off
²Press OFF or
²Turn off the vehicle
ignition.
Once speed control is switched off, the previously
programmed set speed will be erased.
OFF ON
OFF ON
Controls and features
41
Page 44 of 216
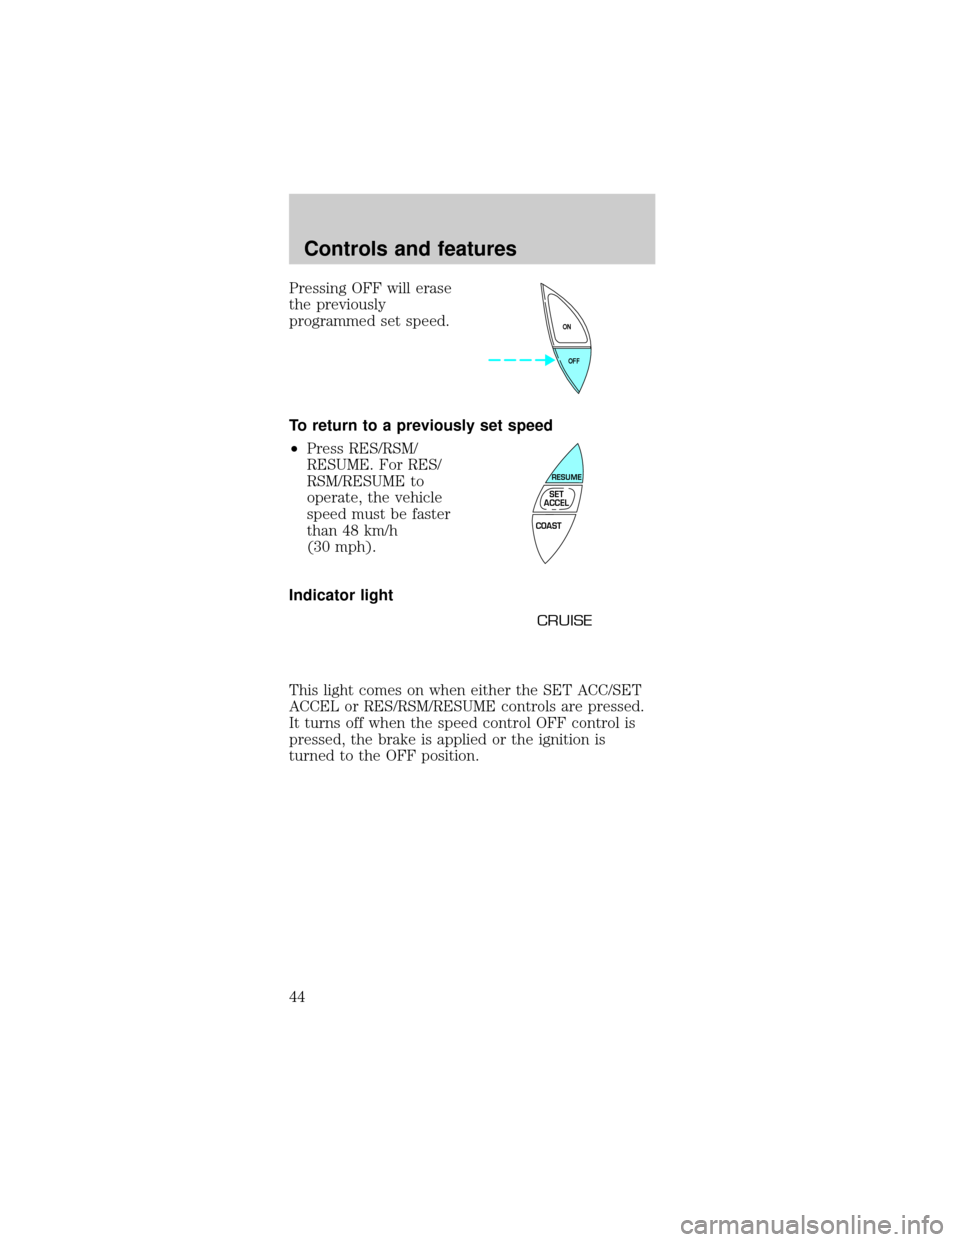
Pressing OFF will erase
the previously
programmed set speed.
To return to a previously set speed
²Press RES/RSM/
RESUME. For RES/
RSM/RESUME to
operate, the vehicle
speed must be faster
than 48 km/h
(30 mph).
Indicator light
This light comes on when either the SET ACC/SET
ACCEL or RES/RSM/RESUME controls are pressed.
It turns off when the speed control OFF control is
pressed, the brake is applied or the ignition is
turned to the OFF position.
OFF ON
COAST
RESUME
SET
ACCEL
CRUISE
Controls and features
44
Page 49 of 216
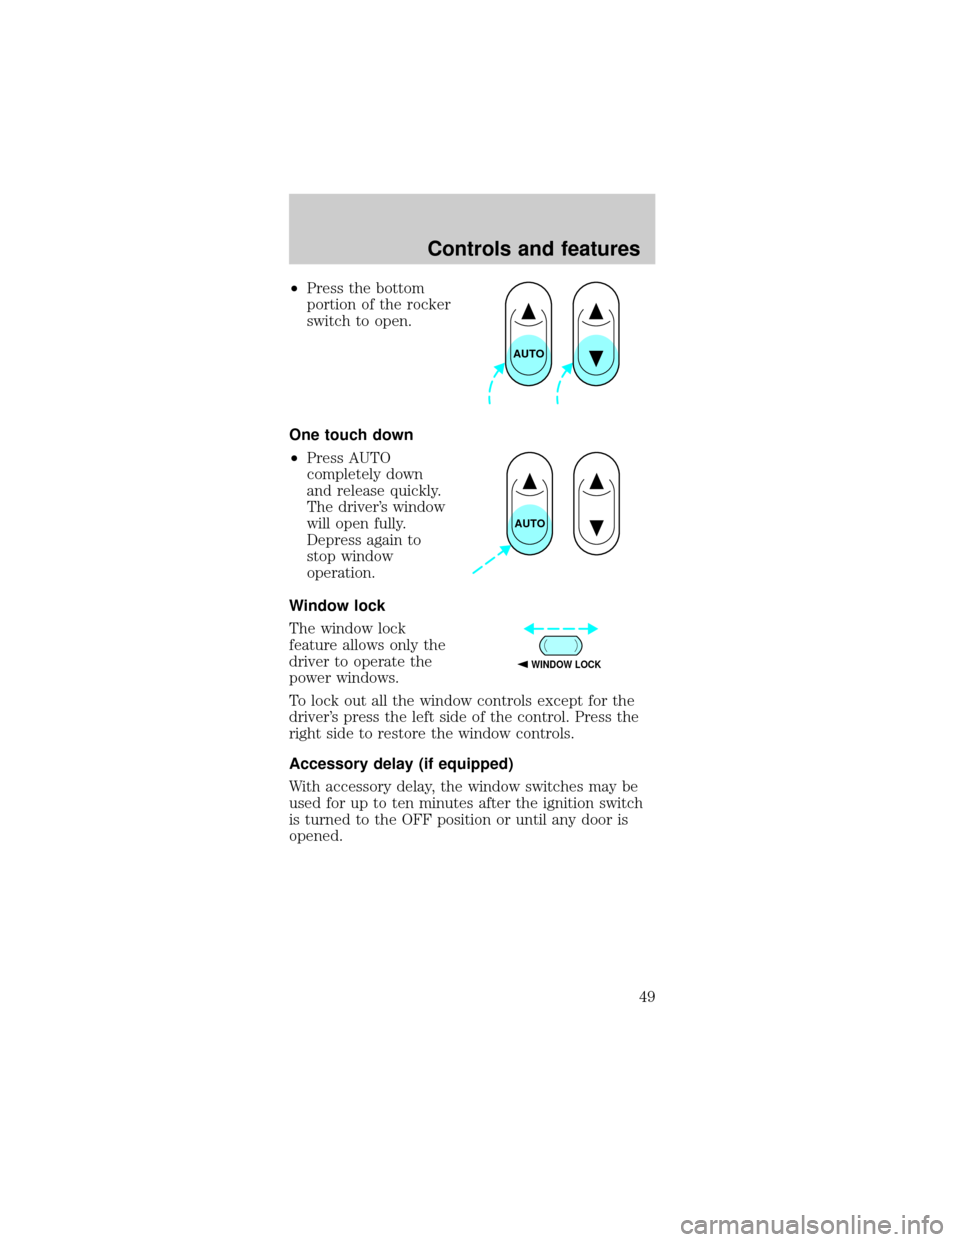
²Press the bottom
portion of the rocker
switch to open.
One touch down
²Press AUTO
completely down
and release quickly.
The driver's window
will open fully.
Depress again to
stop window
operation.
Window lock
The window lock
feature allows only the
driver to operate the
power windows.
To lock out all the window controls except for the
driver's press the left side of the control. Press the
right side to restore the window controls.
Accessory delay (if equipped)
With accessory delay, the window switches may be
used for up to ten minutes after the ignition switch
is turned to the OFF position or until any door is
opened.
AUTO
AUTO
WINDOW LOCK
Controls and features
49
Page 56 of 216

2. Wrap the vinyl
around the roller tube
twice. Tuck the edges
of the vinyl inside the
end cap with each
wrap.
3. Fold the edges of
the vinyl towards the
center, making sure that the edges clear the end cap
slots. Use tape or a rubber band to hold the vinyl to
the left side of the tube.
4. Push in the right
end cap (marked RH)
about
1¤4of the total
length to disengage the
clutch and hold the
end cap in while
turning the roller tube
toward you 14 times.
5. Let go of the right end cap. The clutch will now
engage and stop the shade from losing its spring
tension.
6. Unfold the vinyl and place it into the end cap
slots.
7. Insert the shade into the side mounting brackets
and check to make sure that it operates properly.
The cover may cause injury in a sudden stop
or accident if it is not securely installed.
REMOTE ENTRY SYSTEM (IF EQUIPPED)
The remote entry system allows you to lock or
unlock all vehicle doors and liftgate without a key.
The remote entry features only operate with the
ignition in the OFF position.
Controls and features
56
Page 58 of 216
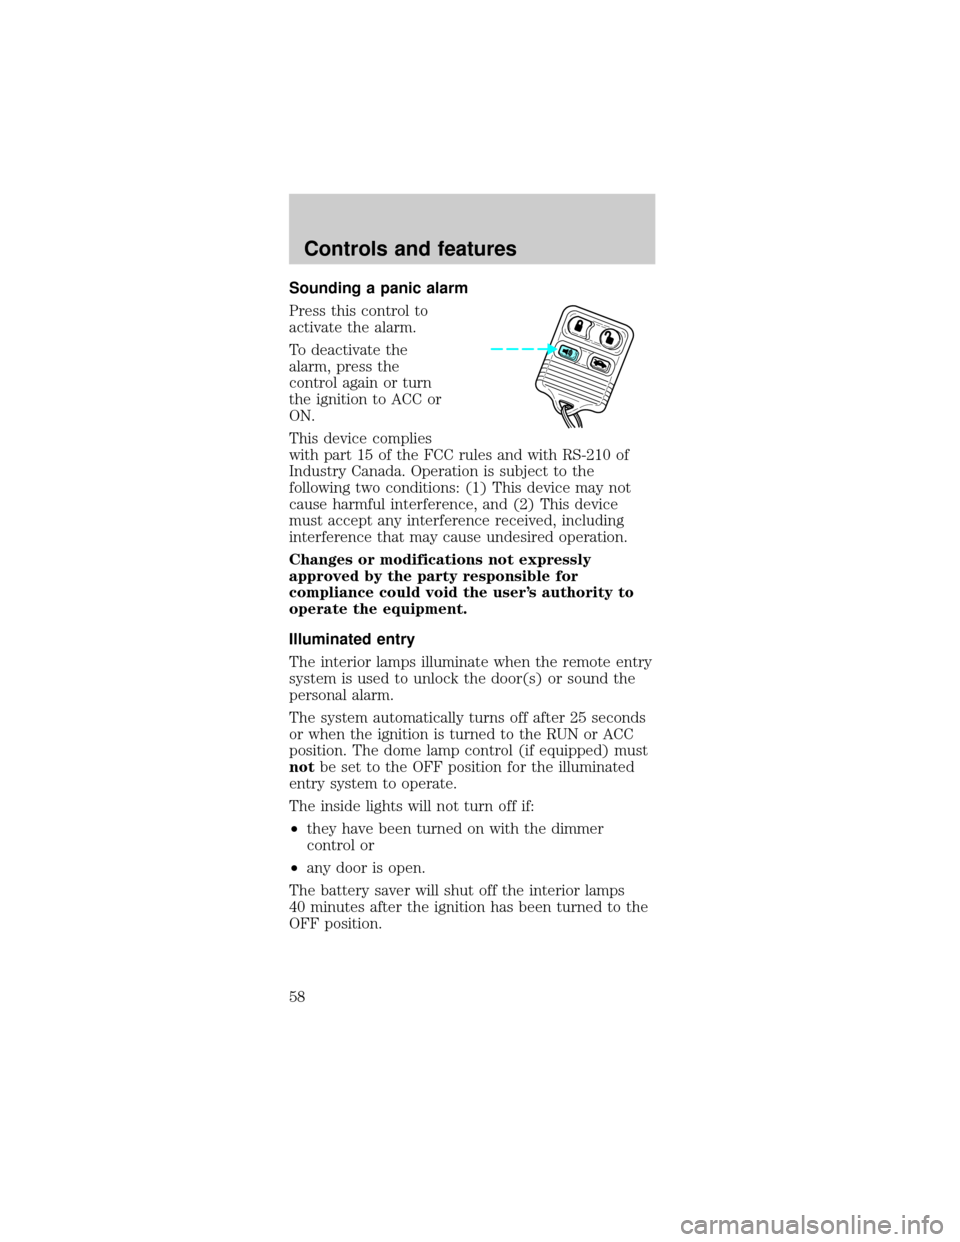
Sounding a panic alarm
Press this control to
activate the alarm.
To deactivate the
alarm, press the
control again or turn
the ignition to ACC or
ON.
This device complies
with part 15 of the FCC rules and with RS-210 of
Industry Canada. Operation is subject to the
following two conditions: (1) This device may not
cause harmful interference, and (2) This device
must accept any interference received, including
interference that may cause undesired operation.
Changes or modifications not expressly
approved by the party responsible for
compliance could void the user's authority to
operate the equipment.
Illuminated entry
The interior lamps illuminate when the remote entry
system is used to unlock the door(s) or sound the
personal alarm.
The system automatically turns off after 25 seconds
or when the ignition is turned to the RUN or ACC
position. The dome lamp control (if equipped) must
notbe set to the OFF position for the illuminated
entry system to operate.
The inside lights will not turn off if:
²they have been turned on with the dimmer
control or
²any door is open.
The battery saver will shut off the interior lamps
40 minutes after the ignition has been turned to the
OFF position.
Controls and features
58
Page 59 of 216

Replacing lost transmitters
Take all your vehicle's
transmitters to your
dealer if service is
required.
If you purchase
additional transmitters
(up to four may be
programmed), perform
the following procedure:
To reprogram the transmitters yourself, place the
key in the ignition and turn from OFF to ON eight
times in rapid succession (within 10 seconds) ending
in ON. After doors lock/unlock, press any control on
all transmitters (up to four). When completed, turn
the ignition to OFF. The doors will lock/unlock one
last time to confirm completion of program mode.
All transmitters must be programmed at the same
time.
Replacing the battery
The remote transmitter is powered by one coin type
three-volt lithium battery CR2032 or equivalent.
Typical operating range will allow you to be up to
10 meters (33 feet) away from your vehicle. A
decrease in operating range can be caused by:
²weather conditions
²nearby radio towers
²structures around the vehicle
²other vehicles parked next to the vehicle
Controls and features
59
Page 60 of 216
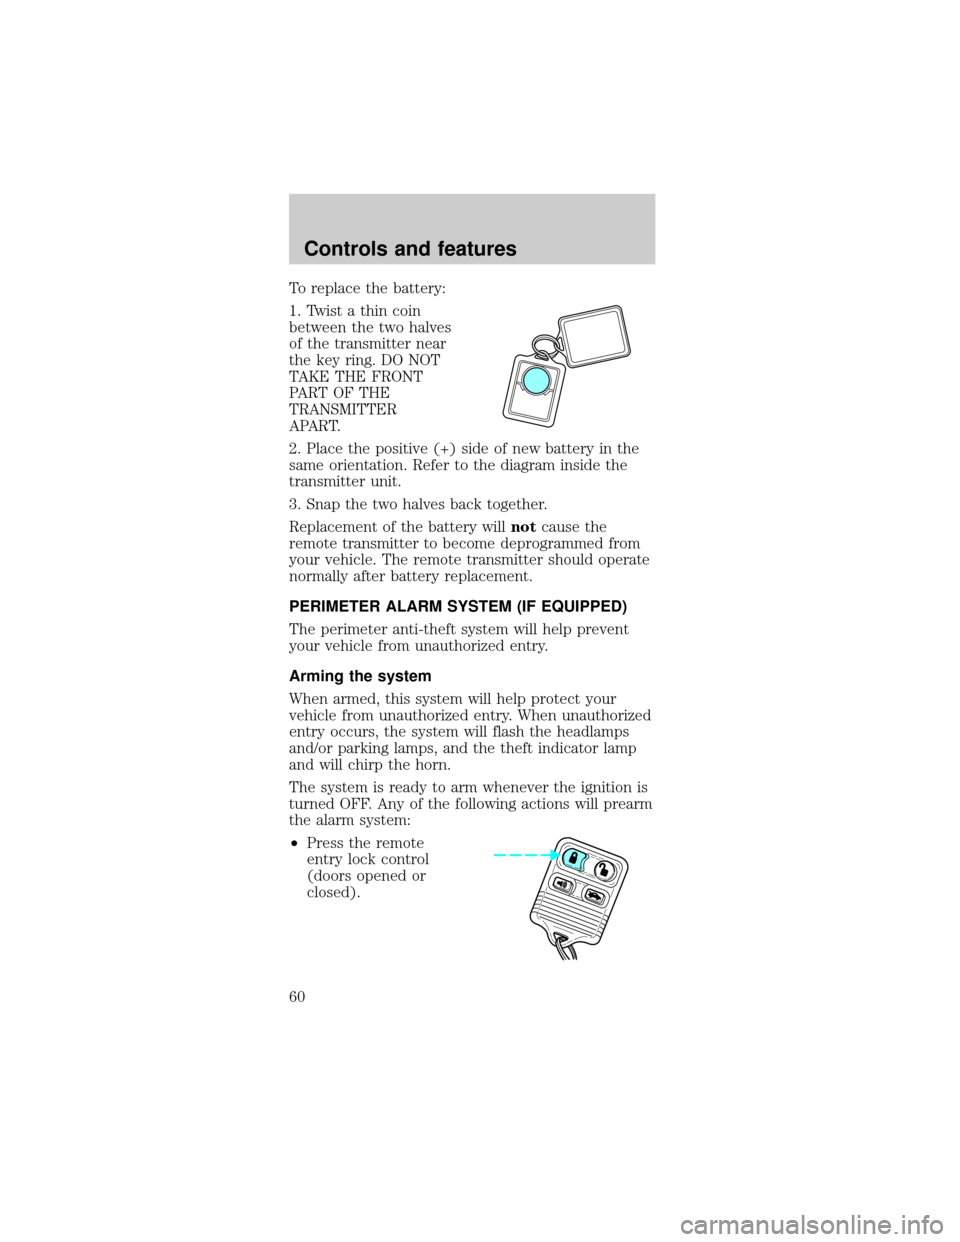
To replace the battery:
1. Twist a thin coin
between the two halves
of the transmitter near
the key ring. DO NOT
TAKE THE FRONT
PART OF THE
TRANSMITTER
APART.
2. Place the positive (+) side of new battery in the
same orientation. Refer to the diagram inside the
transmitter unit.
3. Snap the two halves back together.
Replacement of the battery willnotcause the
remote transmitter to become deprogrammed from
your vehicle. The remote transmitter should operate
normally after battery replacement.
PERIMETER ALARM SYSTEM (IF EQUIPPED)
The perimeter anti-theft system will help prevent
your vehicle from unauthorized entry.
Arming the system
When armed, this system will help protect your
vehicle from unauthorized entry. When unauthorized
entry occurs, the system will flash the headlamps
and/or parking lamps, and the theft indicator lamp
and will chirp the horn.
The system is ready to arm whenever the ignition is
turned OFF. Any of the following actions will prearm
the alarm system:
²Press the remote
entry lock control
(doors opened or
closed).
Controls and features
60
Page 62 of 216

Disarming the system
You can disarm the system by any of the following
actions:
²Unlock the doors by
using your remote
entry transmitter.
²Unlock the doors by
using your keyless
entry pad.
²Unlock the doors or liftgate with a key. Turn the
key full travel (toward the front of the vehicle) to
make sure the alarm disarms.
²Turn ignition to ACC or ON.
²Press control on the
remote entry
transmitter. This will
disarm the system
when the alarm is
sounding.
KEYLESS ENTRY SYSTEM
With the keyless entry
keypad, you can:
²lock or unlock the
vehicle doors and liftgate (wagons) without using
the key.
²arm and disarm the perimeter alarm system (if
equipped)
See alsoRemote entry systemandPerimeter
alarm systemin this chapter for more information.
123
45678
90
123
45678
90
Controls and features
62
Page 65 of 216

Autolock
Autolock is a feature that will automatically lock all
doors when:
²all vehicle doors, liftgate and liftgate window are
fully closed
²the ignition key is in the ON position
²you shift into or through R (Reverse)
²the brake pedal is released
The autolock feature repeats when:
²any door is opened and then closed
²the brake pedal is released
Deactivating autolock
Before following the activation or deactivation
procedures, make sure that the ignition is OFF and
all vehicle doors and liftgate window are closed.
1. Enter the 5 digit entry code.
2. Press and release
the 3/4 control while
holding the 7/8 control.
3. Release the 7/8
control.
The horn will chirp
once if autolock was deactivated or twice (one short
and one long chirp) if autolock was activated.
To reactivate autolock, repeat steps 1 through 3.
Autolock can also be activated or deactivated using
the following procedure:
You must complete steps 1 through 5 within
30 seconds or the procedure will have to be
repeated. If the procedure needs to be repeated, you
must wait 30 seconds.
1. Turn the ignition key from OFF to RUN/ACC.
2. Press the power door UNLOCK control three
times.
123
45678
90
Controls and features
65