radio controls Mercury Sable 2002 Owner's Manuals
[x] Cancel search | Manufacturer: MERCURY, Model Year: 2002, Model line: Sable, Model: Mercury Sable 2002Pages: 240, PDF Size: 3.53 MB
Page 20 of 240
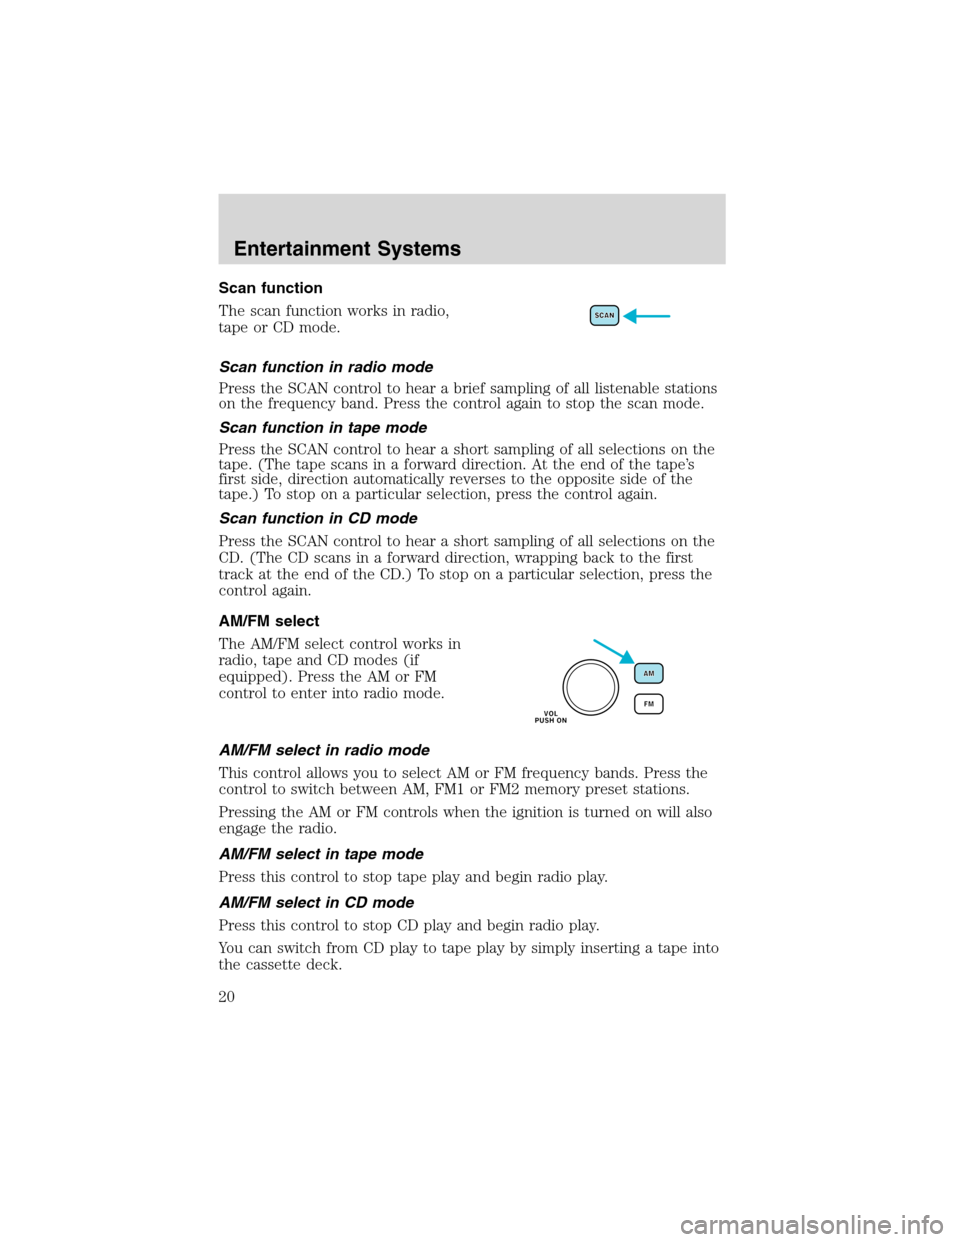
Scan function
The scan function works in radio,
tape or CD mode.
Scan function in radio mode
Press the SCAN control to hear a brief sampling of all listenable stations
on the frequency band. Press the control again to stop the scan mode.
Scan function in tape mode
Press the SCAN control to hear a short sampling of all selections on the
tape. (The tape scans in a forward direction. At the end of the tape’s
first side, direction automatically reverses to the opposite side of the
tape.) To stop on a particular selection, press the control again.
Scan function in CD mode
Press the SCAN control to hear a short sampling of all selections on the
CD. (The CD scans in a forward direction, wrapping back to the first
track at the end of the CD.) To stop on a particular selection, press the
control again.
AM/FM select
The AM/FM select control works in
radio, tape and CD modes (if
equipped). Press the AM or FM
control to enter into radio mode.
AM/FM select in radio mode
This control allows you to select AM or FM frequency bands. Press the
control to switch between AM, FM1 or FM2 memory preset stations.
Pressing the AM or FM controls when the ignition is turned on will also
engage the radio.
AM/FM select in tape mode
Press this control to stop tape play and begin radio play.
AM/FM select in CD mode
Press this control to stop CD play and begin radio play.
You can switch from CD play to tape play by simply inserting a tape into
the cassette deck.
Entertainment Systems
20
Page 21 of 240
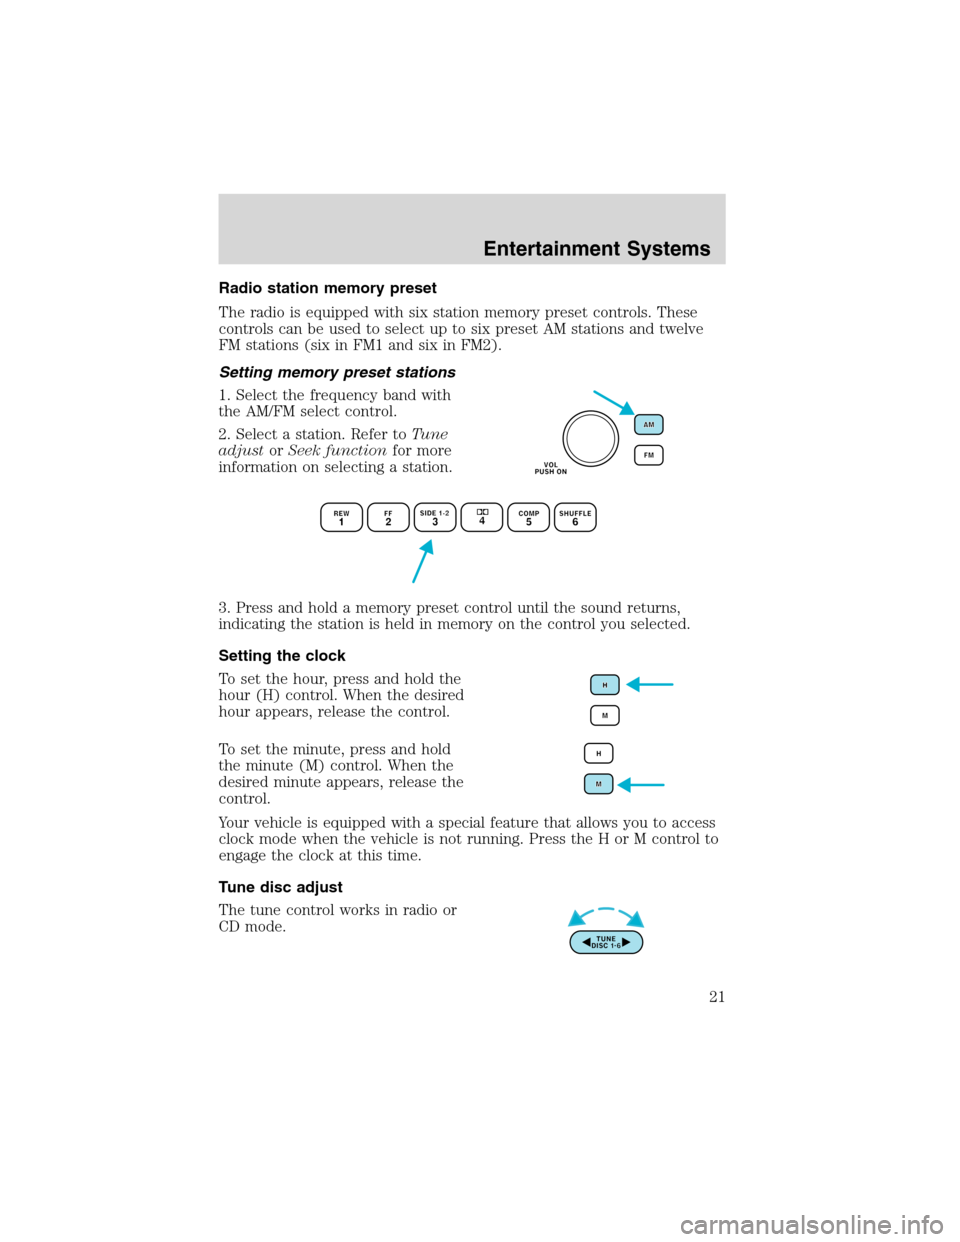
Radio station memory preset
The radio is equipped with six station memory preset controls. These
controls can be used to select up to six preset AM stations and twelve
FM stations (six in FM1 and six in FM2).
Setting memory preset stations
1. Select the frequency band with
the AM/FM select control.
2. Select a station. Refer toTune
adjustorSeek functionfor more
information on selecting a station.
3. Press and hold a memory preset control until the sound returns,
indicating the station is held in memory on the control you selected.
Setting the clock
To set the hour, press and hold the
hour (H) control. When the desired
hour appears, release the control.
To set the minute, press and hold
the minute (M) control. When the
desired minute appears, release the
control.
Your vehicle is equipped with a special feature that allows you to access
clock mode when the vehicle is not running. Press the H or M control to
engage the clock at this time.
Tune disc adjust
The tune control works in radio or
CD mode.
Entertainment Systems
21
Page 27 of 240
AM/FM select
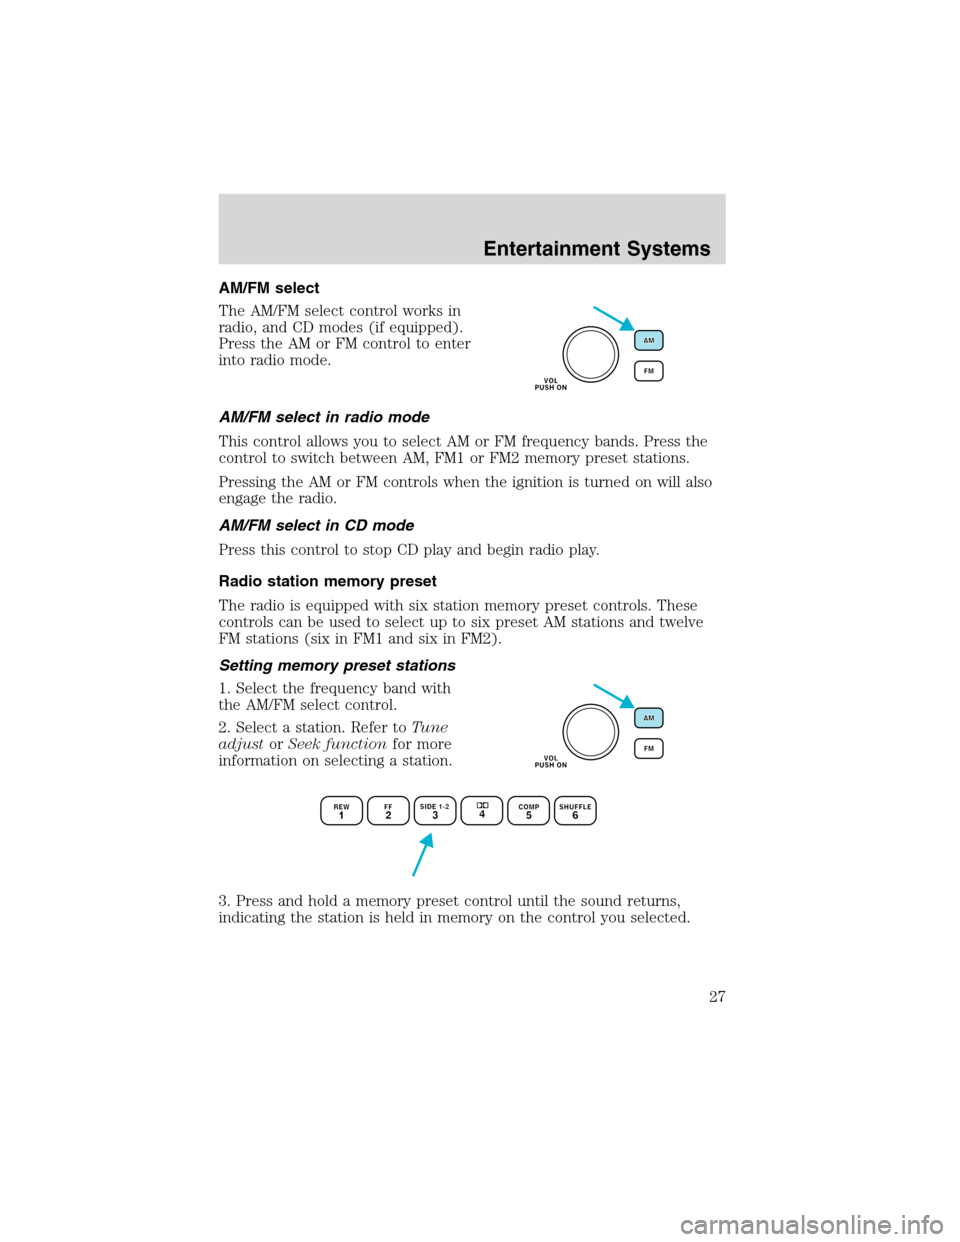
The AM/FM select control works in
radio, and CD modes (if equipped).
Press the AM or FM control to enter
into radio mode.
AM/FM select in radio mode
This control allows you to select AM or FM frequency bands. Press the
control to switch between AM, FM1 or FM2 memory preset stations.
Pressing the AM or FM controls when the ignition is turned on will also
engage the radio.
AM/FM select in CD mode
Press this control to stop CD play and begin radio play.
Radio station memory preset
The radio is equipped with six station memory preset controls. These
controls can be used to select up to six preset AM stations and twelve
FM stations (six in FM1 and six in FM2).
Setting memory preset stations
1. Select the frequency band with
the AM/FM select control.
2. Select a station. Refer toTune
adjustorSeek functionfor more
information on selecting a station.
3. Press and hold a memory preset control until the sound returns,
indicating the station is held in memory on the control you selected.
Entertainment Systems
27
Page 43 of 240
•OFF-Outside air is shut out and the fan will not operate. For short
periods of time only, use this mode to reduce undesirable odors from
entering the vehicle.
Displaying outside temperature
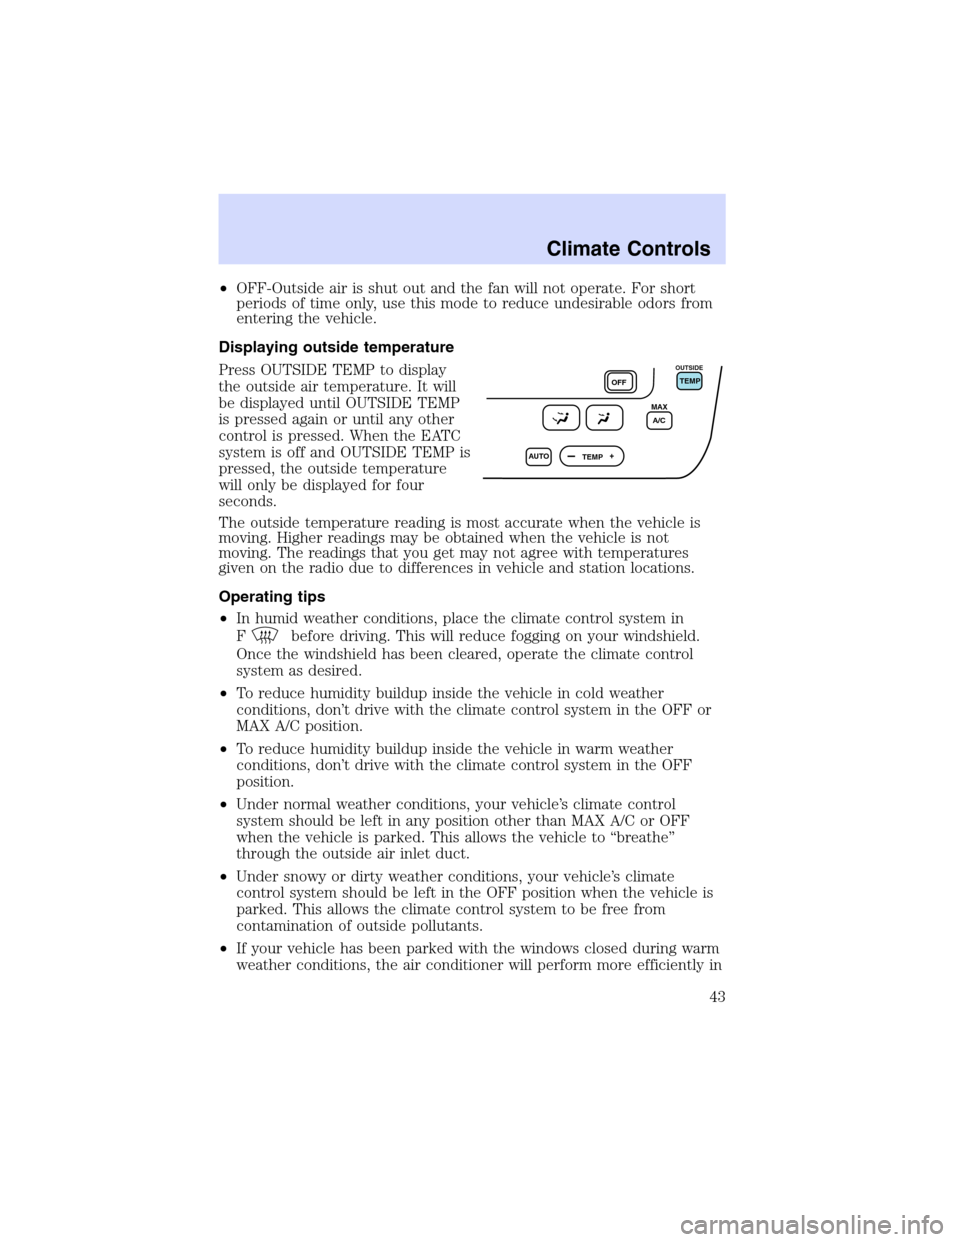
Press OUTSIDE TEMP to display
the outside air temperature. It will
be displayed until OUTSIDE TEMP
is pressed again or until any other
control is pressed. When the EATC
system is off and OUTSIDE TEMP is
pressed, the outside temperature
will only be displayed for four
seconds.
The outside temperature reading is most accurate when the vehicle is
moving. Higher readings may be obtained when the vehicle is not
moving. The readings that you get may not agree with temperatures
given on the radio due to differences in vehicle and station locations.
Operating tips
•In humid weather conditions, place the climate control system in
F
before driving. This will reduce fogging on your windshield.
Once the windshield has been cleared, operate the climate control
system as desired.
•To reduce humidity buildup inside the vehicle in cold weather
conditions, don’t drive with the climate control system in the OFF or
MAX A/C position.
•To reduce humidity buildup inside the vehicle in warm weather
conditions, don’t drive with the climate control system in the OFF
position.
•Under normal weather conditions, your vehicle’s climate control
system should be left in any position other than MAX A/C or OFF
when the vehicle is parked. This allows the vehicle to“breathe”
through the outside air inlet duct.
•Under snowy or dirty weather conditions, your vehicle’s climate
control system should be left in the OFF position when the vehicle is
parked. This allows the climate control system to be free from
contamination of outside pollutants.
•If your vehicle has been parked with the windows closed during warm
weather conditions, the air conditioner will perform more efficiently in
AUTO
TEMPOFFTEMP
MAX
A/C
OUTSIDE
Climate Controls
43
Page 74 of 240
CELL PHONE WARNING
Use of cell phones and other devices by driver:
Do not operate hand held communication equipment while
operating the vehicle as this may lead to an accident caused by
distraction and result in personal injury.
CELL PHONE HANDS-FREE SYSTEM (IF EQUIPPED)
The Cellport 3000–VR (voice recognition) allows for hands-free voice
activated communication while in your vehicle. With your cell phone
docked in the pocket adapter, located on the center console, incoming
calls will ring through the audio system speakers.
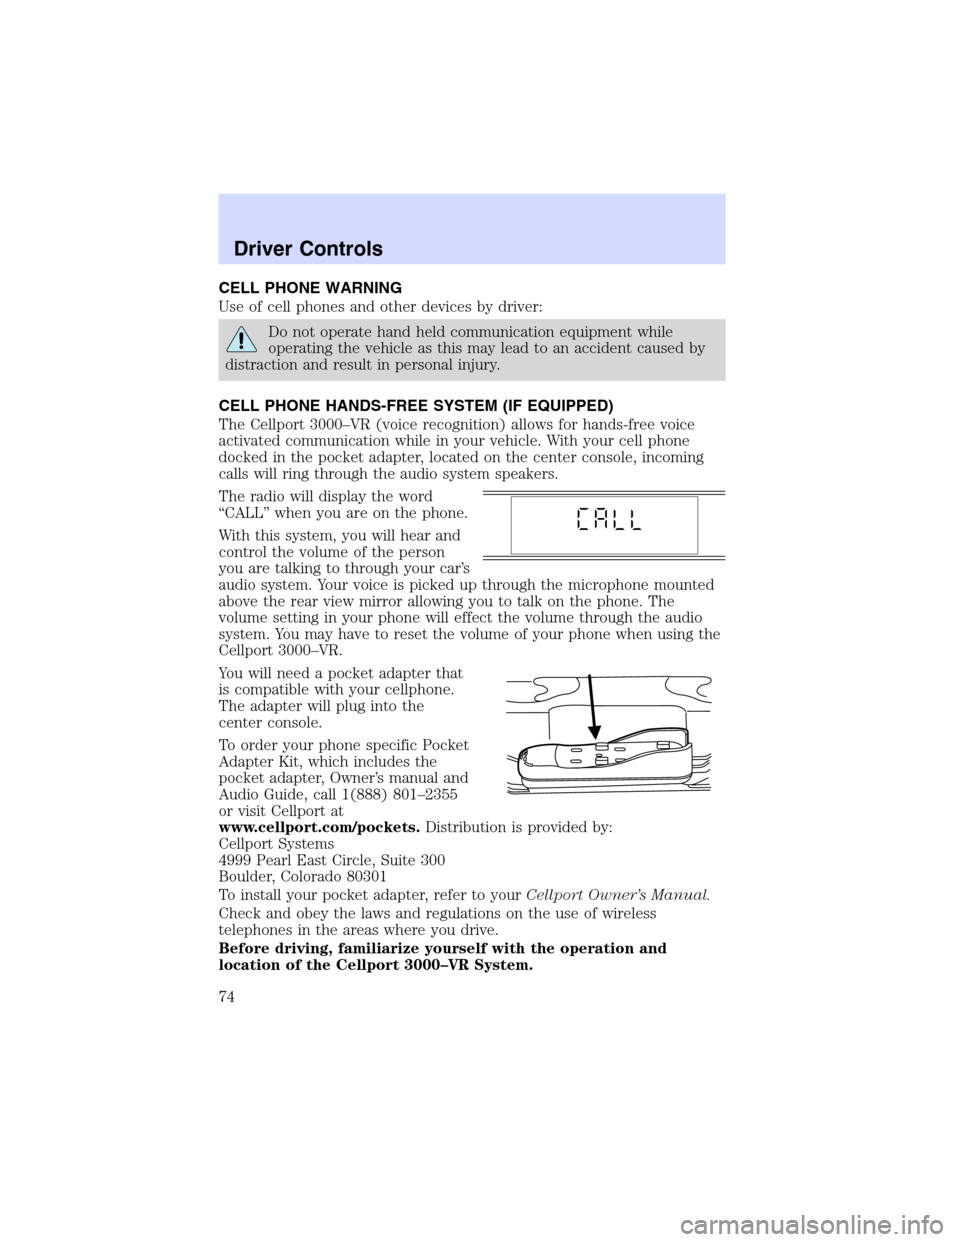
The radio will display the word
“CALL”when you are on the phone.
With this system, you will hear and
control the volume of the person
you are talking to through your car’s
audio system. Your voice is picked up through the microphone mounted
above the rear view mirror allowing you to talk on the phone. The
volume setting in your phone will effect the volume through the audio
system. You may have to reset the volume of your phone when using the
Cellport 3000–VR.
You will need a pocket adapter that
is compatible with your cellphone.
The adapter will plug into the
center console.
To order your phone specific Pocket
Adapter Kit, which includes the
pocket adapter, Owner’s manual and
Audio Guide, call 1(888) 801–2355
or visit Cellport at
www.cellport.com/pockets.Distribution is provided by:
Cellport Systems
4999 Pearl East Circle, Suite 300
Boulder, Colorado 80301
To install your pocket adapter, refer to yourCellport Owner’s Manual.
Check and obey the laws and regulations on the use of wireless
telephones in the areas where you drive.
Before driving, familiarize yourself with the operation and
location of the Cellport 3000–VR System.
Driver Controls
74