battery Mercury Sable 2003 Owner's Manuals
[x] Cancel search | Manufacturer: MERCURY, Model Year: 2003, Model line: Sable, Model: Mercury Sable 2003Pages: 216, PDF Size: 1.66 MB
Page 3 of 216
Maintenance and Specifications 162
Engine compartment 164
Engine oil 167
Battery 170
Fuel information 176
Part numbers 196
Refill capacities 197
Lubricant specifications 198
Accessories 204
Index 207
All rights reserved. Reproduction by any means, electronic or mechanical
including photocopying, recording or by any information storage and retrieval
system or translation in whole or part is not permitted without written
authorization from Ford Motor Company. Ford may change the contents without
notice and without incurring obligation.
Copyright © 2002 Ford Motor Company
Table of Contents
3
Page 9 of 216
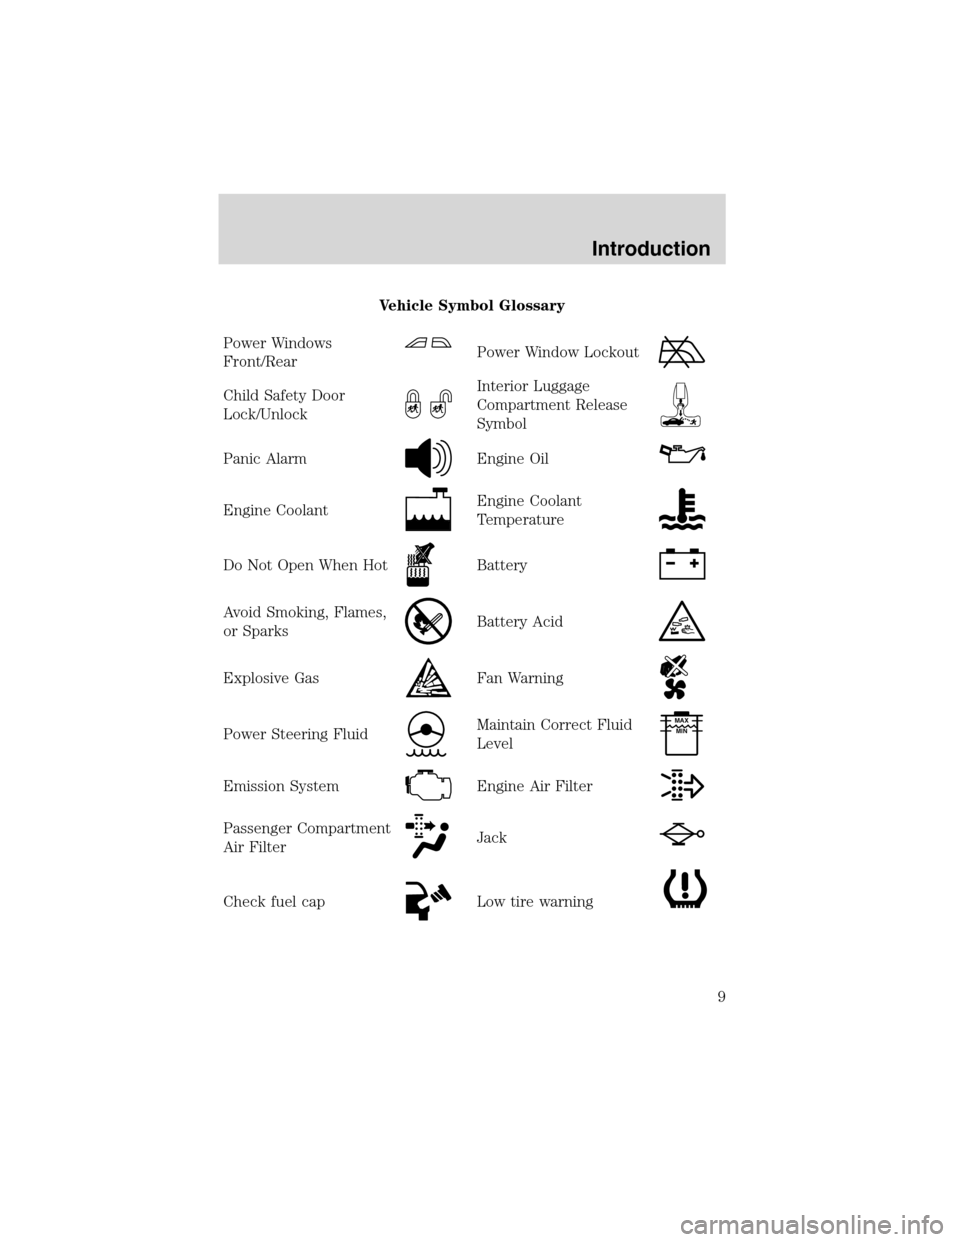
Vehicle Symbol Glossary
Power Windows
Front/Rear
Power Window Lockout
Child Safety Door
Lock/UnlockInterior Luggage
Compartment Release
Symbol
Panic AlarmEngine Oil
Engine CoolantEngine Coolant
Temperature
Do Not Open When HotBattery
Avoid Smoking, Flames,
or SparksBattery Acid
Explosive GasFan Warning
Power Steering FluidMaintain Correct Fluid
LevelMAX
MIN
Emission SystemEngine Air Filter
Passenger Compartment
Air FilterJack
Check fuel capLow tire warning
Introduction
9
Page 11 of 216
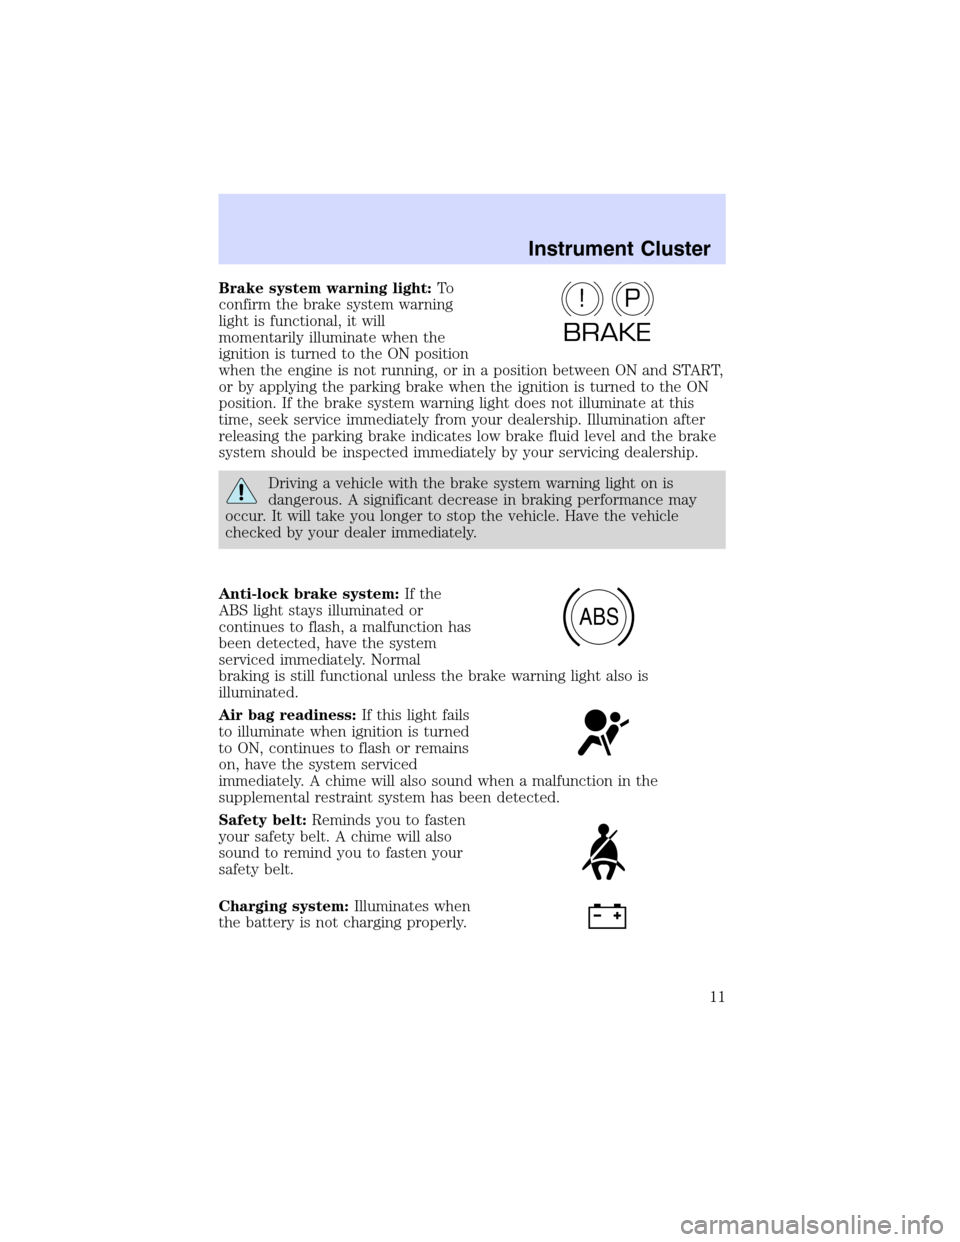
Brake system warning light:To
confirm the brake system warning
light is functional, it will
momentarily illuminate when the
ignition is turned to the ON position
when the engine is not running, or in a position between ON and START,
or by applying the parking brake when the ignition is turned to the ON
position. If the brake system warning light does not illuminate at this
time, seek service immediately from your dealership. Illumination after
releasing the parking brake indicates low brake fluid level and the brake
system should be inspected immediately by your servicing dealership.
Driving a vehicle with the brake system warning light on is
dangerous. A significant decrease in braking performance may
occur. It will take you longer to stop the vehicle. Have the vehicle
checked by your dealer immediately.
Anti-lock brake system:If the
ABS light stays illuminated or
continues to flash, a malfunction has
been detected, have the system
serviced immediately. Normal
braking is still functional unless the brake warning light also is
illuminated.
Air bag readiness:If this light fails
to illuminate when ignition is turned
to ON, continues to flash or remains
on, have the system serviced
immediately. A chime will also sound when a malfunction in the
supplemental restraint system has been detected.
Safety belt:Reminds you to fasten
your safety belt. A chime will also
sound to remind you to fasten your
safety belt.
Charging system:Illuminates when
the battery is not charging properly.
P!
BRAKE
ABS
Instrument Cluster
11
Page 62 of 216

Changes or modifications not expressly approved by the party
responsible for compliance could void the user’s authority to
operate the equipment.
The remote entry system allows you
to:
•lock or unlock all vehicle doors,
•open the trunk or the liftgate,
and
•sound the panic alarm.
If there is a problem with the
remote entry system make sure to
takeALL remote entry
transmitterswith you to the
dealership, this will aid in troubleshooting the problem.
Unlocking the doors
1. Pressand release to unlock the driver’s door.Note:The interior
lamps will illuminate.
2. Press
and release again within three seconds to unlock all the
doors and the liftgate (wagon).
The remote entry system comes with an illuminated entry feature. This
feature turns on the interior lamps for 25 seconds or until the ignition is
turned to the ON position. If the dome lamp control is in theoffposition
the illuminated entry feature will not work.
The inside lights will not turn off if:
•they have been turned on using the dimmer control or
•any door is open.
The battery saver feature will turn off the interior lamps 10 minutes after
the ignition is turned to the OFF position.
Locking the doors
1. Pressand release to lock all the doors and liftgate (wagon), turn
off the interior lamps (if they were on) and arm the anti-theft system.
2. Press
and release again within three seconds to confirm that all the
doors and liftgate are closed and locked.Note:the doors will lock again,
and the horn will chirp once.
Locks and Security
62
Page 63 of 216
If any of the doors or liftgate (wagon) are not properly closed the horn
will make two quick chirps.
Sounding a panic alarm
Press
to activate the alarm. The horn will sound for a maximum of
30 seconds and the parklamps will flash for a maximum of 3 minutes.
Press again or turn the ignition to ON to deactivate, or wait for the alarm
to timeout in 3 minutes.
Note:The panic alarm will only operate when the ignition is in the OFF
or ACC position.
Opening the trunk
Pressonce to open the trunk or liftgate (wagon).
Replacing the battery
The remote entry transmitter uses one coin type three-volt lithium
battery CR2032 or equivalent. The typical operating range for your
remote entry transmitter is approximately 10 meters (33 feet). A
decrease in the operating range could be caused by:
•weather conditions,
•nearby radio towers,
•structures around the vehicle and
•other vehicles parked next to the vehicle.
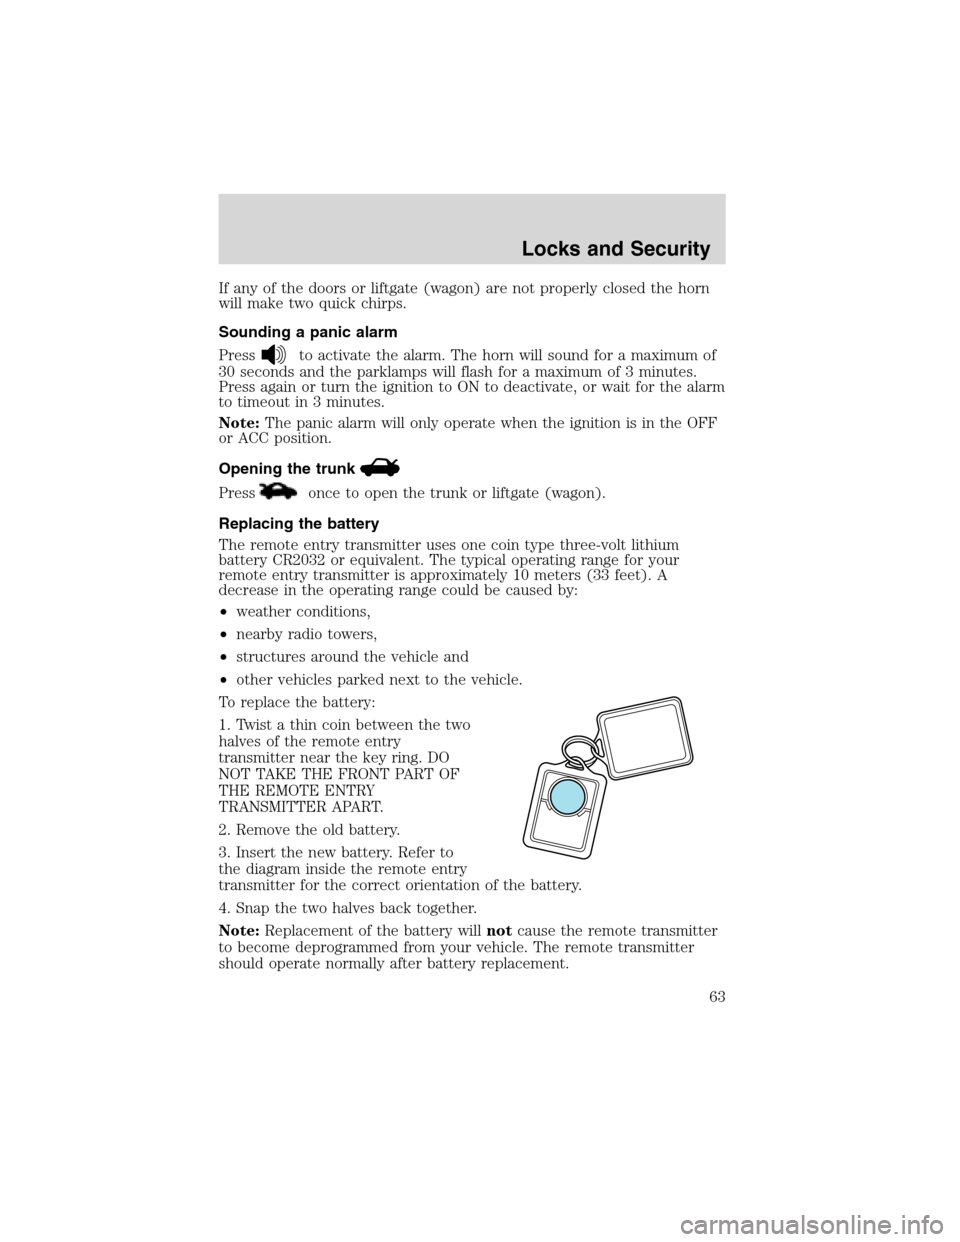
To replace the battery:
1. Twist a thin coin between the two
halves of the remote entry
transmitter near the key ring. DO
NOT TAKE THE FRONT PART OF
THE REMOTE ENTRY
TRANSMITTER APART.
2. Remove the old battery.
3. Insert the new battery. Refer to
the diagram inside the remote entry
transmitter for the correct orientation of the battery.
4. Snap the two halves back together.
Note:Replacement of the battery willnotcause the remote transmitter
to become deprogrammed from your vehicle. The remote transmitter
should operate normally after battery replacement.
Locks and Security
63
Page 65 of 216

Illuminated entry
The interior lamps illuminate when the remote entry system is used to
unlock the door(s) or sound the personal alarm.
The illuminated entry system will turn off the interior lights if:
•the ignition switch is turned to the ON position, or
•the remote transmitter lock control is pressed, or
•after 25 seconds of illumination.
The dome lamp control (if equipped) mustnotbe set to the OFF
position for the illuminated entry system to operate.
The inside lights will not turn off if:
•they have been turned on with the dimmer control, or
•any door is open.
The battery saver will shut off the interior lamps 10 minutes after the
ignition has been turned to the OFF position.
Perimeter lamps illuminated entry
The exterior lamps illuminate when the vehicle is unlocked using the
remote entry system.
On vehicles equipped with the autolamps feature, the following items will
illuminate:
•Puddle lamps
•Head lamps
•Park lamps
•Tail lamps
On vehicles not equipped with the autolamps feature, only the following
items will illuminate:
•Puddle lamps
•Park lamps
•Tail lamps
The system will automatically turn off if:
•the ignition switch is turned to the ON position, or
•after 25 seconds of illumination.
Locks and Security
65
Page 119 of 216

Understanding the gearshift positions of the 4–speed automatic
transaxle
Your transaxle is equipped with an adaptive learning strategy found in
the vehicle computer. This feature is designed to increase durability, and
provide consistent shift feel over the life of the vehicle. A new vehicle or
transaxle may have firm and/or soft shifts. This operation is considered
normal and will not affect function or durability of the transaxle. Over
time, the adaptive learning process will fully update transaxle operation.
Additionally, whenever the battery is disconnected or a new battery
installed, the strategy must be relearned.
P (Park)
This position locks the transaxle and prevents the rear wheels from
turning.
To put your vehicle in gear:
•Start the engine
•Depress the brake pedal
•Move the gearshift lever into the desired gear
To put your vehicle in P (Park):
•Come to a complete stop
•Move the gearshift lever and securely latch it in P (Park)
Driving
119
Page 128 of 216
Canadian customers who require roadside assistance, call
1–800–665–2006.
If you need to arrange roadside assistance for yourself, Ford Motor
Company will reimburse a reasonable amount. To obtain reimbursement
information, U.S. Ford or Mercury vehicles customers call
1-800-241-3673; Lincoln vehicle customers call 1–800–521–4140.
Canadian customers who need to obtain reimbursement information, call
1–800–665–2006.
ROADSIDE COVERAGE BEYOND BASIC WARRANTY
In the United States, you may purchase additional roadside assistance
coverage beyond this period through the Ford Auto Club by contacting
your Ford or Lincoln Mercury dealer.
Similarly in Canada, for uninterrupted Roadside Assistance coverage, you
may purchase extended coverage prior to your Basic Warranty’s Roadside
Assistance expiring. For more information and enrollment, contact
1–877–294–2582 or visit our website at www.ford.ca.
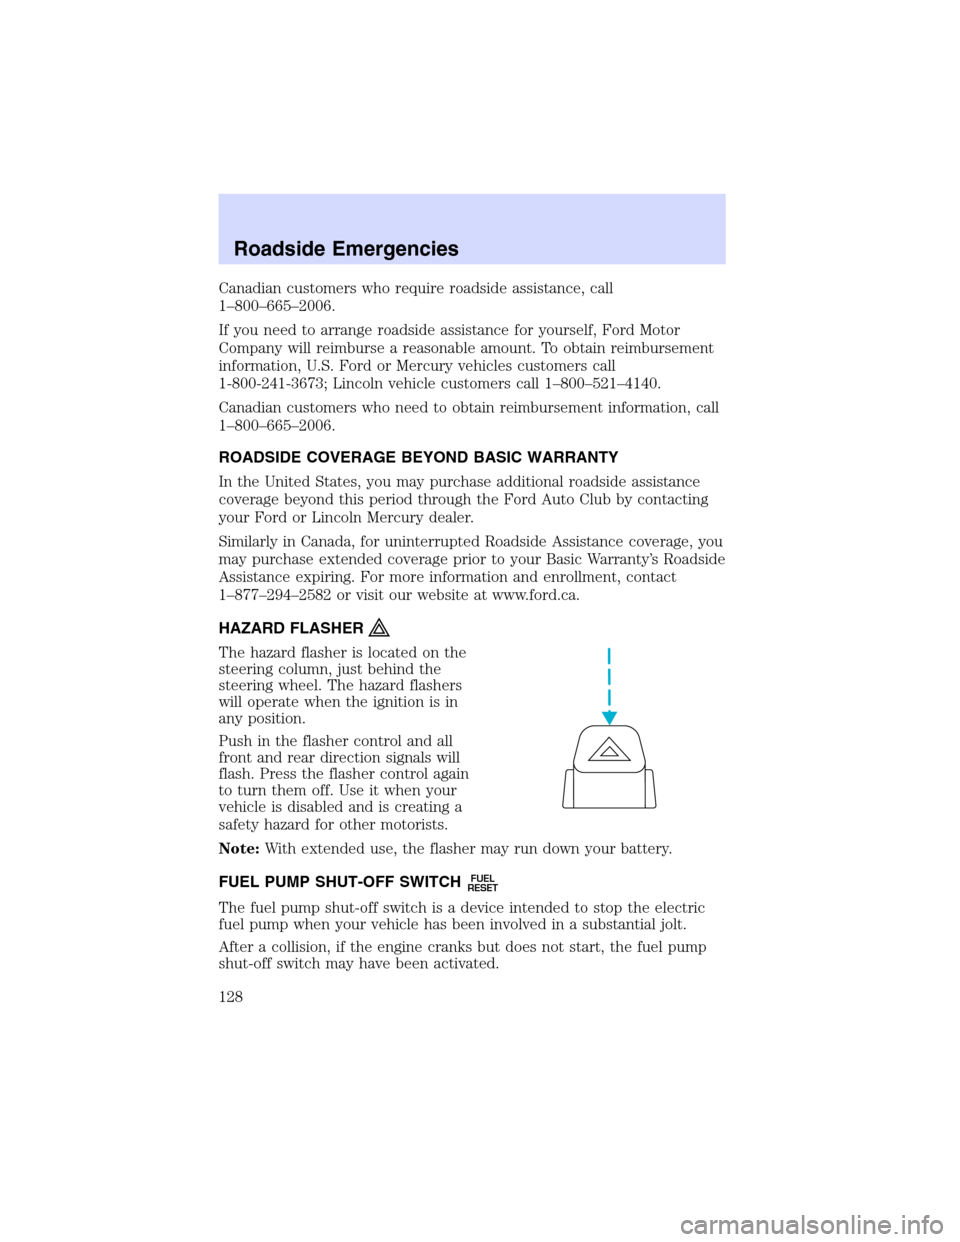
HAZARD FLASHER
The hazard flasher is located on the
steering column, just behind the
steering wheel. The hazard flashers
will operate when the ignition is in
any position.
Push in the flasher control and all
front and rear direction signals will
flash. Press the flasher control again
to turn them off. Use it when your
vehicle is disabled and is creating a
safety hazard for other motorists.
Note:With extended use, the flasher may run down your battery.
FUEL PUMP SHUT-OFF SWITCH
FUEL
RESET
The fuel pump shut-off switch is a device intended to stop the electric
fuel pump when your vehicle has been involved in a substantial jolt.
After a collision, if the engine cranks but does not start, the fuel pump
shut-off switch may have been activated.
Roadside Emergencies
128
Page 132 of 216
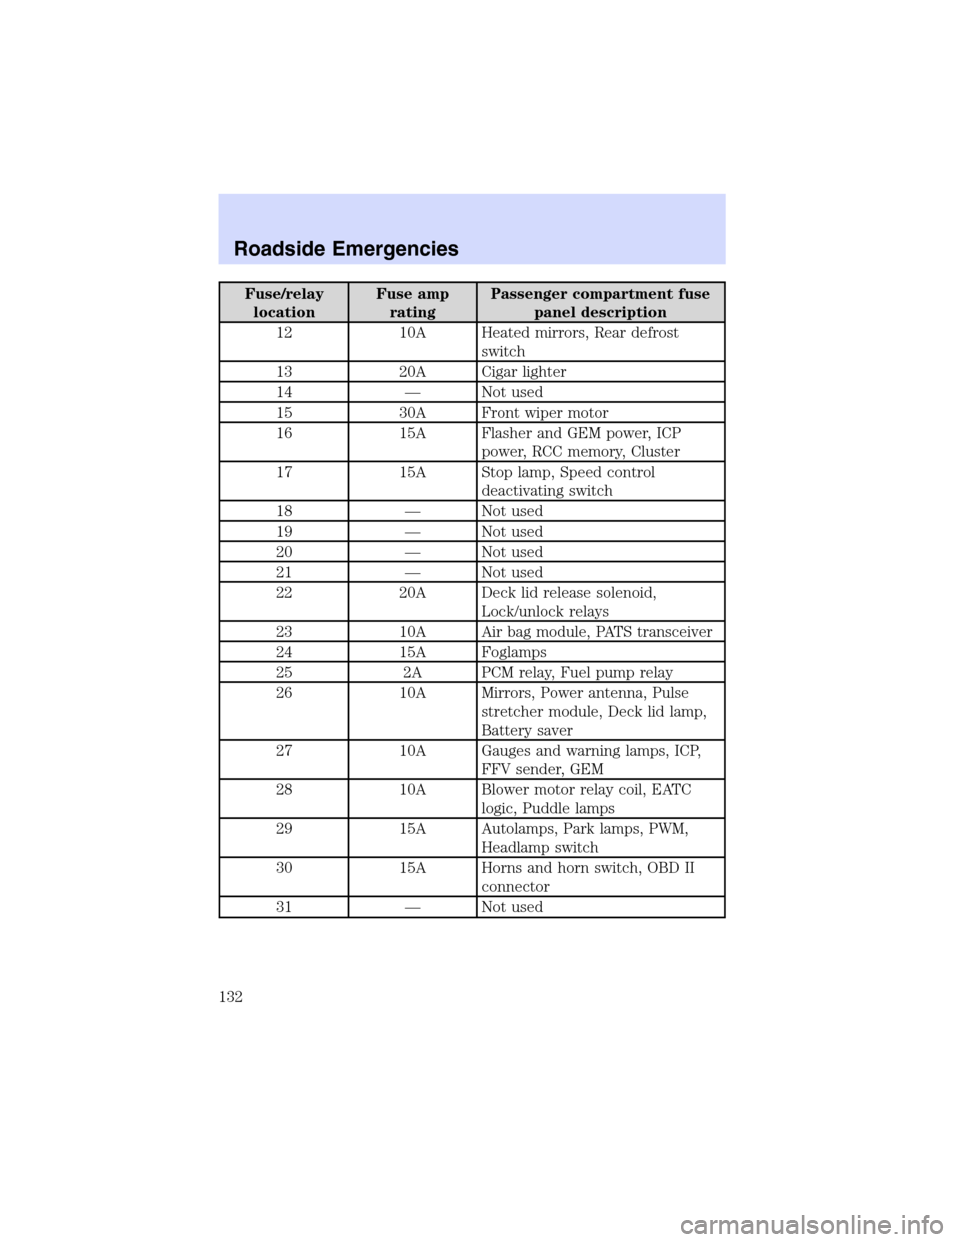
Fuse/relay
locationFuse amp
ratingPassenger compartment fuse
panel description
12 10A Heated mirrors, Rear defrost
switch
13 20A Cigar lighter
14—Not used
15 30A Front wiper motor
16 15A Flasher and GEM power, ICP
power, RCC memory, Cluster
17 15A Stop lamp, Speed control
deactivating switch
18—Not used
19—Not used
20—Not used
21—Not used
22 20A Deck lid release solenoid,
Lock/unlock relays
23 10A Air bag module, PATS transceiver
24 15A Foglamps
25 2A PCM relay, Fuel pump relay
26 10A Mirrors, Power antenna, Pulse
stretcher module, Deck lid lamp,
Battery saver
27 10A Gauges and warning lamps, ICP,
FFV sender, GEM
28 10A Blower motor relay coil, EATC
logic, Puddle lamps
29 15A Autolamps, Park lamps, PWM,
Headlamp switch
30 15A Horns and horn switch, OBD II
connector
31—Not used
Roadside Emergencies
132
Page 133 of 216
Fuse/relay
locationFuse amp
ratingPassenger compartment fuse
panel description
32 10A ABS, DRL relay coil, Speed
control actuator, Traction control
switch, AC heater selector switch,
Blend door actuator, Brake shift
interlock, Rear defroster relay coil
33—Not used
34—Not used
35—Not used
36 15A Turn signals, Back-up lamps
37 15A Transmission position switch
38 5A GEM park neutral switch
39—Not used
40—Not used
41—Not used
42—Not used
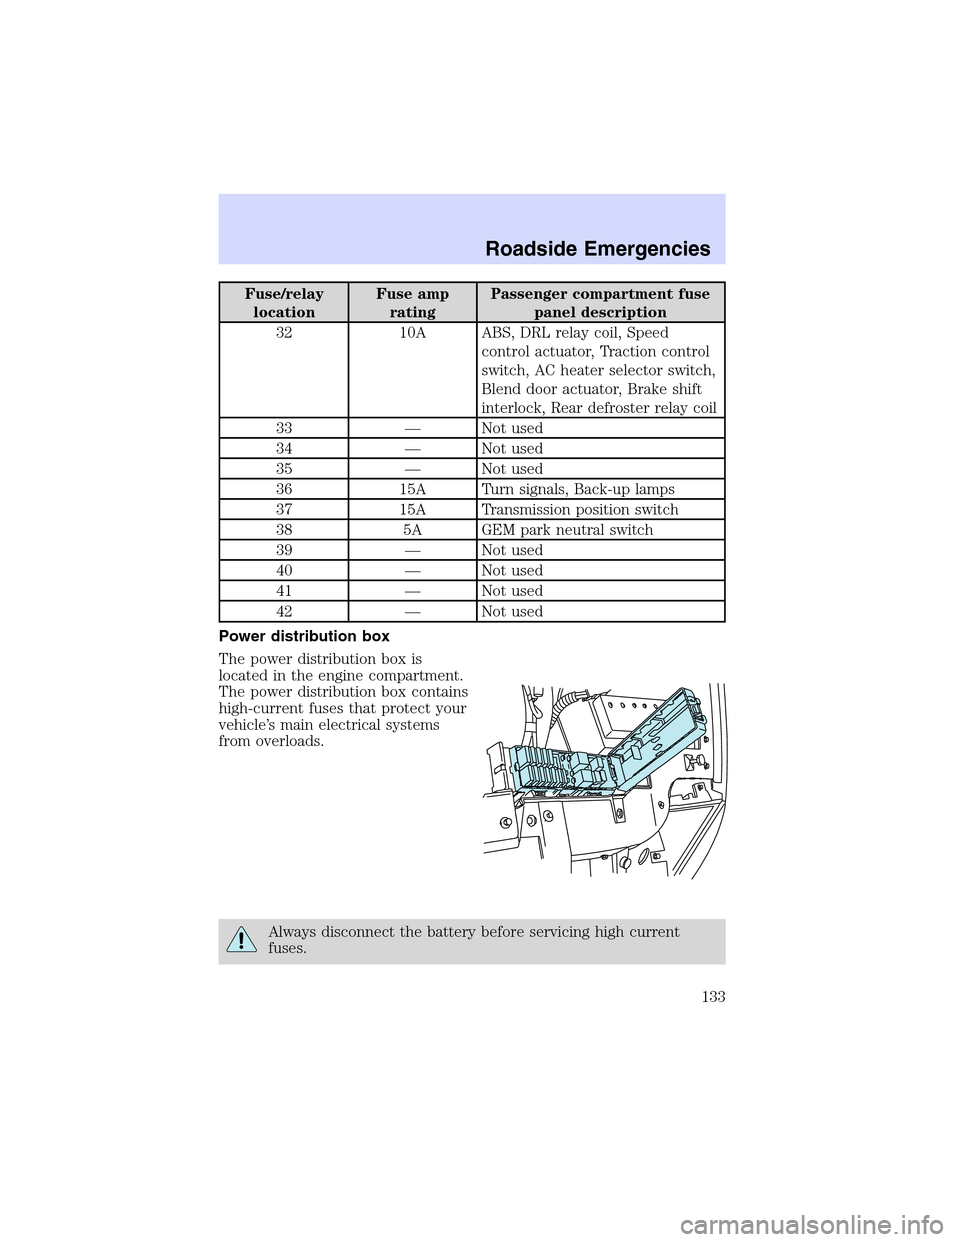
Power distribution box
The power distribution box is
located in the engine compartment.
The power distribution box contains
high-current fuses that protect your
vehicle’s main electrical systems
from overloads.
Always disconnect the battery before servicing high current
fuses.
Roadside Emergencies
133