interior lights Mercury Sable 2003 Owner's Manuals
[x] Cancel search | Manufacturer: MERCURY, Model Year: 2003, Model line: Sable, Model: Mercury Sable 2003Pages: 216, PDF Size: 1.66 MB
Page 10 of 216
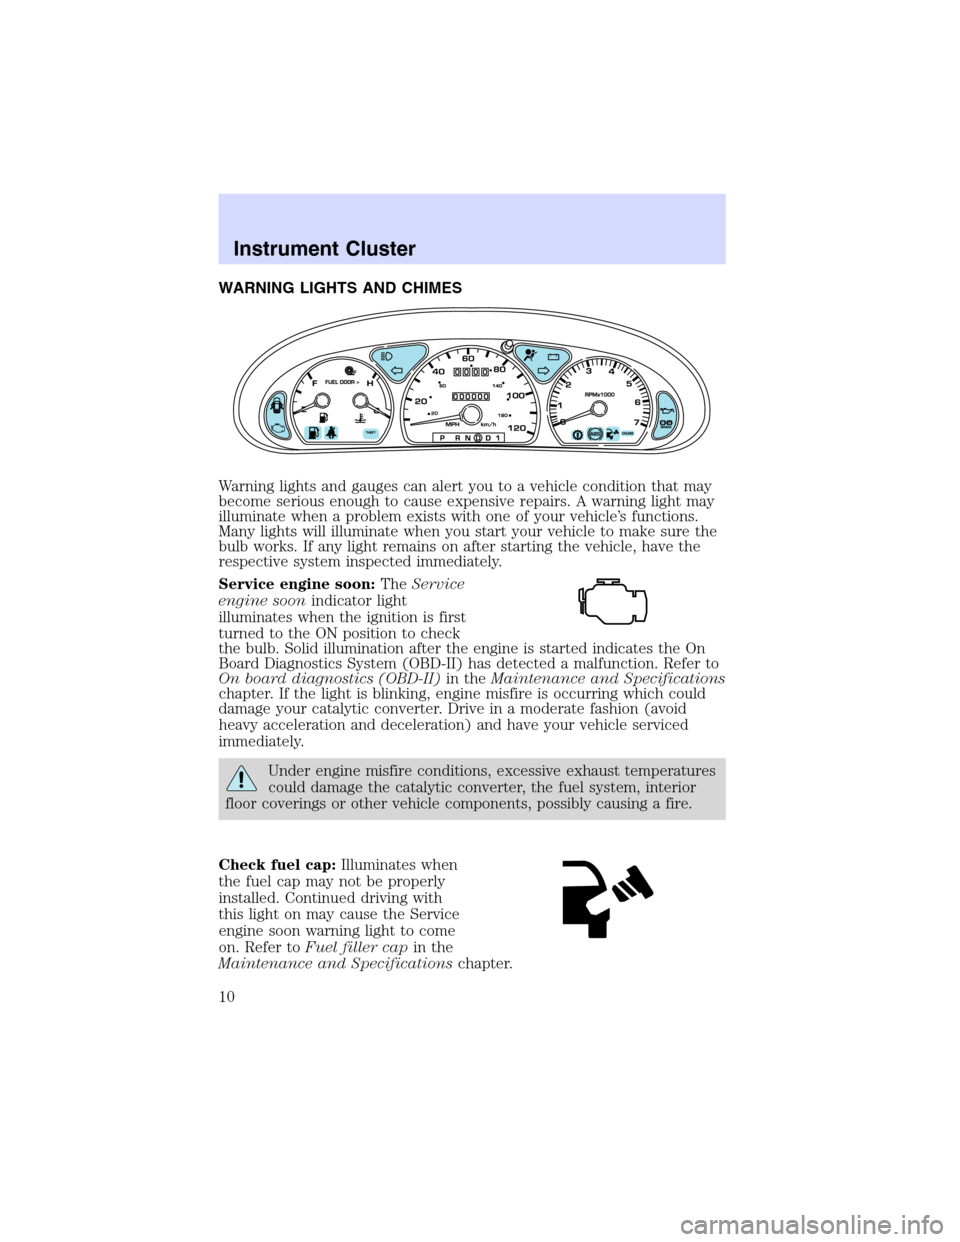
WARNING LIGHTS AND CHIMES
Warning lights and gauges can alert you to a vehicle condition that may
become serious enough to cause expensive repairs. A warning light may
illuminate when a problem exists with one of your vehicle’s functions.
Many lights will illuminate when you start your vehicle to make sure the
bulb works. If any light remains on after starting the vehicle, have the
respective system inspected immediately.
Service engine soon:TheService
engine soonindicator light
illuminates when the ignition is first
turned to the ON position to check
the bulb. Solid illumination after the engine is started indicates the On
Board Diagnostics System (OBD-II) has detected a malfunction. Refer to
On board diagnostics (OBD-II)in theMaintenance and Specifications
chapter. If the light is blinking, engine misfire is occurring which could
damage your catalytic converter. Drive in a moderate fashion (avoid
heavy acceleration and deceleration) and have your vehicle serviced
immediately.
Under engine misfire conditions, excessive exhaust temperatures
could damage the catalytic converter, the fuel system, interior
floor coverings or other vehicle components, possibly causing a fire.
Check fuel cap:Illuminates when
the fuel cap may not be properly
installed. Continued driving with
this light on may cause the Service
engine soon warning light to come
on. Refer toFuel filler capin the
Maintenance and Specificationschapter.
Instrument Cluster
Instrument Cluster
10
Page 30 of 216
Always remember to turn on your headlamps at dusk or during
inclement weather. The Daytime Running Lamp (DRL) system
does not activate with your tail lamps and generally may not provide
adequate lighting during these conditions. Failure to activate your
headlamps under these conditions may result in a collision.
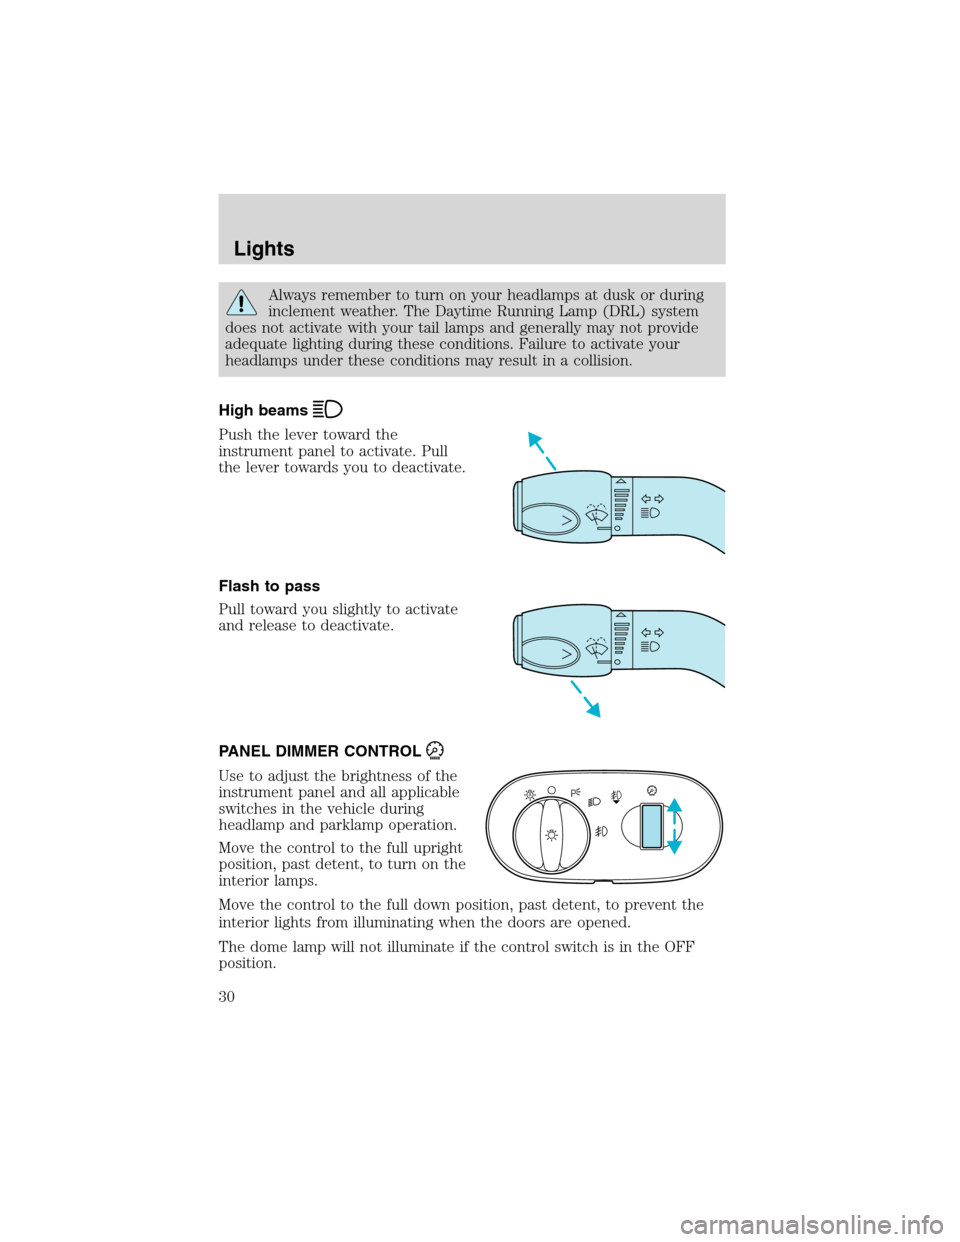
High beams
Push the lever toward the
instrument panel to activate. Pull
the lever towards you to deactivate.
Flash to pass
Pull toward you slightly to activate
and release to deactivate.
PANEL DIMMER CONTROL
Use to adjust the brightness of the
instrument panel and all applicable
switches in the vehicle during
headlamp and parklamp operation.
Move the control to the full upright
position, past detent, to turn on the
interior lamps.
Move the control to the full down position, past detent, to prevent the
interior lights from illuminating when the doors are opened.
The dome lamp will not illuminate if the control switch is in the OFF
position.
A
Lights
30
Page 32 of 216
To see a clearer light pattern for
adjusting, you may want to block
the light from one headlamp while
adjusting the other.
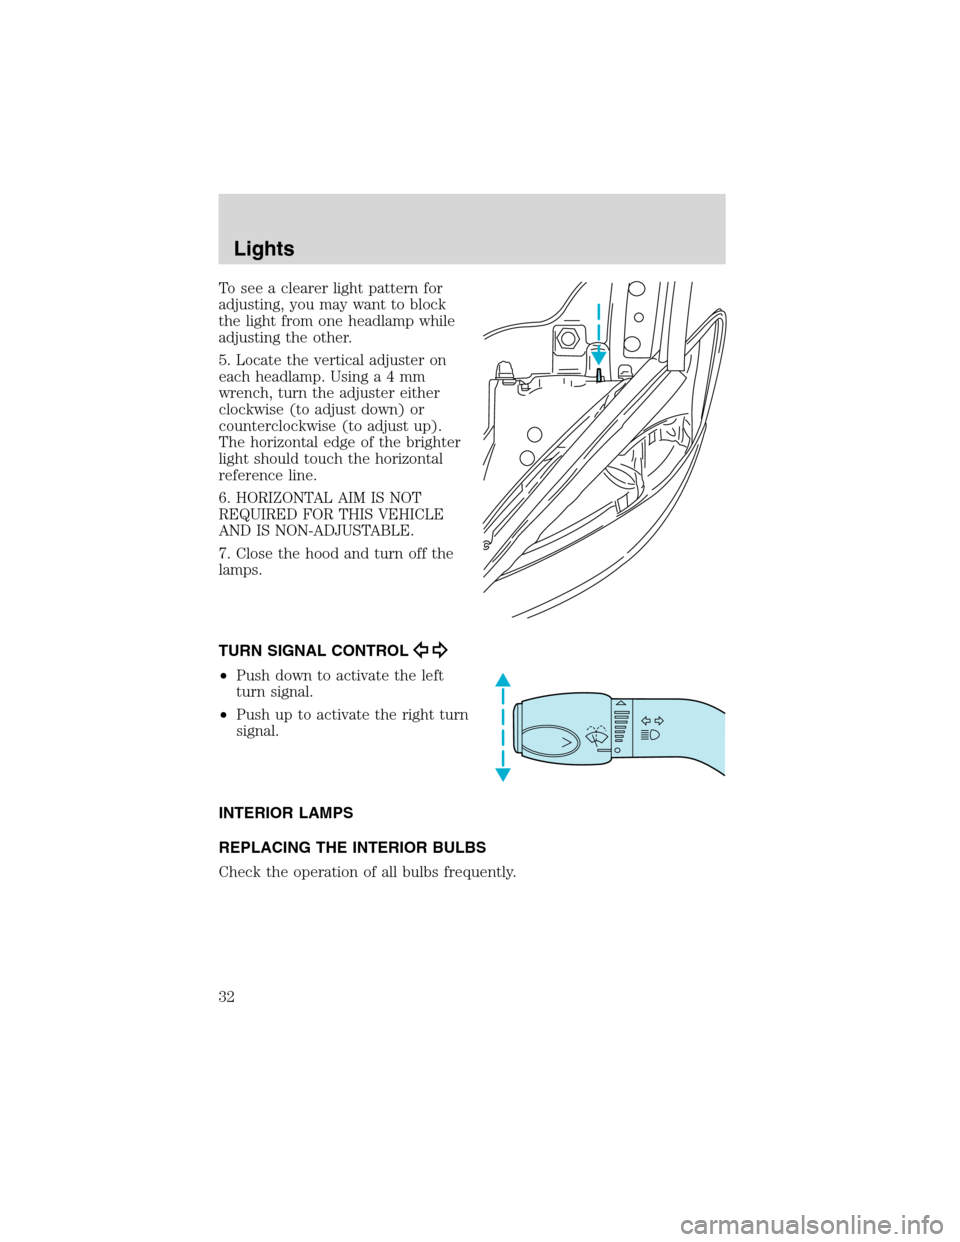
5. Locate the vertical adjuster on
each headlamp. Usinga4mm
wrench, turn the adjuster either
clockwise (to adjust down) or
counterclockwise (to adjust up).
The horizontal edge of the brighter
light should touch the horizontal
reference line.
6. HORIZONTAL AIM IS NOT
REQUIRED FOR THIS VEHICLE
AND IS NON-ADJUSTABLE.
7. Close the hood and turn off the
lamps.
TURN SIGNAL CONTROL
•Push down to activate the left
turn signal.
•Push up to activate the right turn
signal.
INTERIOR LAMPS
REPLACING THE INTERIOR BULBS
Check the operation of all bulbs frequently.
Lights
32
Page 35 of 216

Function Number of bulbsTrade
number
Dome/map lamp 3 578
Dome lamp/moon roof 2 578
Visor vanity lamp
(passenger/driver)2 DE 3021
Floor console 2 194
Luggage compartment lamp 1 212–2
All replacement bulbs are clear in color except where noted.
To replace all instrument panel lights - see your dealer.
Replacing the interior bulbs
Check the operation of all bulbs frequently.
Replacing headlamp bulbs
To remove the headlamp bulb:
1. Make sure headlamp switch is in
OFF position.
2. Remove the bolt from the
headlamp housing.
3. At the back of the headlamp, pry
up and remove the two retainer pins
to release the headlamp assembly
from the vehicle and pull headlamp
forward.
Lights
35
Page 62 of 216

Changes or modifications not expressly approved by the party
responsible for compliance could void the user’s authority to
operate the equipment.
The remote entry system allows you
to:
•lock or unlock all vehicle doors,
•open the trunk or the liftgate,
and
•sound the panic alarm.
If there is a problem with the
remote entry system make sure to
takeALL remote entry
transmitterswith you to the
dealership, this will aid in troubleshooting the problem.
Unlocking the doors
1. Pressand release to unlock the driver’s door.Note:The interior
lamps will illuminate.
2. Press
and release again within three seconds to unlock all the
doors and the liftgate (wagon).
The remote entry system comes with an illuminated entry feature. This
feature turns on the interior lamps for 25 seconds or until the ignition is
turned to the ON position. If the dome lamp control is in theoffposition
the illuminated entry feature will not work.
The inside lights will not turn off if:
•they have been turned on using the dimmer control or
•any door is open.
The battery saver feature will turn off the interior lamps 10 minutes after
the ignition is turned to the OFF position.
Locking the doors
1. Pressand release to lock all the doors and liftgate (wagon), turn
off the interior lamps (if they were on) and arm the anti-theft system.
2. Press
and release again within three seconds to confirm that all the
doors and liftgate are closed and locked.Note:the doors will lock again,
and the horn will chirp once.
Locks and Security
62
Page 65 of 216

Illuminated entry
The interior lamps illuminate when the remote entry system is used to
unlock the door(s) or sound the personal alarm.
The illuminated entry system will turn off the interior lights if:
•the ignition switch is turned to the ON position, or
•the remote transmitter lock control is pressed, or
•after 25 seconds of illumination.
The dome lamp control (if equipped) mustnotbe set to the OFF
position for the illuminated entry system to operate.
The inside lights will not turn off if:
•they have been turned on with the dimmer control, or
•any door is open.
The battery saver will shut off the interior lamps 10 minutes after the
ignition has been turned to the OFF position.
Perimeter lamps illuminated entry
The exterior lamps illuminate when the vehicle is unlocked using the
remote entry system.
On vehicles equipped with the autolamps feature, the following items will
illuminate:
•Puddle lamps
•Head lamps
•Park lamps
•Tail lamps
On vehicles not equipped with the autolamps feature, only the following
items will illuminate:
•Puddle lamps
•Park lamps
•Tail lamps
The system will automatically turn off if:
•the ignition switch is turned to the ON position, or
•after 25 seconds of illumination.
Locks and Security
65
Page 209 of 216
F
Flexible Fuel Vehicle (FFV) ....176
Floor mats ...................................55
Fluid capacities .........................197
Foglamps .....................................29
Fuel ............................................176
calculating fuel economy .......182
cap ...........................................179
capacity ...................................197
choosing the right fuel ...........180
comparisons with EPA fuel
economy estimates .................185
detergent in fuel .....................182
filling your vehicle with
fuel ...........................176, 179, 183
filter, specifications ........182, 196
fuel pump shut-off switch .....128
improving fuel economy ........182
octane rating ...................180, 200
quality ......................................181
running out of fuel .................182
safety information relating to
automotive fuels .....................176
Fuel - flex fuel vehicle
(FFV) .................................176, 180
Fuses ..........................................130
G
Gas cap (see Fuel cap) ............179
Gas mileage (see Fuel
economy) ...................................182
Gauges .........................................13
GAWR (Gross Axle Weight
Rating) .......................................121
definition .................................121
driving with a heavy load ......121
location ....................................121GVWR (Gross Vehicle Weight
Rating) .......................................121
calculating ...............................121
definition .................................121
driving with a heavy load ......121
location ....................................121
H
Hazard flashers .........................128
Headlamps ...................................29
aiming ........................................31
autolamp system .......................29
bulb specifications ....................34
daytime running lights .............29
flash to pass ..............................30
high beam .................................30
replacing bulbs .........................35
turning on and off ....................29
Heating
heating and air conditioning
system .................................24–25
Hood ..........................................163
I
Ignition ...............................109, 200
Infant seats
(see Safety seats) .....................101
Inspection/maintenance (I/M)
testing ........................................187
Instrument panel
cleaning ...................................159
cluster ........................................10
lighting up panel and interior..30
J
Jack ............................................136
positioning ...............................136
storage .....................................136
Index
209
Page 210 of 216
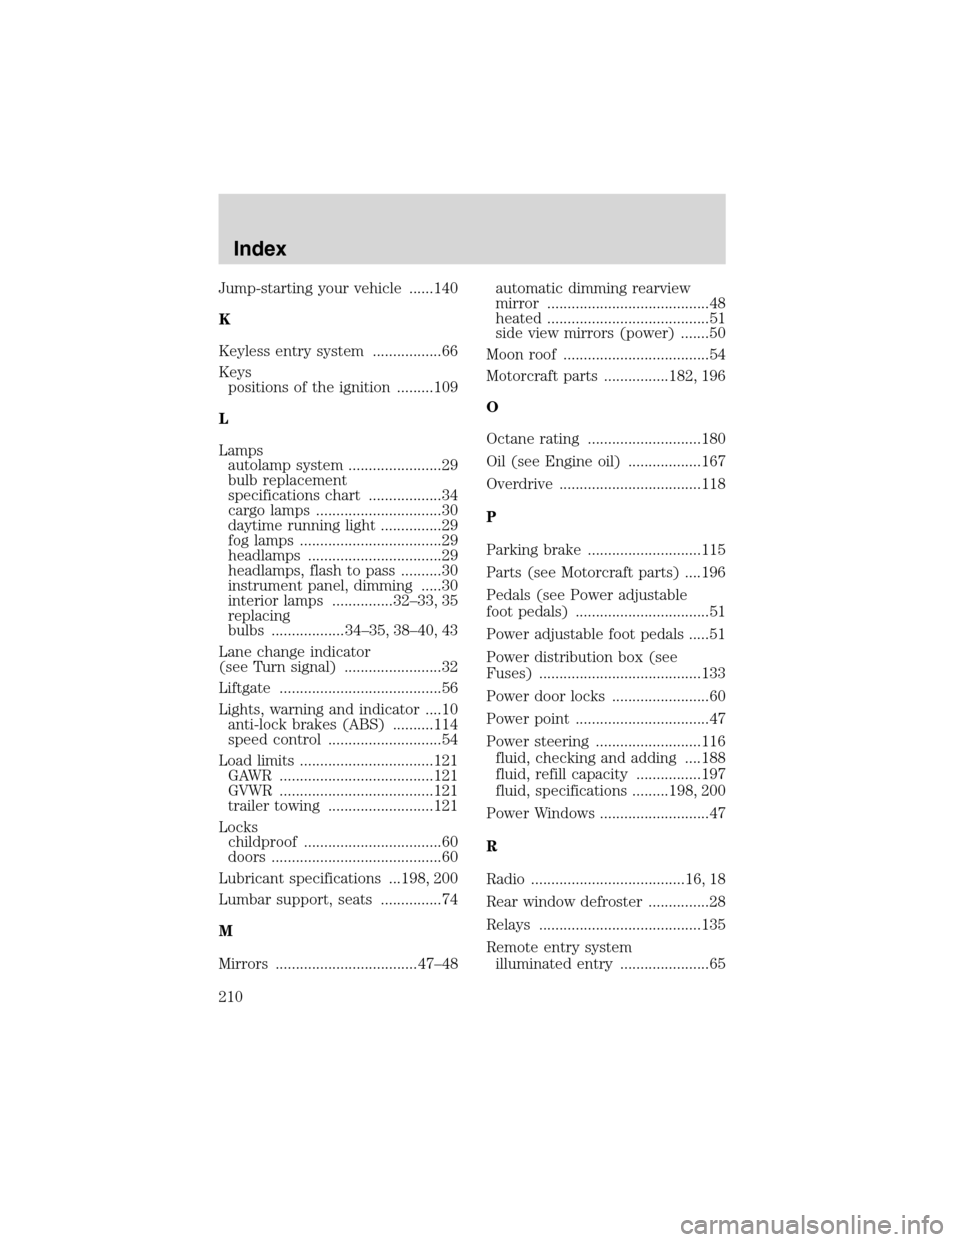
Jump-starting your vehicle ......140
K
Keyless entry system .................66
Keys
positions of the ignition .........109
L
Lamps
autolamp system .......................29
bulb replacement
specifications chart ..................34
cargo lamps ...............................30
daytime running light ...............29
fog lamps ...................................29
headlamps .................................29
headlamps, flash to pass ..........30
instrument panel, dimming .....30
interior lamps ...............32–33, 35
replacing
bulbs .................. 34–35, 38–40, 43
Lane change indicator
(see Turn signal) ........................32
Liftgate ........................................56
Lights, warning and indicator ....10
anti-lock brakes (ABS) ..........114
speed control ............................54
Load limits .................................121
GAWR ......................................121
GVWR ......................................121
trailer towing ..........................121
Locks
childproof ..................................60
doors ..........................................60
Lubricant specifications ...198, 200
Lumbar support, seats ...............74
M
Mirrors ...................................47–48automatic dimming rearview
mirror ........................................48
heated ........................................51
side view mirrors (power) .......50
Moon roof ....................................54
Motorcraft parts ................182, 196
O
Octane rating ............................180
Oil (see Engine oil) ..................167
Overdrive ...................................118
P
Parking brake ............................115
Parts (see Motorcraft parts) ....196
Pedals (see Power adjustable
foot pedals) .................................51
Power adjustable foot pedals .....51
Power distribution box (see
Fuses) ........................................133
Power door locks ........................60
Power point .................................47
Power steering ..........................116
fluid, checking and adding ....188
fluid, refill capacity ................197
fluid, specifications .........198, 200
Power Windows ...........................47
R
Radio ......................................16, 18
Rear window defroster ...............28
Relays ........................................135
Remote entry system
illuminated entry ......................65
Index
210