keyless Mercury Sable 2003 Owner's Manuals
[x] Cancel search | Manufacturer: MERCURY, Model Year: 2003, Model line: Sable, Model: Mercury Sable 2003Pages: 216, PDF Size: 1.66 MB
Page 66 of 216

Deactivating/activating perimeter lamps
You may enable/disable this feature by having your vehicle serviced by
your authorized dealer.
You may also perform the following power door lock sequence to
enable/disable the perimeter lamps feature:
1. Turn the ignition to ON, then press the power door unlock control 3
times.
2. Turn the ignition to OFF, then press the power door unlock control 3
times.
3. Turn the ignition to ON, and within five seconds press the power door
unlock control 2 times.Note:You will receive two horn chirps to
indicate that the system has been altered successfully.
4. Turn the ignition to the OFF position to exit the procedure.
Note:the puddle lamps cannot be deactivated; performing this procedure
will only deactivate the head, park and tail lamps.
KEYLESS ENTRY SYSTEM (IF EQUIPPED)
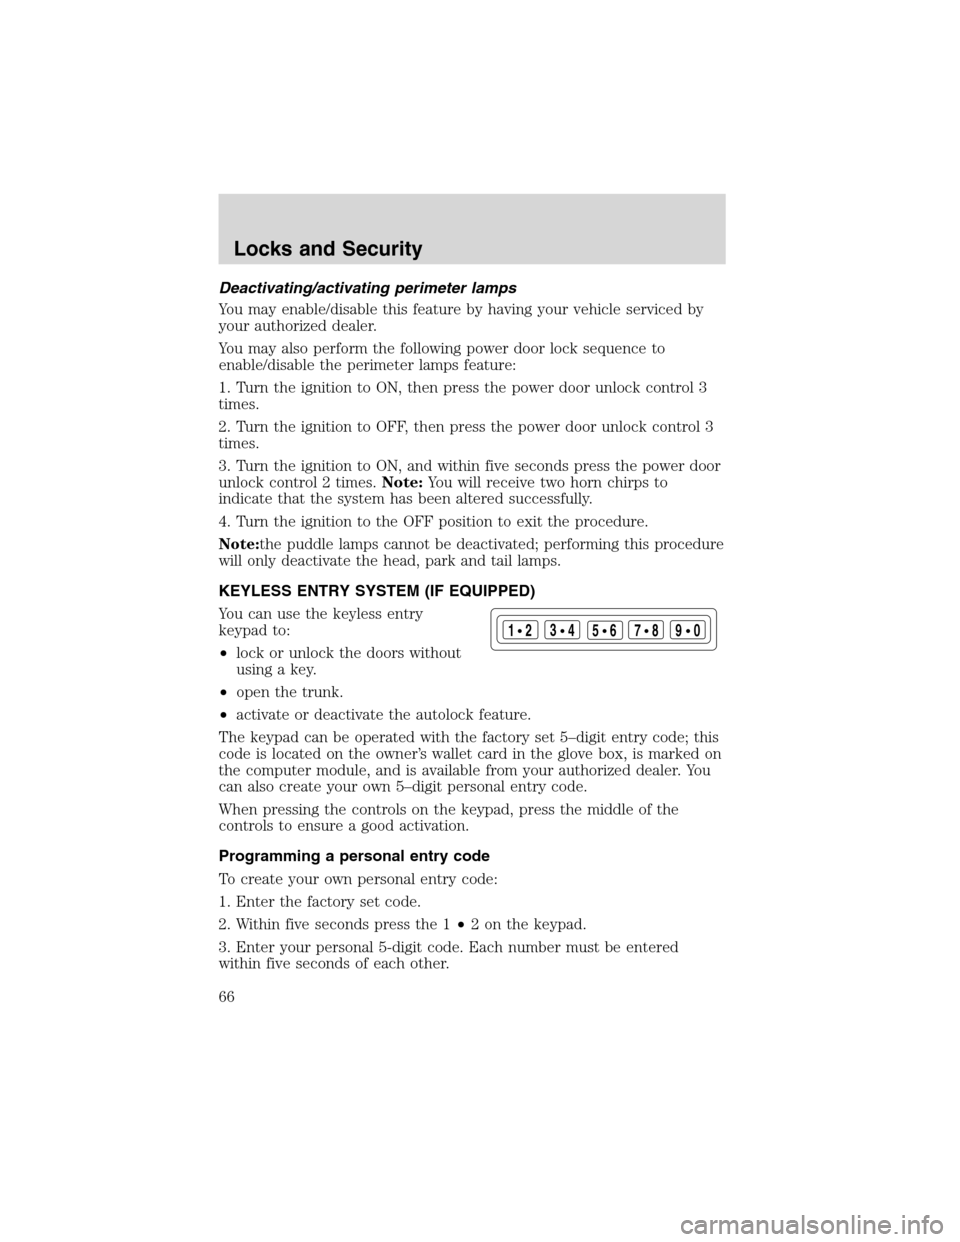
You can use the keyless entry
keypad to:
•lock or unlock the doors without
using a key.
•open the trunk.
•activate or deactivate the autolock feature.
The keypad can be operated with the factory set 5–digit entry code; this
code is located on the owner’s wallet card in the glove box, is marked on
the computer module, and is available from your authorized dealer. You
can also create your own 5–digit personal entry code.
When pressing the controls on the keypad, press the middle of the
controls to ensure a good activation.
Programming a personal entry code
To create your own personal entry code:
1. Enter the factory set code.
2. Within five seconds press the 1•2 on the keypad.
3. Enter your personal 5-digit code. Each number must be entered
within five seconds of each other.
123
45678
90
Locks and Security
66
Page 67 of 216

Tips:
•Do not set a code that uses five of the same number.
•Do not use five numbers in sequential order.
•The factory set code will work even if you have set your own personal
code.
•If you set a second personal code it will erase your first personal code.
Erasing personal code
1. Enter the factory set 5–digit code.
2. Press and hold the 1•2 for two seconds and release; this must be
done within five seconds of completing step 1.
3. Press and hold the 1•2 for two seconds to erase the customer
programmed code; this must be done within five seconds of completing
step 2.
Your personal code is now erased and only the factory set 5–digit code
will work.
Unlocking and locking the doors using keyless entry
To unlock the driver’s door,enter the factory set 5-digit code or your
personal code. Each number must be pressed within five seconds of each
other. The interior lamps will illuminate.
To unlock all doors and the liftgate (wagon),press the 3•4
control within five seconds.
To unlock the trunk or liftgate (wagon),press the 5•6 control
within five seconds.
To lock all doors,press the 7•8 and the 9•0 at the same time. You
do notneed to enter the keypad code first.
Autolock (if equipped)
This feature automatically locks all vehicle doors when the following
conditions are met:
•all the doors are closed,
•the engine is running, and
•you shift into gear, putting the vehicle in motion.
Locks and Security
67
Page 71 of 216

7. Within twenty seconds of removing the previously programmed coded
key, insert the unprogrammed key (new/valet key) into the ignition.
8. Turn the ignition from the 3 (OFF) position to the 4 (ON) position.
Keep the ignition in the 4 (ON) position for at least one second.
9. Your new unprogrammed key is now programmed.
If the key has been successfully programmed it will start the vehicle’s
engine and the theft indicator light will illuminate for three seconds and
then go out. If the key was not successfully programmed, it will not start
your vehicle’s engine and the theft indicator light will flash on and off
rapidly. If failure repeats, bring your vehicle to your dealer to have the
new key(s) programmed.
To program additional new unprogrammed key(s), repeat this procedure
from step 1 for each additional key.
PERIMETER ALARM SYSTEM (IF EQUIPPED)
The perimeter anti-theft system will help prevent your vehicle from
unauthorized entry.
If there is any potential perimeter anti-theft problem with your vehicle,
ensureALL remote entry transmittersare taken to the dealership to
aid in troubleshooting.
Arming the system
When armed, this system will respond if unauthorized entry is
attempted. When unauthorized entry occurs, the system will flash the
headlamps and/or parking lamps and will sound the horn.
The system is ready to arm whenever key is removed from the ignition.
Either of the following actions will prearm the alarm system:
•Press the
control on the remote entry transmitter.
•Press the 7•8 and the 9•0 on the keyless entry keypad
(if equipped) at the same time.
•Open a door and press the power door lock control to lock all the
doors.
Locks and Security
71
Page 72 of 216

Note:The hood, each door and the liftgate (wagon) arm individually,
and if any of them are open, they must be closed in order to be armed.
When you press the
control on the remote entry transmitter twice
within three seconds:
•the horn will chirp twice to indicate the hood, each door and the
liftgate (wagon) are closed.
•the horn will chirp twice to indicate that either the hood, a door or
the liftgate (wagon) is still open.
Disarming the system
You can disarm the system by any of the following actions:
•Unlock the doors by pressing the
control on your remote entry
transmitter.
•Unlock the doors by using the keyless entry pad.
•Unlock the doors with a key. Turn the key full travel (toward the front
of the vehicle) to ensure the alarm disarms.
•Turn the ignition to the RUN position.
•Press the
control on the remote entry transmitter. This will only
shut the horn off when the alarm is sounding; the alarm system will
still be armed.
Triggering the anti-theft system
The armed system will be triggered if:
•Any door, liftgate (wagon) or the hood is opened without using the
key or the remote entry transmitter.
•The trunk is forced open.
Locks and Security
72
Page 204 of 216

FORD ACCESSORIES FOR YOUR VEHICLE
A wide selection of genuine Ford accessories are available for your
vehicle through your local authorized Ford, Lincoln, Mercury or Ford of
Canada dealer. These quality accessories have been specifically
engineered to fulfill your automotive needs; they are custom designed to
complement the style and aerodynamic appearance of your vehicle. In
addition, each accessory is made from high quality materials and meets
or exceeds Ford’s rigorous engineering and safety specifications. Ford
Motor Company will repair or replace any properly dealer-installed Ford
accessory found to be defective in factory-supplied materials or
workmanship during the warranty period, as well as any component
damaged by the defective accessory. The accessory will be warranted for
whichever provides you the greatest benefit:
•12 months or 20,000 km (12,000 miles) (whichever occurs first), or
•the remainder of your new vehicle limited warranty.
This means that genuine Ford accessories purchased along with your
new vehicle and installed by the dealer are covered for the full length of
your New Vehicle’s Limited Warranty—3 years or 60,000 km (36,000
miles) (whichever occurs first). Contact your dealer for details and a
copy of the warranty.
Not all accessories are available for all models.
Following is a list of several Ford Genuine Accessory products. Not all
accessories are available for all models. To find out what accessories are
available for your vehicle, please contact your dealer or visit our online
store at: www.mercuryaccessories.com.
Vehicle Security
Remote keyless entry
Styled wheel locks
Vehicle security systems
Comfort and convenience
Cabin air filtration
Cargo box
Cargo nets
Cargo organizers
Cargo shades (Wagon only)
Cargo tray
Accessories
Accessories
204
Page 210 of 216

Jump-starting your vehicle ......140
K
Keyless entry system .................66
Keys
positions of the ignition .........109
L
Lamps
autolamp system .......................29
bulb replacement
specifications chart ..................34
cargo lamps ...............................30
daytime running light ...............29
fog lamps ...................................29
headlamps .................................29
headlamps, flash to pass ..........30
instrument panel, dimming .....30
interior lamps ...............32–33, 35
replacing
bulbs .................. 34–35, 38–40, 43
Lane change indicator
(see Turn signal) ........................32
Liftgate ........................................56
Lights, warning and indicator ....10
anti-lock brakes (ABS) ..........114
speed control ............................54
Load limits .................................121
GAWR ......................................121
GVWR ......................................121
trailer towing ..........................121
Locks
childproof ..................................60
doors ..........................................60
Lubricant specifications ...198, 200
Lumbar support, seats ...............74
M
Mirrors ...................................47–48automatic dimming rearview
mirror ........................................48
heated ........................................51
side view mirrors (power) .......50
Moon roof ....................................54
Motorcraft parts ................182, 196
O
Octane rating ............................180
Oil (see Engine oil) ..................167
Overdrive ...................................118
P
Parking brake ............................115
Parts (see Motorcraft parts) ....196
Pedals (see Power adjustable
foot pedals) .................................51
Power adjustable foot pedals .....51
Power distribution box (see
Fuses) ........................................133
Power door locks ........................60
Power point .................................47
Power steering ..........................116
fluid, checking and adding ....188
fluid, refill capacity ................197
fluid, specifications .........198, 200
Power Windows ...........................47
R
Radio ......................................16, 18
Rear window defroster ...............28
Relays ........................................135
Remote entry system
illuminated entry ......................65
Index
210