mirror controls Mercury Sable 2003 Owner's Manuals
[x] Cancel search | Manufacturer: MERCURY, Model Year: 2003, Model line: Sable, Model: Mercury Sable 2003Pages: 216, PDF Size: 1.66 MB
Page 1 of 216

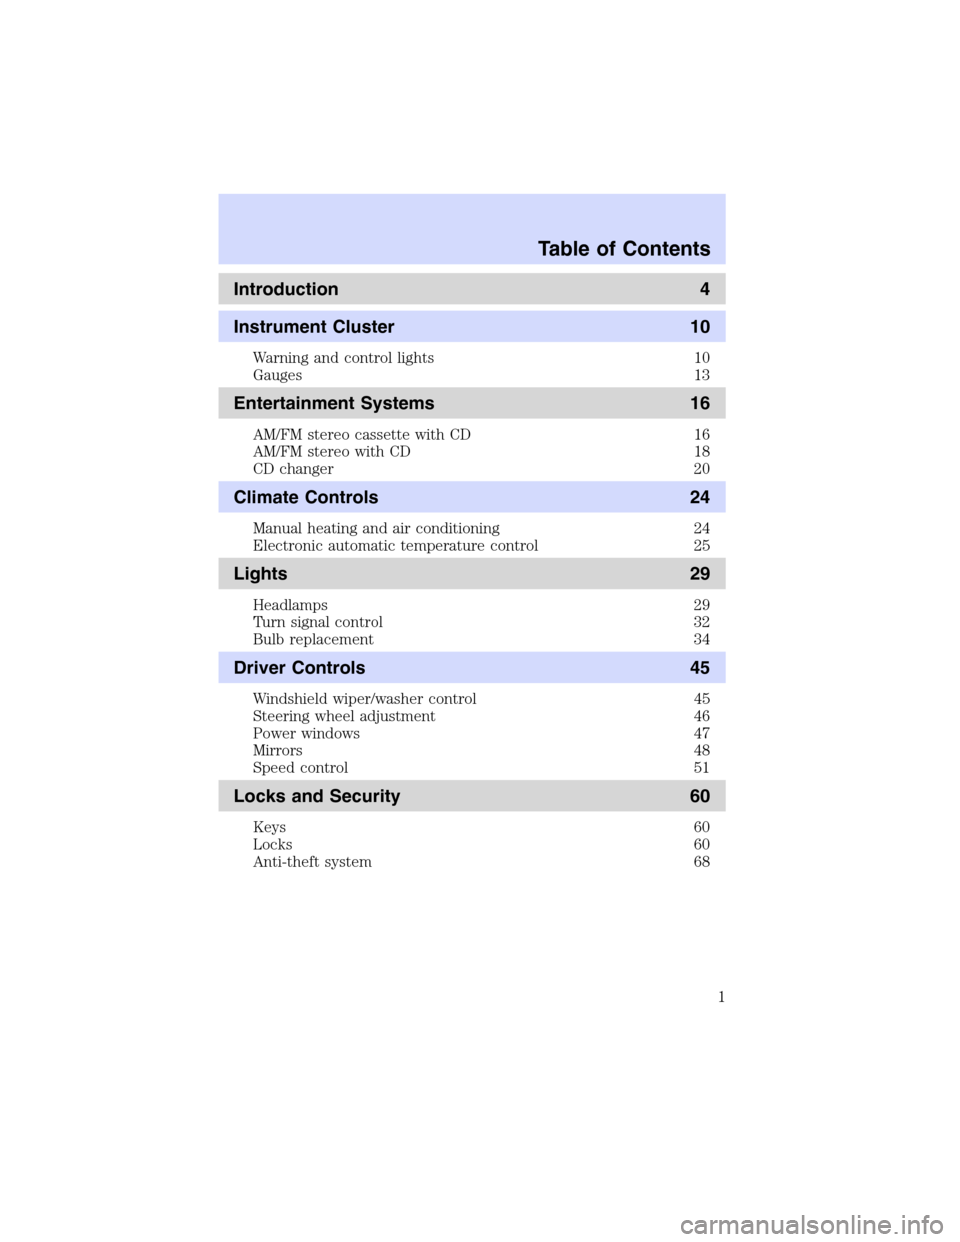
Introduction 4
Instrument Cluster 10
Warning and control lights 10
Gauges 13
Entertainment Systems 16
AM/FM stereo cassette with CD 16
AM/FM stereo with CD 18
CD changer 20
Climate Controls 24
Manual heating and air conditioning 24
Electronic automatic temperature control 25
Lights 29
Headlamps 29
Turn signal control 32
Bulb replacement 34
Driver Controls 45
Windshield wiper/washer control 45
Steering wheel adjustment 46
Power windows 47
Mirrors 48
Speed control 51
Locks and Security 60
Keys 60
Locks 60
Anti-theft system 68
Table of Contents
Table of Contents
1
Page 28 of 216

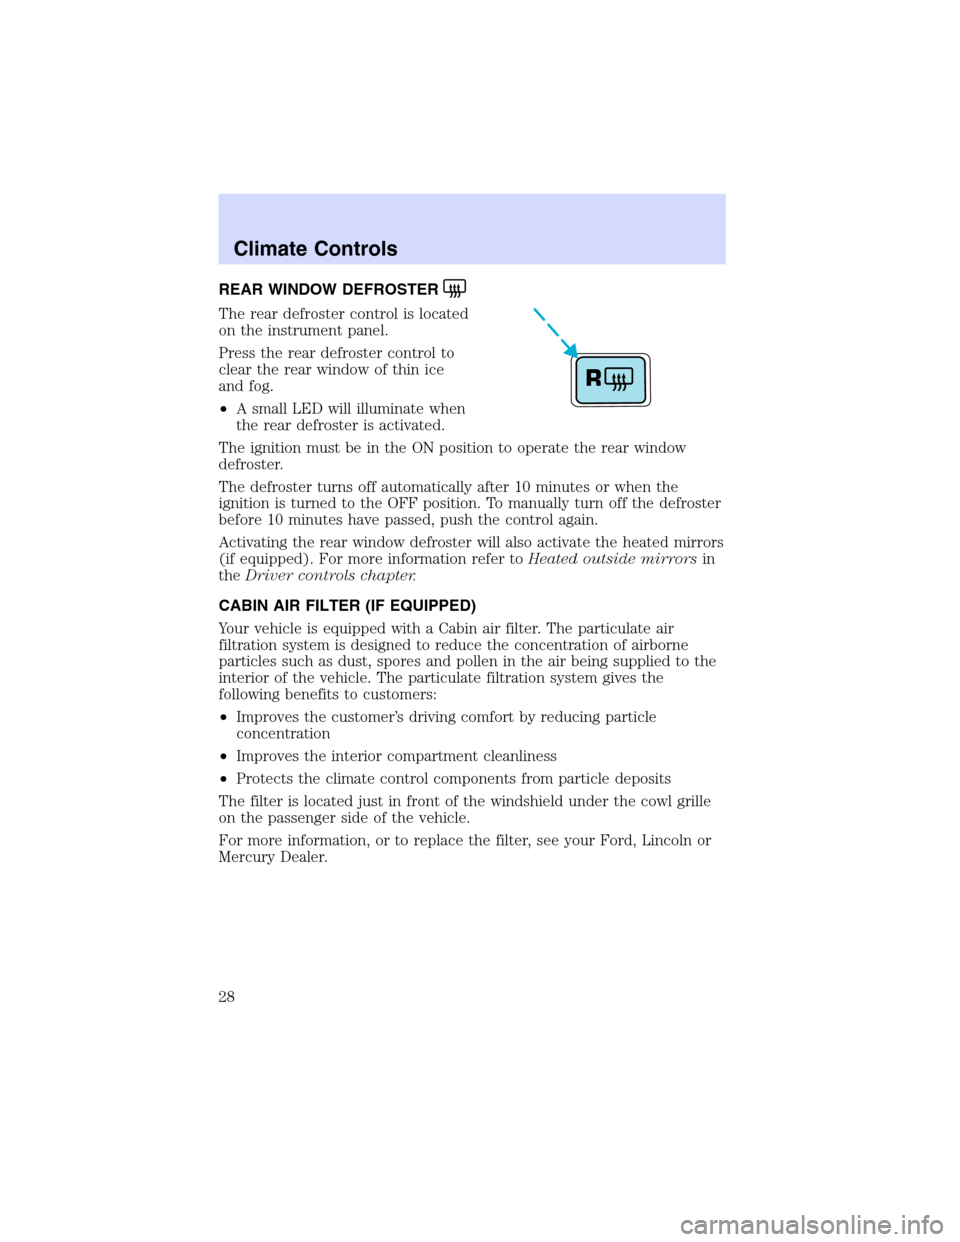
REAR WINDOW DEFROSTER
The rear defroster control is located
on the instrument panel.
Press the rear defroster control to
clear the rear window of thin ice
and fog.
•A small LED will illuminate when
the rear defroster is activated.
The ignition must be in the ON position to operate the rear window
defroster.
The defroster turns off automatically after 10 minutes or when the
ignition is turned to the OFF position. To manually turn off the defroster
before 10 minutes have passed, push the control again.
Activating the rear window defroster will also activate the heated mirrors
(if equipped). For more information refer toHeated outside mirrorsin
theDriver controls chapter.
CABIN AIR FILTER (IF EQUIPPED)
Your vehicle is equipped with a Cabin air filter. The particulate air
filtration system is designed to reduce the concentration of airborne
particles such as dust, spores and pollen in the air being supplied to the
interior of the vehicle. The particulate filtration system gives the
following benefits to customers:
•Improves the customer’s driving comfort by reducing particle
concentration
•Improves the interior compartment cleanliness
•Protects the climate control components from particle deposits
The filter is located just in front of the windshield under the cowl grille
on the passenger side of the vehicle.
For more information, or to replace the filter, see your Ford, Lincoln or
Mercury Dealer.
R
Climate Controls
28
Page 47 of 216

ILLUMINATED VISOR MIRROR (IF EQUIPPED)
To turn on the visor mirror lamps,
lift the mirror cover. Adjust the
amount of light by sliding the
control.
AUXILIARY POWER POINT
Power outlets are designed for accessory plugs only. Do not hang
any type of accessory or accessory bracket from the plug.
Improper use of the power outlet can cause damage not covered
by your warranty.
The auxiliary power point is located on the instrument panel below the
optional cigarette lighter (if equipped).
Do not plug optional electrical accessories into the cigarette
lighter. Use the power point.
POWER WINDOWS
When closing the power
windows, you should verify
they are free of obstructions and
ensure that children and/or pets
are not in the proximity of the
window openings.
Press and hold the bottom part of the rocker switch to open the window.
Press and hold the top part of the rocker switch to close the window.
Driver Controls
47
Page 48 of 216

One touch down
Allows the driver’s window to open
fully without holding the control
down. Press completely down on
AUTO and release quickly. Press
again to stop.
Window lock
The window lock feature allows only
the driver to operate the power
windows.
To lock out all the window controls
except for the driver’s press the left
side of the control. Press the right
side to restore the window controls.
Accessory delay (if equipped)
With accessory delay, the window switches may be used for up to ten
minutes after the ignition switch is turned to the OFF position or until
any door is opened.
MIRRORS
Automatic dimming inside rear view mirror with electric compass
(if equipped)
Your vehicle is equipped with an
inside rear view mirror which has an
auto-dimming function. The
electronic day/night mirror will
change from the normal state to the
non-glare state when bright lights
(glare) reach the mirror. When the
mirror detects bright light from
front or behind, it will automatically
adjust (darken) to minimize glare.
Do not block the sensor on the backside of the mirror since this may
impair proper mirror performance.
Press the MIRROR control to turn the mirror OFF or AUTO.
COMP MIRROR
Driver Controls
48
Page 49 of 216

The mirror will automatically return to the normal state whenever the
vehicle is placed in R (Reverse)(when the mirror is on) to ensure a
bright clear view when backing up.
Electronic compass (if equipped)
The compass reading will remain accurate during most driving
conditions. Unknown to the driver, the compass is continuously
recalibrating due to magnetic fields and subtle, slow changes in vehicle
magnetics which can occur over the life of the vehicle.
The compass reading will remain fixed when significant changes in the
local magnetic field are experienced (such as steel bridges). The
compass will return to normal operation upon leaving the magnetized
area.
If highly magnetized items (such as magnetic mount antennas) are
placed very near the compass the display will change to“C”for 15
seconds, then display all segments until the magnetized item is removed.
If a“C”is displayed, refer toCompass calibration adjustment.
Most geographic areas (zones) have a magnetic north compass point that
varies slightly from the northerly direction on maps. This variation is four
degrees between adjacent zones and will become noticeable as the
vehicle crosses multiple zones. A correct zone setting will eliminate this
error. Refer toCompass zone adjustment.
Compass zone adjustment
1. Determine which compass zone
you are in by referring to the zone
map.
1 2 3
4
5
6 7 8 9 101112 13 14 15
Driver Controls
49
Page 50 of 216

2. With the compass display turned
on, press and hold the COMP side of
the control for no more than five
seconds until the zone selection
number appears in the mirror
display window. If a“C”appears, see
Compass calibration adjustment.
3. Release the COMP side of the
control, then press it down again.
4. Press and release until your zone number is shown in the mirror
display.
5. The display will show all segments, then return to normal compass
mode within ten seconds.
Compass calibration adjustment
Perform this adjustment in an open area free from steel structures and
high voltage lines.
1. Start the vehicle.
2. Press and hold the COMP side of
the control for approximately six
seconds until“C”appears in the
mirror display.
3. Drive the vehicle slowly (less
than 5 km/h [3 mph]) in circles or
on your everyday routine until the
display reads a direction.
4. The compass is now calibrated.
Power side view mirrors
To adjust your mirrors
1. SelectLto adjust the left mirror
orRto adjust the right mirror.
2. Move the control in the direction
you wish to tilt the mirror.
3. Return to the center position to
disable the adjust function.
COMP MIRROR
NW
COMP MIRROR
NW
Driver Controls
50
Page 51 of 216

Heated outside mirrors(if equipped)
Both mirrors are heated
automatically to remove ice, mist
and fog when the rear window
defrost is activated.
Do not remove ice from the
mirrors with a scraper or
attempt to readjust the mirror
glass if it is frozen in place.
These actions could cause damage to the glass and mirrors.
POWER ADJUSTABLE FOOT PEDALS (IF EQUIPPED)
The accelerator and brake pedal
should only be adjusted when the
vehicle is stopped and the gearshift
lever is in the P(Park) position.
Press and hold the rocker control
(located on the instrument panel) to adjust accelerator and brake pedal.
•Press the right side of the control to adjust the pedals toward you.
•Press the left side of the control to adjust the pedals away from you.
The adjustment allows for approximately 76 mm (3 inches) of maximum
travel.
Never adjust the accelerator and brake pedal with feet on the
pedals while the vehicle is moving.
SPEED CONTROL (IF EQUIPPED)
With speed control set, you can maintain a speed of 48 km/h (30 mph)
or more without keeping your foot on the pedal. Speed control does not
work at speeds below 48 km/h (30 mph).
Do not use the speed control in heavy traffic or on roads that
are winding, slippery or unpaved.
Driver Controls
51