trunk Mercury Sable 2003 Owner's Manuals
[x] Cancel search | Manufacturer: MERCURY, Model Year: 2003, Model line: Sable, Model: Mercury Sable 2003Pages: 216, PDF Size: 1.66 MB
Page 20 of 216
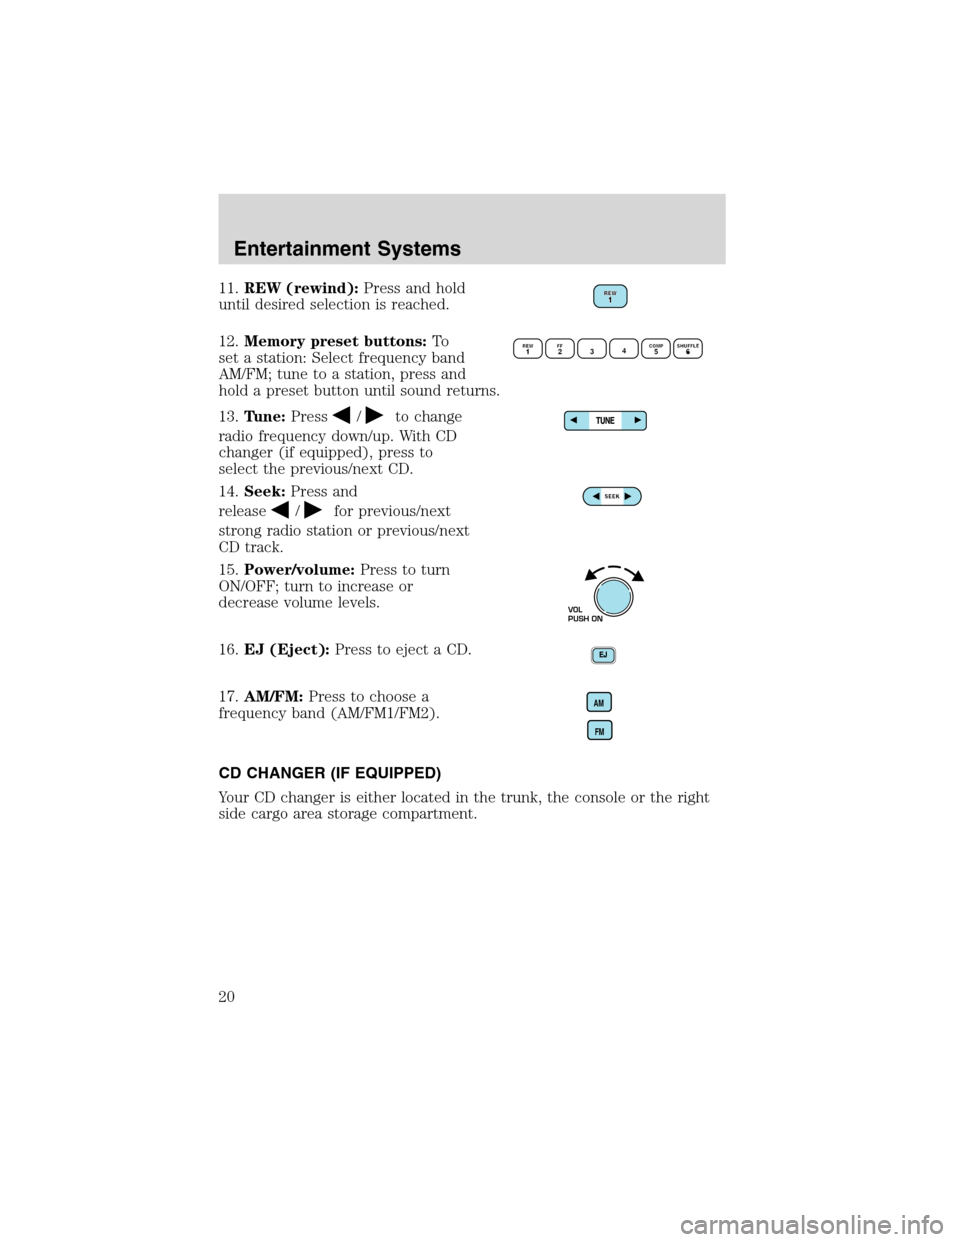
11.REW (rewind):Press and hold
until desired selection is reached.
12.Memory preset buttons:To
set a station: Select frequency band
AM/FM; tune to a station, press and
hold a preset button until sound returns.
13.Tune:Press
/to change
radio frequency down/up. With CD
changer (if equipped), press to
select the previous/next CD.
14.Seek:Press and
release
/for previous/next
strong radio station or previous/next
CD track.
15.Power/volume:Press to turn
ON/OFF; turn to increase or
decrease volume levels.
16.EJ (Eject):Press to eject a CD.
17.AM/FM:Press to choose a
frequency band (AM/FM1/FM2).
CD CHANGER (IF EQUIPPED)
Your CD changer is either located in the trunk, the console or the right
side cargo area storage compartment.
VOL
PUSH ON
AM
FM
Entertainment Systems
20
Page 42 of 216

Replacing license plate lamp bulbs
Wagon
1. Make sure headlamp switch is in
OFF position and remove screw and
the license plate lamp assembly
from liftgate.
2. Remove bulb socket by turning
counterclockwise.
3. Carefully pull the bulb out from
the socket and push in the new
bulb.
4. Install the lamp assembly on
liftgate with screw.
Sedan
1. Make sure headlamp switch is in
OFF position and remove two
screws, grommets and the license
plate lamp assembly from the trunk
lid.
2. Carefully pull the bulb from the
socket and push in the new bulb.
3. Install the lamp assembly on
trunk lid with two grommets,
ensuring the grommets are pushed all the way in to the trunk lid and
secure with two screws.
Lights
42
Page 43 of 216
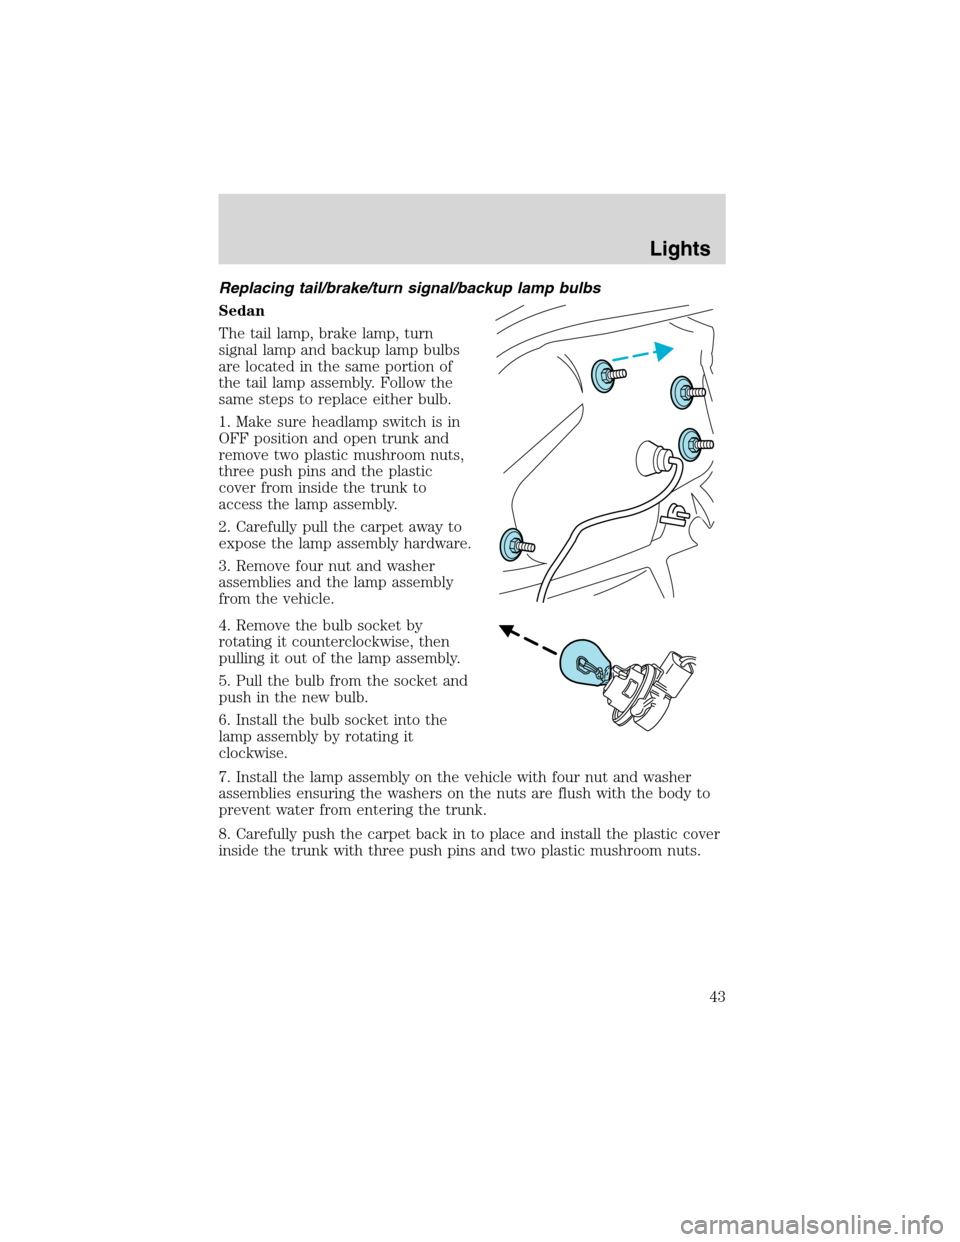
Replacing tail/brake/turn signal/backup lamp bulbs
Sedan
The tail lamp, brake lamp, turn
signal lamp and backup lamp bulbs
are located in the same portion of
the tail lamp assembly. Follow the
same steps to replace either bulb.
1. Make sure headlamp switch is in
OFF position and open trunk and
remove two plastic mushroom nuts,
three push pins and the plastic
cover from inside the trunk to
access the lamp assembly.
2. Carefully pull the carpet away to
expose the lamp assembly hardware.
3. Remove four nut and washer
assemblies and the lamp assembly
from the vehicle.
4. Remove the bulb socket by
rotating it counterclockwise, then
pulling it out of the lamp assembly.
5. Pull the bulb from the socket and
push in the new bulb.
6. Install the bulb socket into the
lamp assembly by rotating it
clockwise.
7. Install the lamp assembly on the vehicle with four nut and washer
assemblies ensuring the washers on the nuts are flush with the body to
prevent water from entering the trunk.
8. Carefully push the carpet back in to place and install the plastic cover
inside the trunk with three push pins and two plastic mushroom nuts.
Lights
43
Page 56 of 216
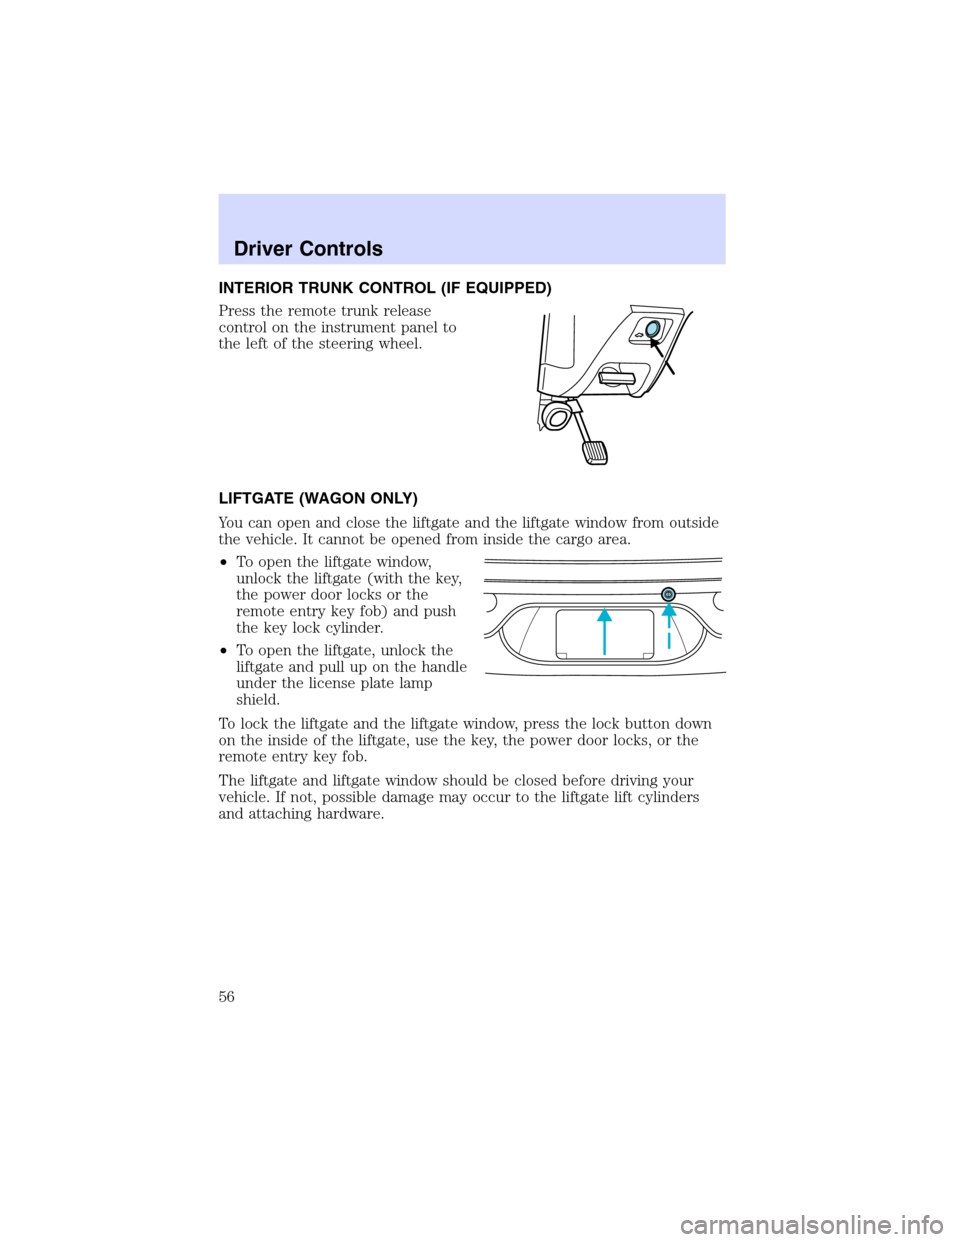
INTERIOR TRUNK CONTROL (IF EQUIPPED)
Press the remote trunk release
control on the instrument panel to
the left of the steering wheel.
LIFTGATE (WAGON ONLY)
You can open and close the liftgate and the liftgate window from outside
the vehicle. It cannot be opened from inside the cargo area.
•To open the liftgate window,
unlock the liftgate (with the key,
the power door locks or the
remote entry key fob) and push
the key lock cylinder.
•To open the liftgate, unlock the
liftgate and pull up on the handle
under the license plate lamp
shield.
To lock the liftgate and the liftgate window, press the lock button down
on the inside of the liftgate, use the key, the power door locks, or the
remote entry key fob.
The liftgate and liftgate window should be closed before driving your
vehicle. If not, possible damage may occur to the liftgate lift cylinders
and attaching hardware.
Driver Controls
56
Page 59 of 216

The cover may cause injury in a sudden stop or accident if it is
not securely installed.
Cargo utility hooks (Sedan)
The utility hooks located in side the trunk can be used to attach a cargo
net to secure lightweight objects or hang small items on. Do not hang
more than 12 kg (20 lbs) on the hooks.
The hooks are not designed to restrain objects during a collision.
LUGGAGE RACK (IF EQUIPPED)
The rear cross-bar can be adjusted to fit the item being carried. The
front cross-bar does not move. Do not load more than 44 kg (100 lbs.)
on the luggage rack.
To adjust cross-bar position:
1. Loosen the thumbwheel at both
ends of the cross-bar.
2. Slide the cross-bar to the desired
location.
3. Tighten the thumbwheel at both
ends of the cross-bar.
Use adjustable tie down loops to secure the load.
Driver Controls
59
Page 61 of 216
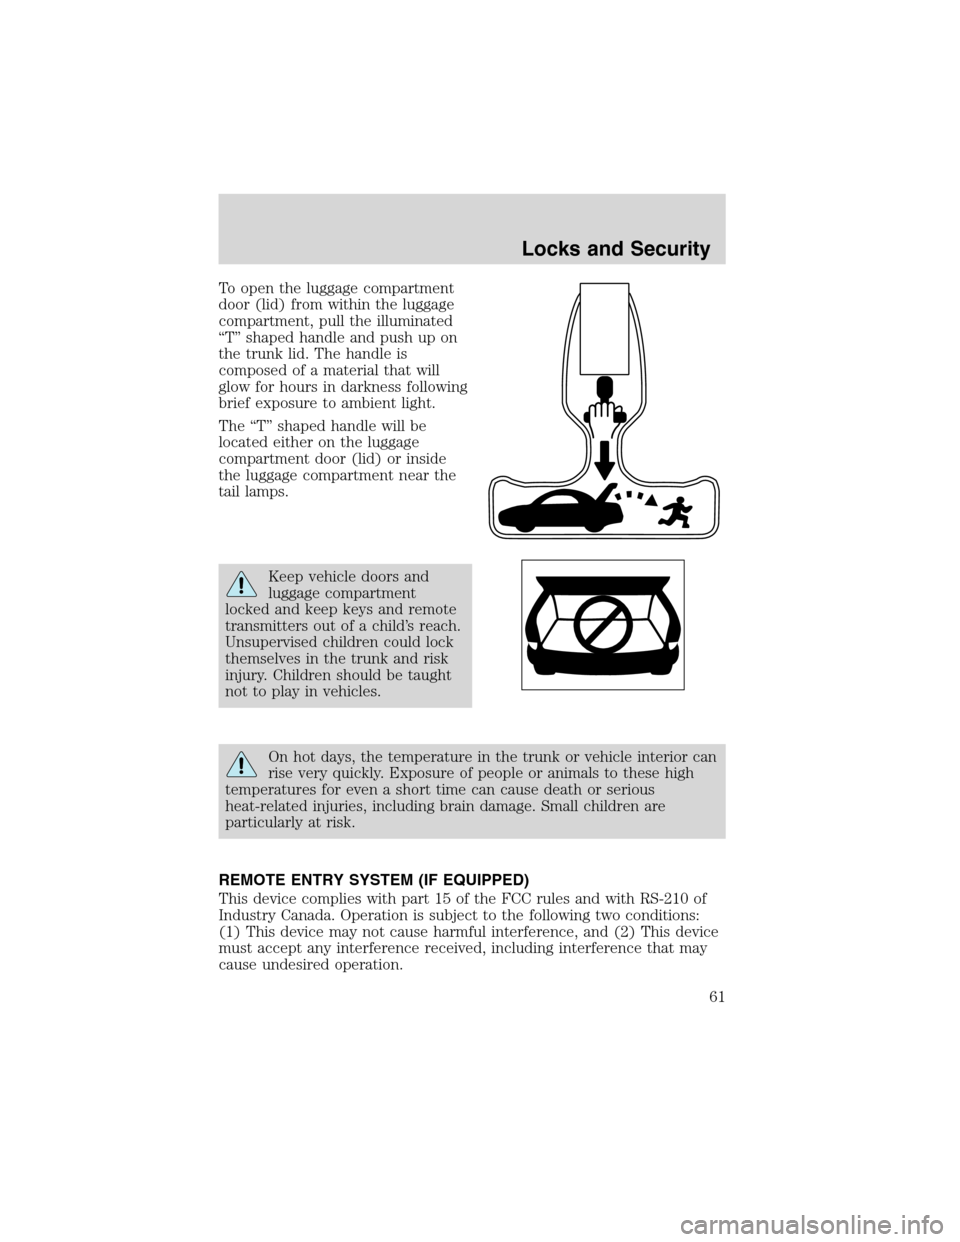
To open the luggage compartment
door (lid) from within the luggage
compartment, pull the illuminated
“T”shaped handle and push up on
the trunk lid. The handle is
composed of a material that will
glow for hours in darkness following
brief exposure to ambient light.
The“T”shaped handle will be
located either on the luggage
compartment door (lid) or inside
the luggage compartment near the
tail lamps.
Keep vehicle doors and
luggage compartment
locked and keep keys and remote
transmitters out of a child’s reach.
Unsupervised children could lock
themselves in the trunk and risk
injury. Children should be taught
not to play in vehicles.
On hot days, the temperature in the trunk or vehicle interior can
rise very quickly. Exposure of people or animals to these high
temperatures for even a short time can cause death or serious
heat-related injuries, including brain damage. Small children are
particularly at risk.
REMOTE ENTRY SYSTEM (IF EQUIPPED)
This device complies with part 15 of the FCC rules and with RS-210 of
Industry Canada. Operation is subject to the following two conditions:
(1) This device may not cause harmful interference, and (2) This device
must accept any interference received, including interference that may
cause undesired operation.
Locks and Security
61
Page 62 of 216

Changes or modifications not expressly approved by the party
responsible for compliance could void the user’s authority to
operate the equipment.
The remote entry system allows you
to:
•lock or unlock all vehicle doors,
•open the trunk or the liftgate,
and
•sound the panic alarm.
If there is a problem with the
remote entry system make sure to
takeALL remote entry
transmitterswith you to the
dealership, this will aid in troubleshooting the problem.
Unlocking the doors
1. Pressand release to unlock the driver’s door.Note:The interior
lamps will illuminate.
2. Press
and release again within three seconds to unlock all the
doors and the liftgate (wagon).
The remote entry system comes with an illuminated entry feature. This
feature turns on the interior lamps for 25 seconds or until the ignition is
turned to the ON position. If the dome lamp control is in theoffposition
the illuminated entry feature will not work.
The inside lights will not turn off if:
•they have been turned on using the dimmer control or
•any door is open.
The battery saver feature will turn off the interior lamps 10 minutes after
the ignition is turned to the OFF position.
Locking the doors
1. Pressand release to lock all the doors and liftgate (wagon), turn
off the interior lamps (if they were on) and arm the anti-theft system.
2. Press
and release again within three seconds to confirm that all the
doors and liftgate are closed and locked.Note:the doors will lock again,
and the horn will chirp once.
Locks and Security
62
Page 63 of 216
If any of the doors or liftgate (wagon) are not properly closed the horn
will make two quick chirps.
Sounding a panic alarm
Press
to activate the alarm. The horn will sound for a maximum of
30 seconds and the parklamps will flash for a maximum of 3 minutes.
Press again or turn the ignition to ON to deactivate, or wait for the alarm
to timeout in 3 minutes.
Note:The panic alarm will only operate when the ignition is in the OFF
or ACC position.
Opening the trunk
Pressonce to open the trunk or liftgate (wagon).
Replacing the battery
The remote entry transmitter uses one coin type three-volt lithium
battery CR2032 or equivalent. The typical operating range for your
remote entry transmitter is approximately 10 meters (33 feet). A
decrease in the operating range could be caused by:
•weather conditions,
•nearby radio towers,
•structures around the vehicle and
•other vehicles parked next to the vehicle.
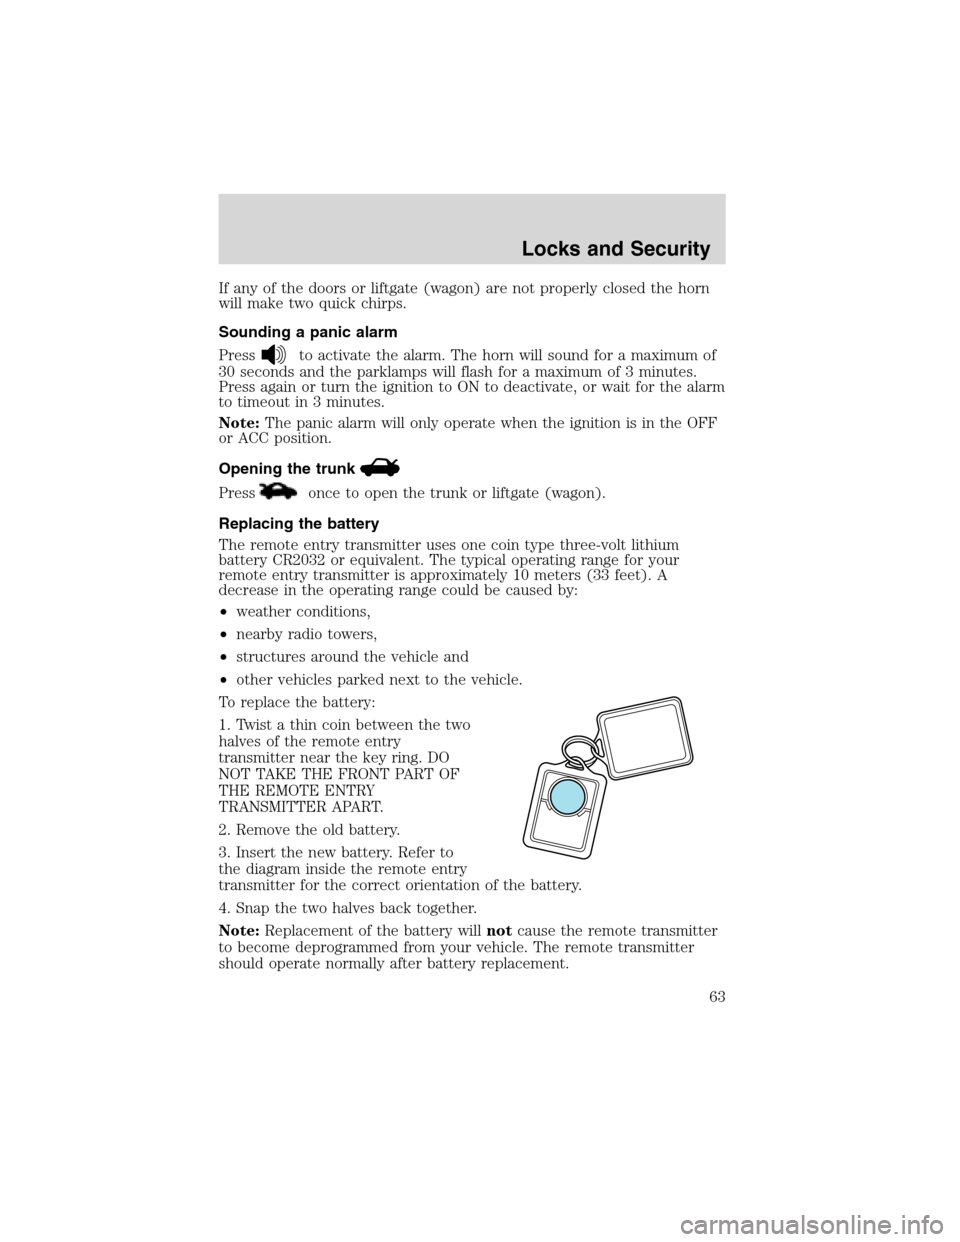
To replace the battery:
1. Twist a thin coin between the two
halves of the remote entry
transmitter near the key ring. DO
NOT TAKE THE FRONT PART OF
THE REMOTE ENTRY
TRANSMITTER APART.
2. Remove the old battery.
3. Insert the new battery. Refer to
the diagram inside the remote entry
transmitter for the correct orientation of the battery.
4. Snap the two halves back together.
Note:Replacement of the battery willnotcause the remote transmitter
to become deprogrammed from your vehicle. The remote transmitter
should operate normally after battery replacement.
Locks and Security
63
Page 66 of 216
Deactivating/activating perimeter lamps
You may enable/disable this feature by having your vehicle serviced by
your authorized dealer.
You may also perform the following power door lock sequence to
enable/disable the perimeter lamps feature:
1. Turn the ignition to ON, then press the power door unlock control 3
times.
2. Turn the ignition to OFF, then press the power door unlock control 3
times.
3. Turn the ignition to ON, and within five seconds press the power door
unlock control 2 times.Note:You will receive two horn chirps to
indicate that the system has been altered successfully.
4. Turn the ignition to the OFF position to exit the procedure.
Note:the puddle lamps cannot be deactivated; performing this procedure
will only deactivate the head, park and tail lamps.
KEYLESS ENTRY SYSTEM (IF EQUIPPED)
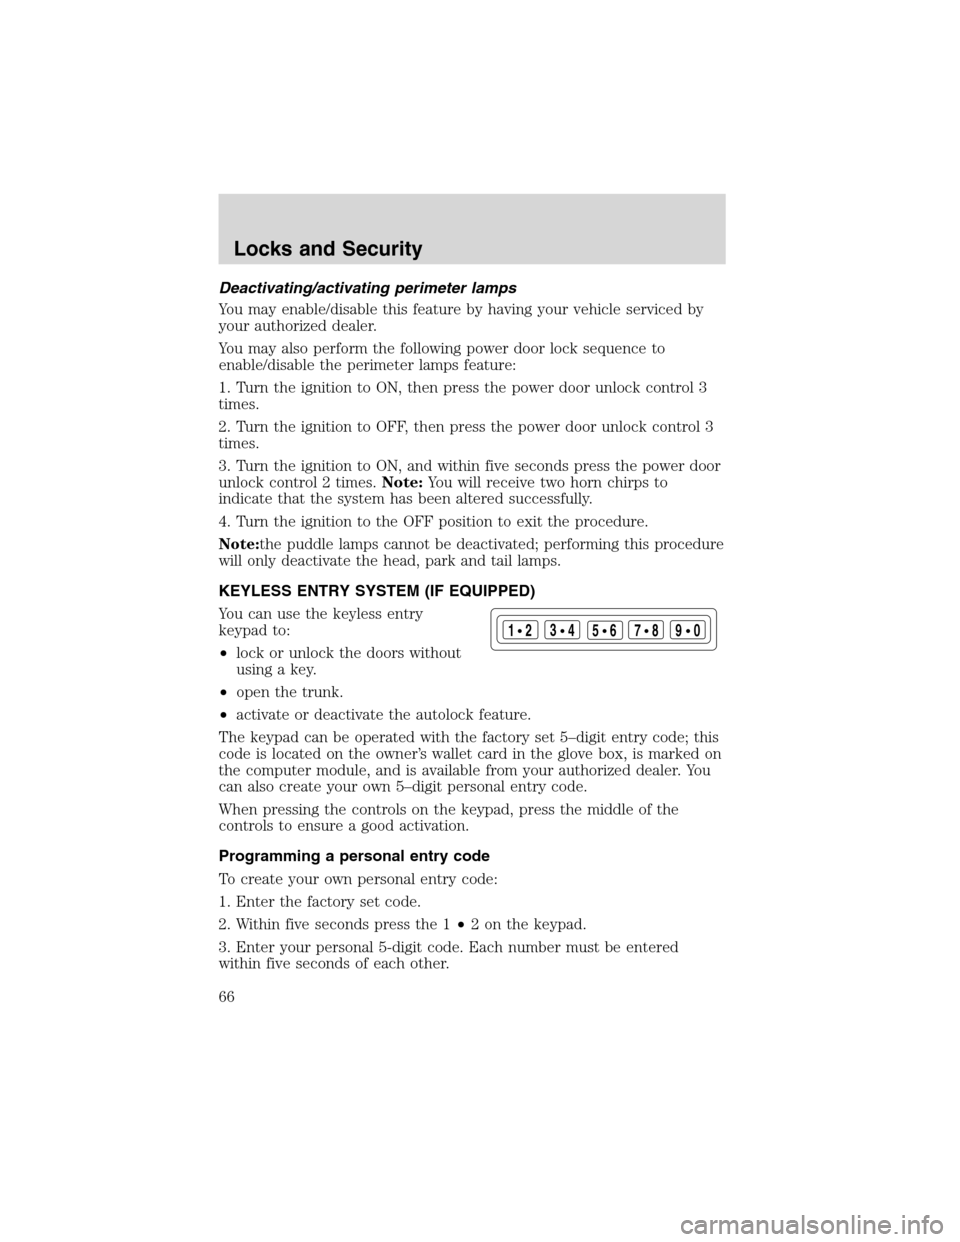
You can use the keyless entry
keypad to:
•lock or unlock the doors without
using a key.
•open the trunk.
•activate or deactivate the autolock feature.
The keypad can be operated with the factory set 5–digit entry code; this
code is located on the owner’s wallet card in the glove box, is marked on
the computer module, and is available from your authorized dealer. You
can also create your own 5–digit personal entry code.
When pressing the controls on the keypad, press the middle of the
controls to ensure a good activation.
Programming a personal entry code
To create your own personal entry code:
1. Enter the factory set code.
2. Within five seconds press the 1•2 on the keypad.
3. Enter your personal 5-digit code. Each number must be entered
within five seconds of each other.
123
45678
90
Locks and Security
66
Page 67 of 216
Tips:
•Do not set a code that uses five of the same number.
•Do not use five numbers in sequential order.
•The factory set code will work even if you have set your own personal
code.
•If you set a second personal code it will erase your first personal code.
Erasing personal code
1. Enter the factory set 5–digit code.
2. Press and hold the 1•2 for two seconds and release; this must be
done within five seconds of completing step 1.
3. Press and hold the 1•2 for two seconds to erase the customer
programmed code; this must be done within five seconds of completing
step 2.
Your personal code is now erased and only the factory set 5–digit code
will work.
Unlocking and locking the doors using keyless entry
To unlock the driver’s door,enter the factory set 5-digit code or your
personal code. Each number must be pressed within five seconds of each
other. The interior lamps will illuminate.
To unlock all doors and the liftgate (wagon),press the 3•4
control within five seconds.
To unlock the trunk or liftgate (wagon),press the 5•6 control
within five seconds.
To lock all doors,press the 7•8 and the 9•0 at the same time. You
do notneed to enter the keypad code first.
Autolock (if equipped)
This feature automatically locks all vehicle doors when the following
conditions are met:
•all the doors are closed,
•the engine is running, and
•you shift into gear, putting the vehicle in motion.
Locks and Security
67